
ComicBooks.com Register / Loginit's free!

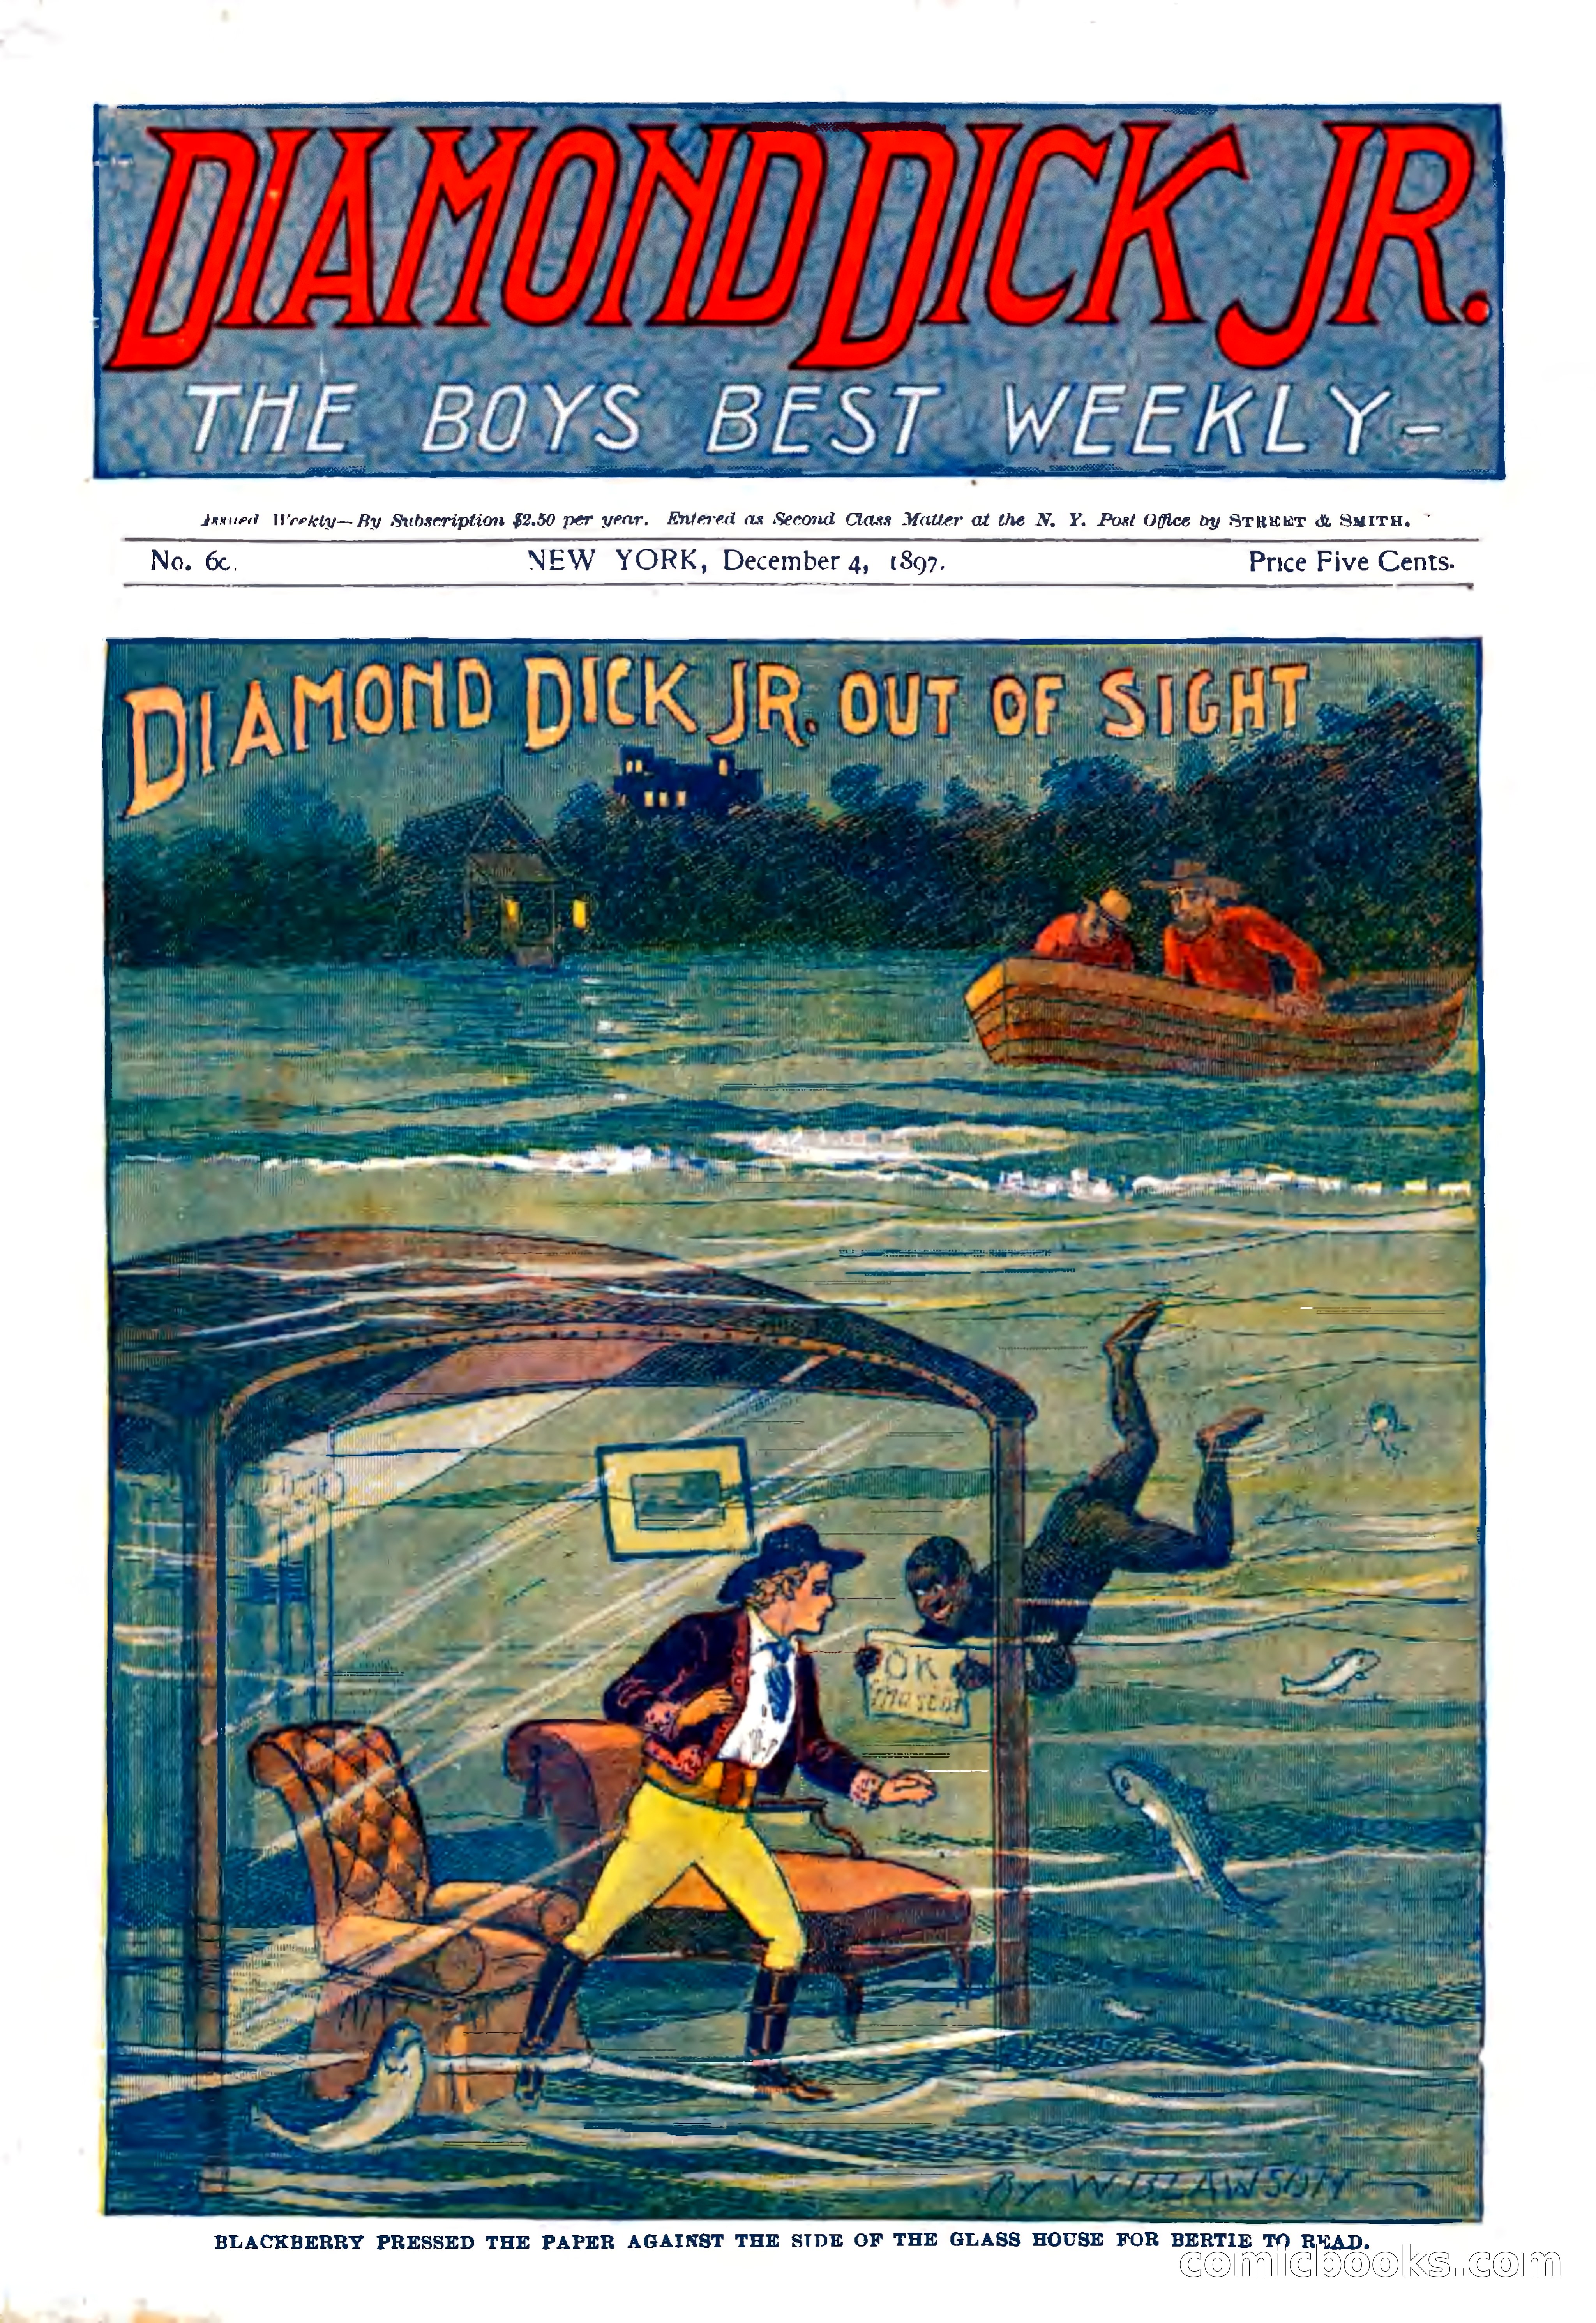
A complete, restored issue of Penny Dreadfuls from 1897 — all 37 pages of cheap serialized Victorian sensation fiction — crime, horror, and lurid melodrama, free to page through at ComicBooks.com.

← Back to Penny Dreadfuls All exhibitions

A complete issue · 37 pages · 1897

Diamond Dick, Jr.: The Boys' Best Weekly
1897 · Free to read

Diamond Dick, Jr.: The Boys' Best Weekly — page 1 of 37

1 / 37
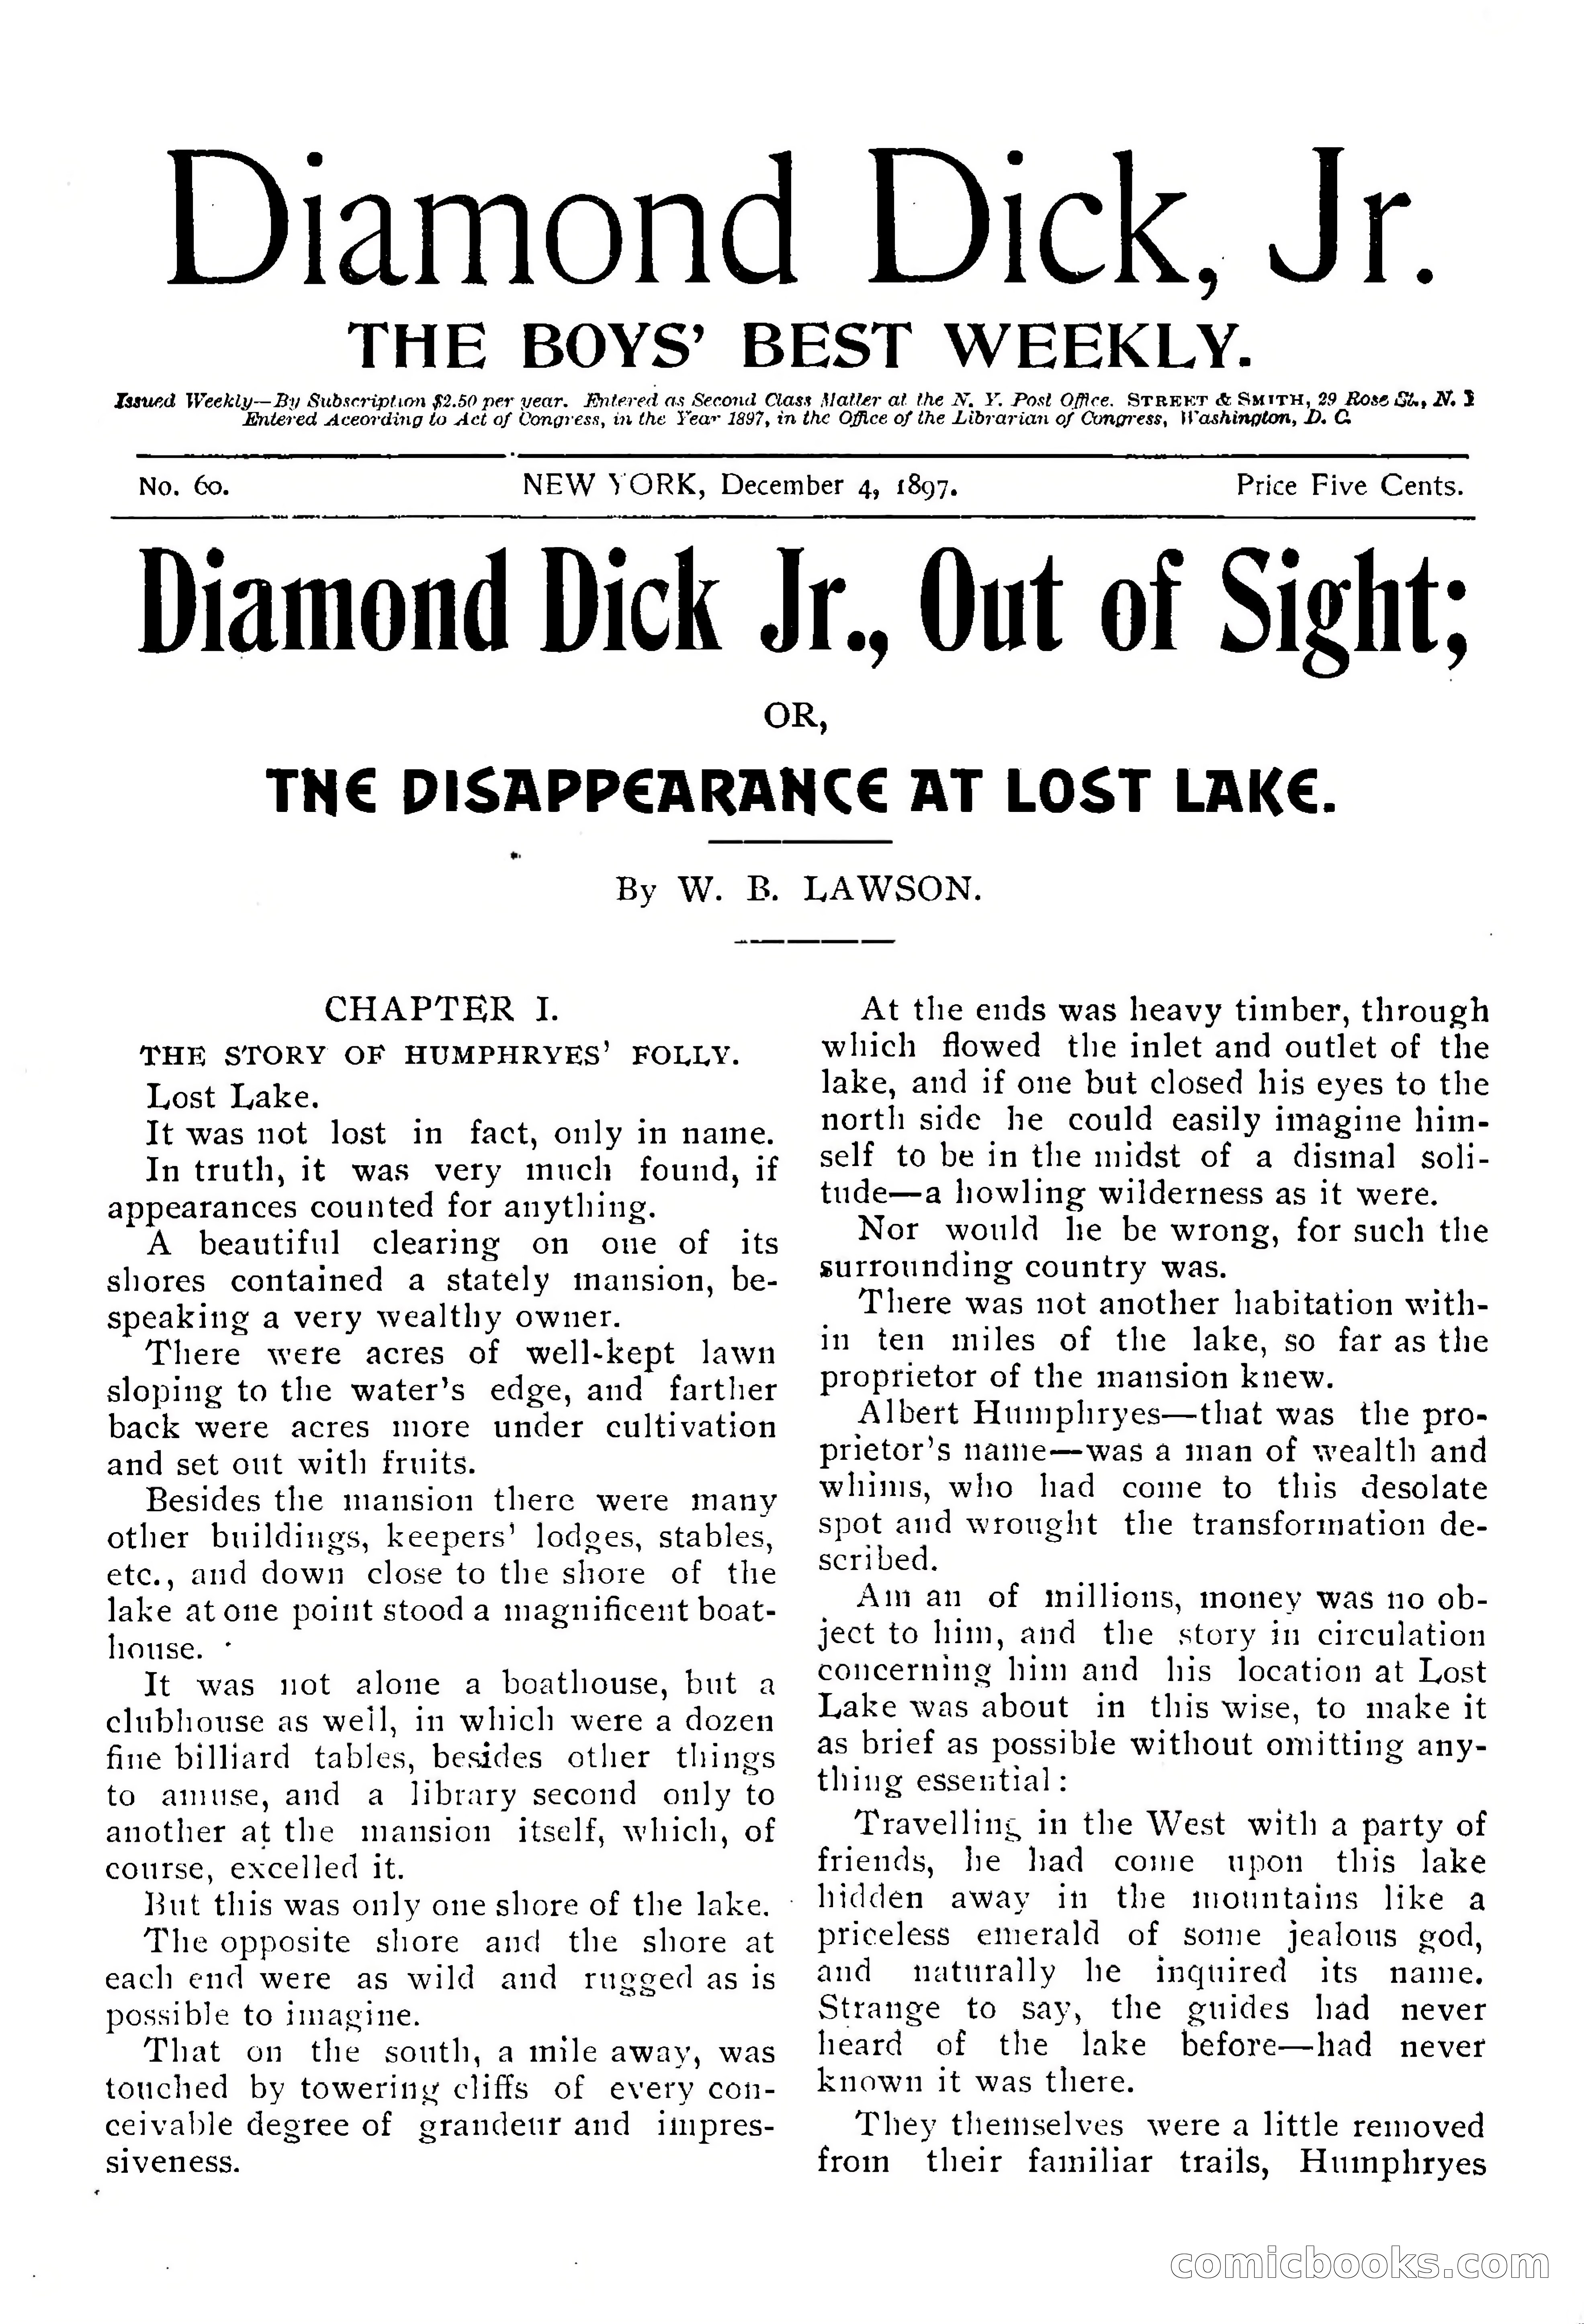
Diamond Dick, Jr.: The Boys' Best Weekly — page 2 of 37
2 / 37
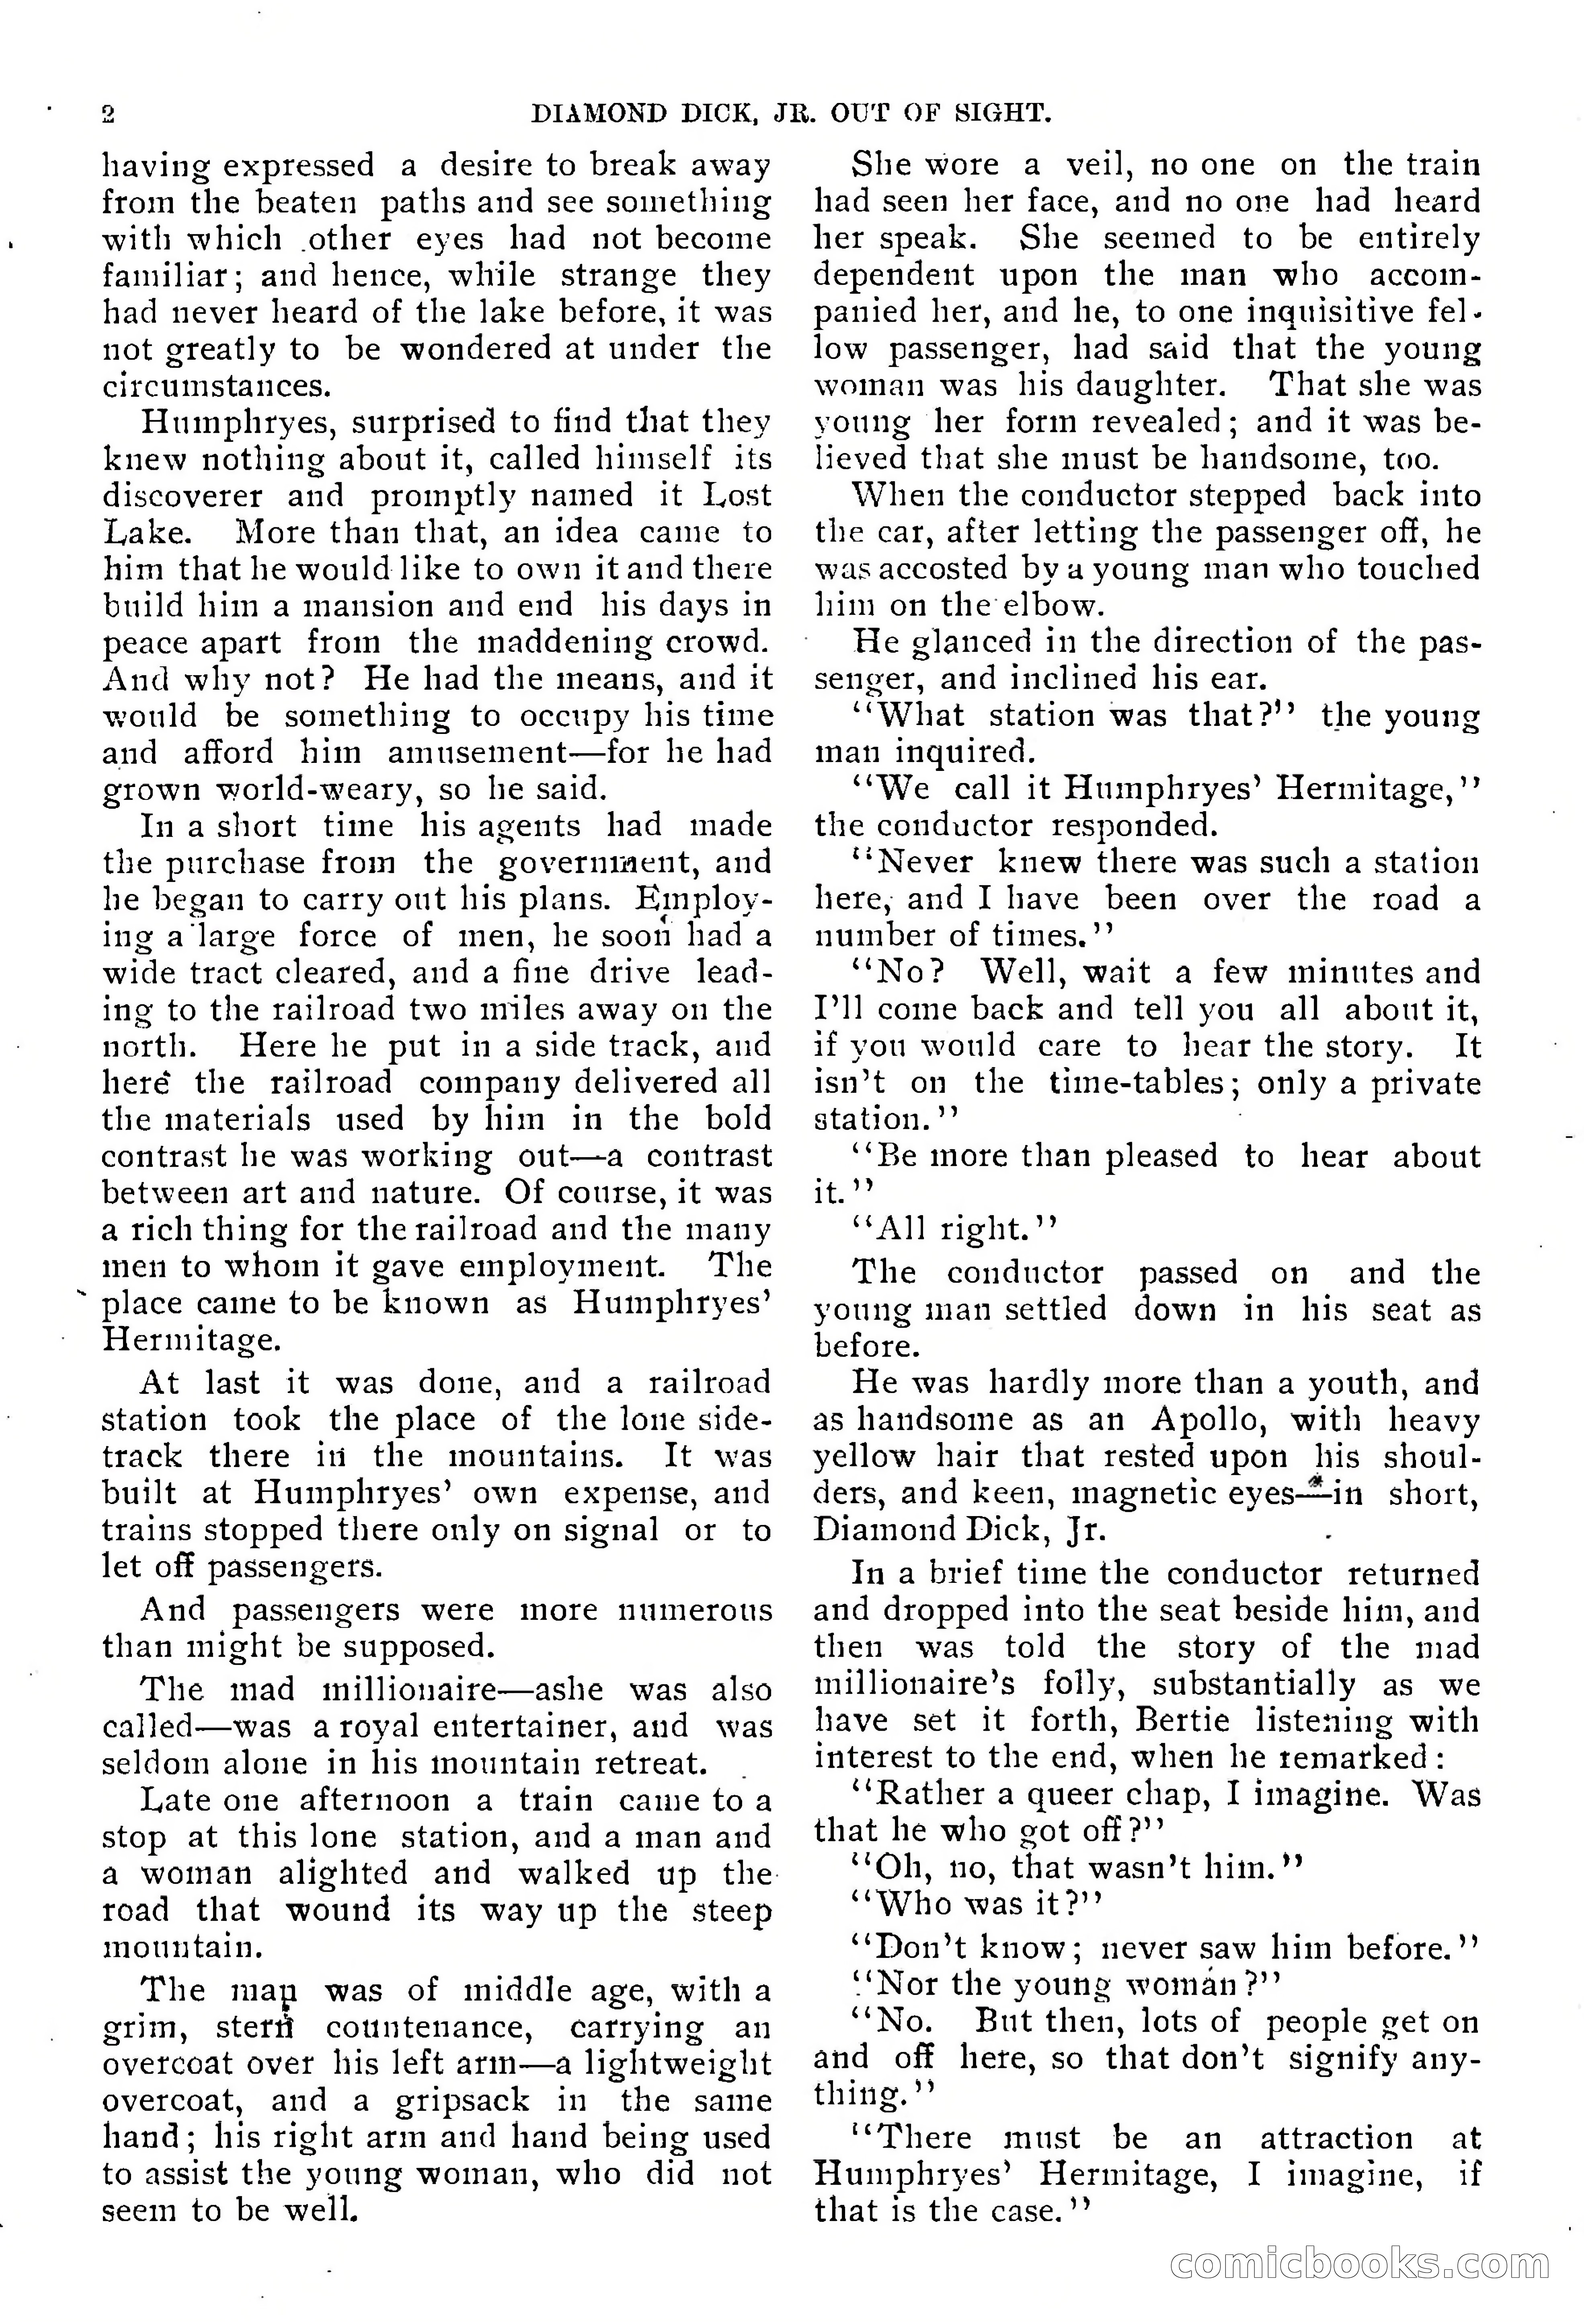
Diamond Dick, Jr.: The Boys' Best Weekly — page 3 of 37
3 / 37
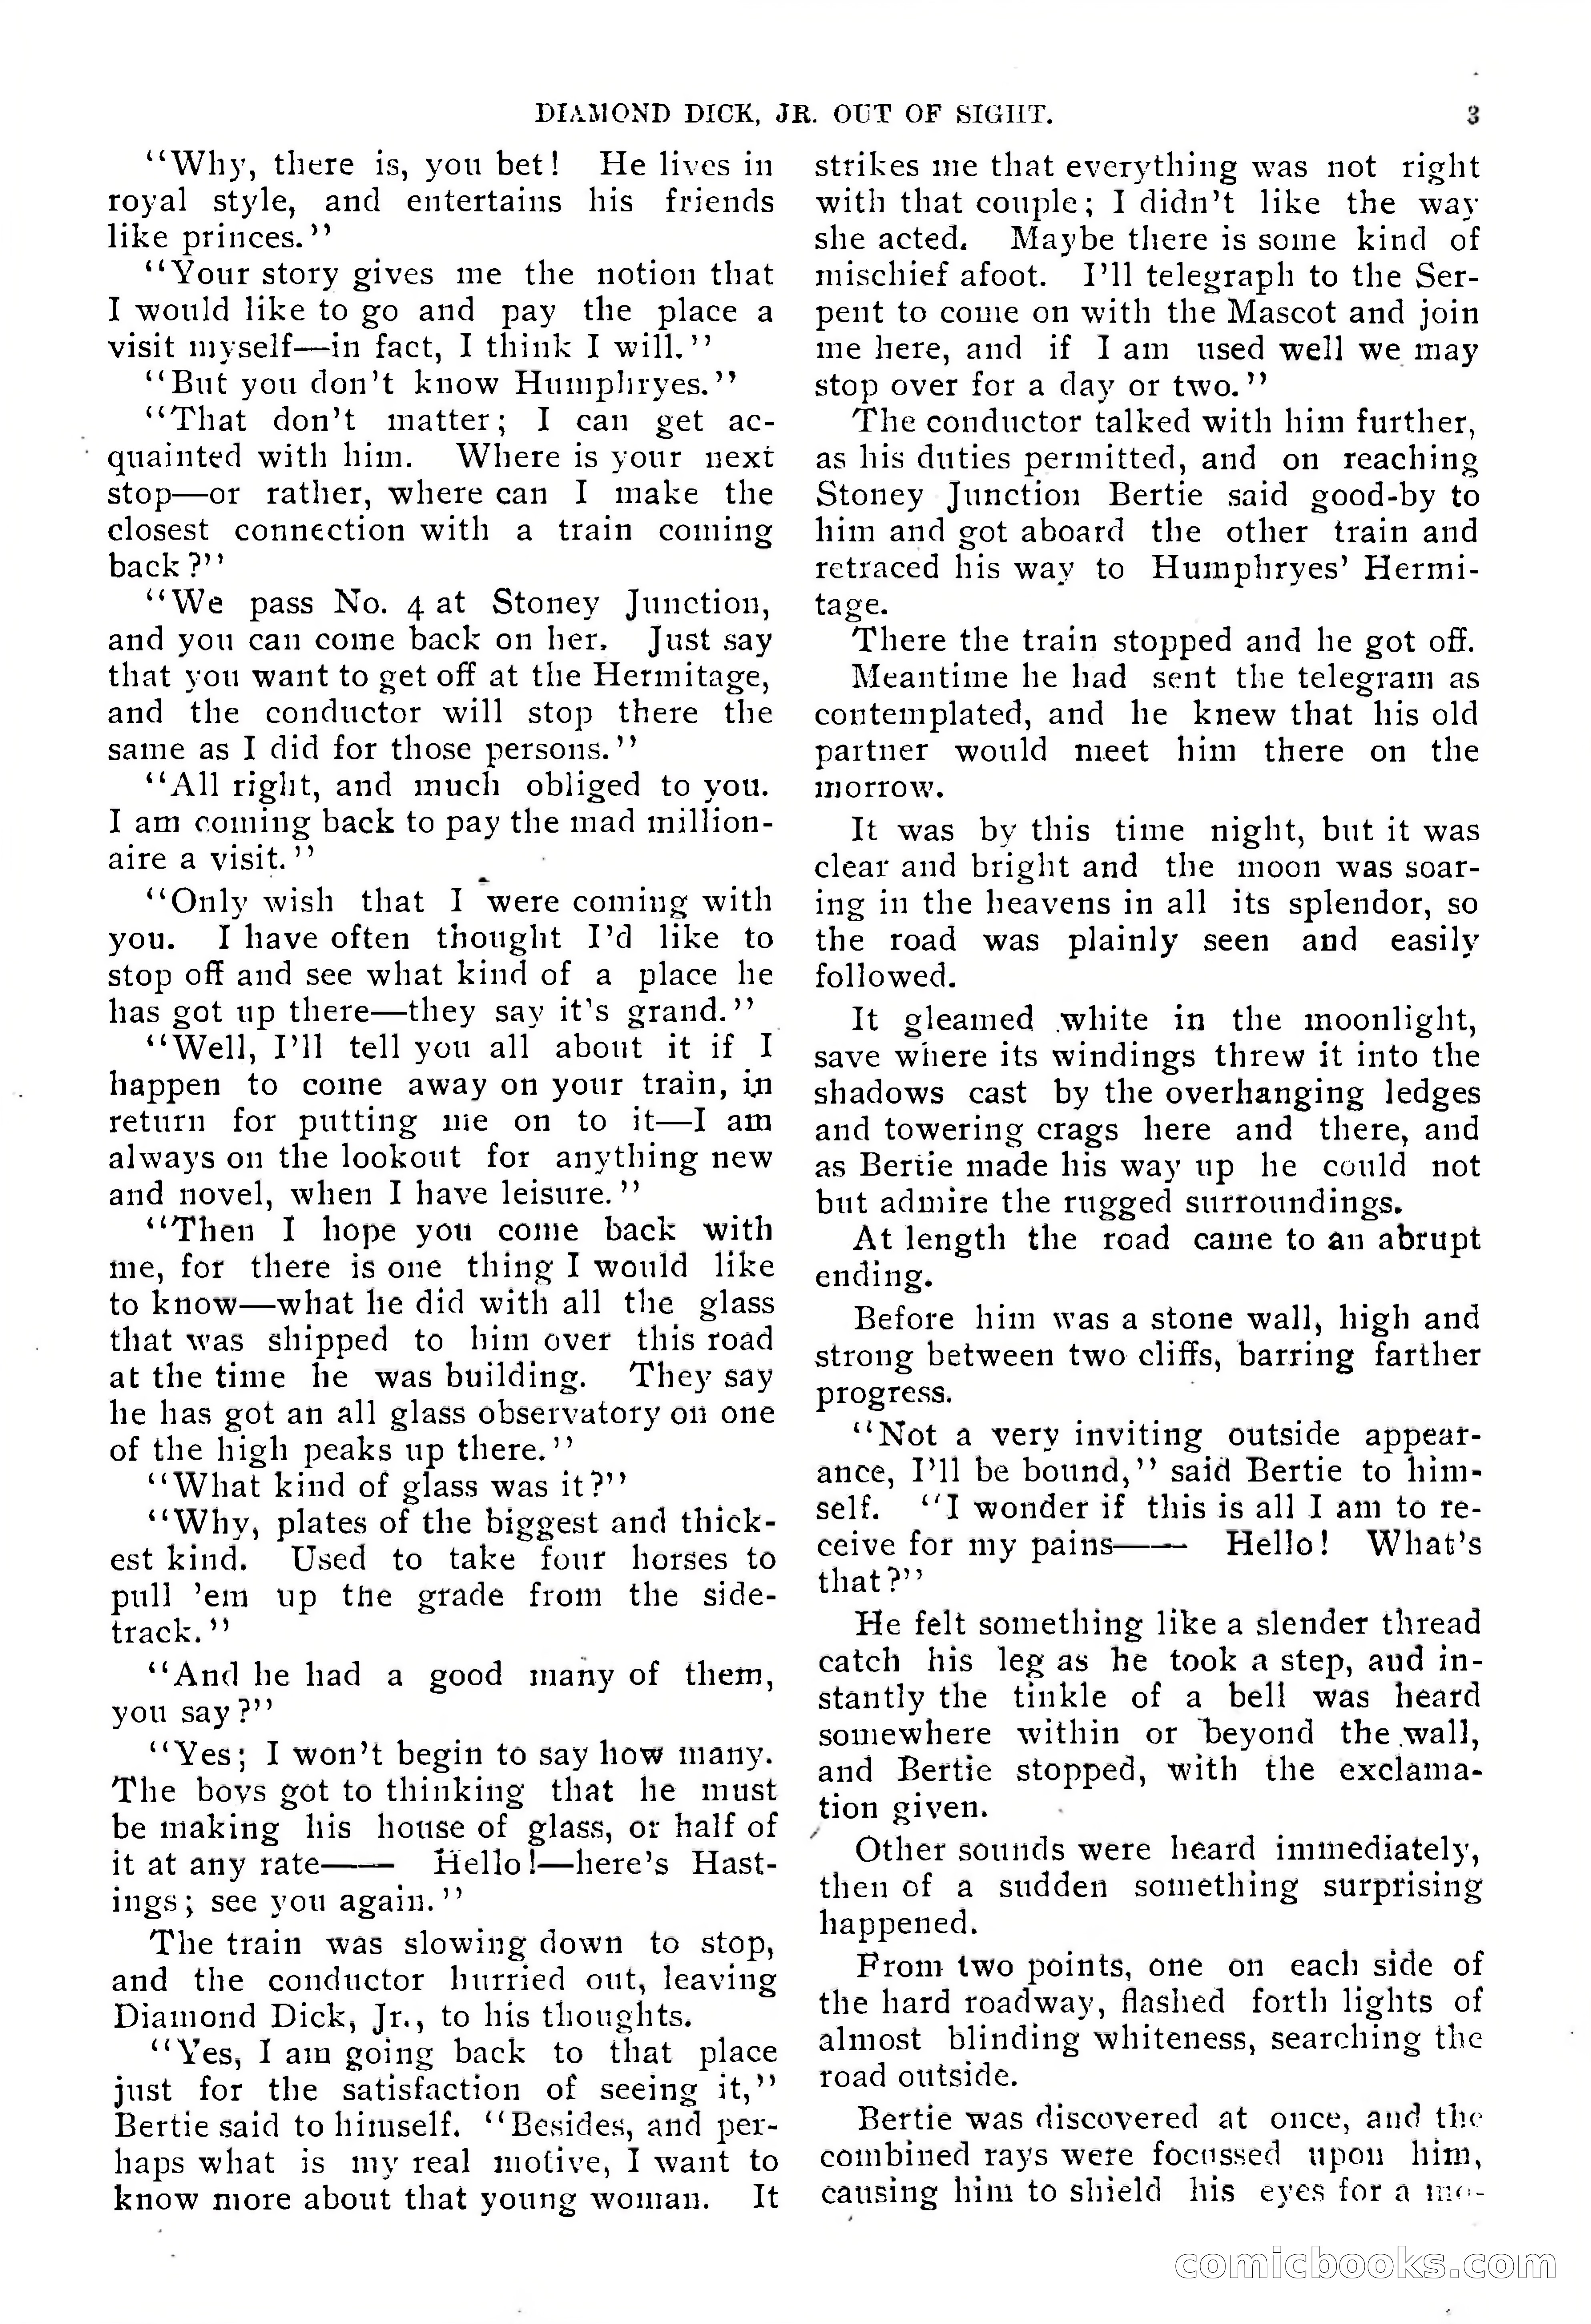
Diamond Dick, Jr.: The Boys' Best Weekly — page 4 of 37
4 / 37
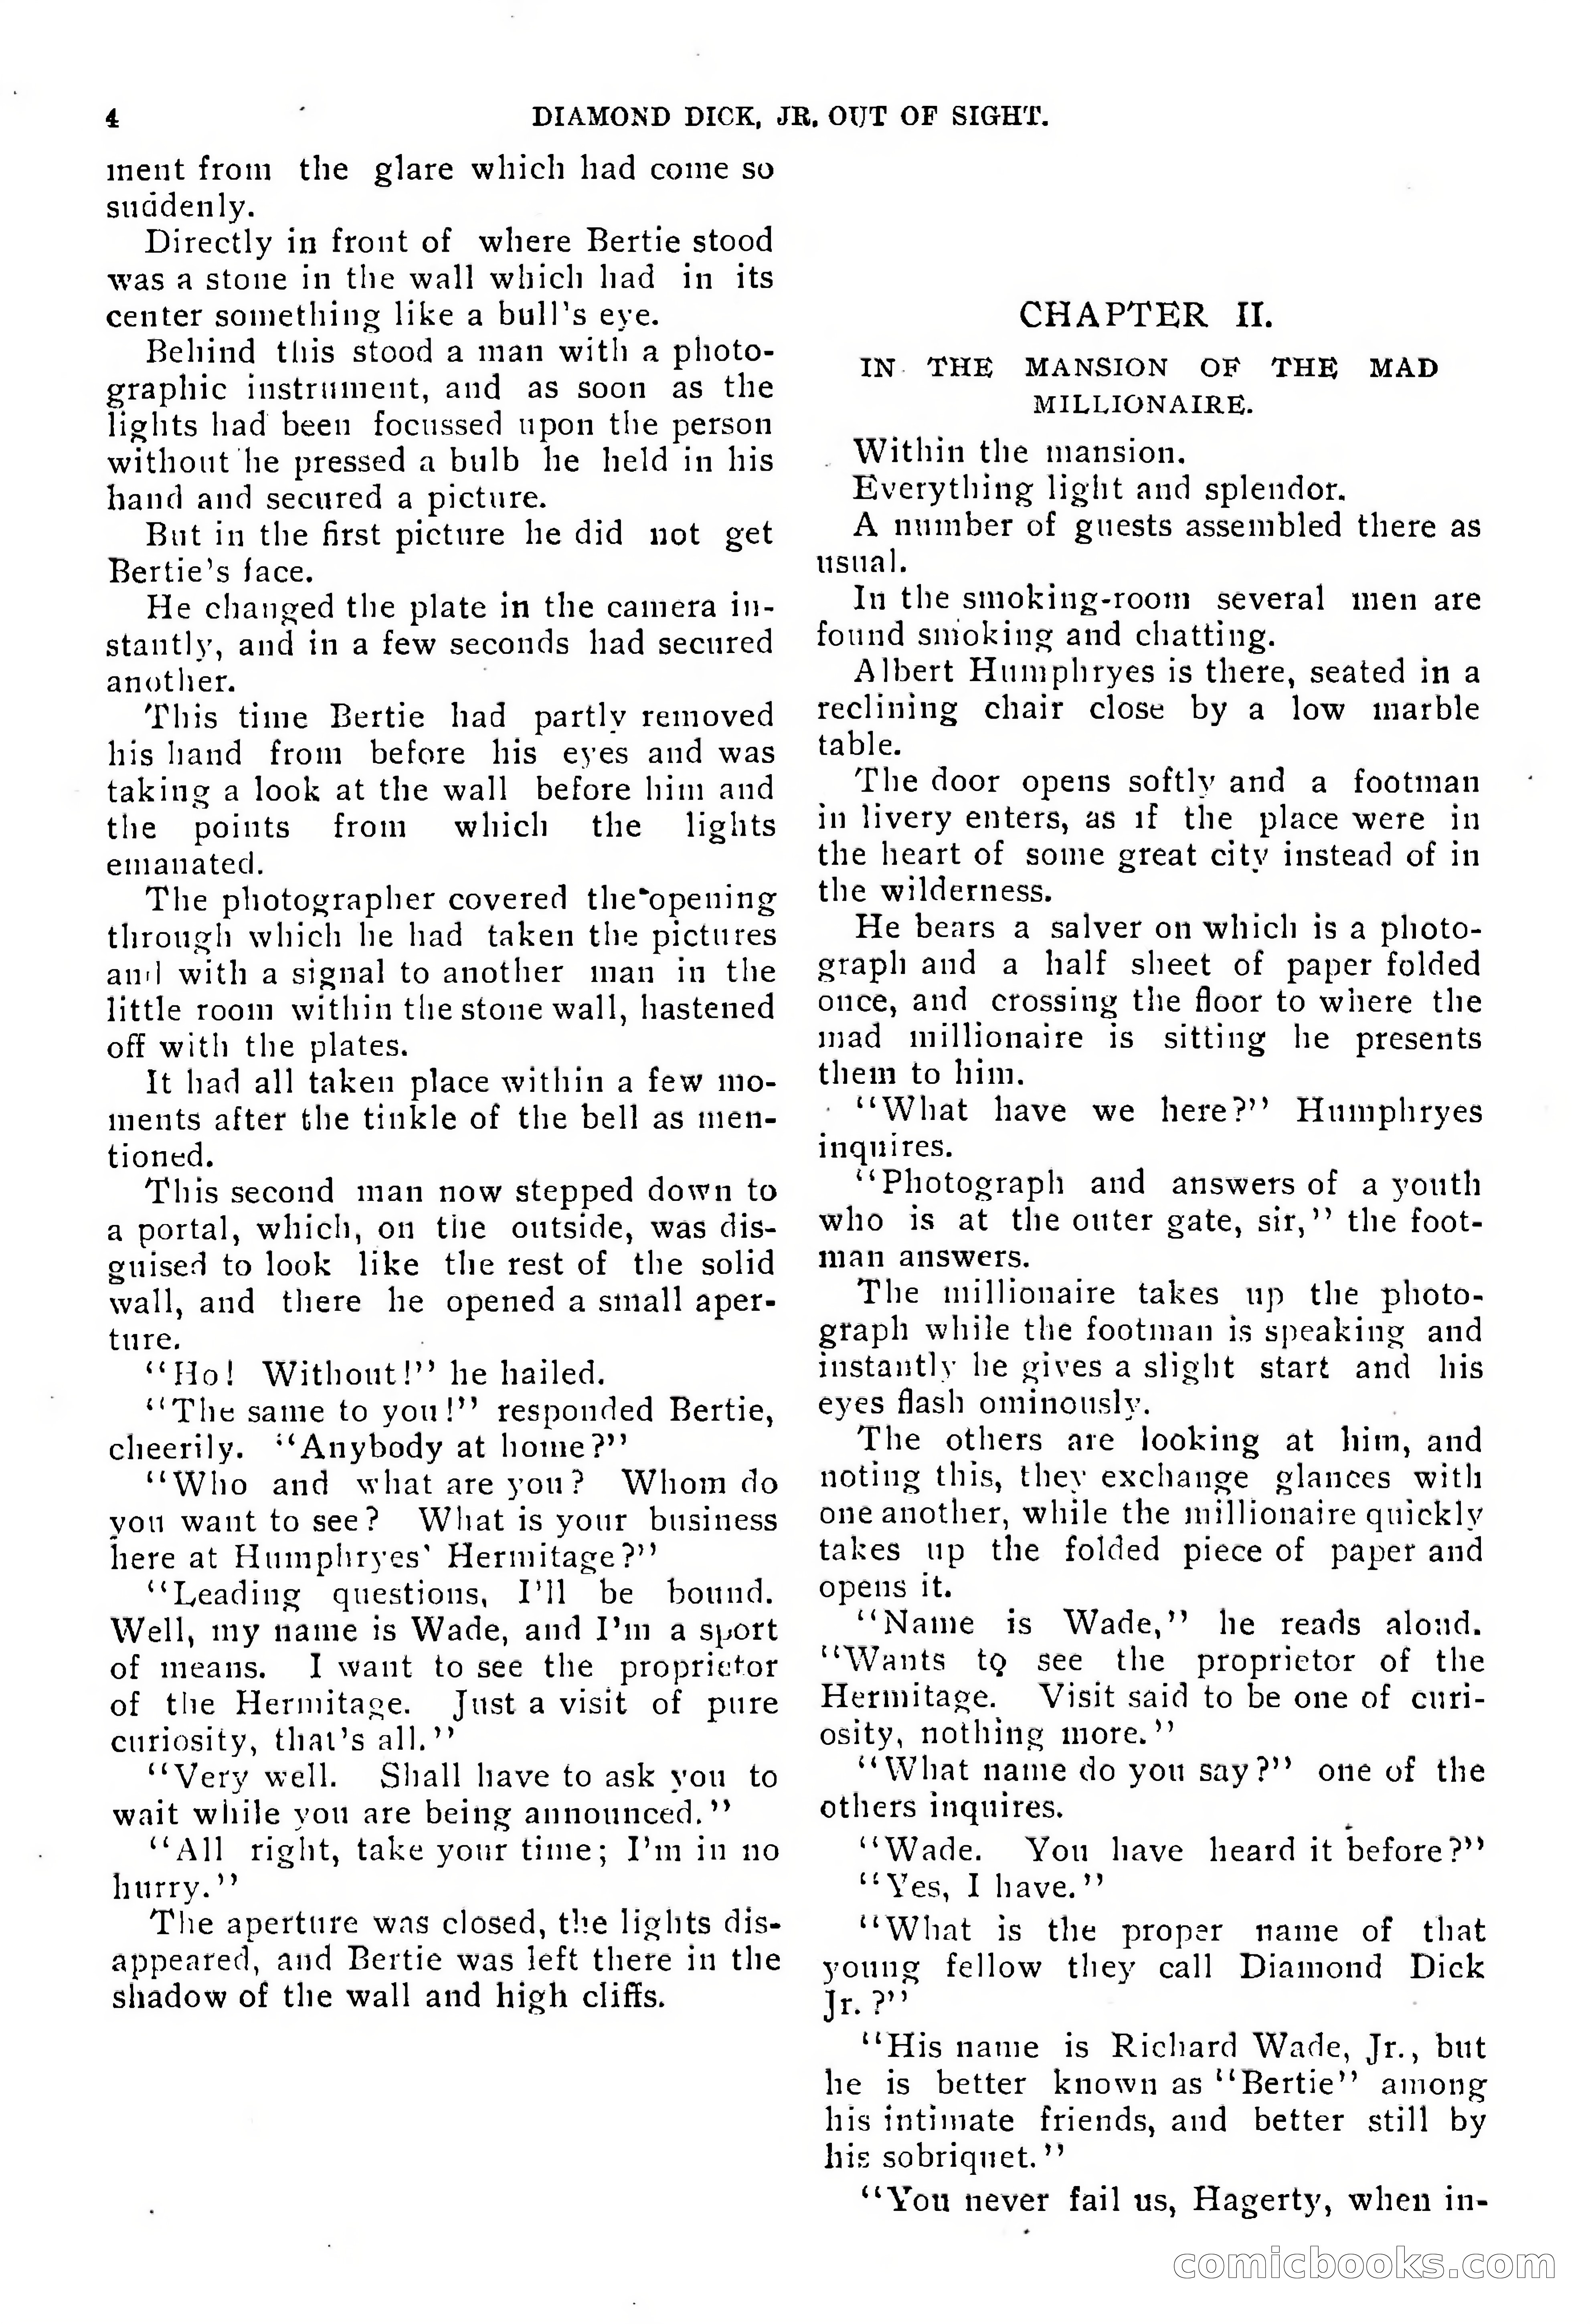
Diamond Dick, Jr.: The Boys' Best Weekly — page 5 of 37
5 / 37
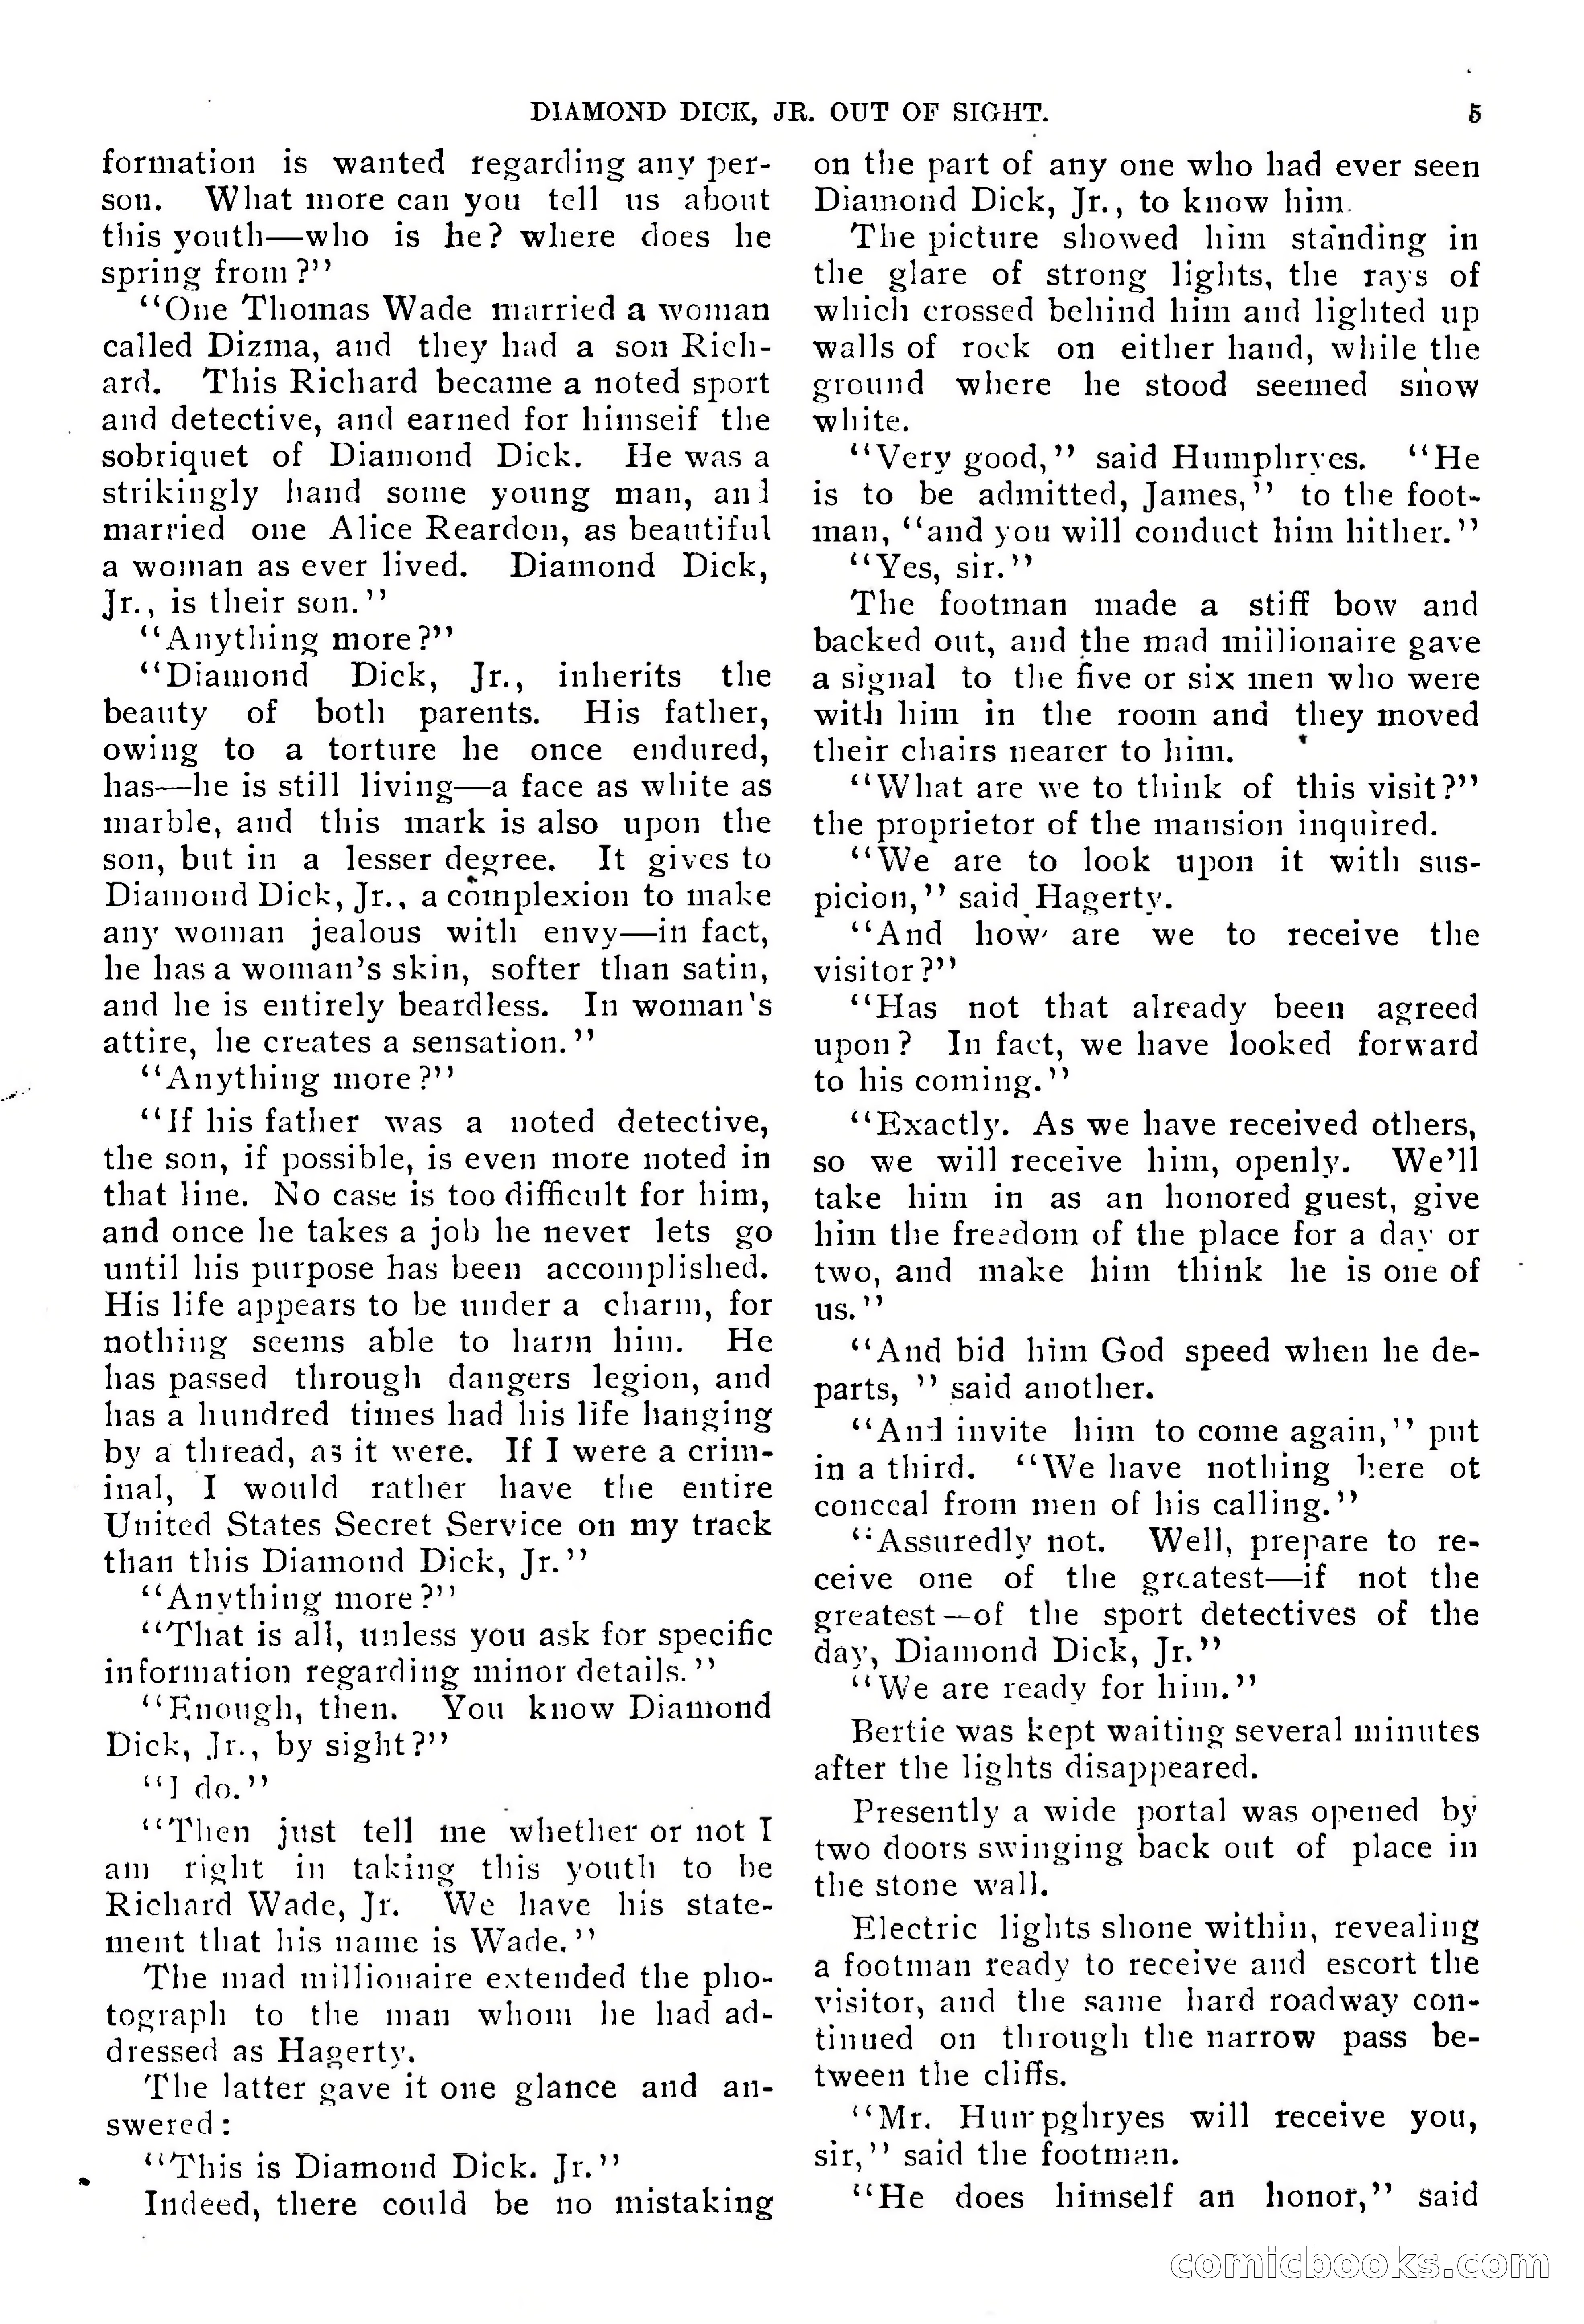
Diamond Dick, Jr.: The Boys' Best Weekly — page 6 of 37
6 / 37
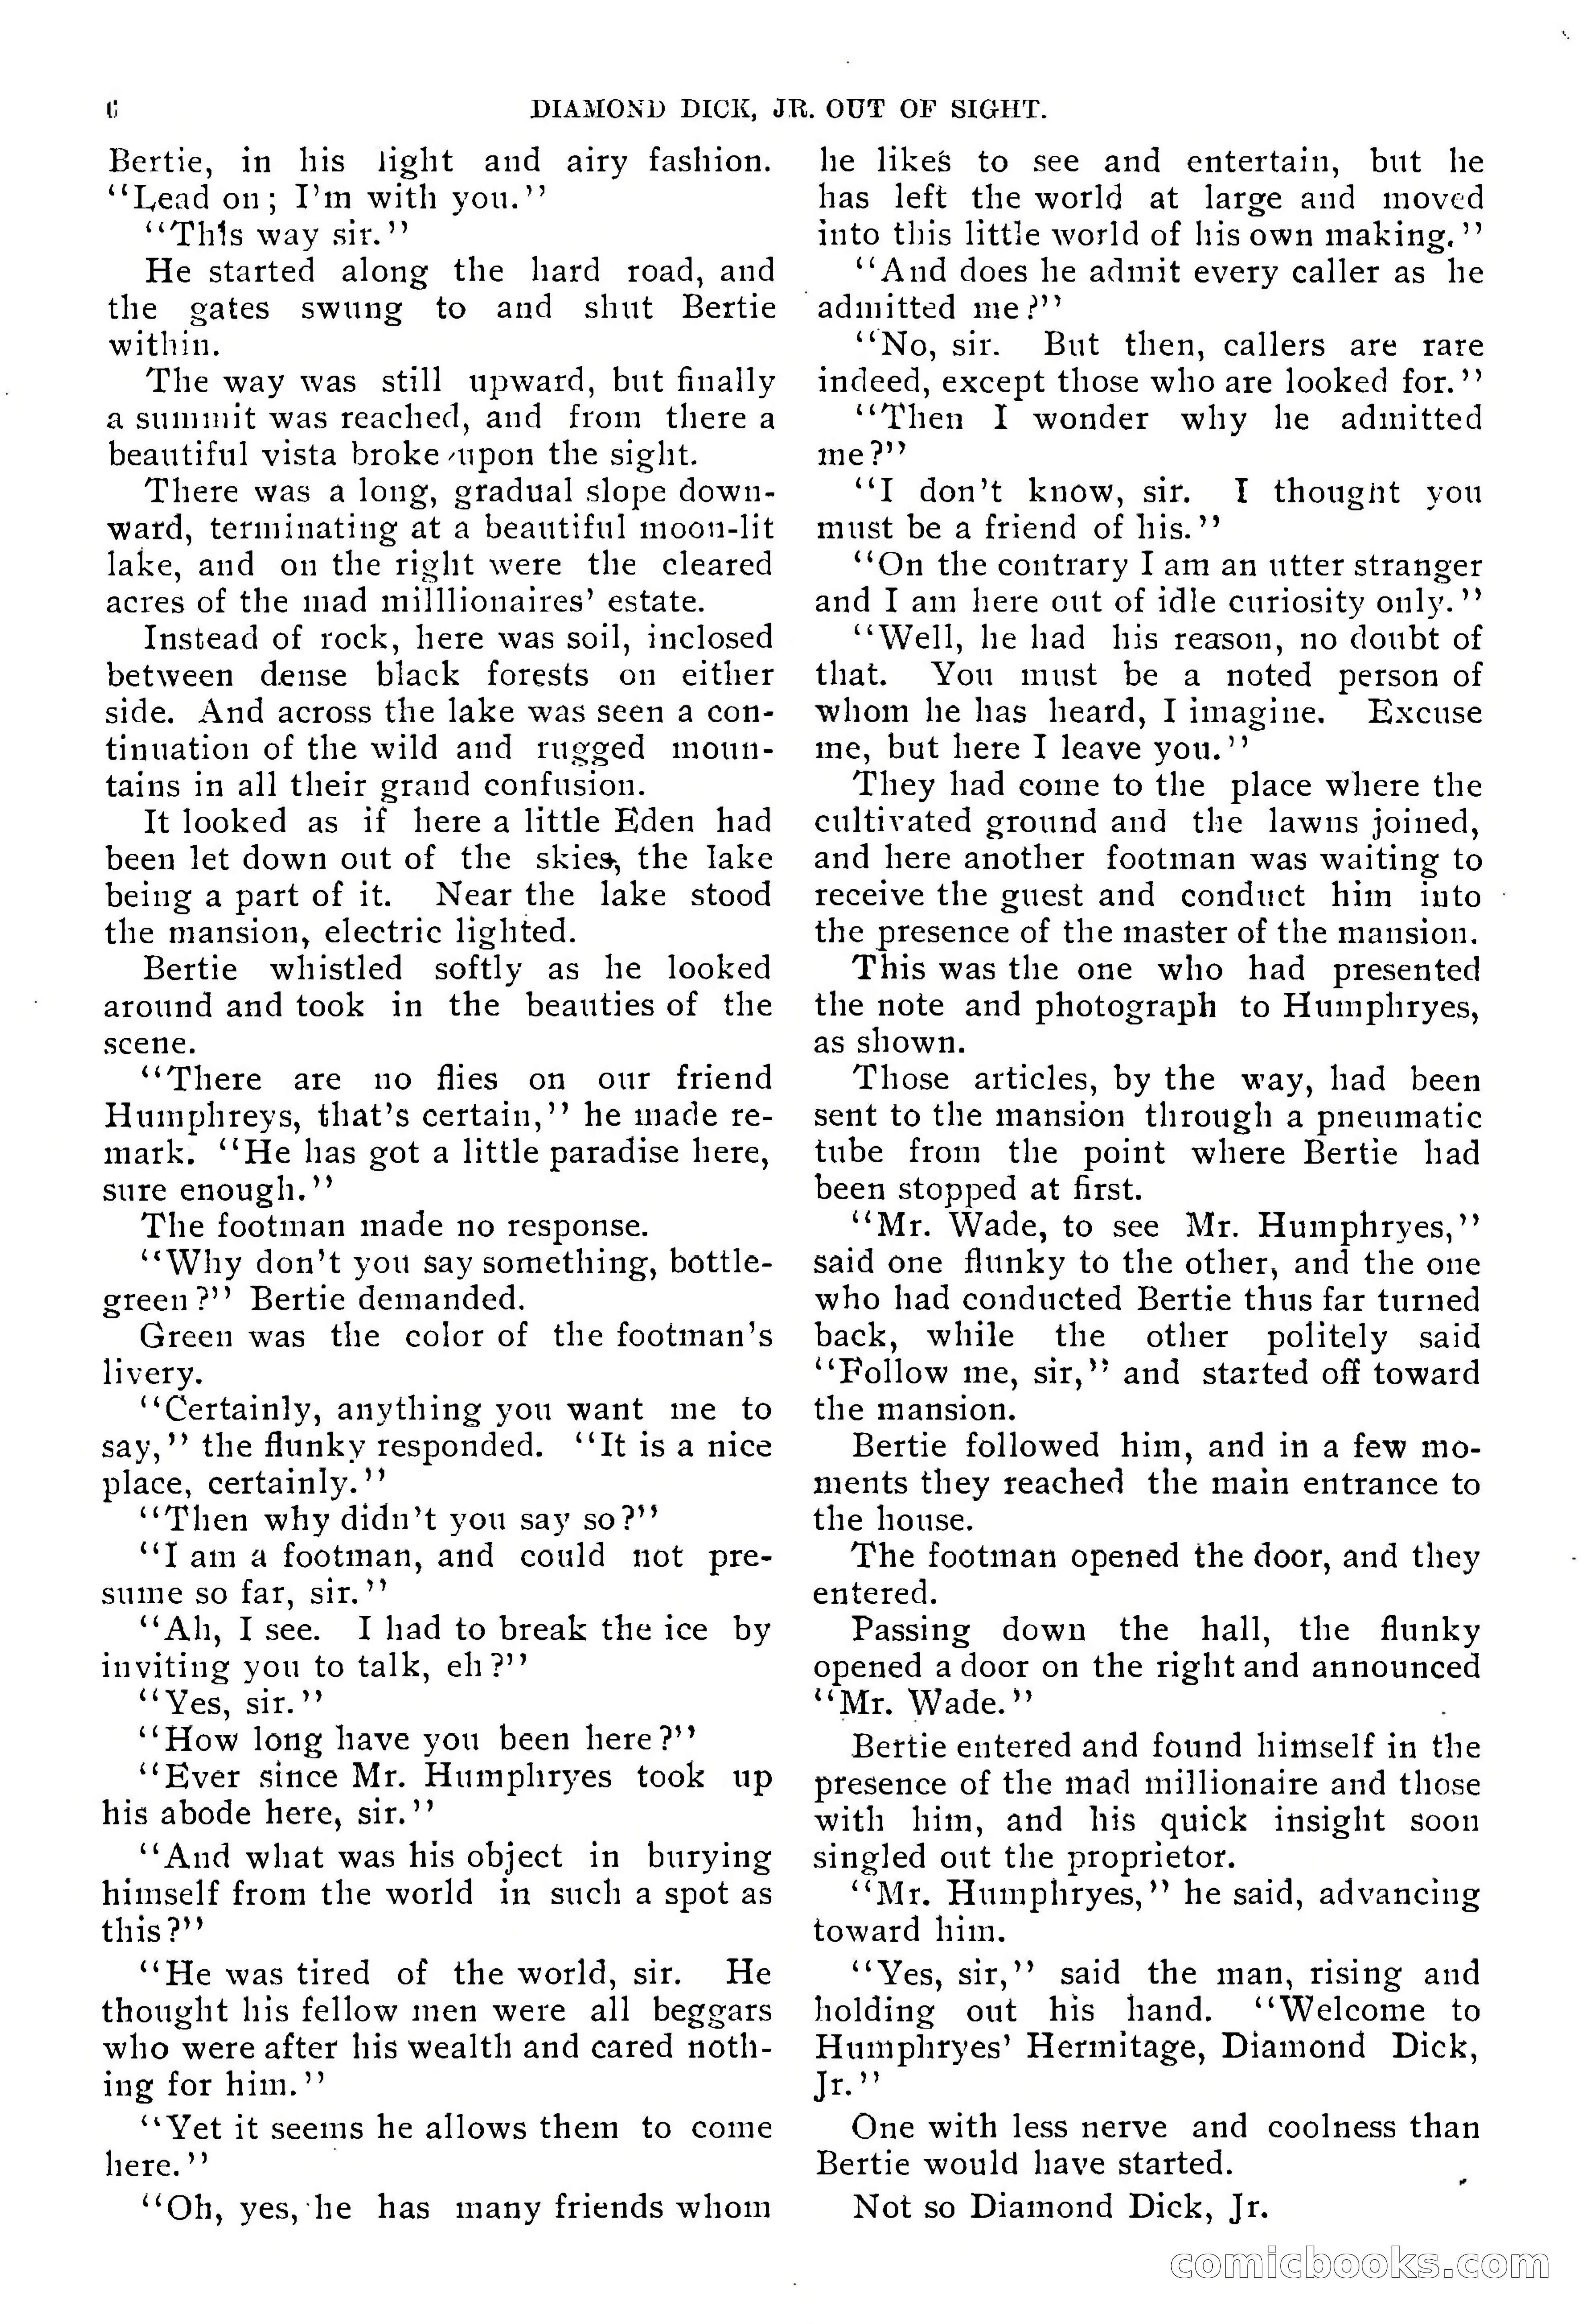
Diamond Dick, Jr.: The Boys' Best Weekly — page 7 of 37
7 / 37
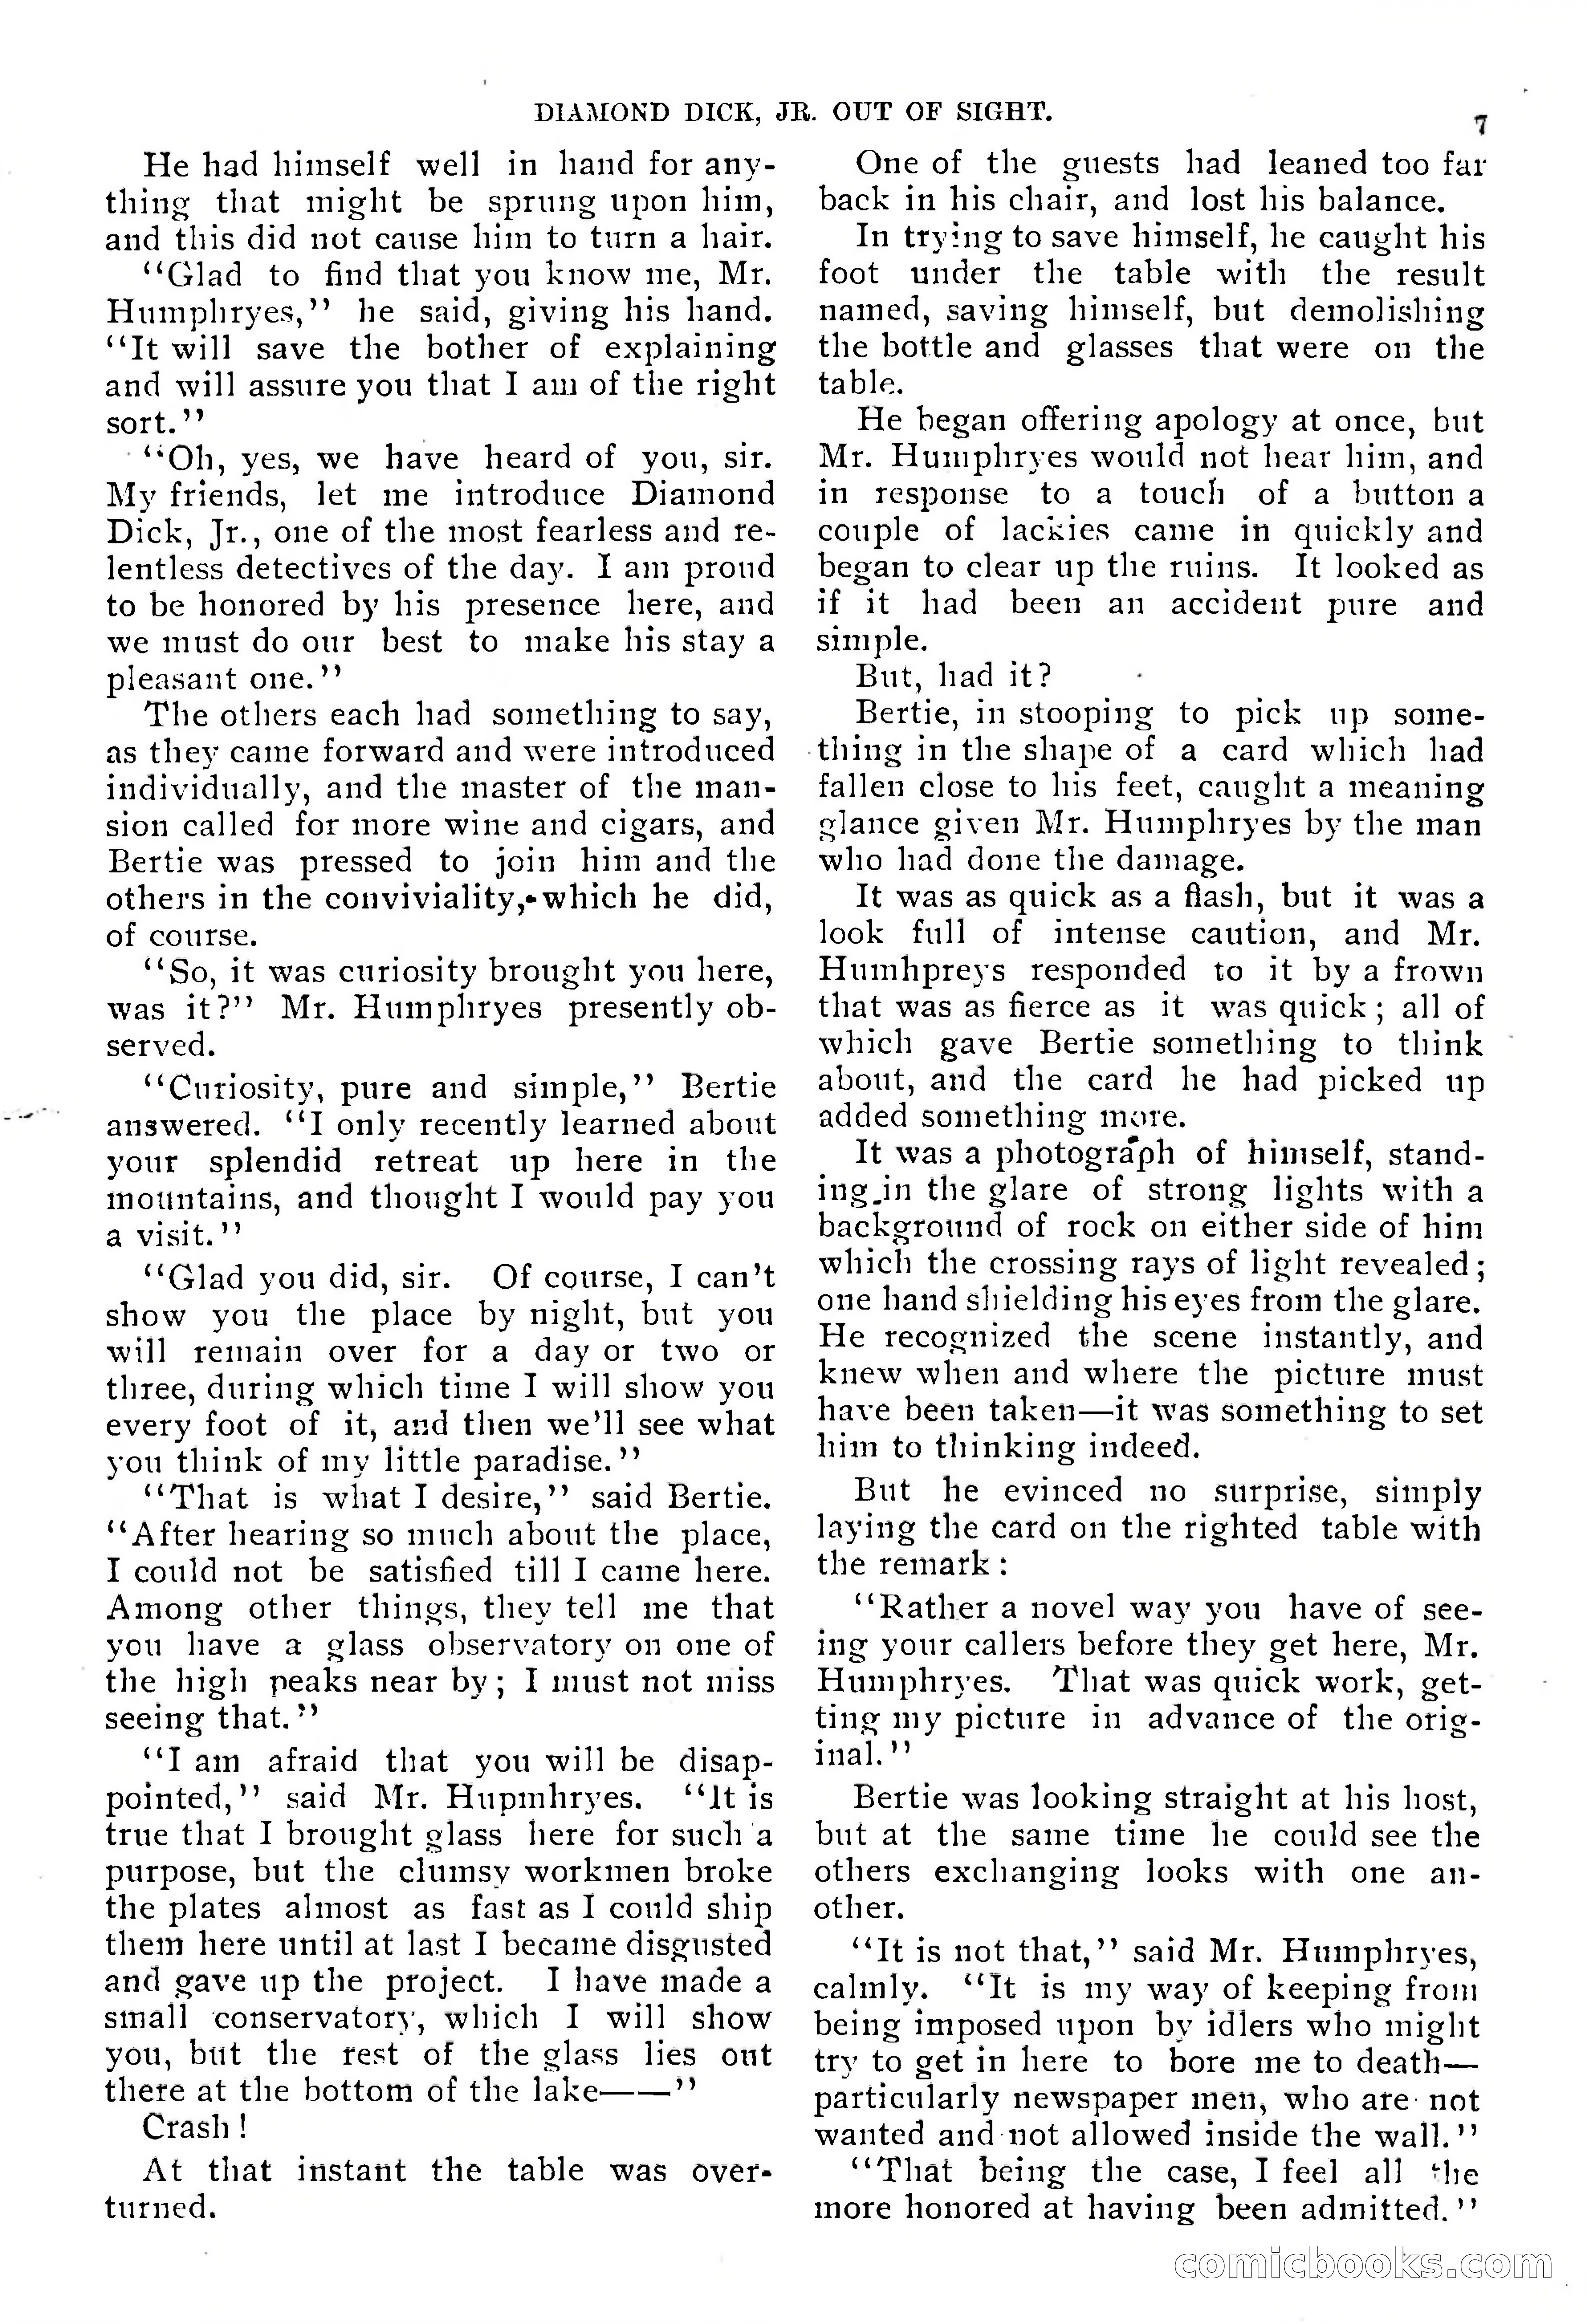
Diamond Dick, Jr.: The Boys' Best Weekly — page 8 of 37
8 / 37
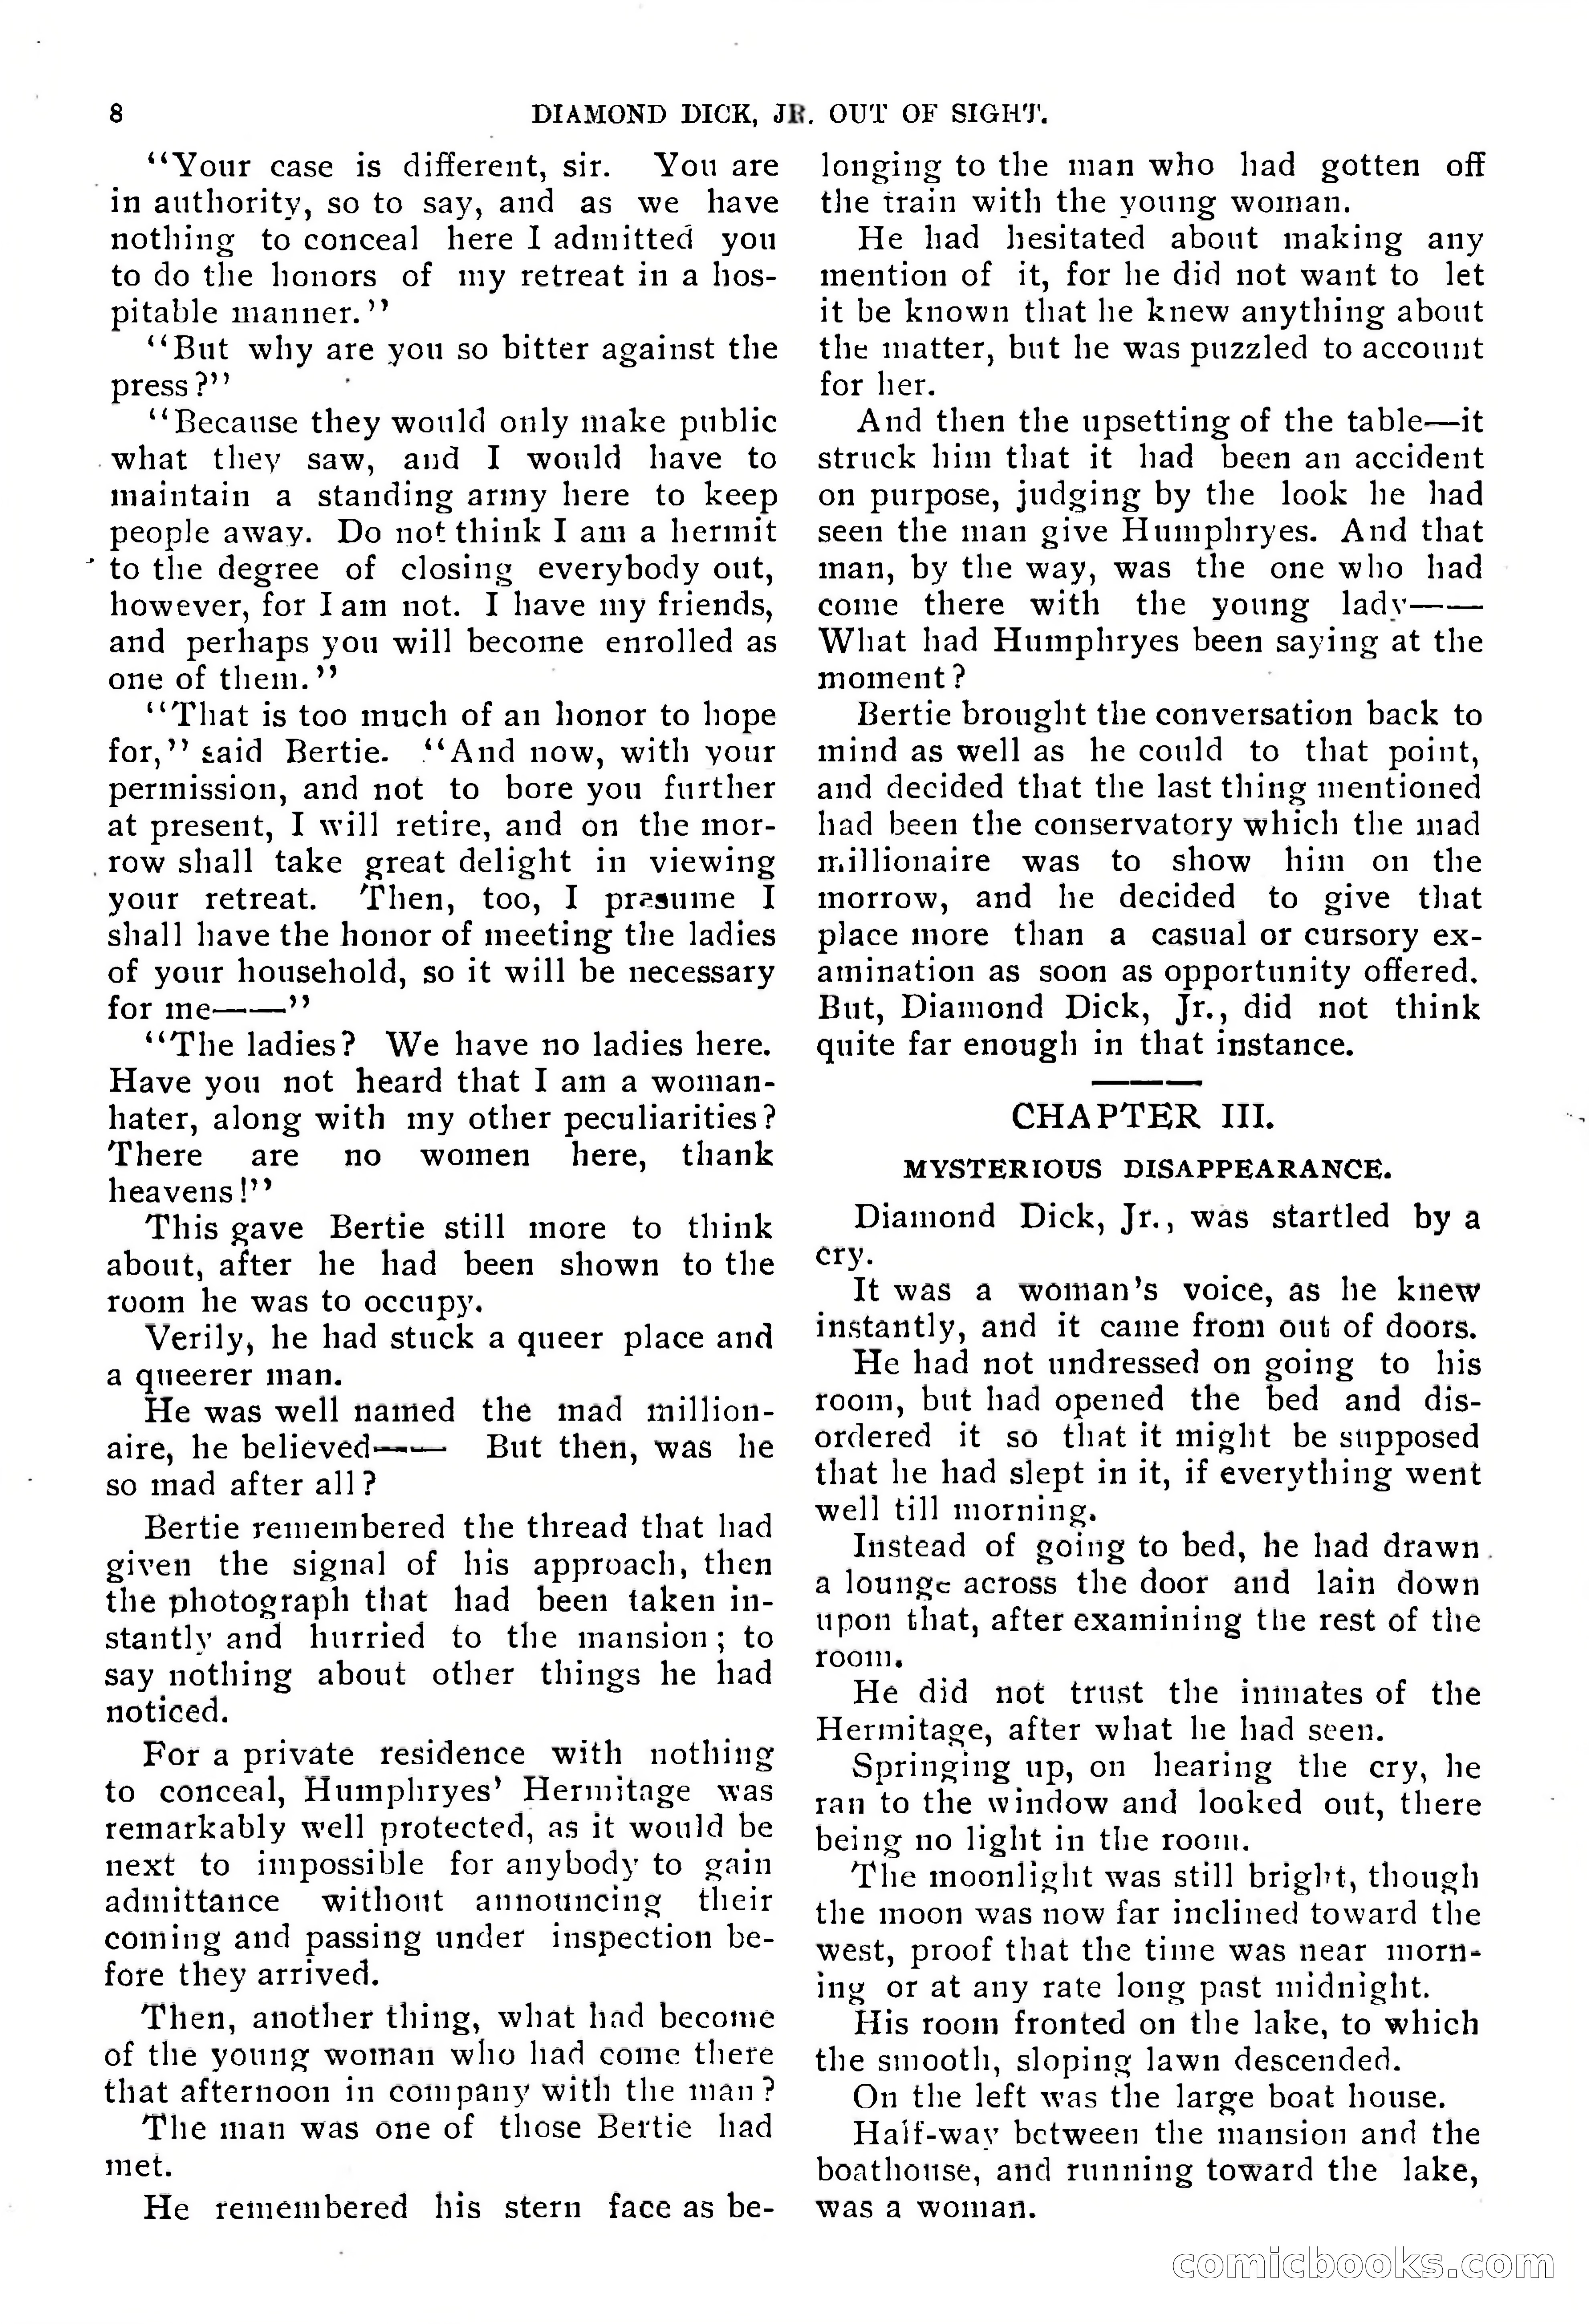
Diamond Dick, Jr.: The Boys' Best Weekly — page 9 of 37
9 / 37
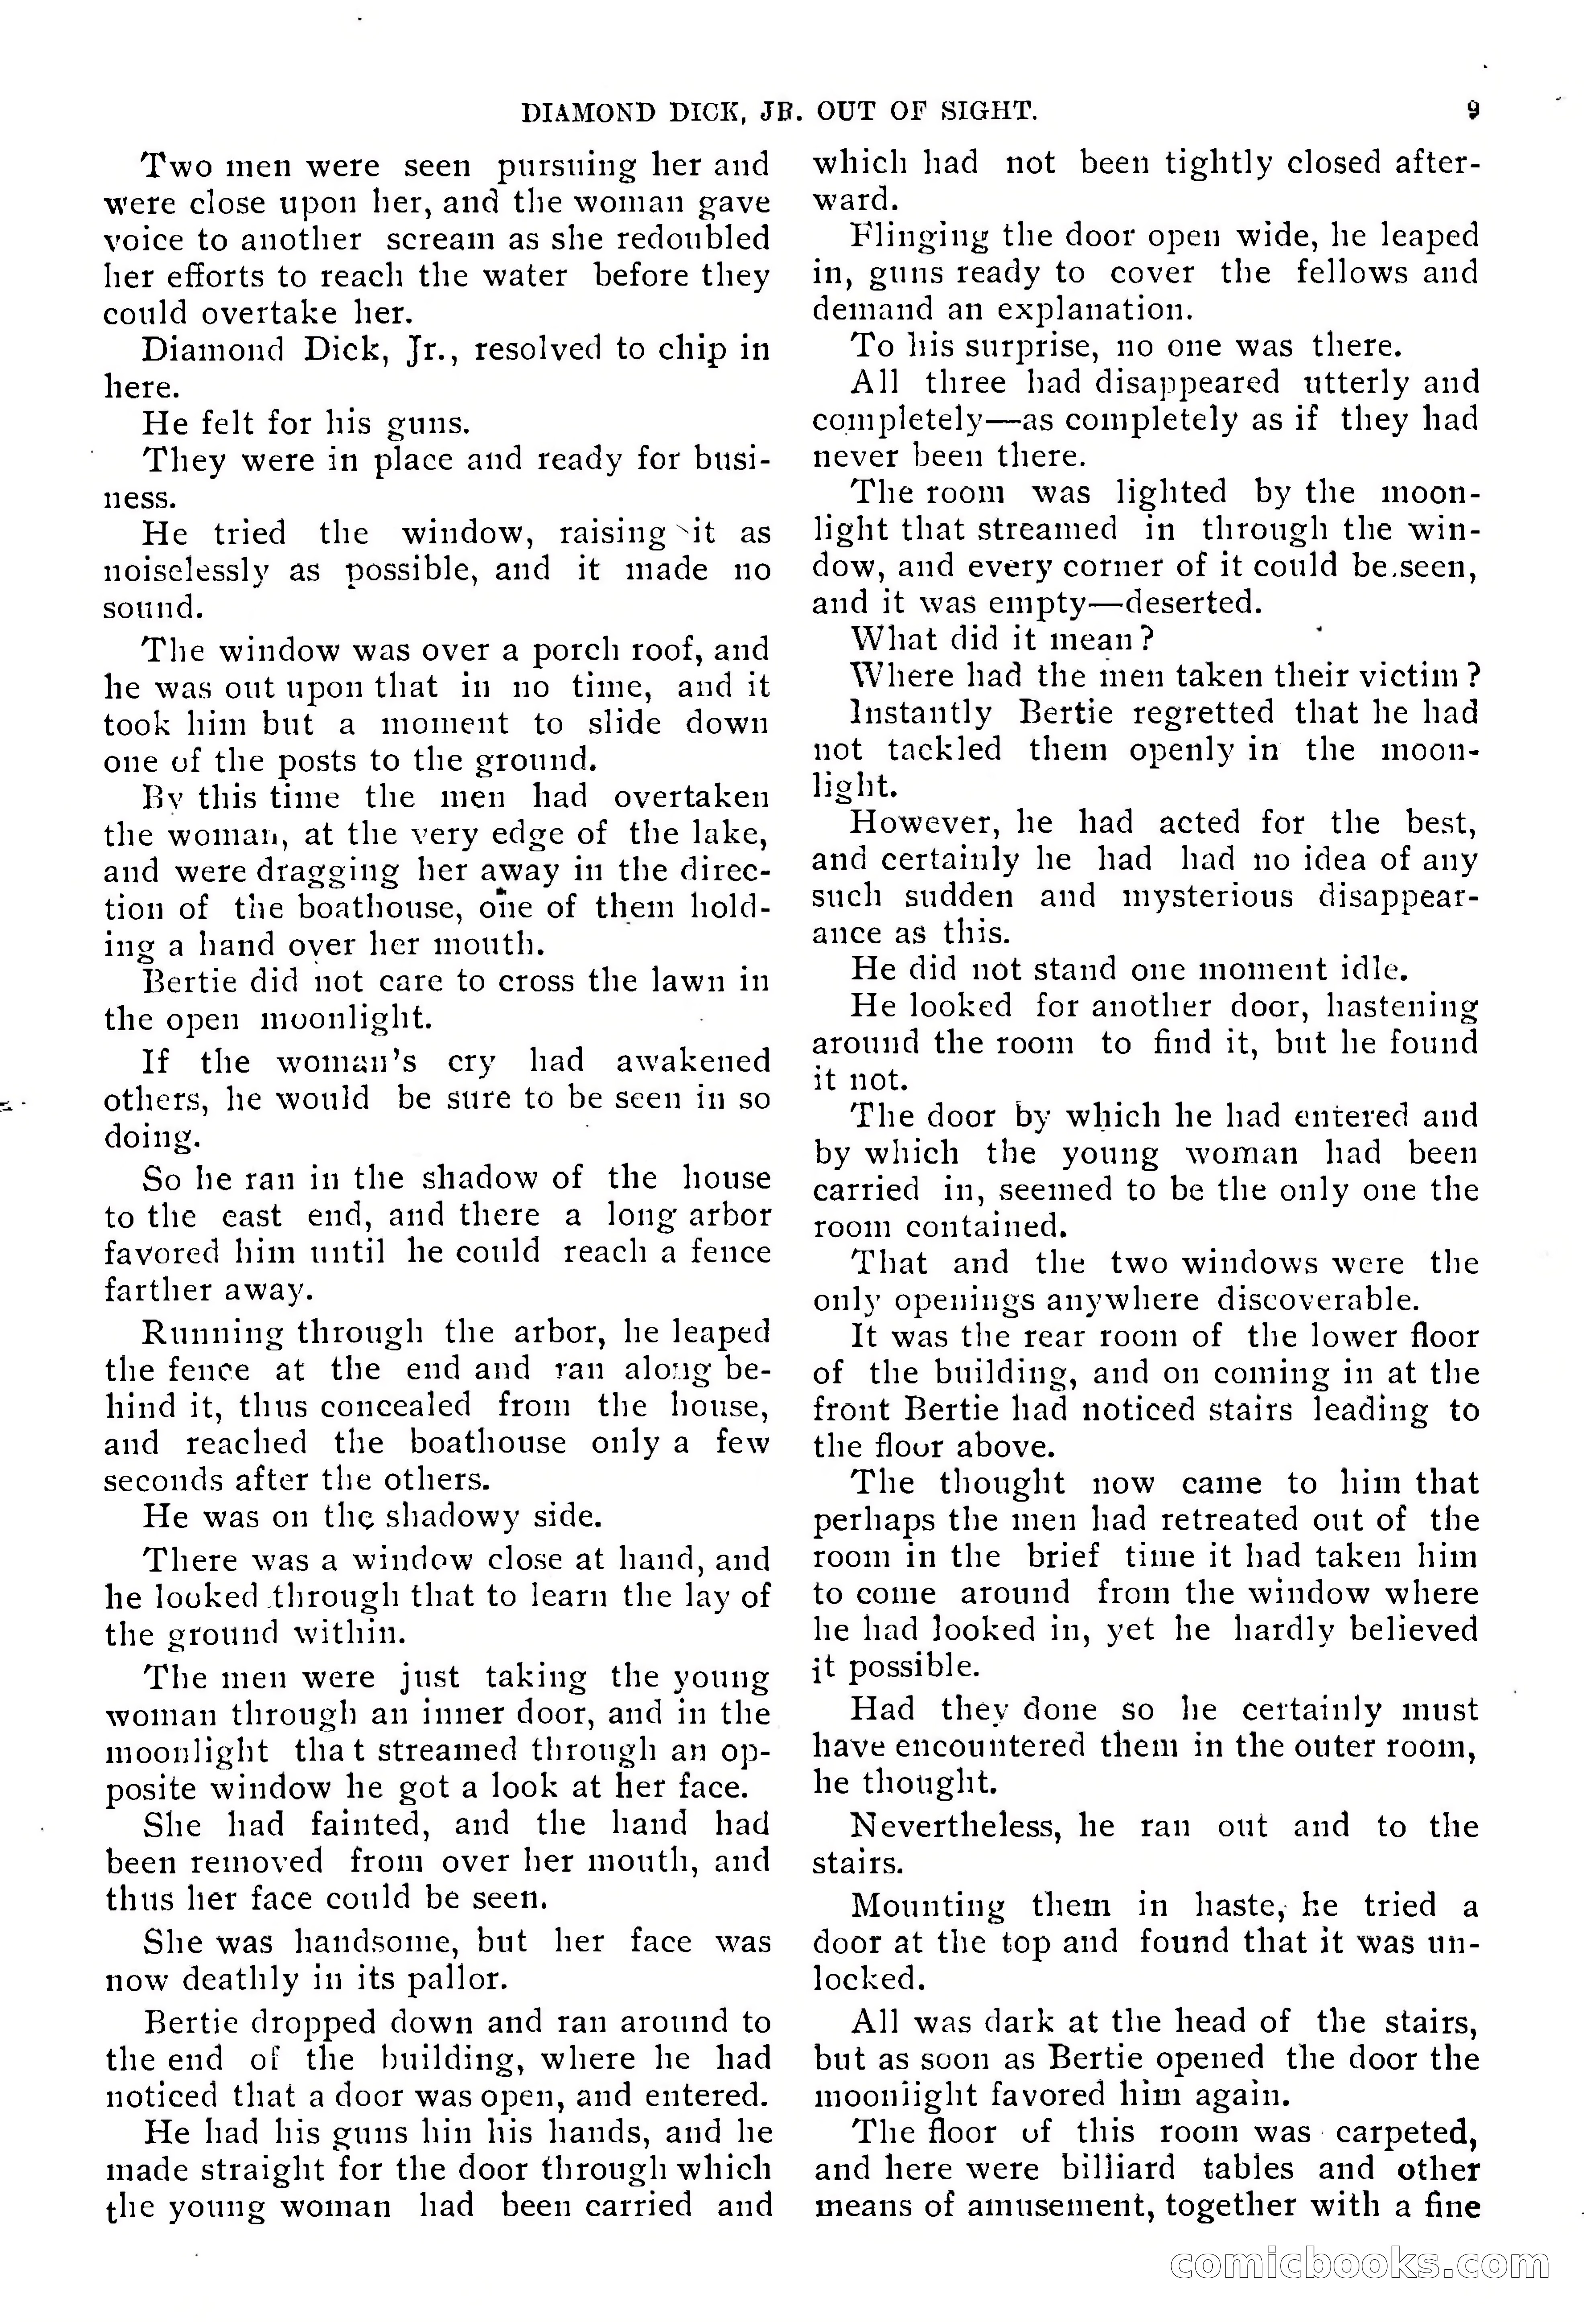
Diamond Dick, Jr.: The Boys' Best Weekly — page 10 of 37
10 / 37
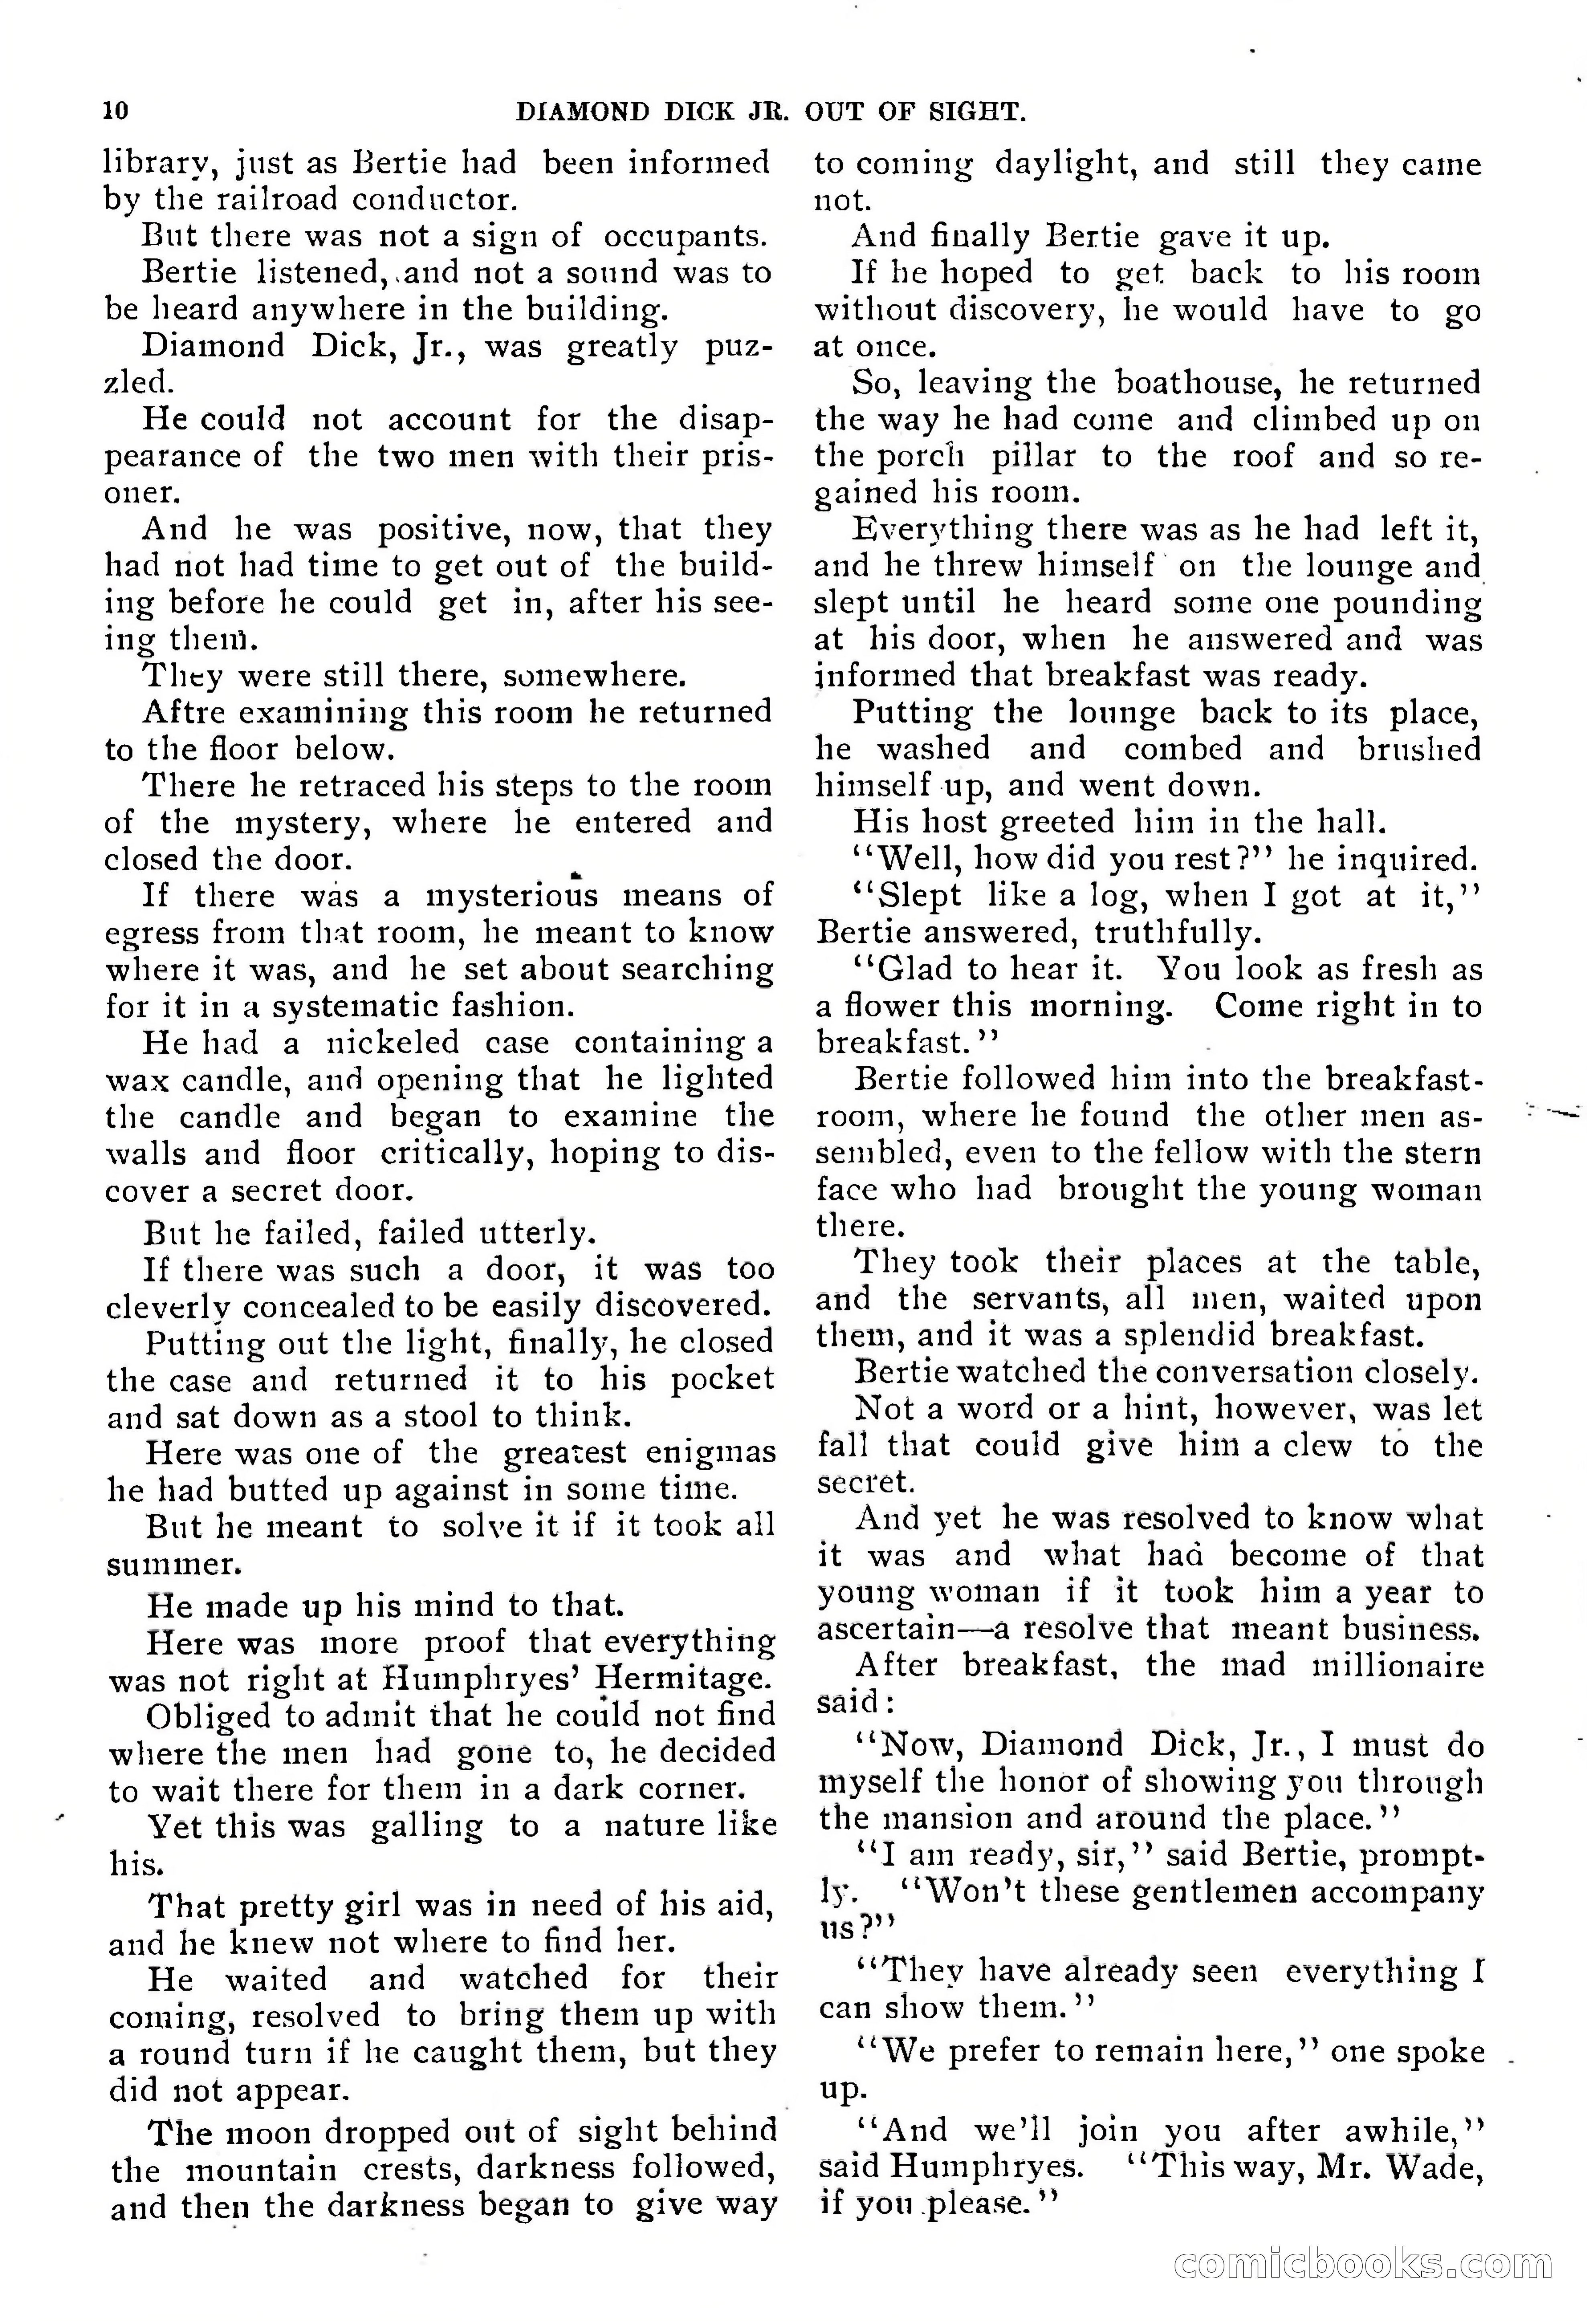
Diamond Dick, Jr.: The Boys' Best Weekly — page 11 of 37
11 / 37
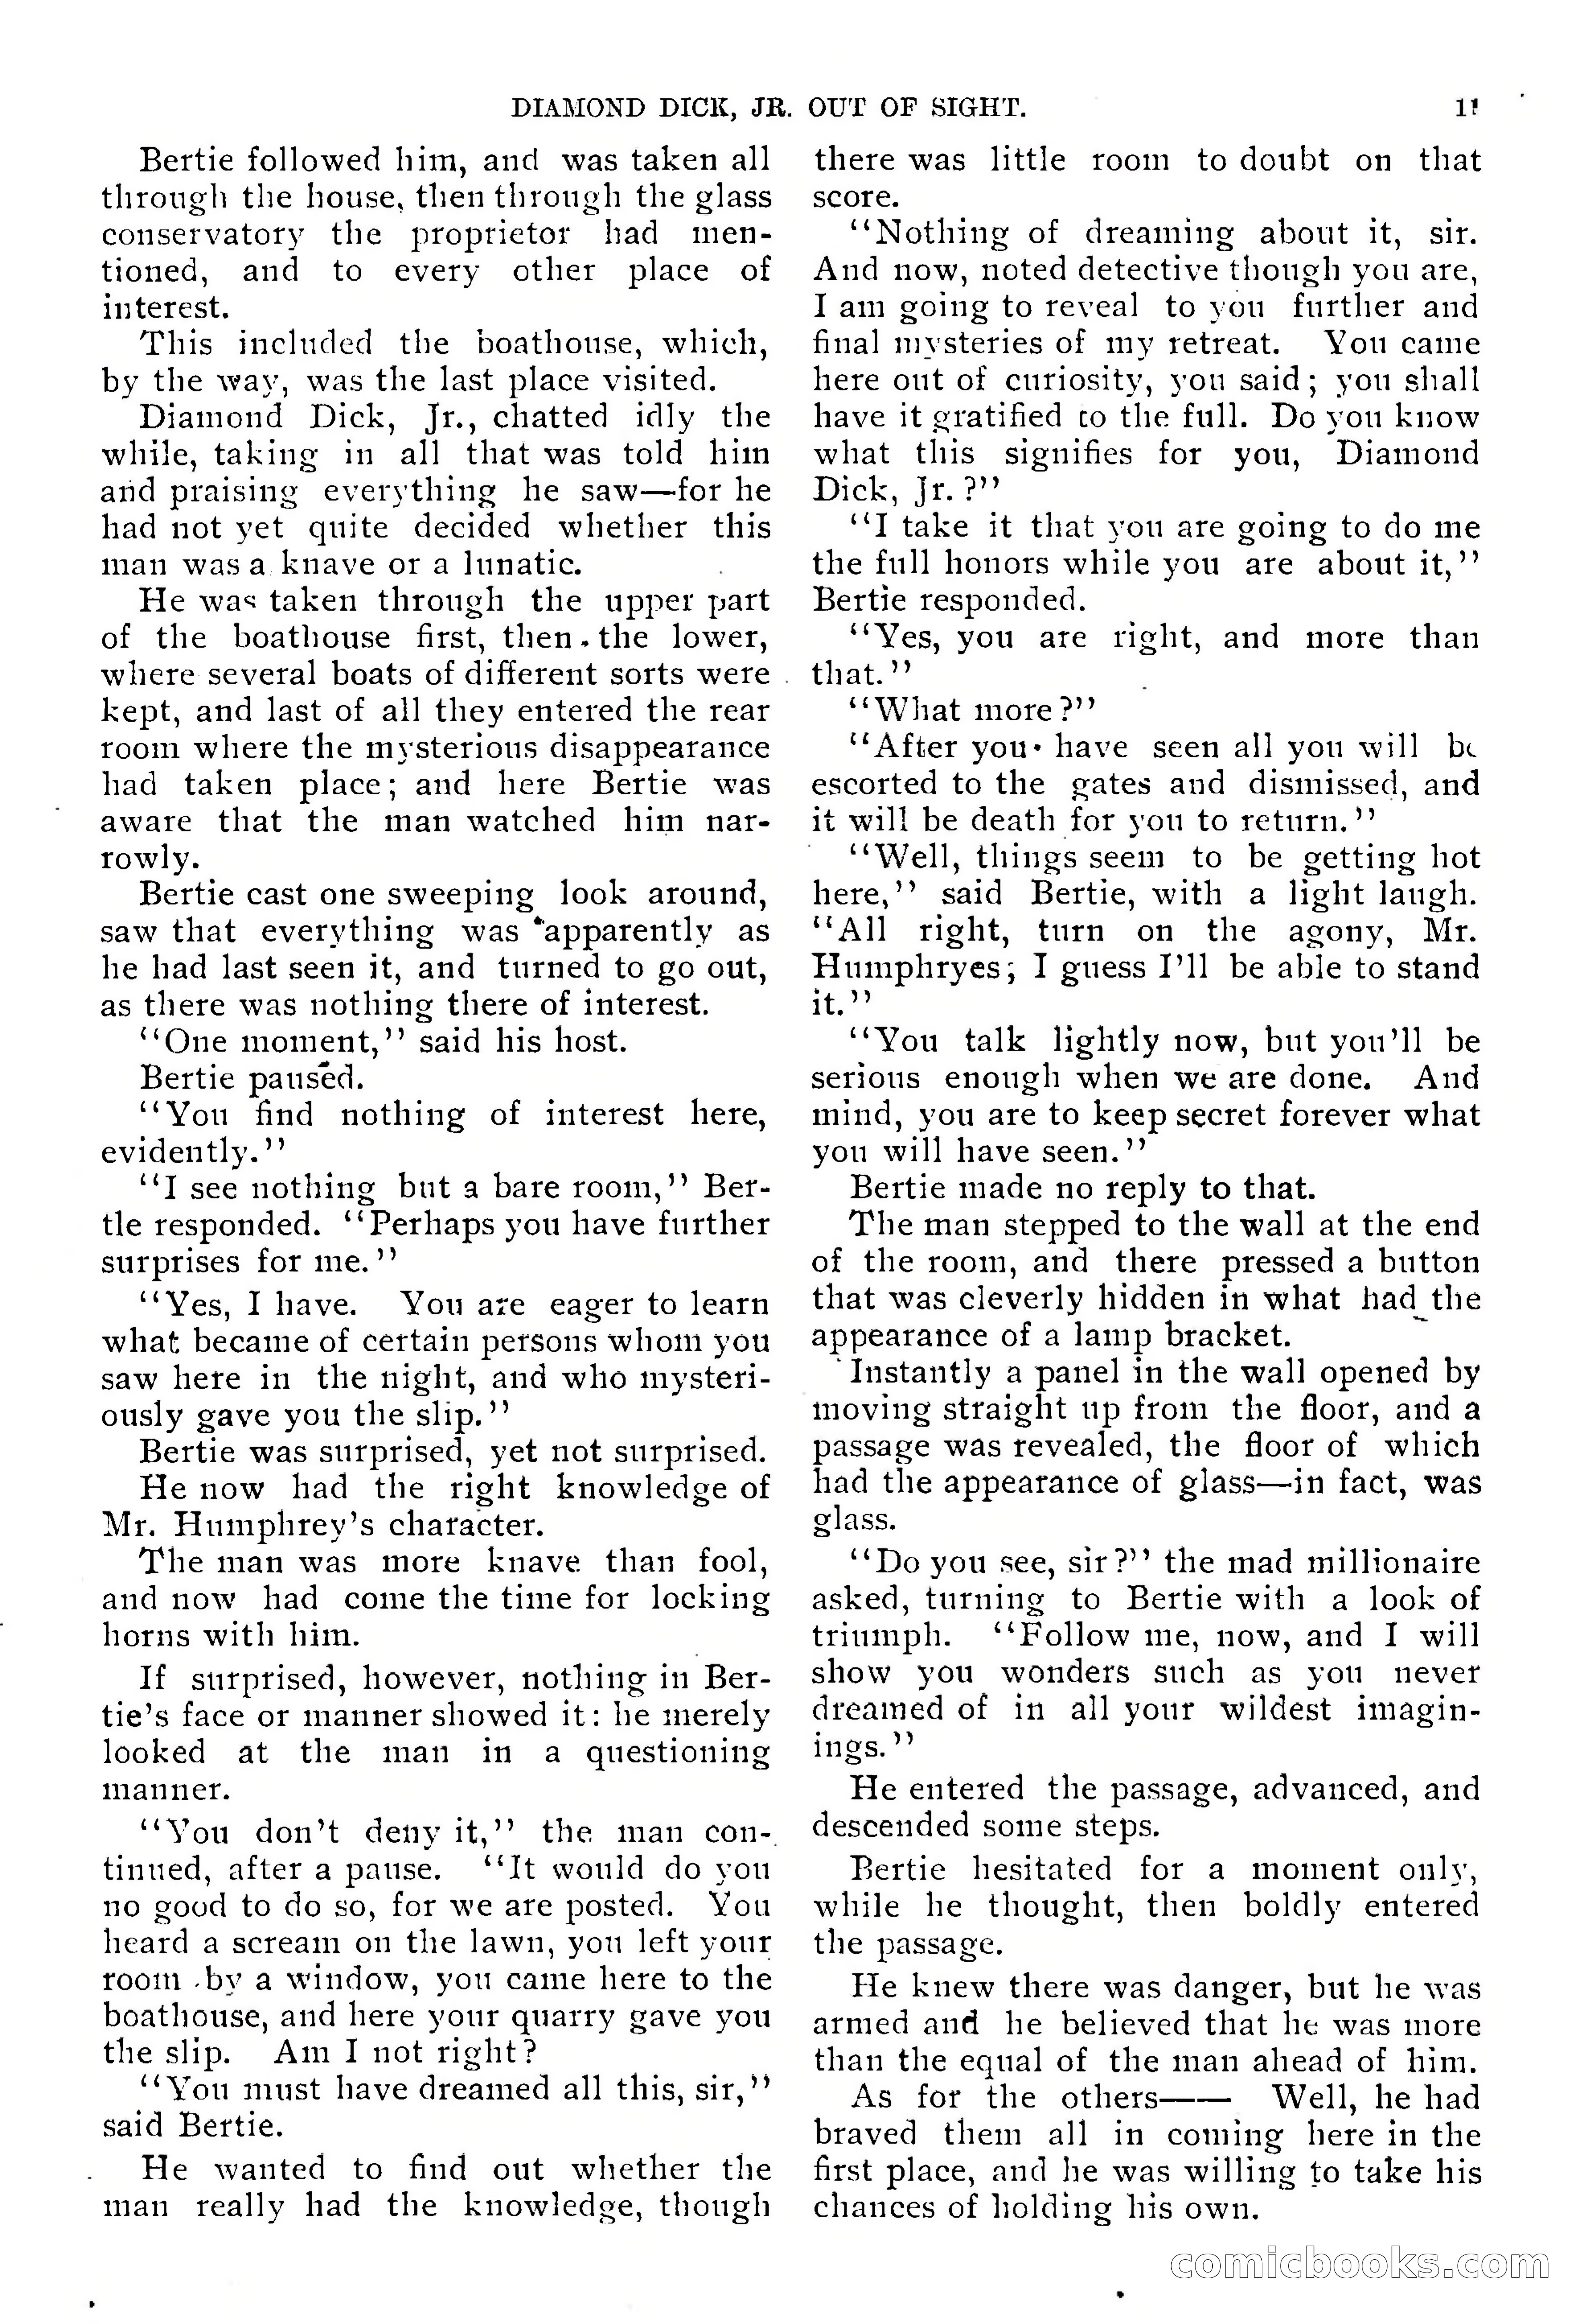
Diamond Dick, Jr.: The Boys' Best Weekly — page 12 of 37
12 / 37
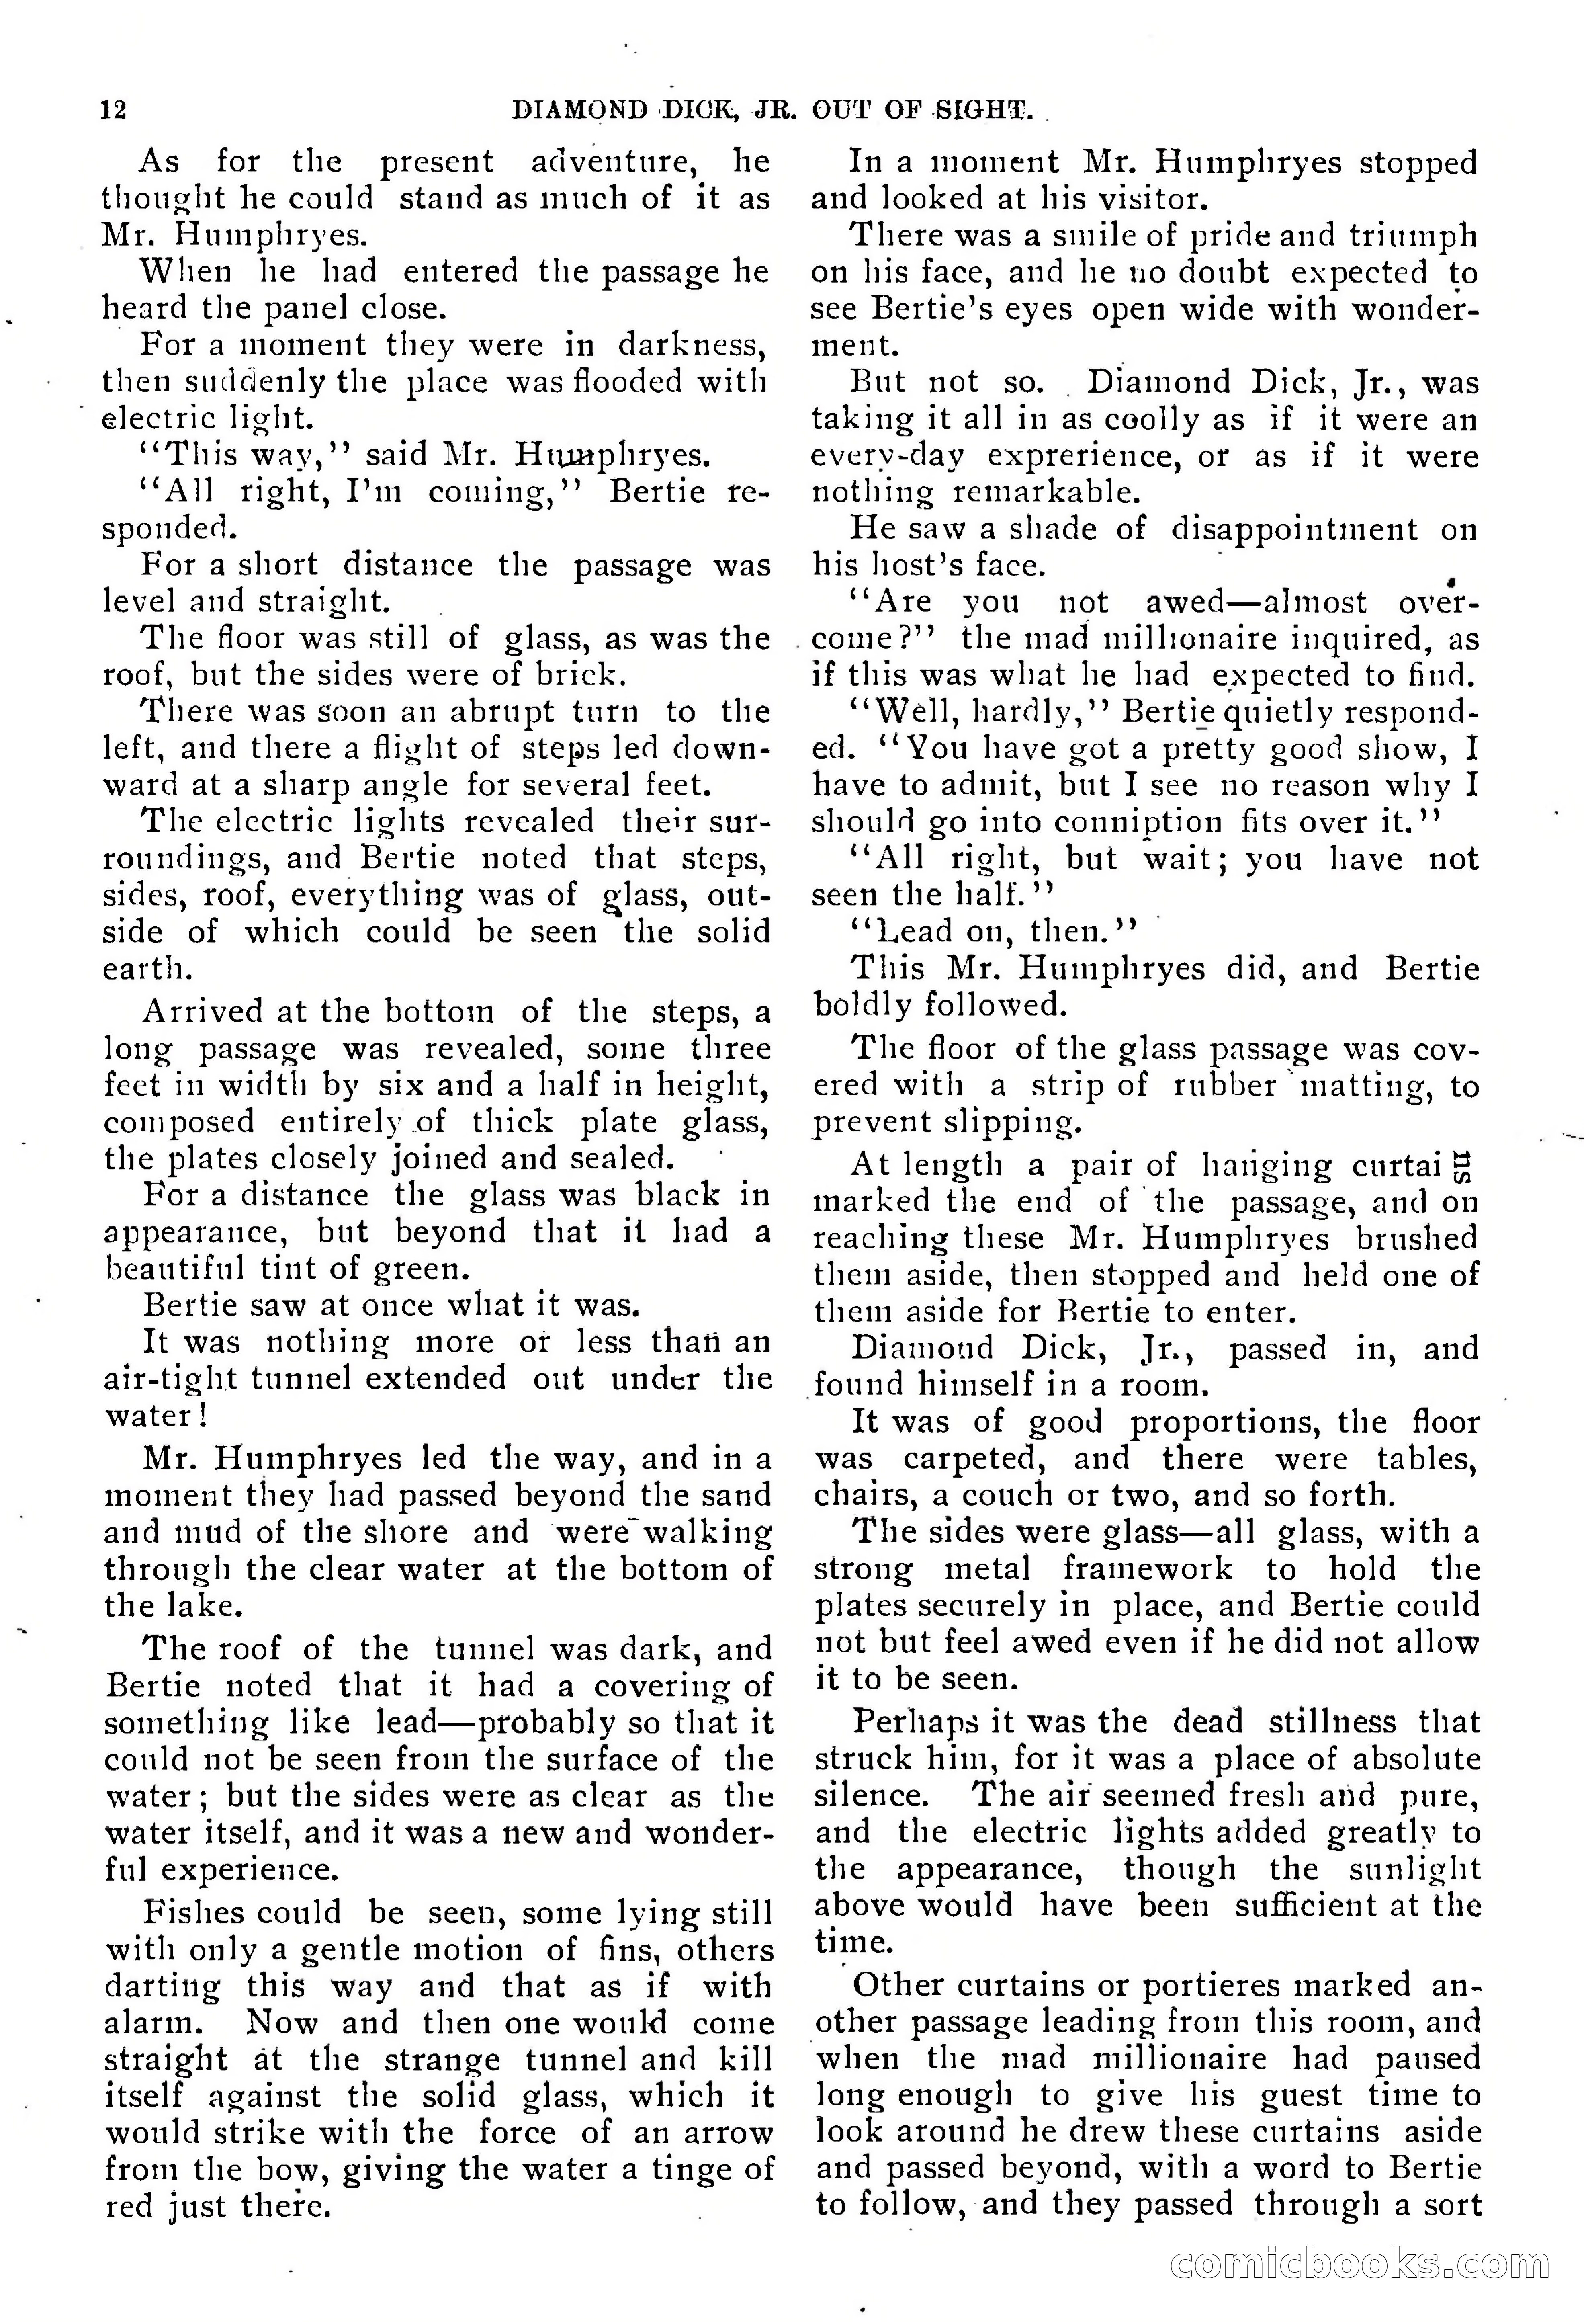
Diamond Dick, Jr.: The Boys' Best Weekly — page 13 of 37
13 / 37
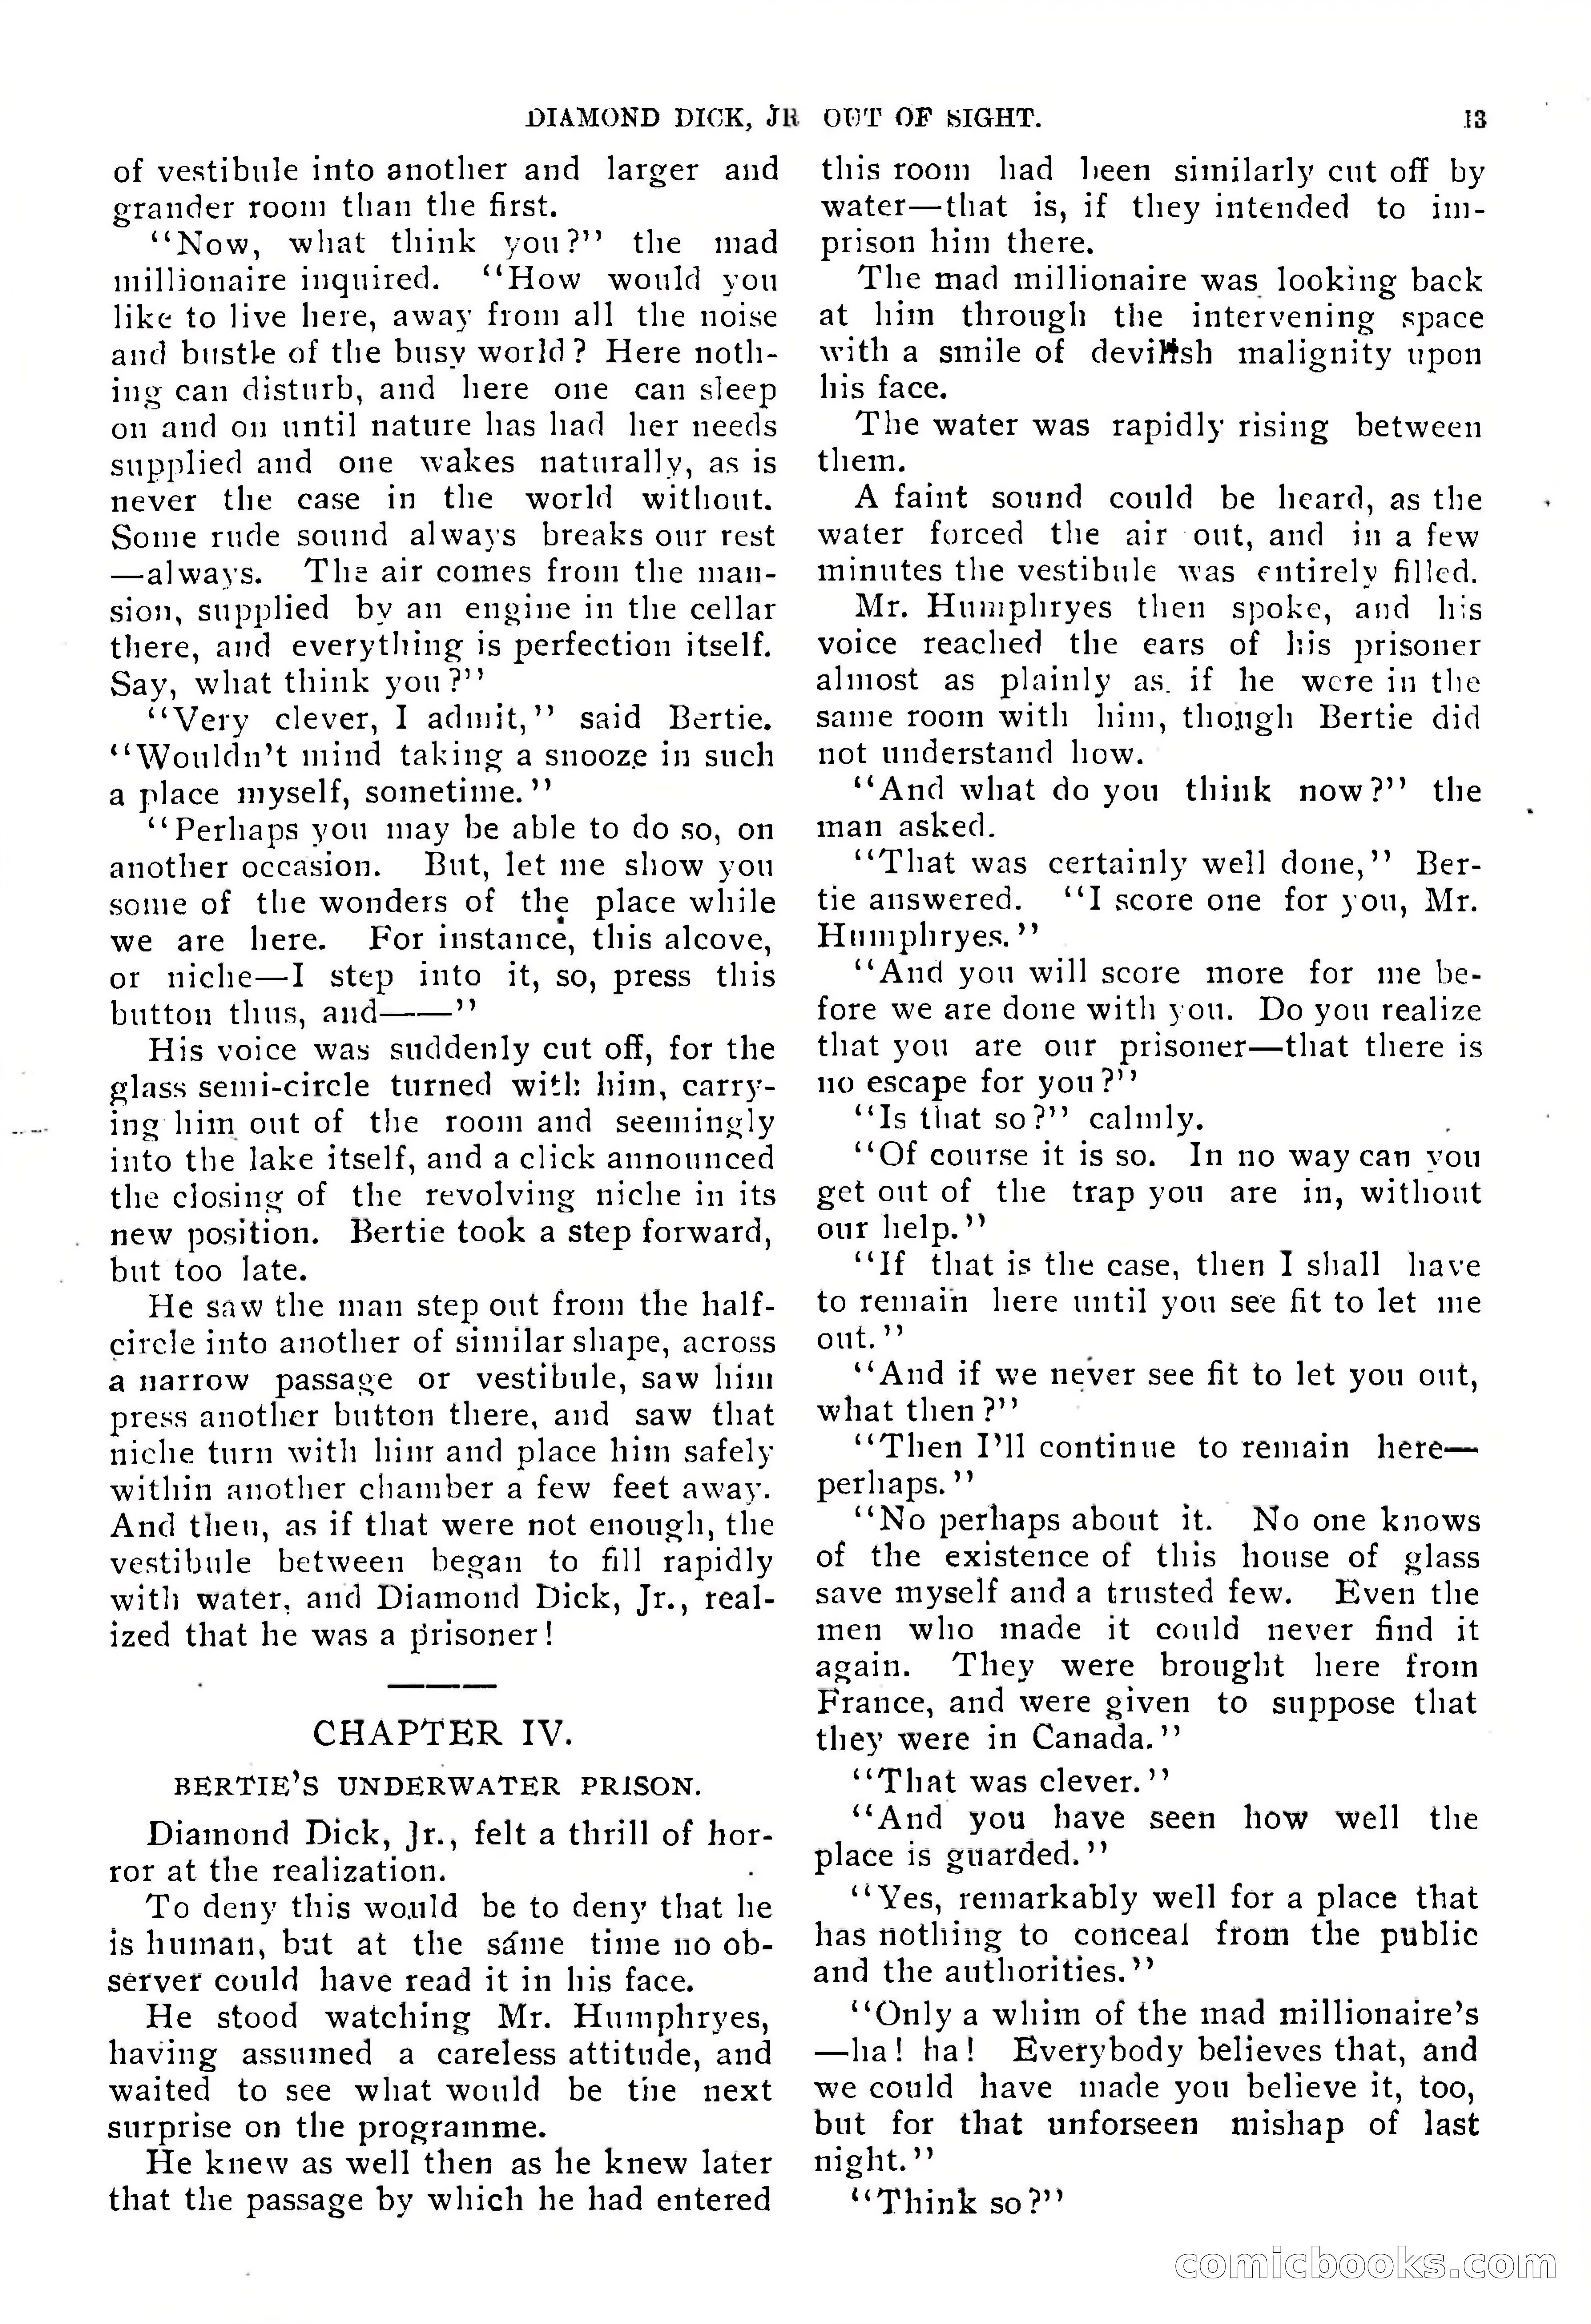
Diamond Dick, Jr.: The Boys' Best Weekly — page 14 of 37
14 / 37
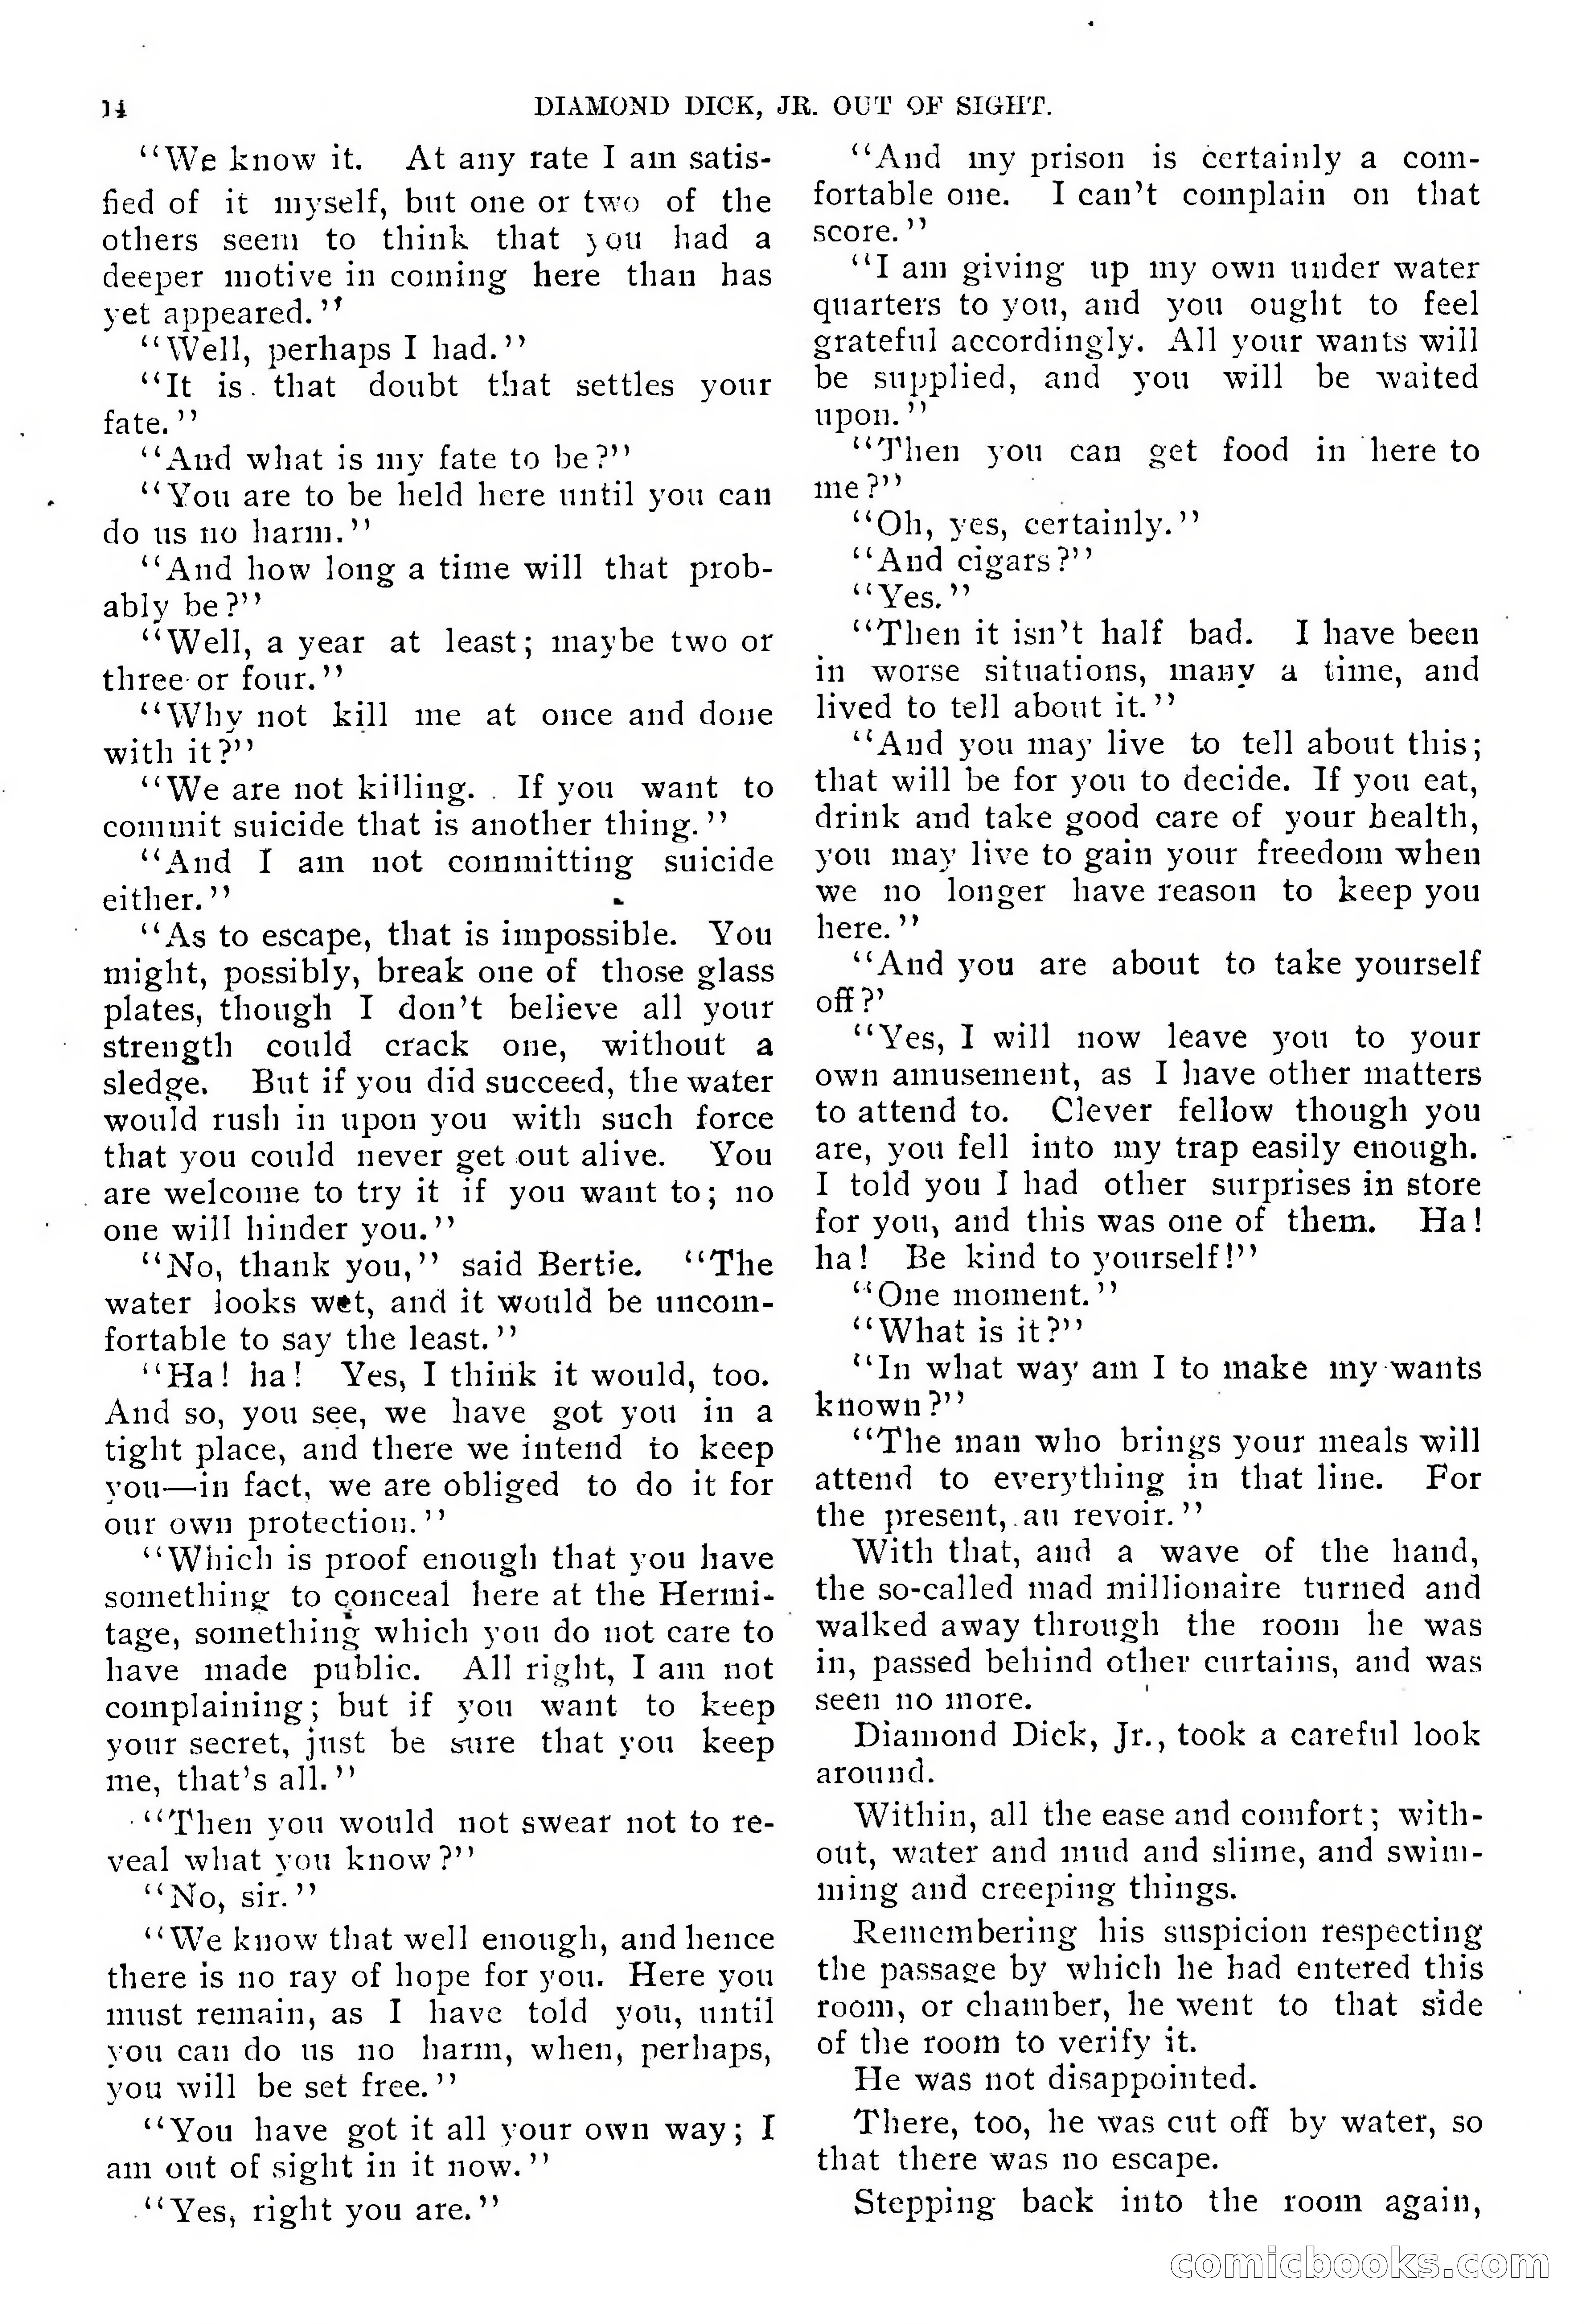
Diamond Dick, Jr.: The Boys' Best Weekly — page 15 of 37
15 / 37
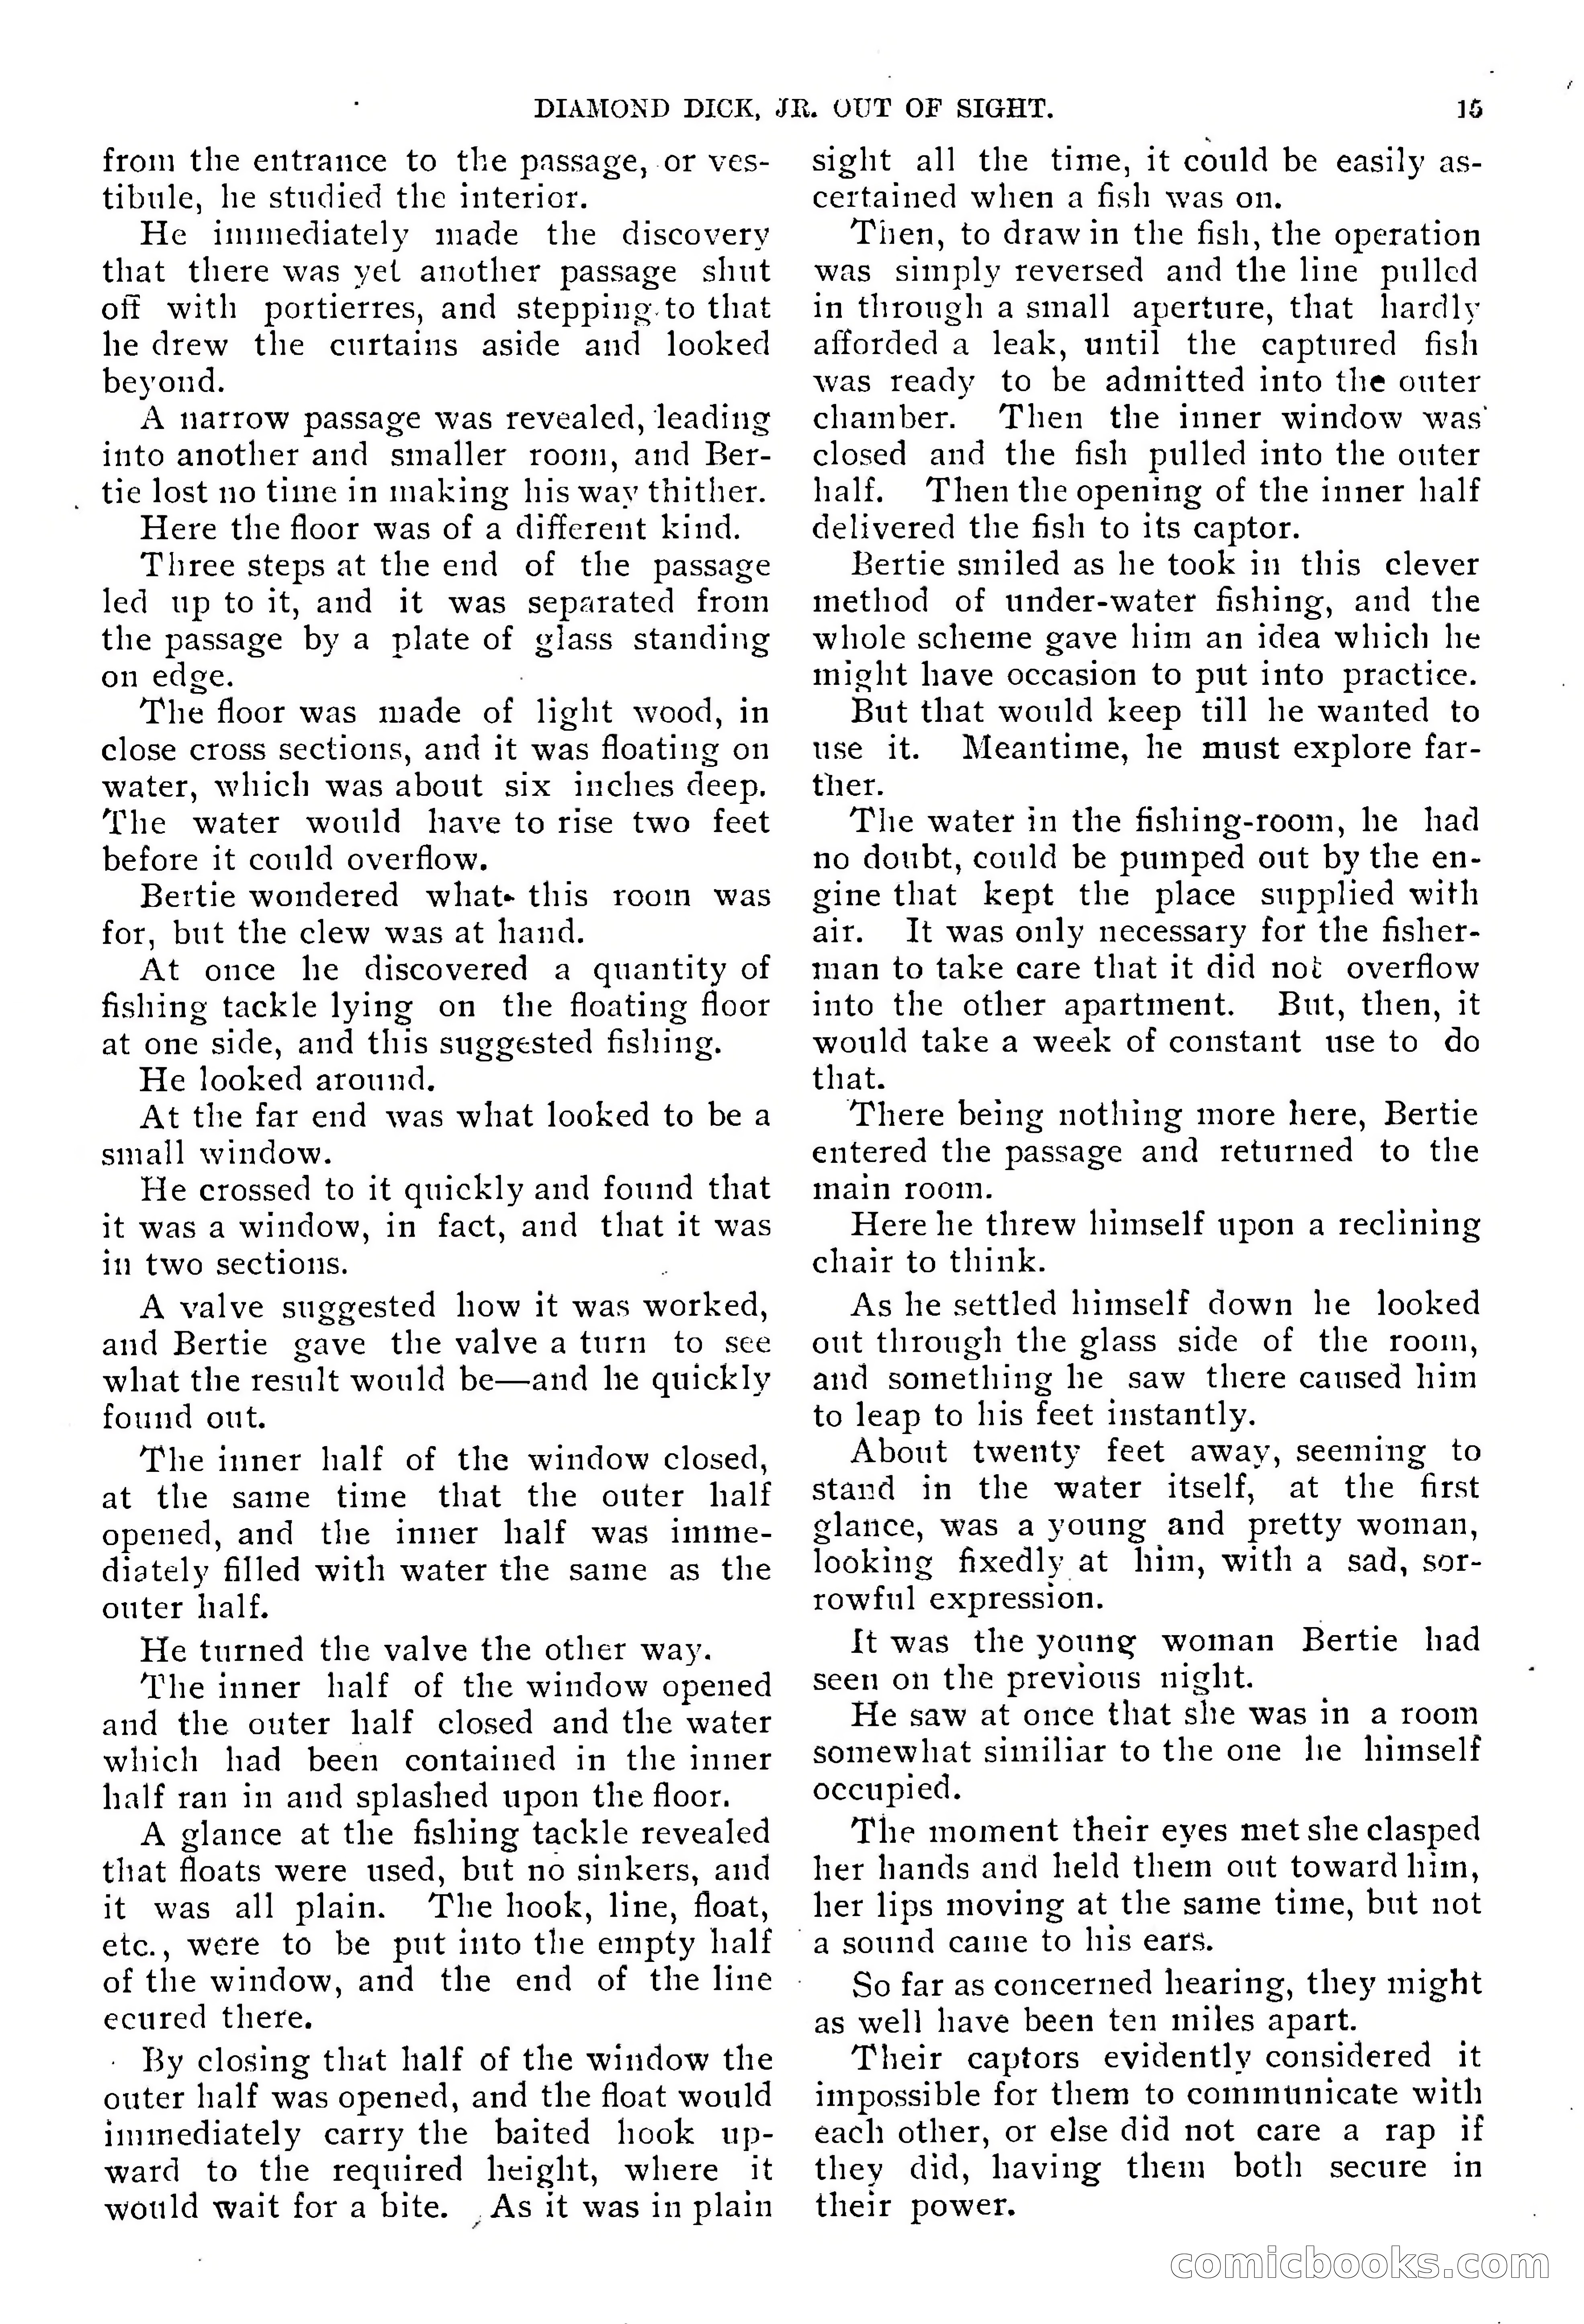
Diamond Dick, Jr.: The Boys' Best Weekly — page 16 of 37
16 / 37
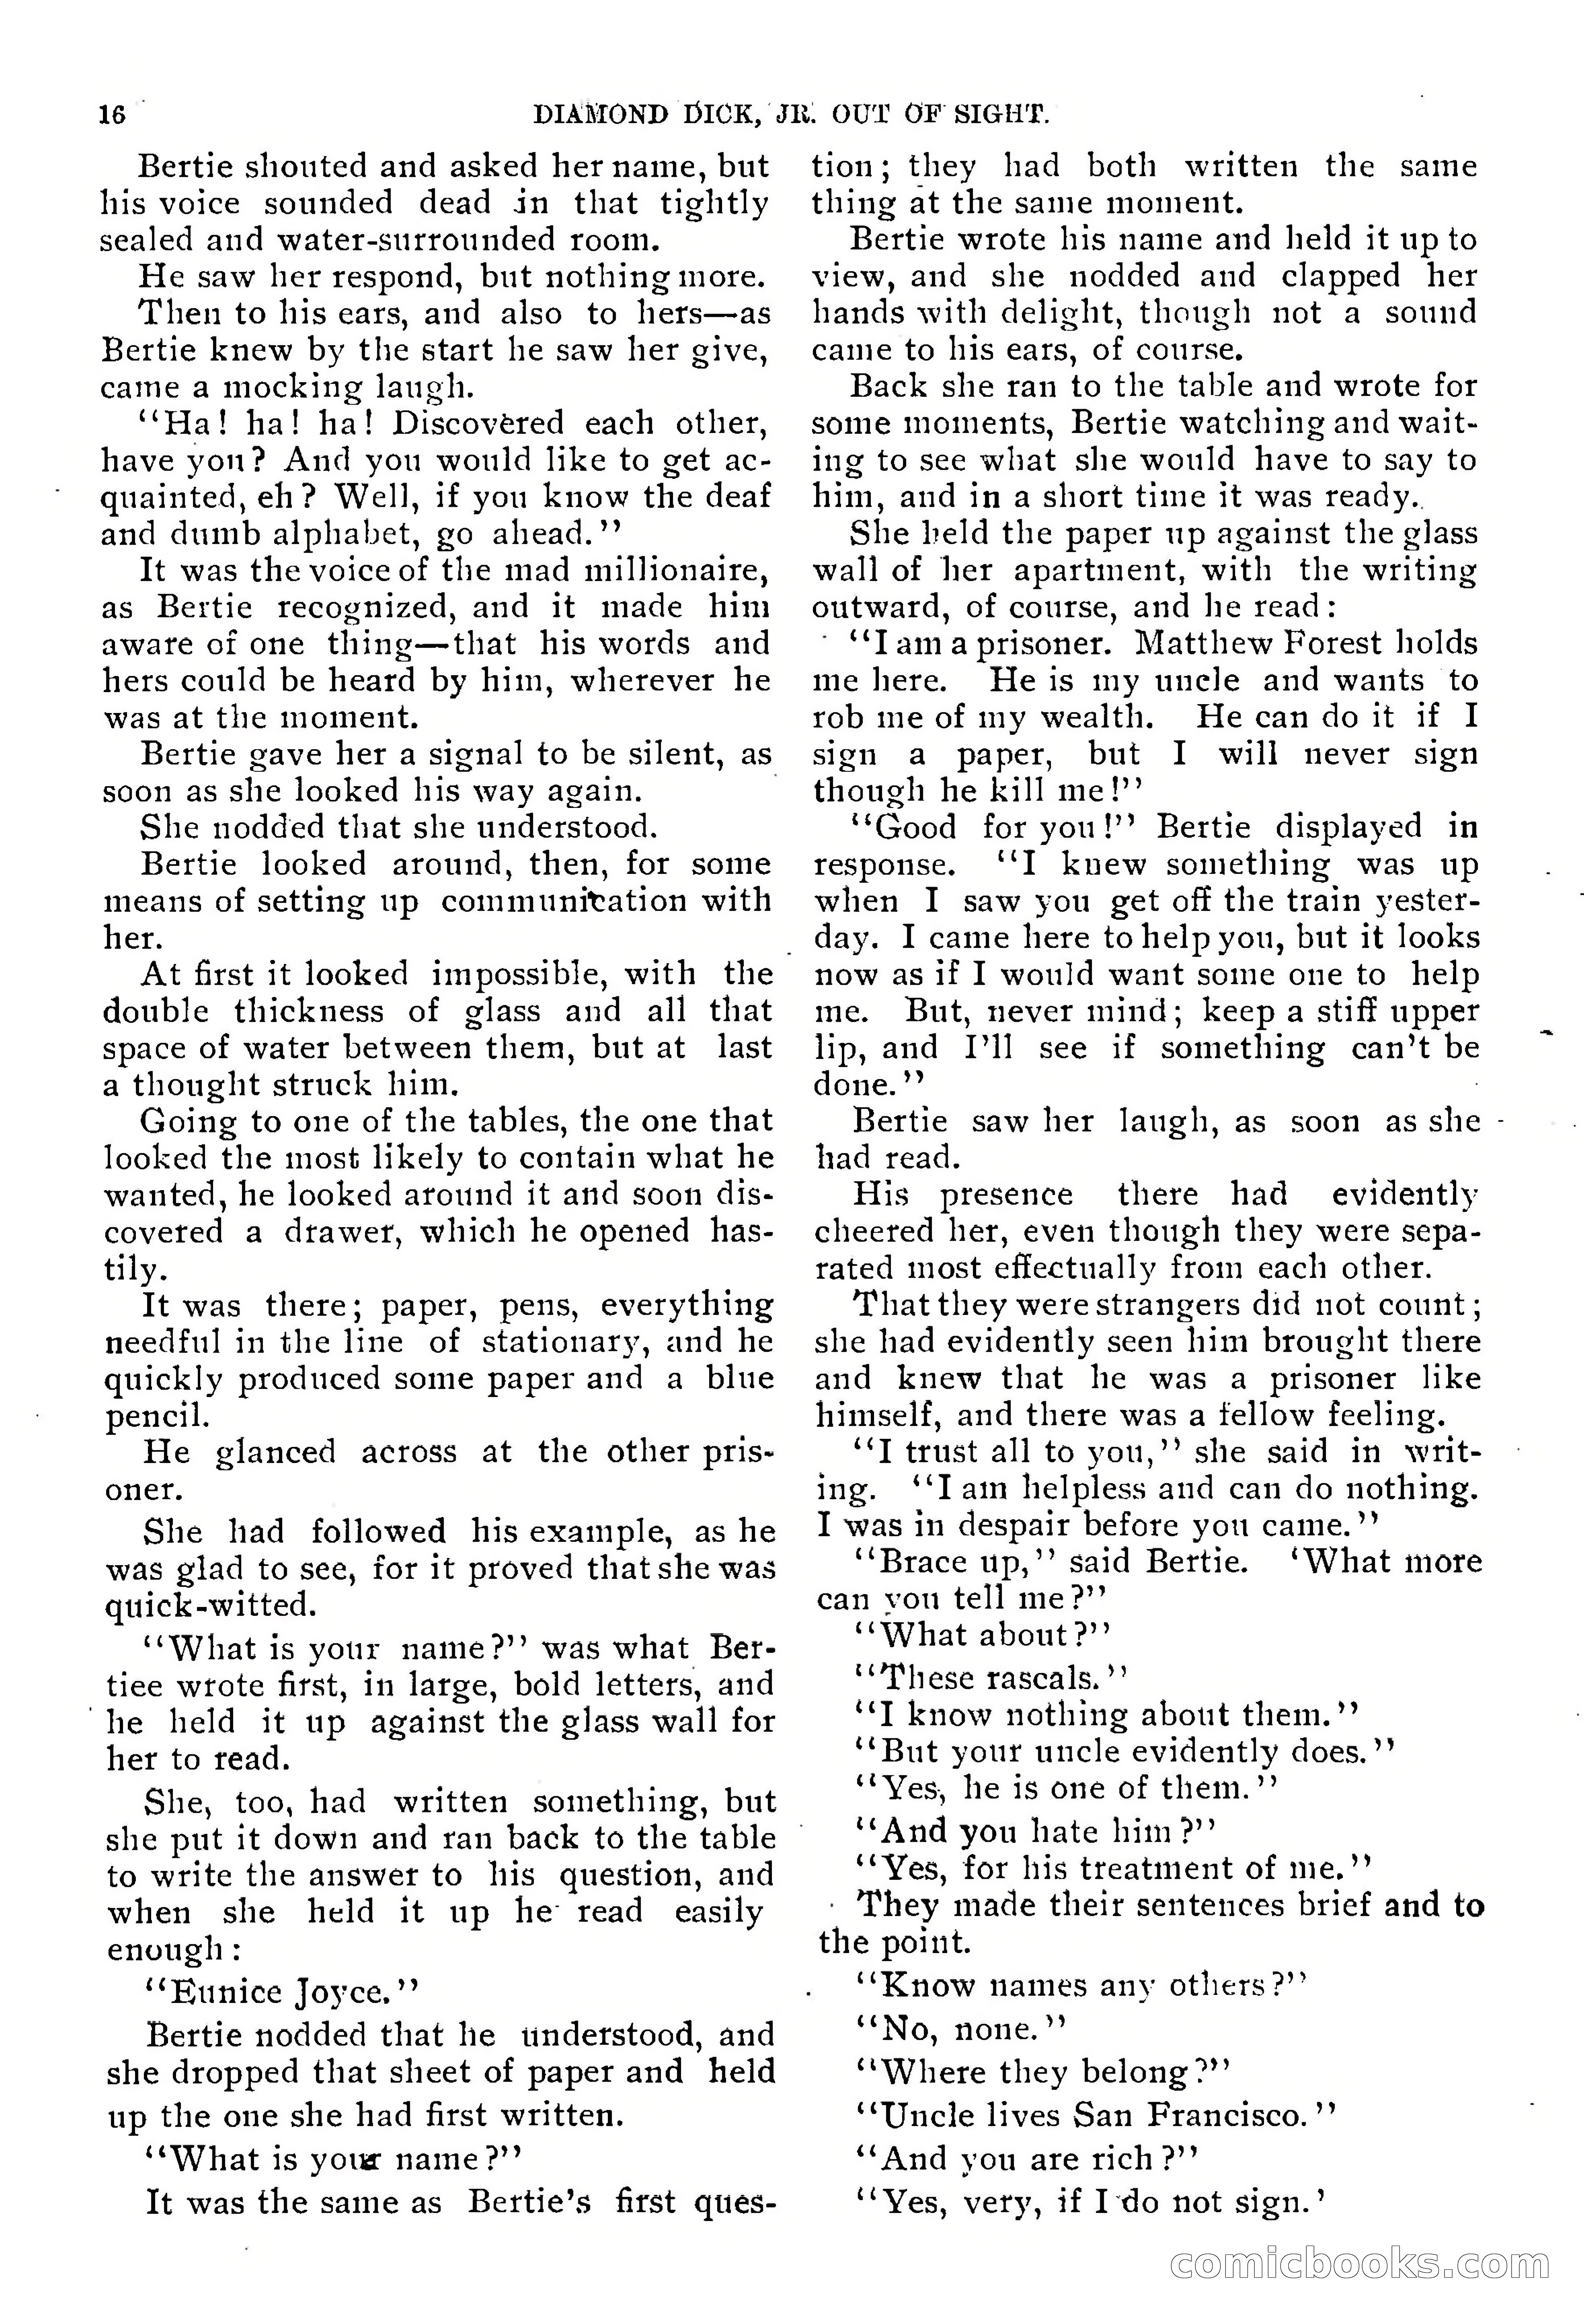
Diamond Dick, Jr.: The Boys' Best Weekly — page 17 of 37
17 / 37
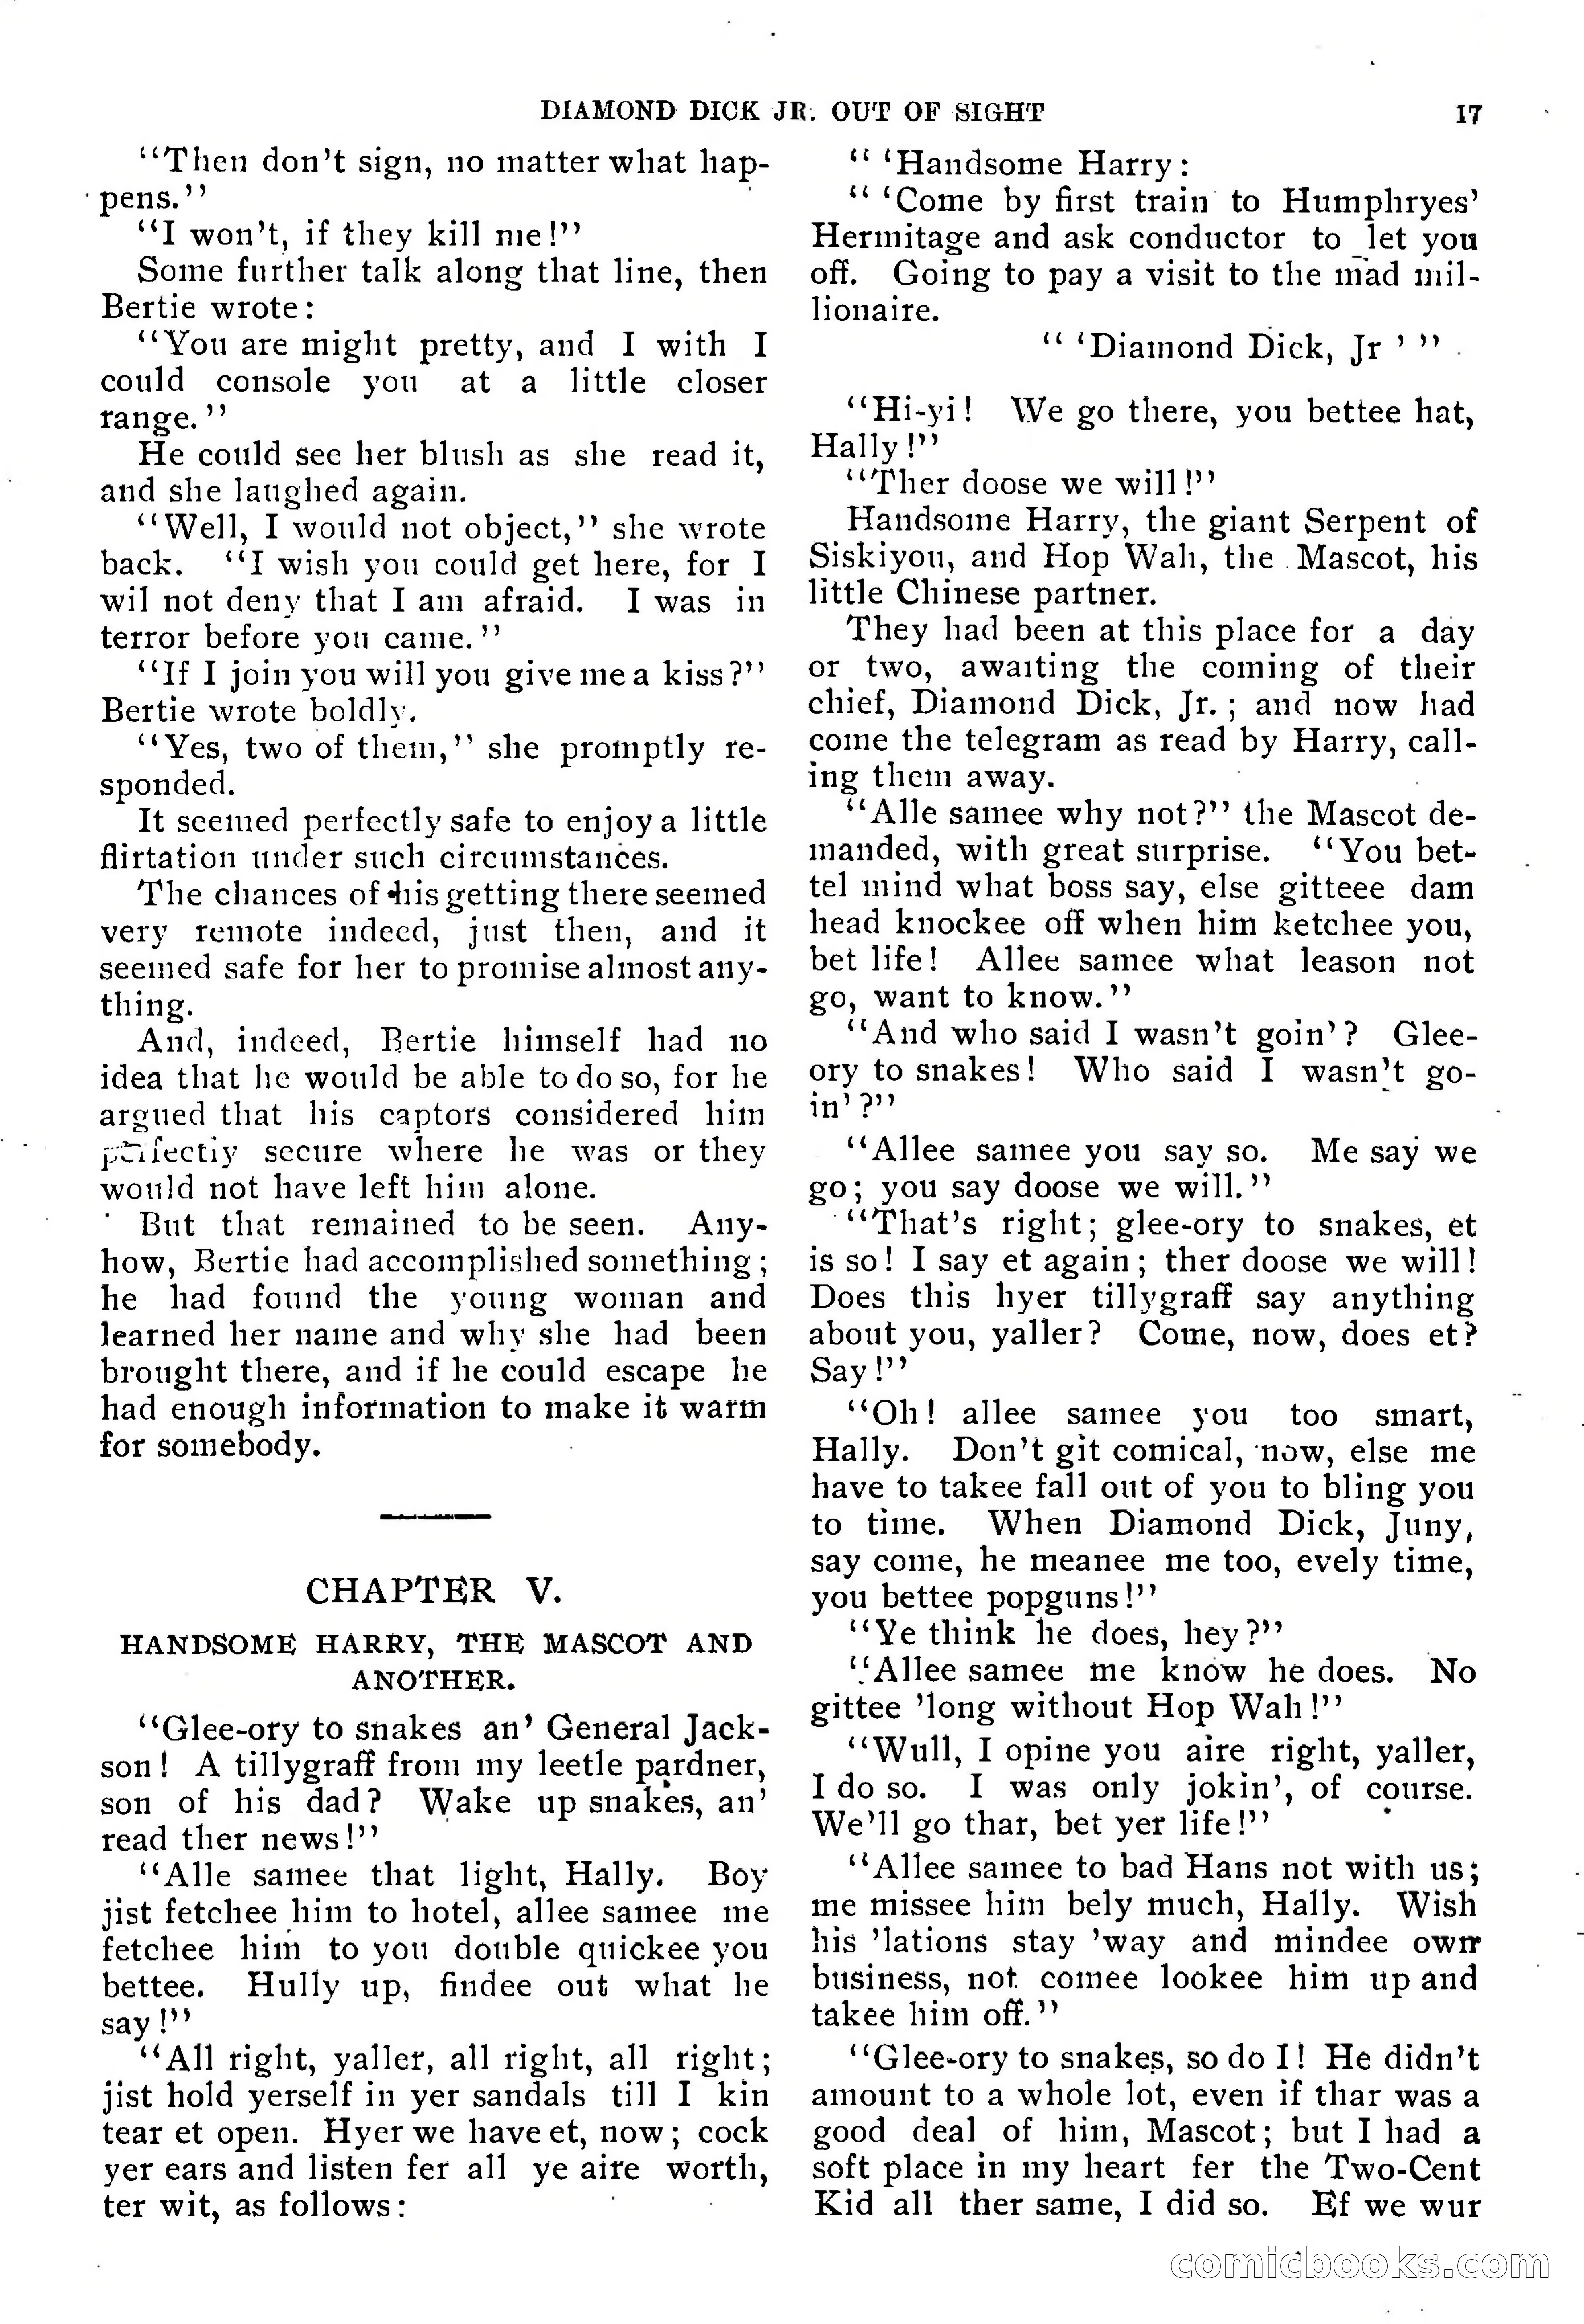
Diamond Dick, Jr.: The Boys' Best Weekly — page 18 of 37
18 / 37
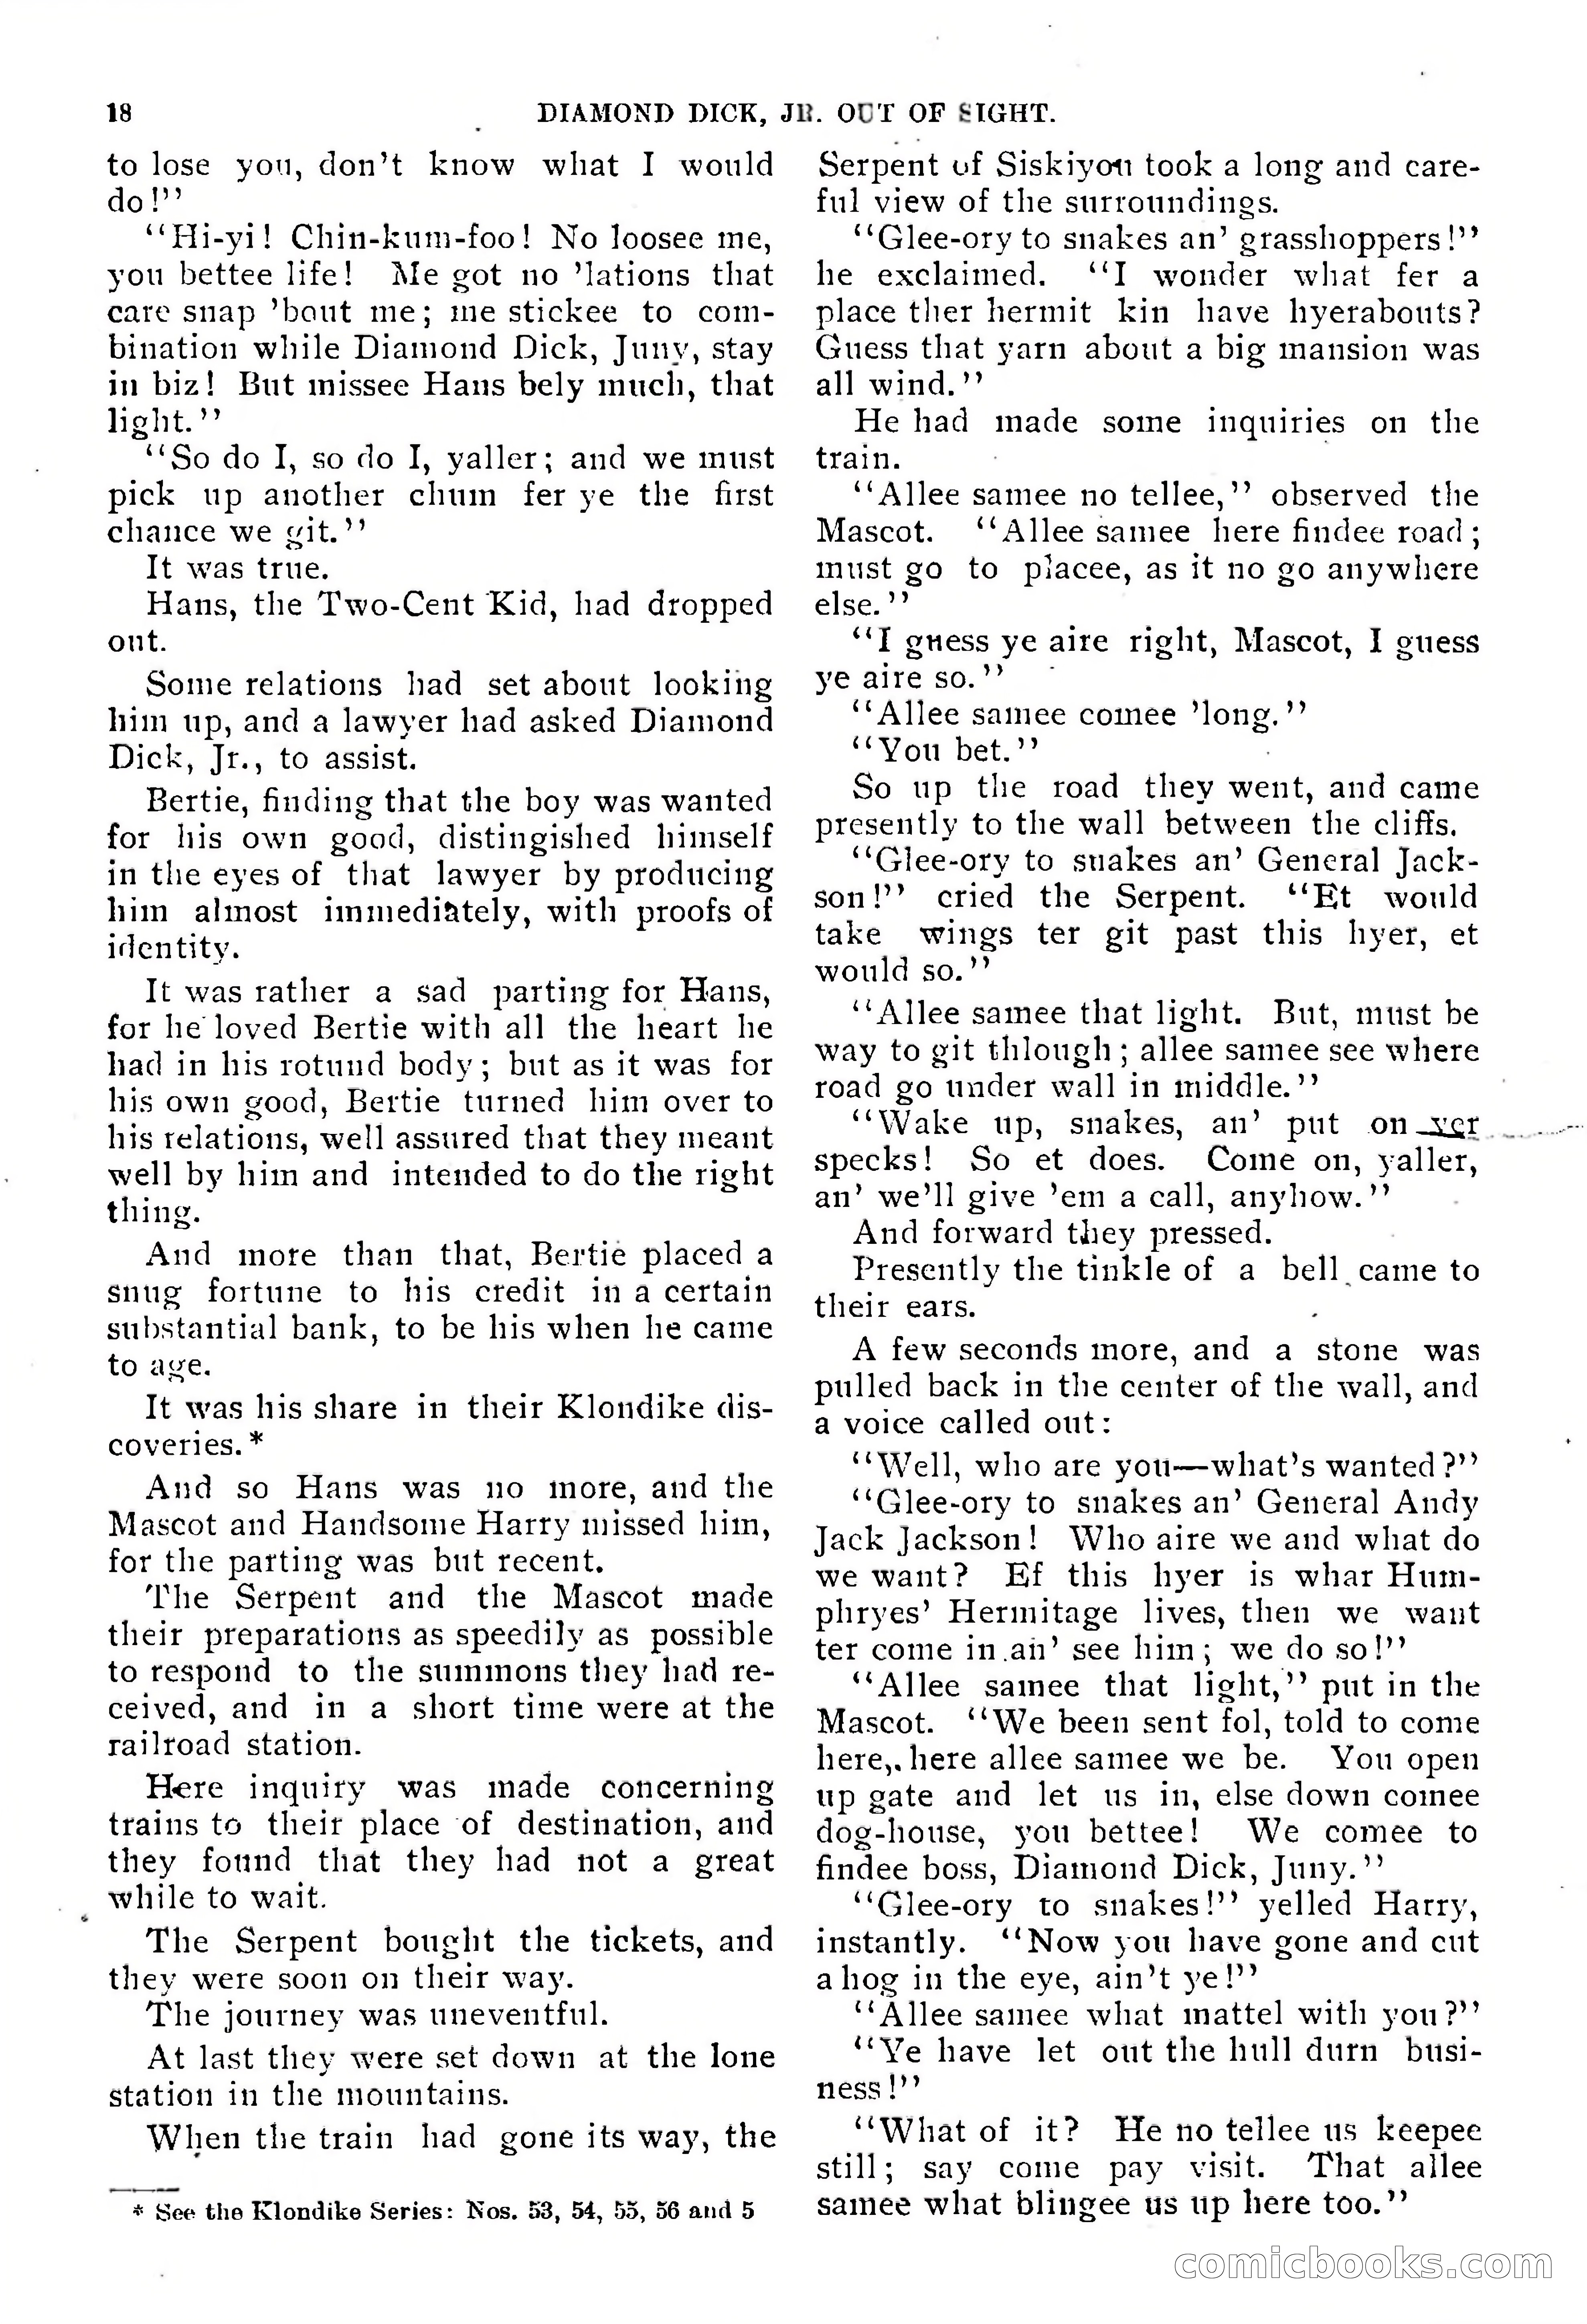
Diamond Dick, Jr.: The Boys' Best Weekly — page 19 of 37
19 / 37
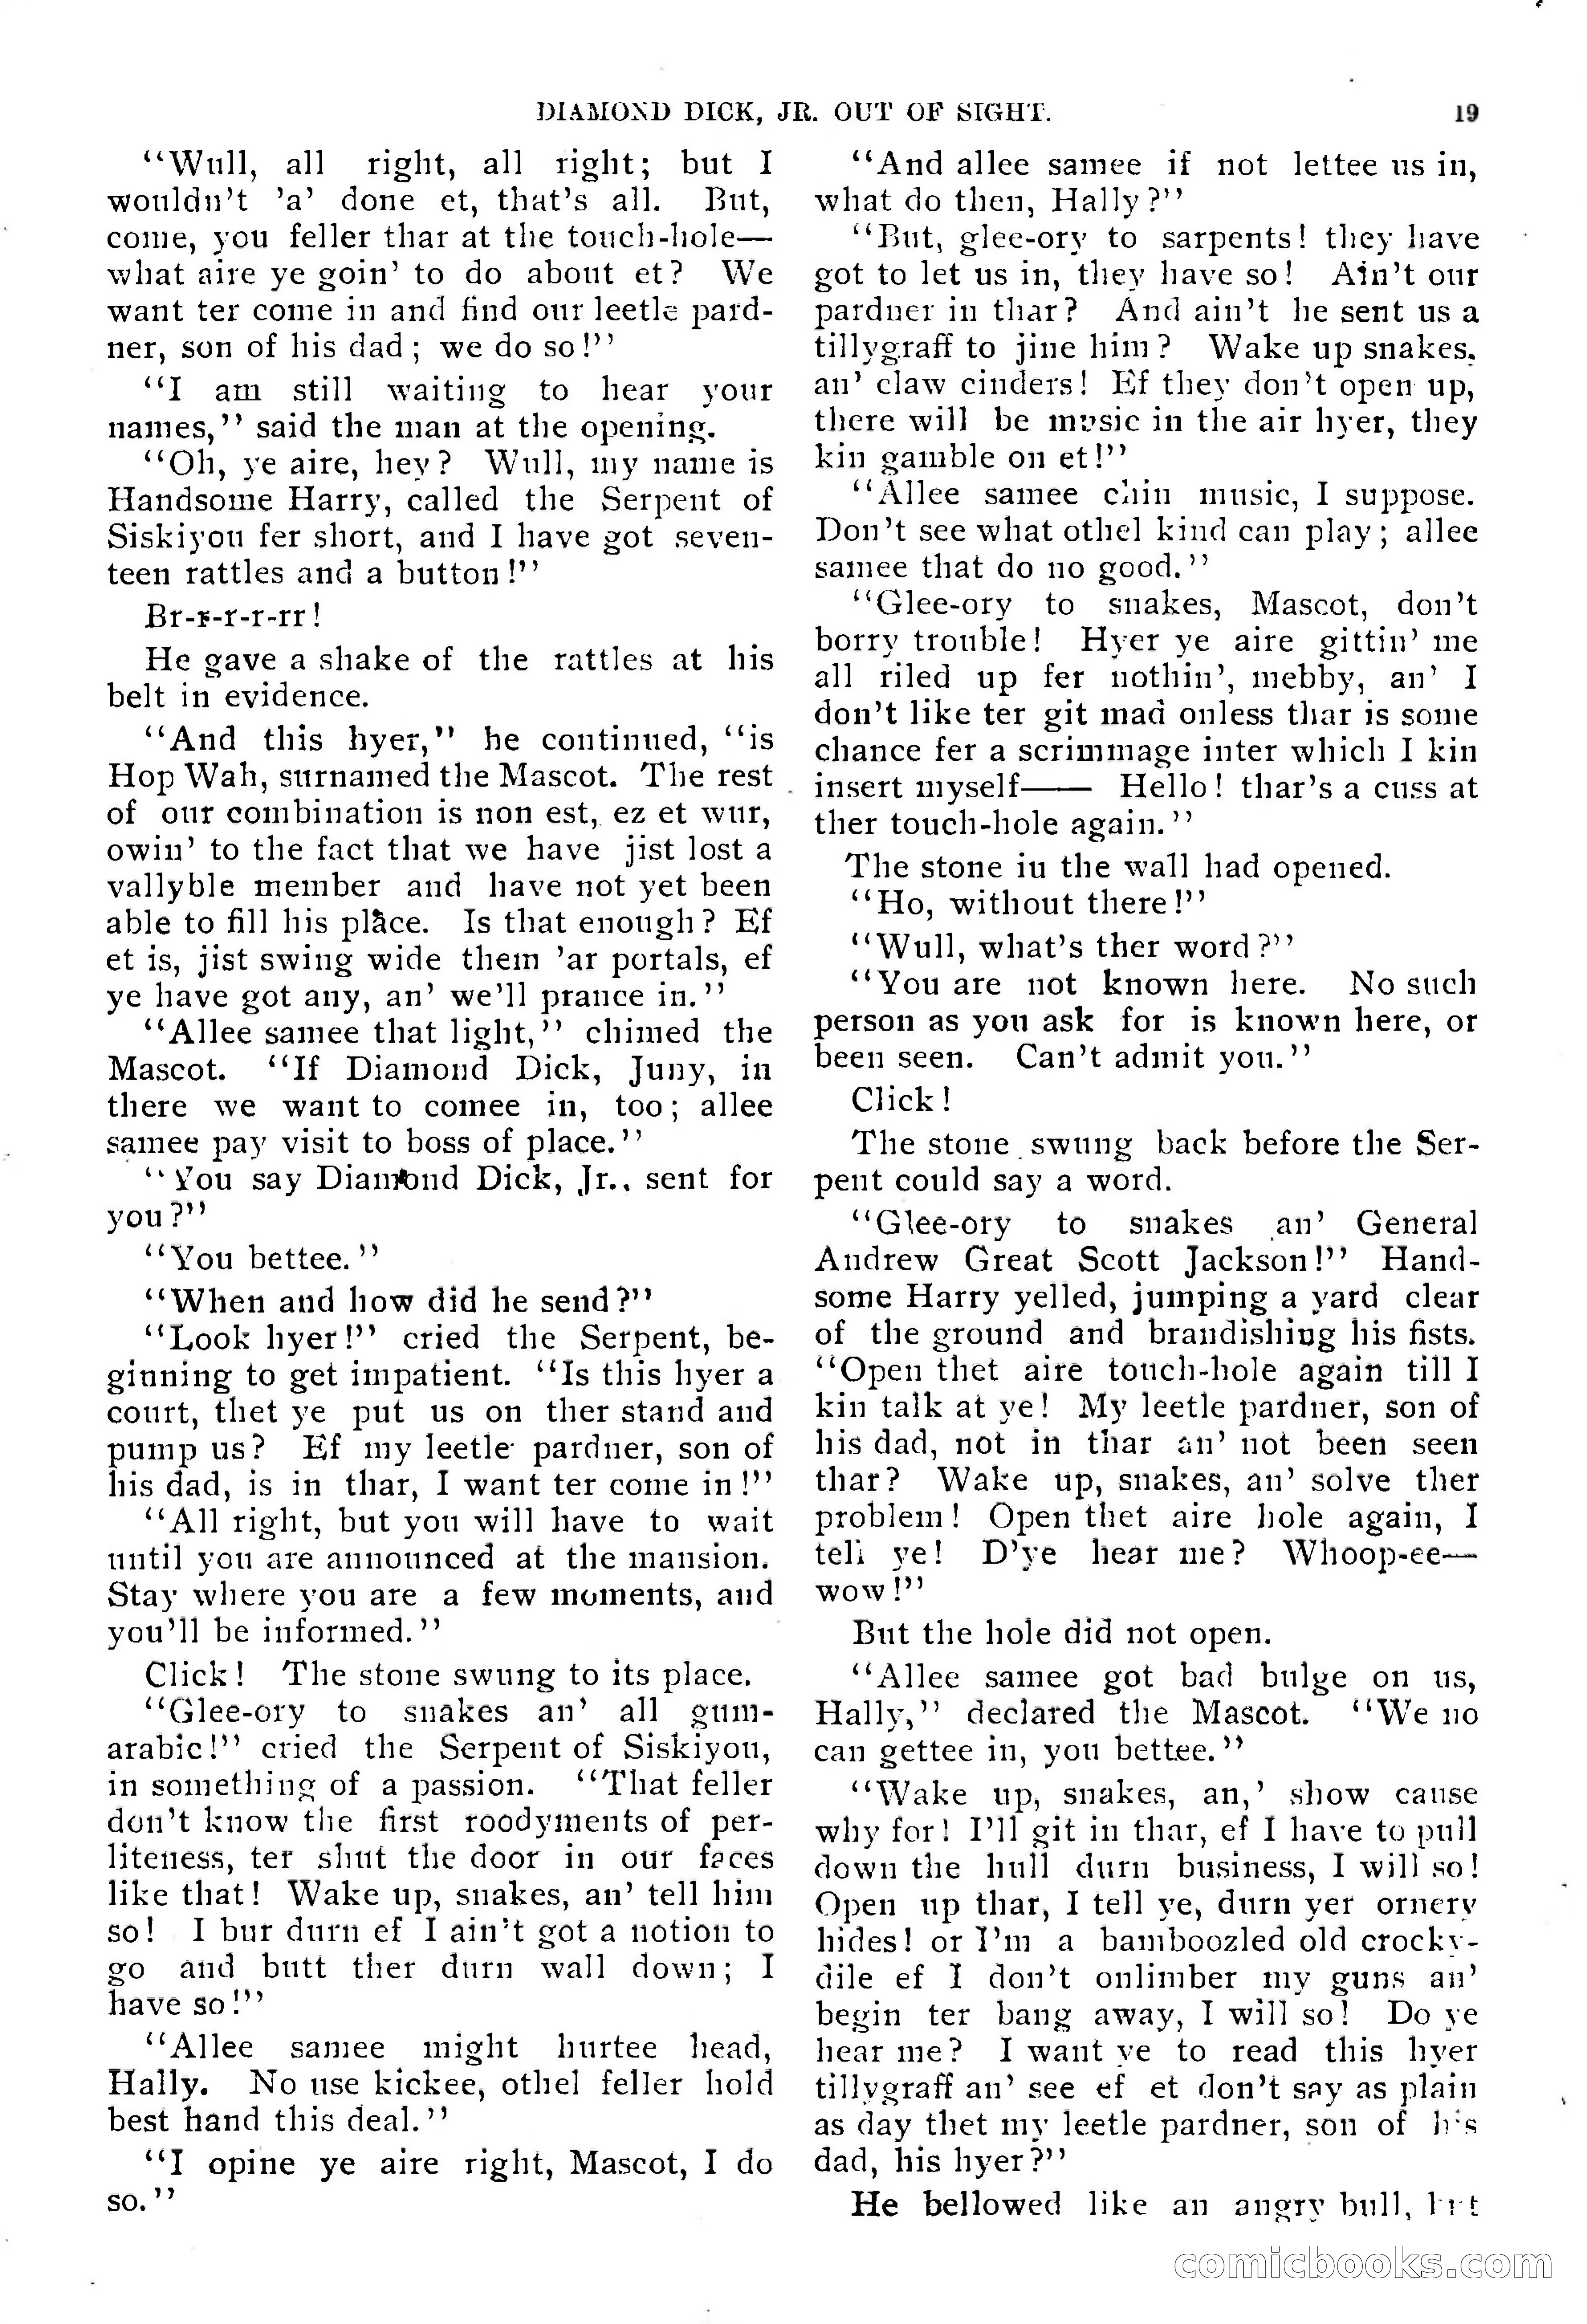
Diamond Dick, Jr.: The Boys' Best Weekly — page 20 of 37
20 / 37
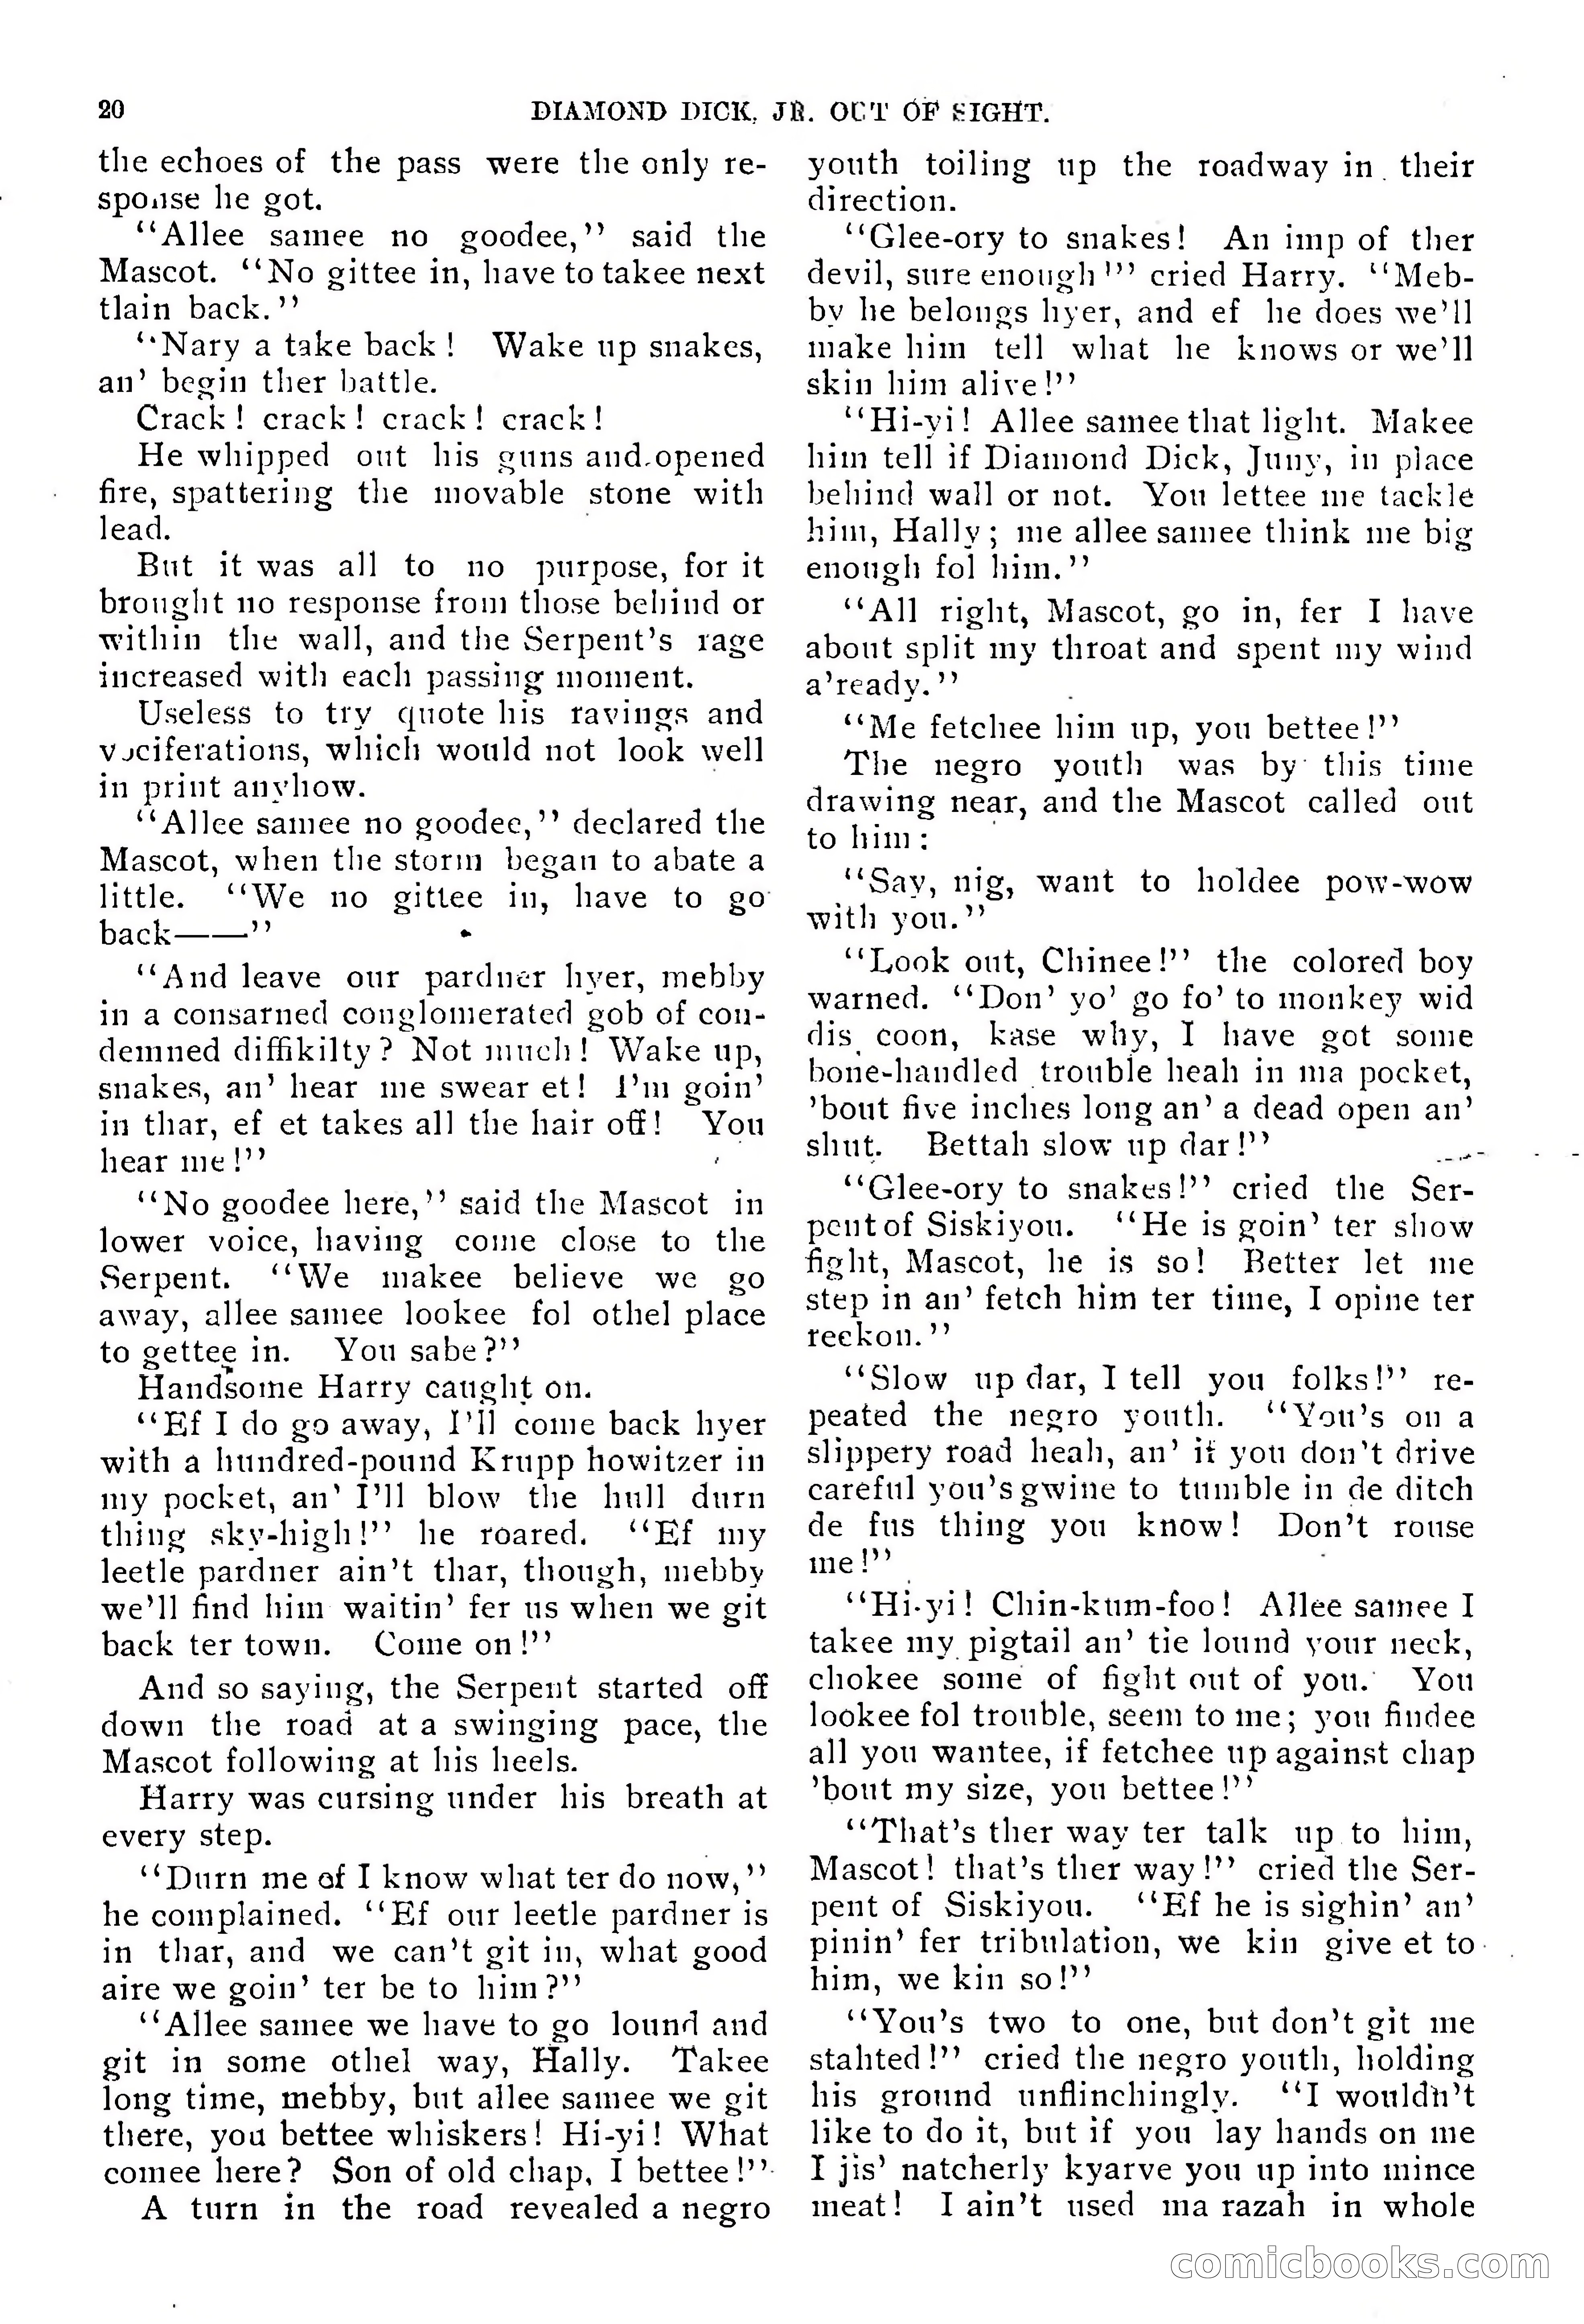
Diamond Dick, Jr.: The Boys' Best Weekly — page 21 of 37
21 / 37
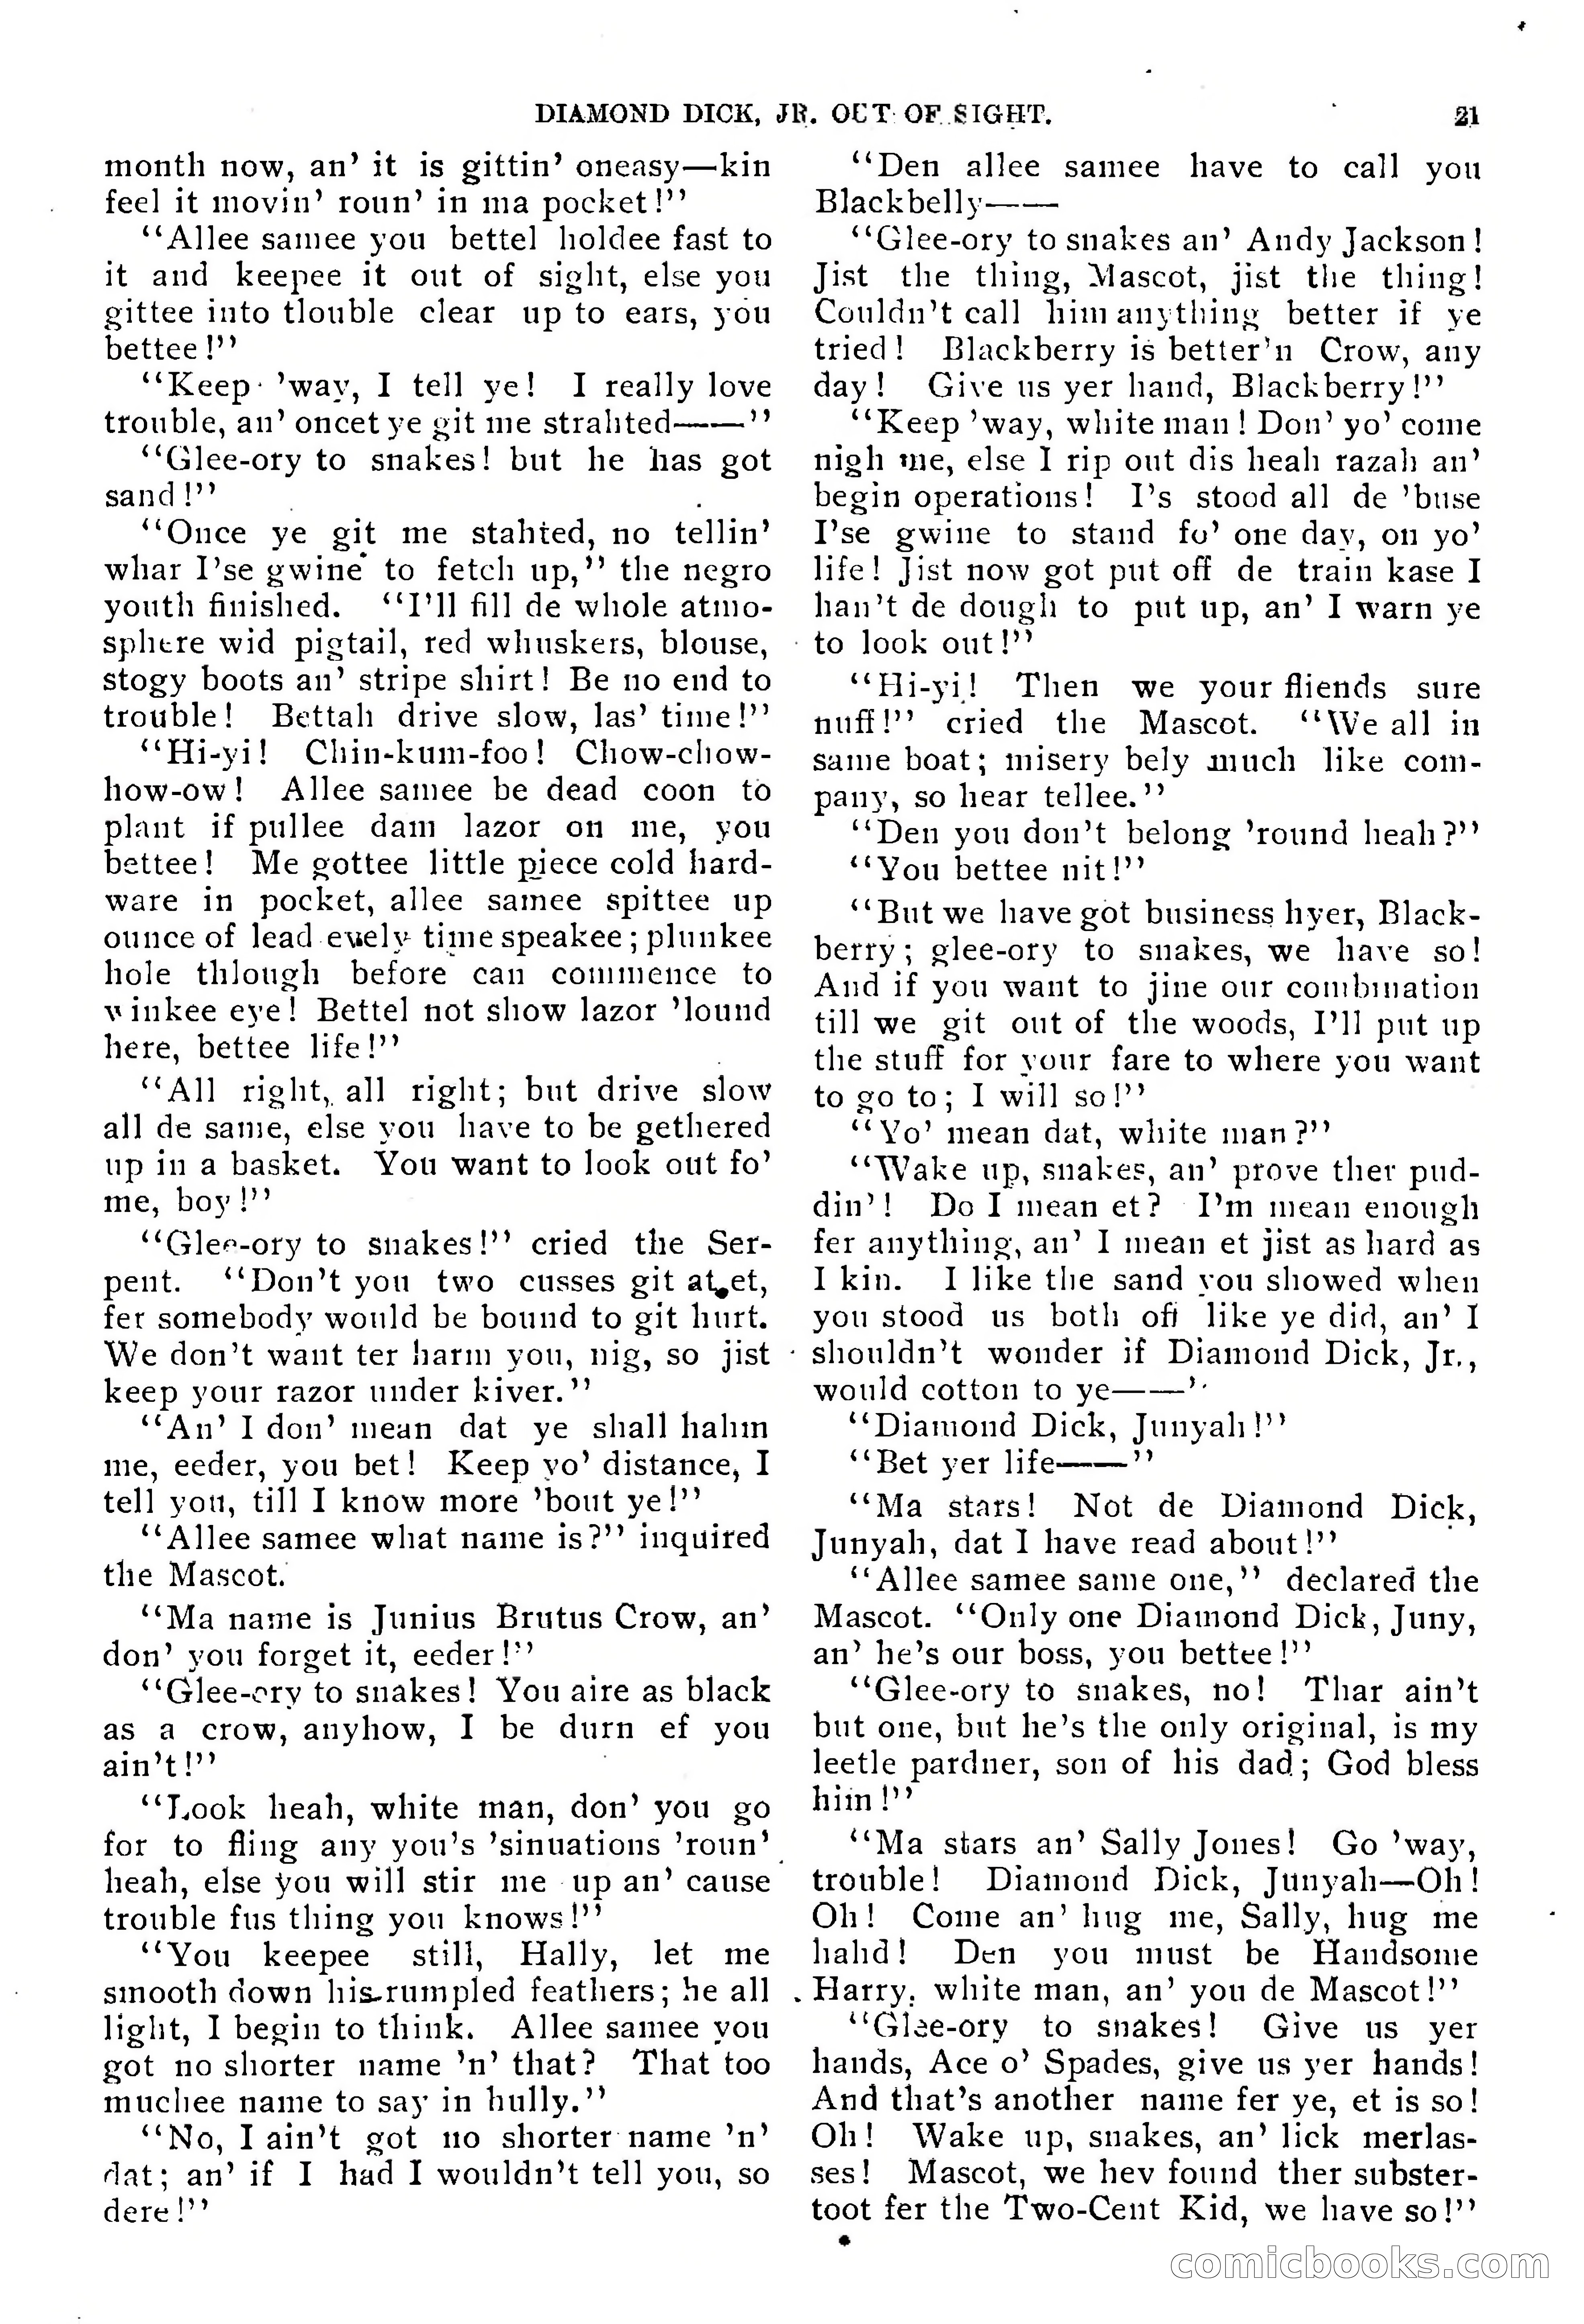
Diamond Dick, Jr.: The Boys' Best Weekly — page 22 of 37
22 / 37
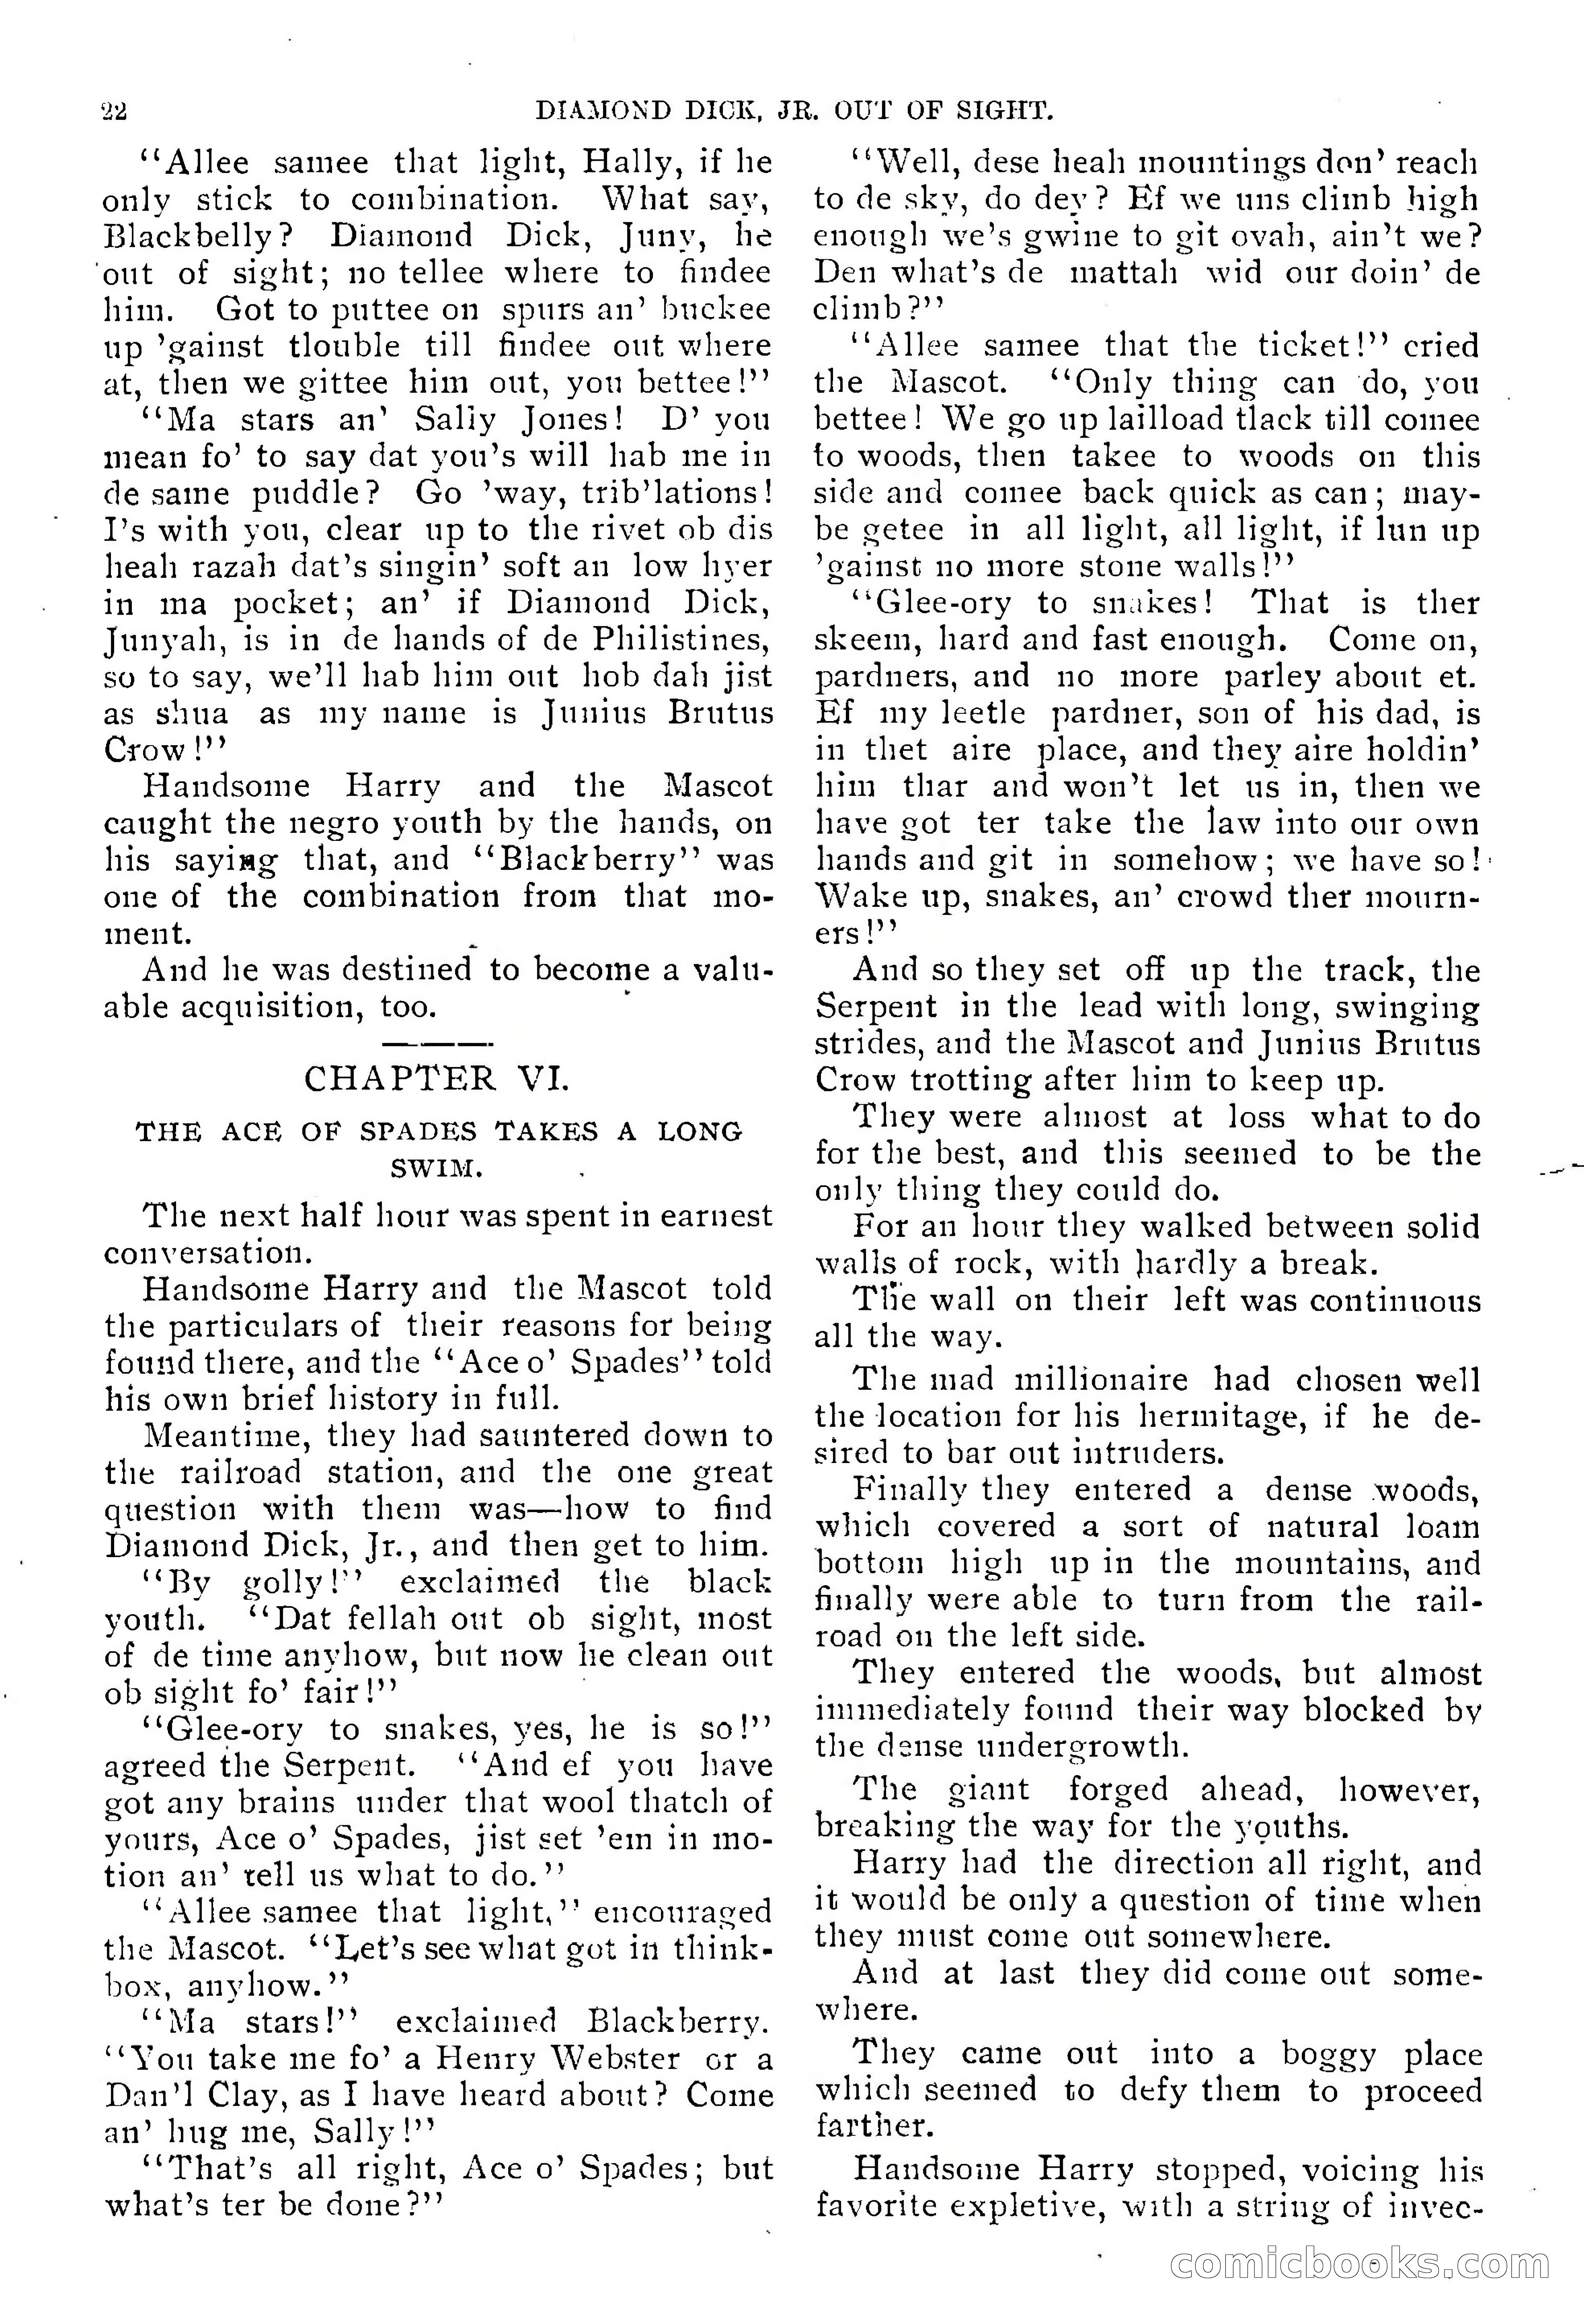
Diamond Dick, Jr.: The Boys' Best Weekly — page 23 of 37
23 / 37
Diamond Dick, Jr.: The Boys' Best Weekly — page 24 of 37
24 / 37
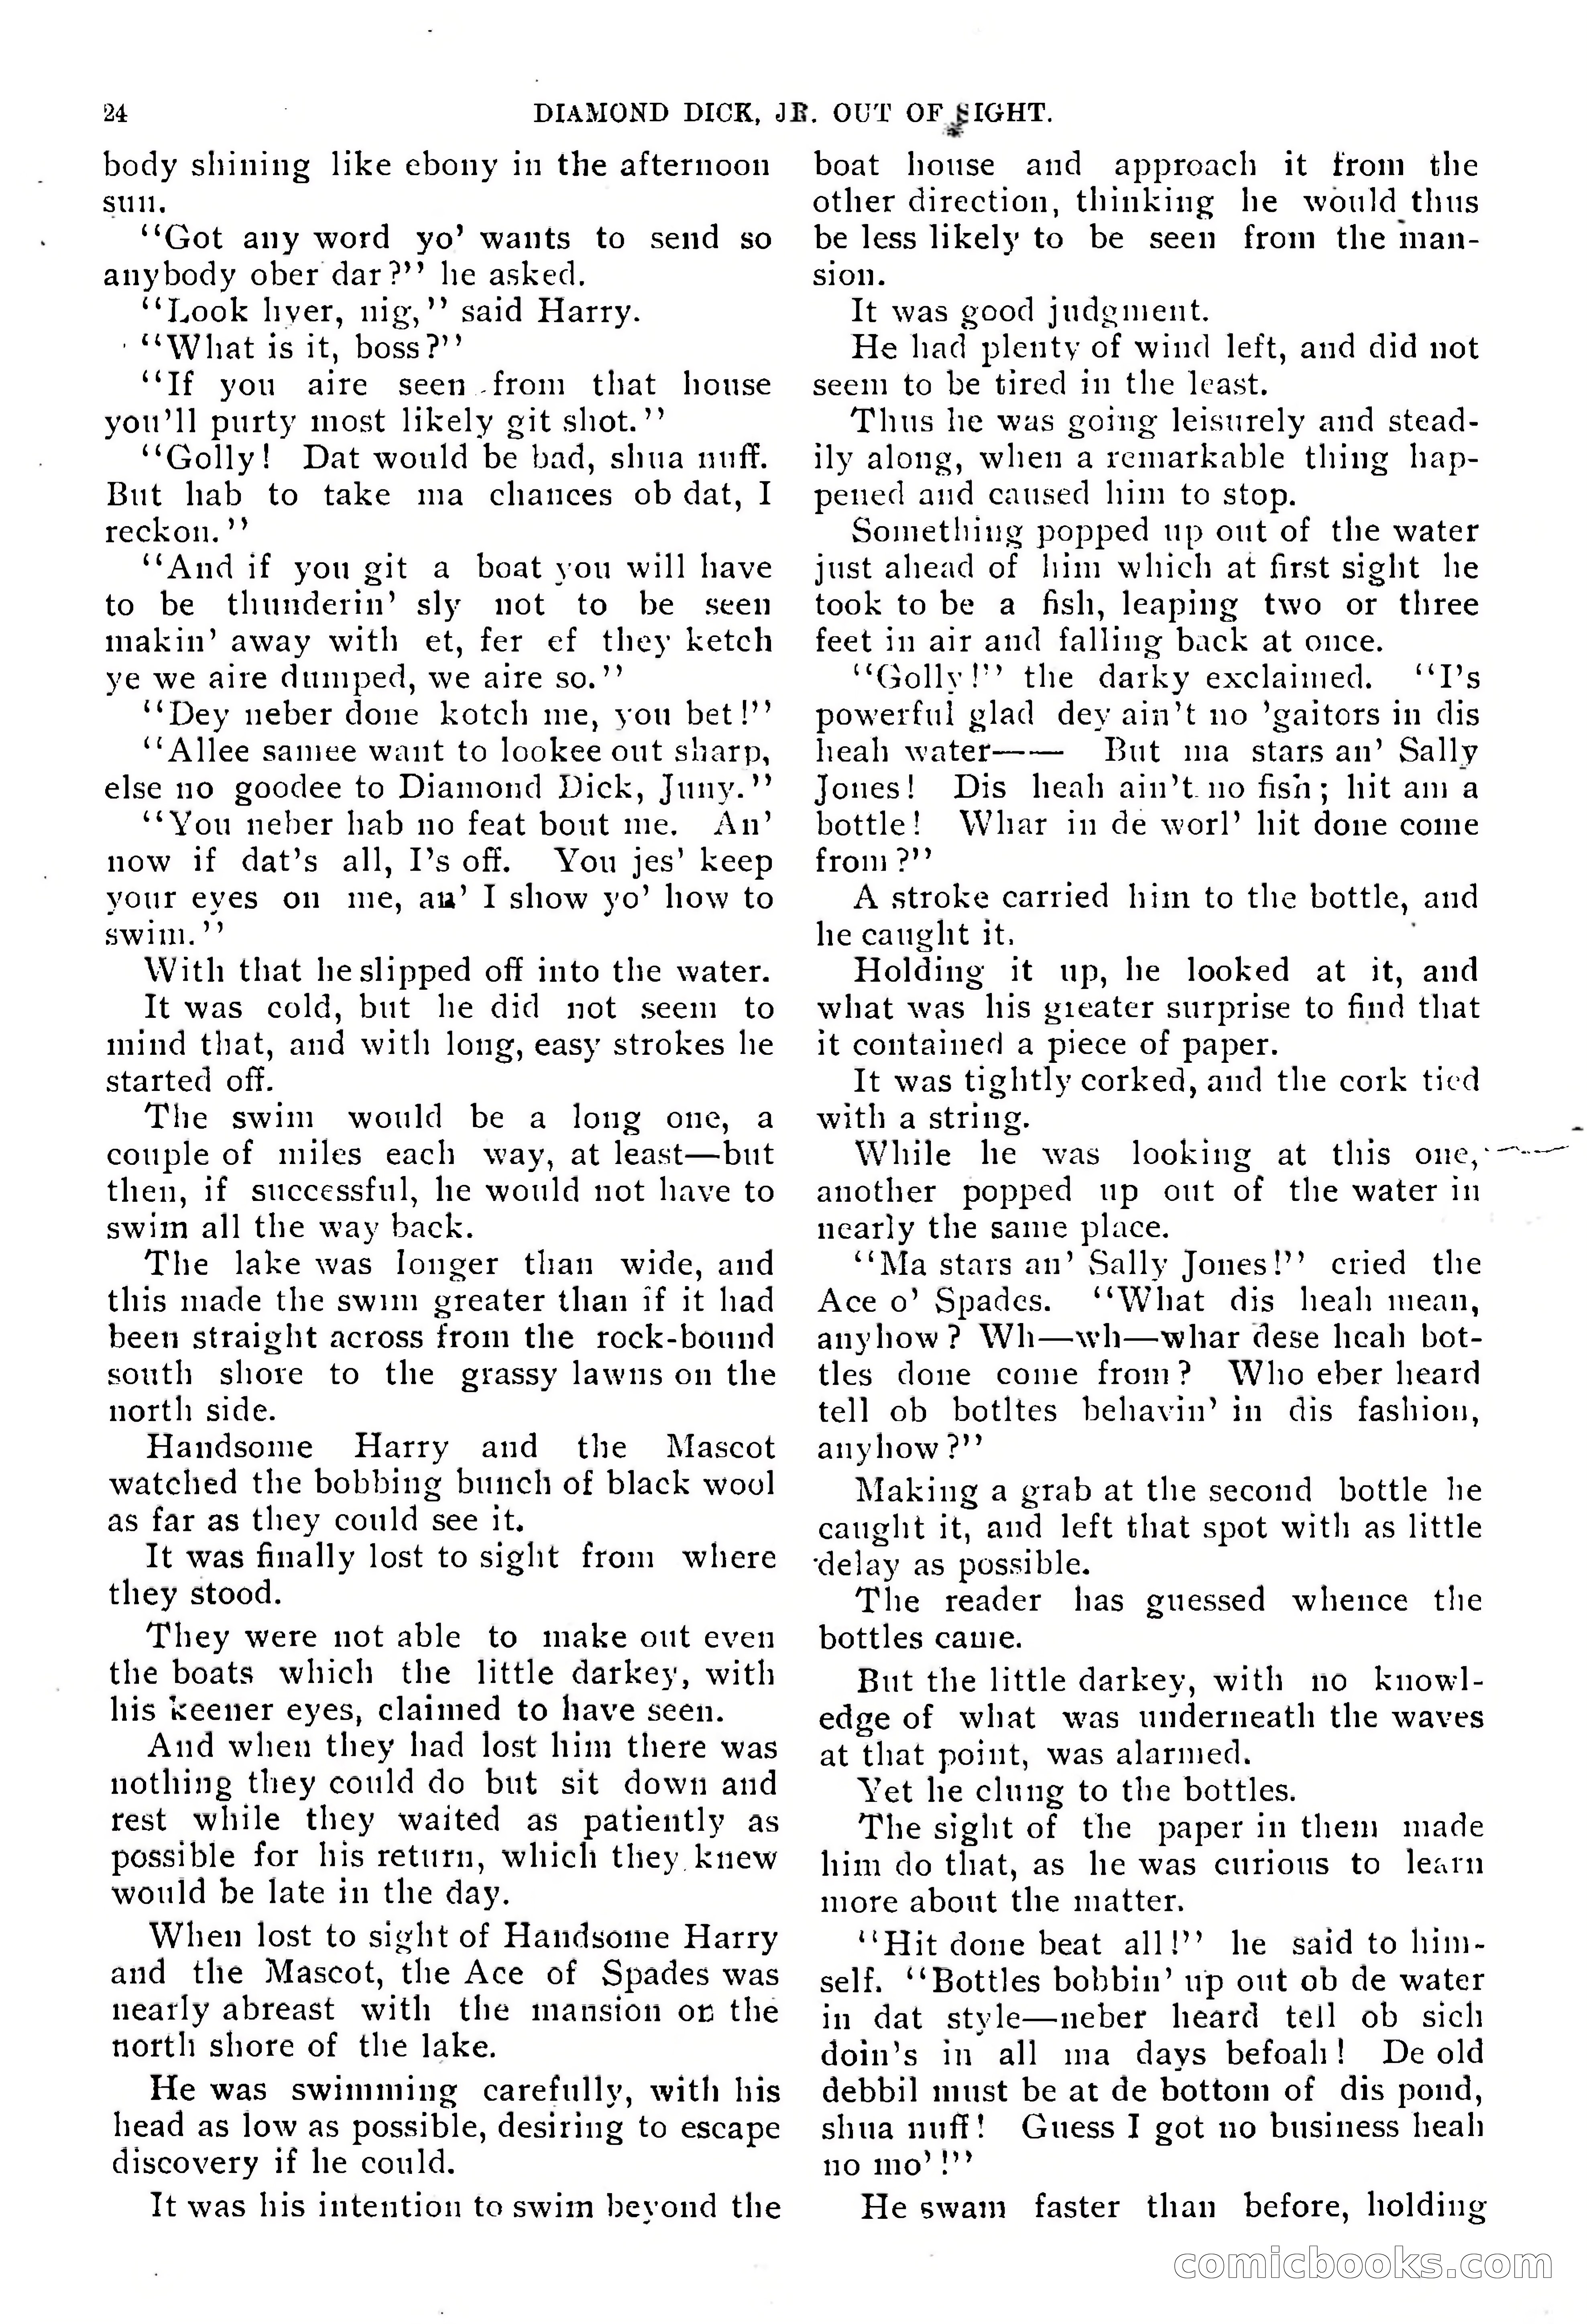
Diamond Dick, Jr.: The Boys' Best Weekly — page 25 of 37
25 / 37
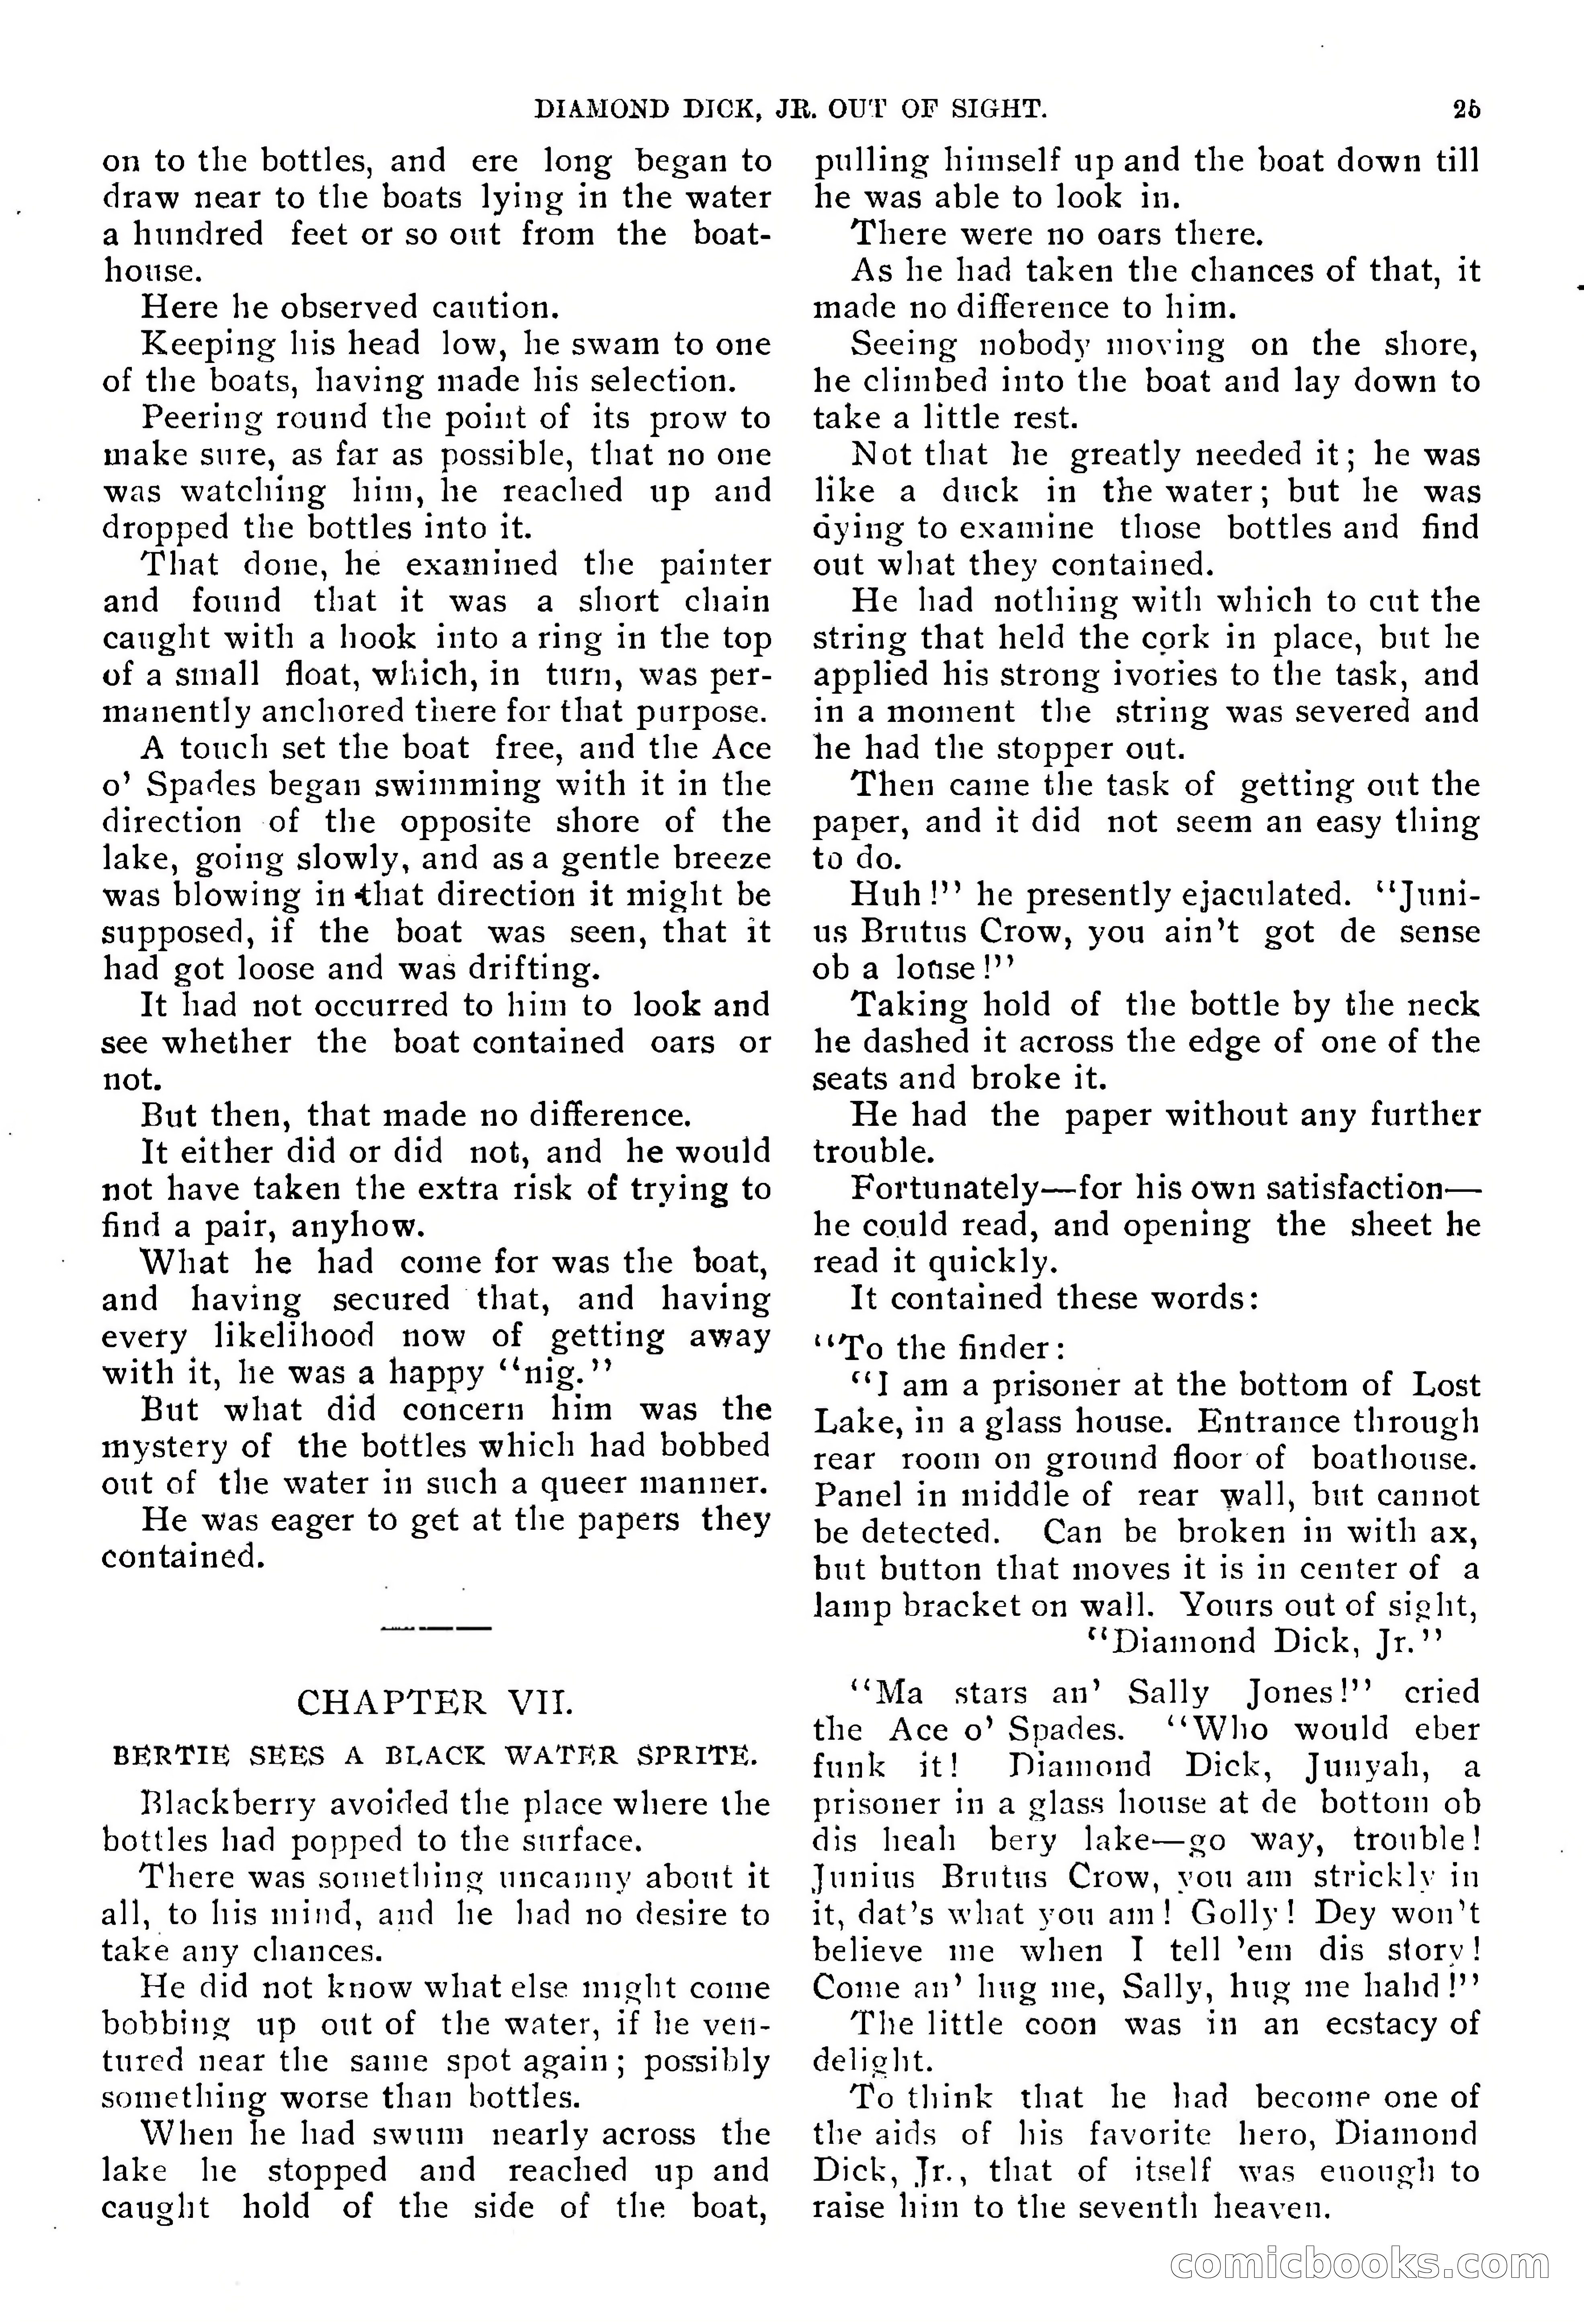
Diamond Dick, Jr.: The Boys' Best Weekly — page 26 of 37
26 / 37
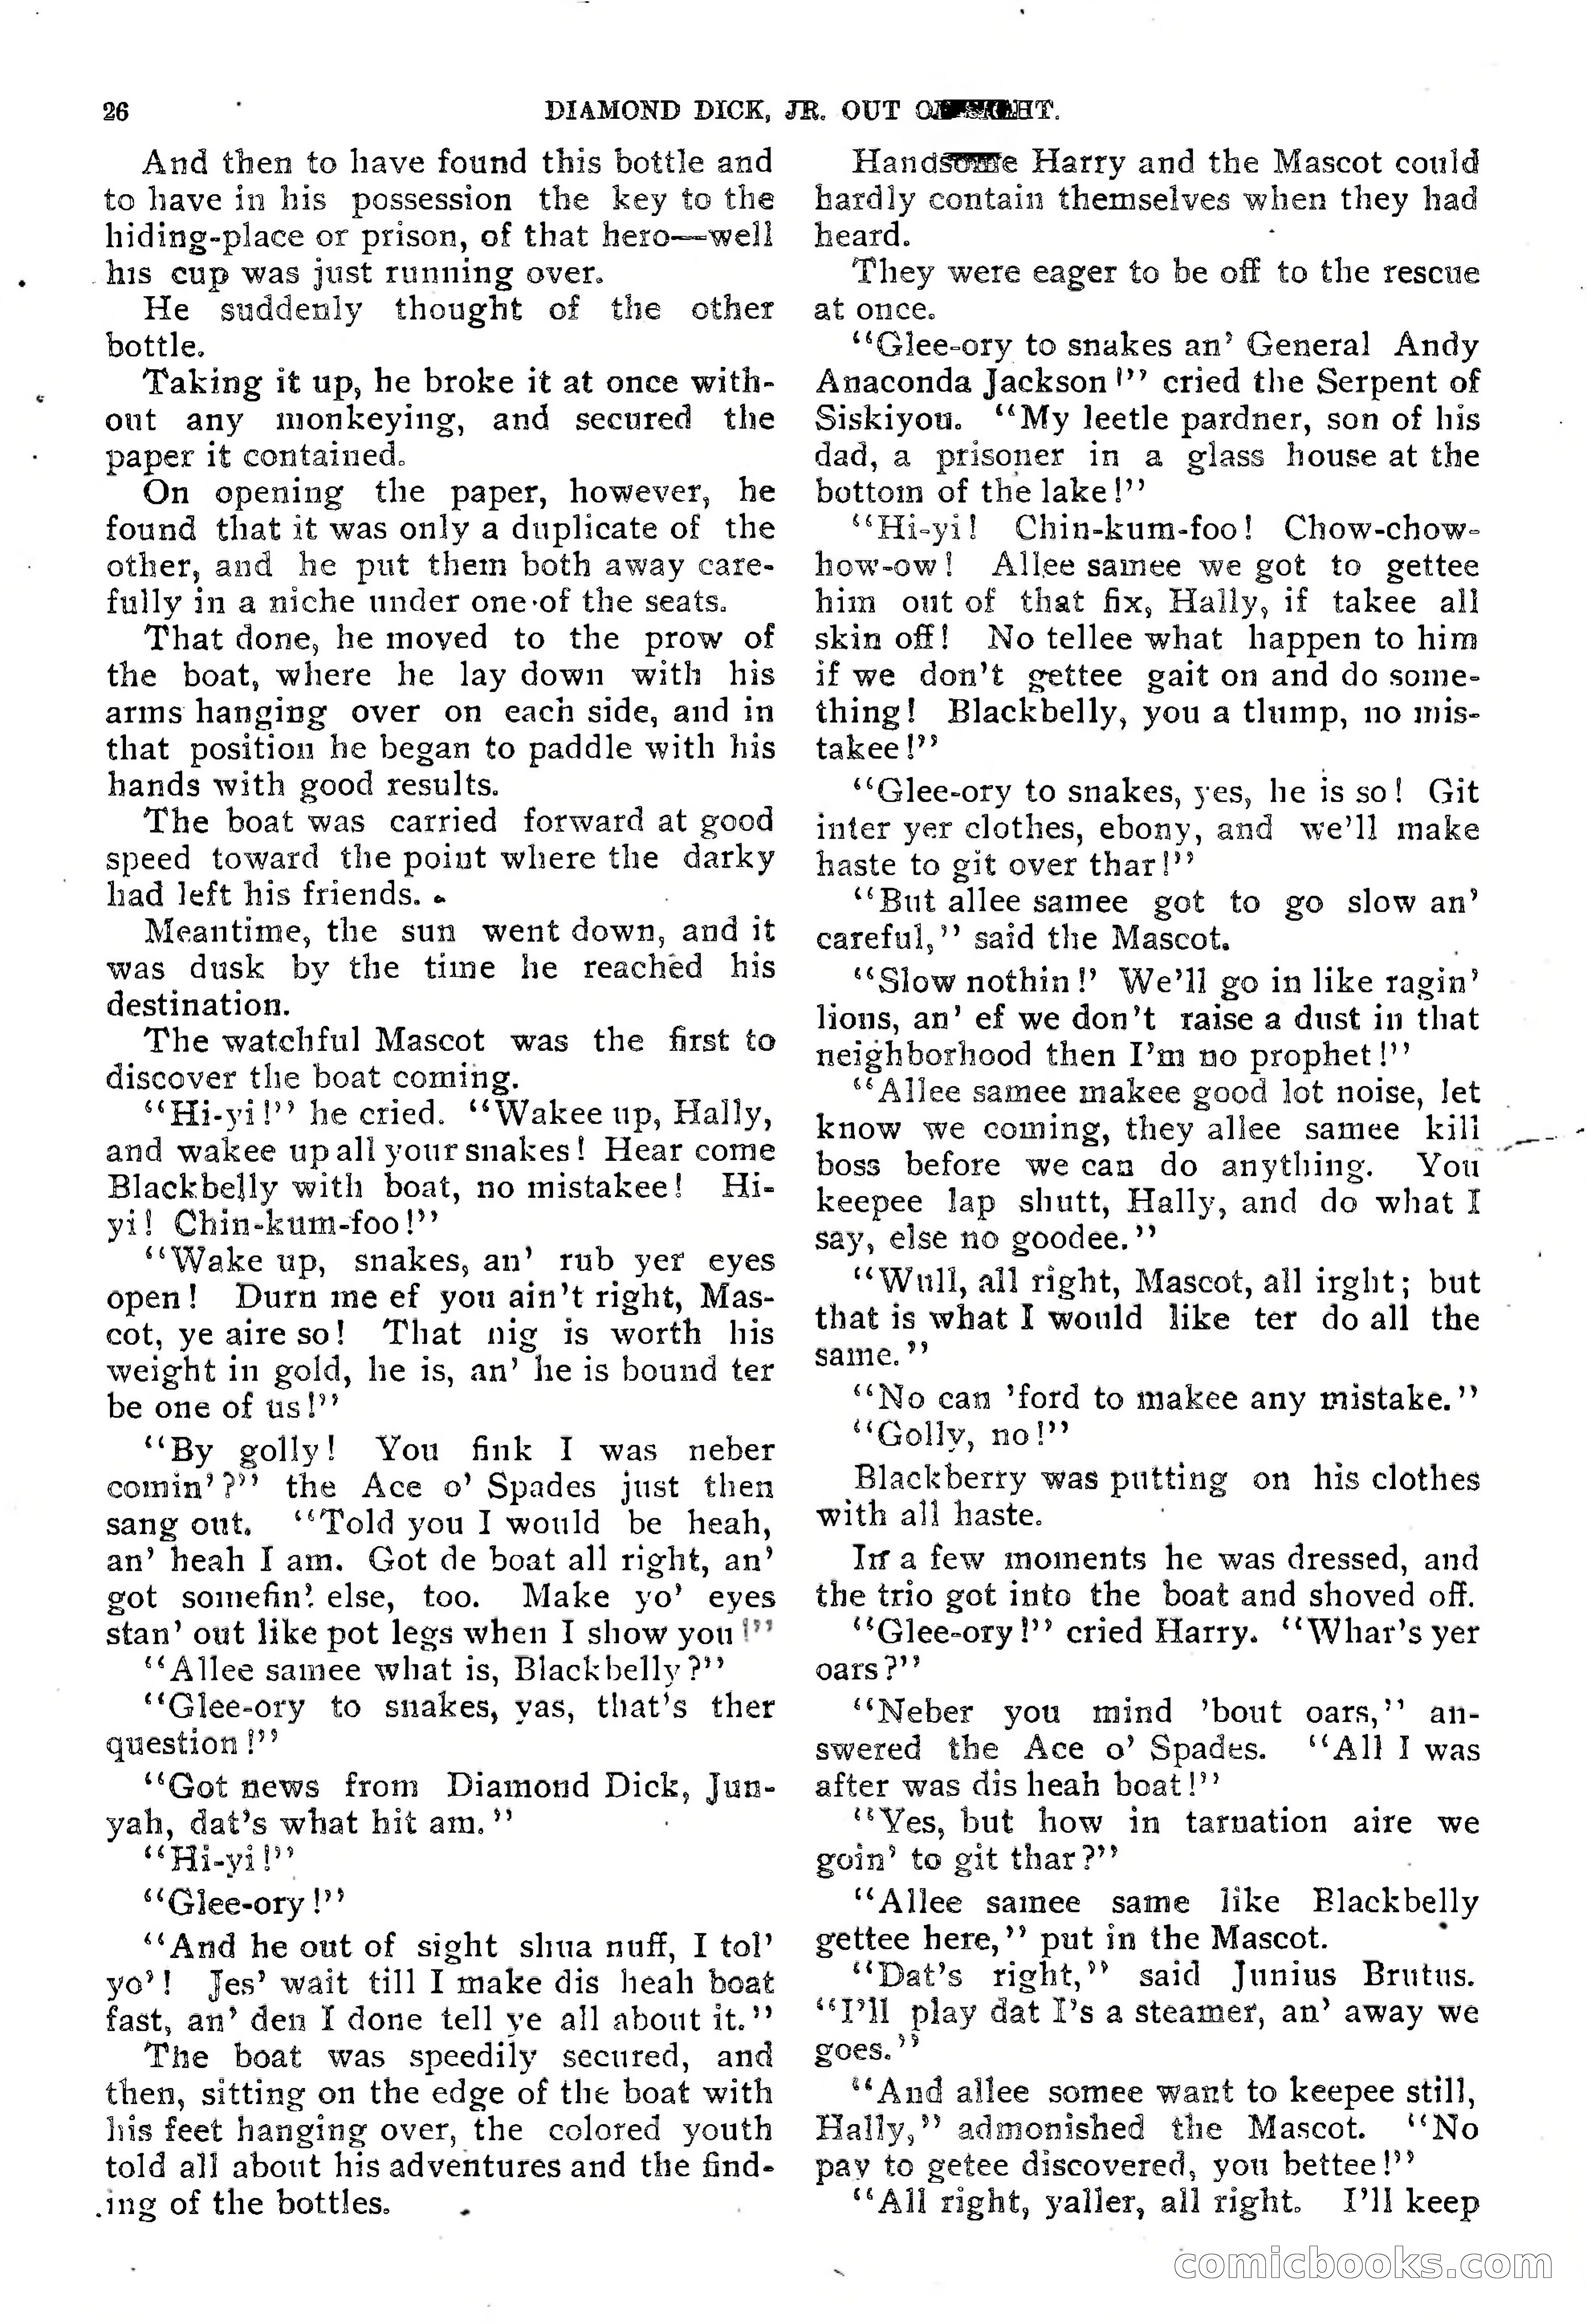
Diamond Dick, Jr.: The Boys' Best Weekly — page 27 of 37
27 / 37
Diamond Dick, Jr.: The Boys' Best Weekly — page 28 of 37
28 / 37
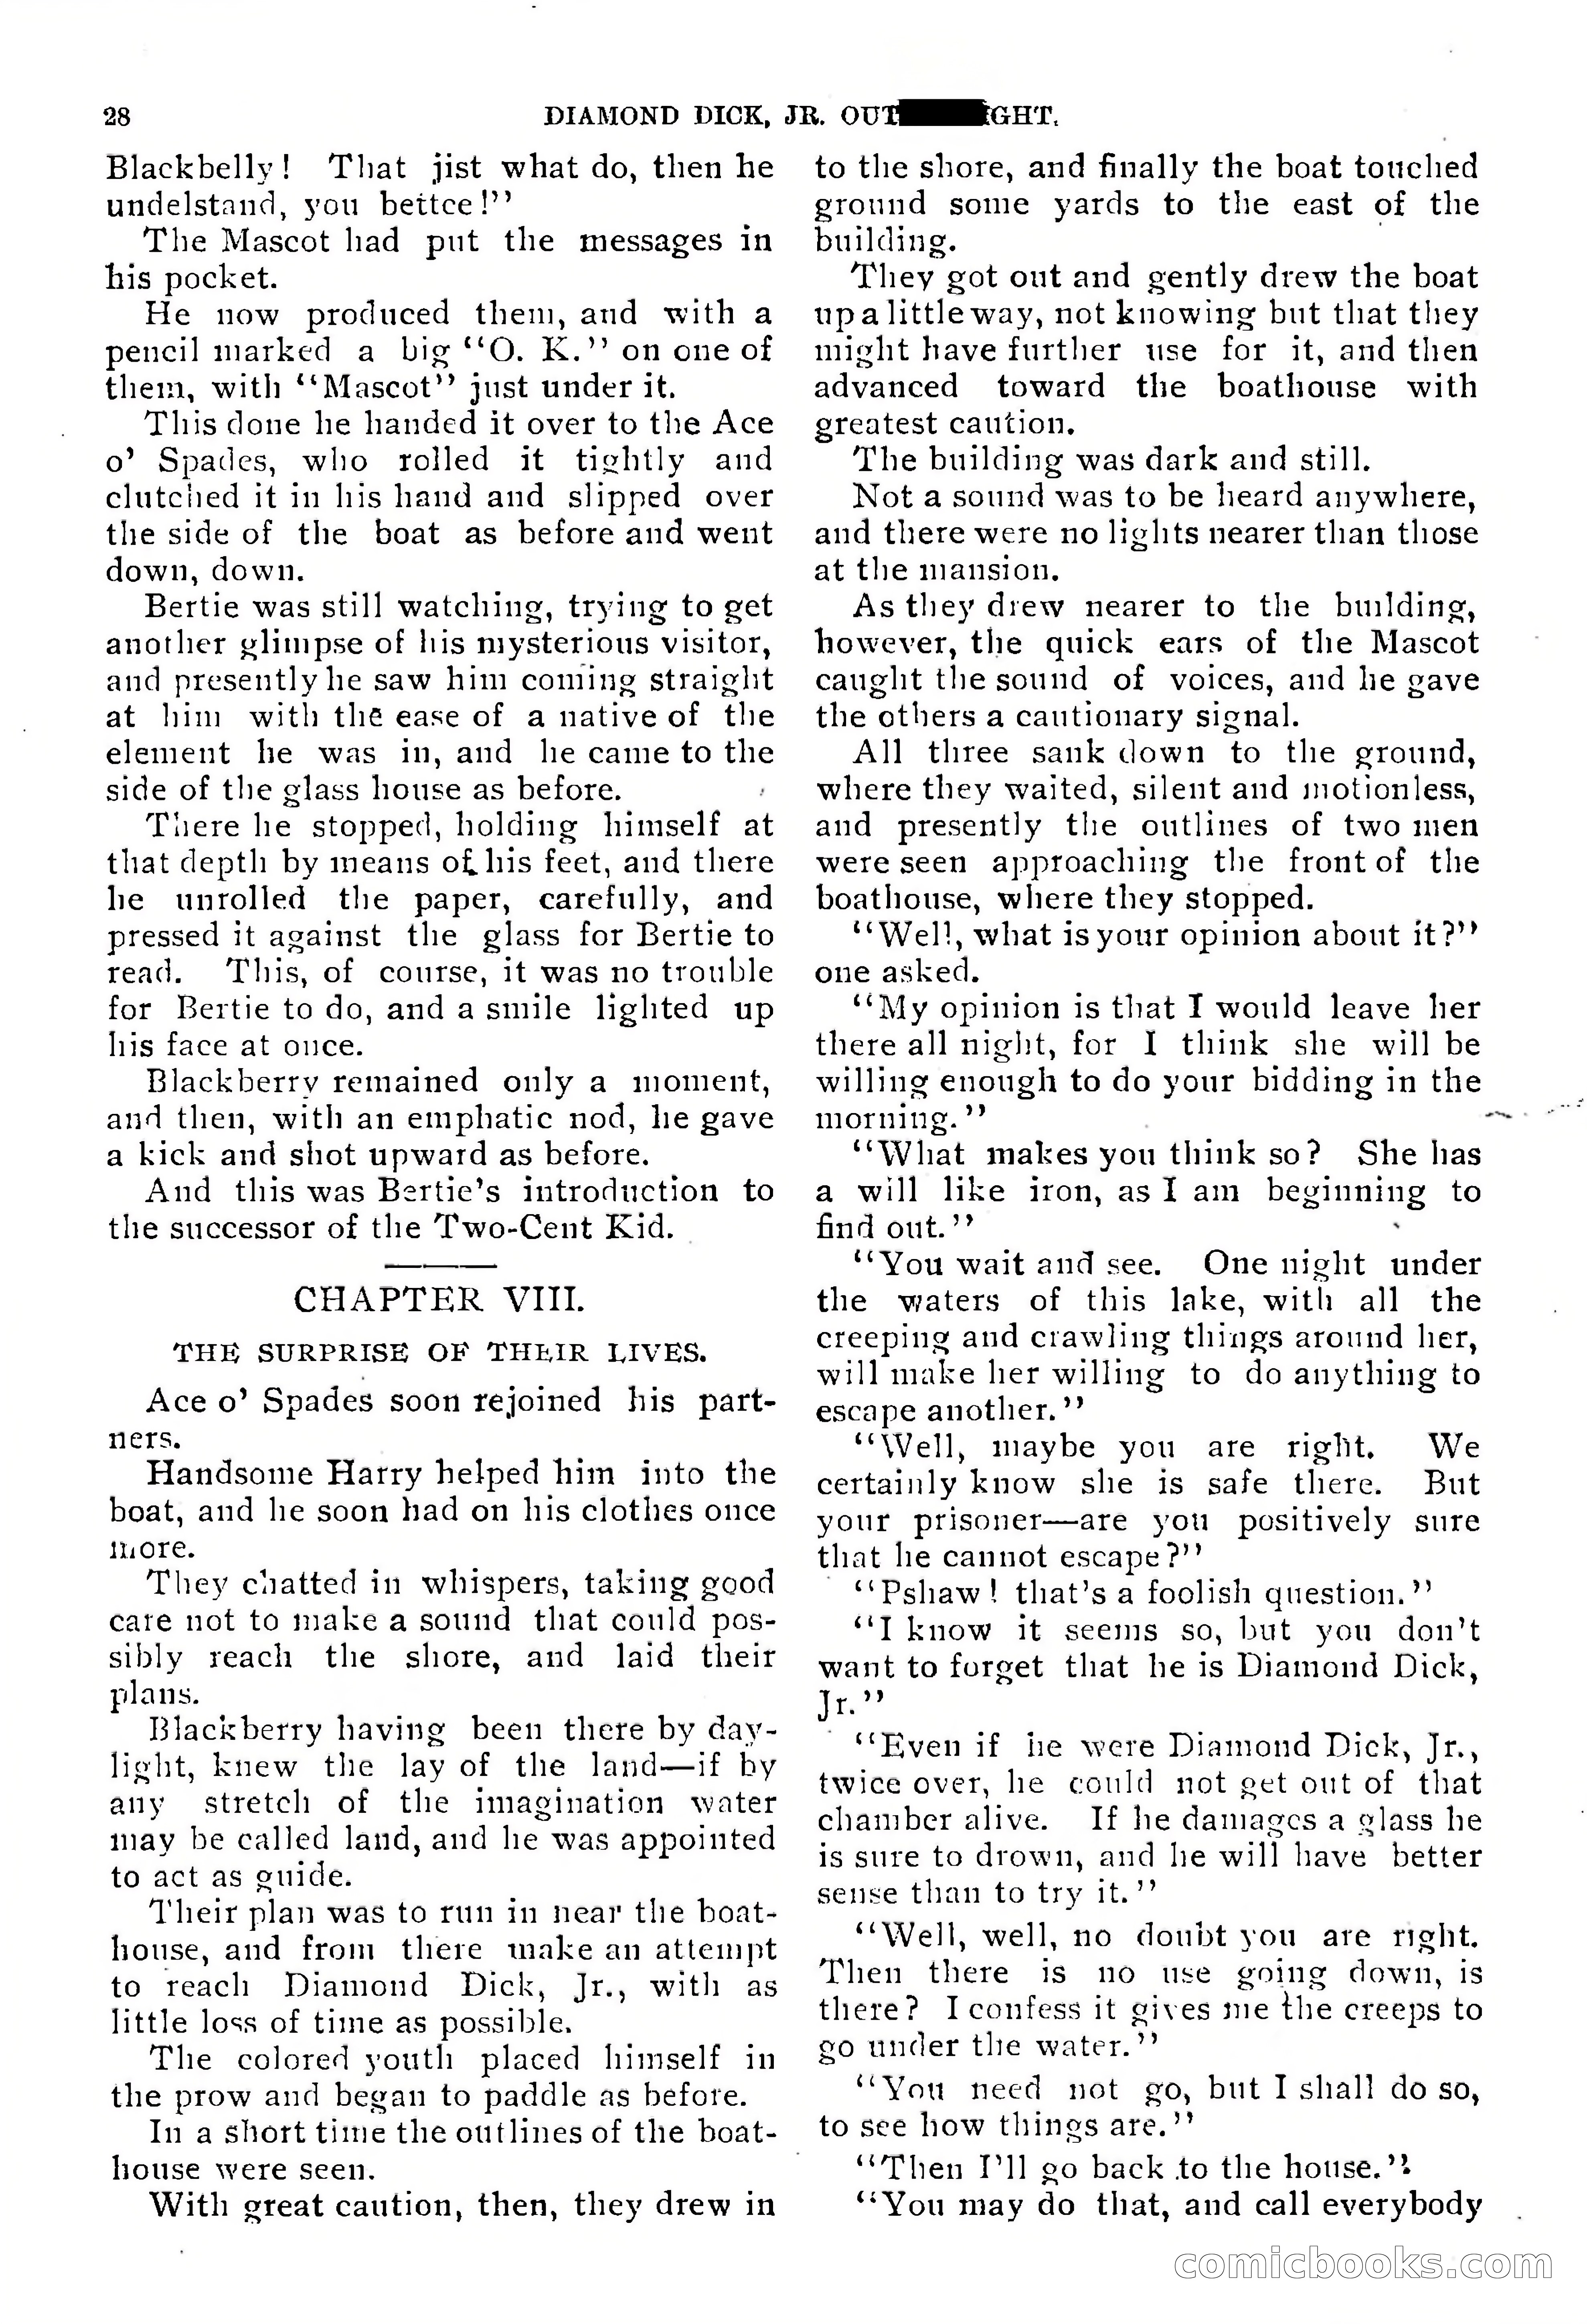
Diamond Dick, Jr.: The Boys' Best Weekly — page 29 of 37
29 / 37
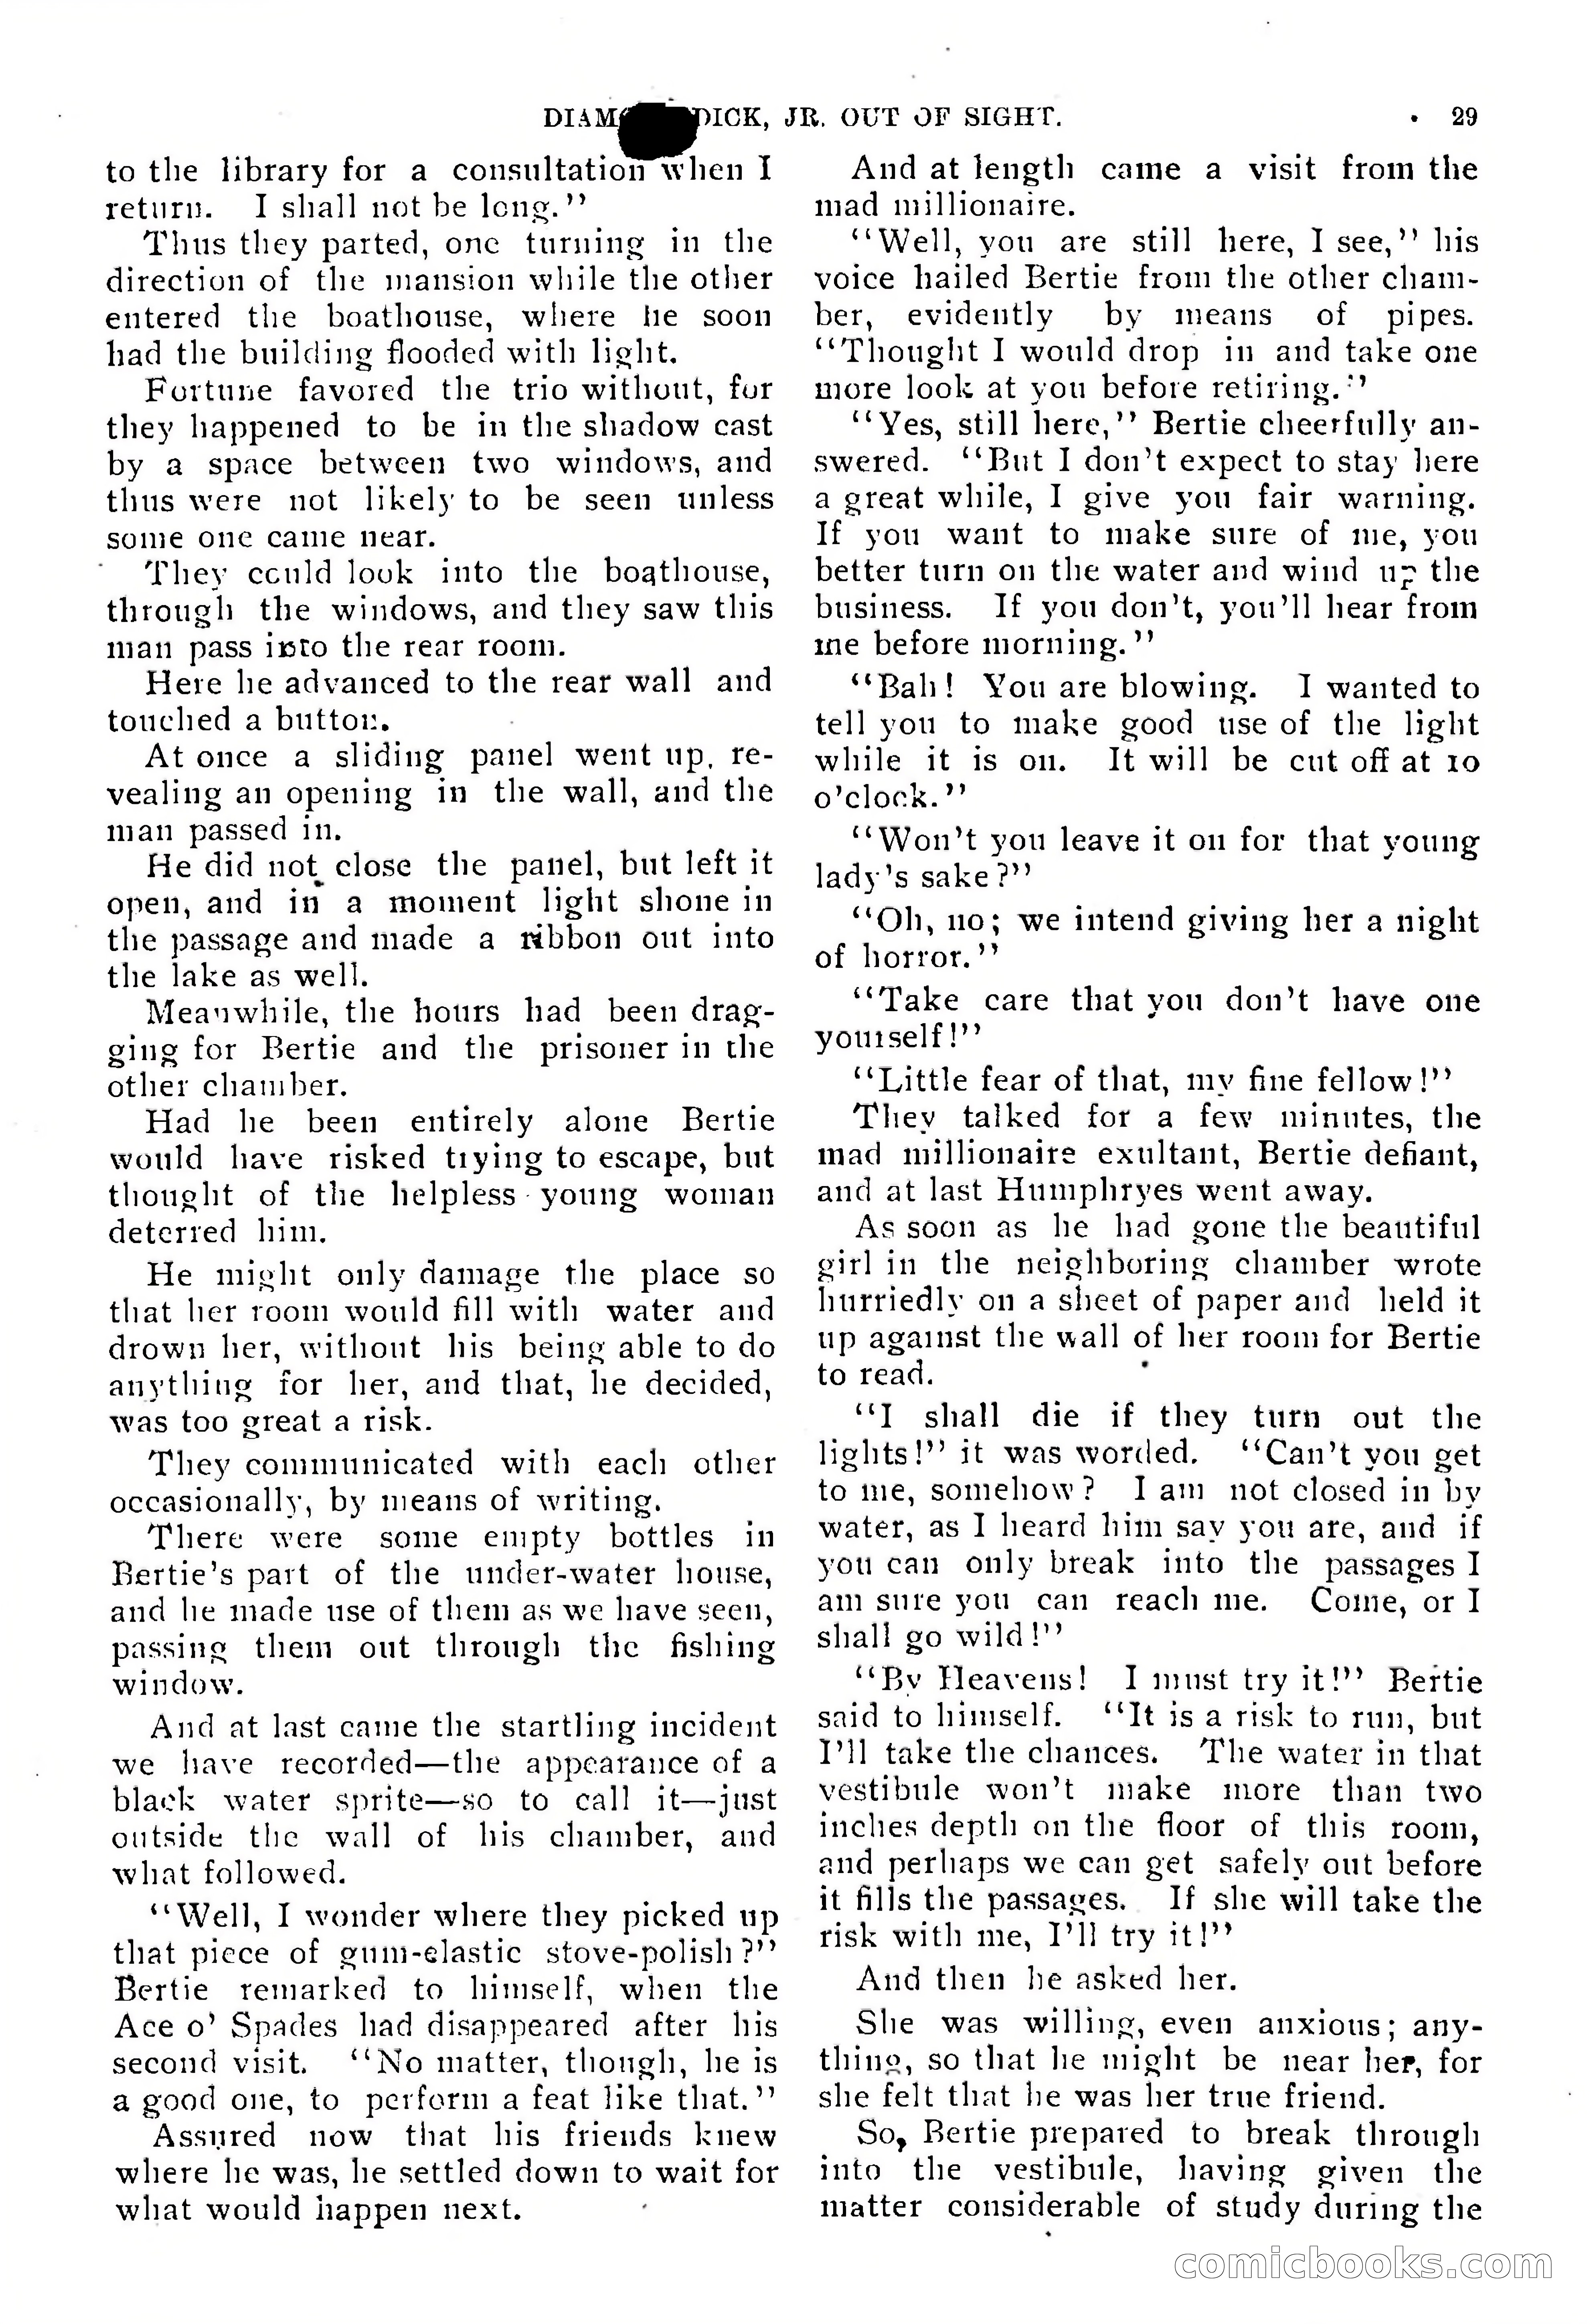
Diamond Dick, Jr.: The Boys' Best Weekly — page 30 of 37
30 / 37
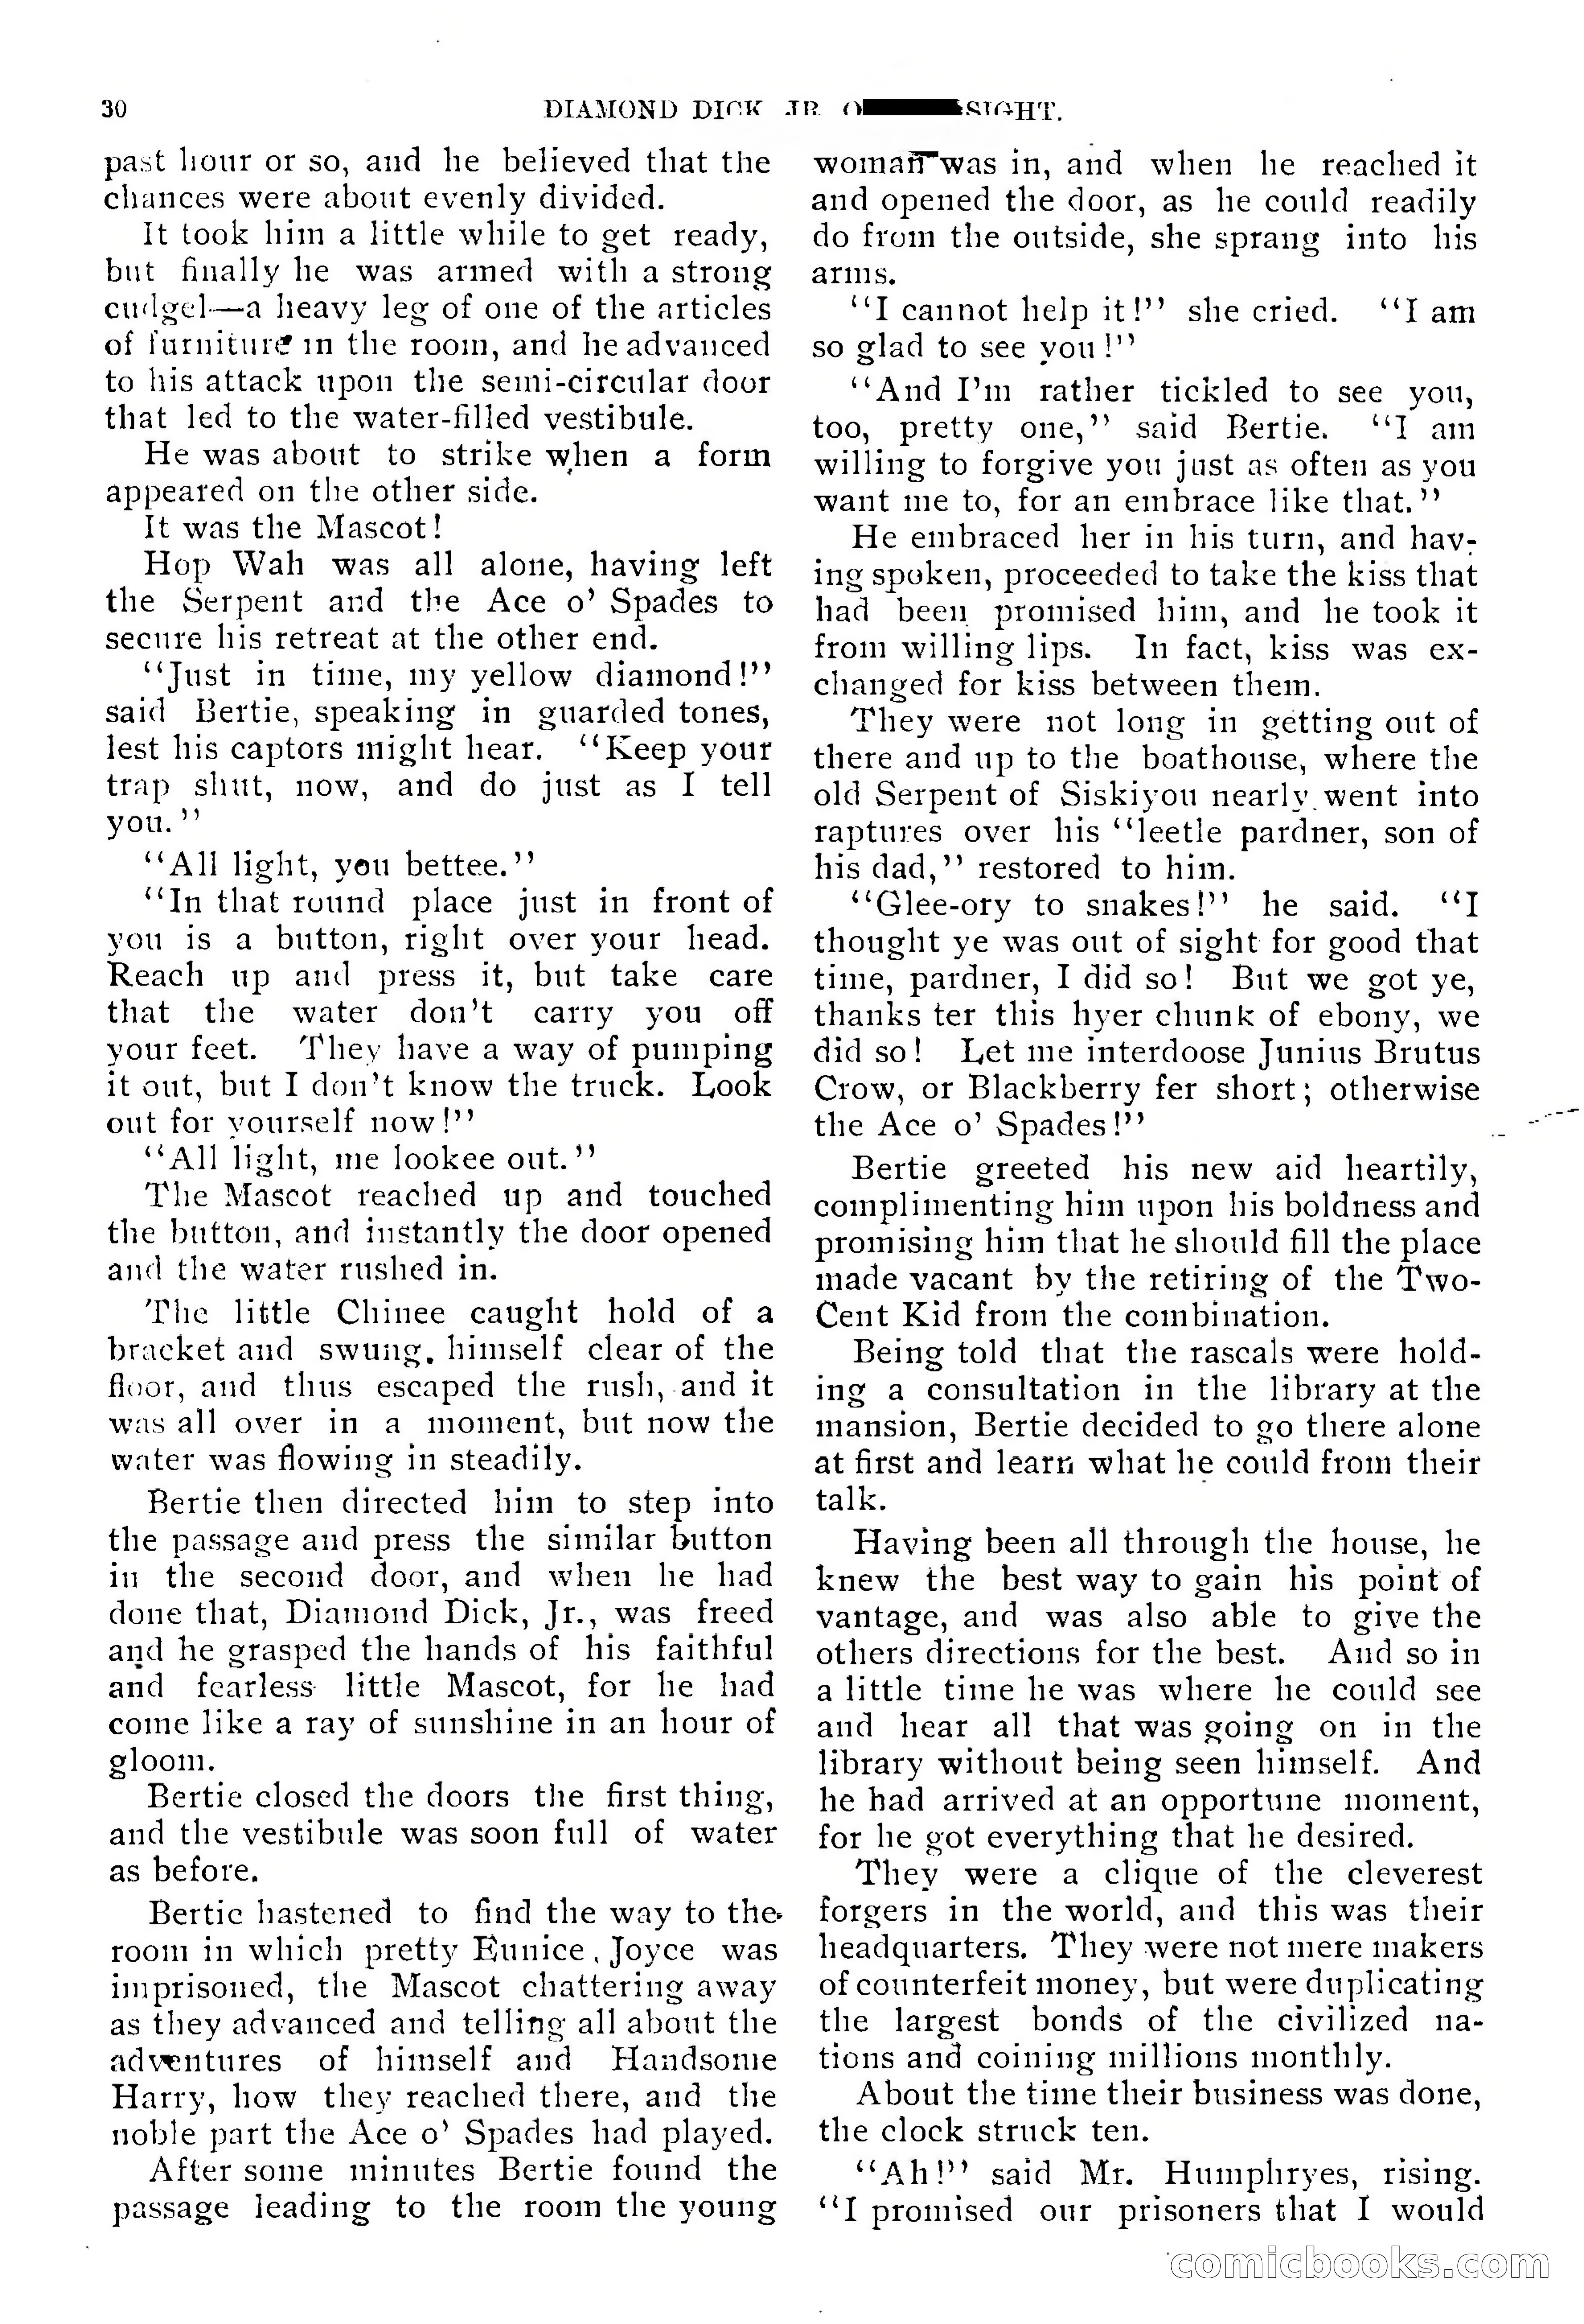
Diamond Dick, Jr.: The Boys' Best Weekly — page 31 of 37
31 / 37
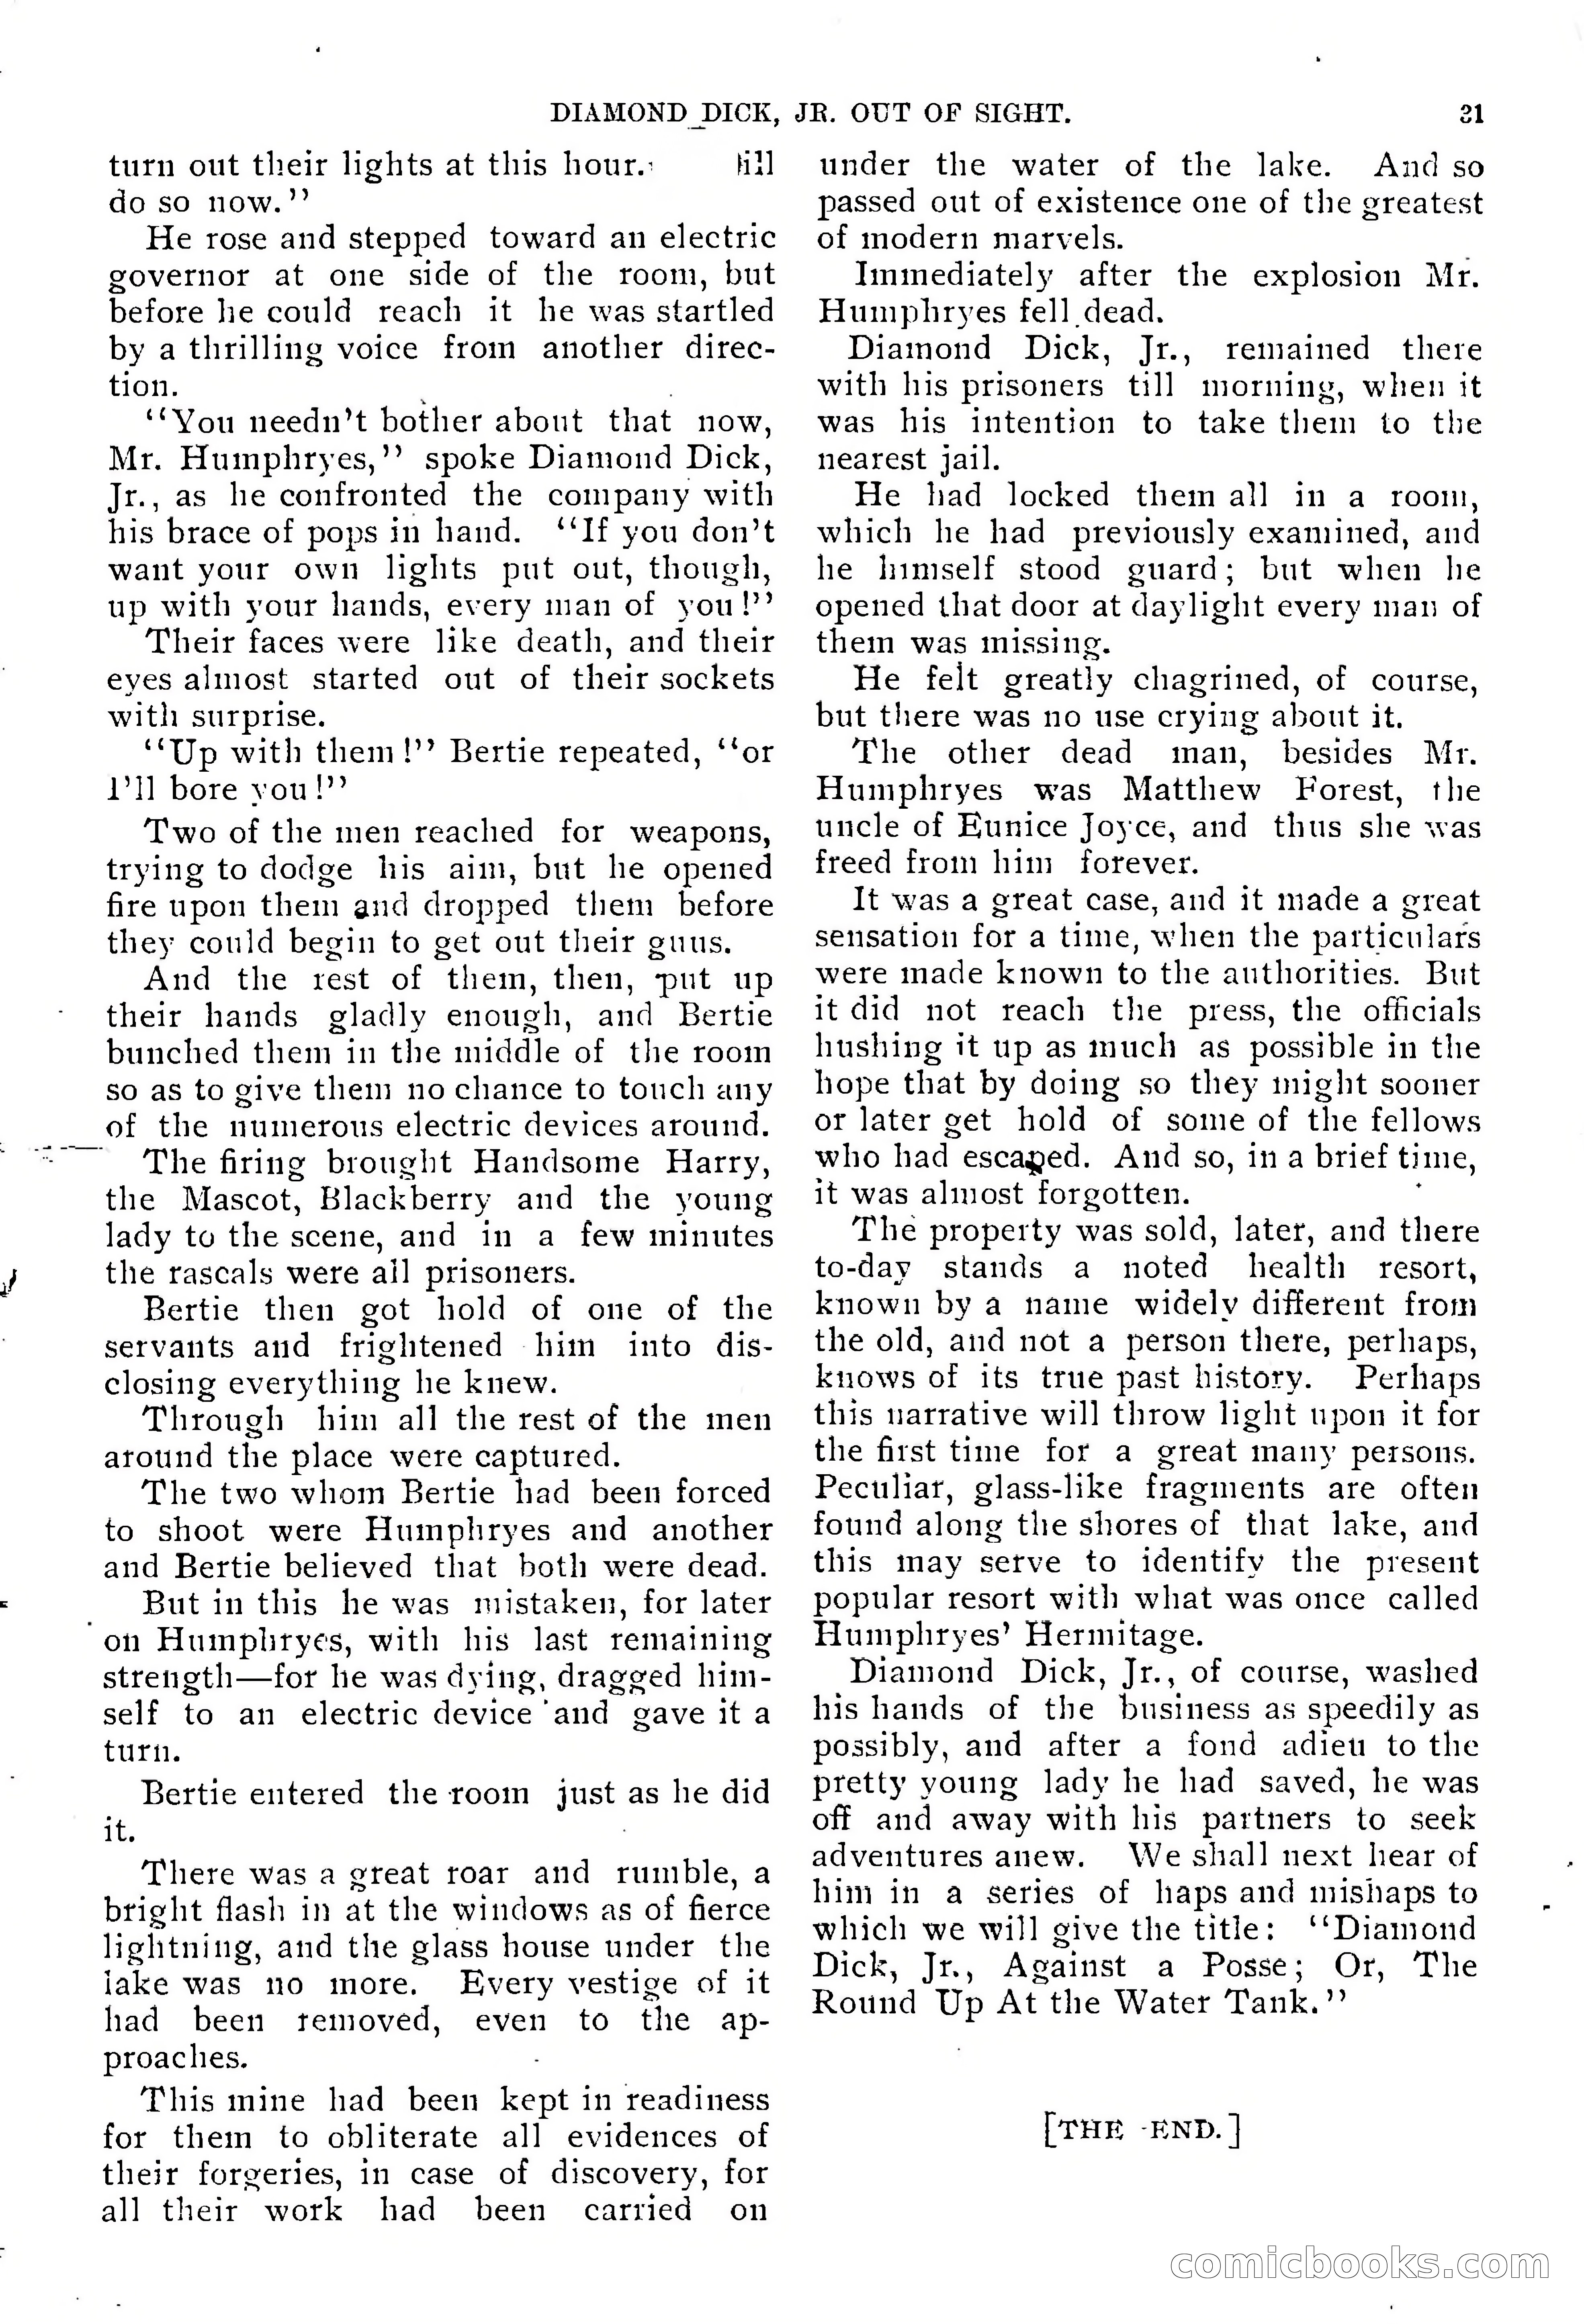
Diamond Dick, Jr.: The Boys' Best Weekly — page 32 of 37
32 / 37
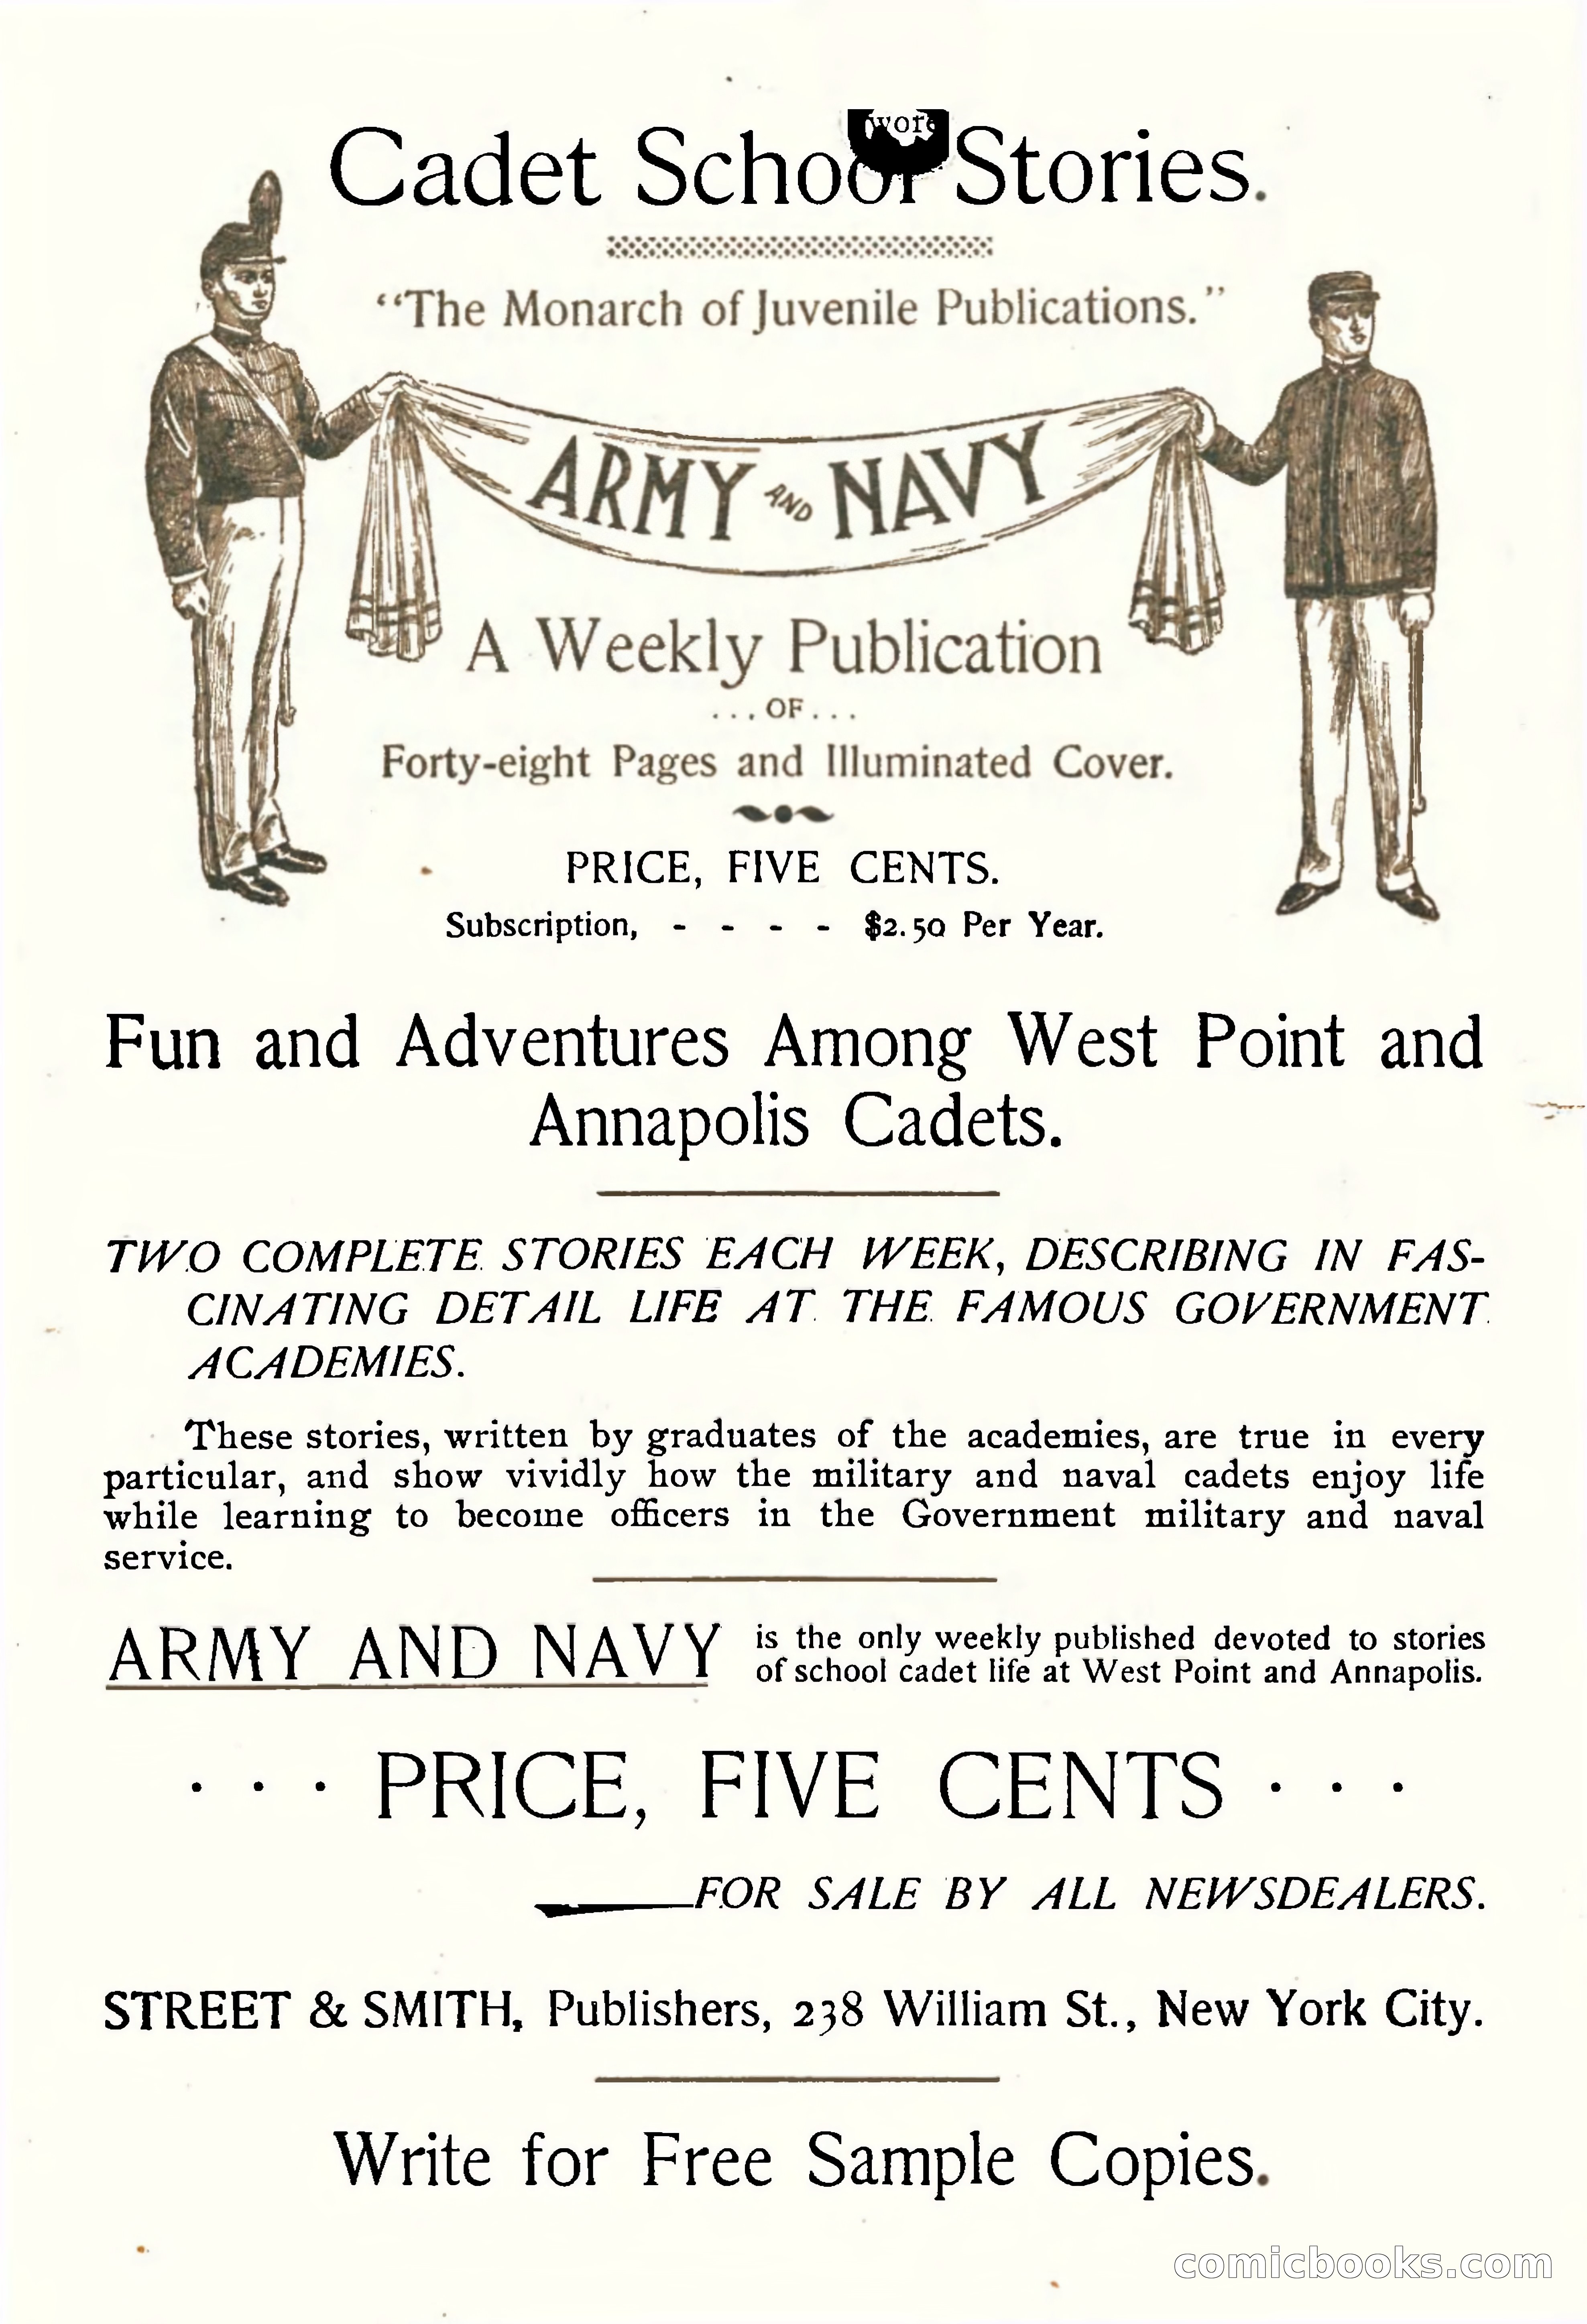
Diamond Dick, Jr.: The Boys' Best Weekly — page 33 of 37
33 / 37
Diamond Dick, Jr.: The Boys' Best Weekly — page 34 of 37

34 / 37
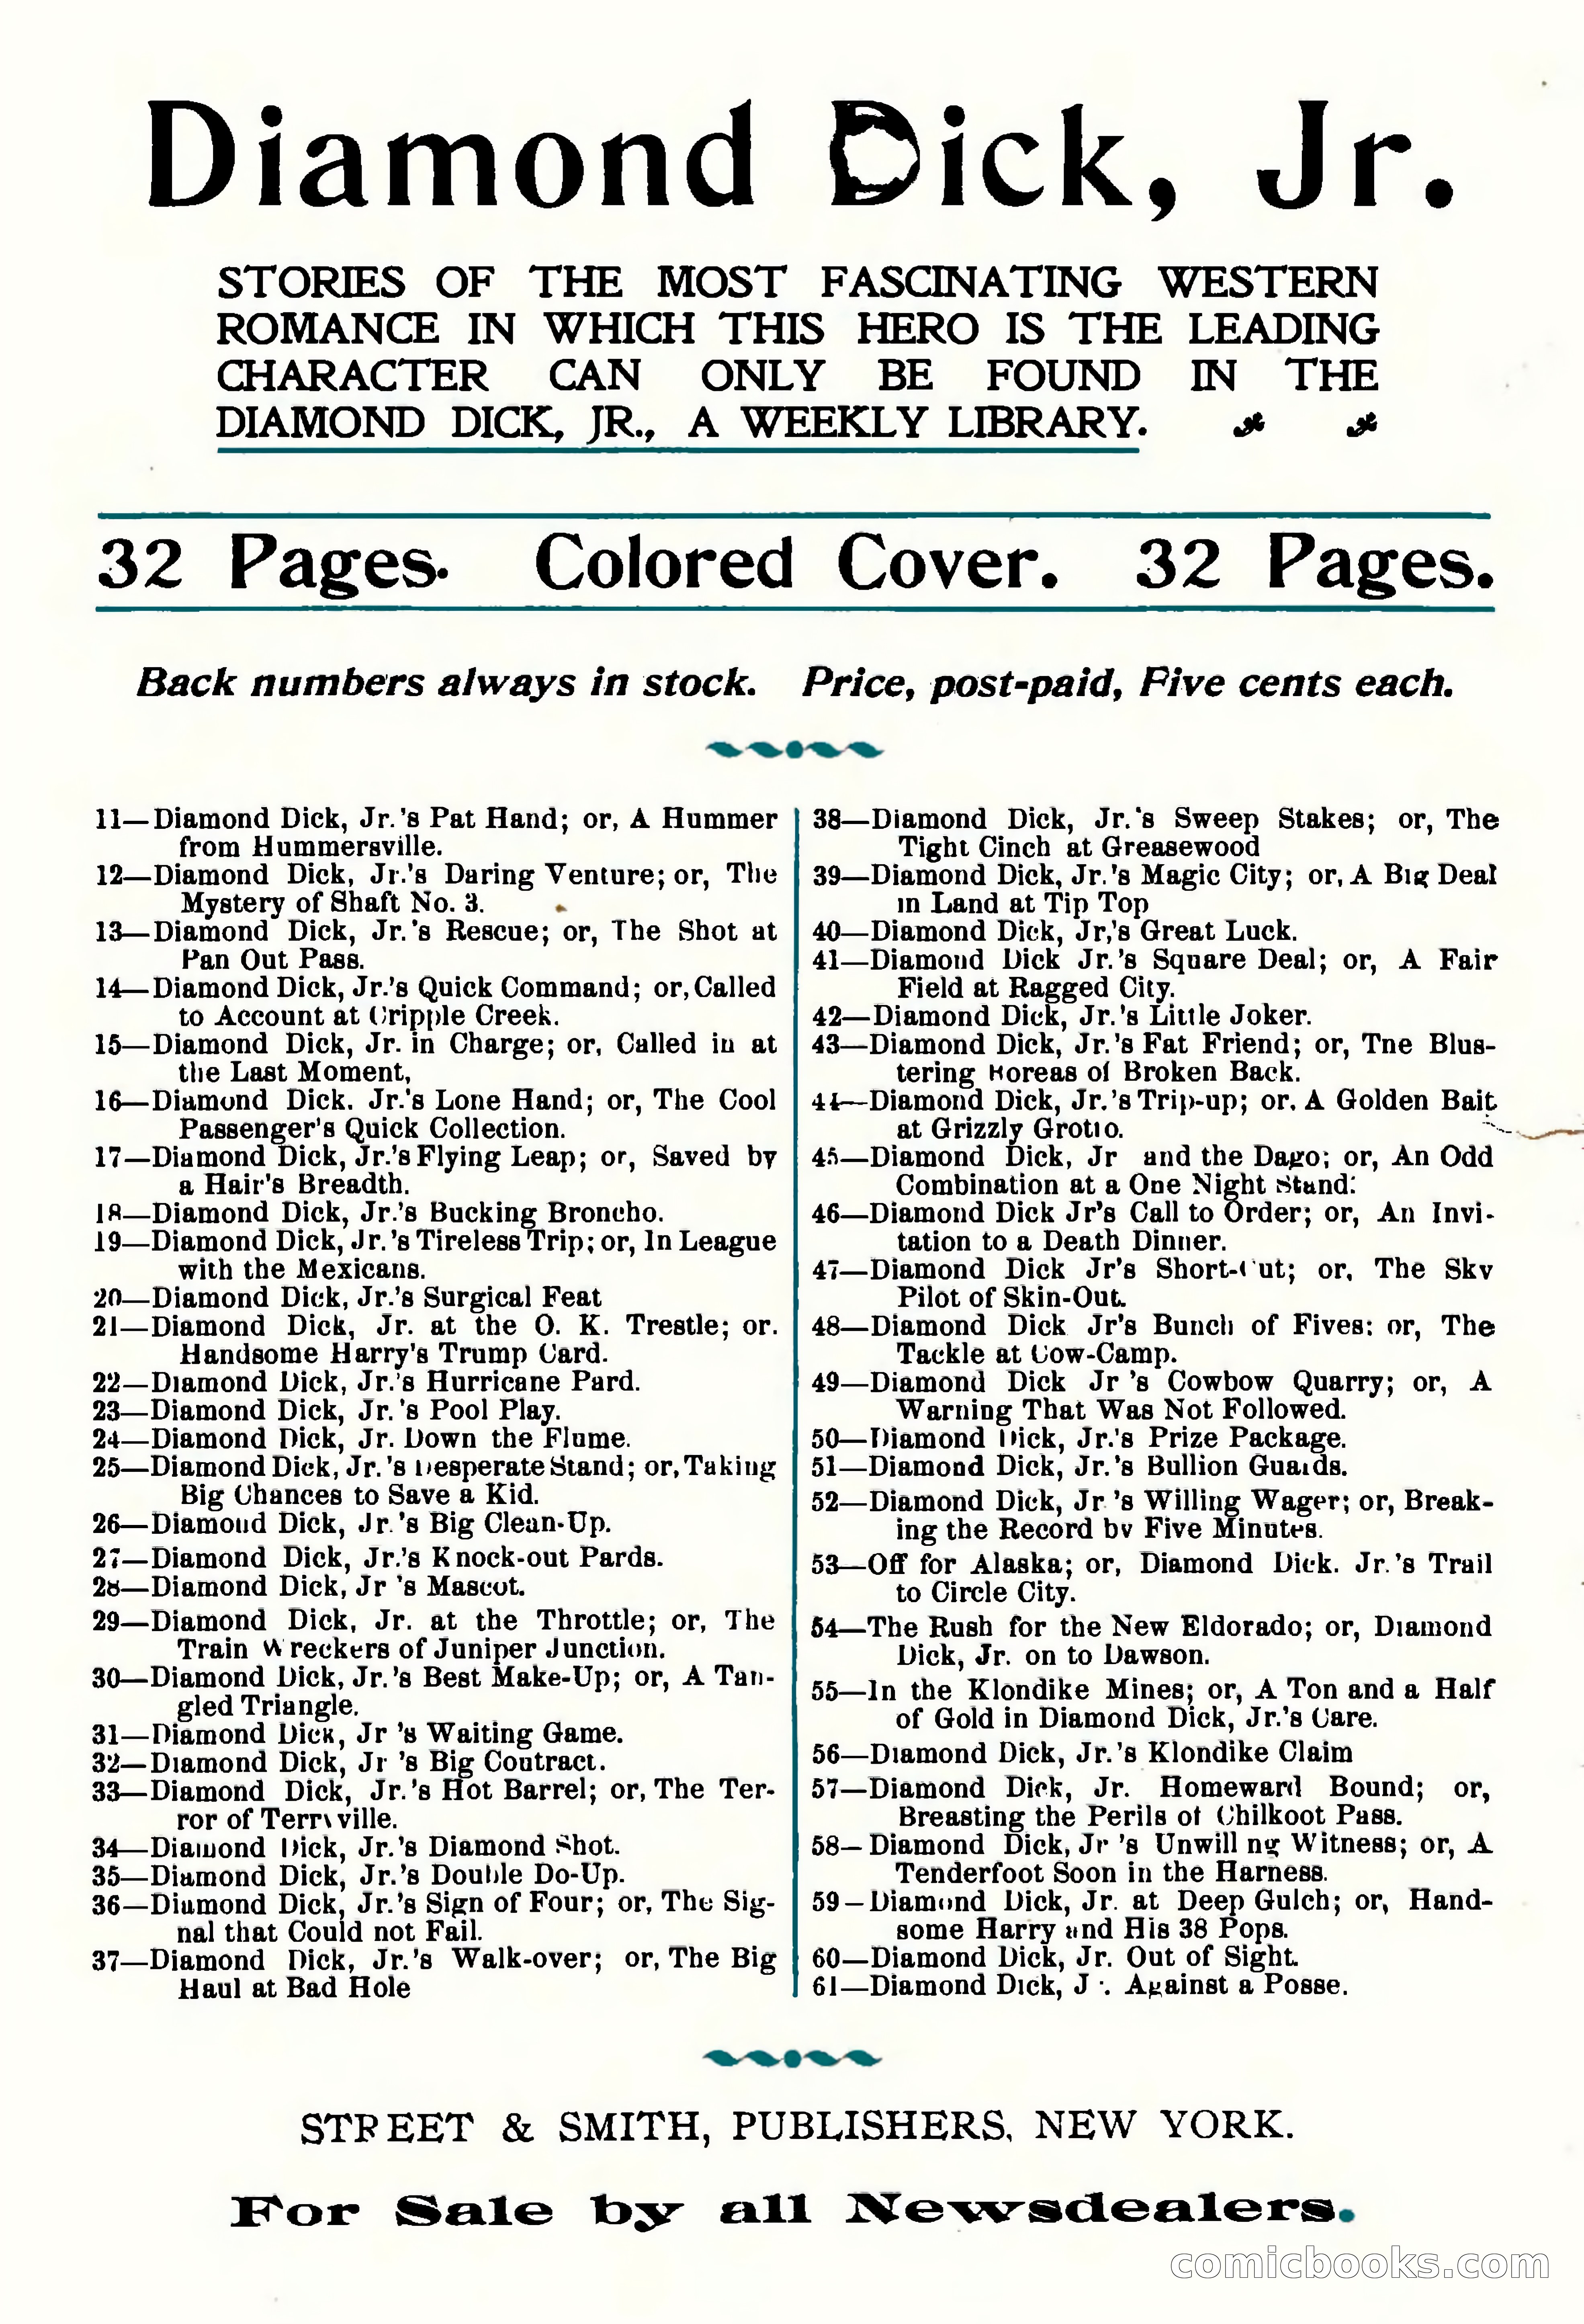
Diamond Dick, Jr.: The Boys' Best Weekly — page 35 of 37
35 / 37
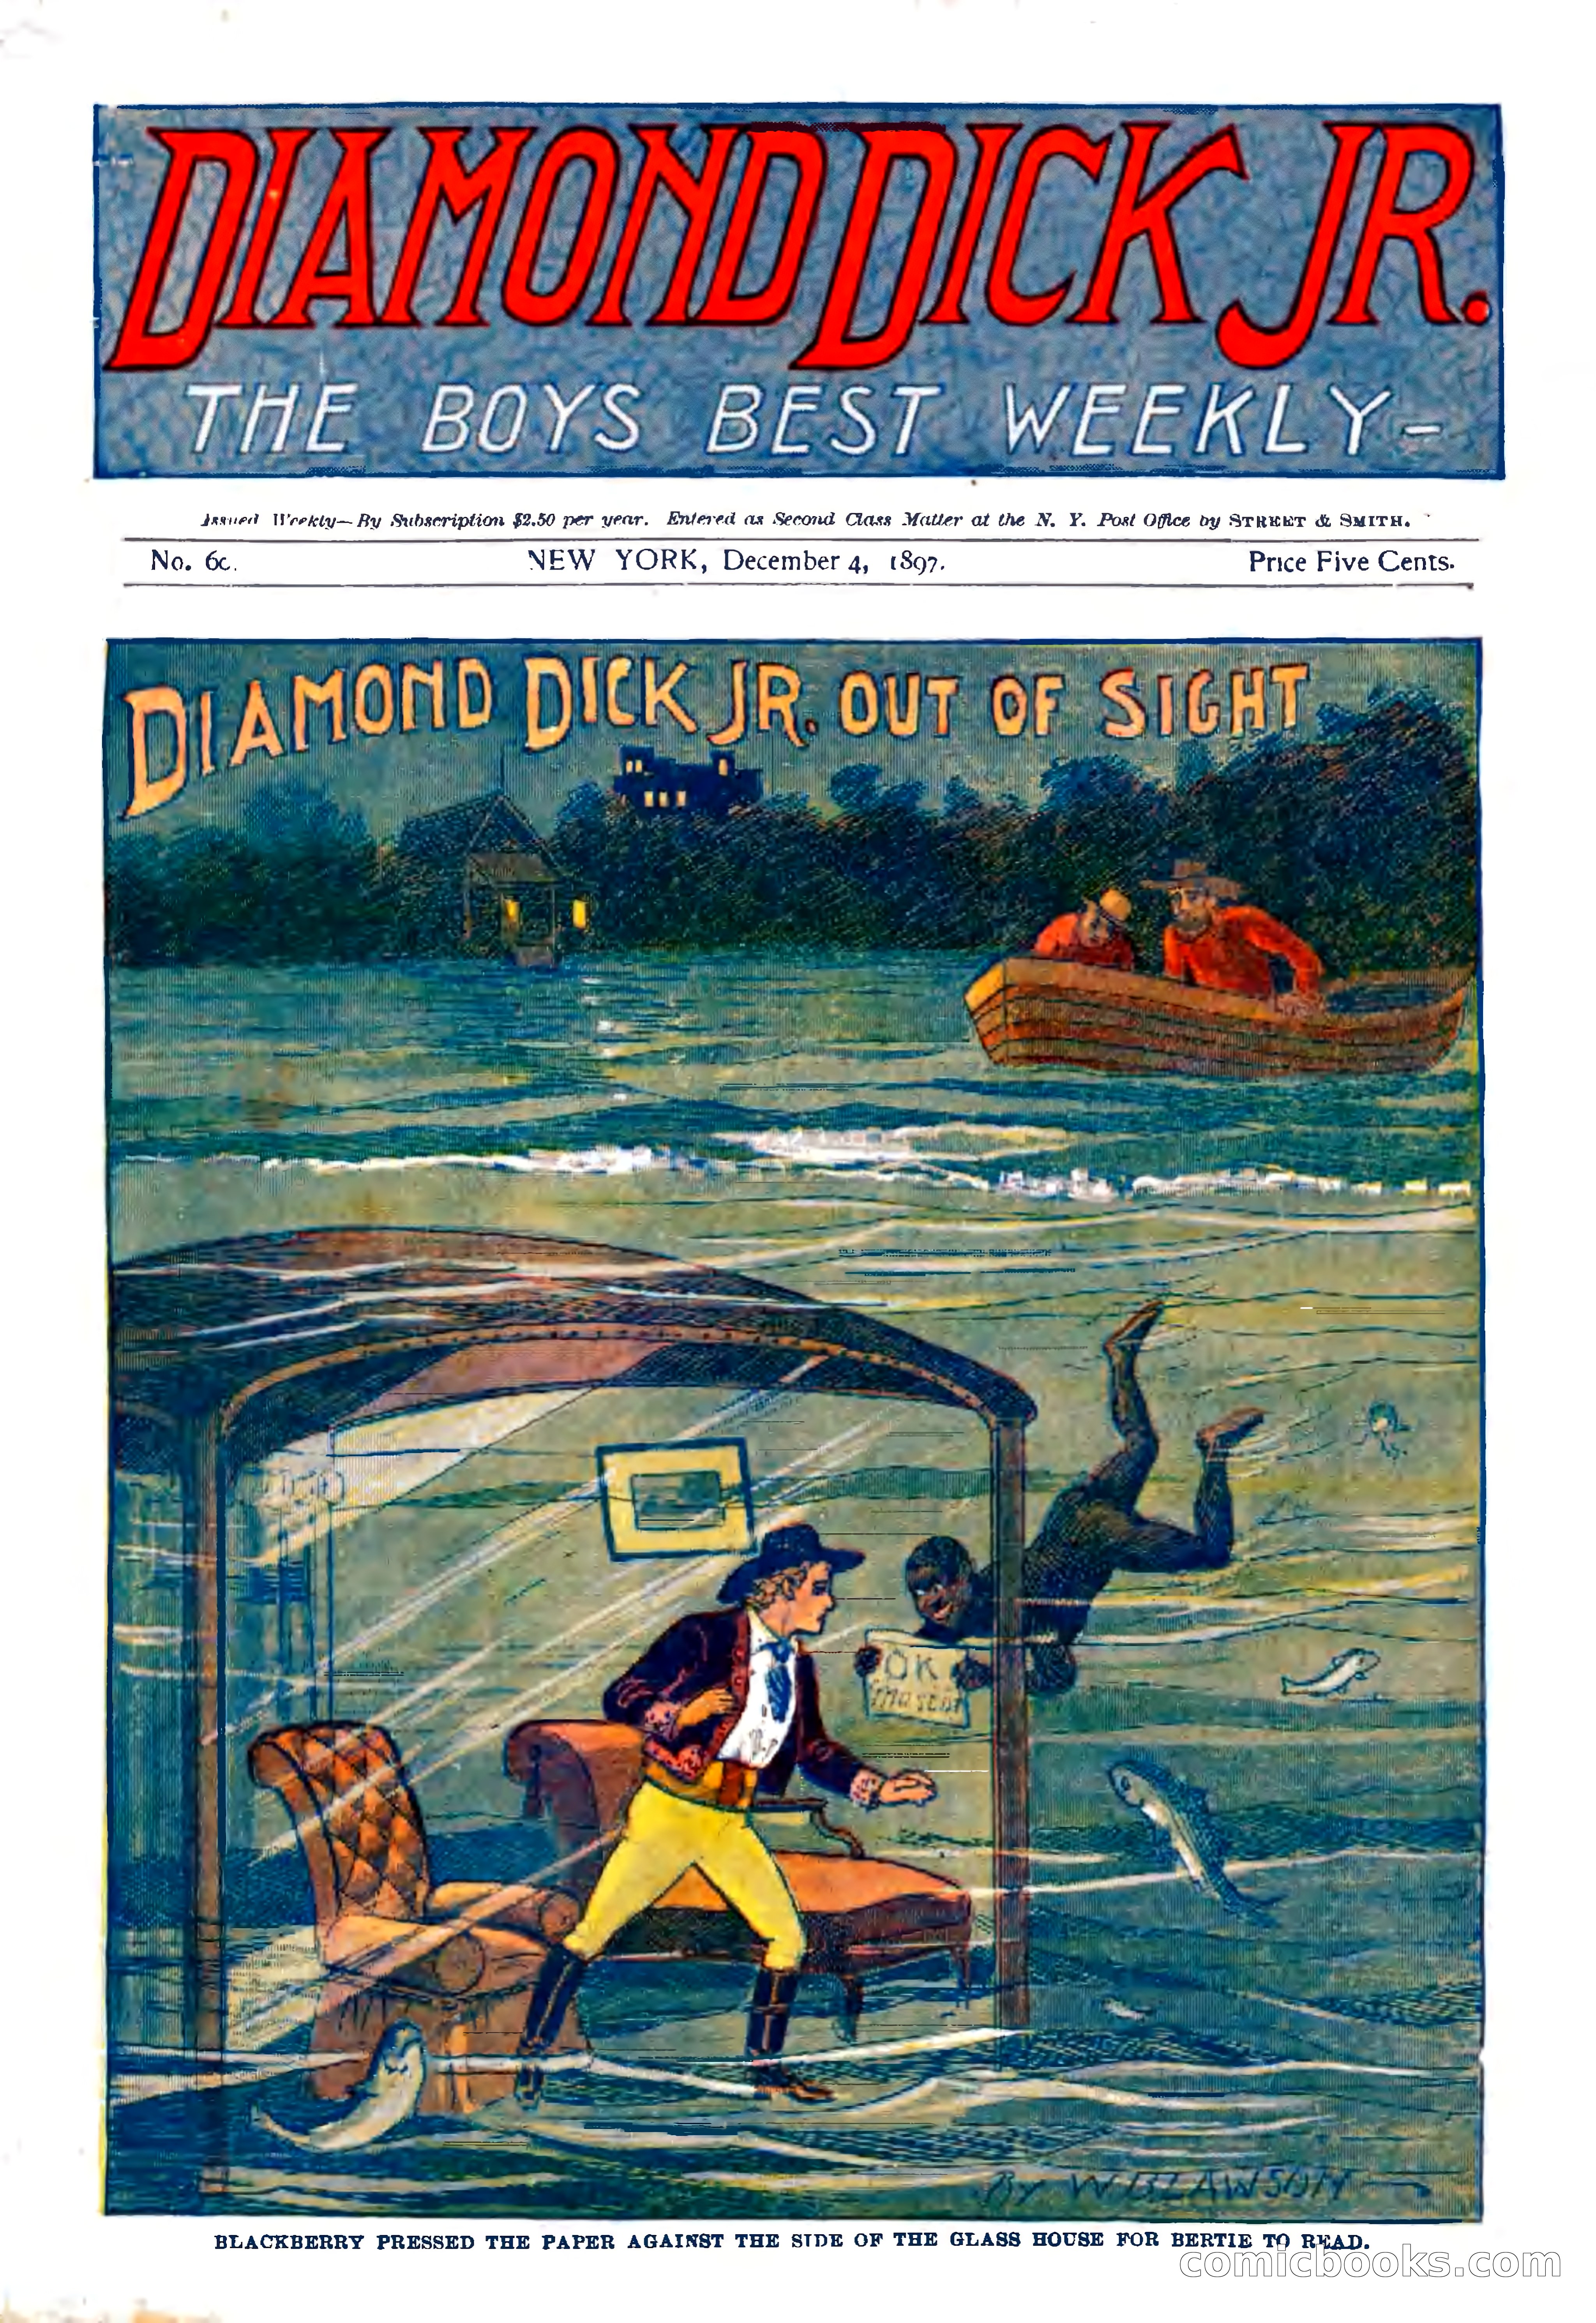
Diamond Dick, Jr.: The Boys' Best Weekly — page 36 of 37
36 / 37
Diamond Dick, Jr.: The Boys' Best Weekly — page 37 of 37
37 / 37

About this issue

This issue's serial, "The Disappearance at Lost Lake," by W. B. Lawson, follows detective hero Diamond Dick Jr. (Bertie Wade) as he becomes intrigued by suspicious arrivals at Humphryes' Hermitage, an elaborate private estate built by the eccentric millionaire Albert Humphryes on a remote mountain lake. Curious about a veiled young woman and her middle-aged companion who disembark at the private station, Bertie telegraphs his partner "the Serpent" and returns to investigate. Upon arrival at night, he encounters an automated security system: searchlights and a hidden photographer capture his image at the gate. The millionaire immediately recognizes Bertie's photograph, suggesting prior knowledge. The narrative establishes mystery surrounding the estate's unusual features, including its glass observatory, while hints of concealment and danger emerge.

In this issue

  • “Diamond Dick Jr., Out of Sight; The Disappearance at Lost Lake” by W. B. Lawson · serial · p.3

Browse this issue page by page

Each page has its own page — the cartoon, who’s in it, and what the satire means.

  1. Page 1 View this page →
  2. Page 2 View this page →
  3. Page 3 View this page →
  4. Page 4 View this page →
  5. Page 5 View this page →
  6. Page 6 View this page →
  7. Page 7 View this page →
  8. Page 8 View this page →
  9. Page 9 View this page →
  10. Page 10 View this page →
  11. Page 11 View this page →
  12. Page 12 View this page →
  13. Page 13 View this page →
  14. Page 14 View this page →
  15. Page 15 View this page →
  16. Page 16 View this page →
  17. Page 17 View this page →
  18. Page 18 View this page →
  19. Page 19 View this page →
  20. Page 20 View this page →
  21. Page 21 View this page →
  22. Page 22 View this page →
  23. Page 23 View this page →
  24. Page 24 View this page →
  25. Page 25 View this page →
  26. Page 26 View this page →
  27. Page 27 View this page →
  28. Page 28 View this page →
  29. Page 29 View this page →
  30. Page 30 View this page →
  31. Page 31 View this page →
  32. Page 32 View this page →
  33. Page 33 View this page →
  34. Page 34 View this page →
  35. Page 35 View this page →
  36. Page 36 View this page →
  37. Page 37 View this page →