
ComicBooks.com Register / Loginit's free!

A complete, restored issue of Pulp Fiction from 1899 — all 38 pages of painted-cover fiction magazines that launched science fiction, horror, and hardboiled crime, free to page through at ComicBooks.com.

← Back to Pulp Fiction All exhibitions

HomeExhibitionPulp FictionRead

A complete issue · 38 pages · 1899

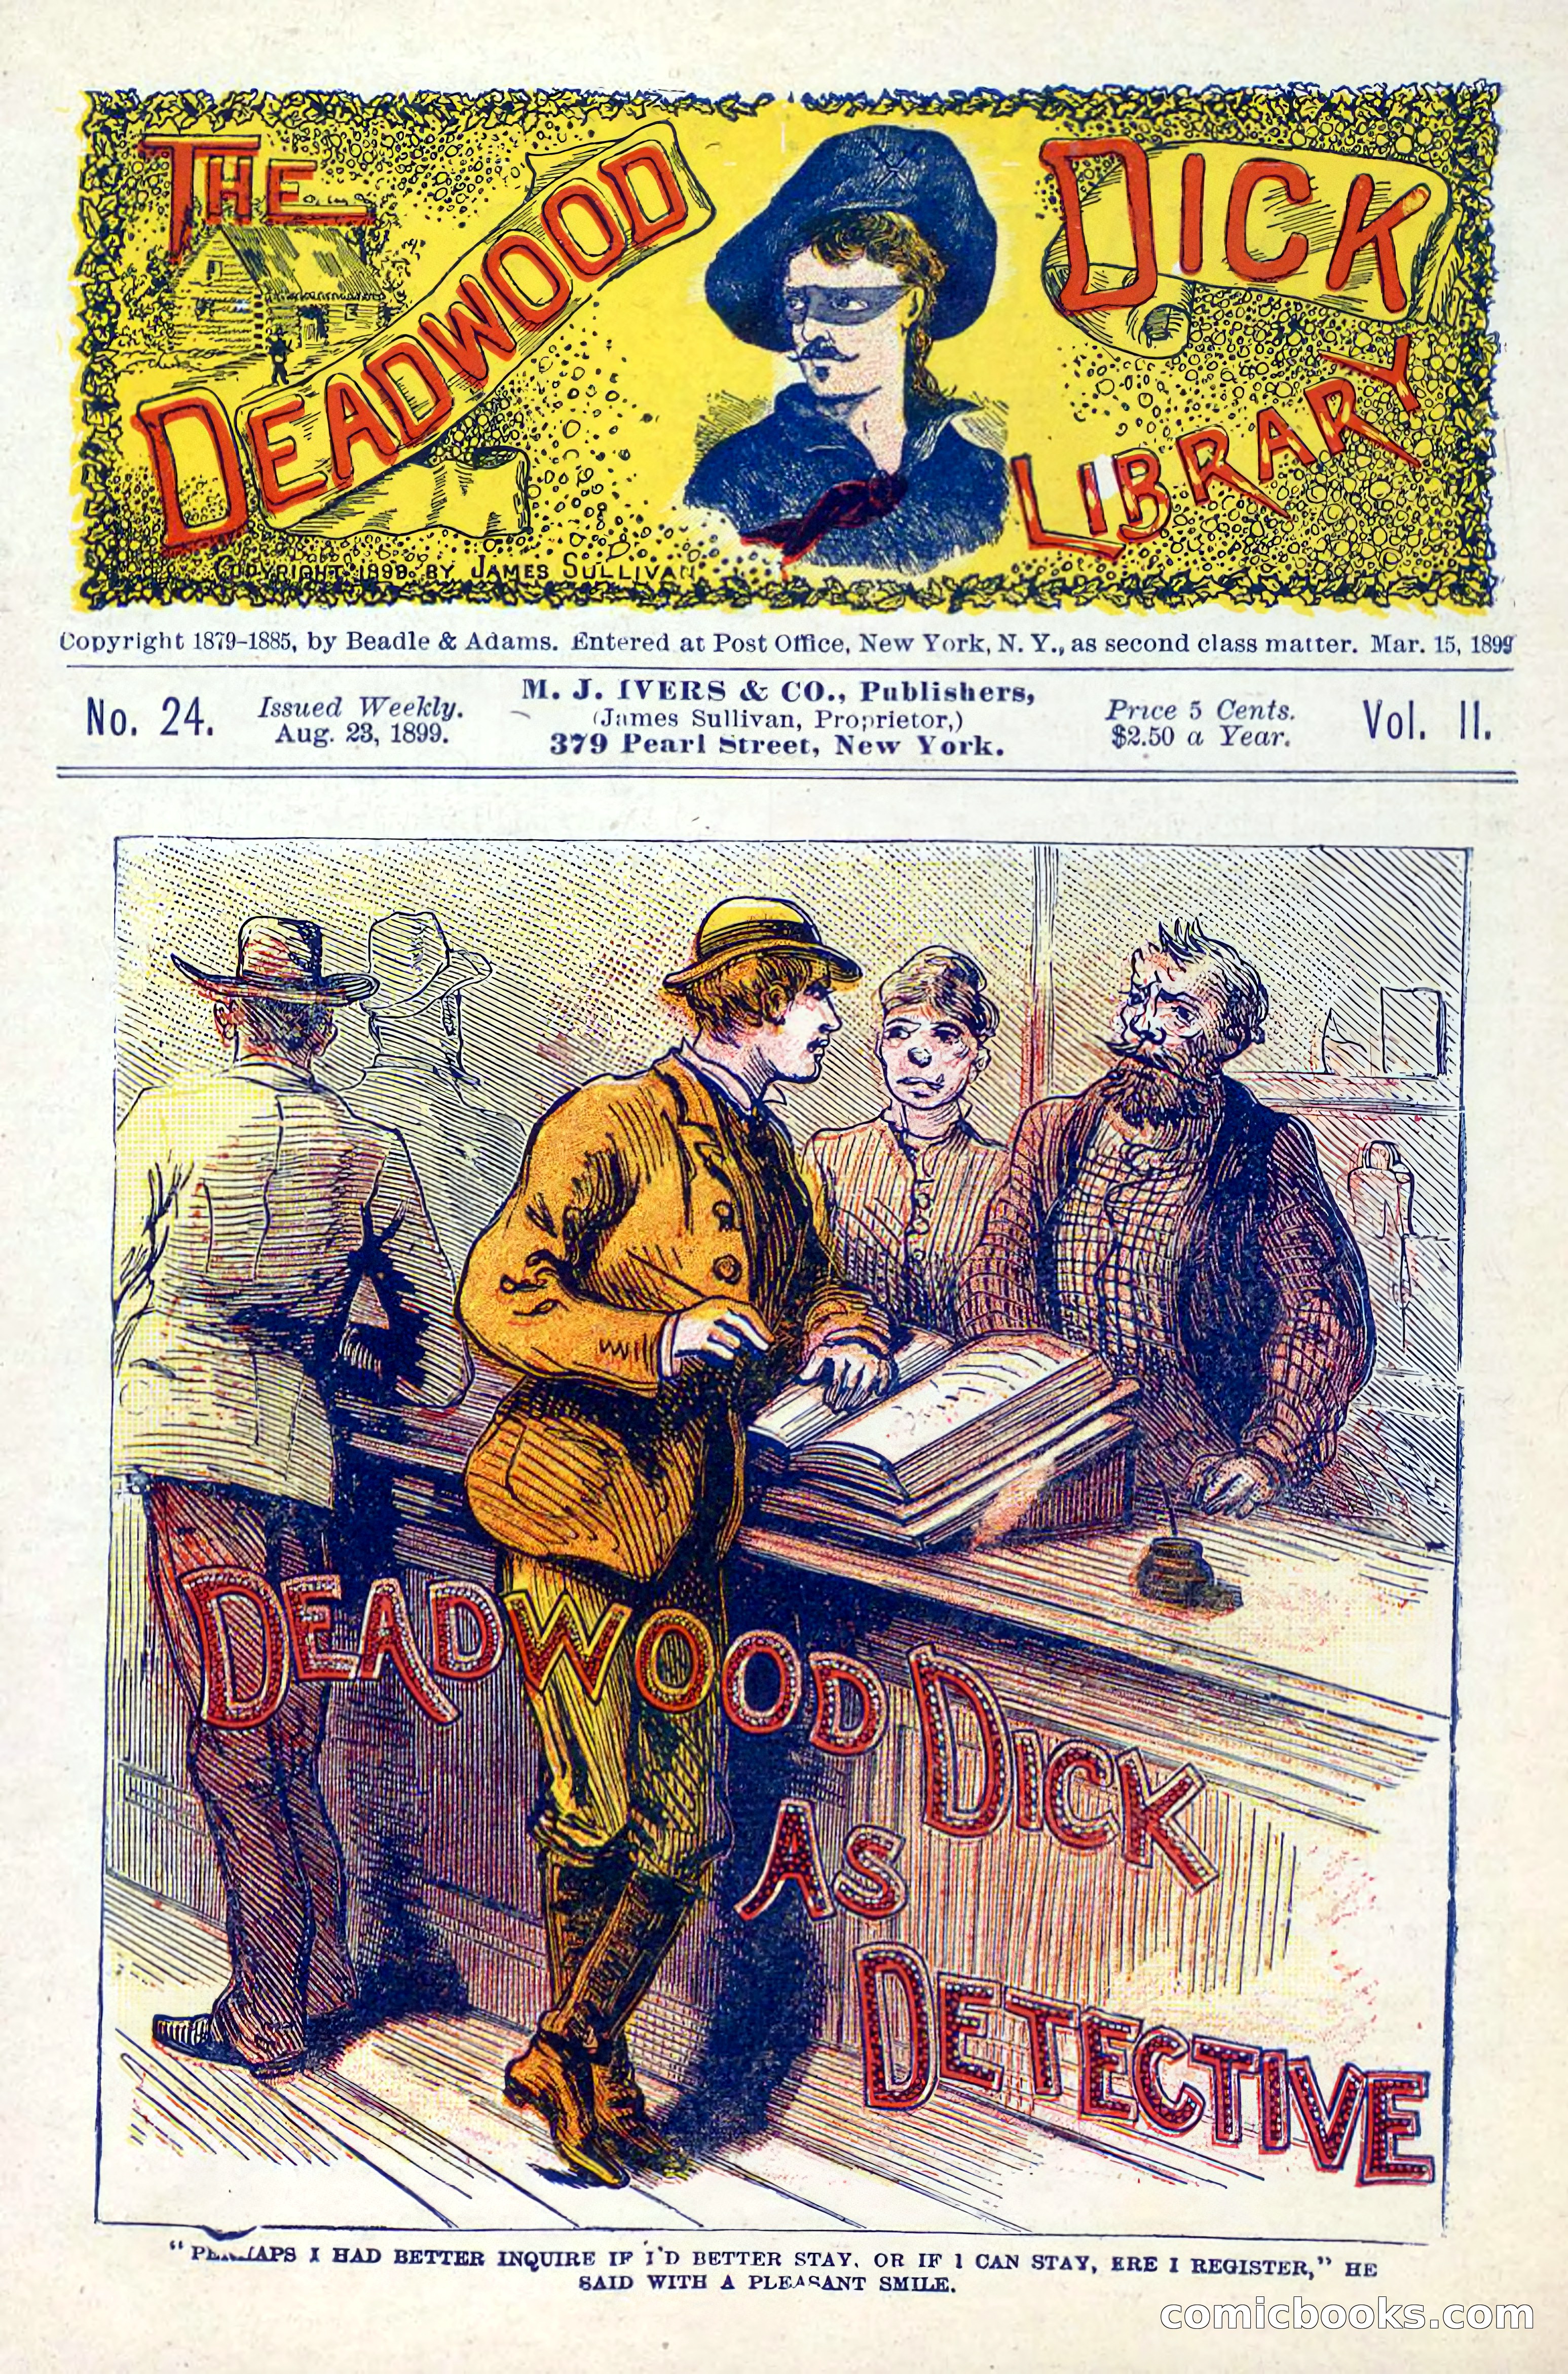
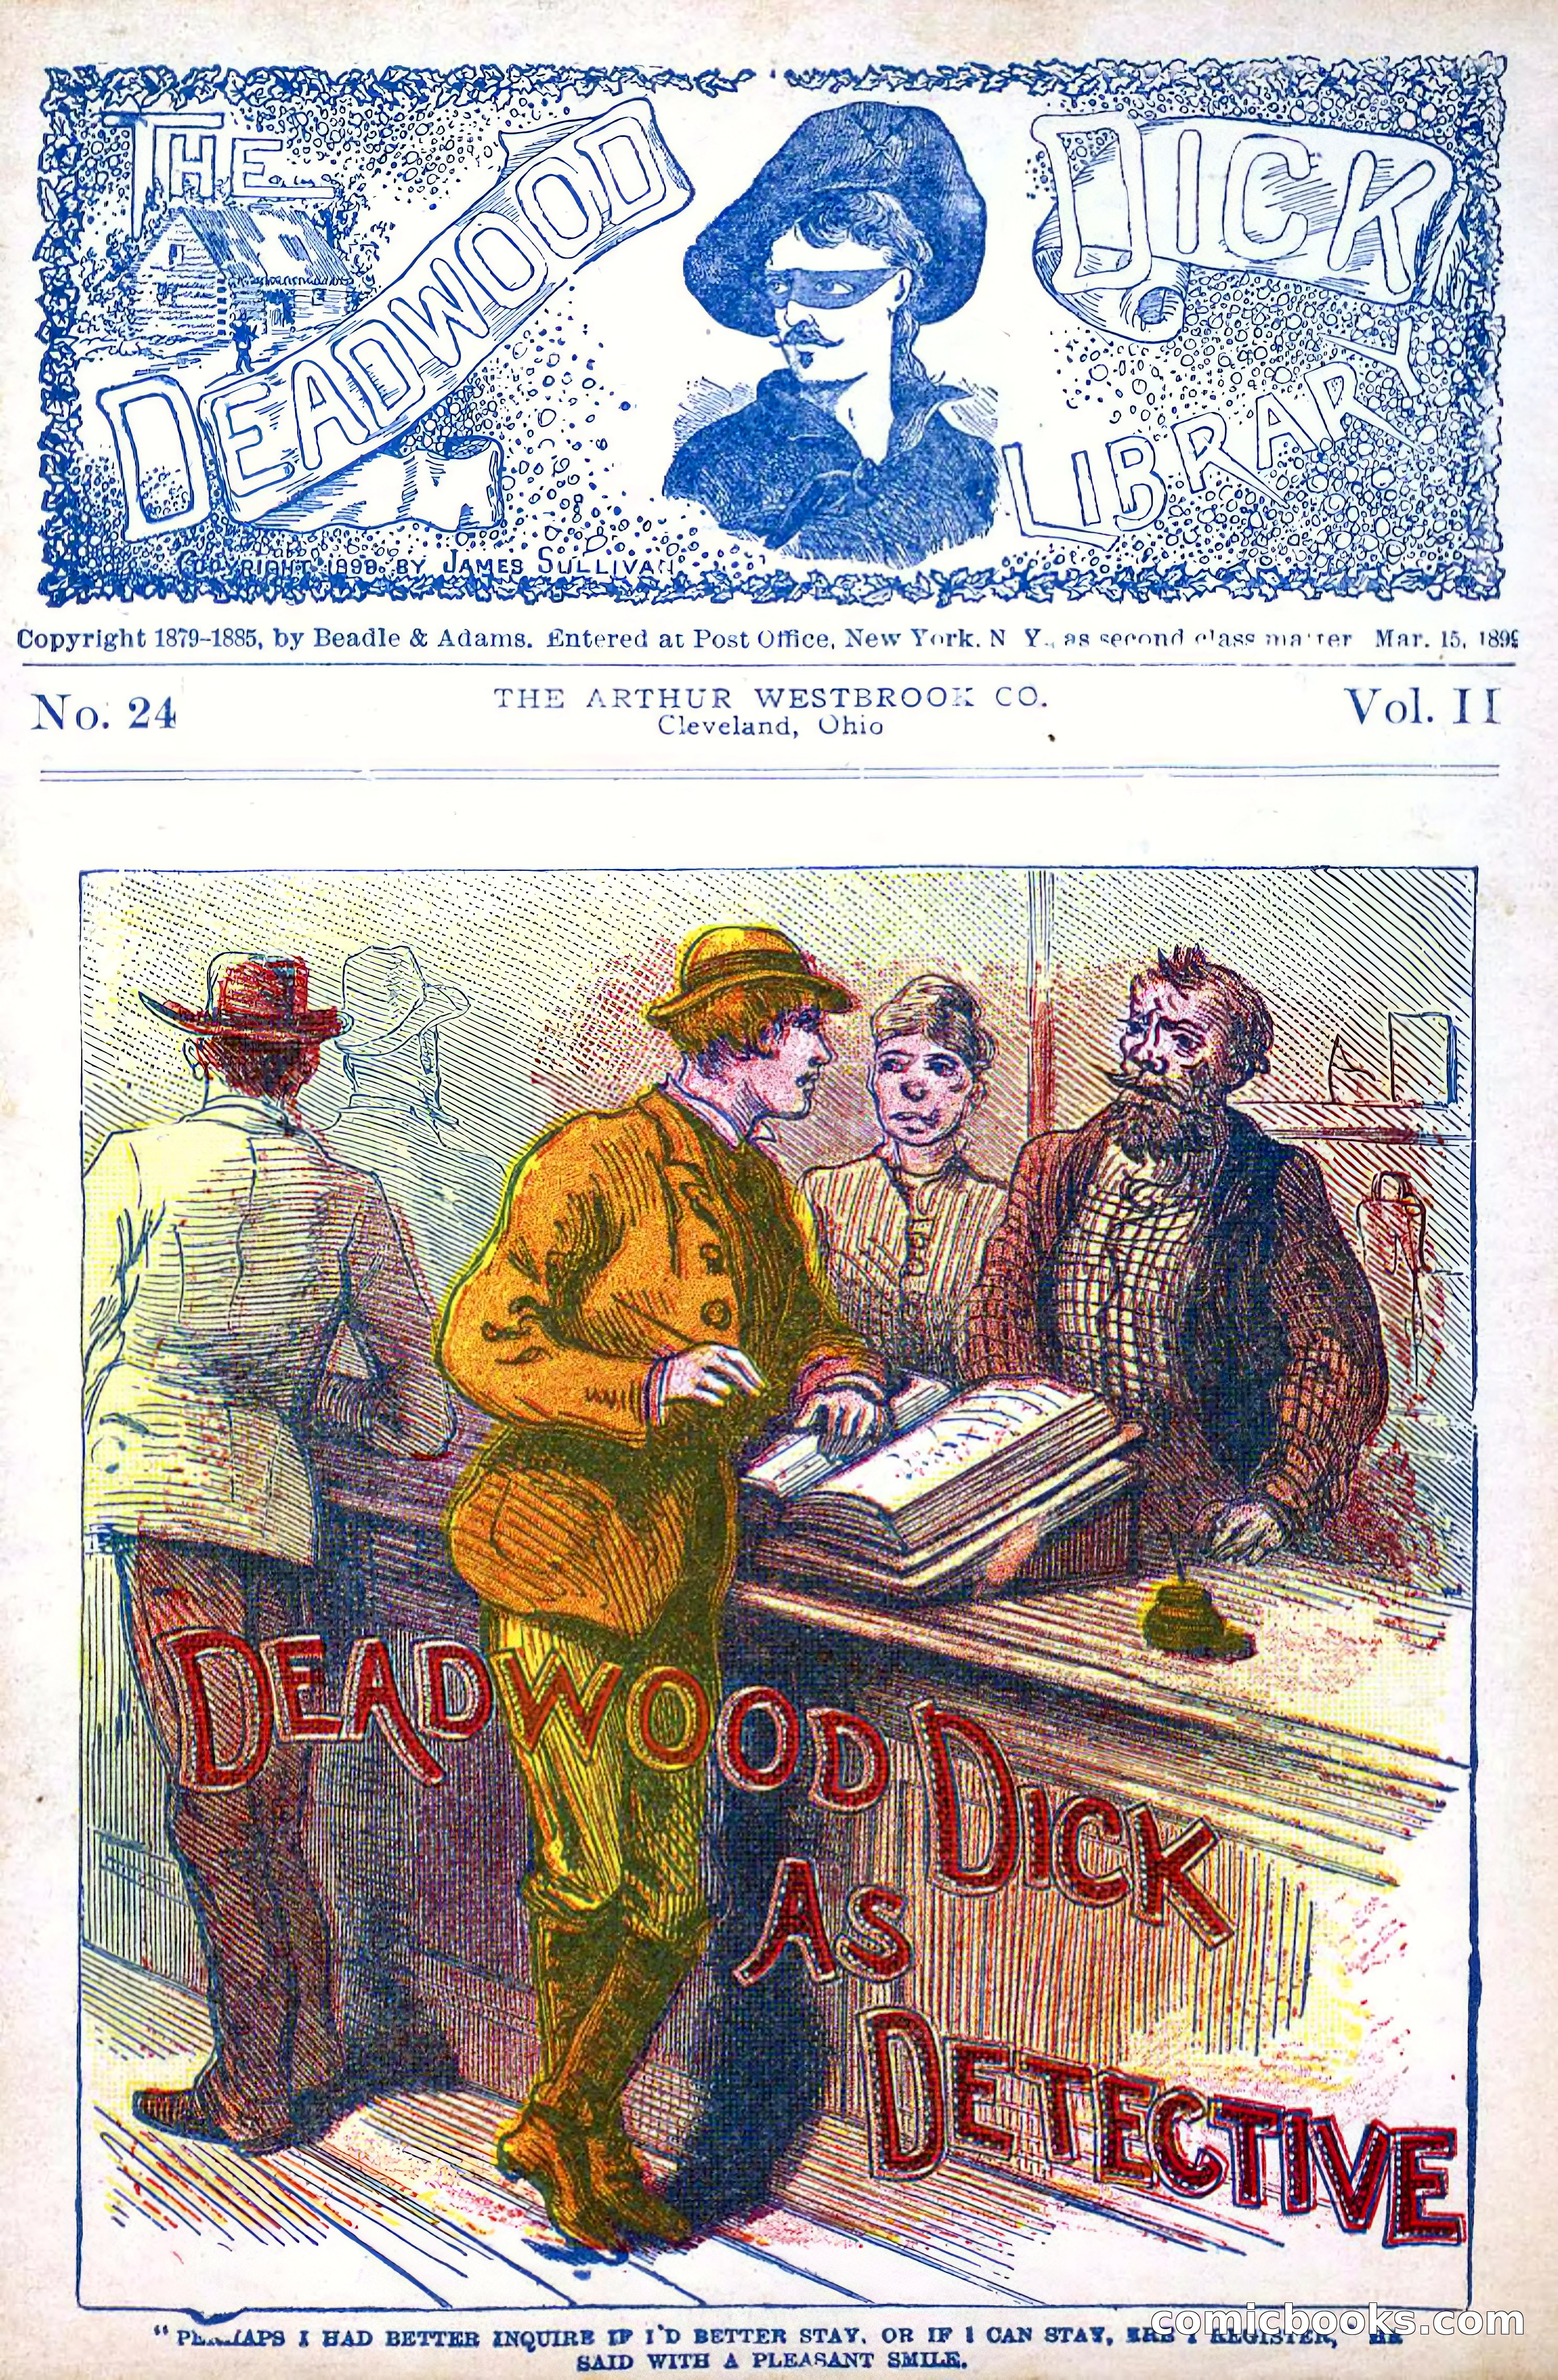
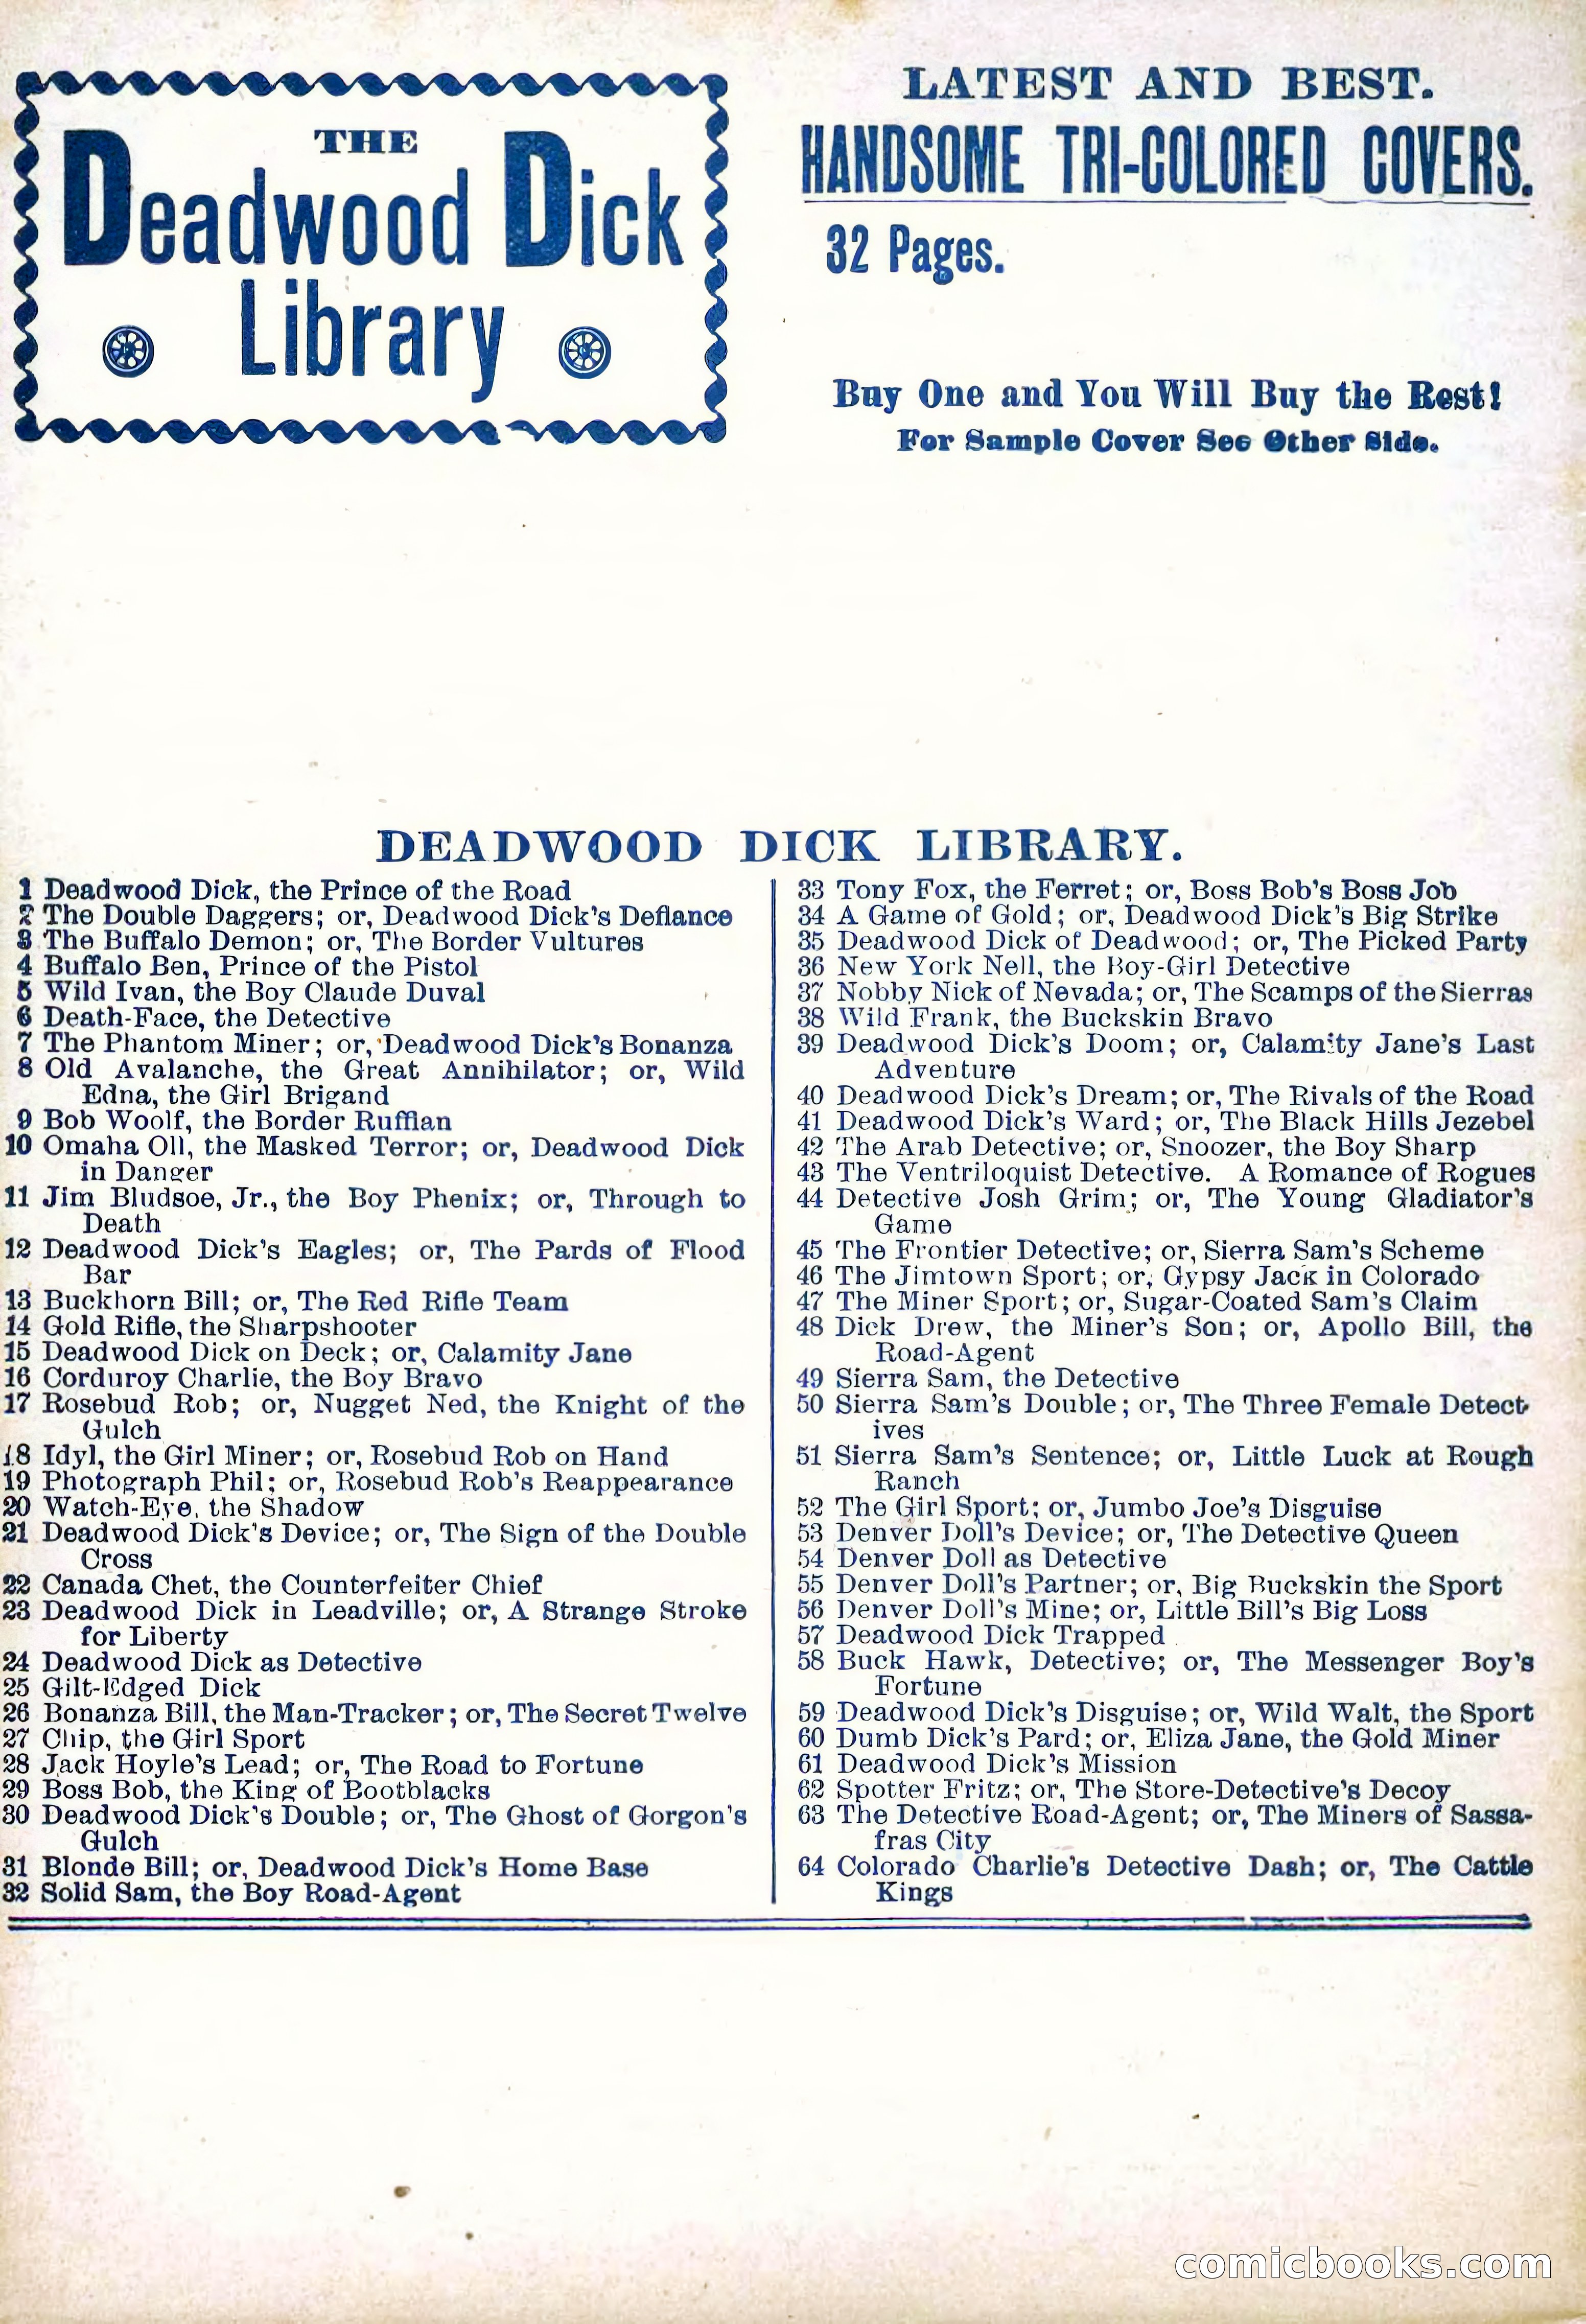
The Deadwood Dick Library, Vol. II, No. 24
1899 · Free to read

The Deadwood Dick Library, Vol. II, No. 24 — page 1 of 38
1 / 38
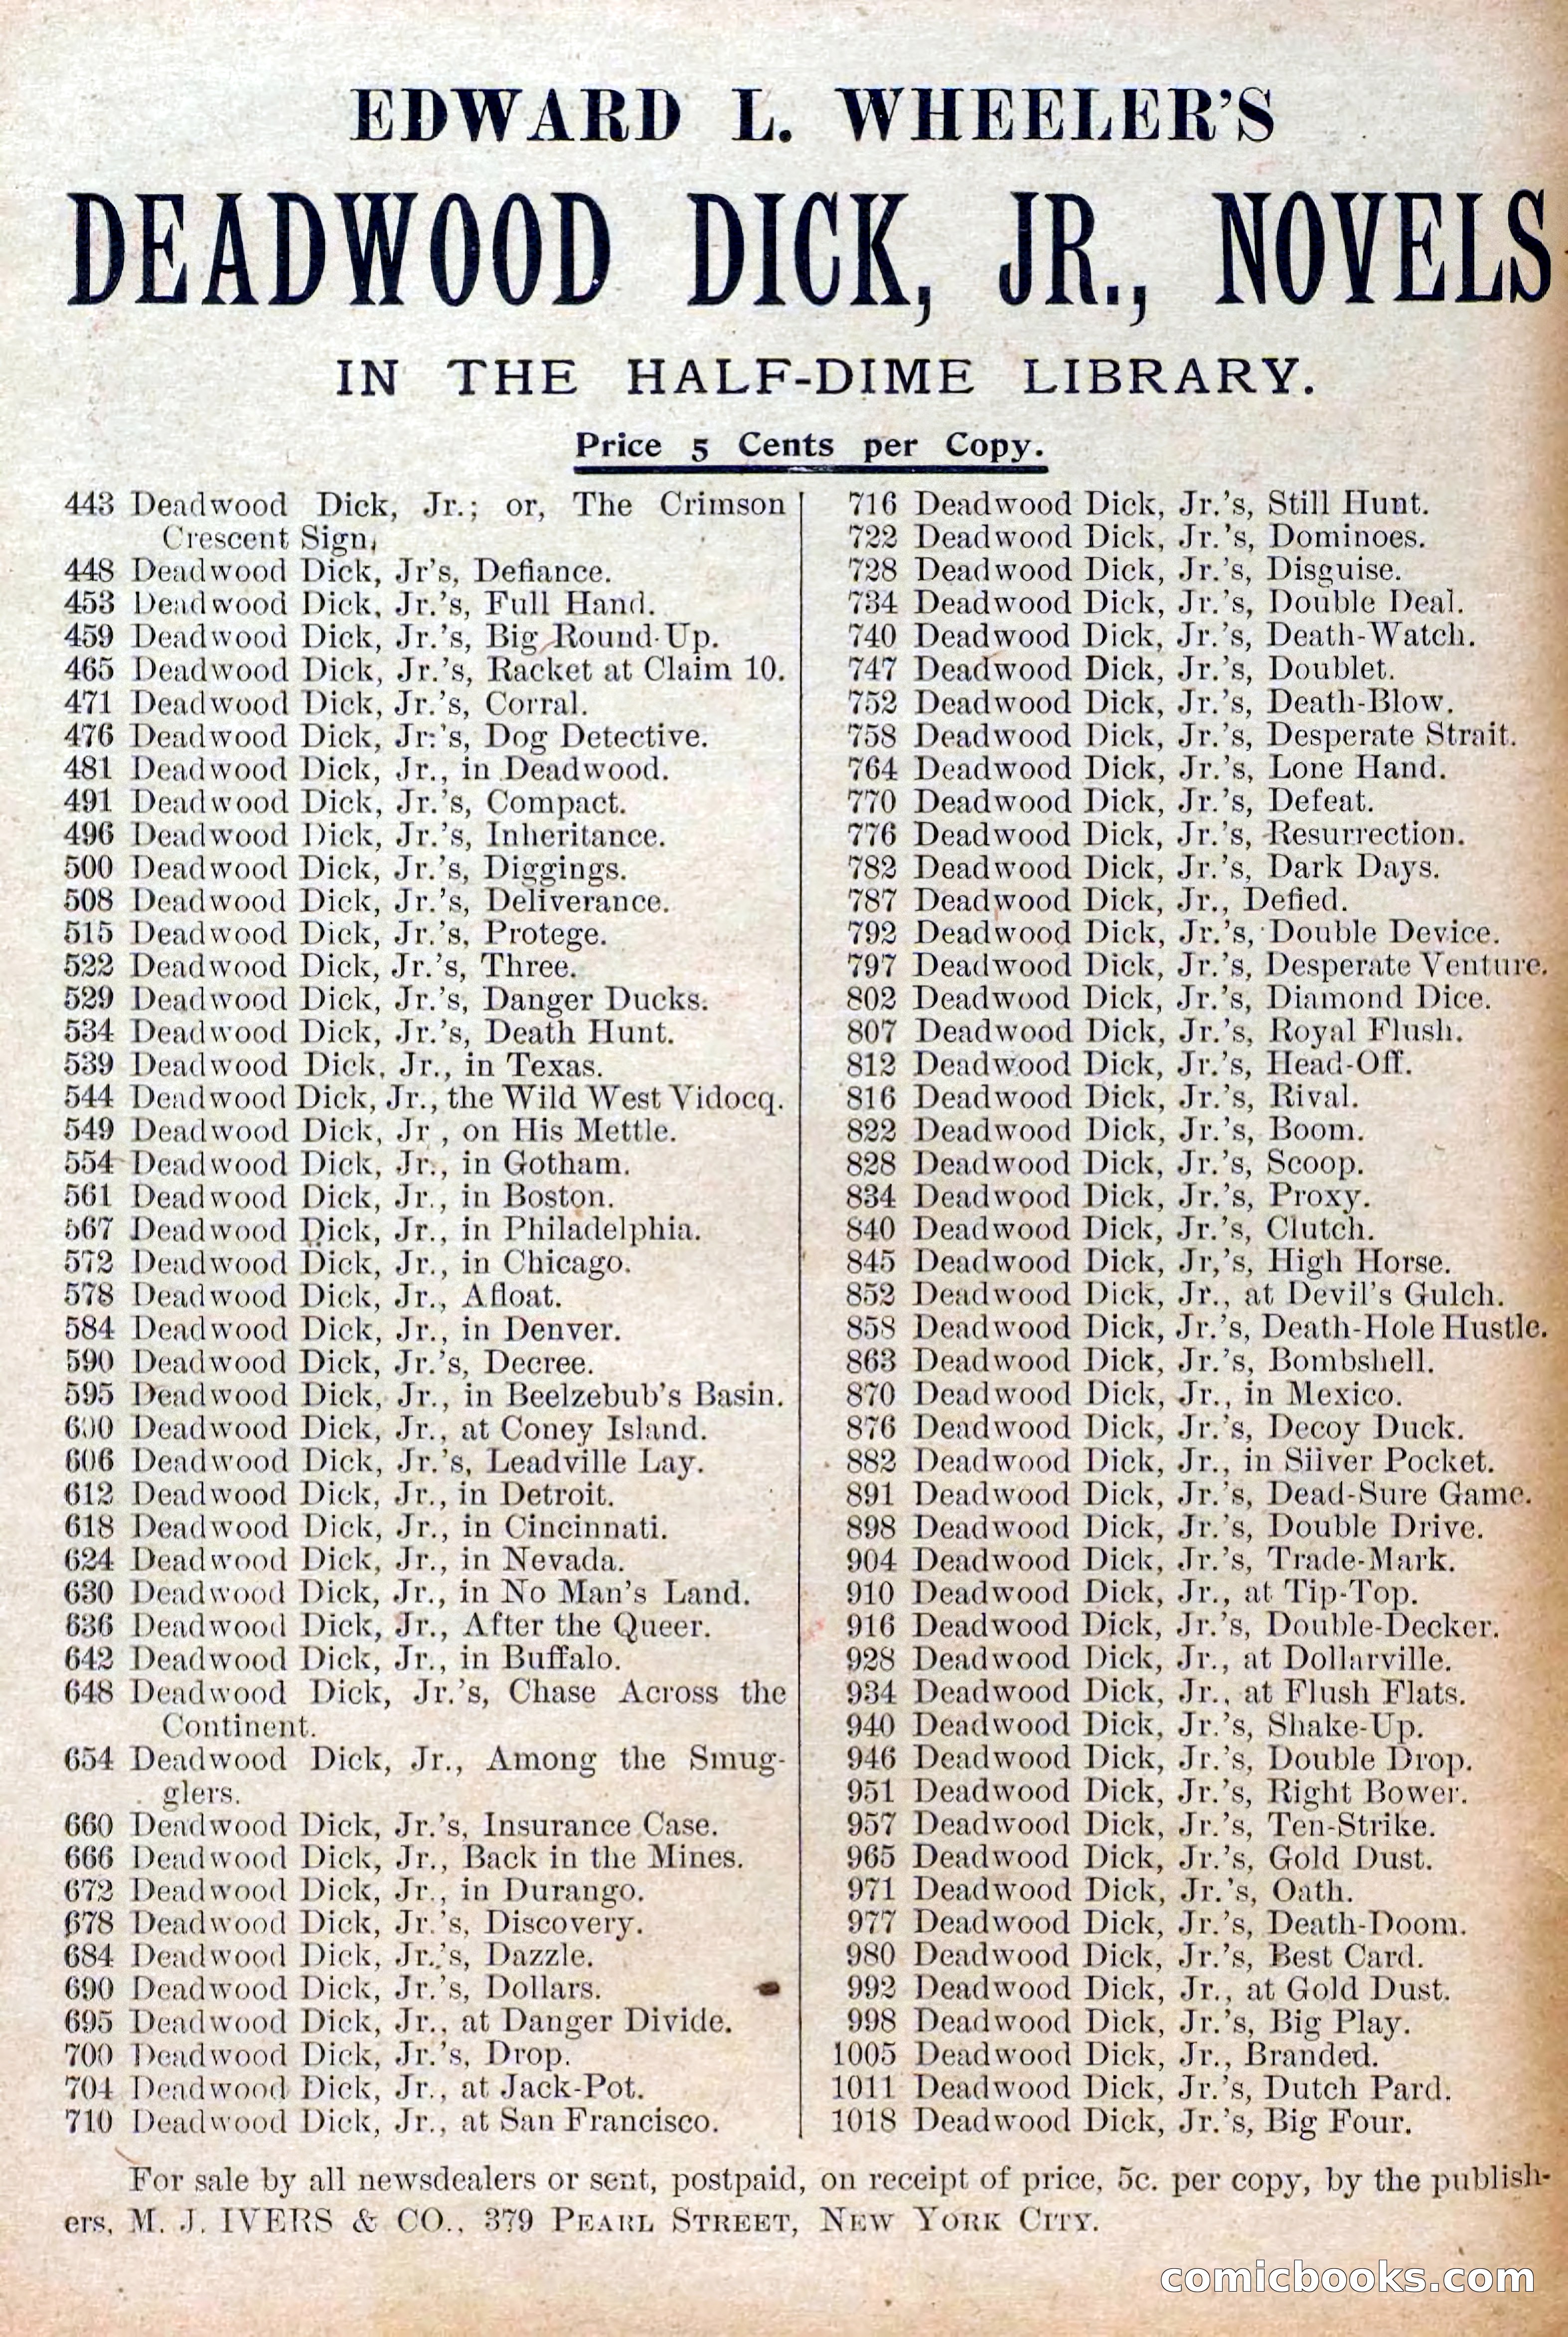
The Deadwood Dick Library, Vol. II, No. 24 — page 2 of 38
2 / 38
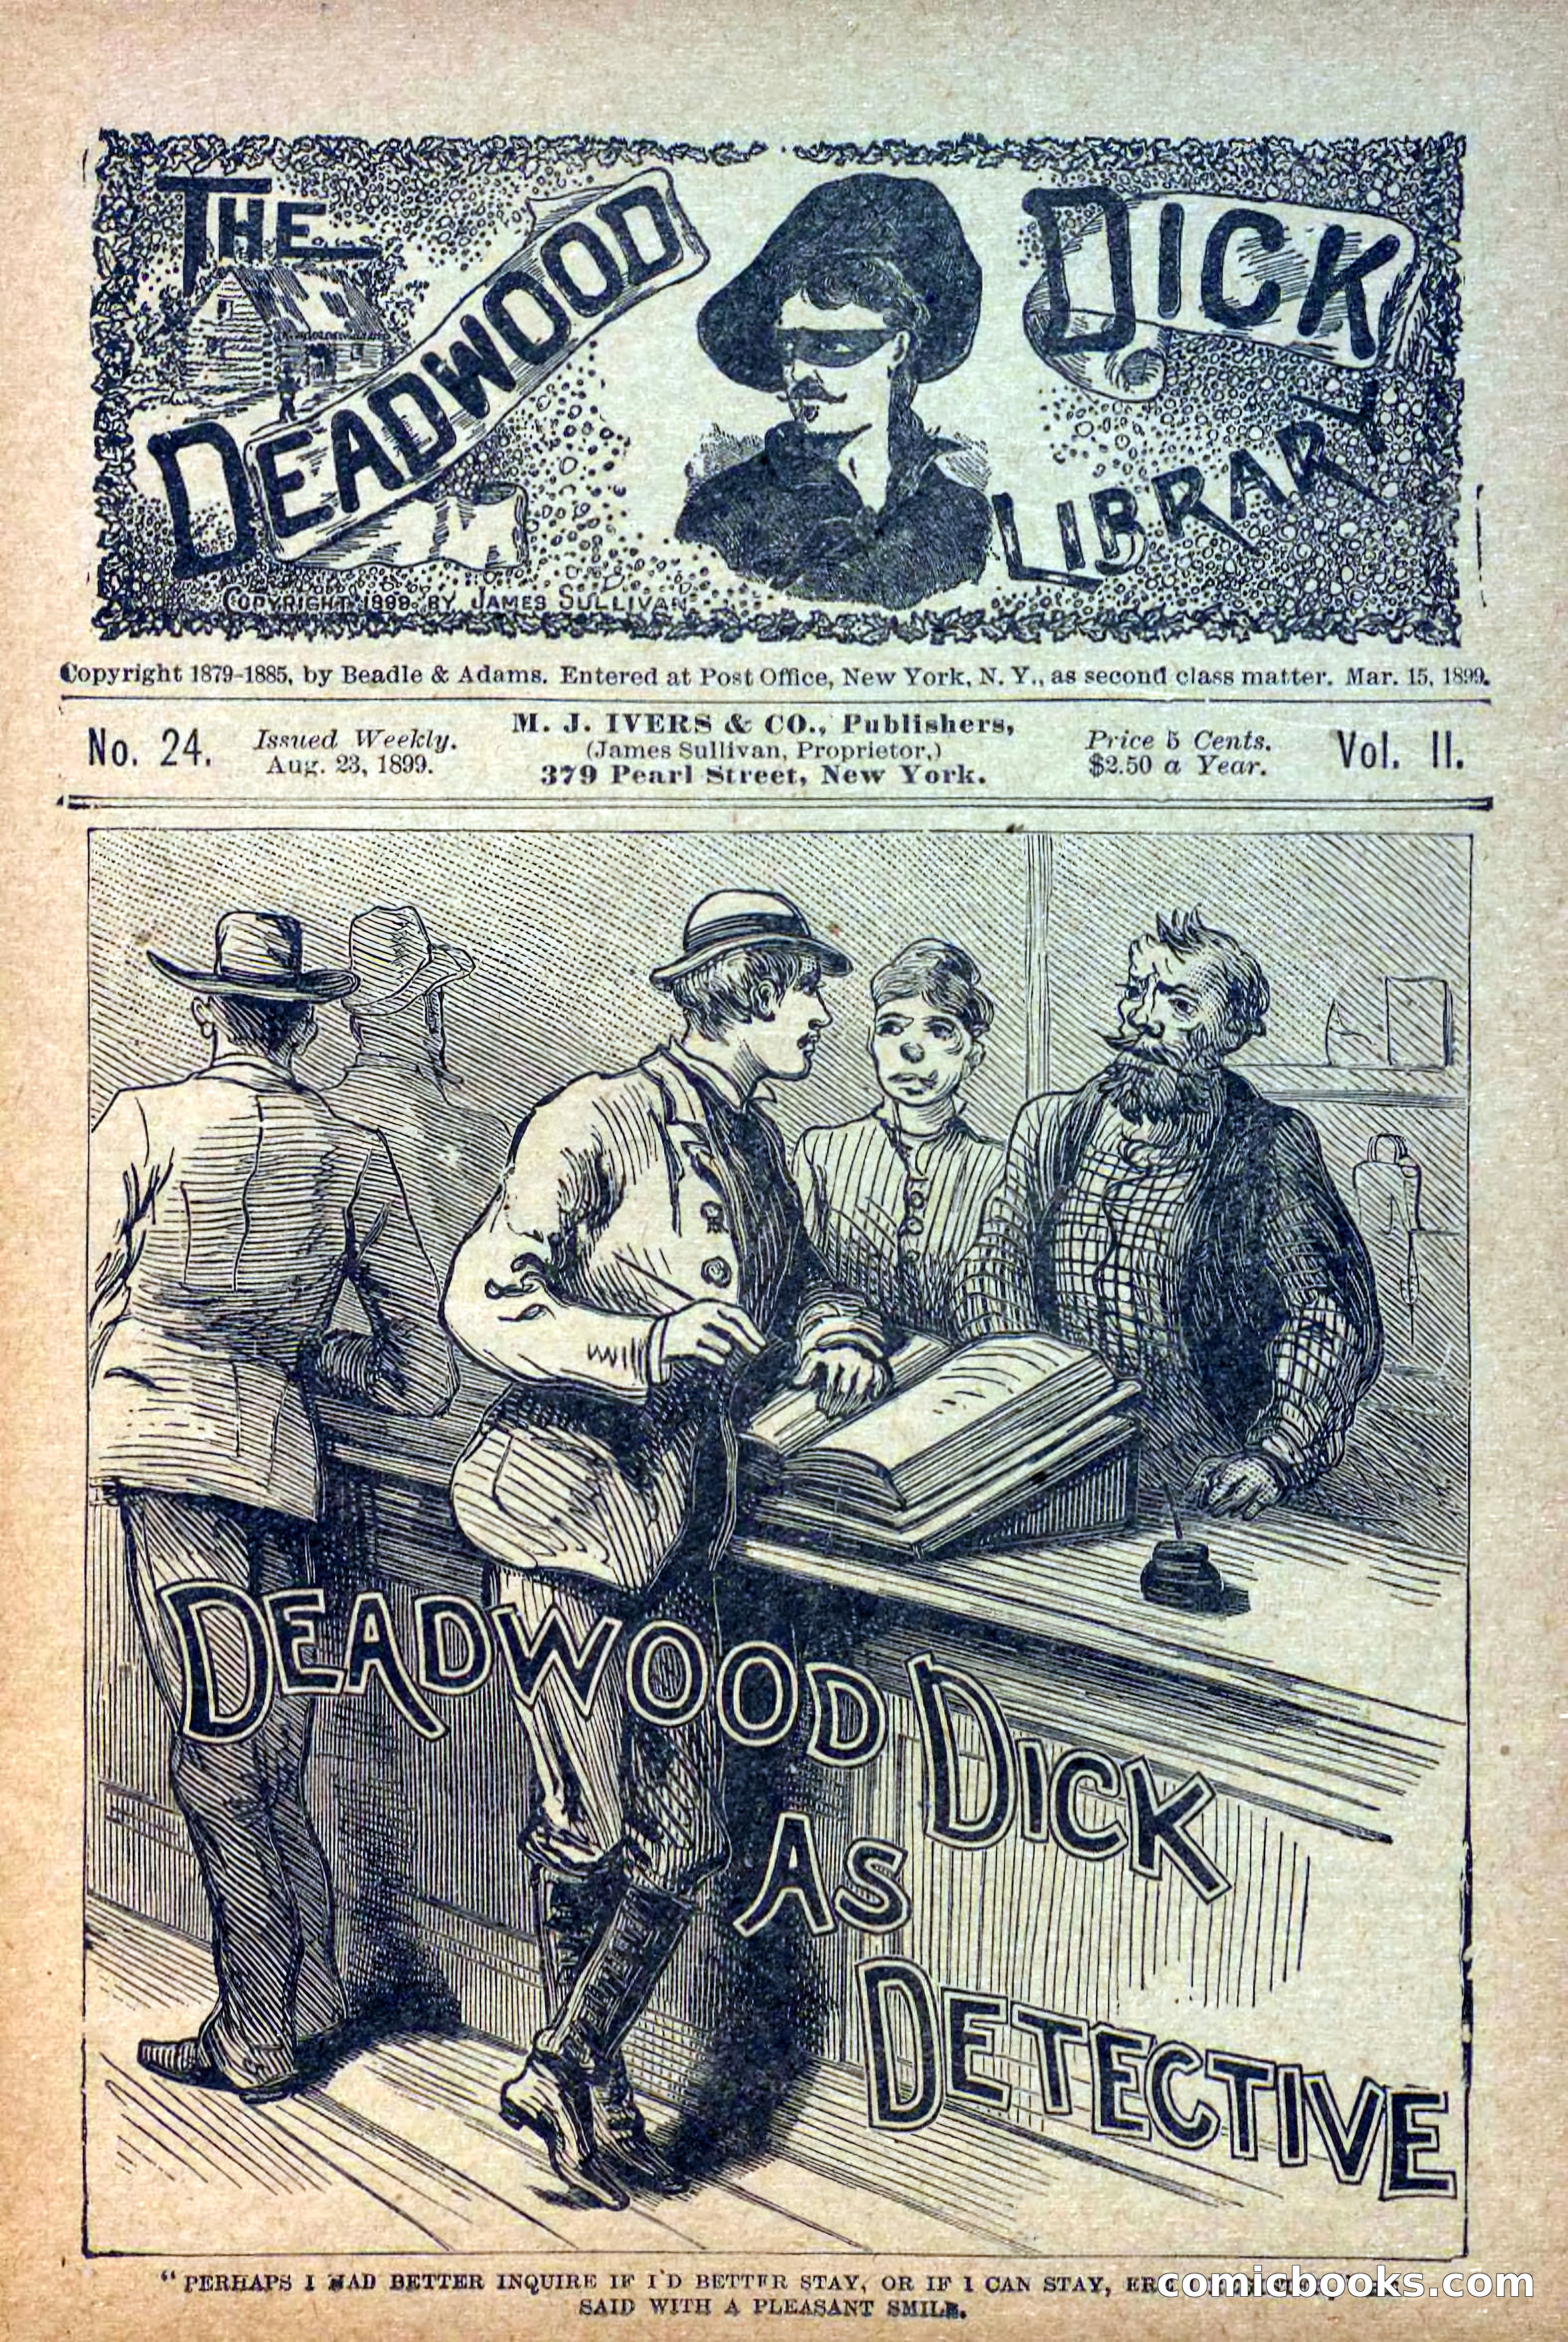
The Deadwood Dick Library, Vol. II, No. 24 — page 3 of 38
3 / 38
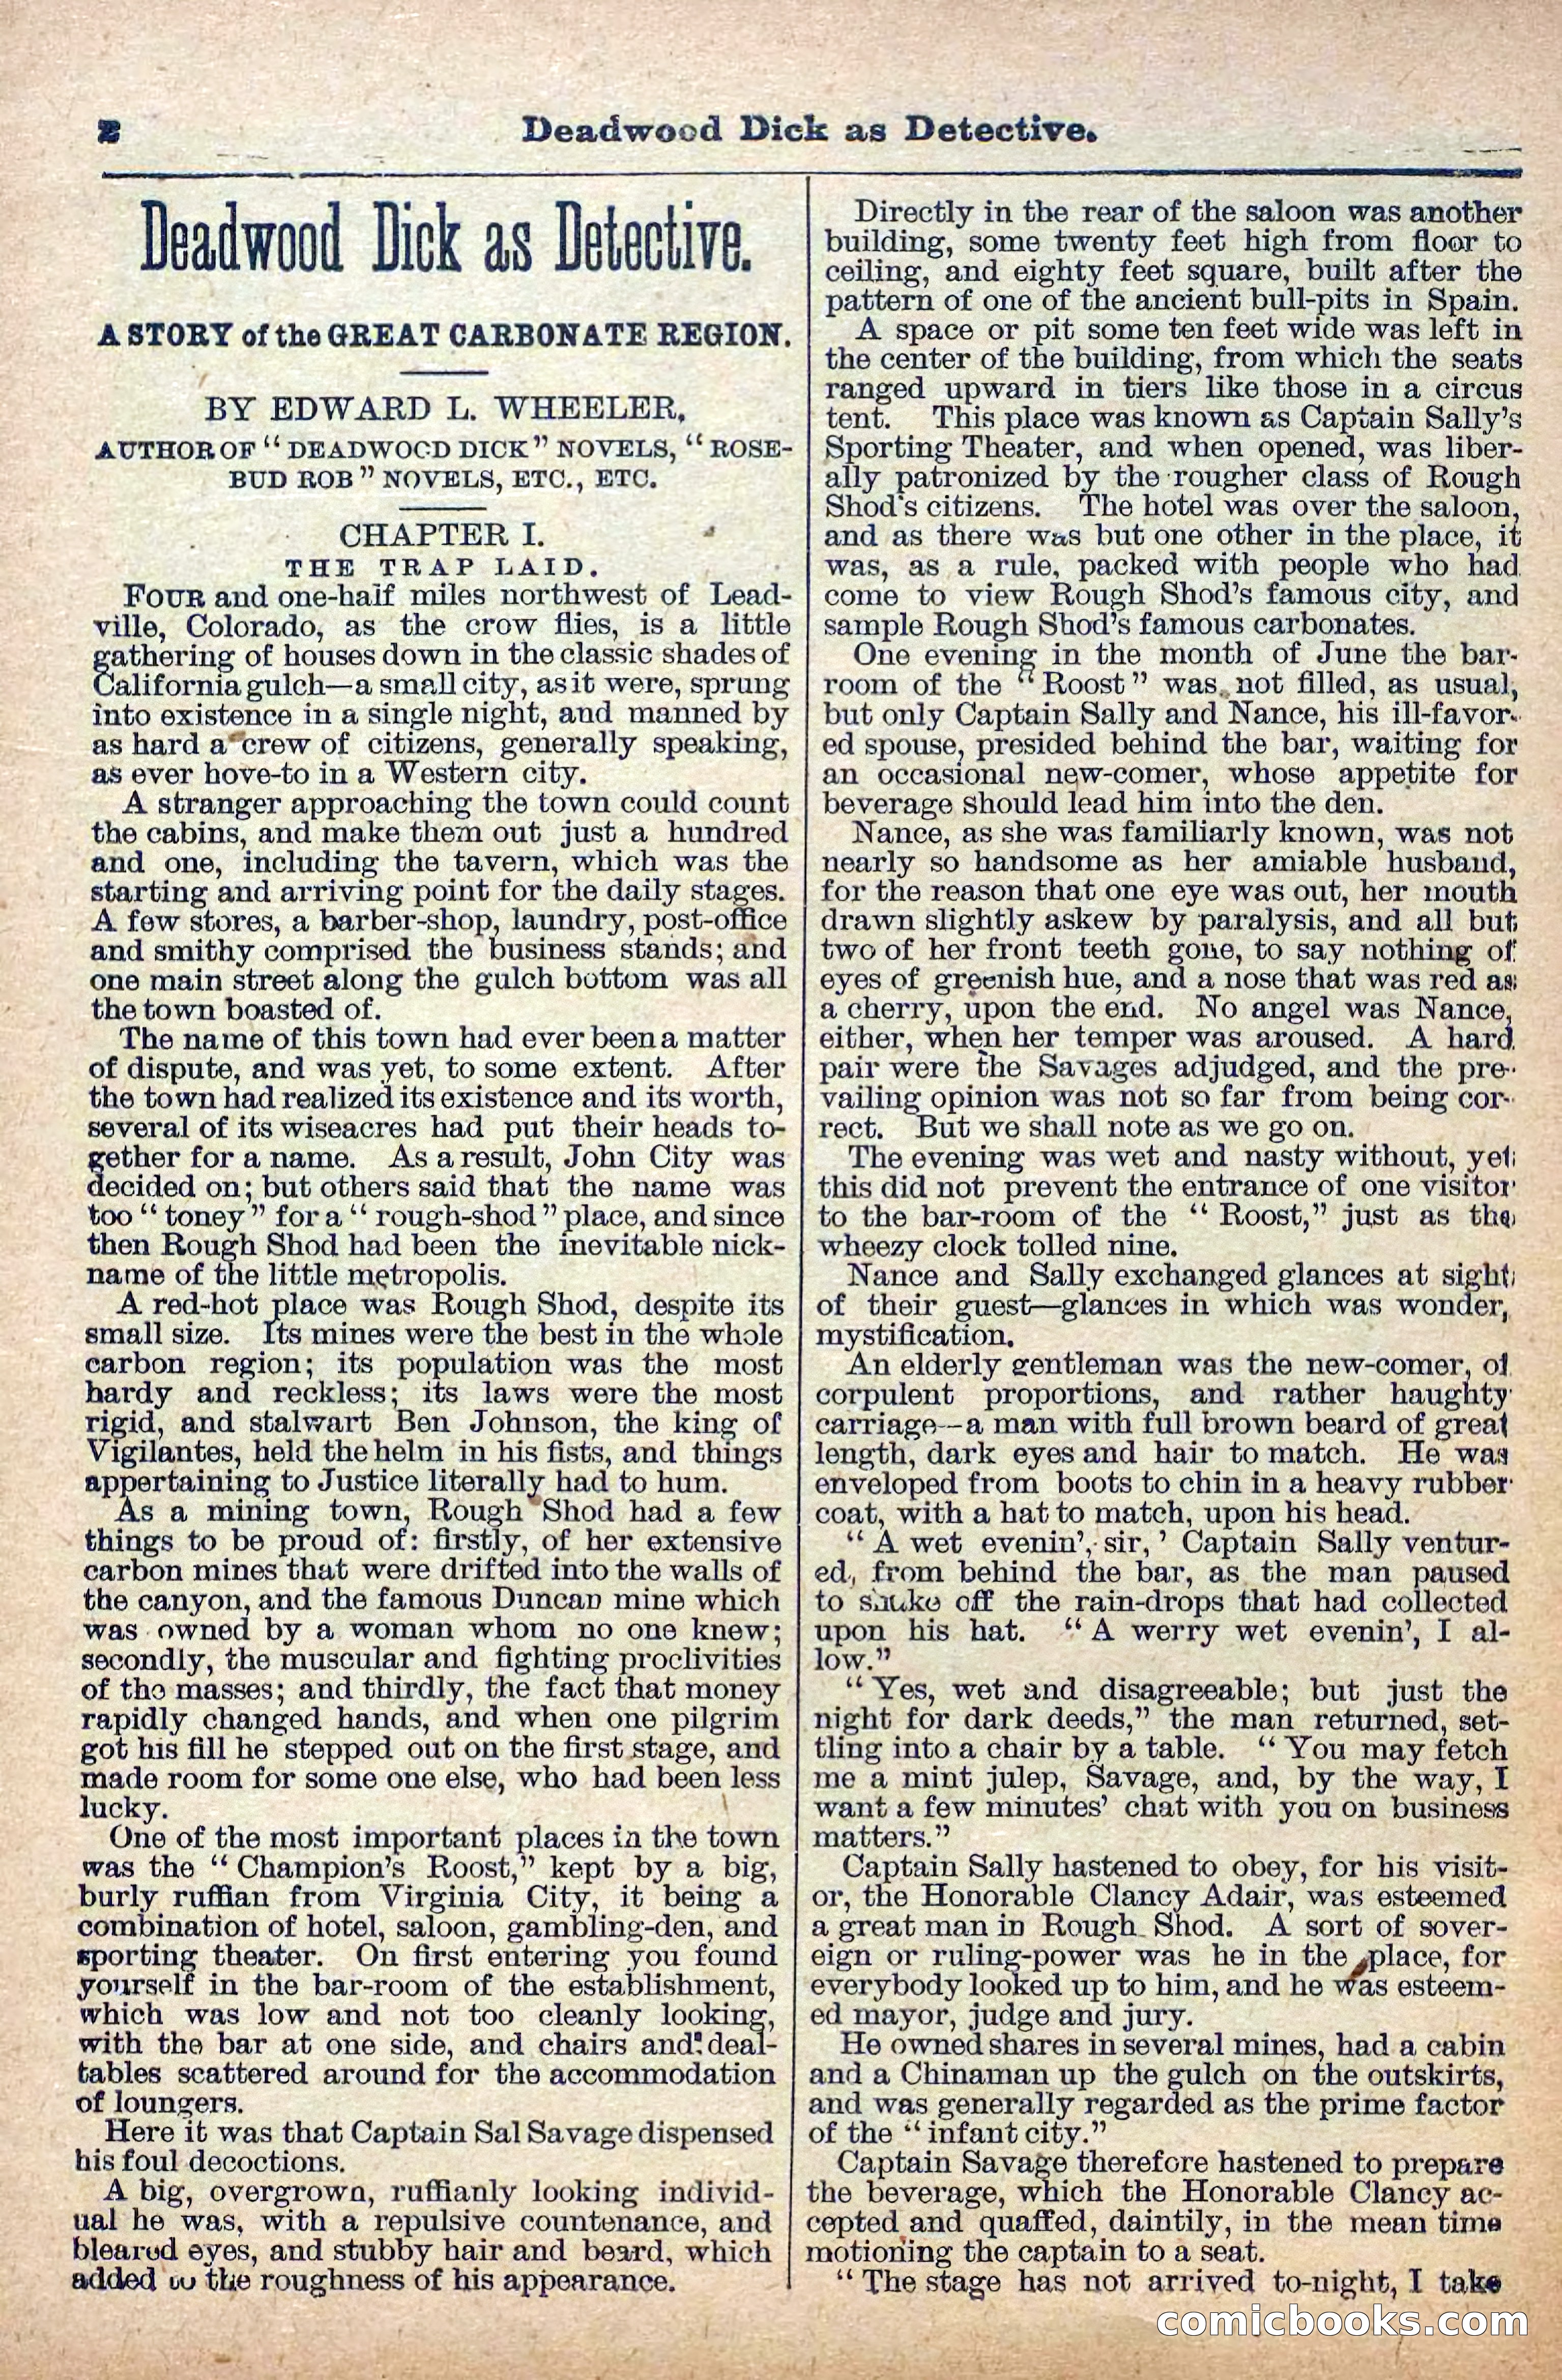
The Deadwood Dick Library, Vol. II, No. 24 — page 4 of 38
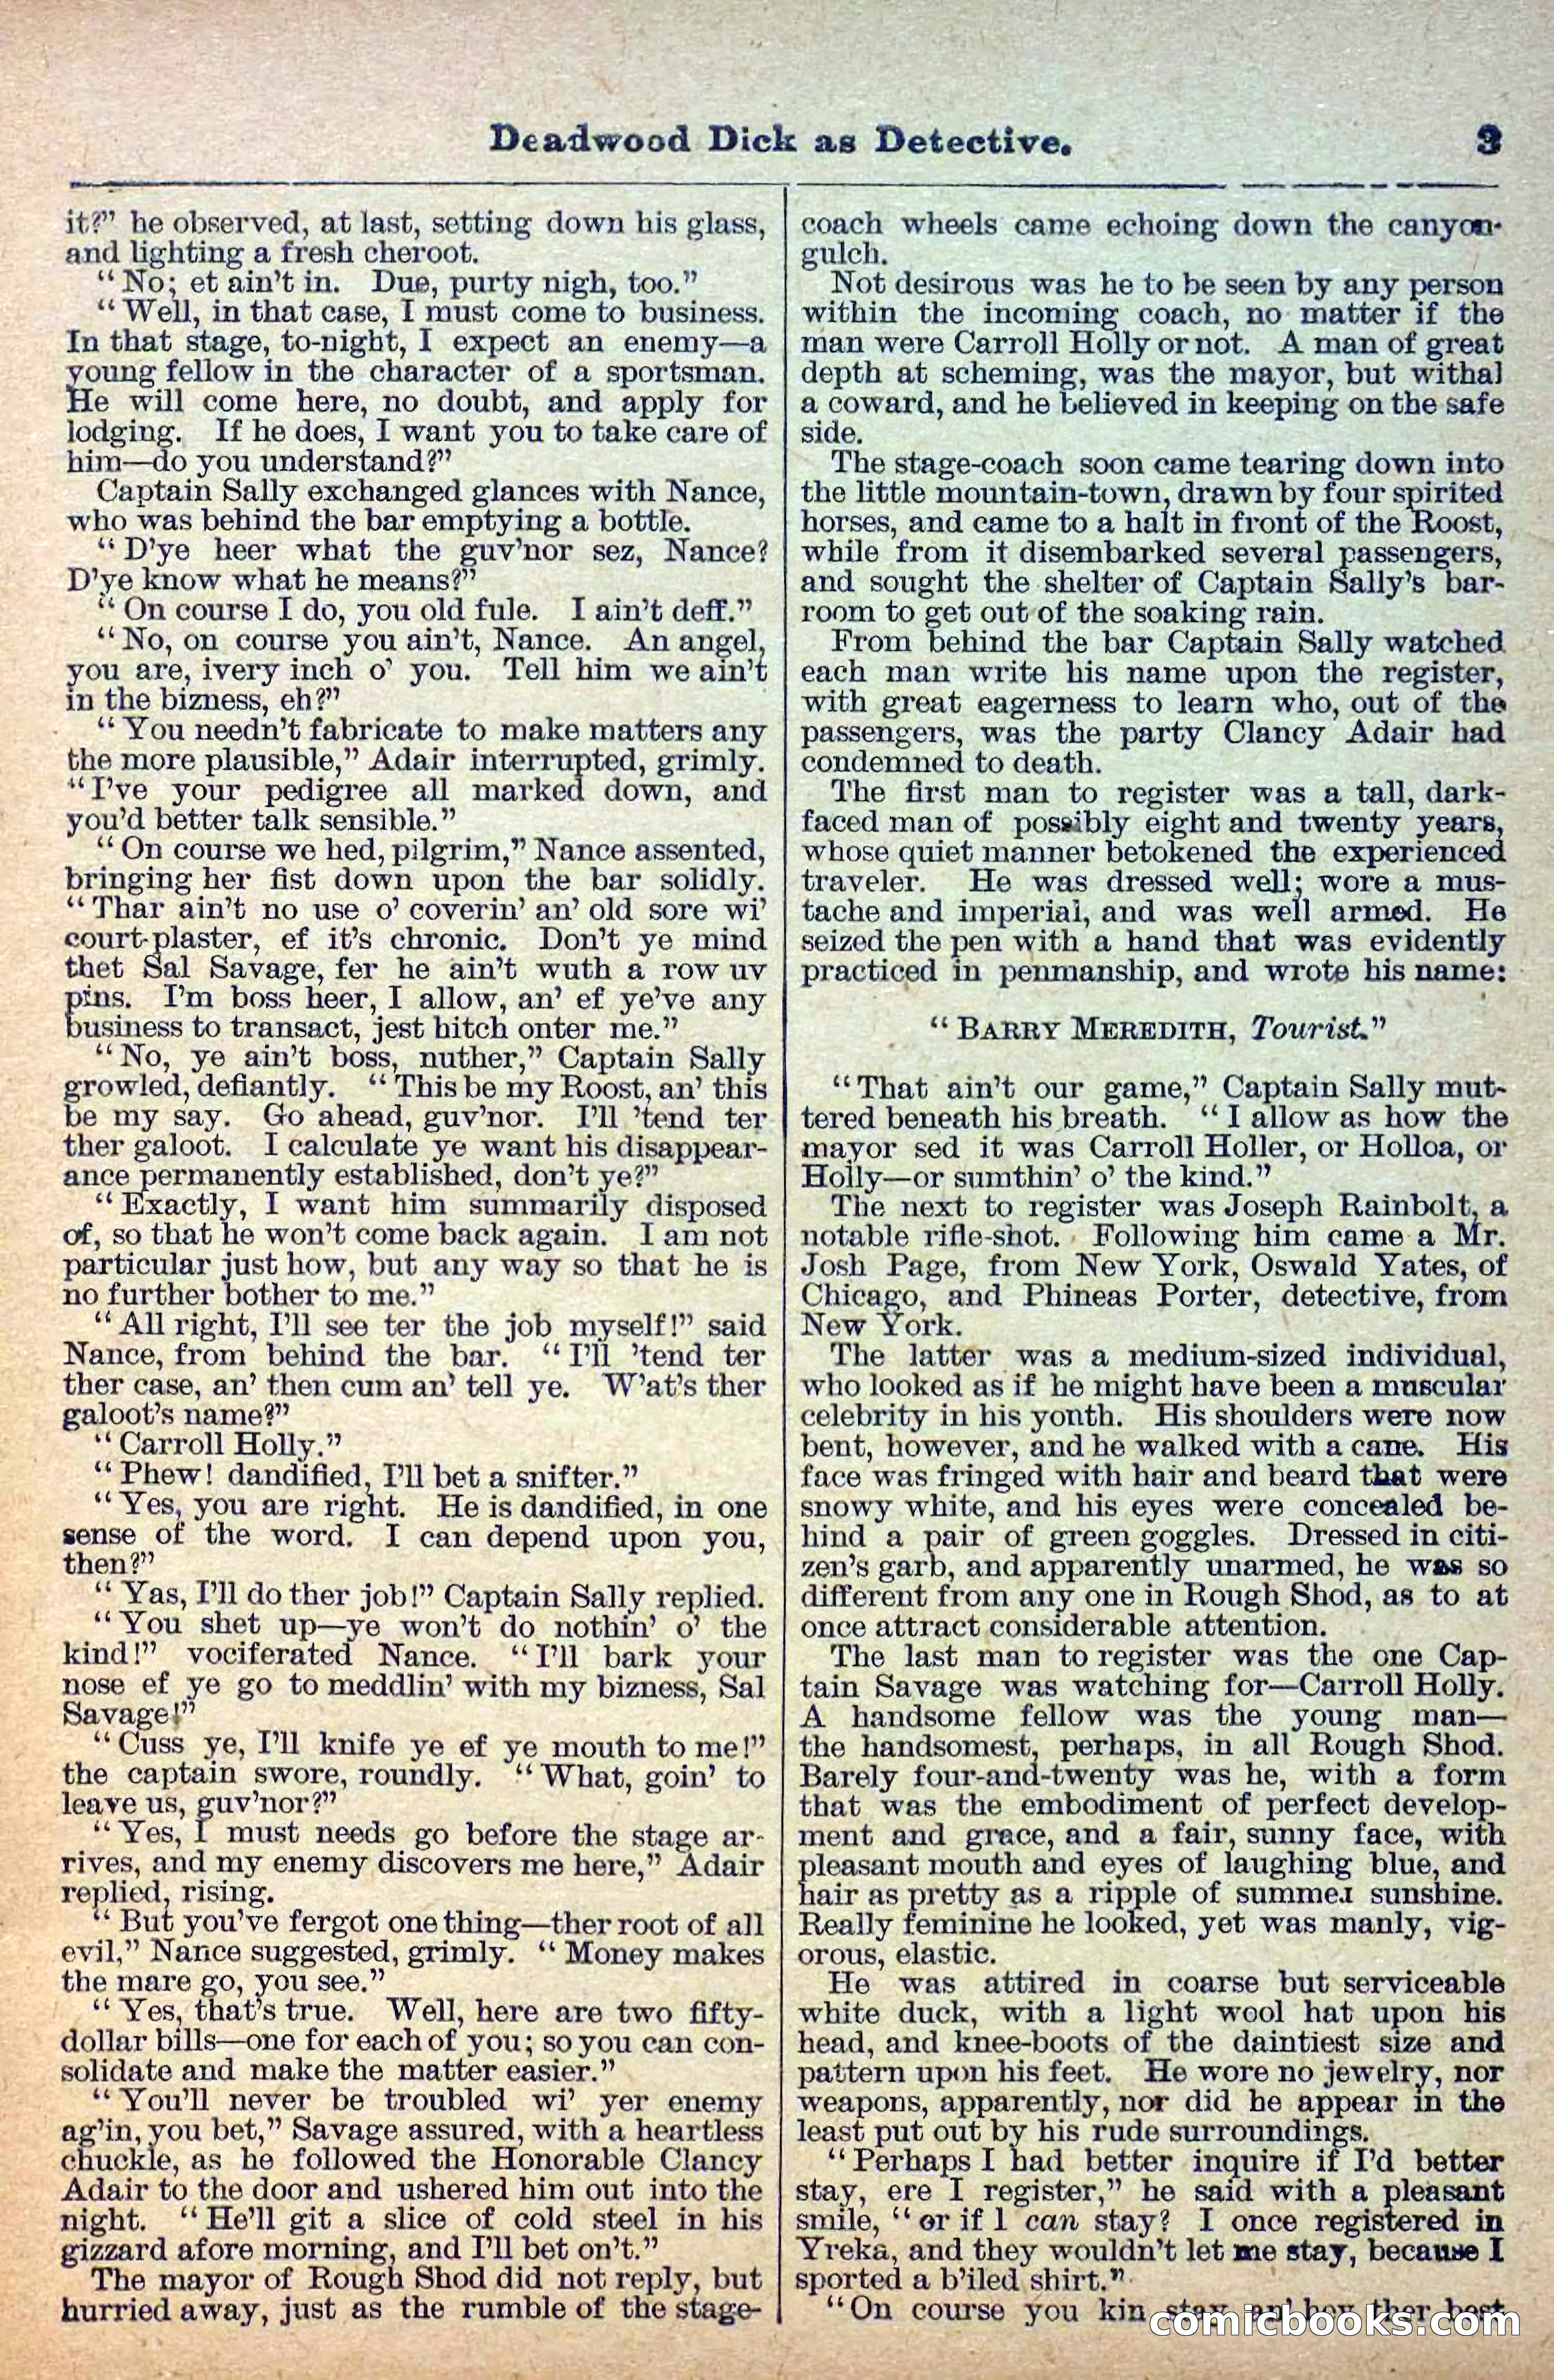
4 / 38
The Deadwood Dick Library, Vol. II, No. 24 — page 5 of 38
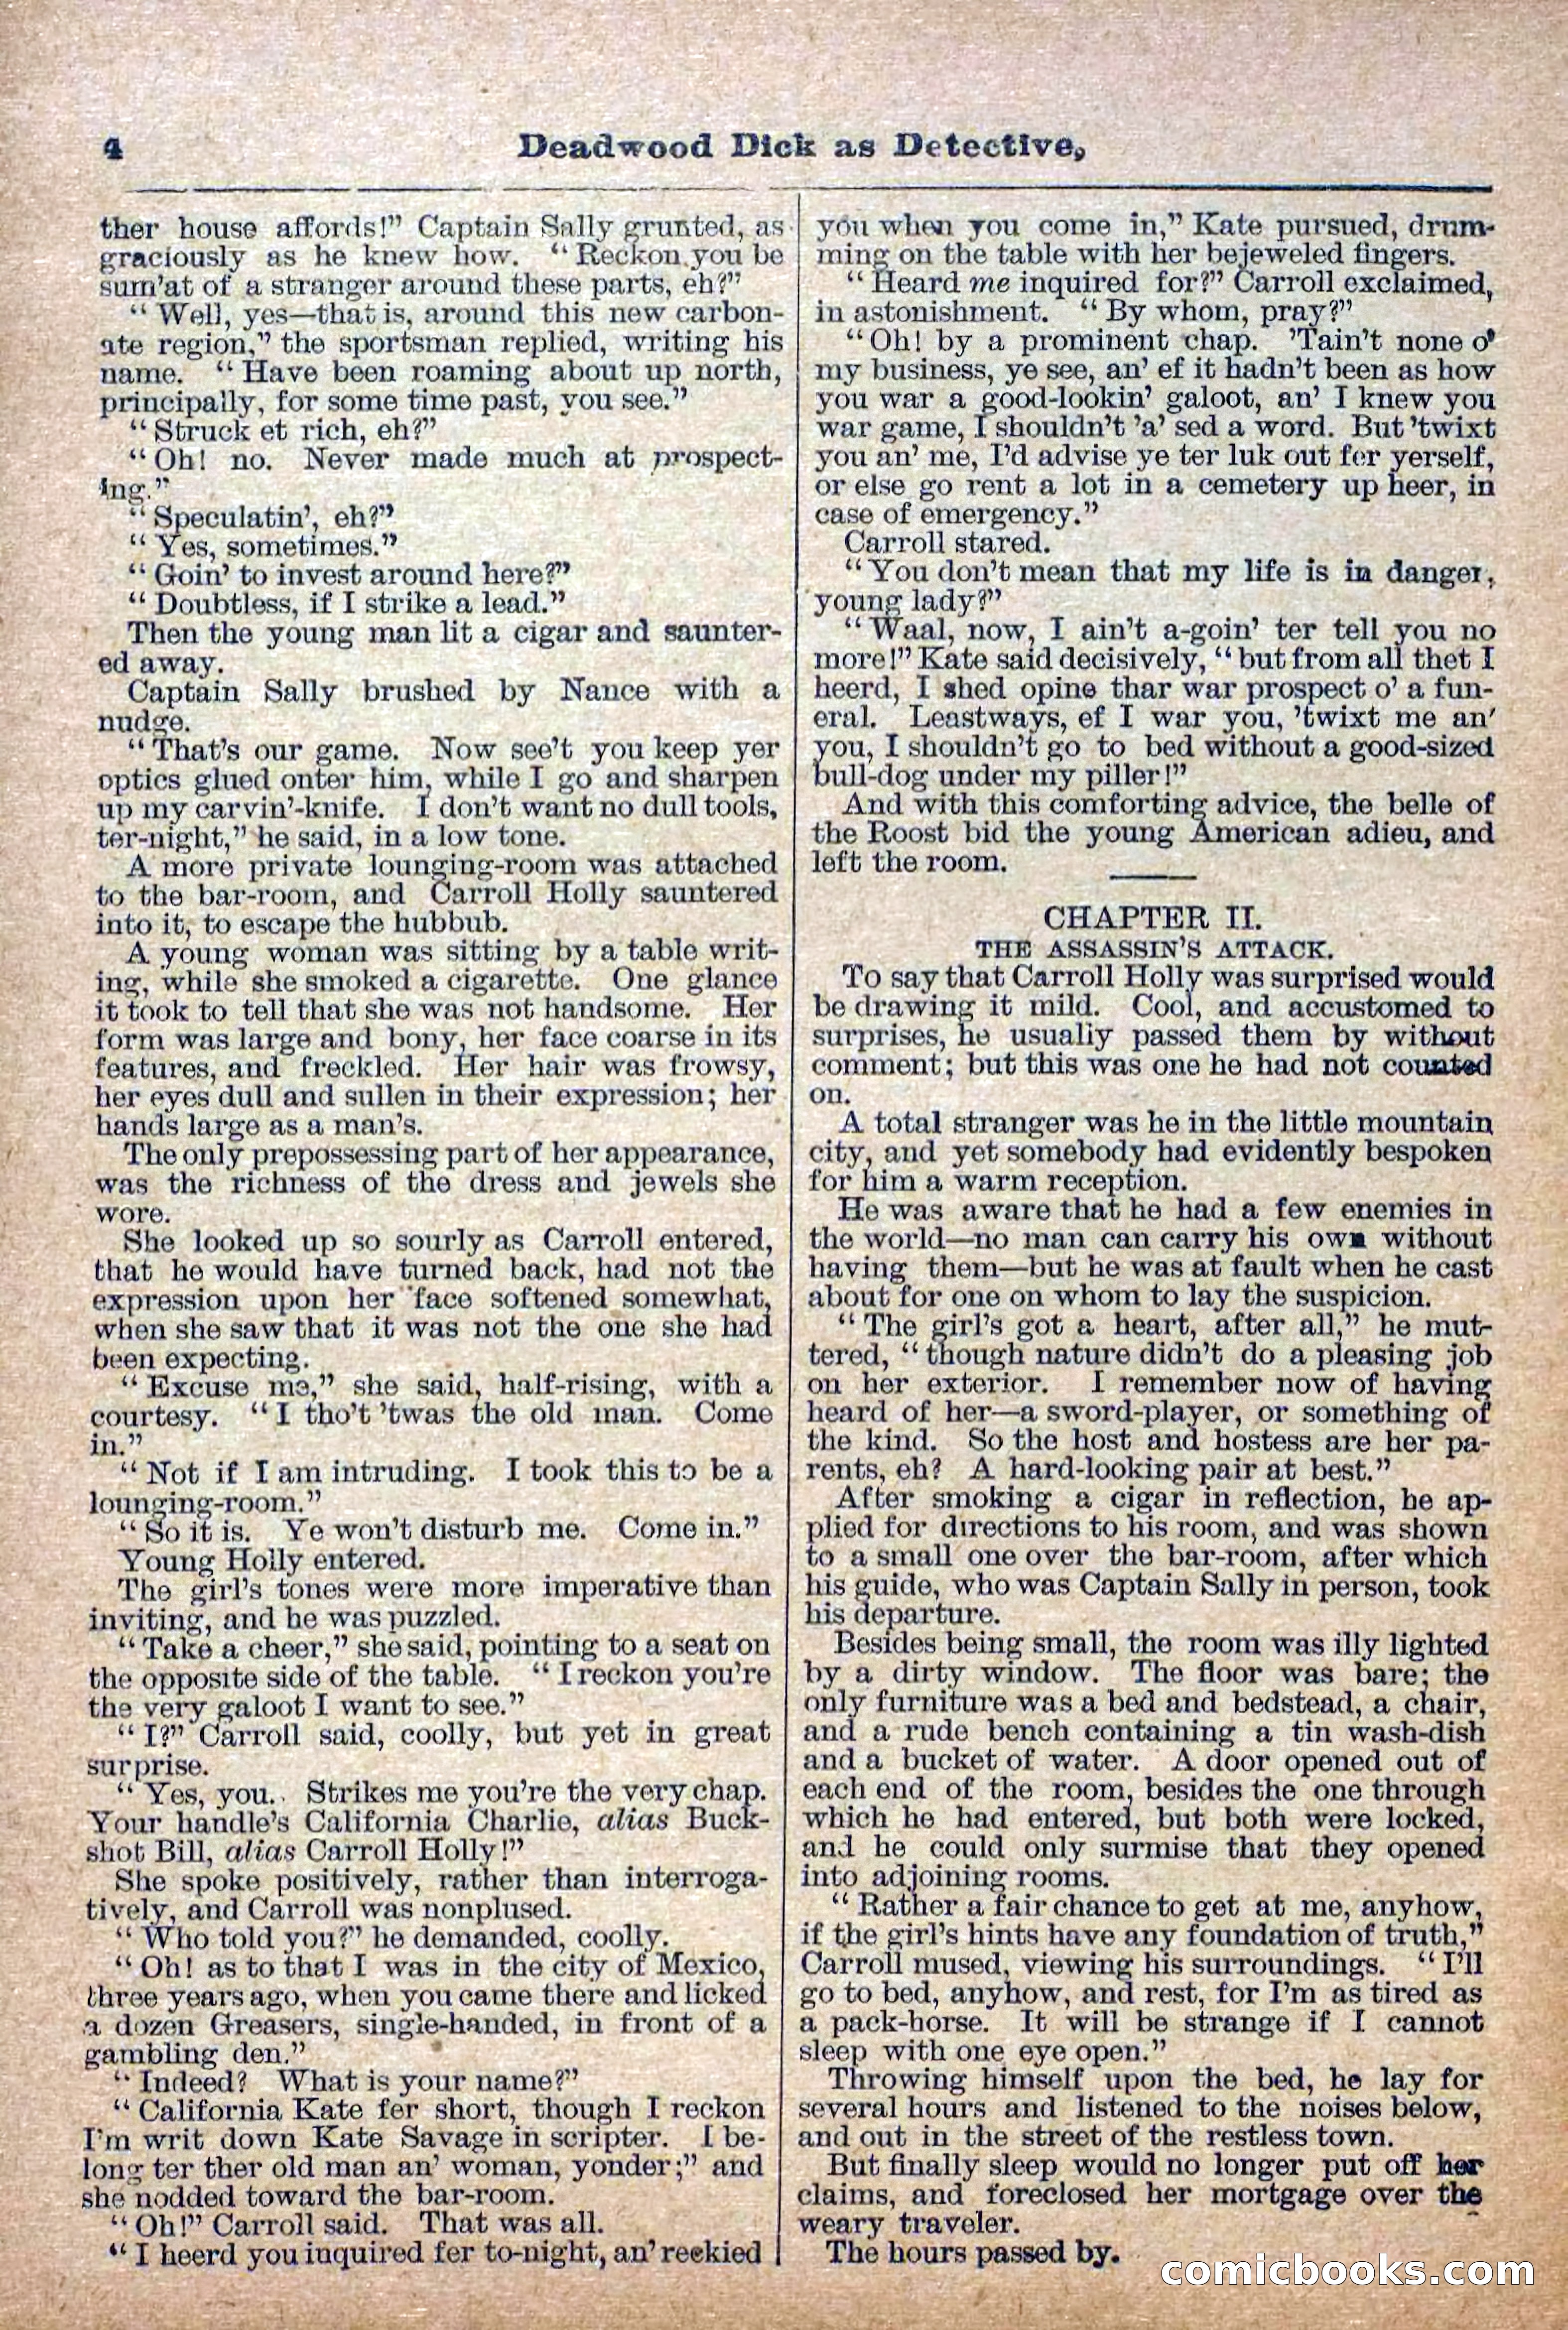
5 / 38
The Deadwood Dick Library, Vol. II, No. 24 — page 6 of 38
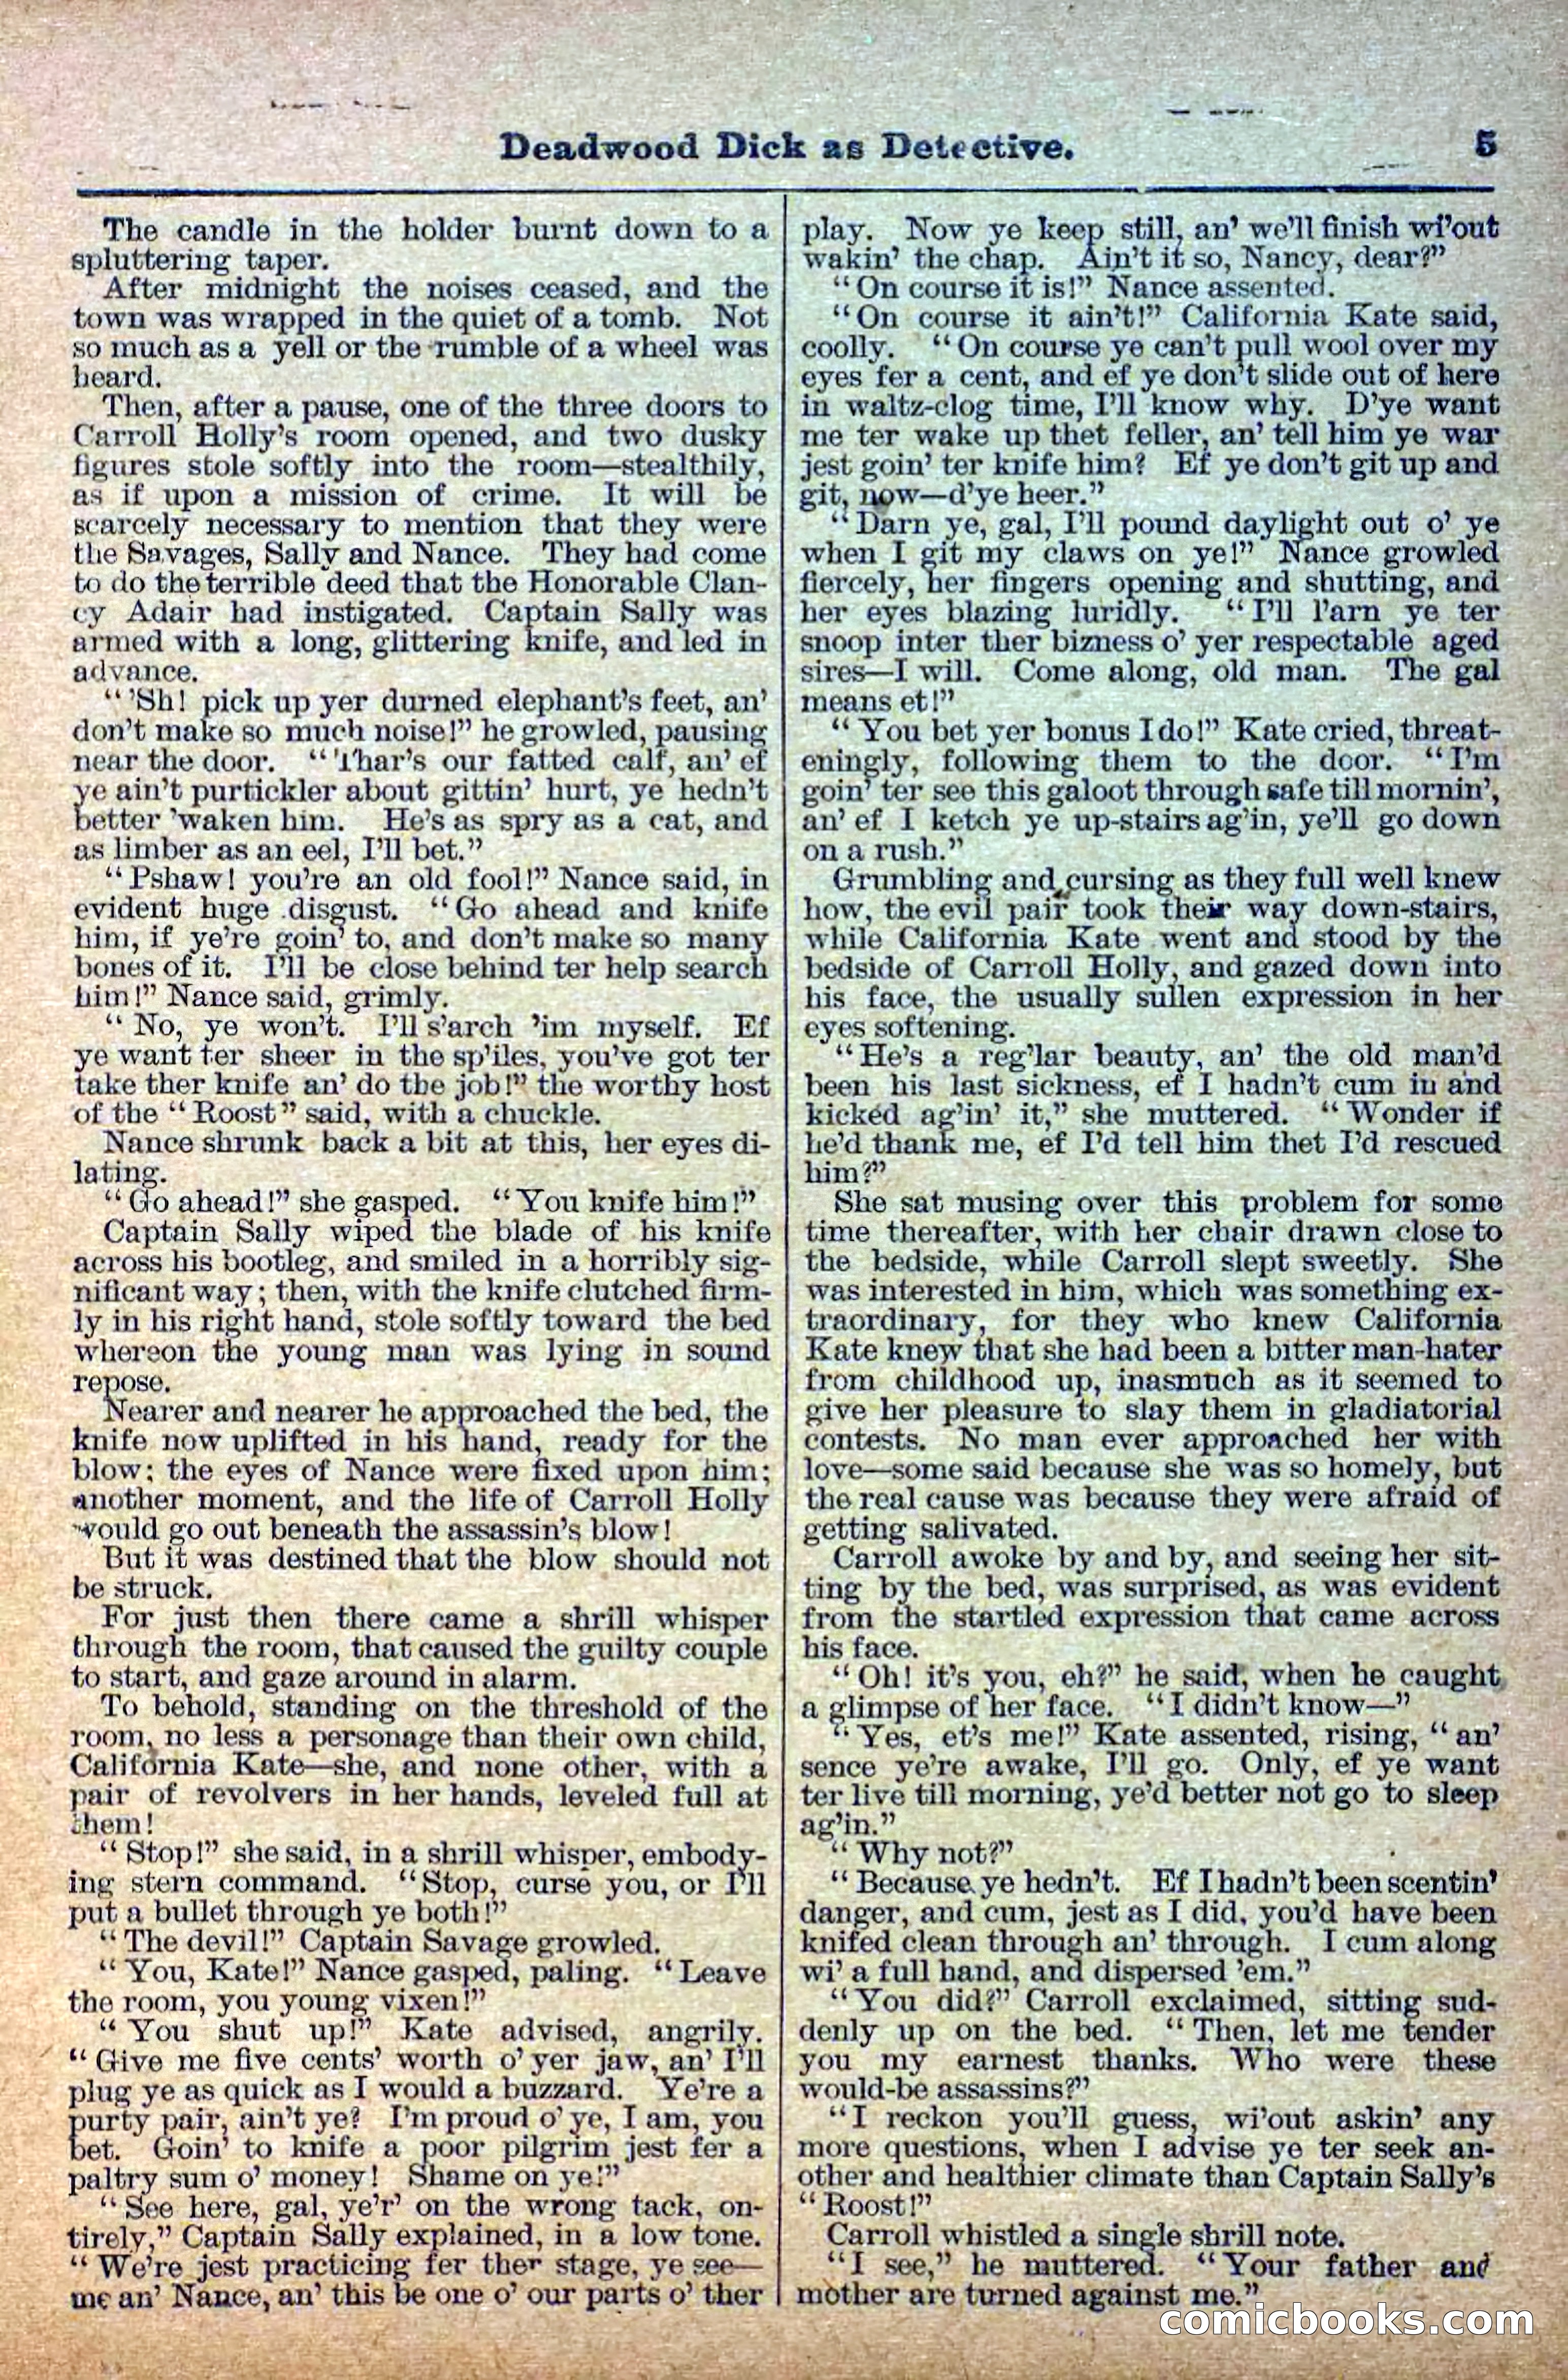
6 / 38
The Deadwood Dick Library, Vol. II, No. 24 — page 7 of 38
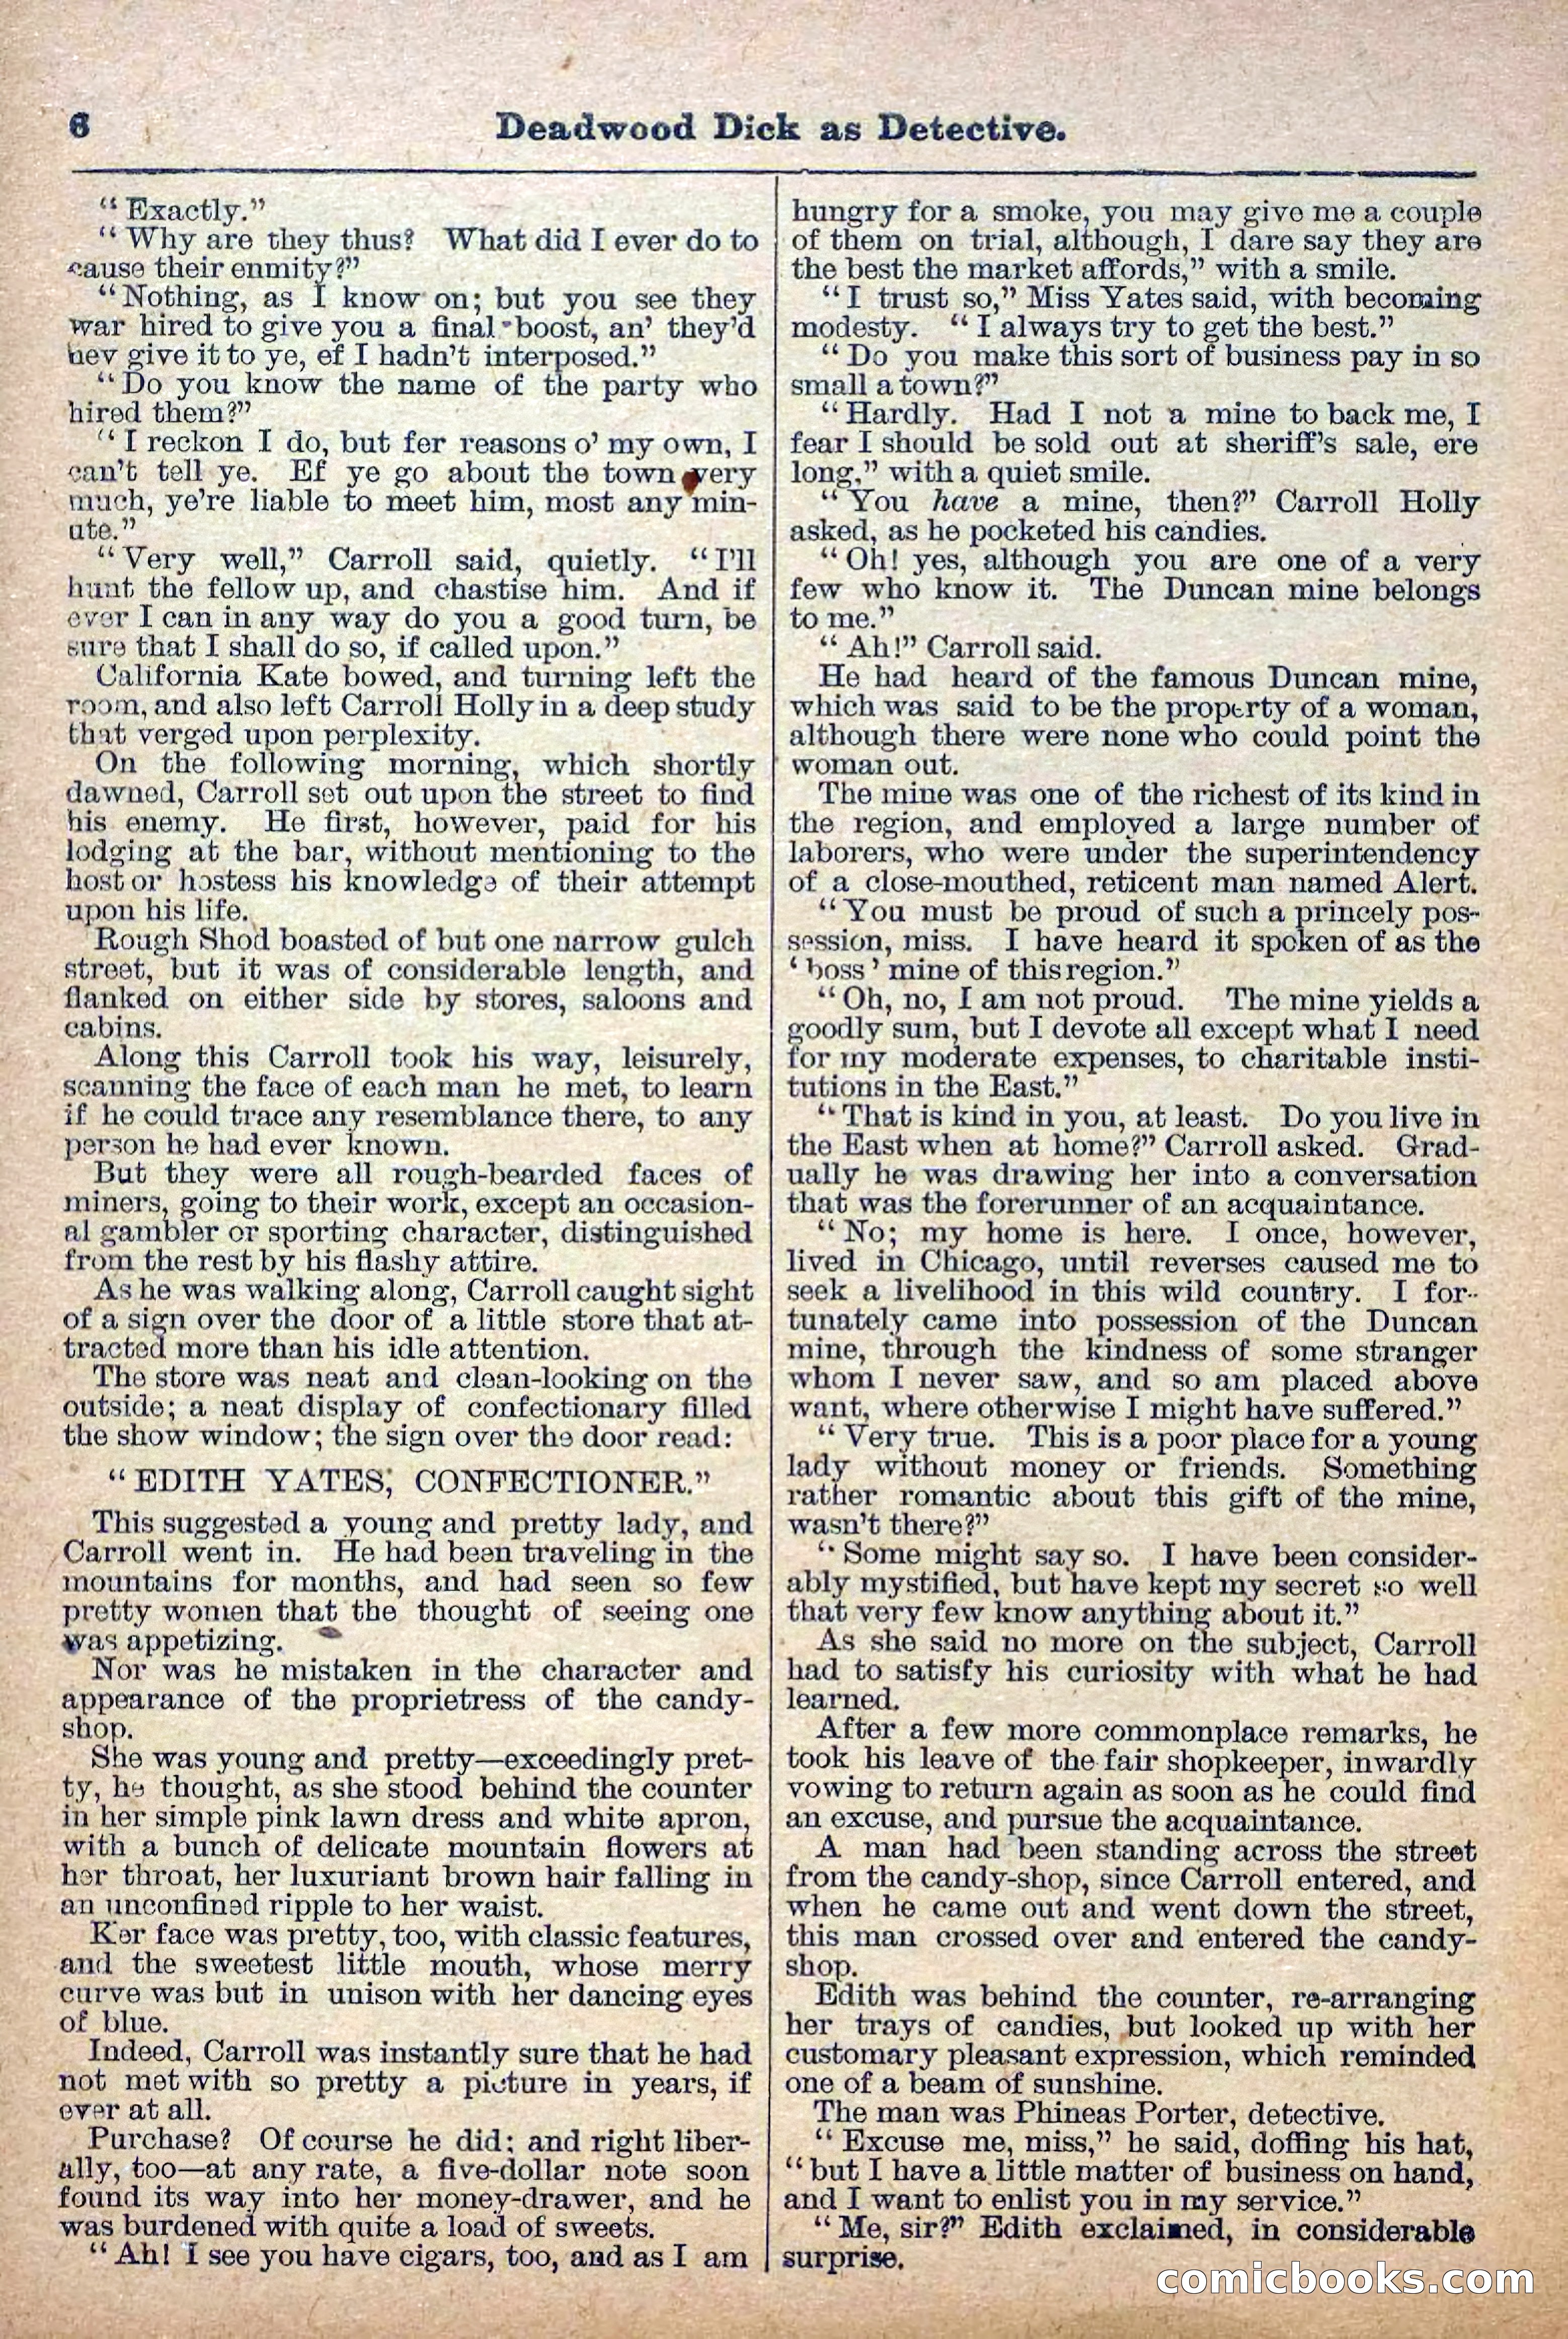
7 / 38
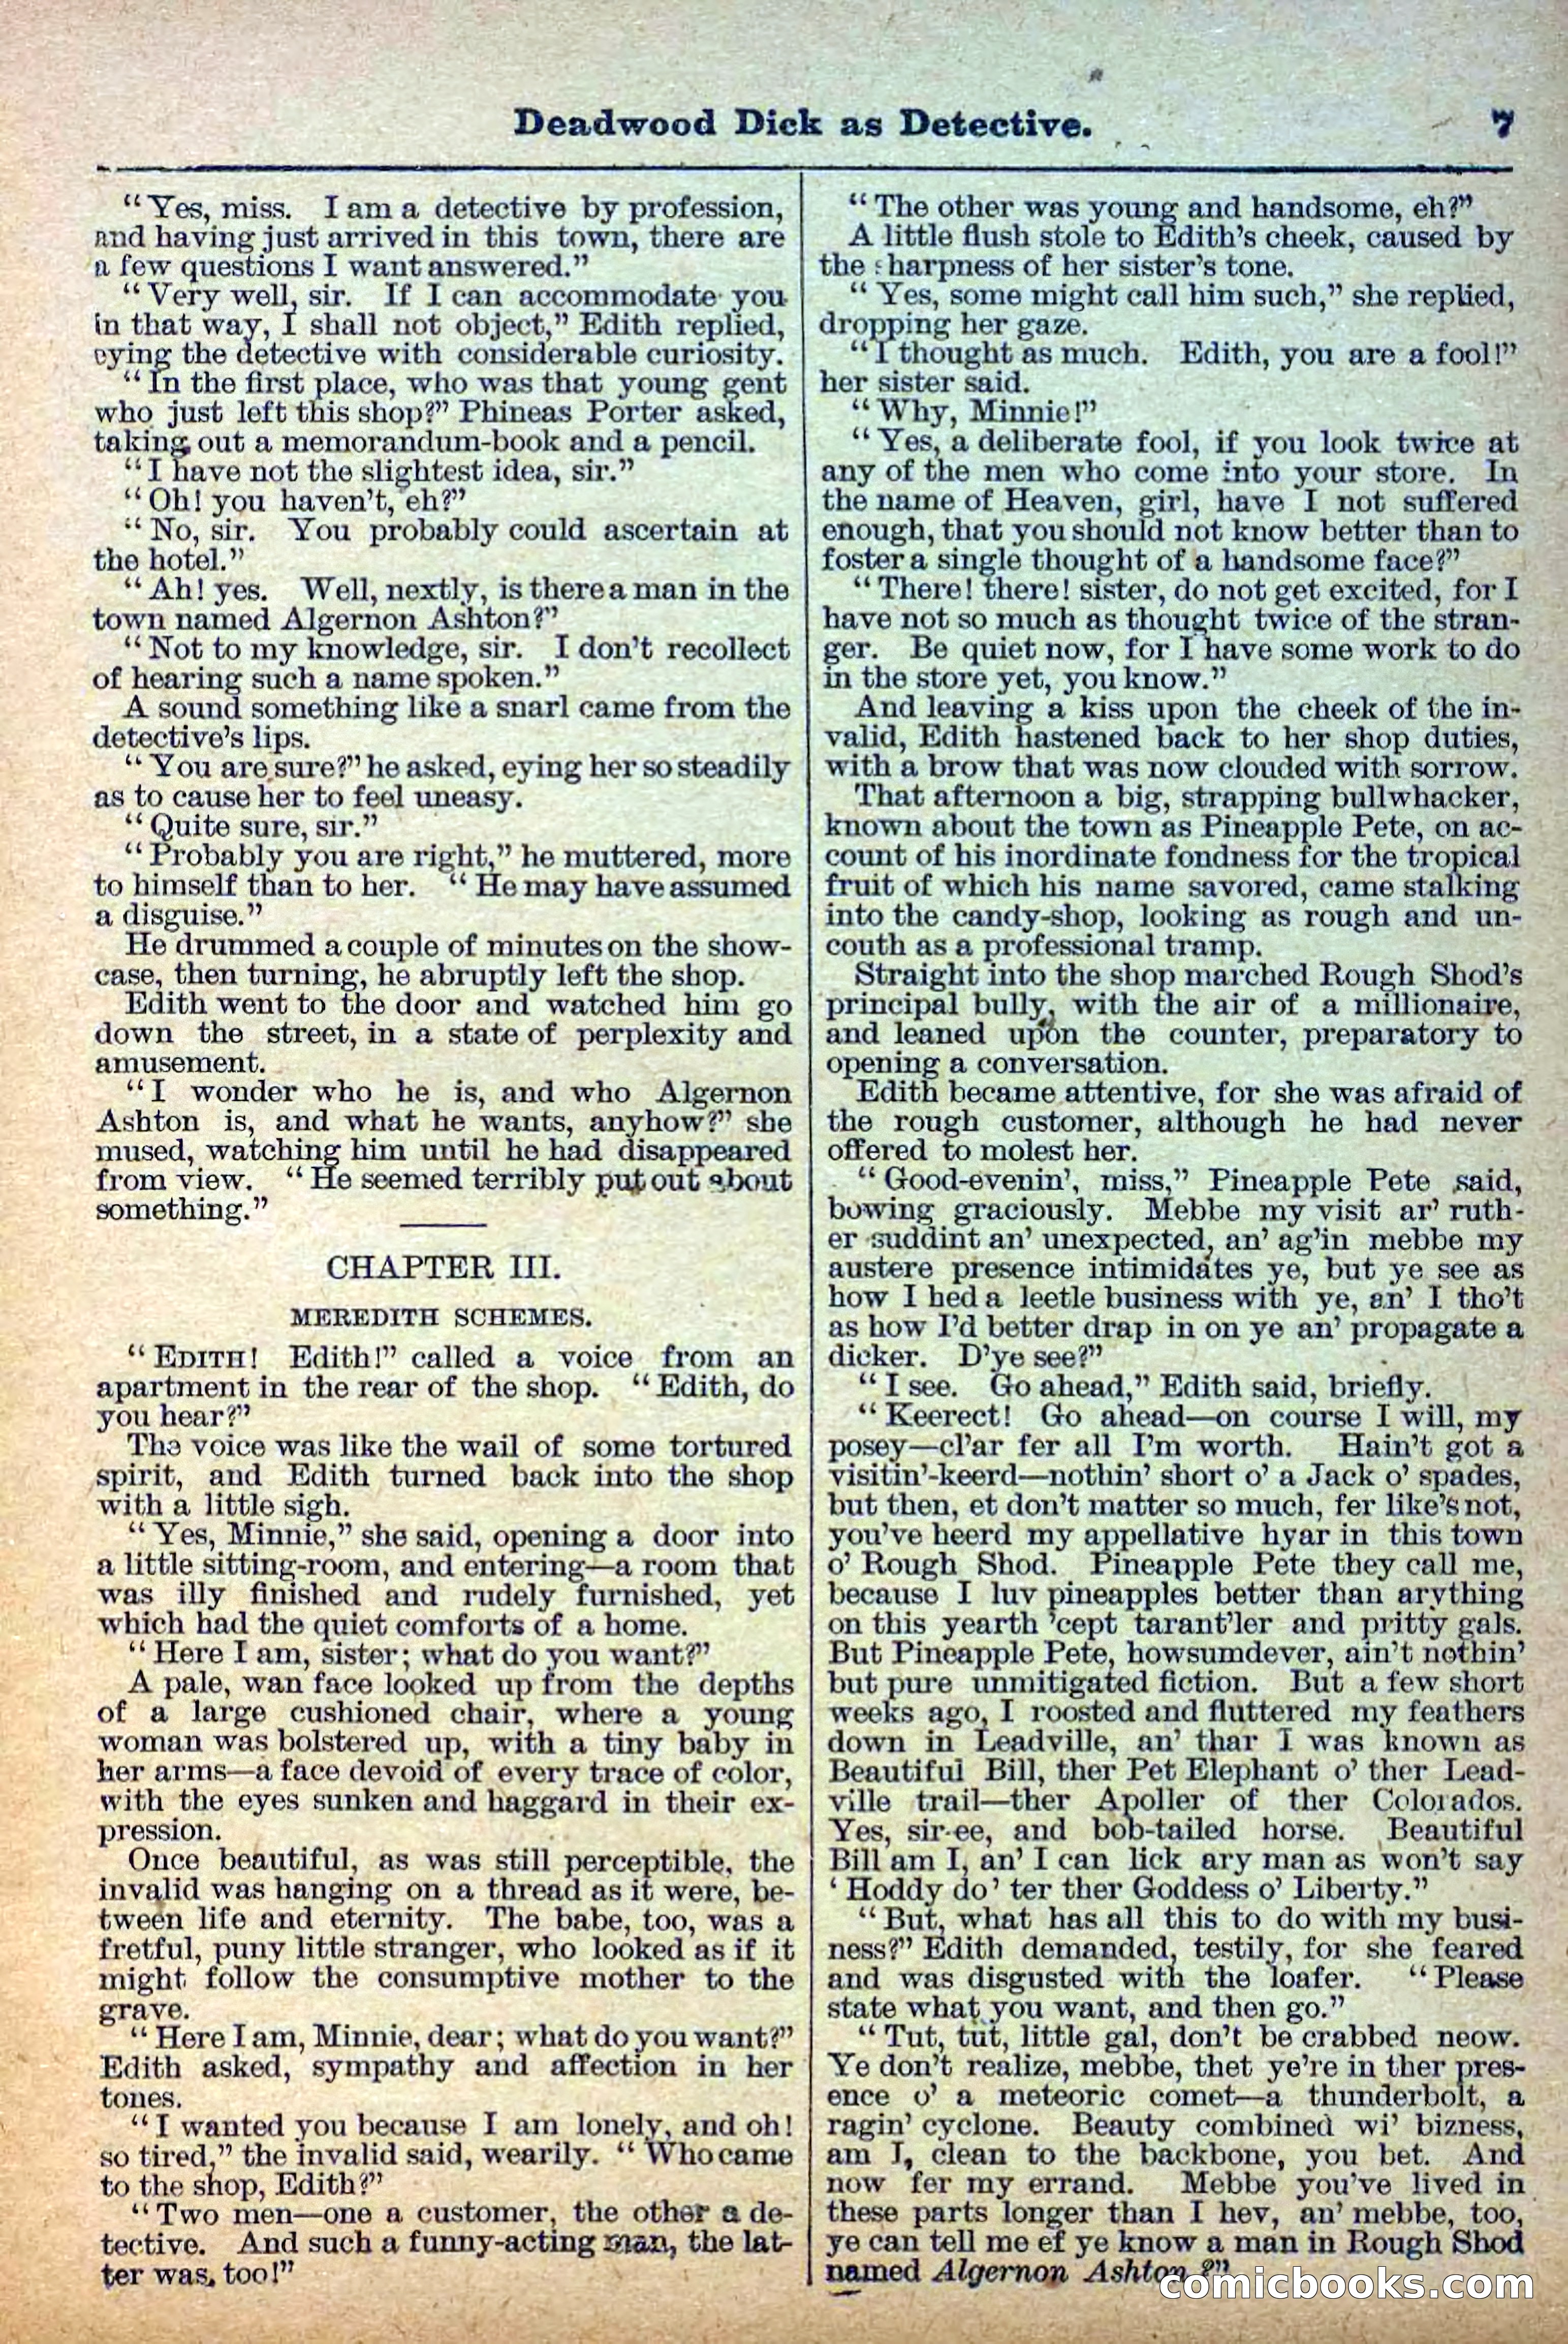
The Deadwood Dick Library, Vol. II, No. 24 — page 8 of 38
8 / 38
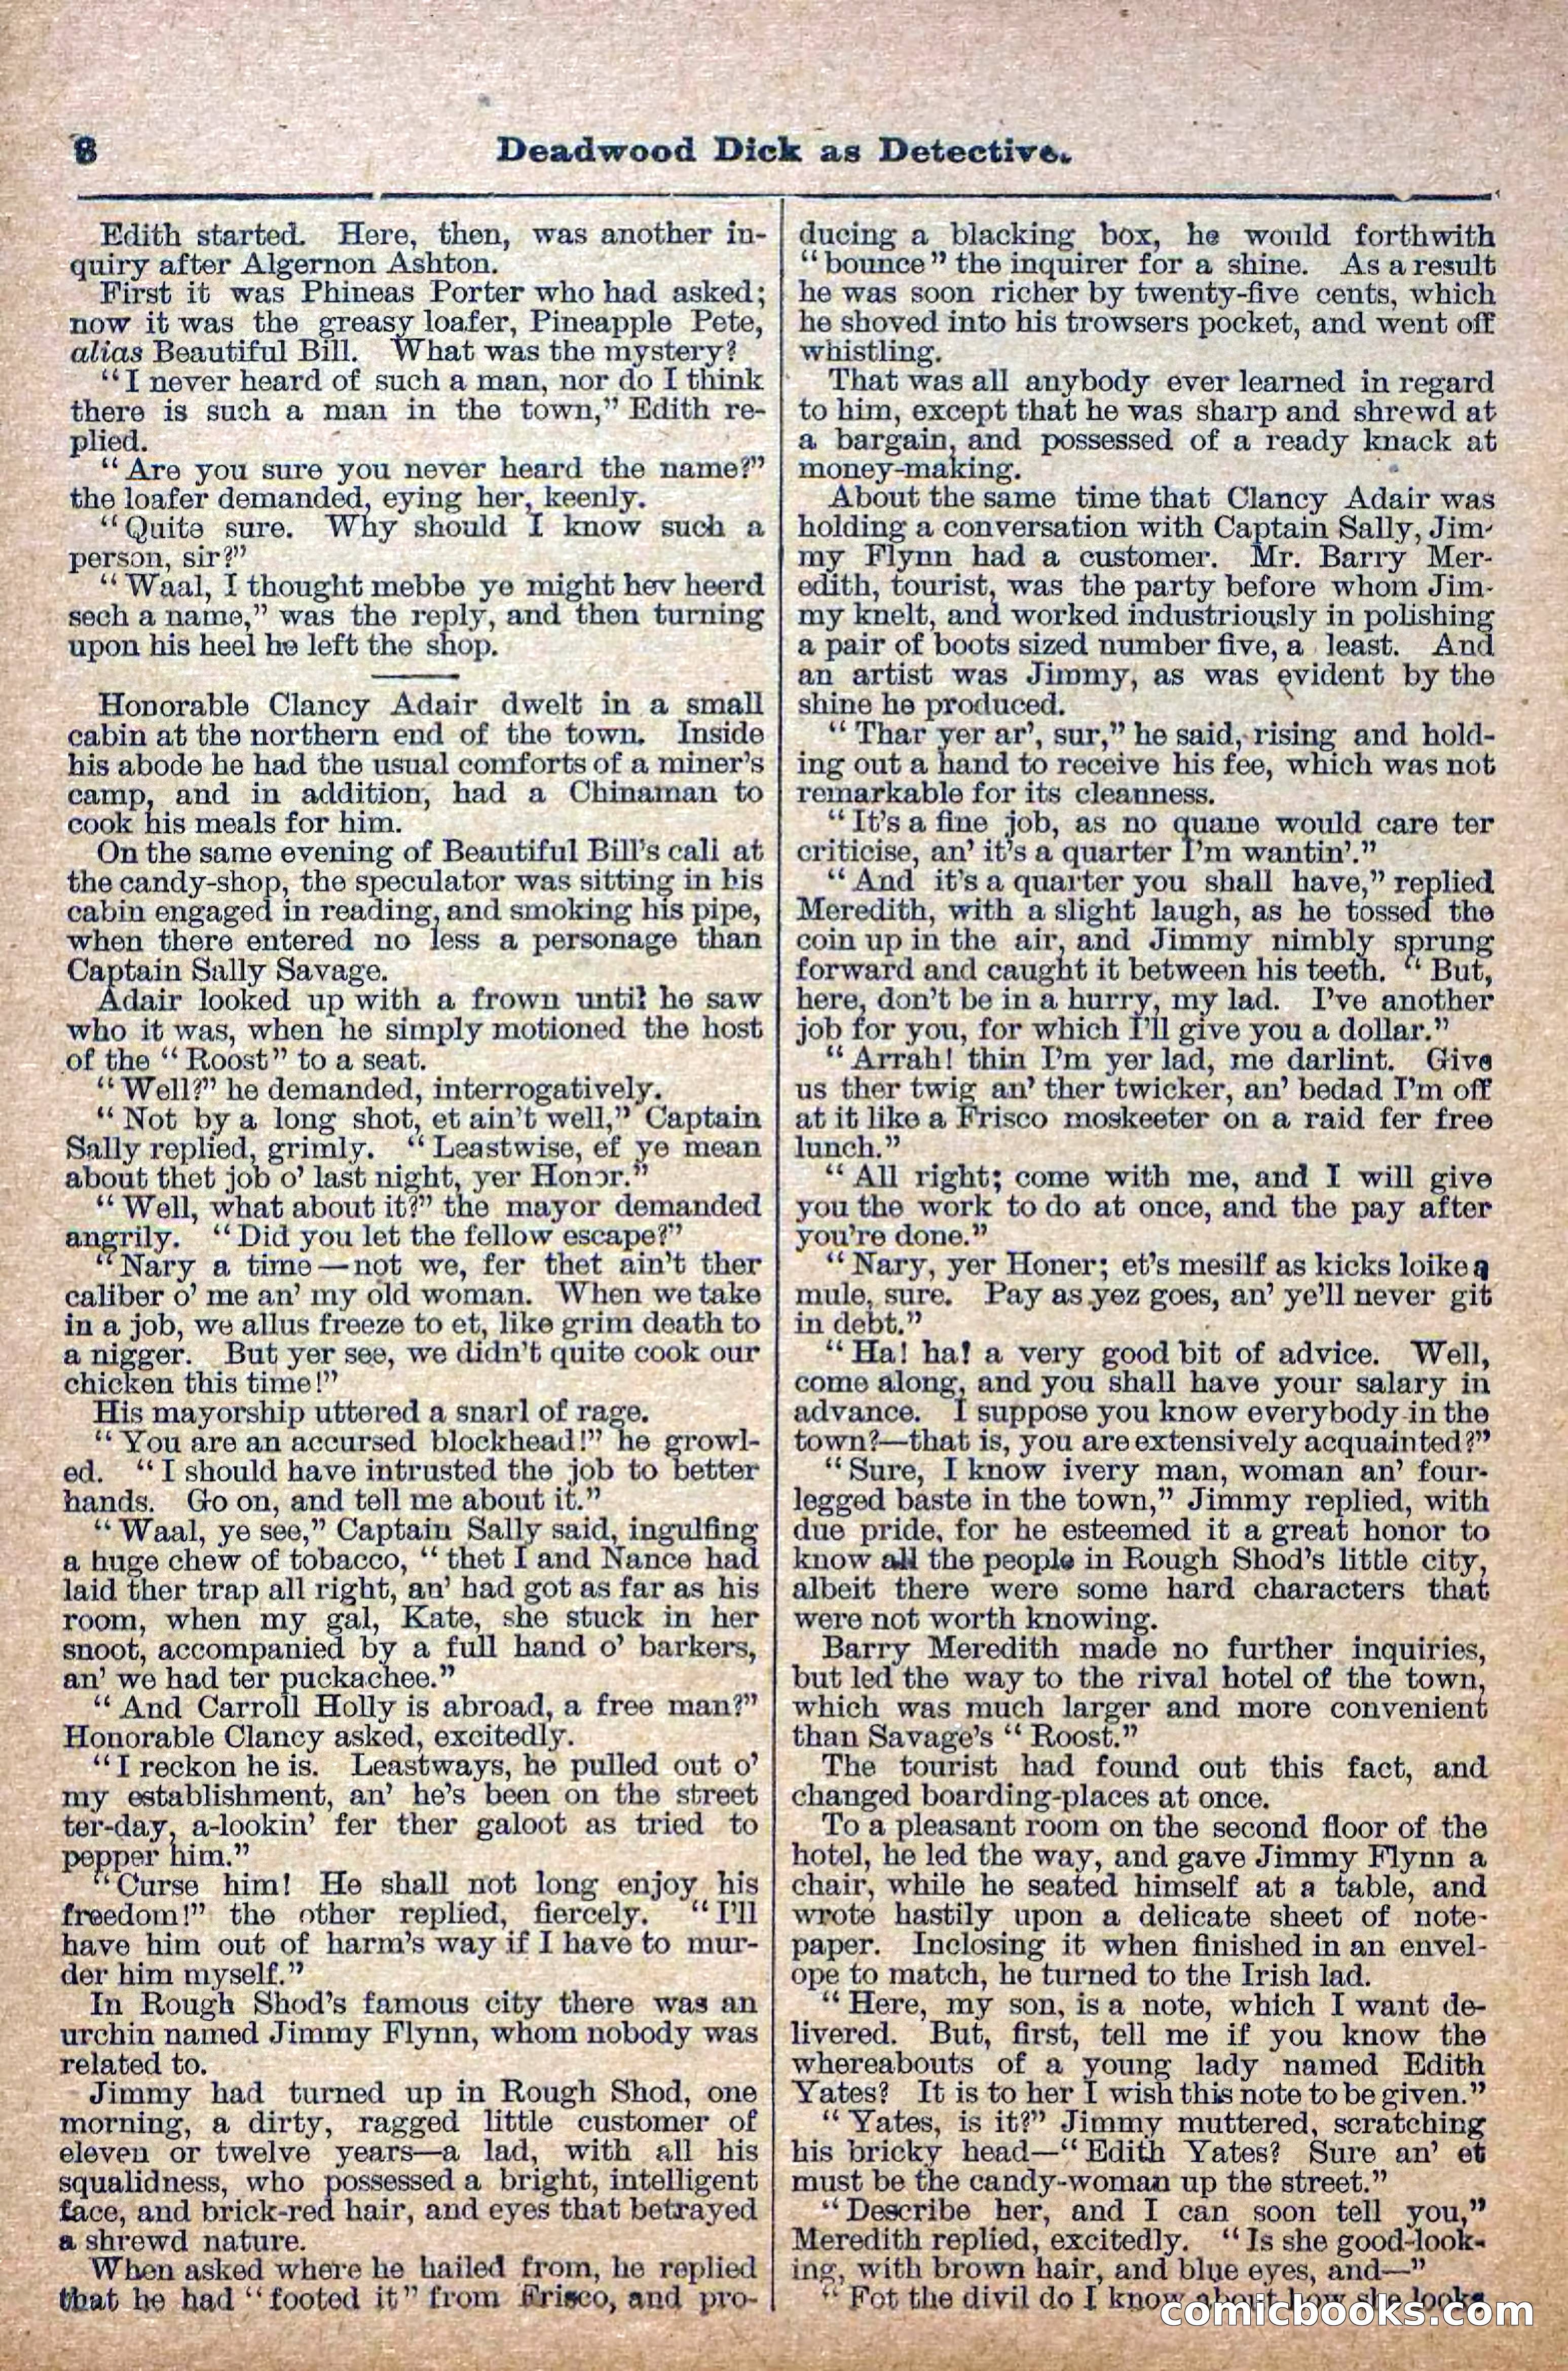
The Deadwood Dick Library, Vol. II, No. 24 — page 9 of 38
9 / 38
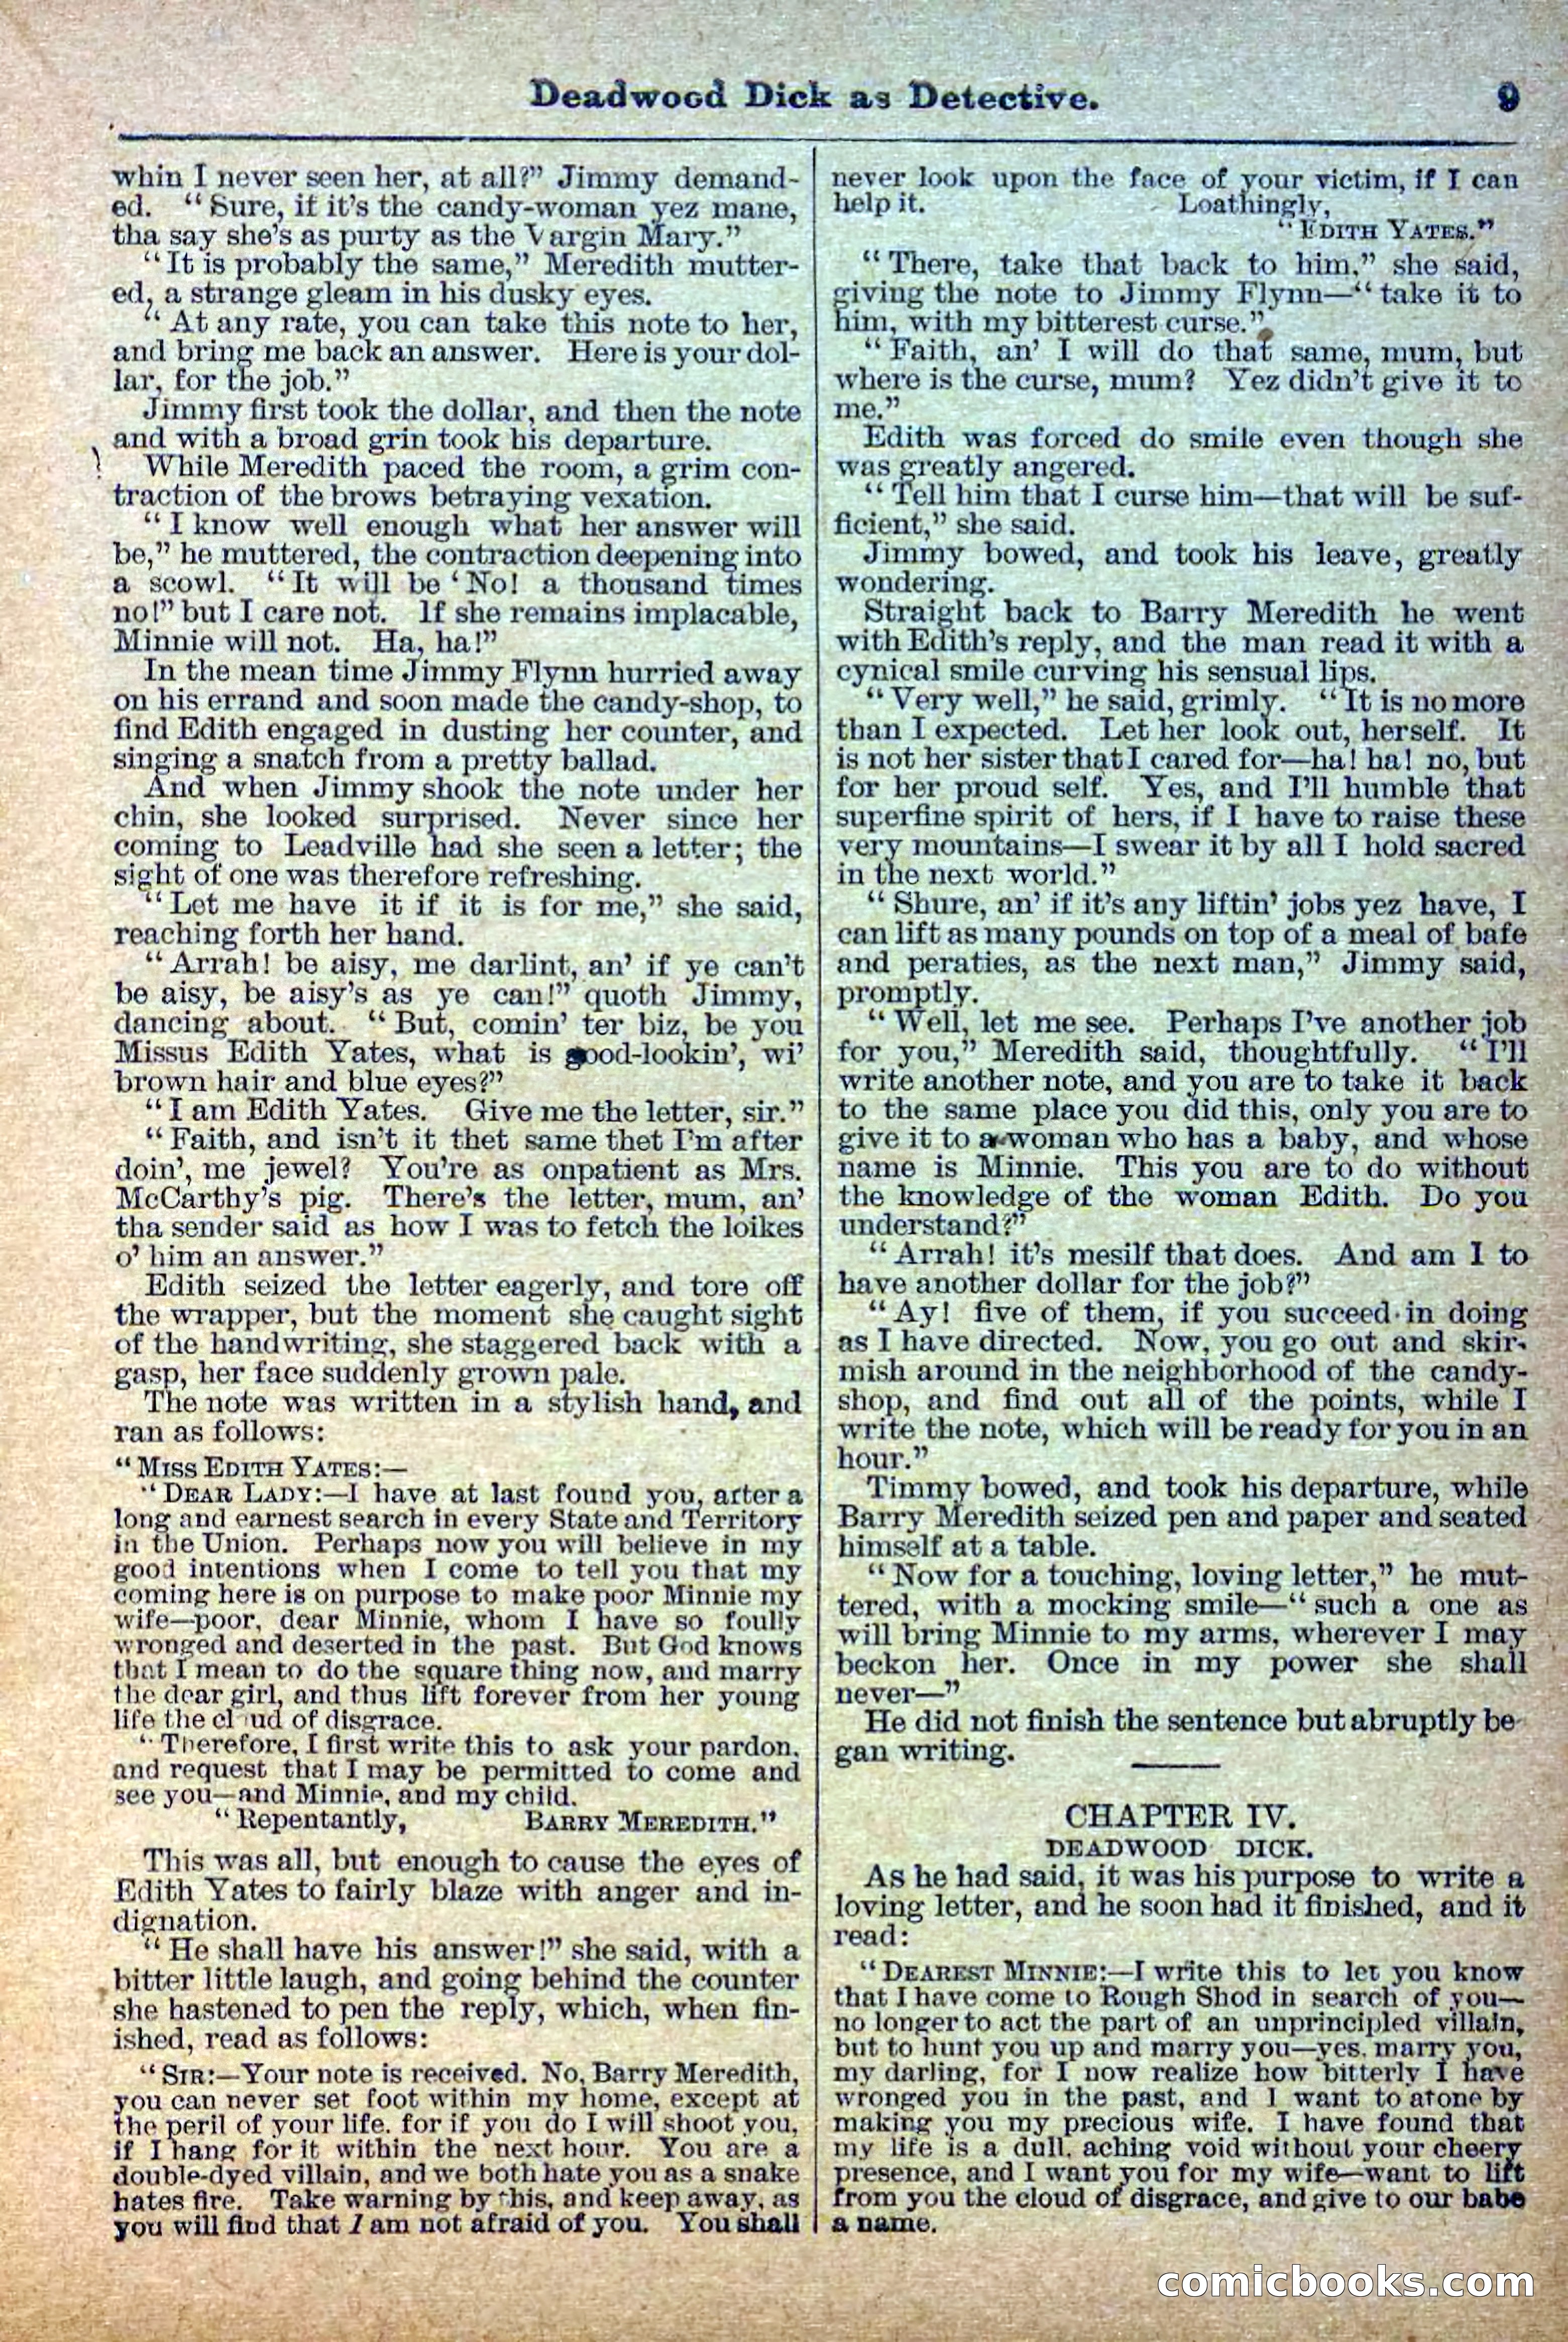
The Deadwood Dick Library, Vol. II, No. 24 — page 10 of 38
10 / 38
The Deadwood Dick Library, Vol. II, No. 24 — page 11 of 38
11 / 38
The Deadwood Dick Library, Vol. II, No. 24 — page 12 of 38
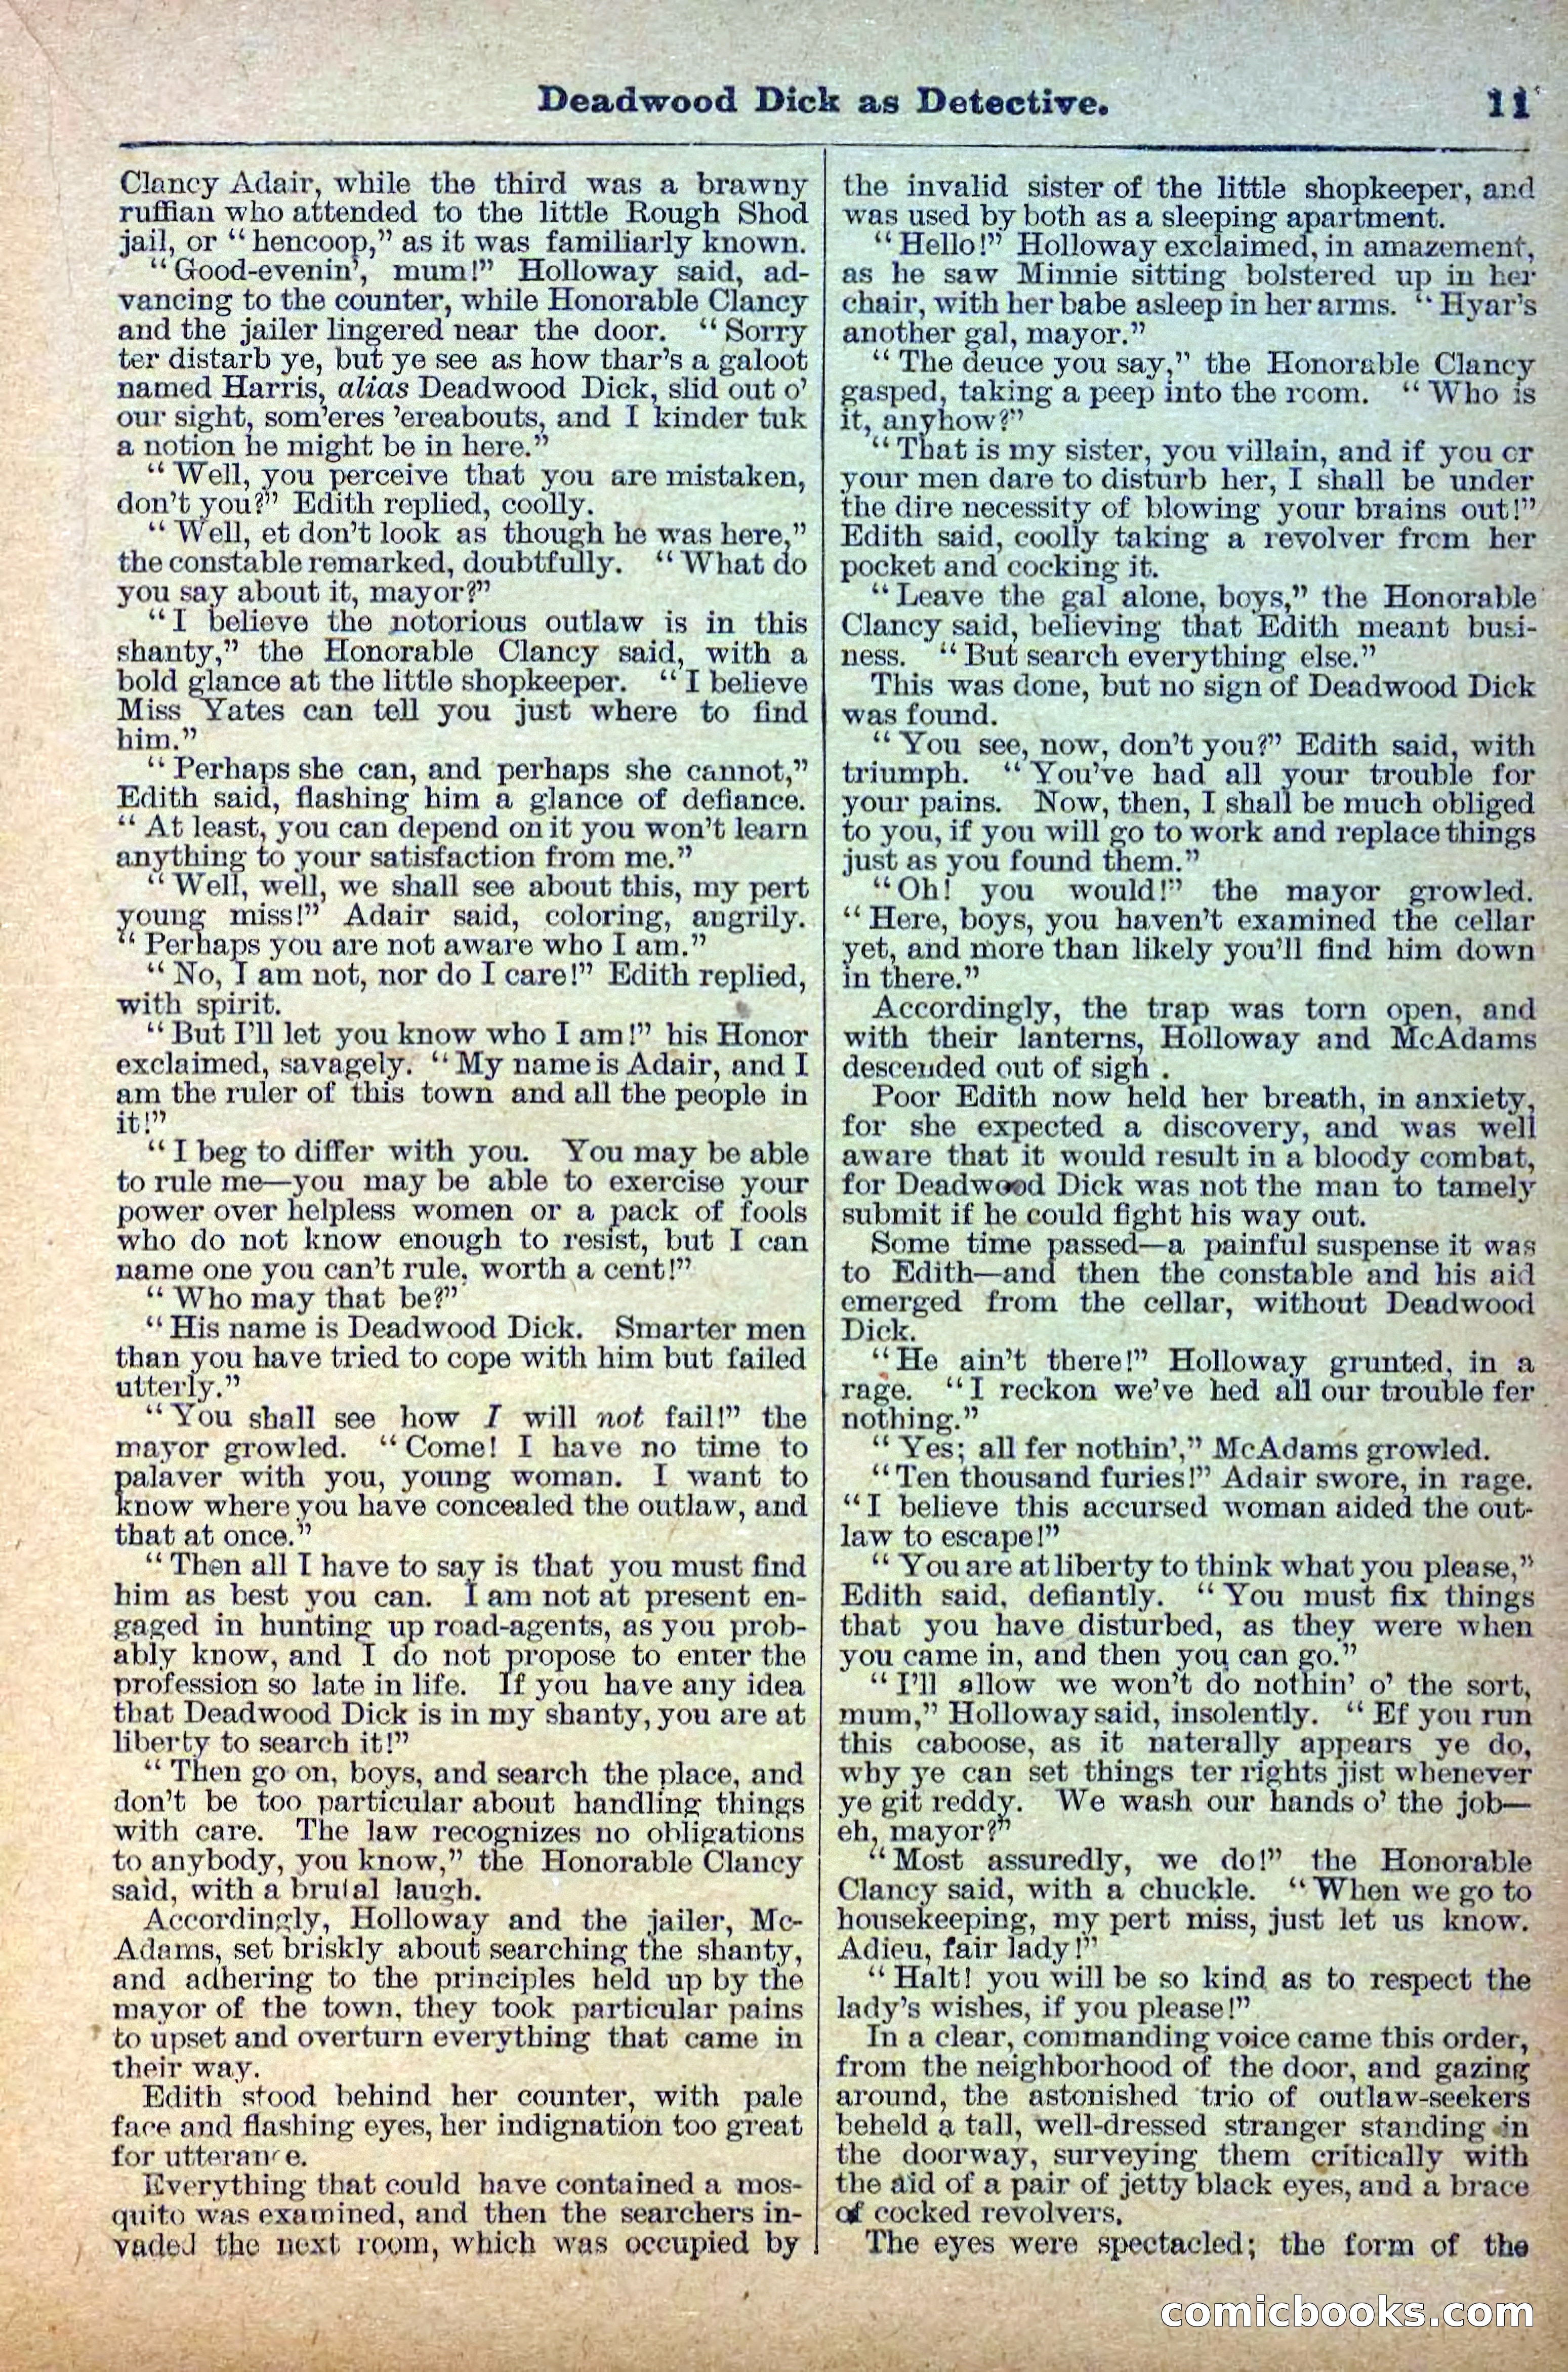
12 / 38
The Deadwood Dick Library, Vol. II, No. 24 — page 13 of 38
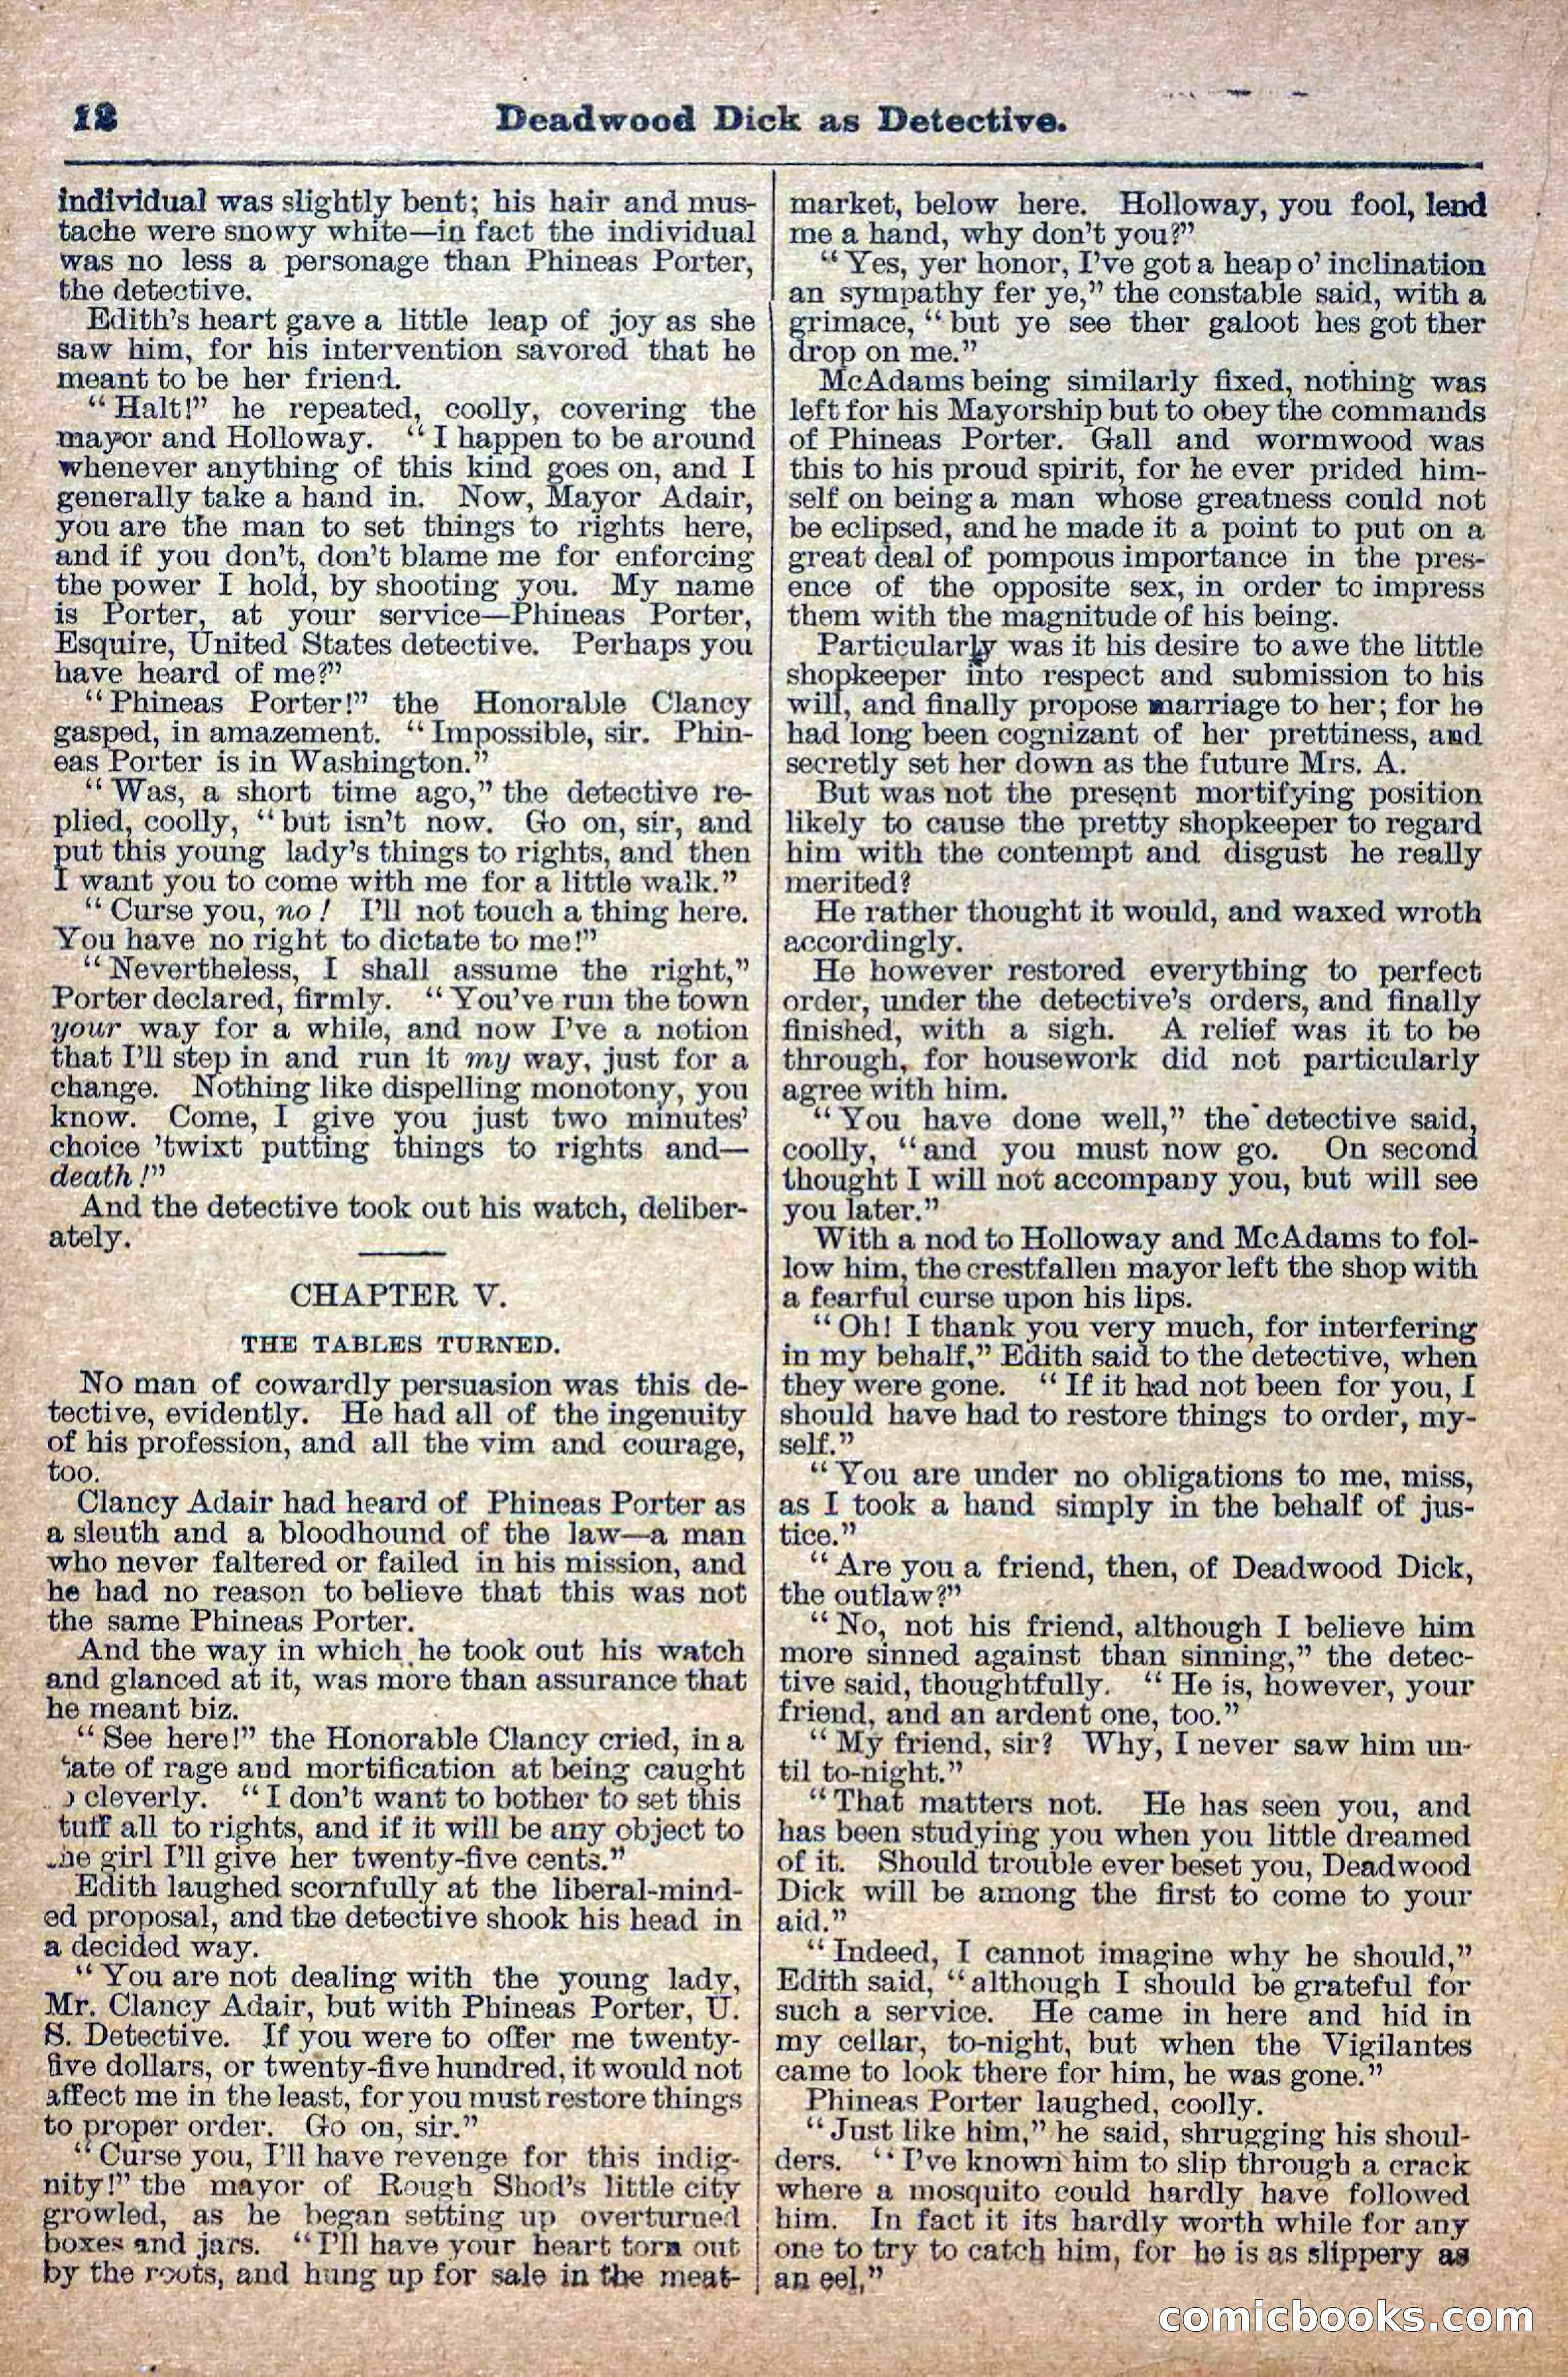
13 / 38
The Deadwood Dick Library, Vol. II, No. 24 — page 14 of 38
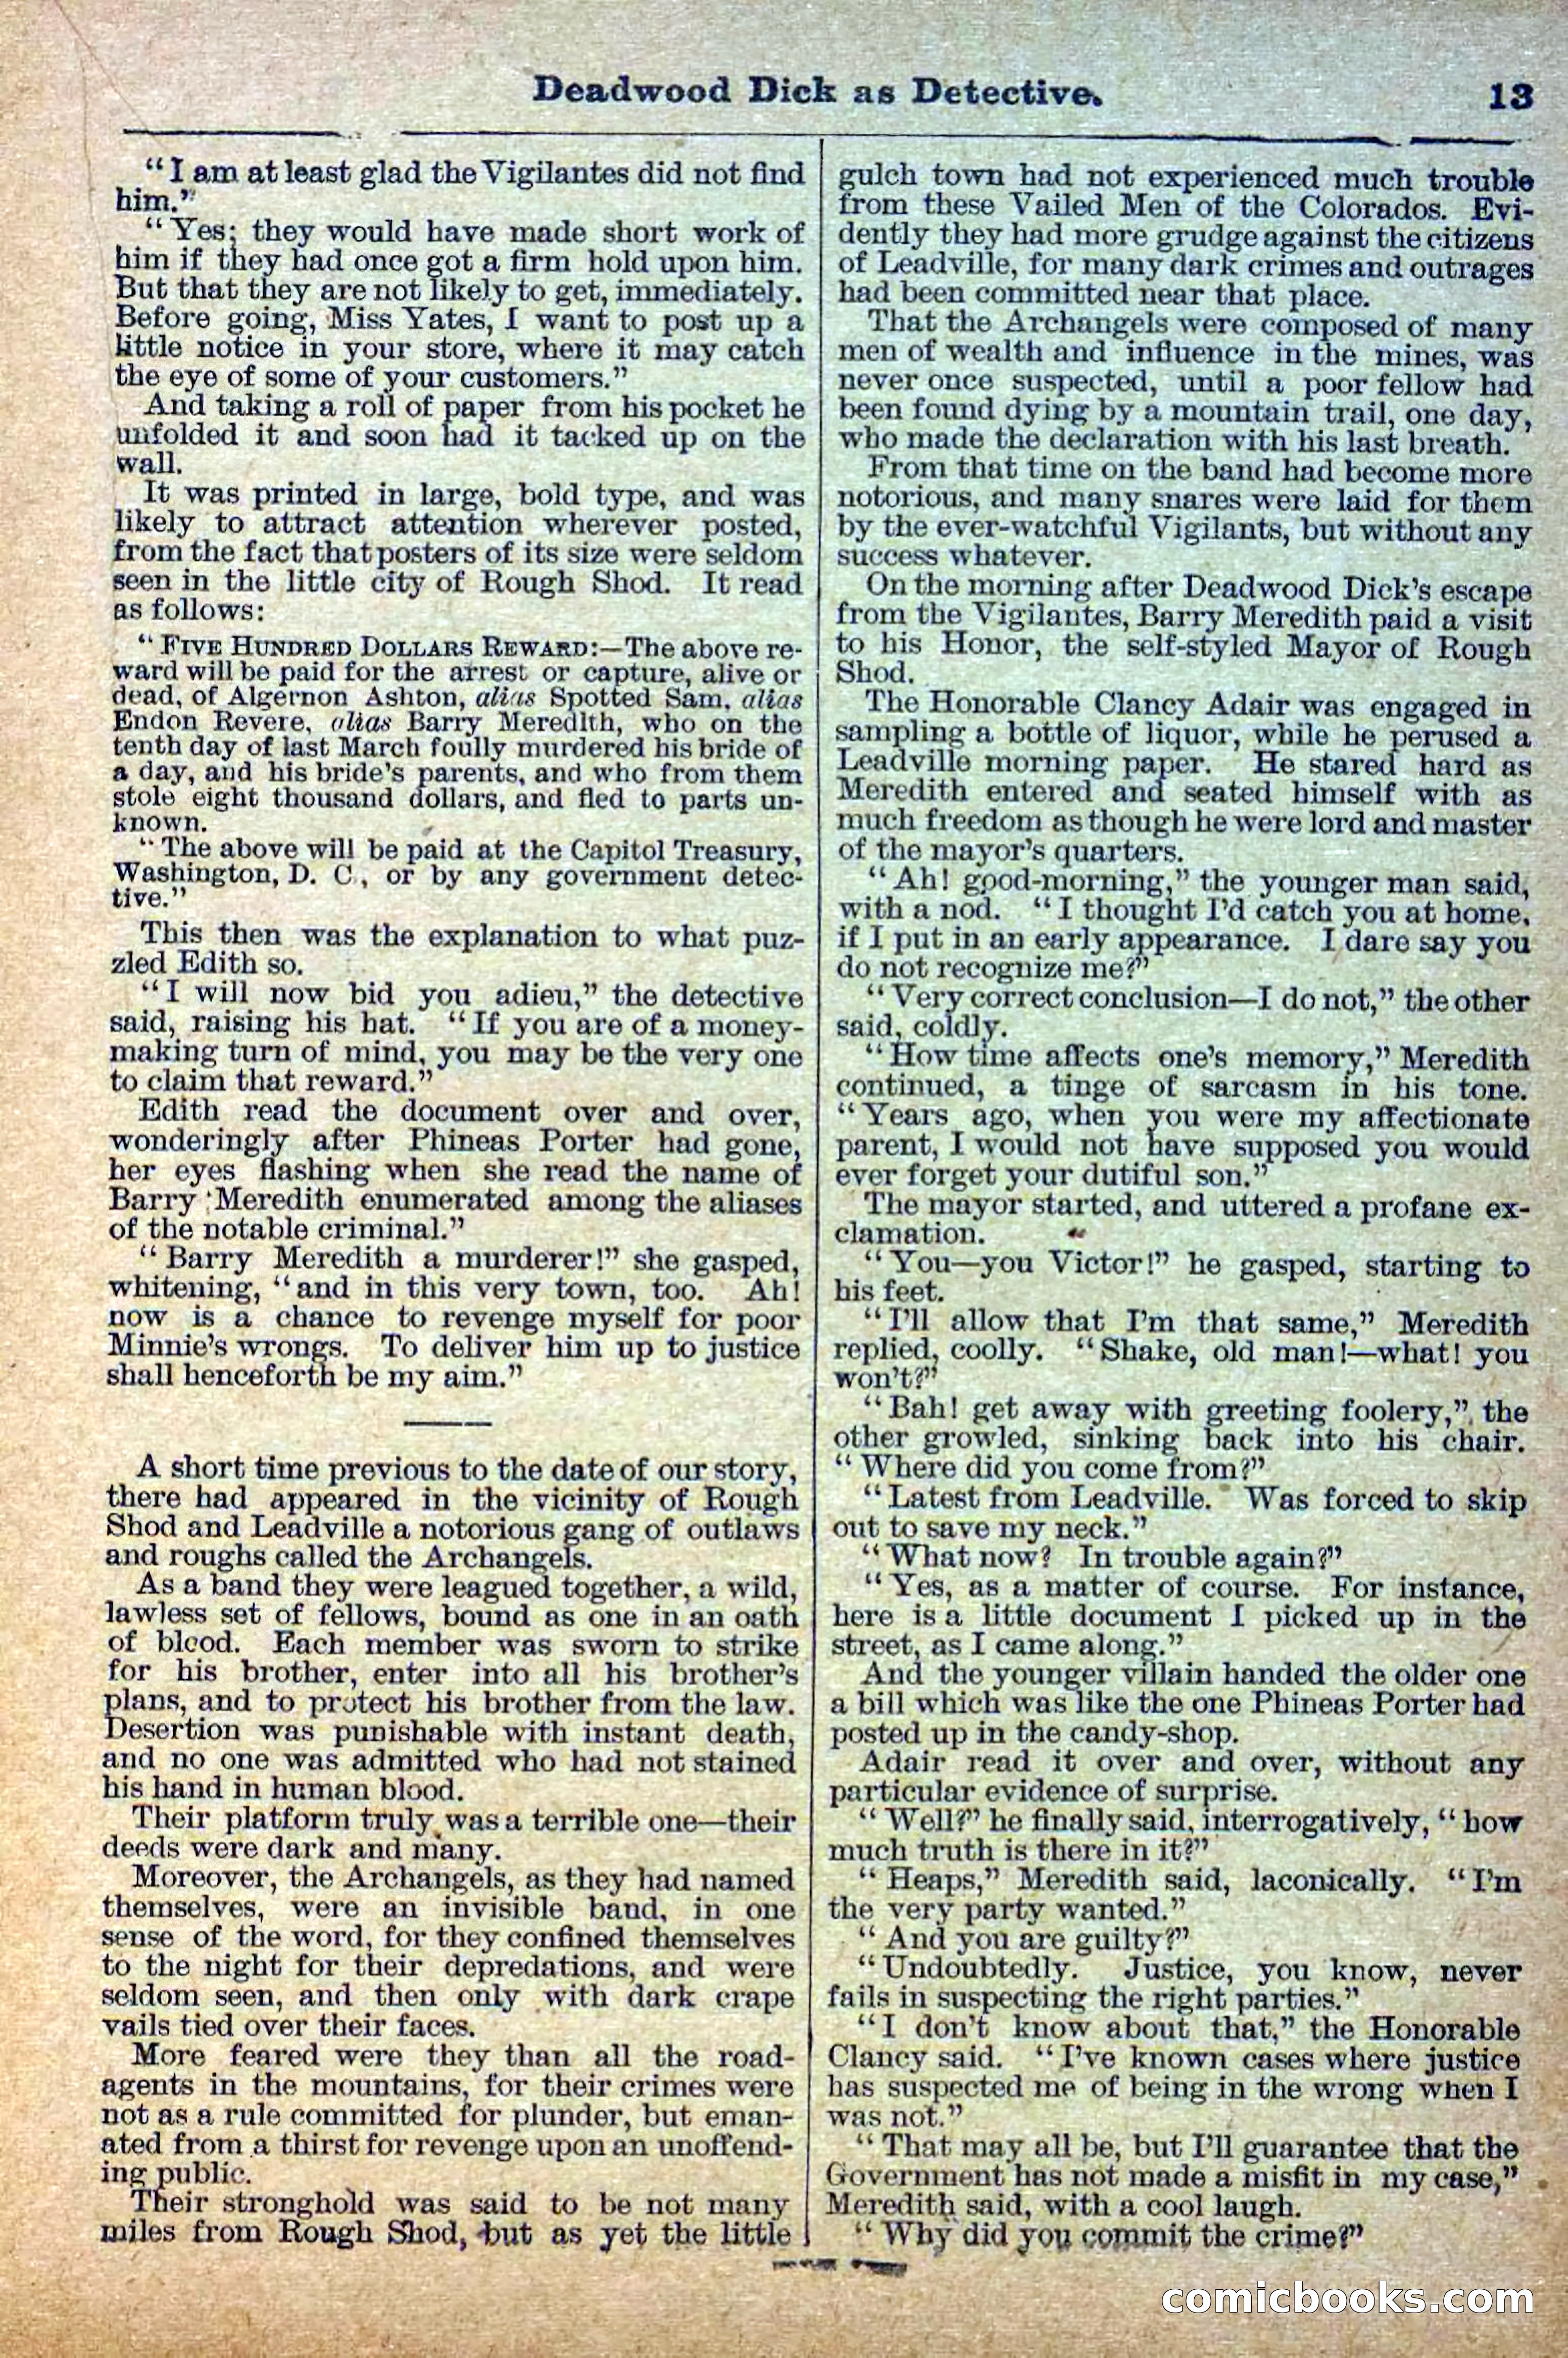
14 / 38
The Deadwood Dick Library, Vol. II, No. 24 — page 15 of 38
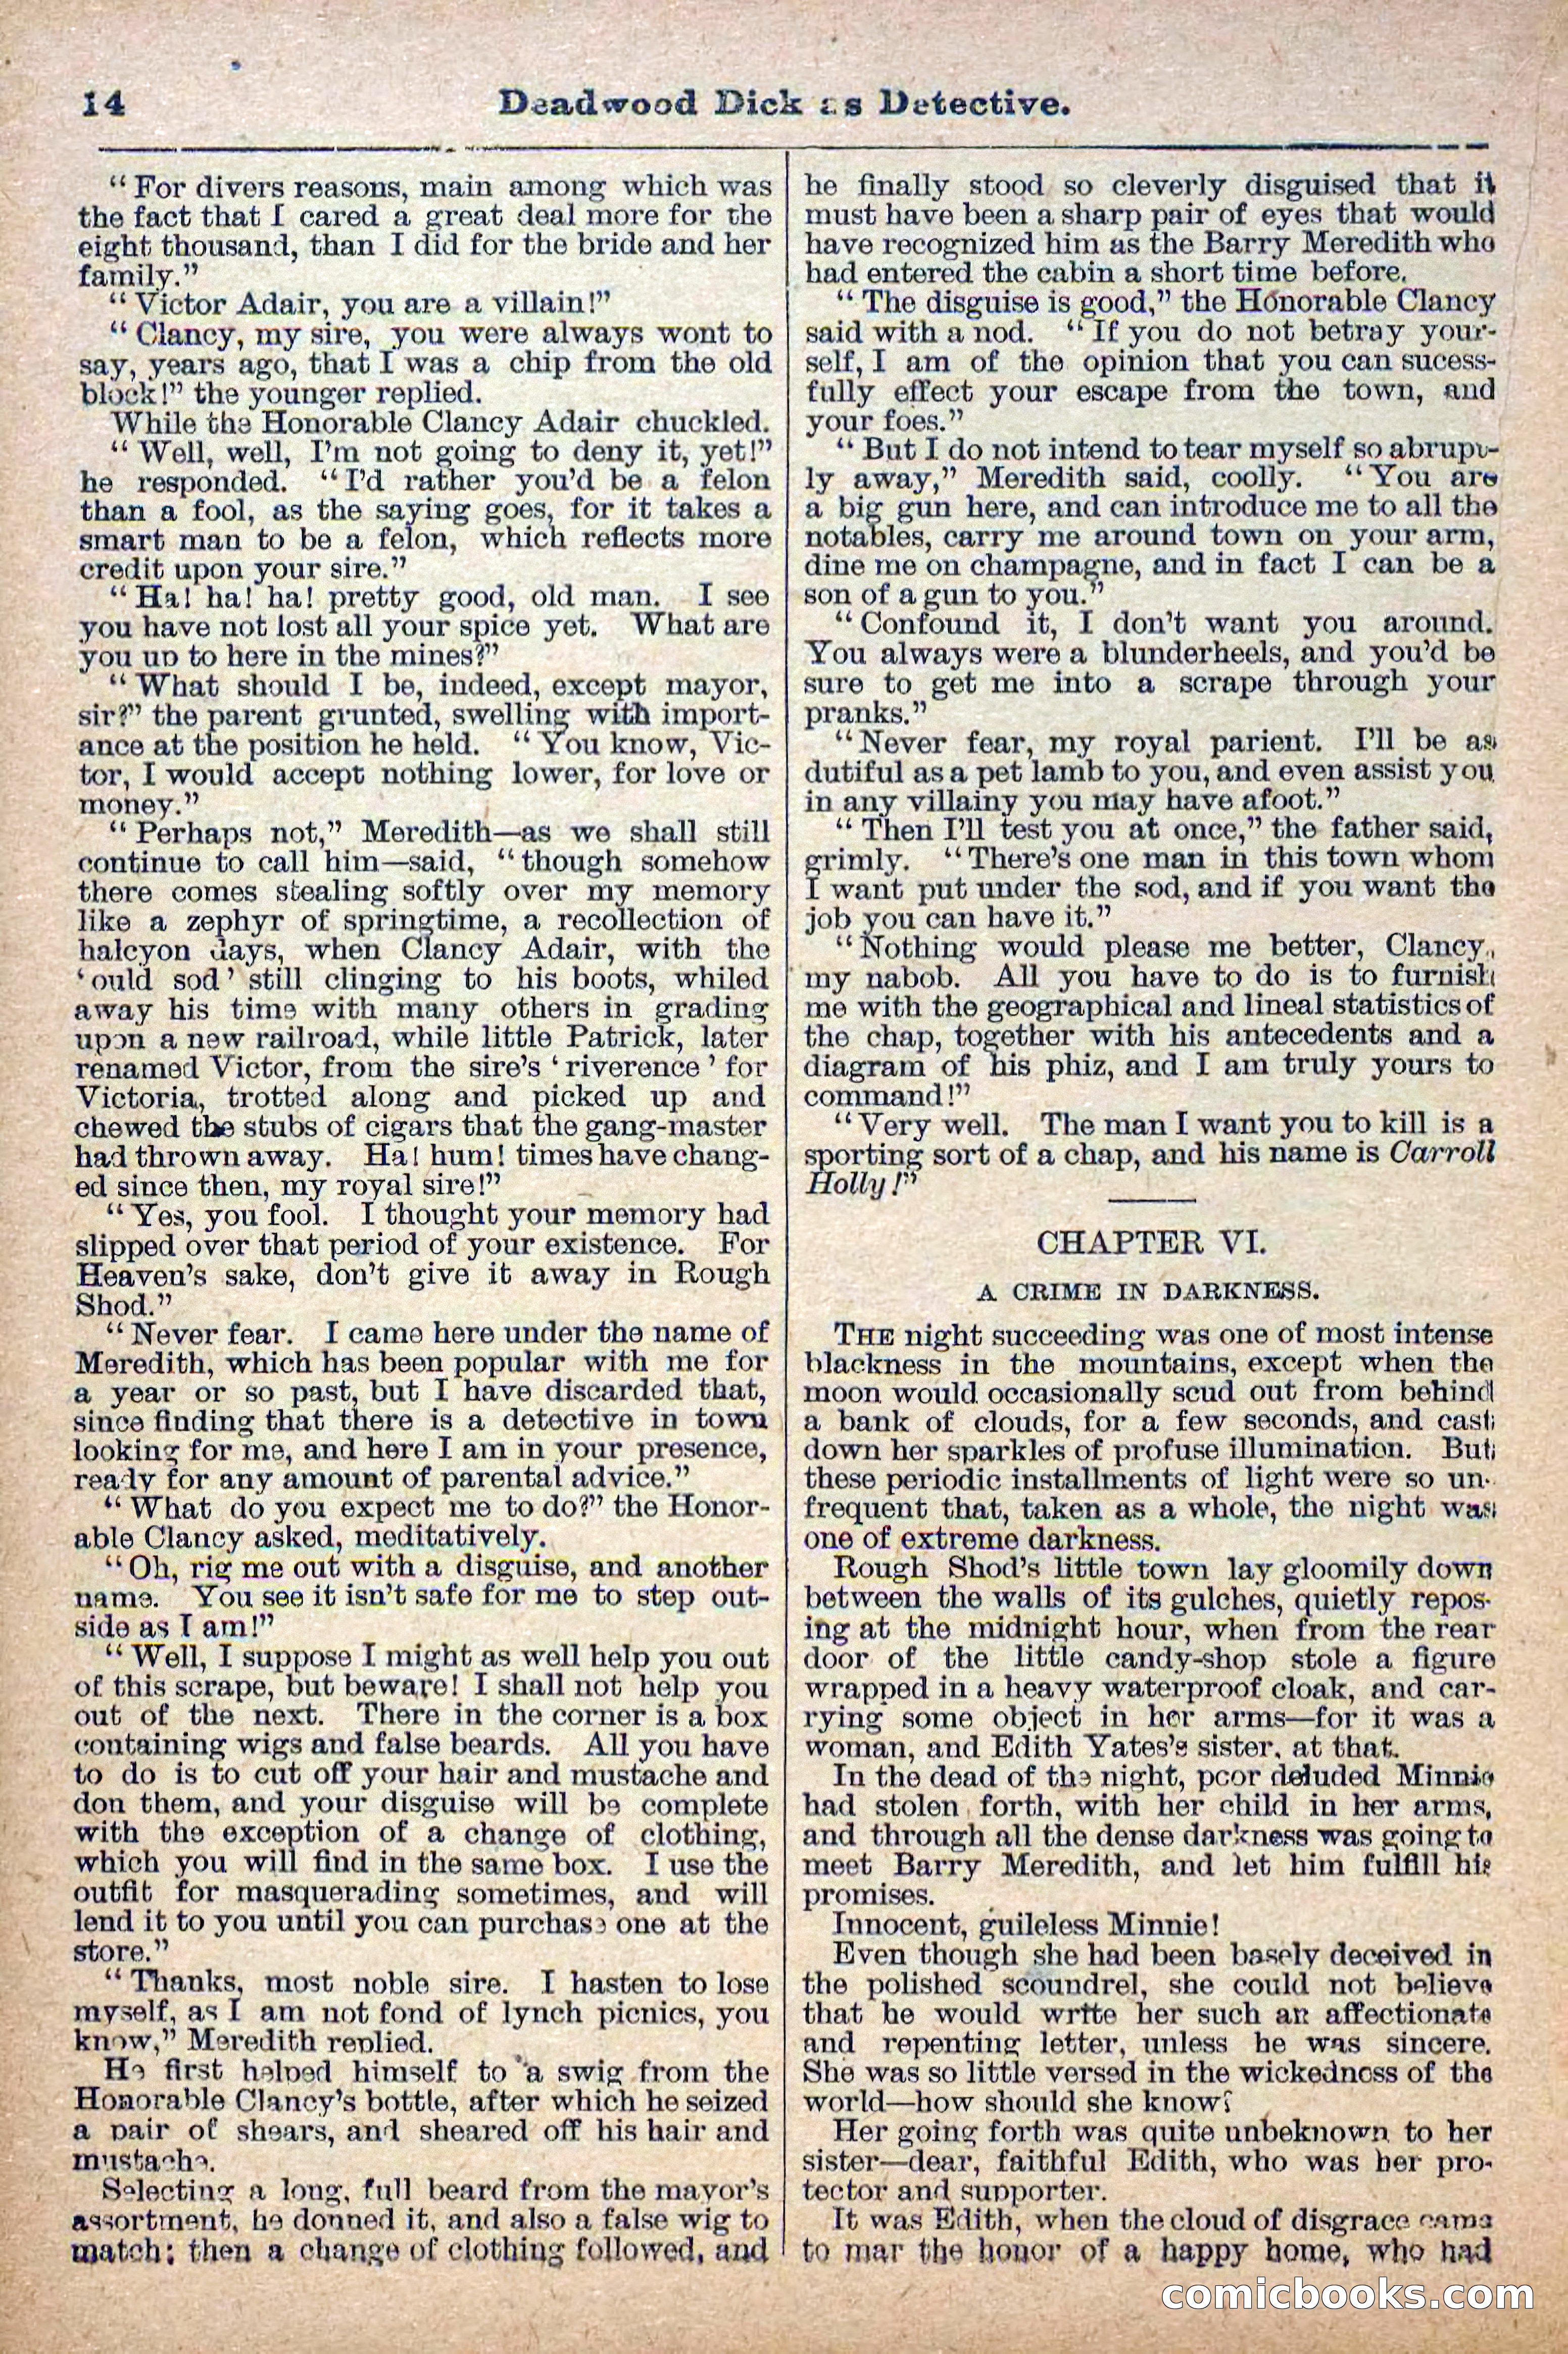
15 / 38
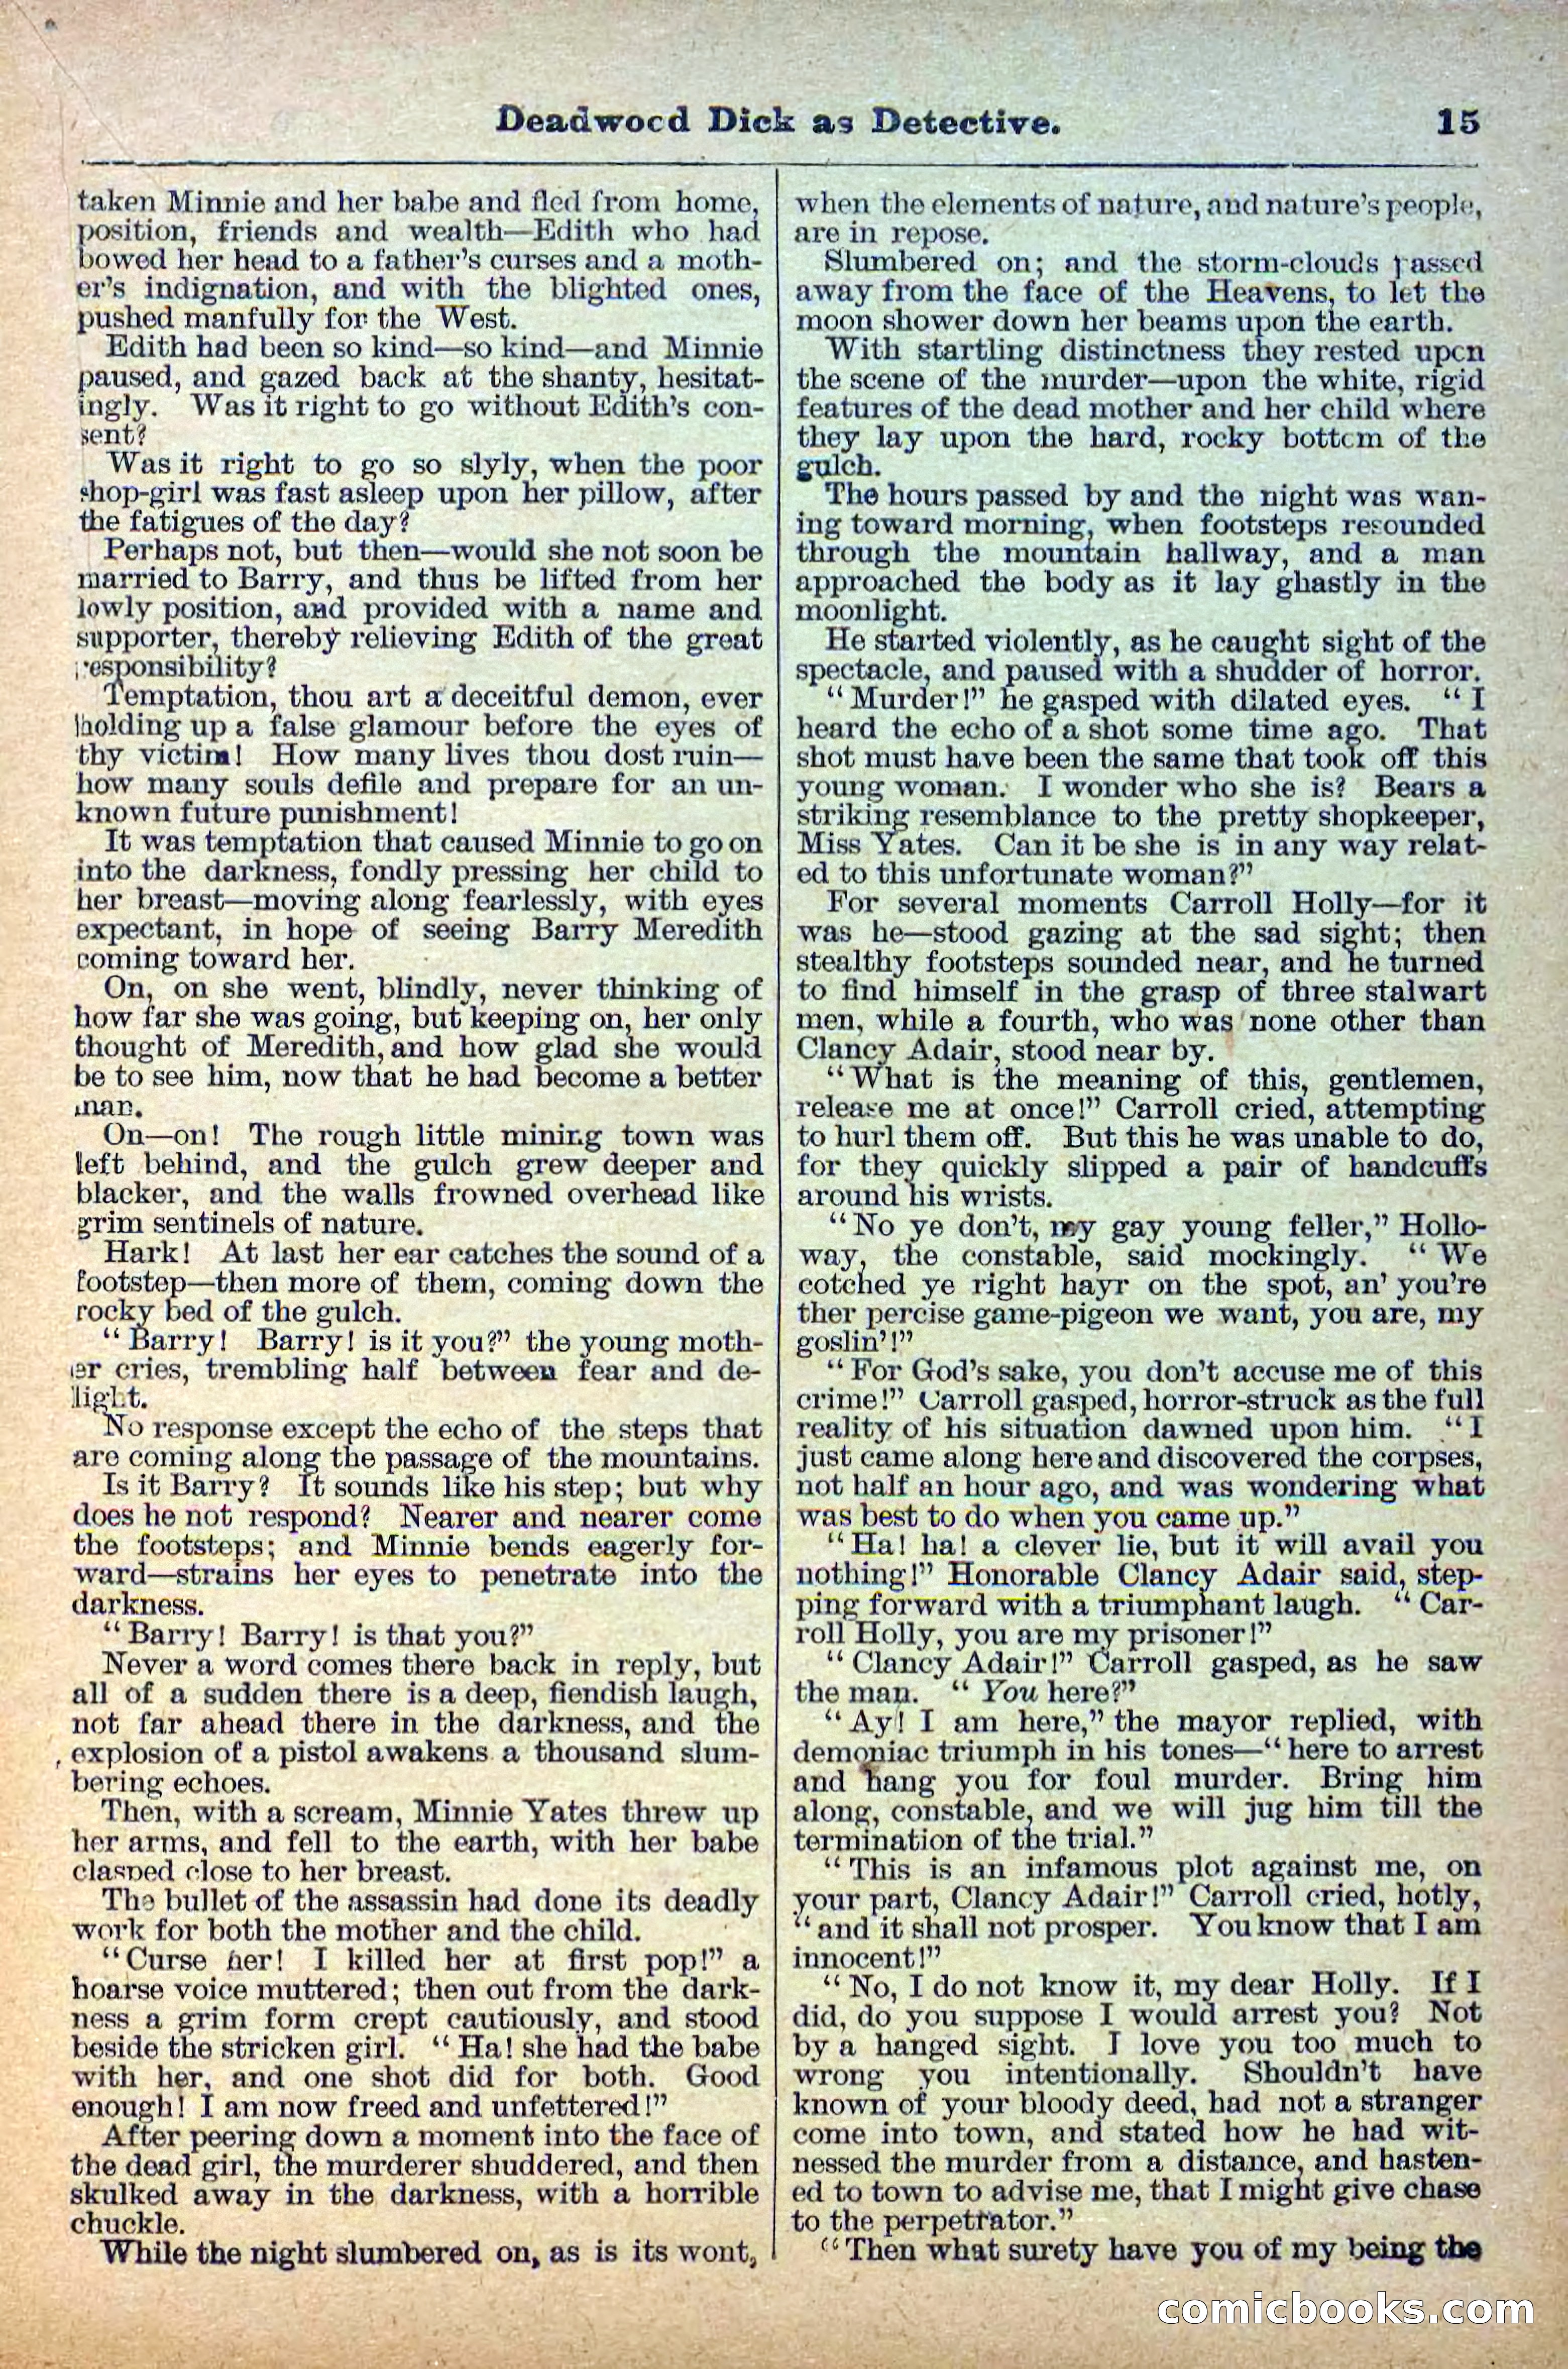
The Deadwood Dick Library, Vol. II, No. 24 — page 16 of 38
16 / 38
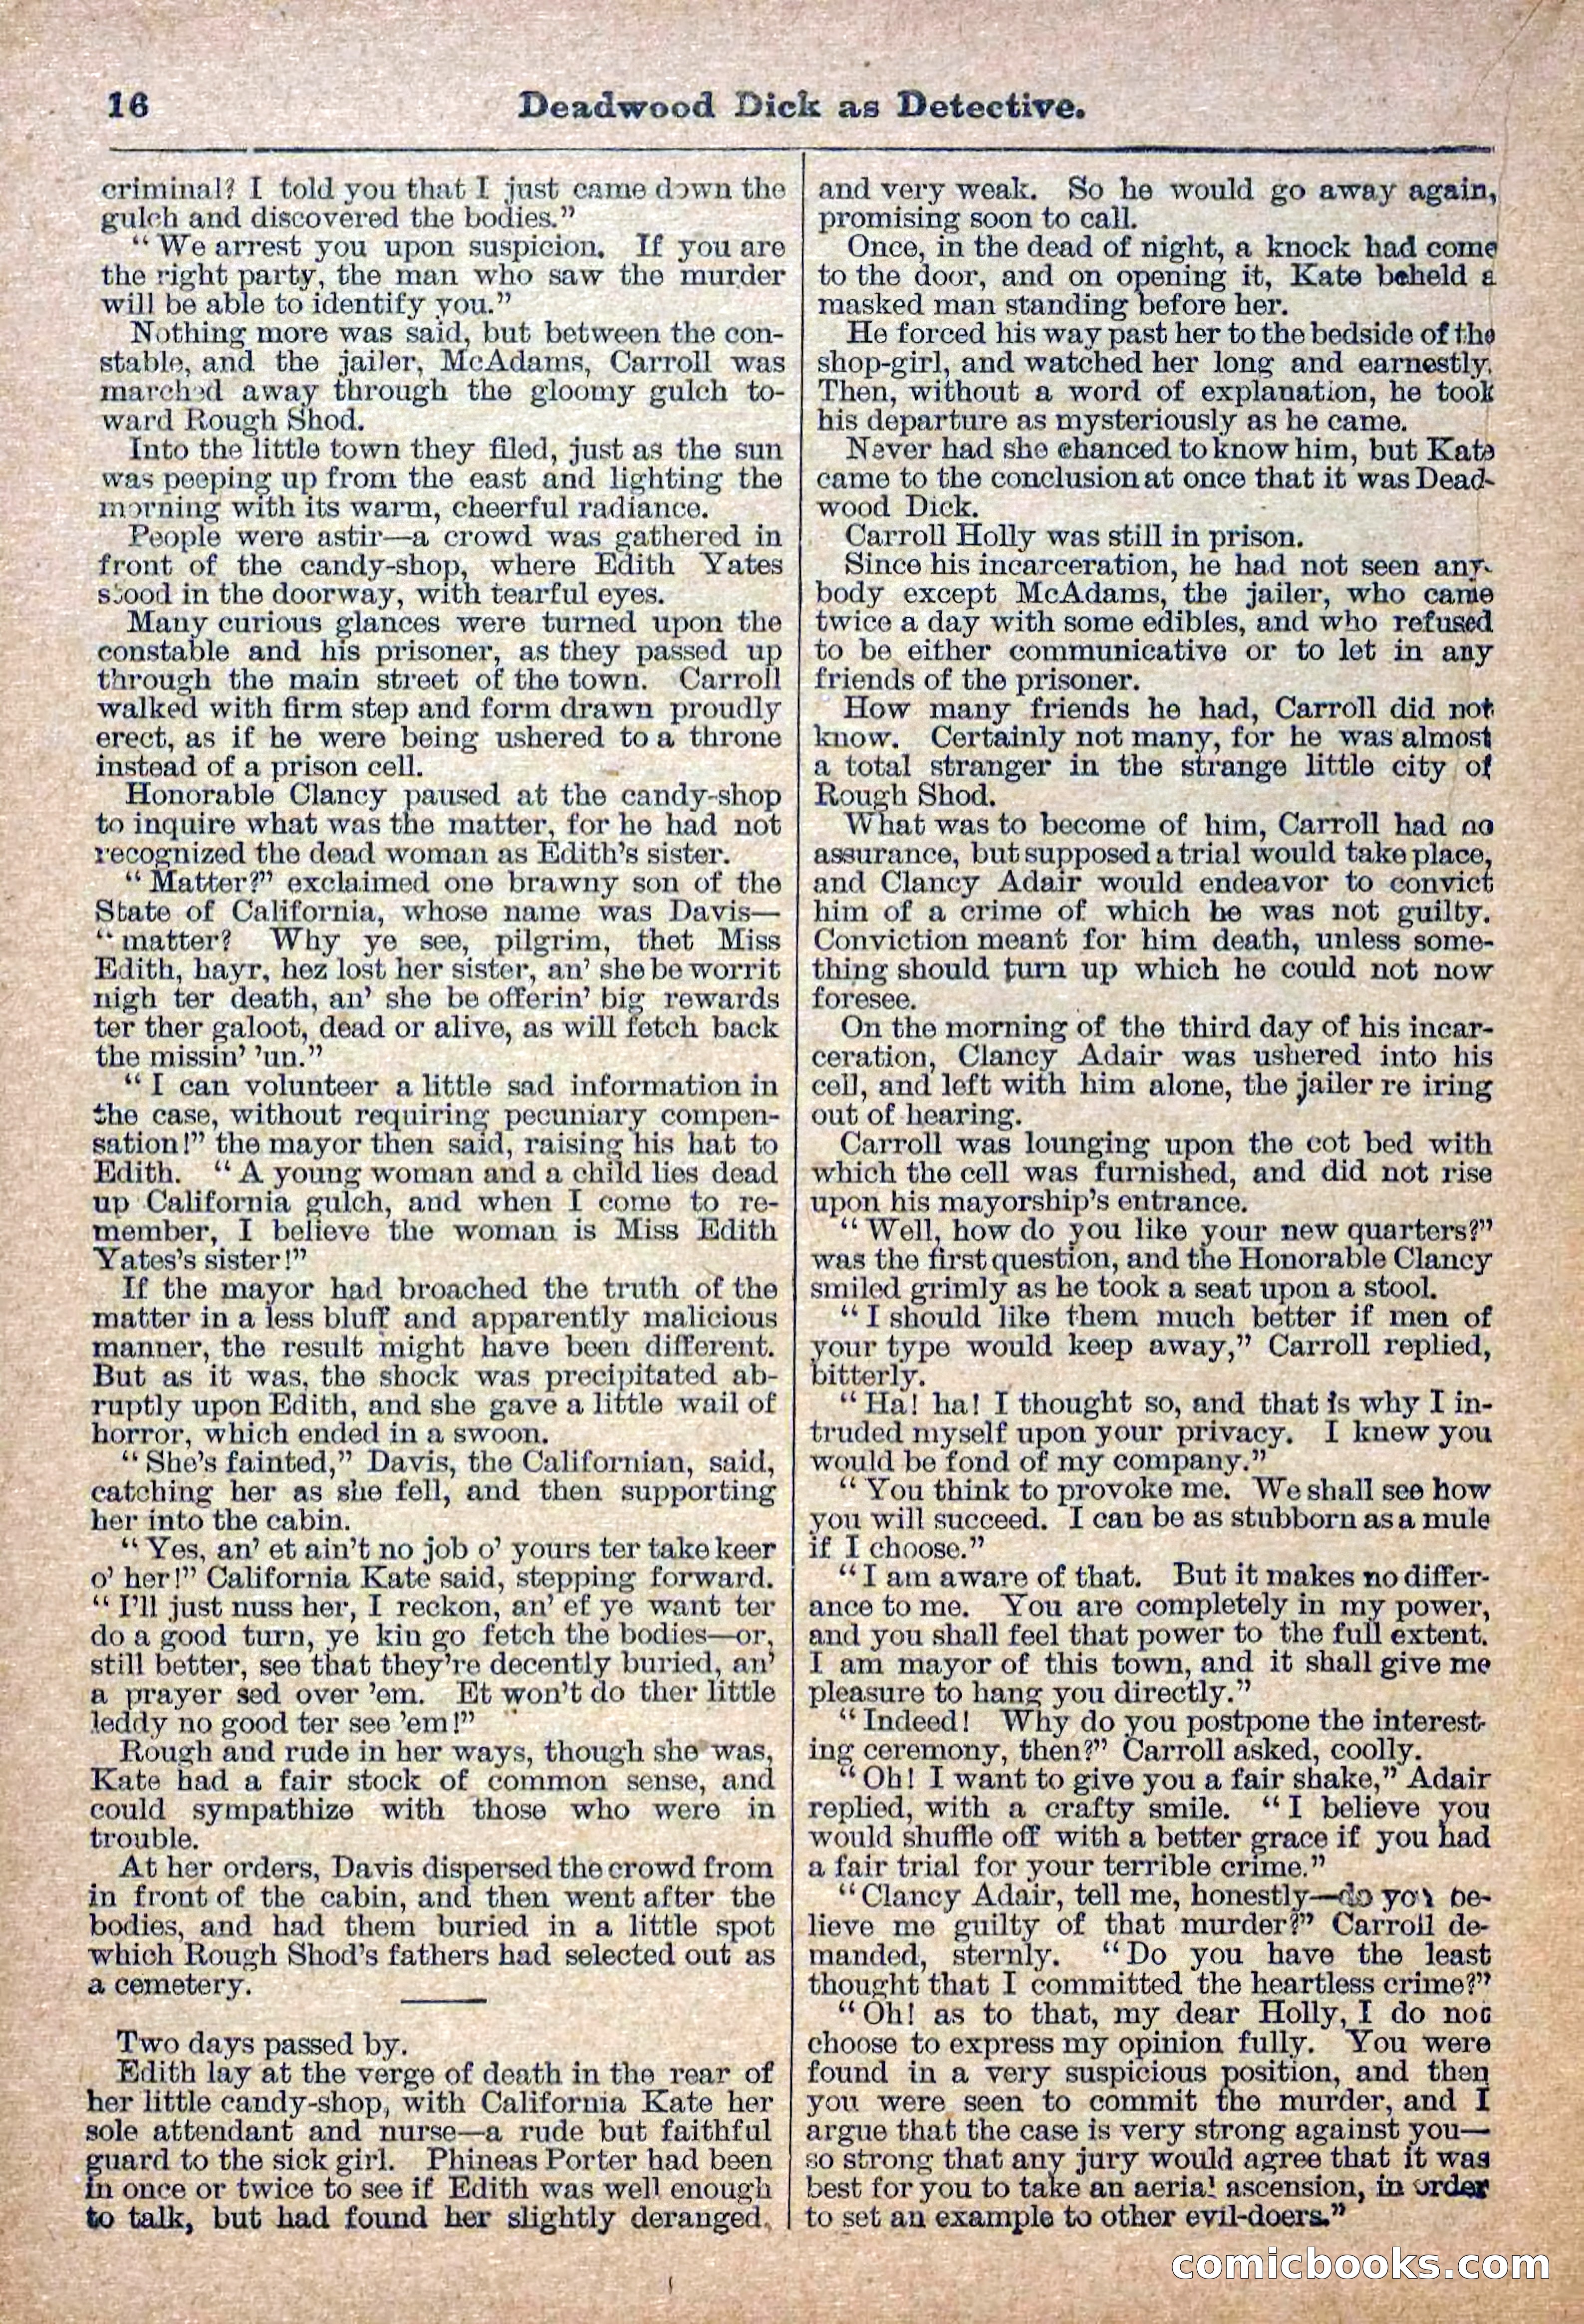
The Deadwood Dick Library, Vol. II, No. 24 — page 17 of 38
17 / 38
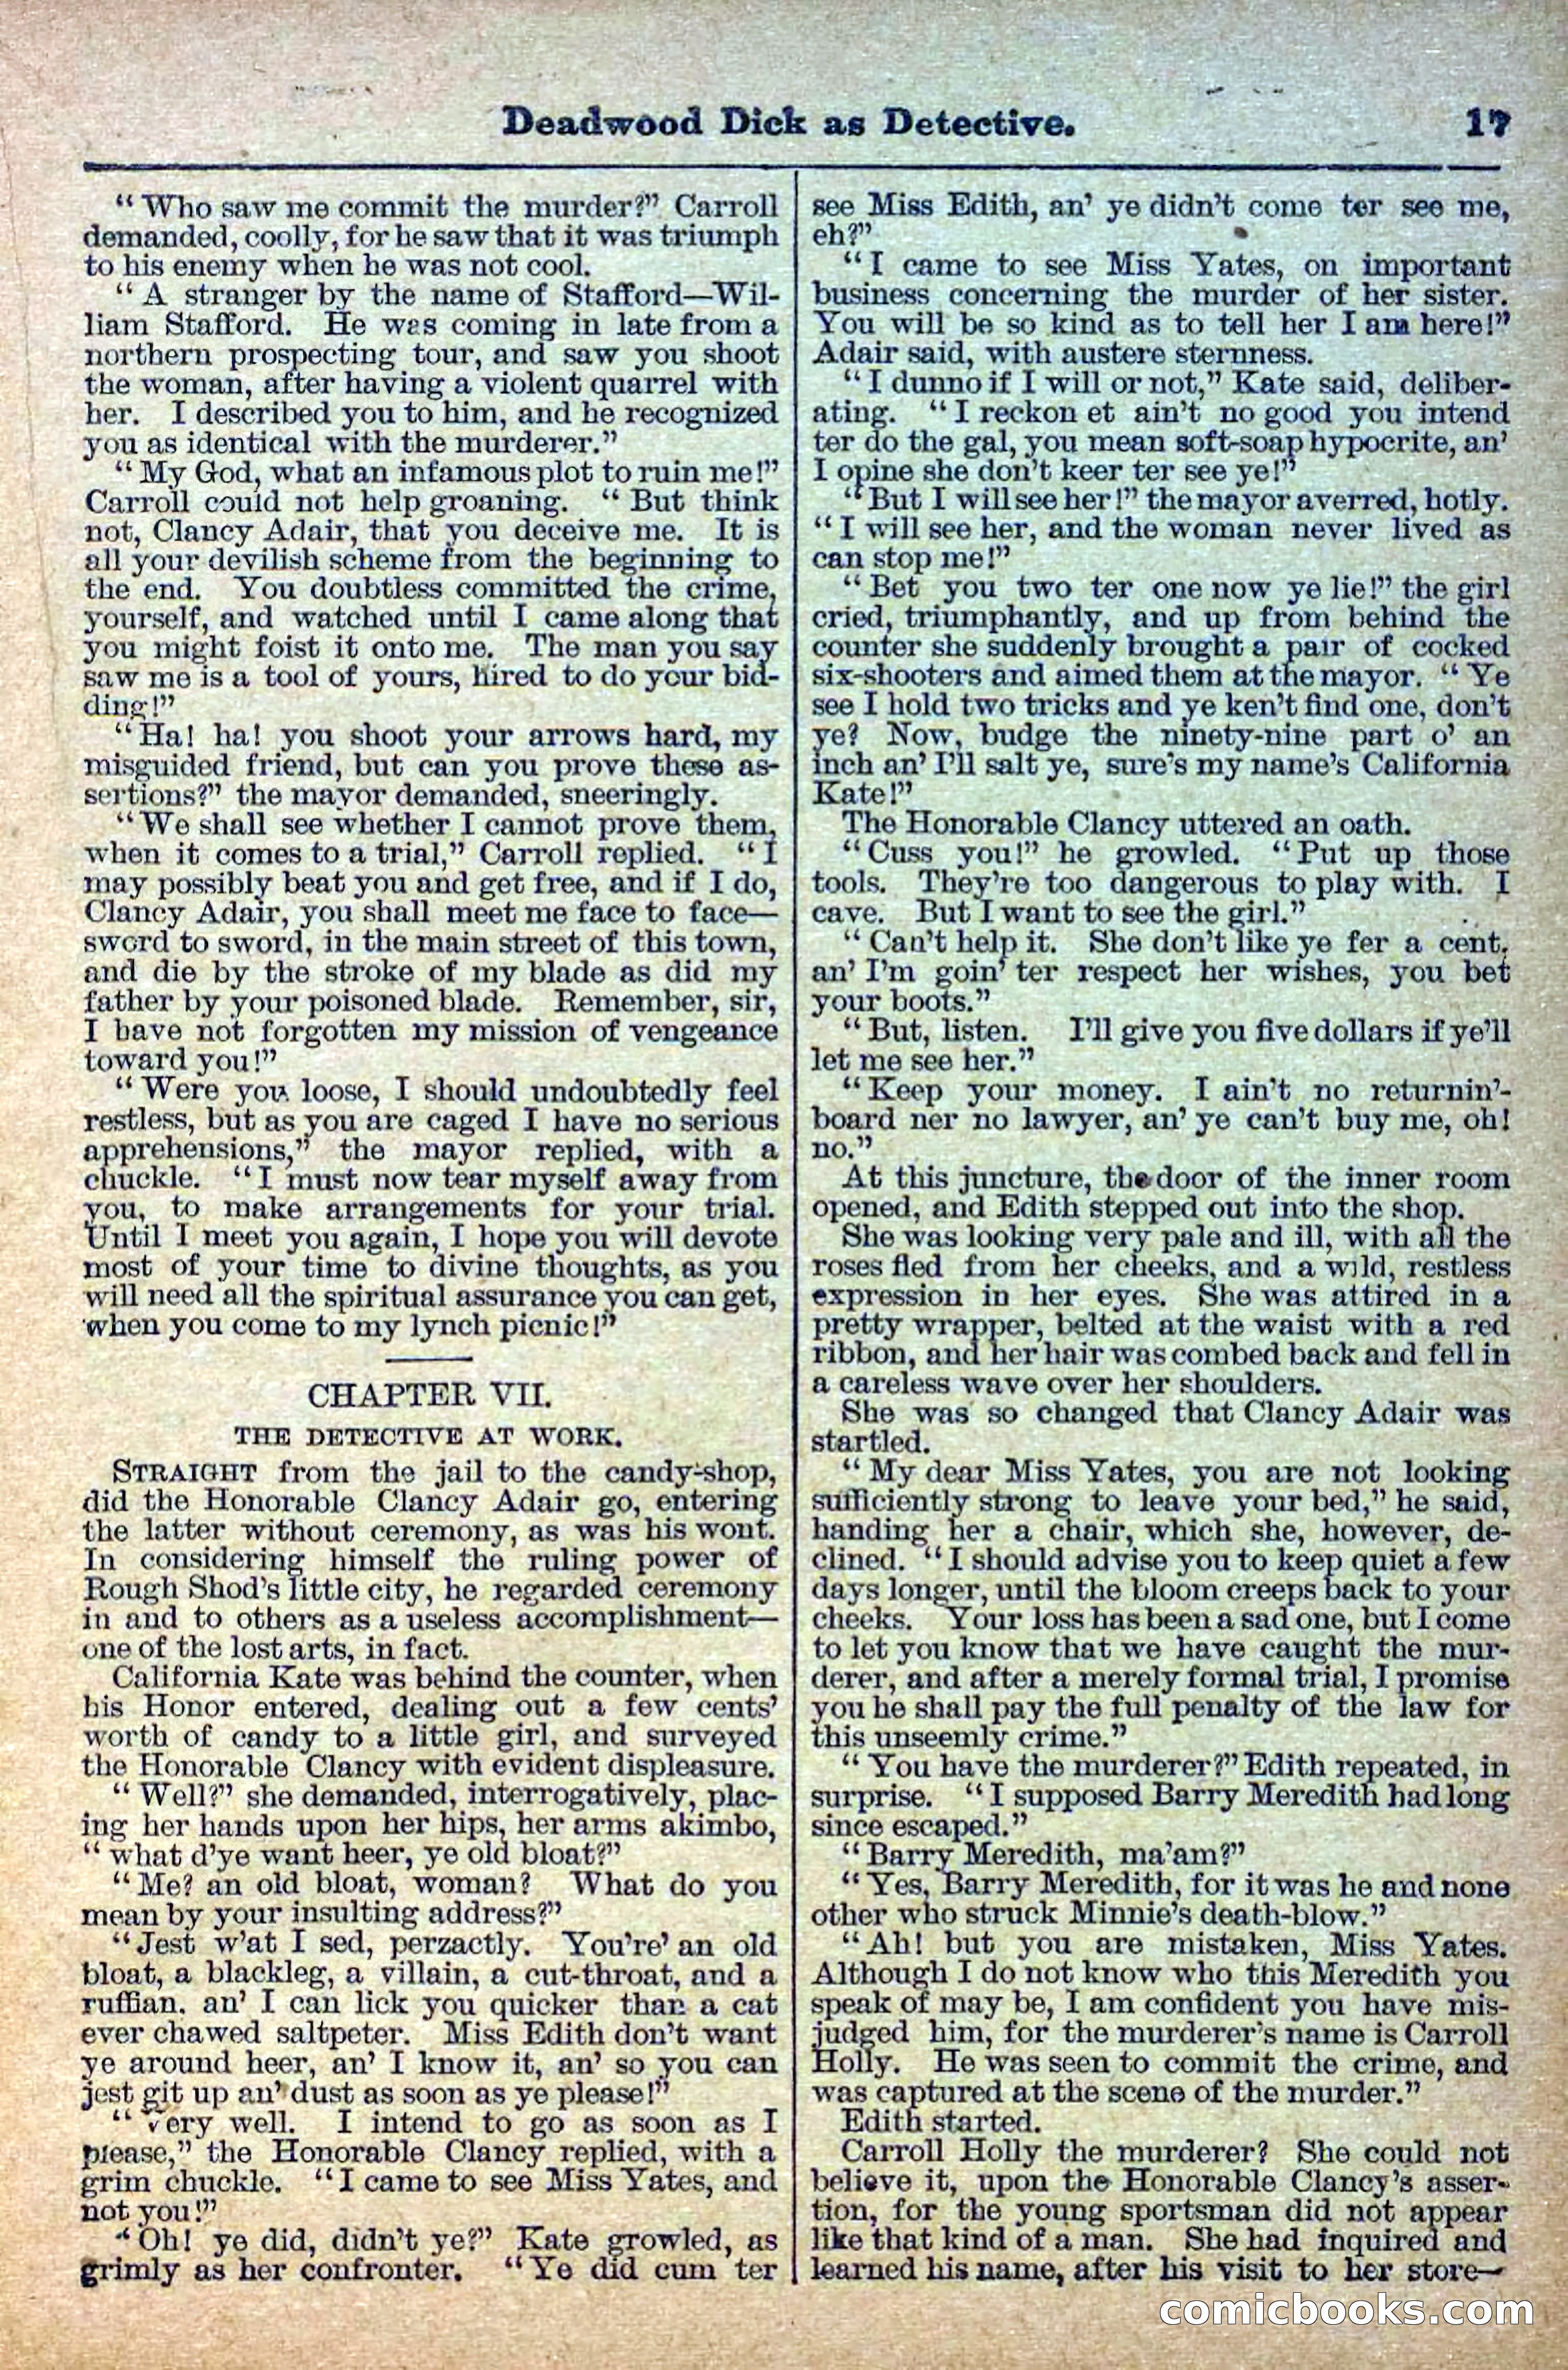
The Deadwood Dick Library, Vol. II, No. 24 — page 18 of 38
18 / 38
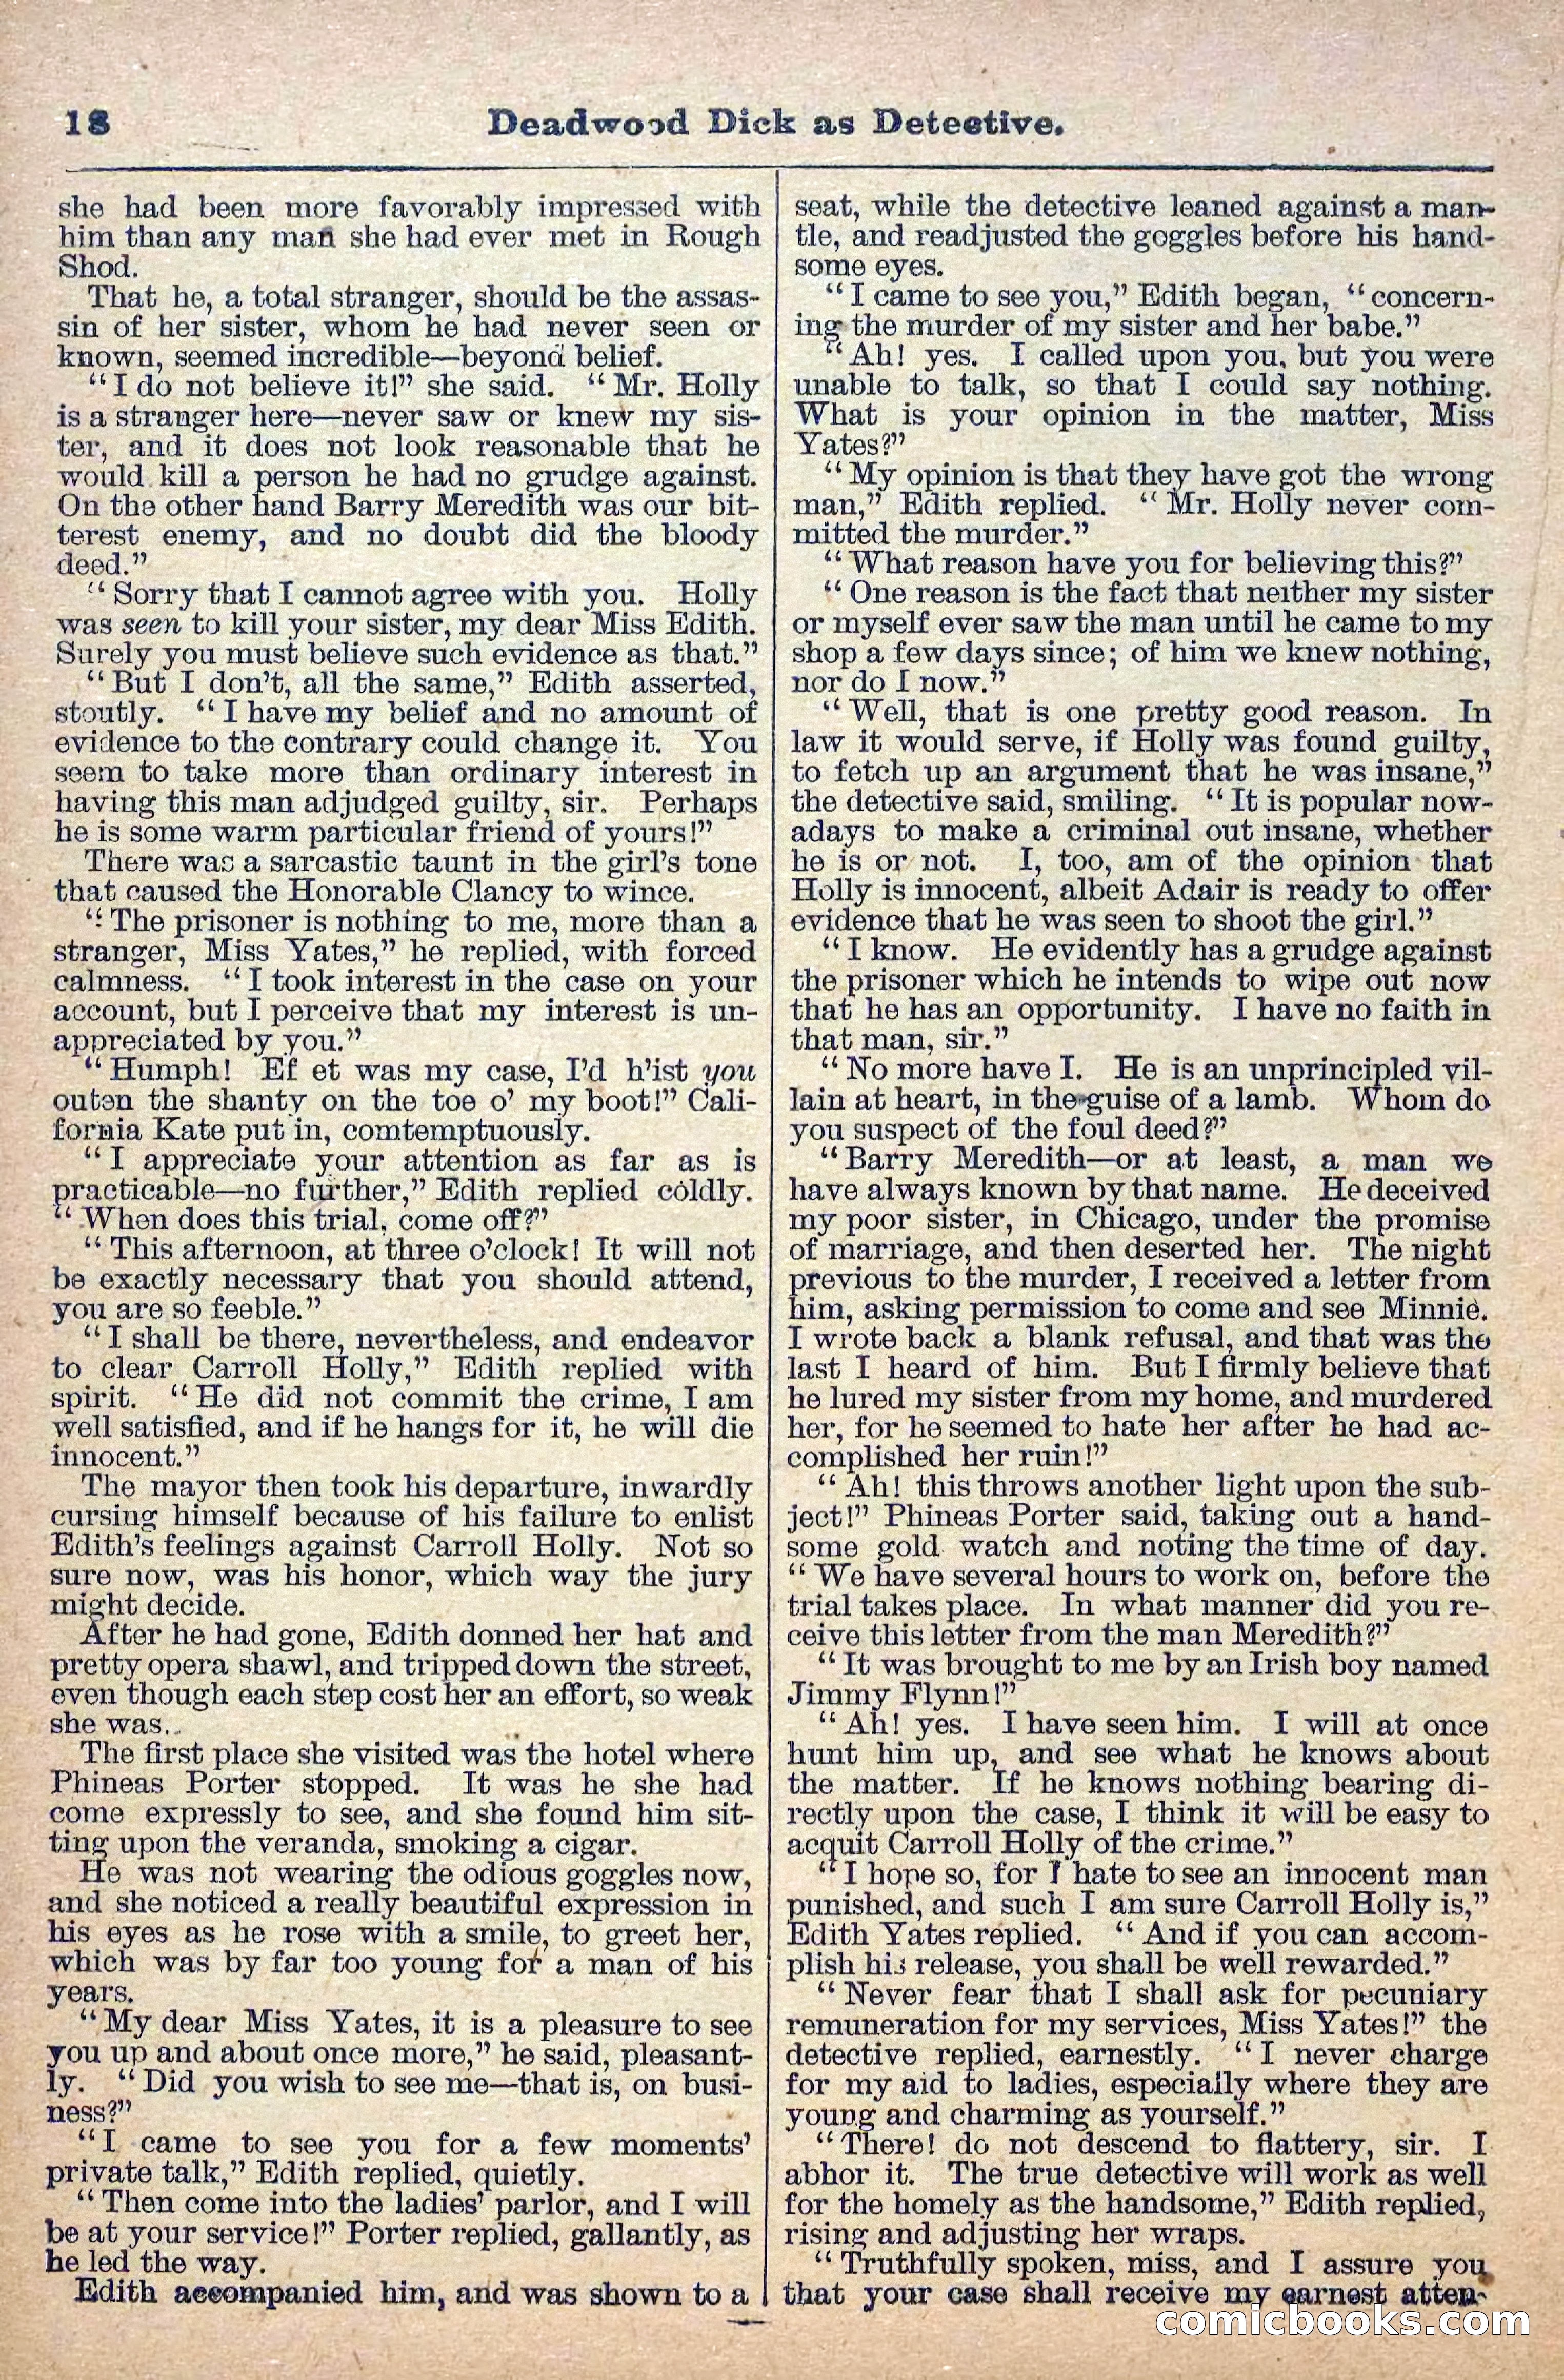
The Deadwood Dick Library, Vol. II, No. 24 — page 19 of 38
19 / 38
The Deadwood Dick Library, Vol. II, No. 24 — page 20 of 38
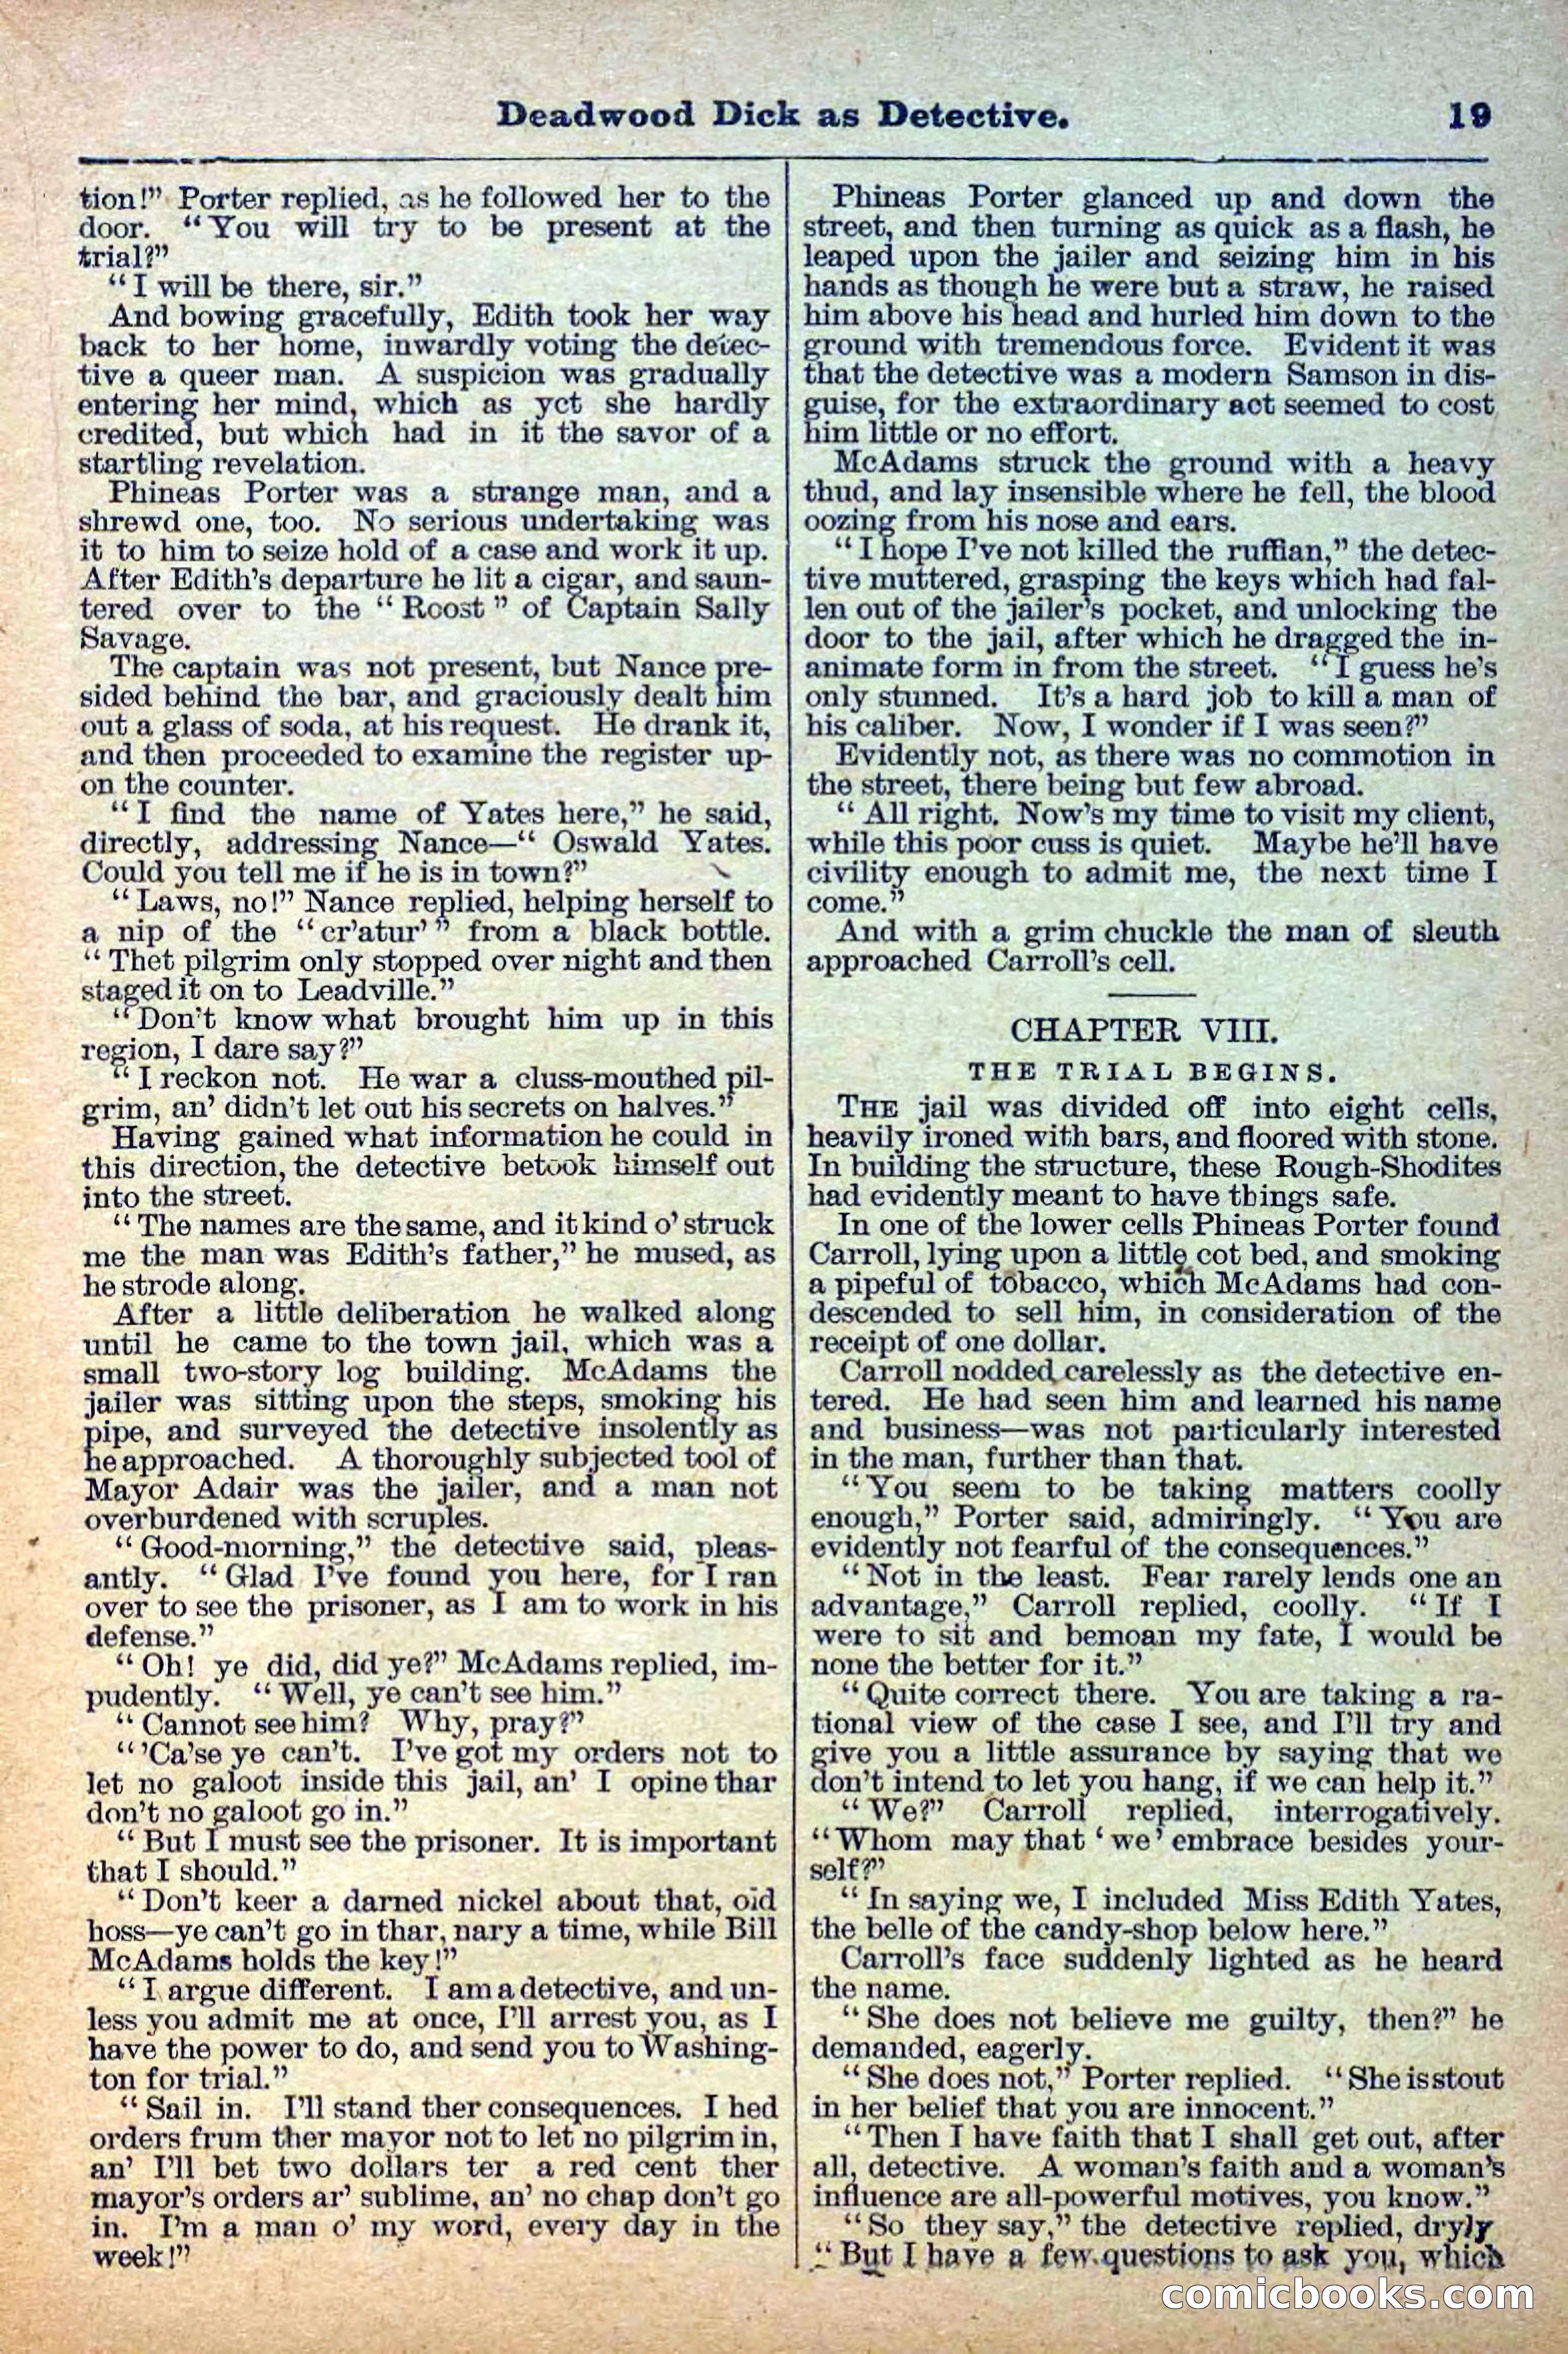
20 / 38
The Deadwood Dick Library, Vol. II, No. 24 — page 21 of 38
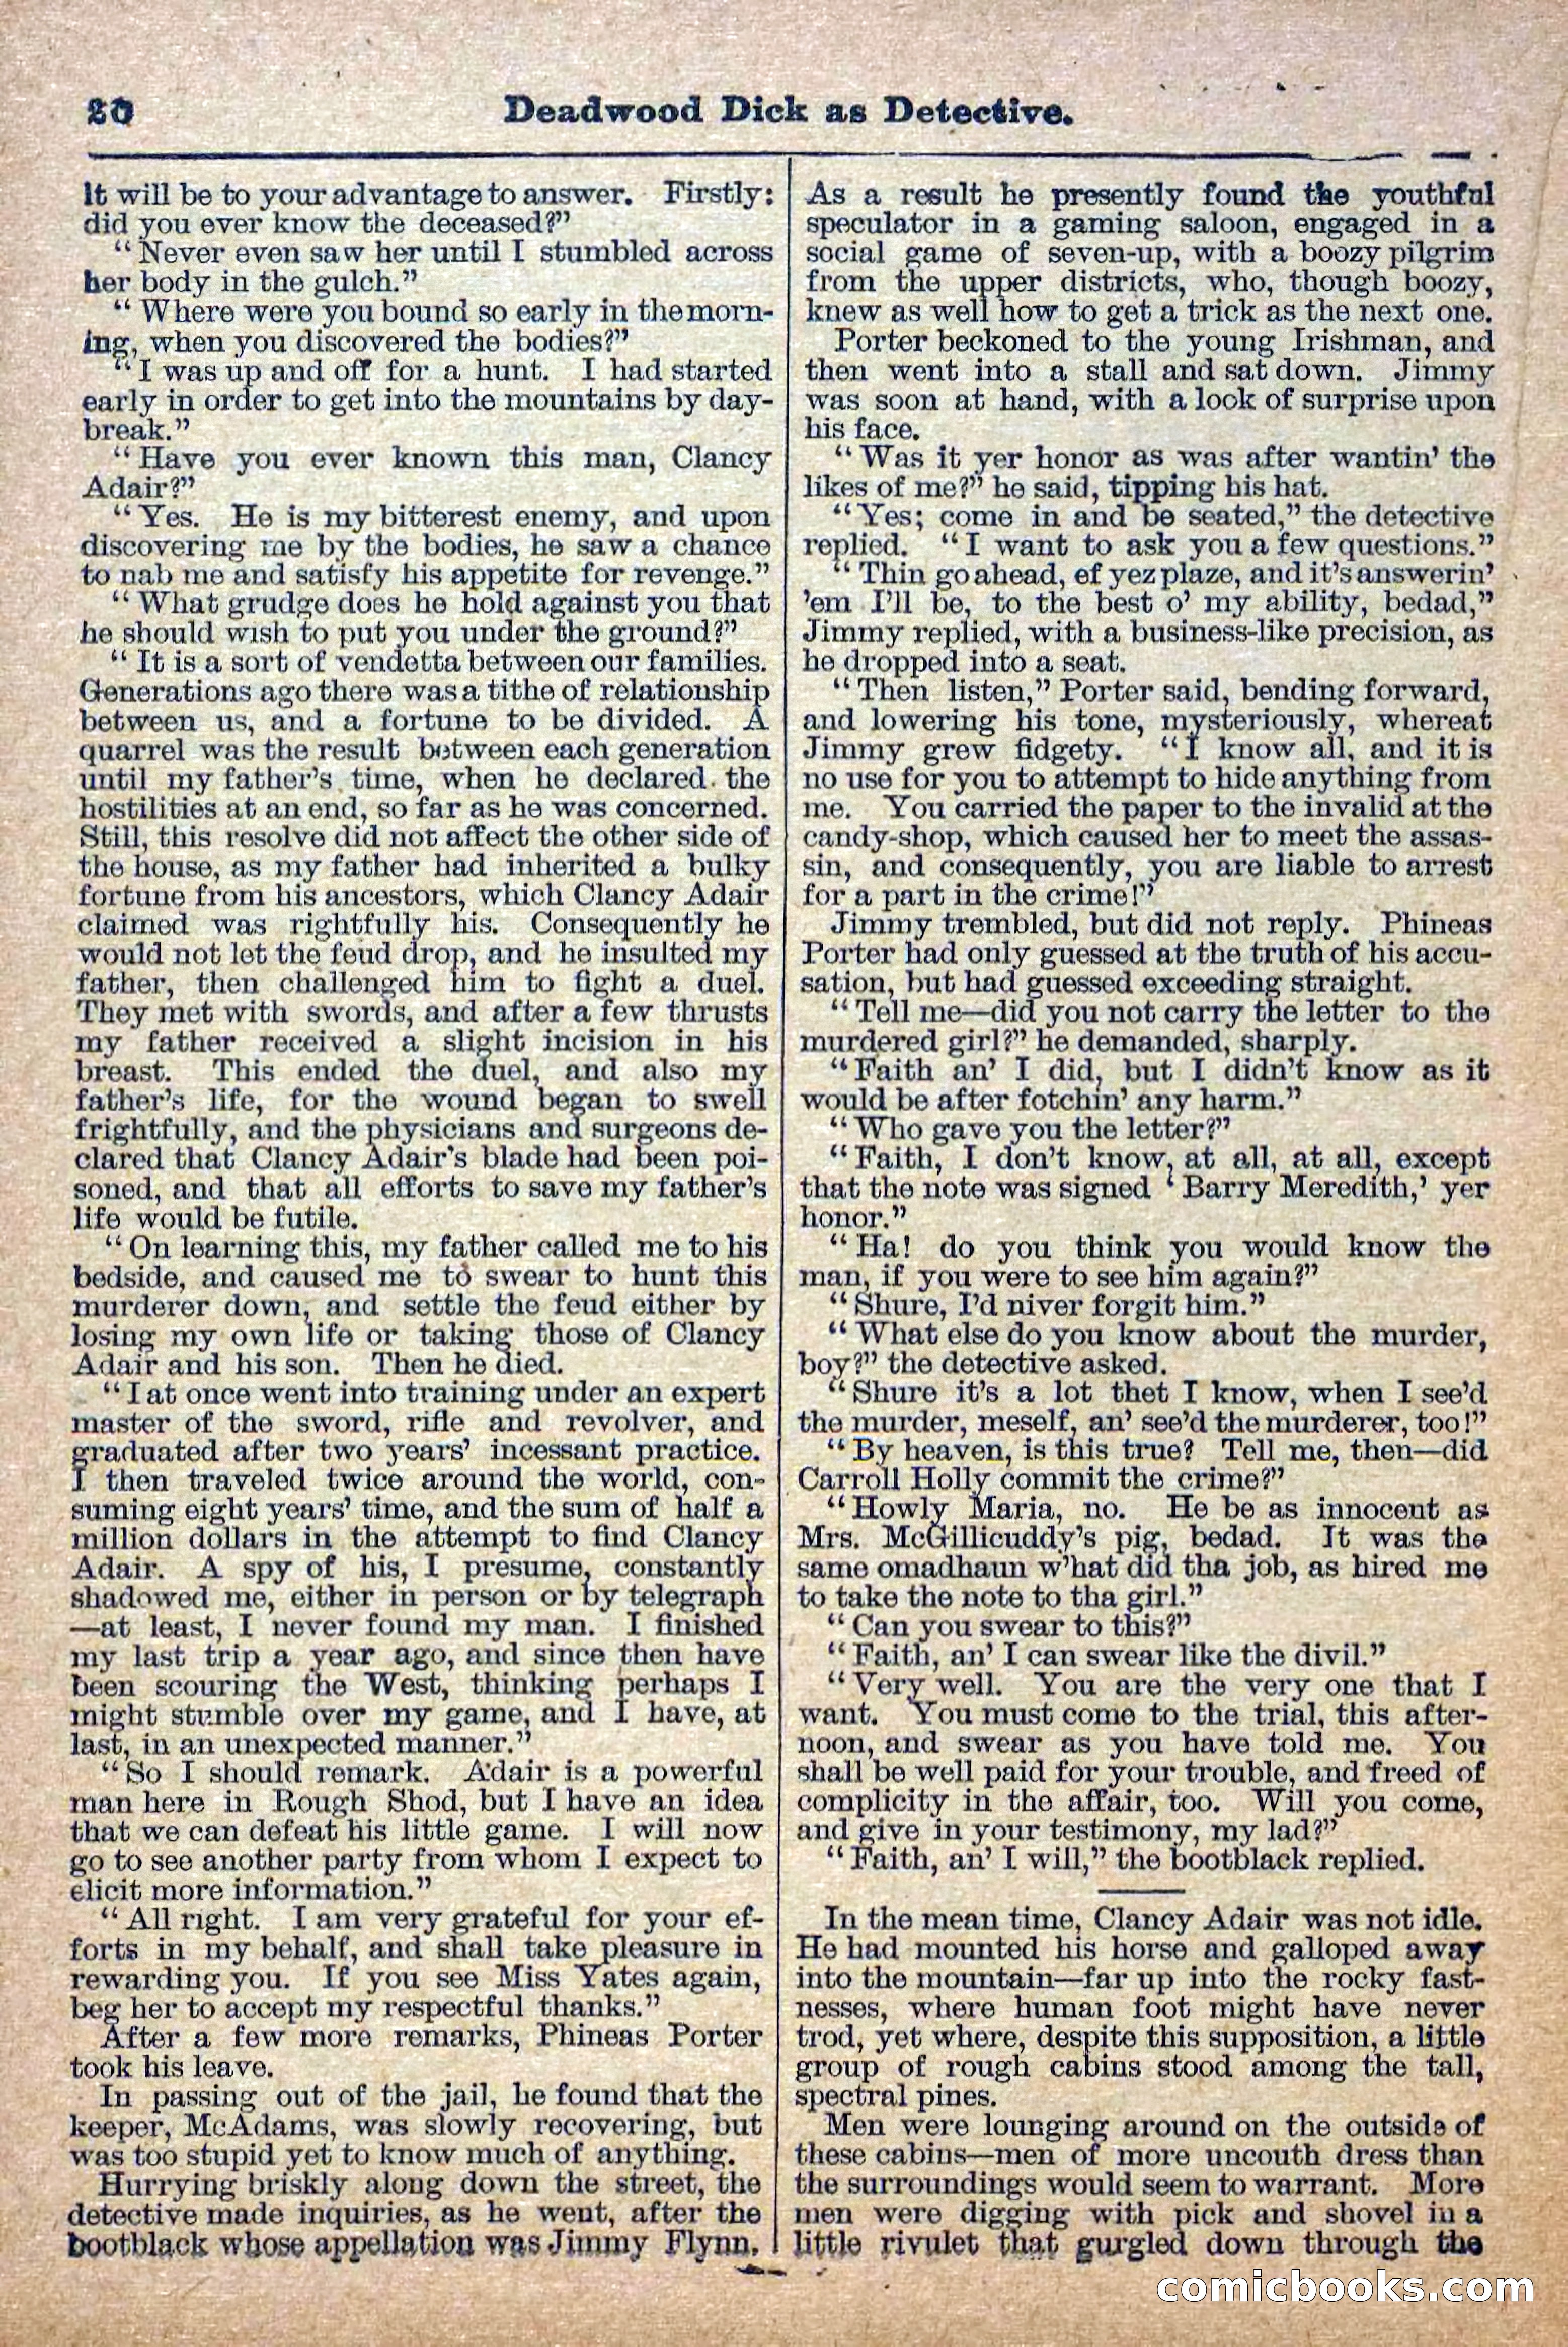
21 / 38
The Deadwood Dick Library, Vol. II, No. 24 — page 22 of 38
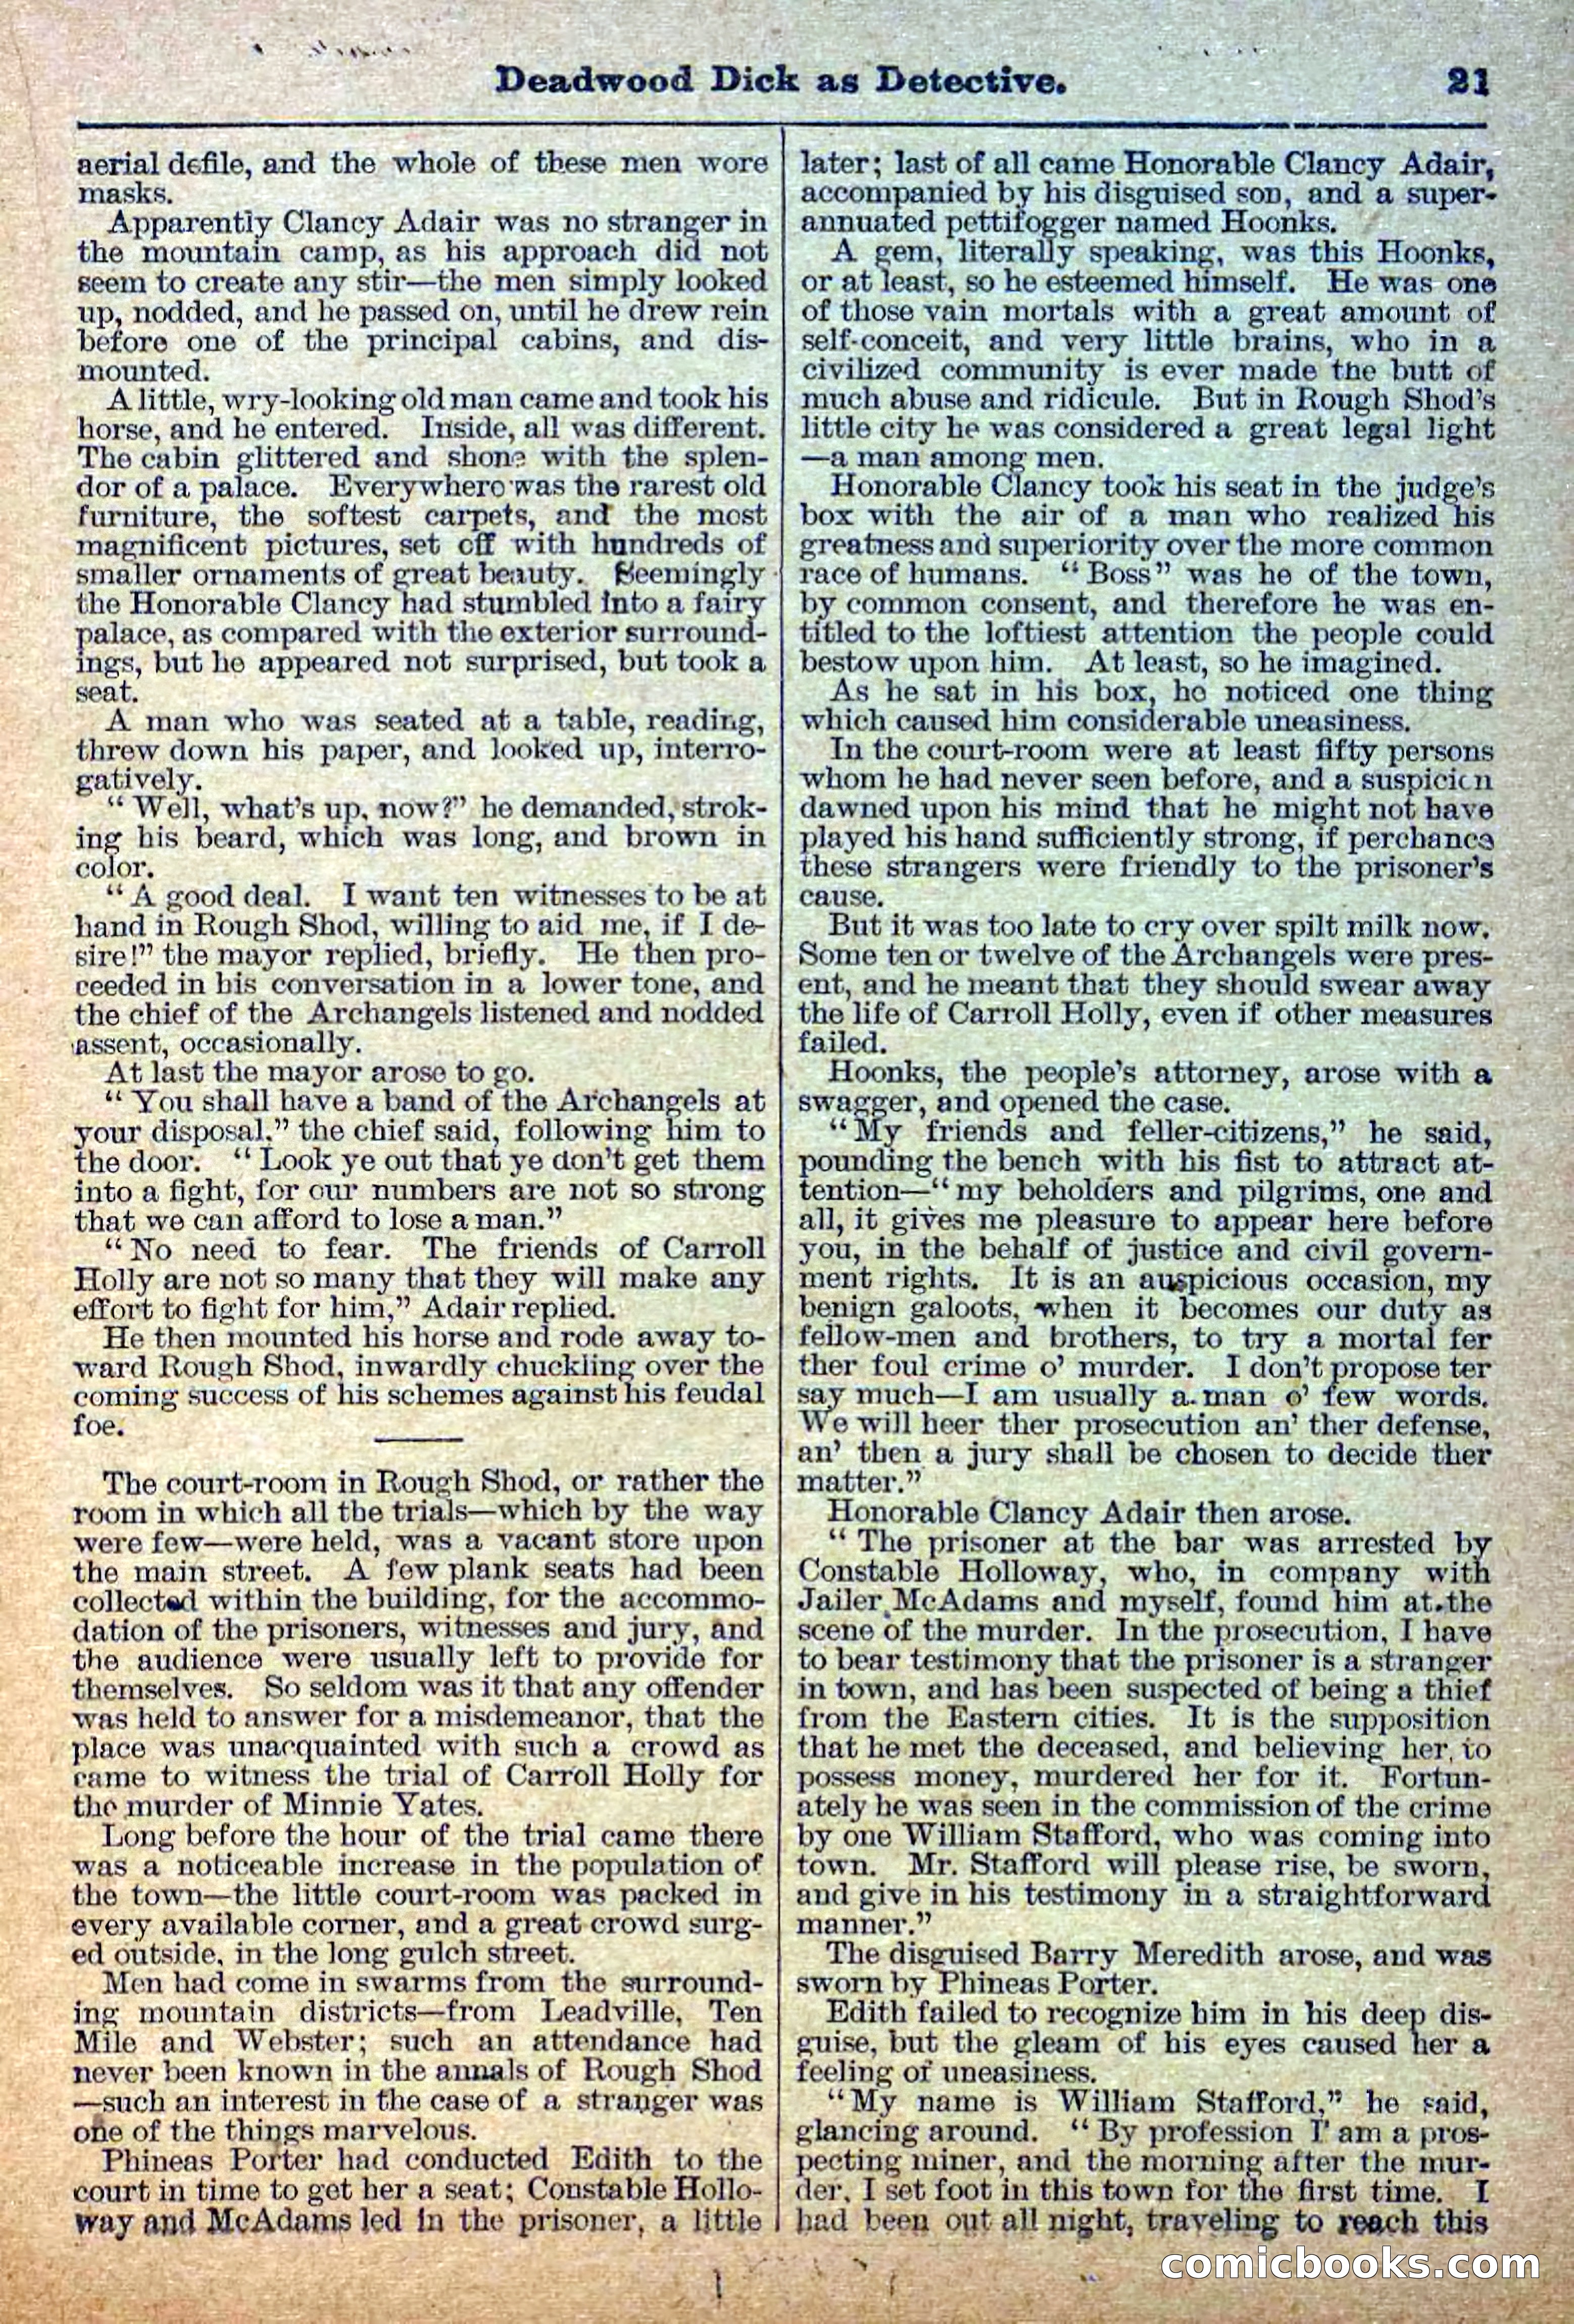
22 / 38
The Deadwood Dick Library, Vol. II, No. 24 — page 23 of 38
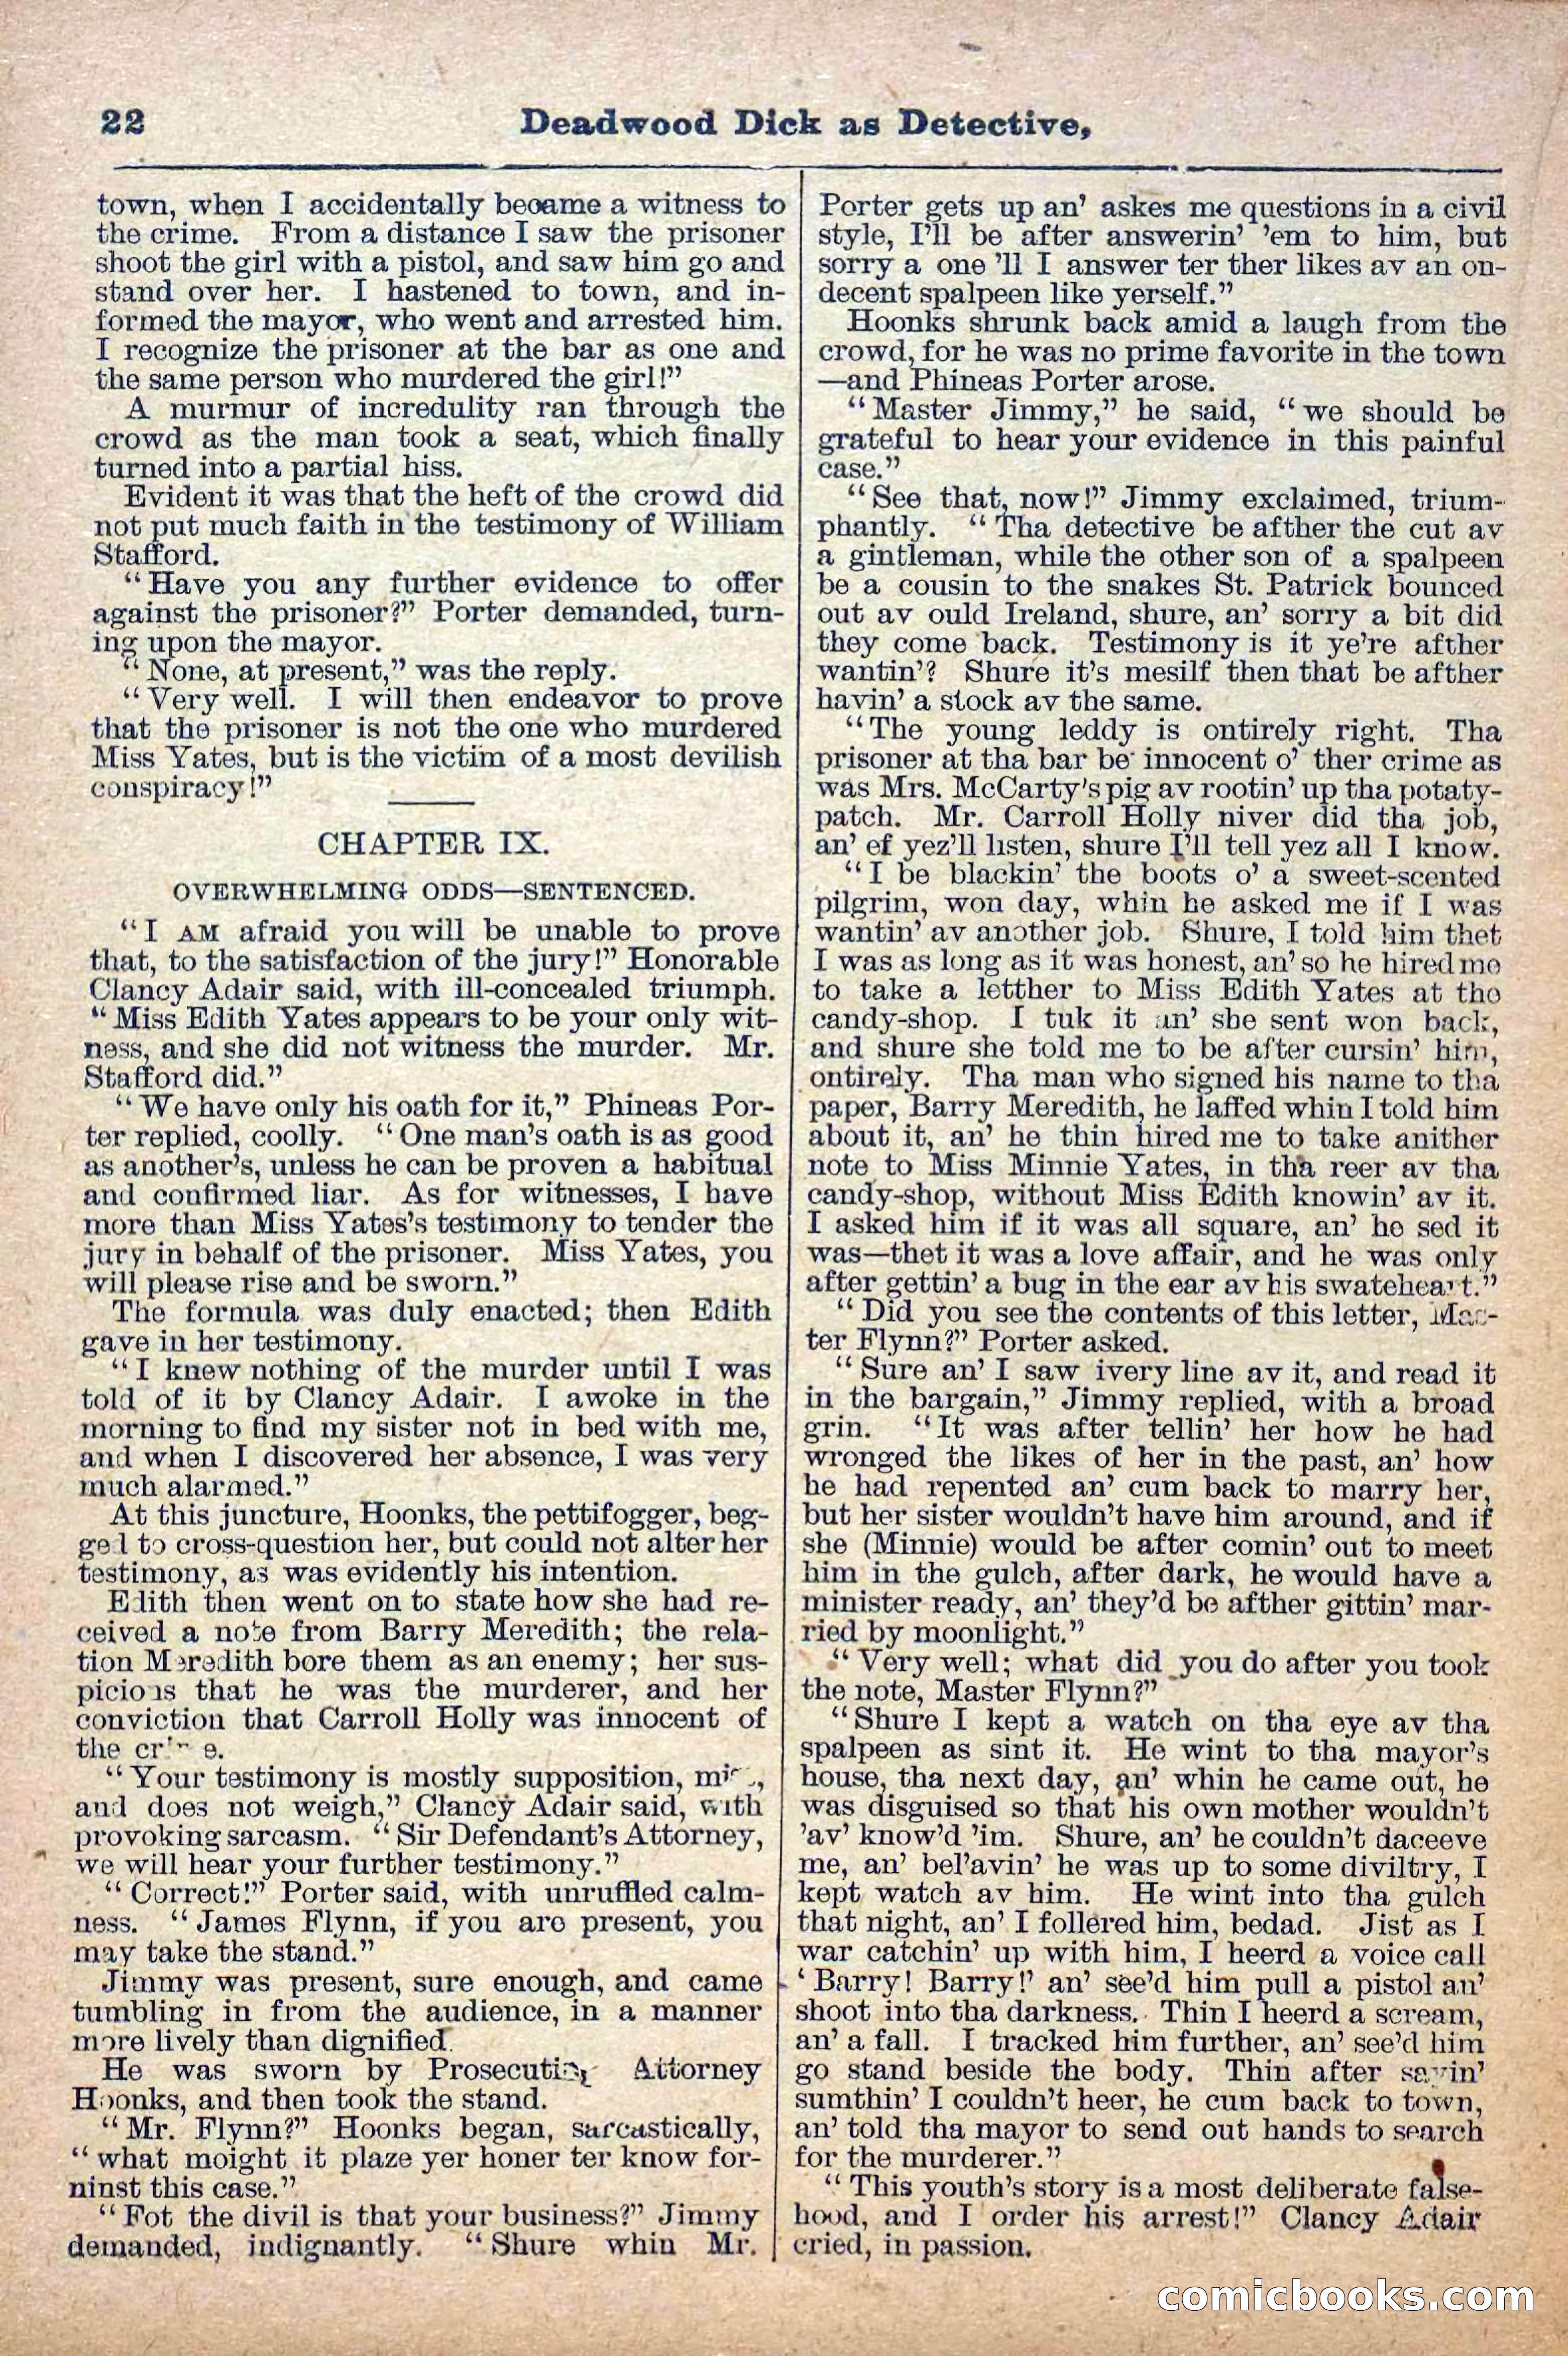
23 / 38
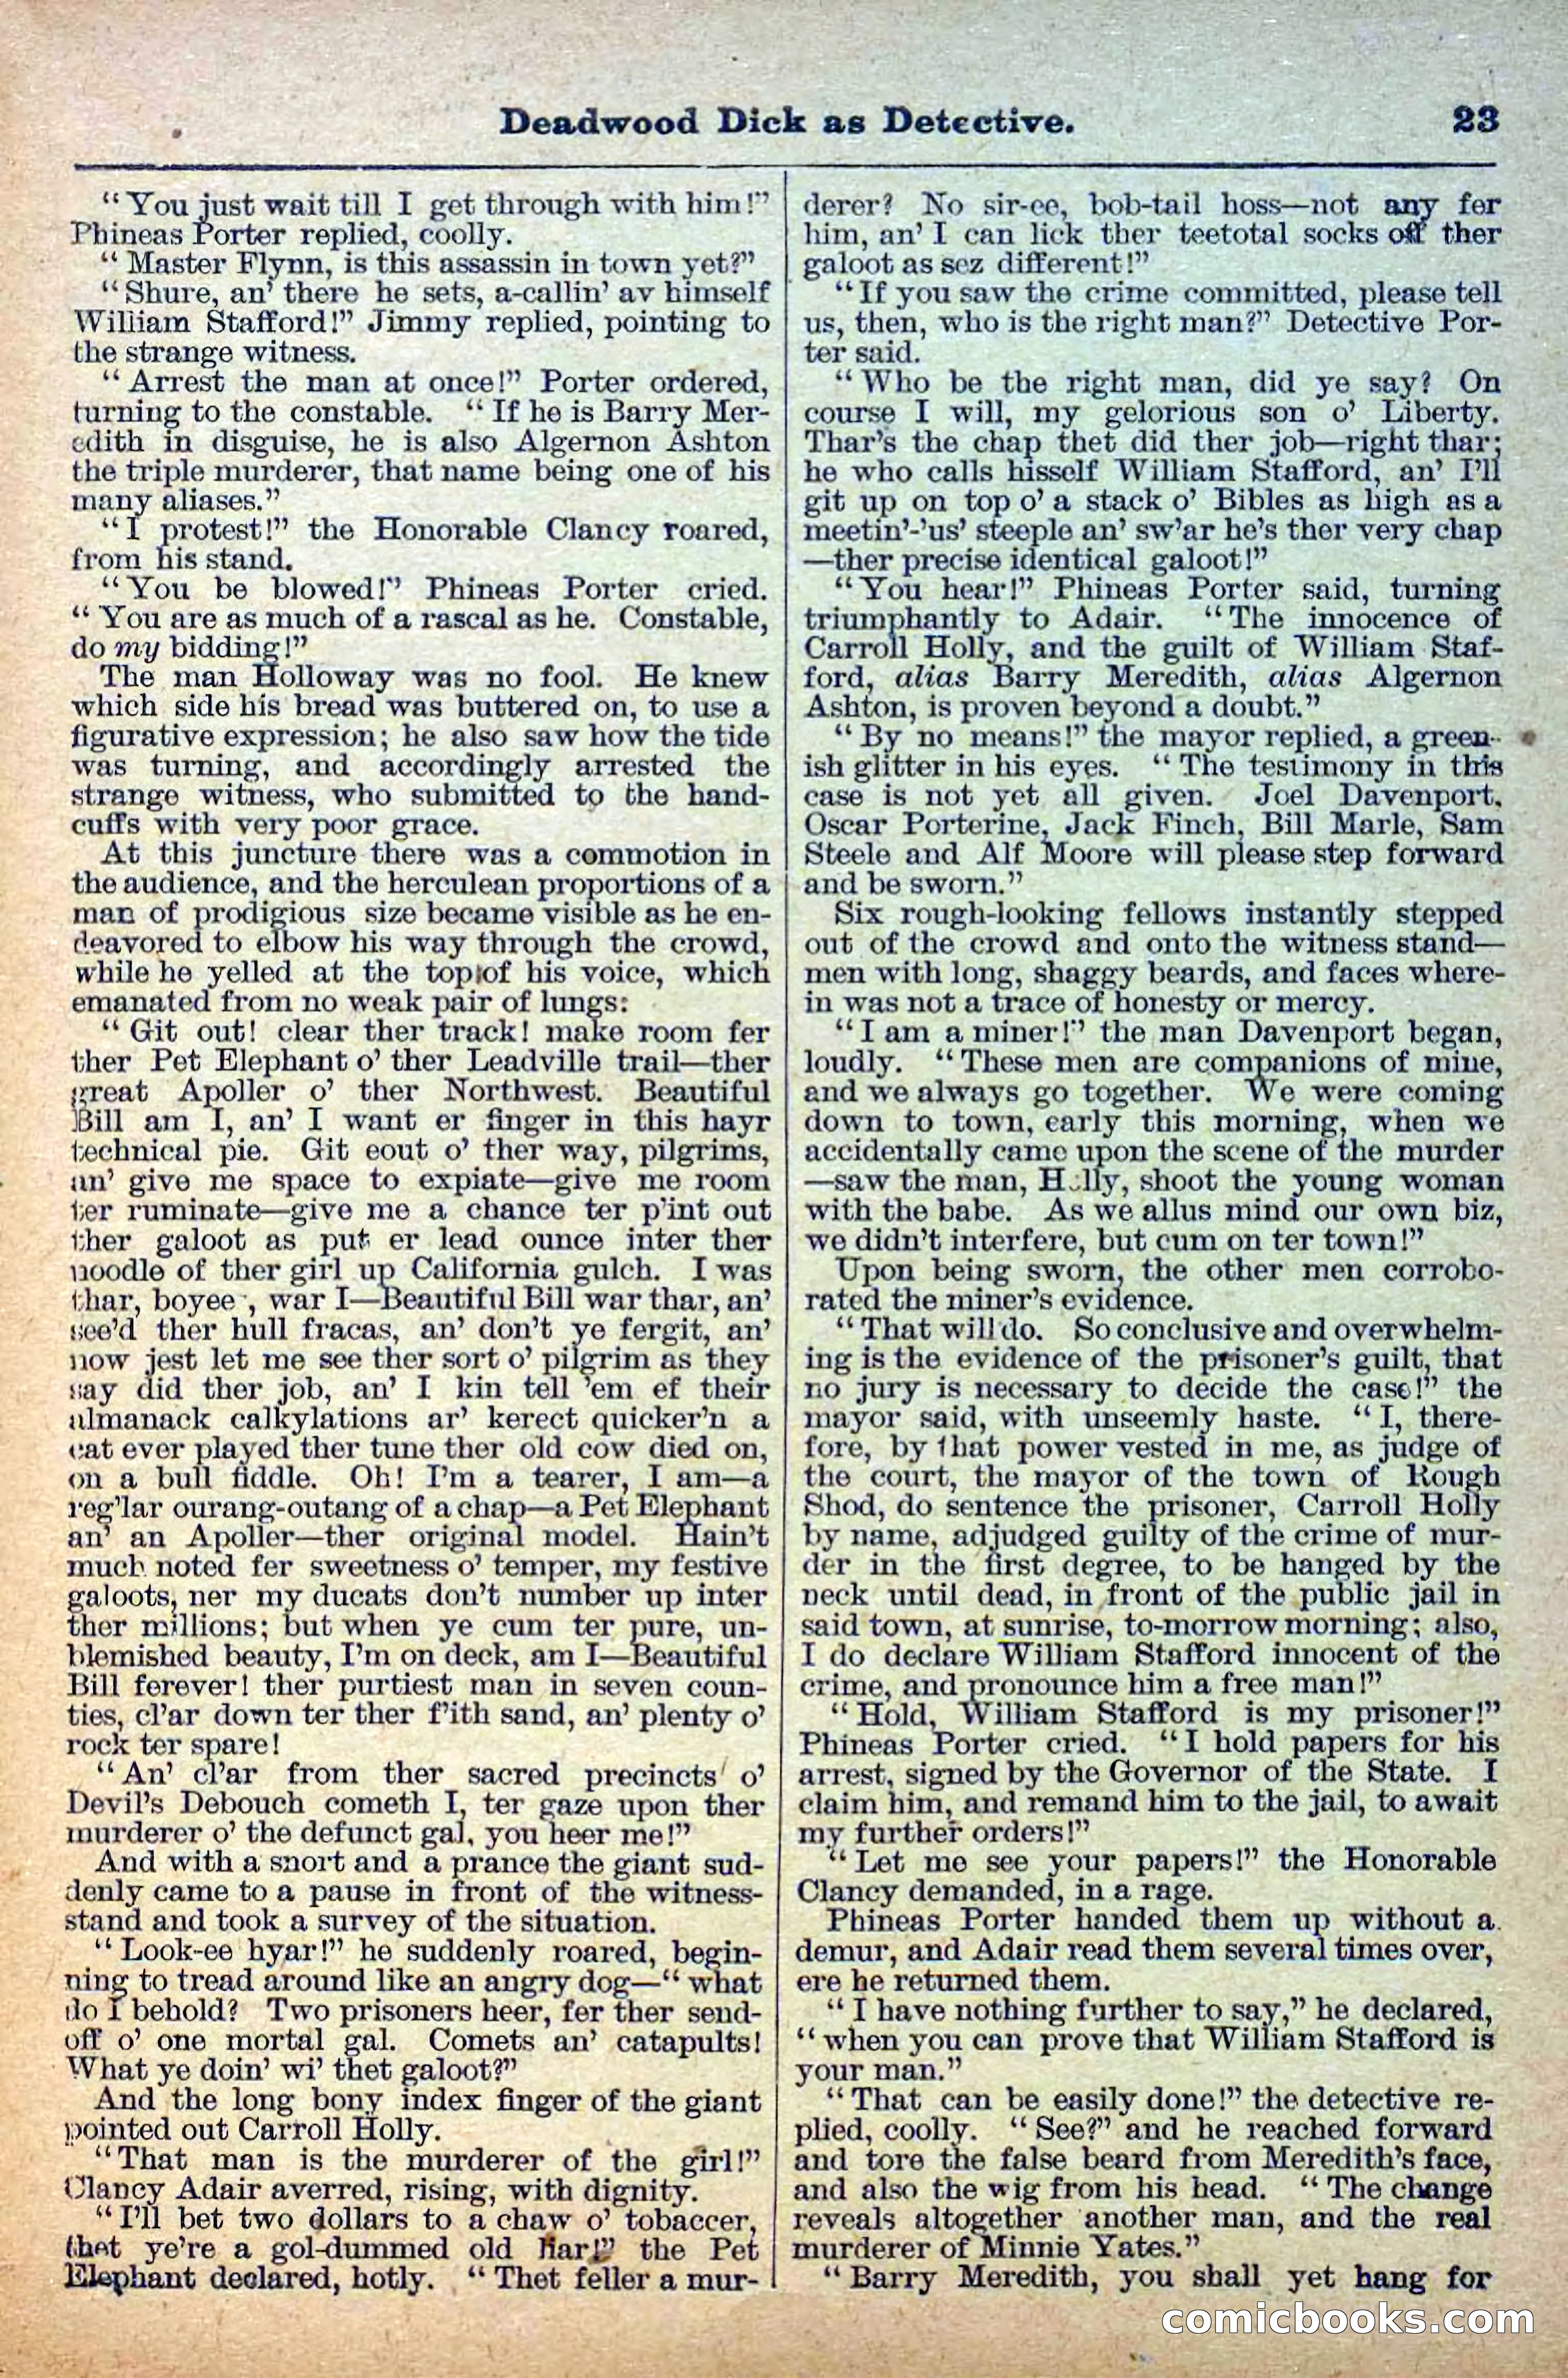
The Deadwood Dick Library, Vol. II, No. 24 — page 24 of 38
24 / 38
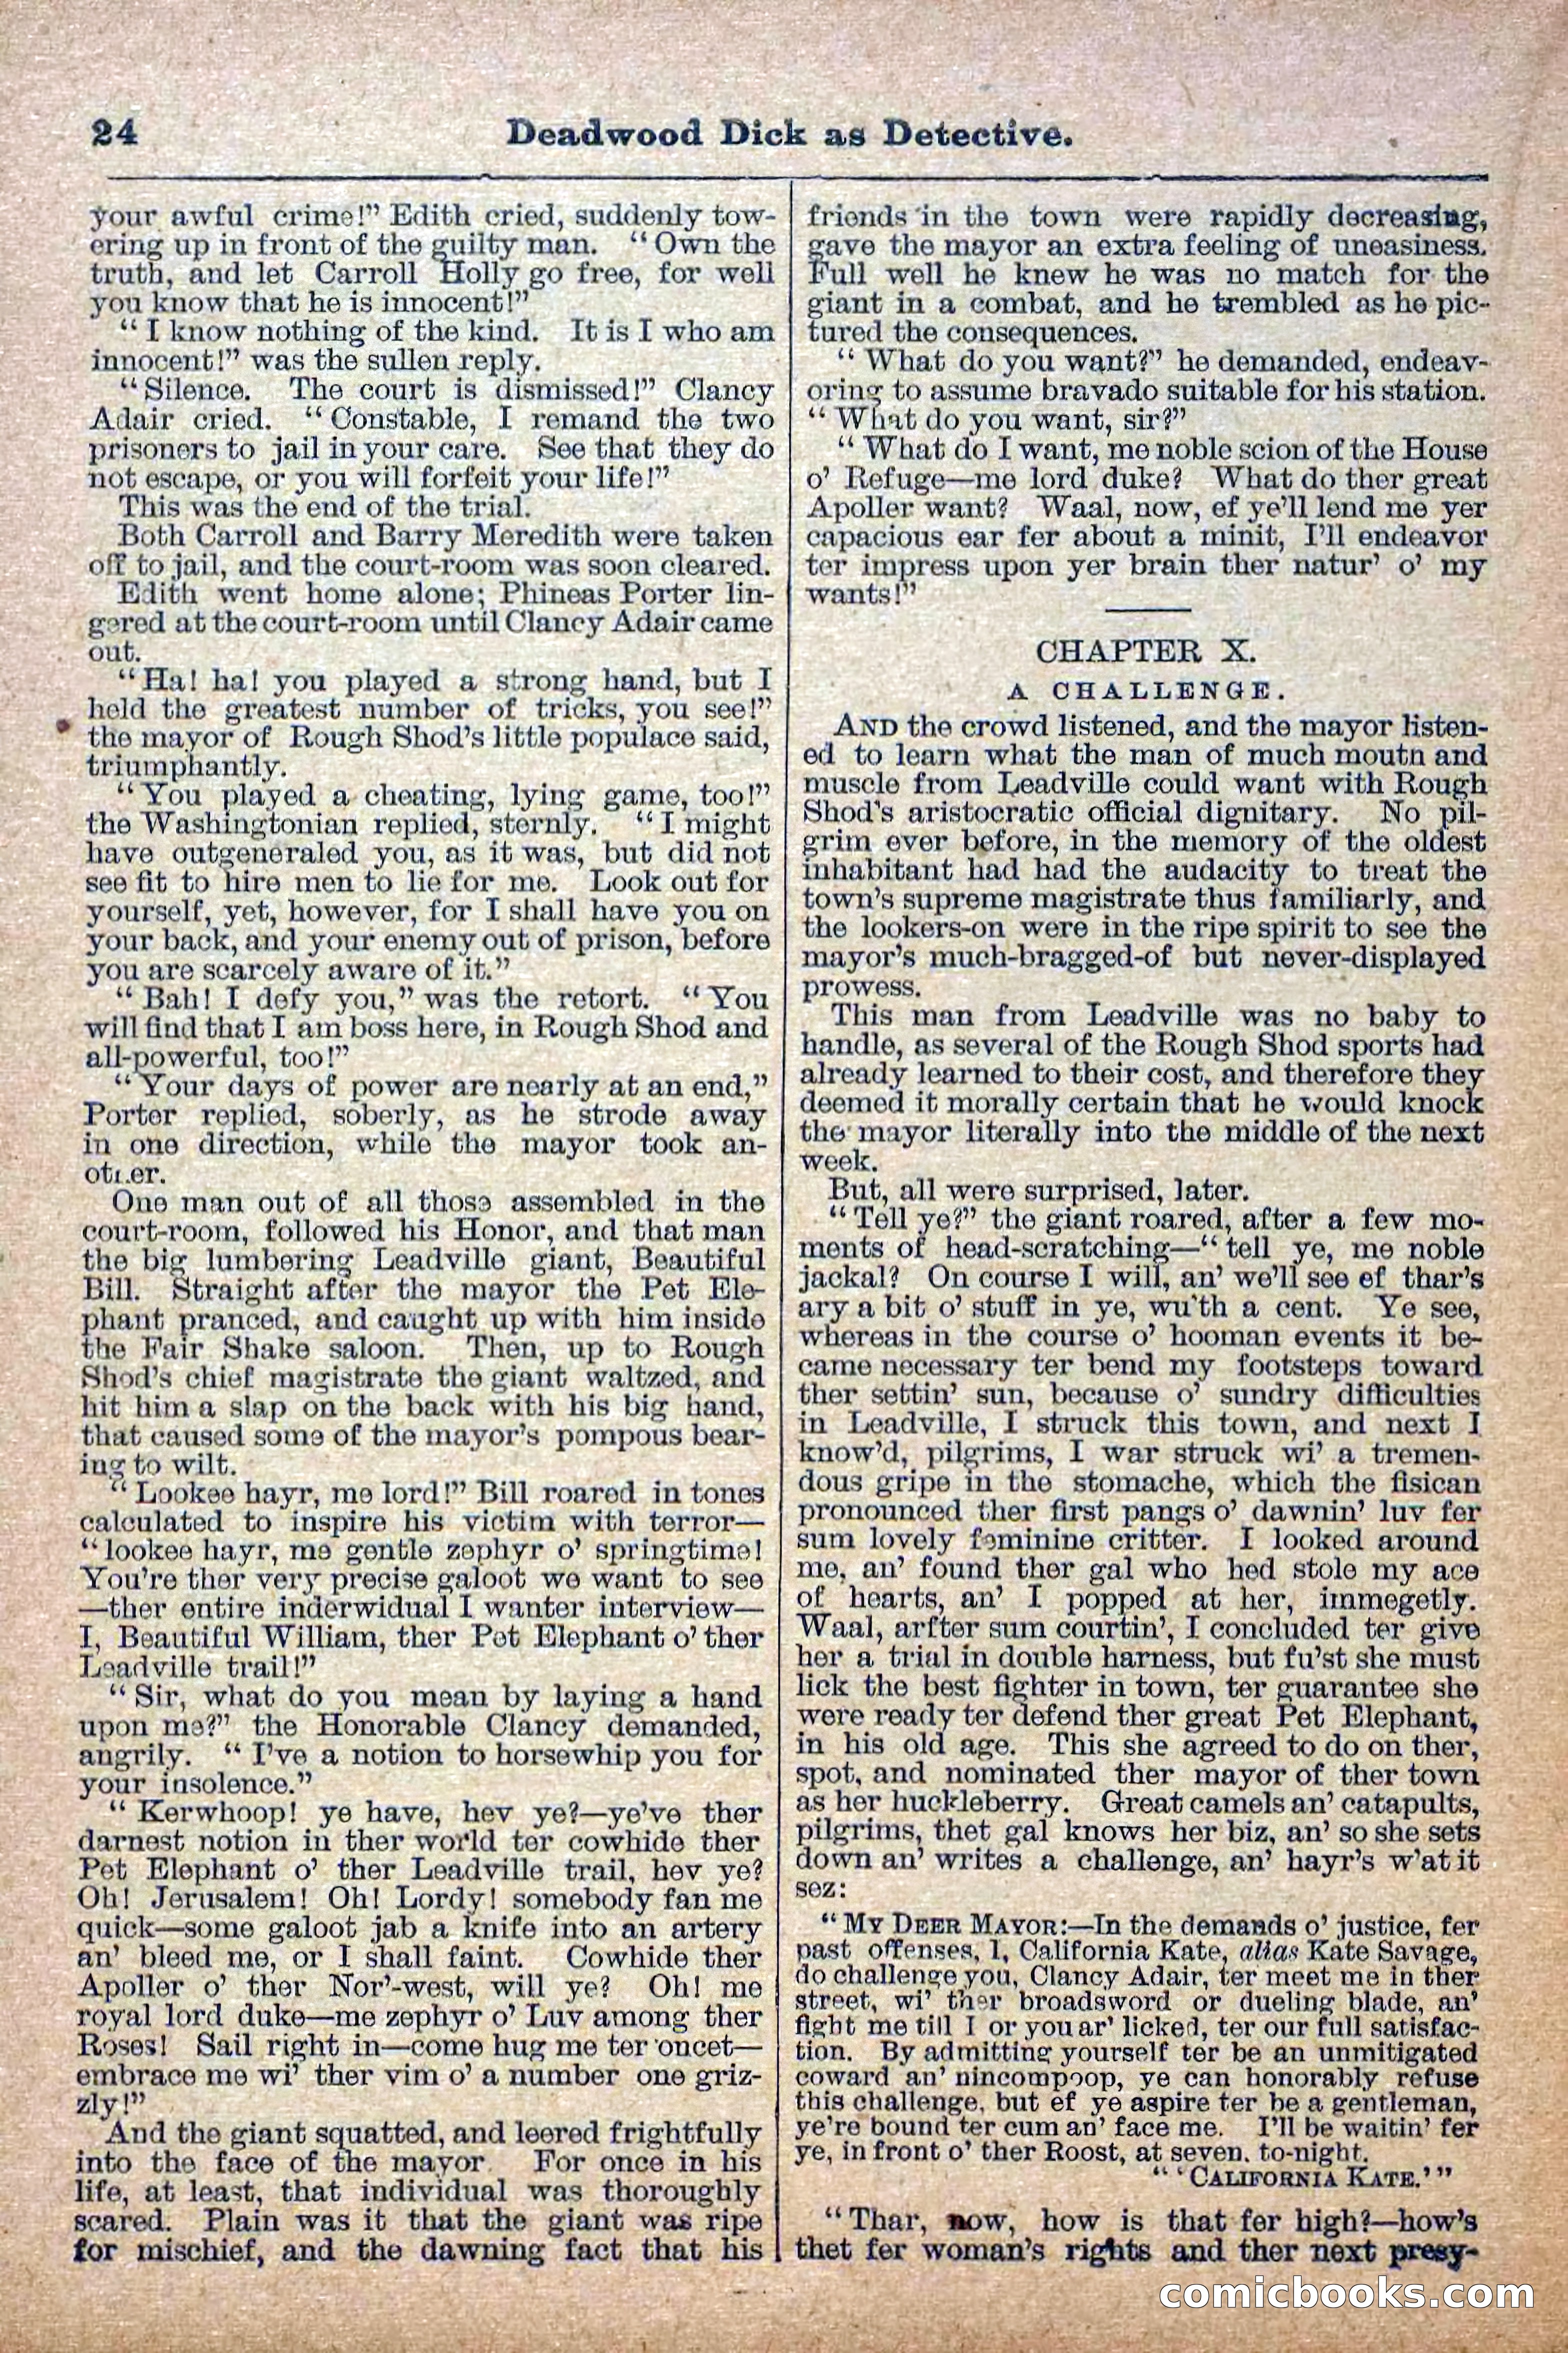
The Deadwood Dick Library, Vol. II, No. 24 — page 25 of 38
25 / 38
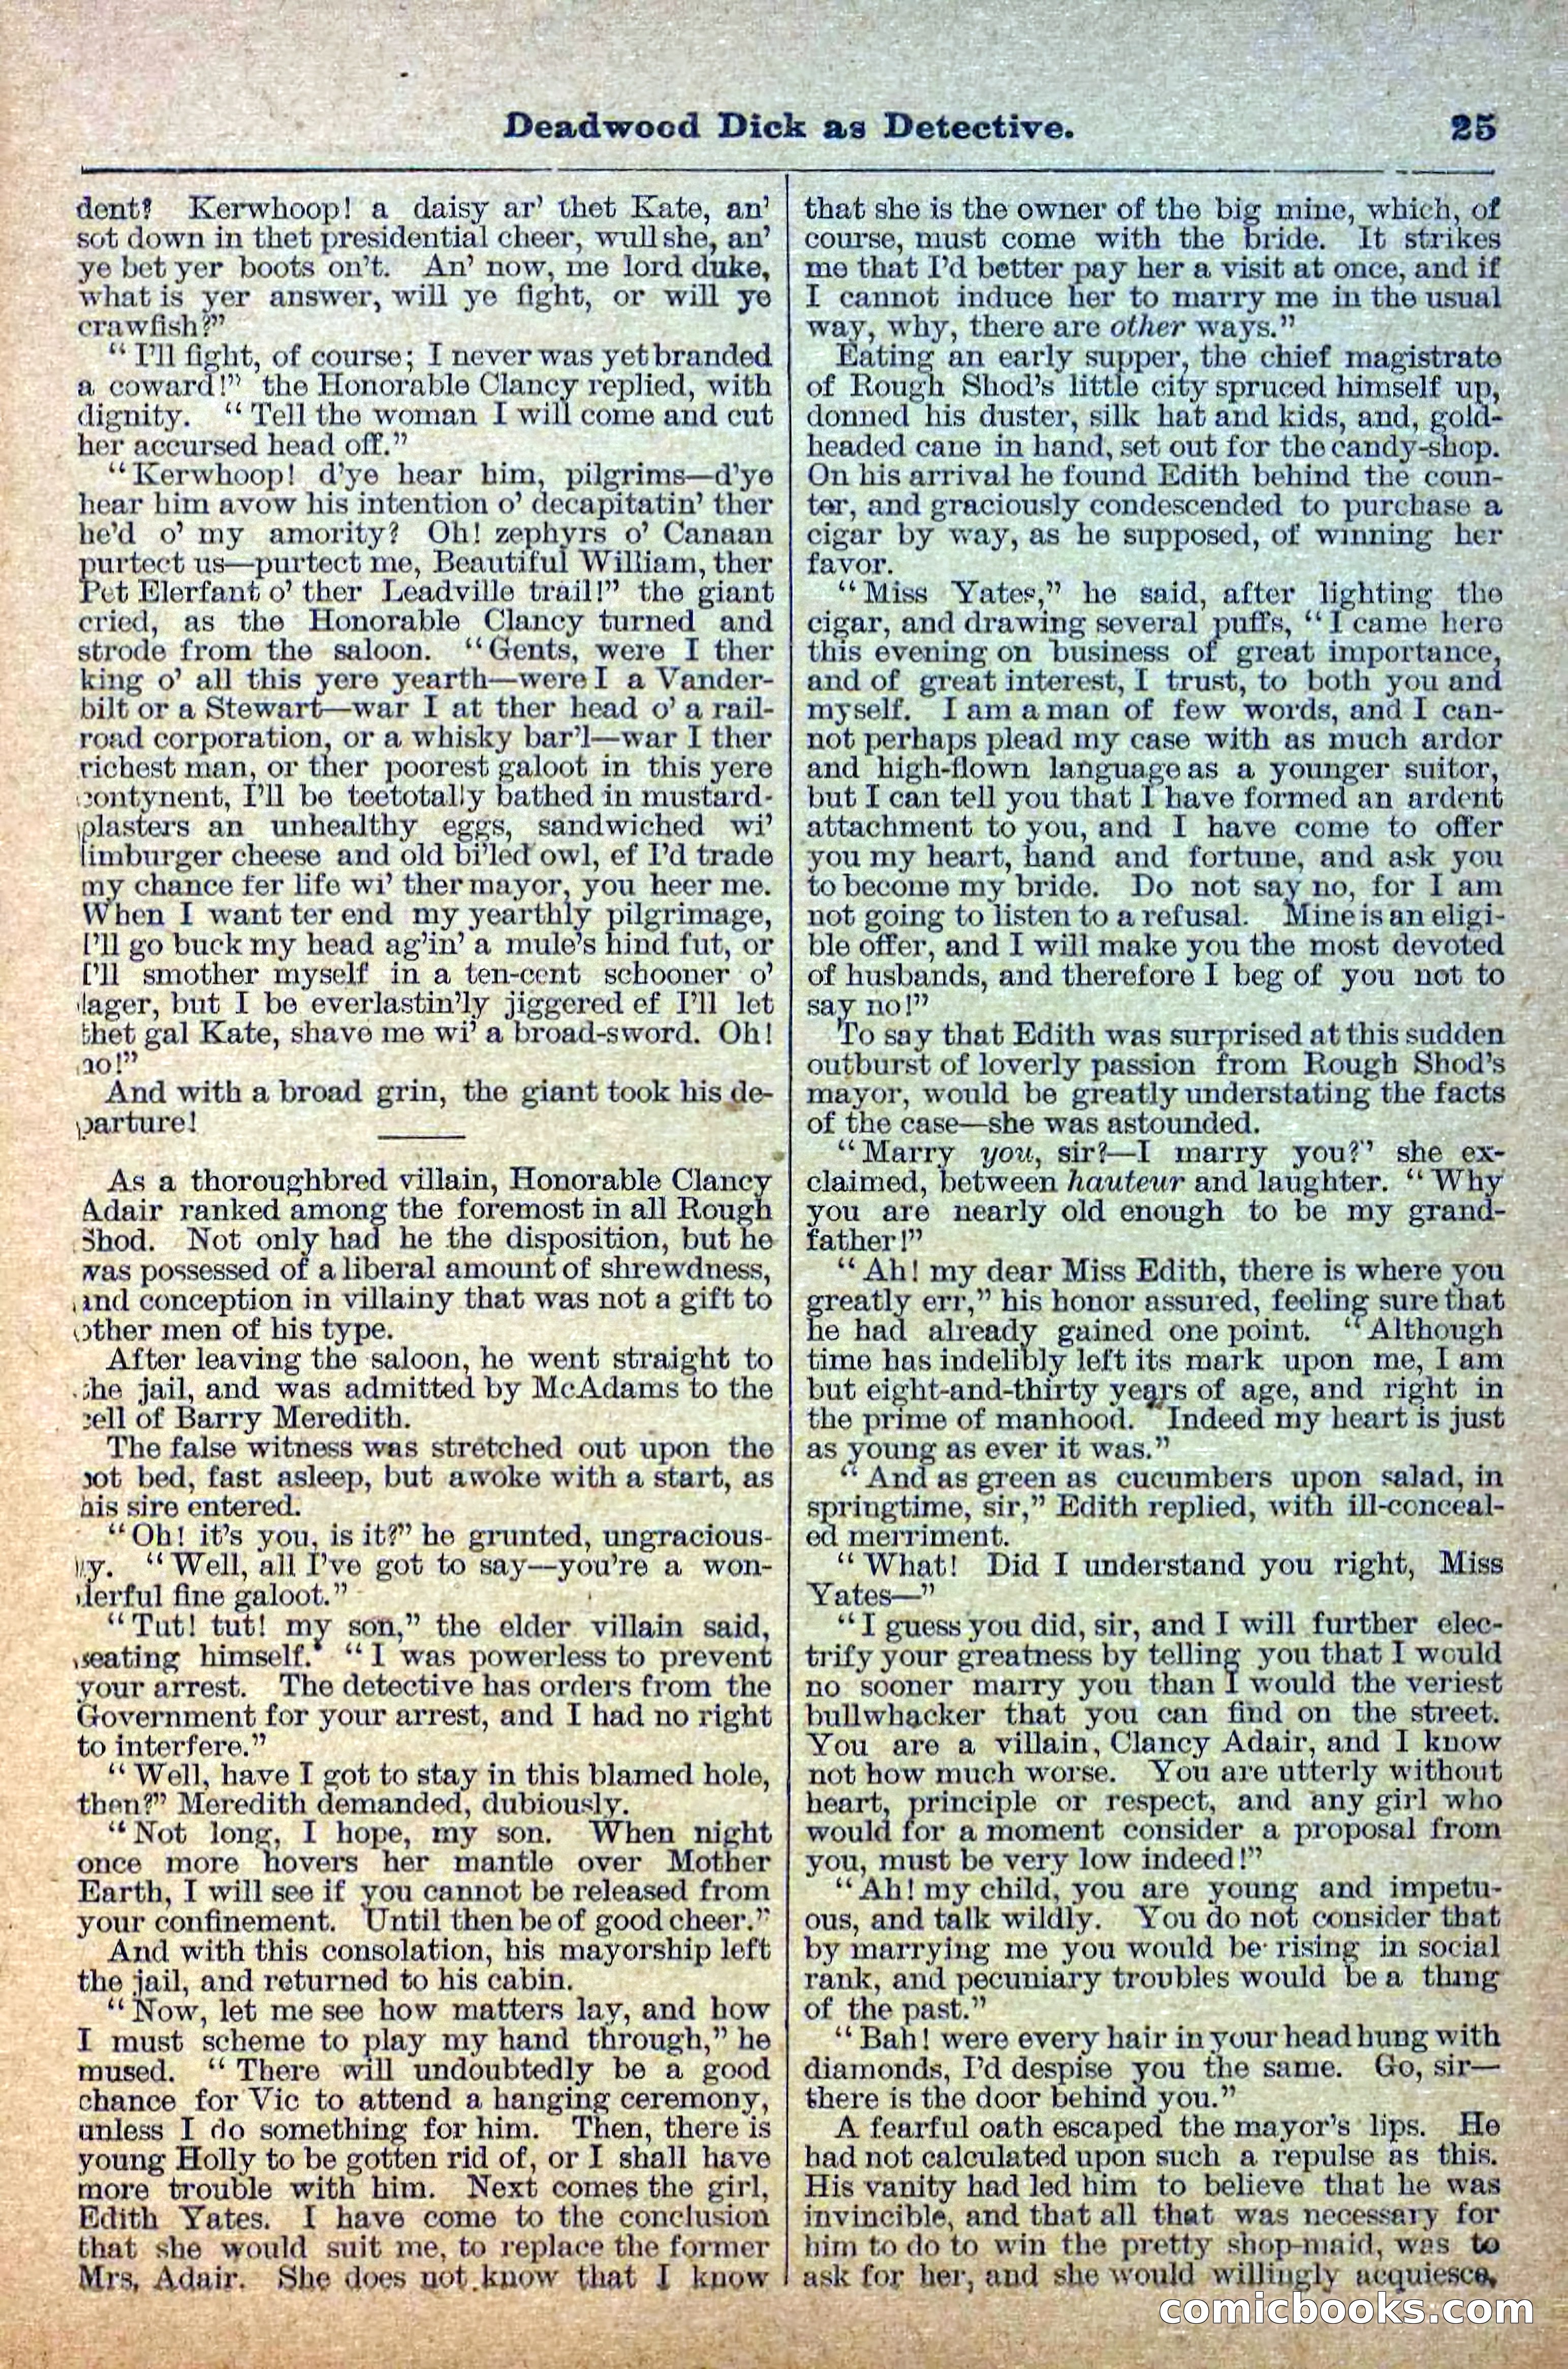
The Deadwood Dick Library, Vol. II, No. 24 — page 26 of 38
26 / 38
The Deadwood Dick Library, Vol. II, No. 24 — page 27 of 38
27 / 38
The Deadwood Dick Library, Vol. II, No. 24 — page 28 of 38
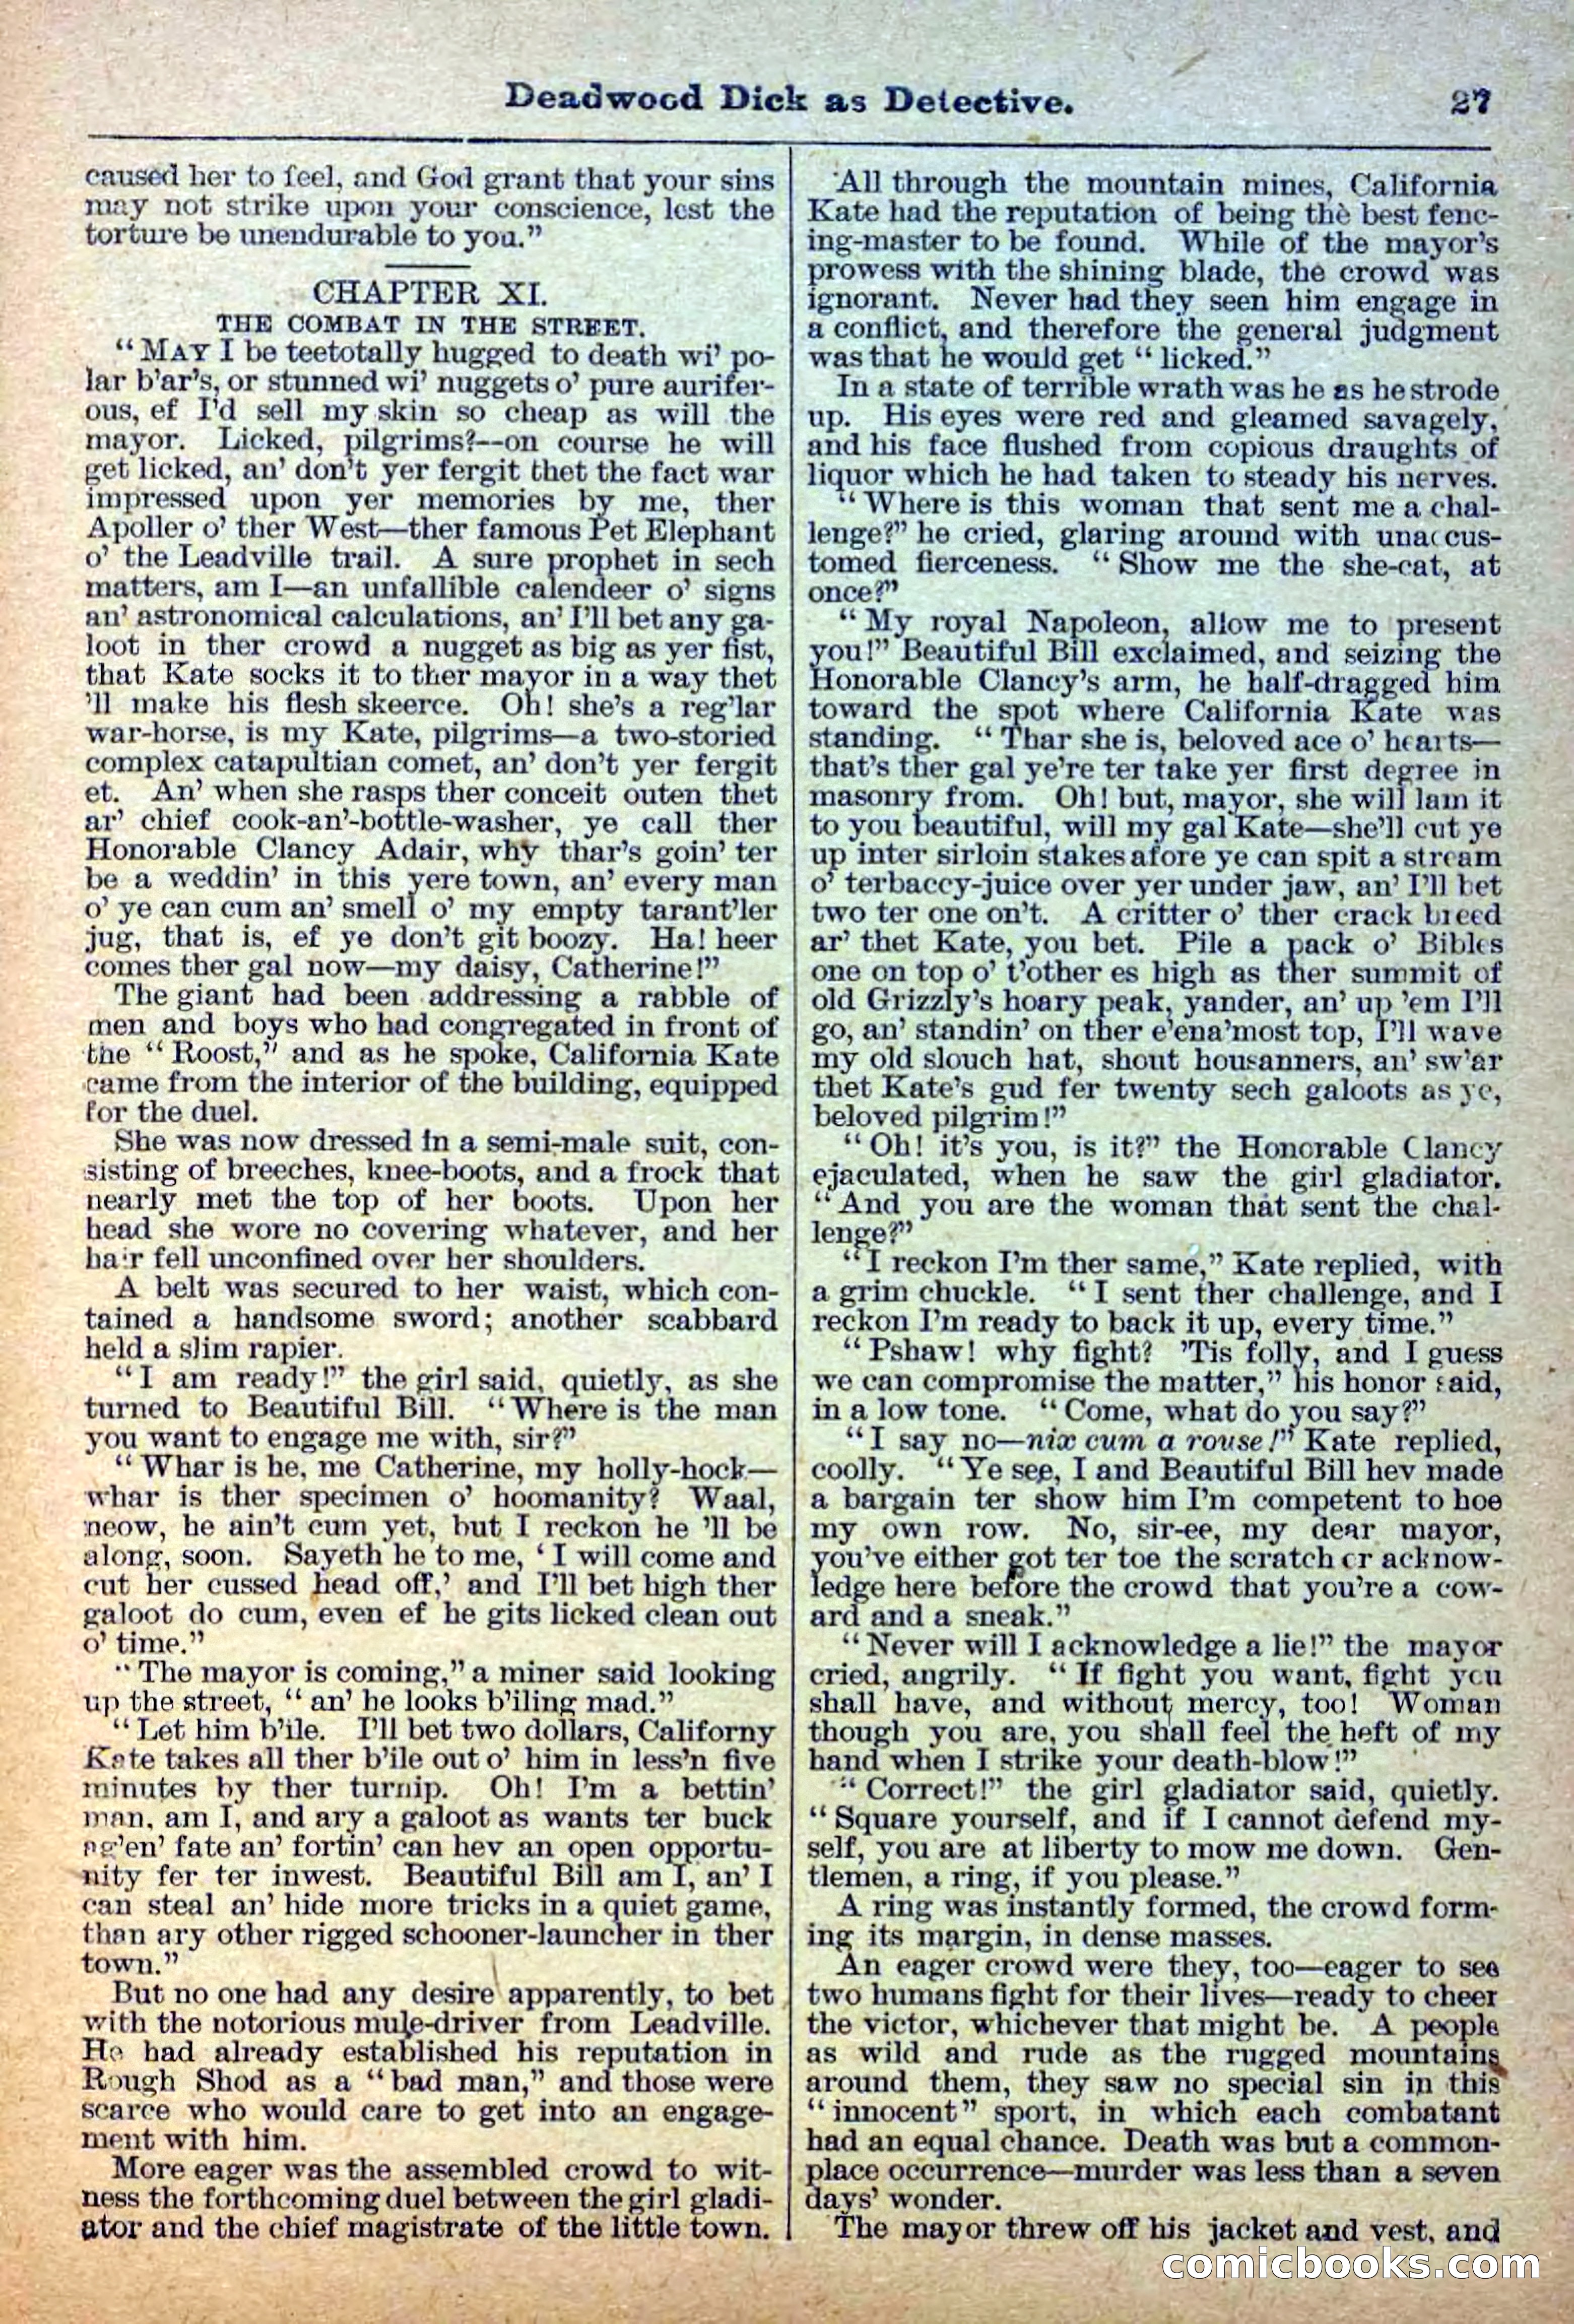
28 / 38
The Deadwood Dick Library, Vol. II, No. 24 — page 29 of 38
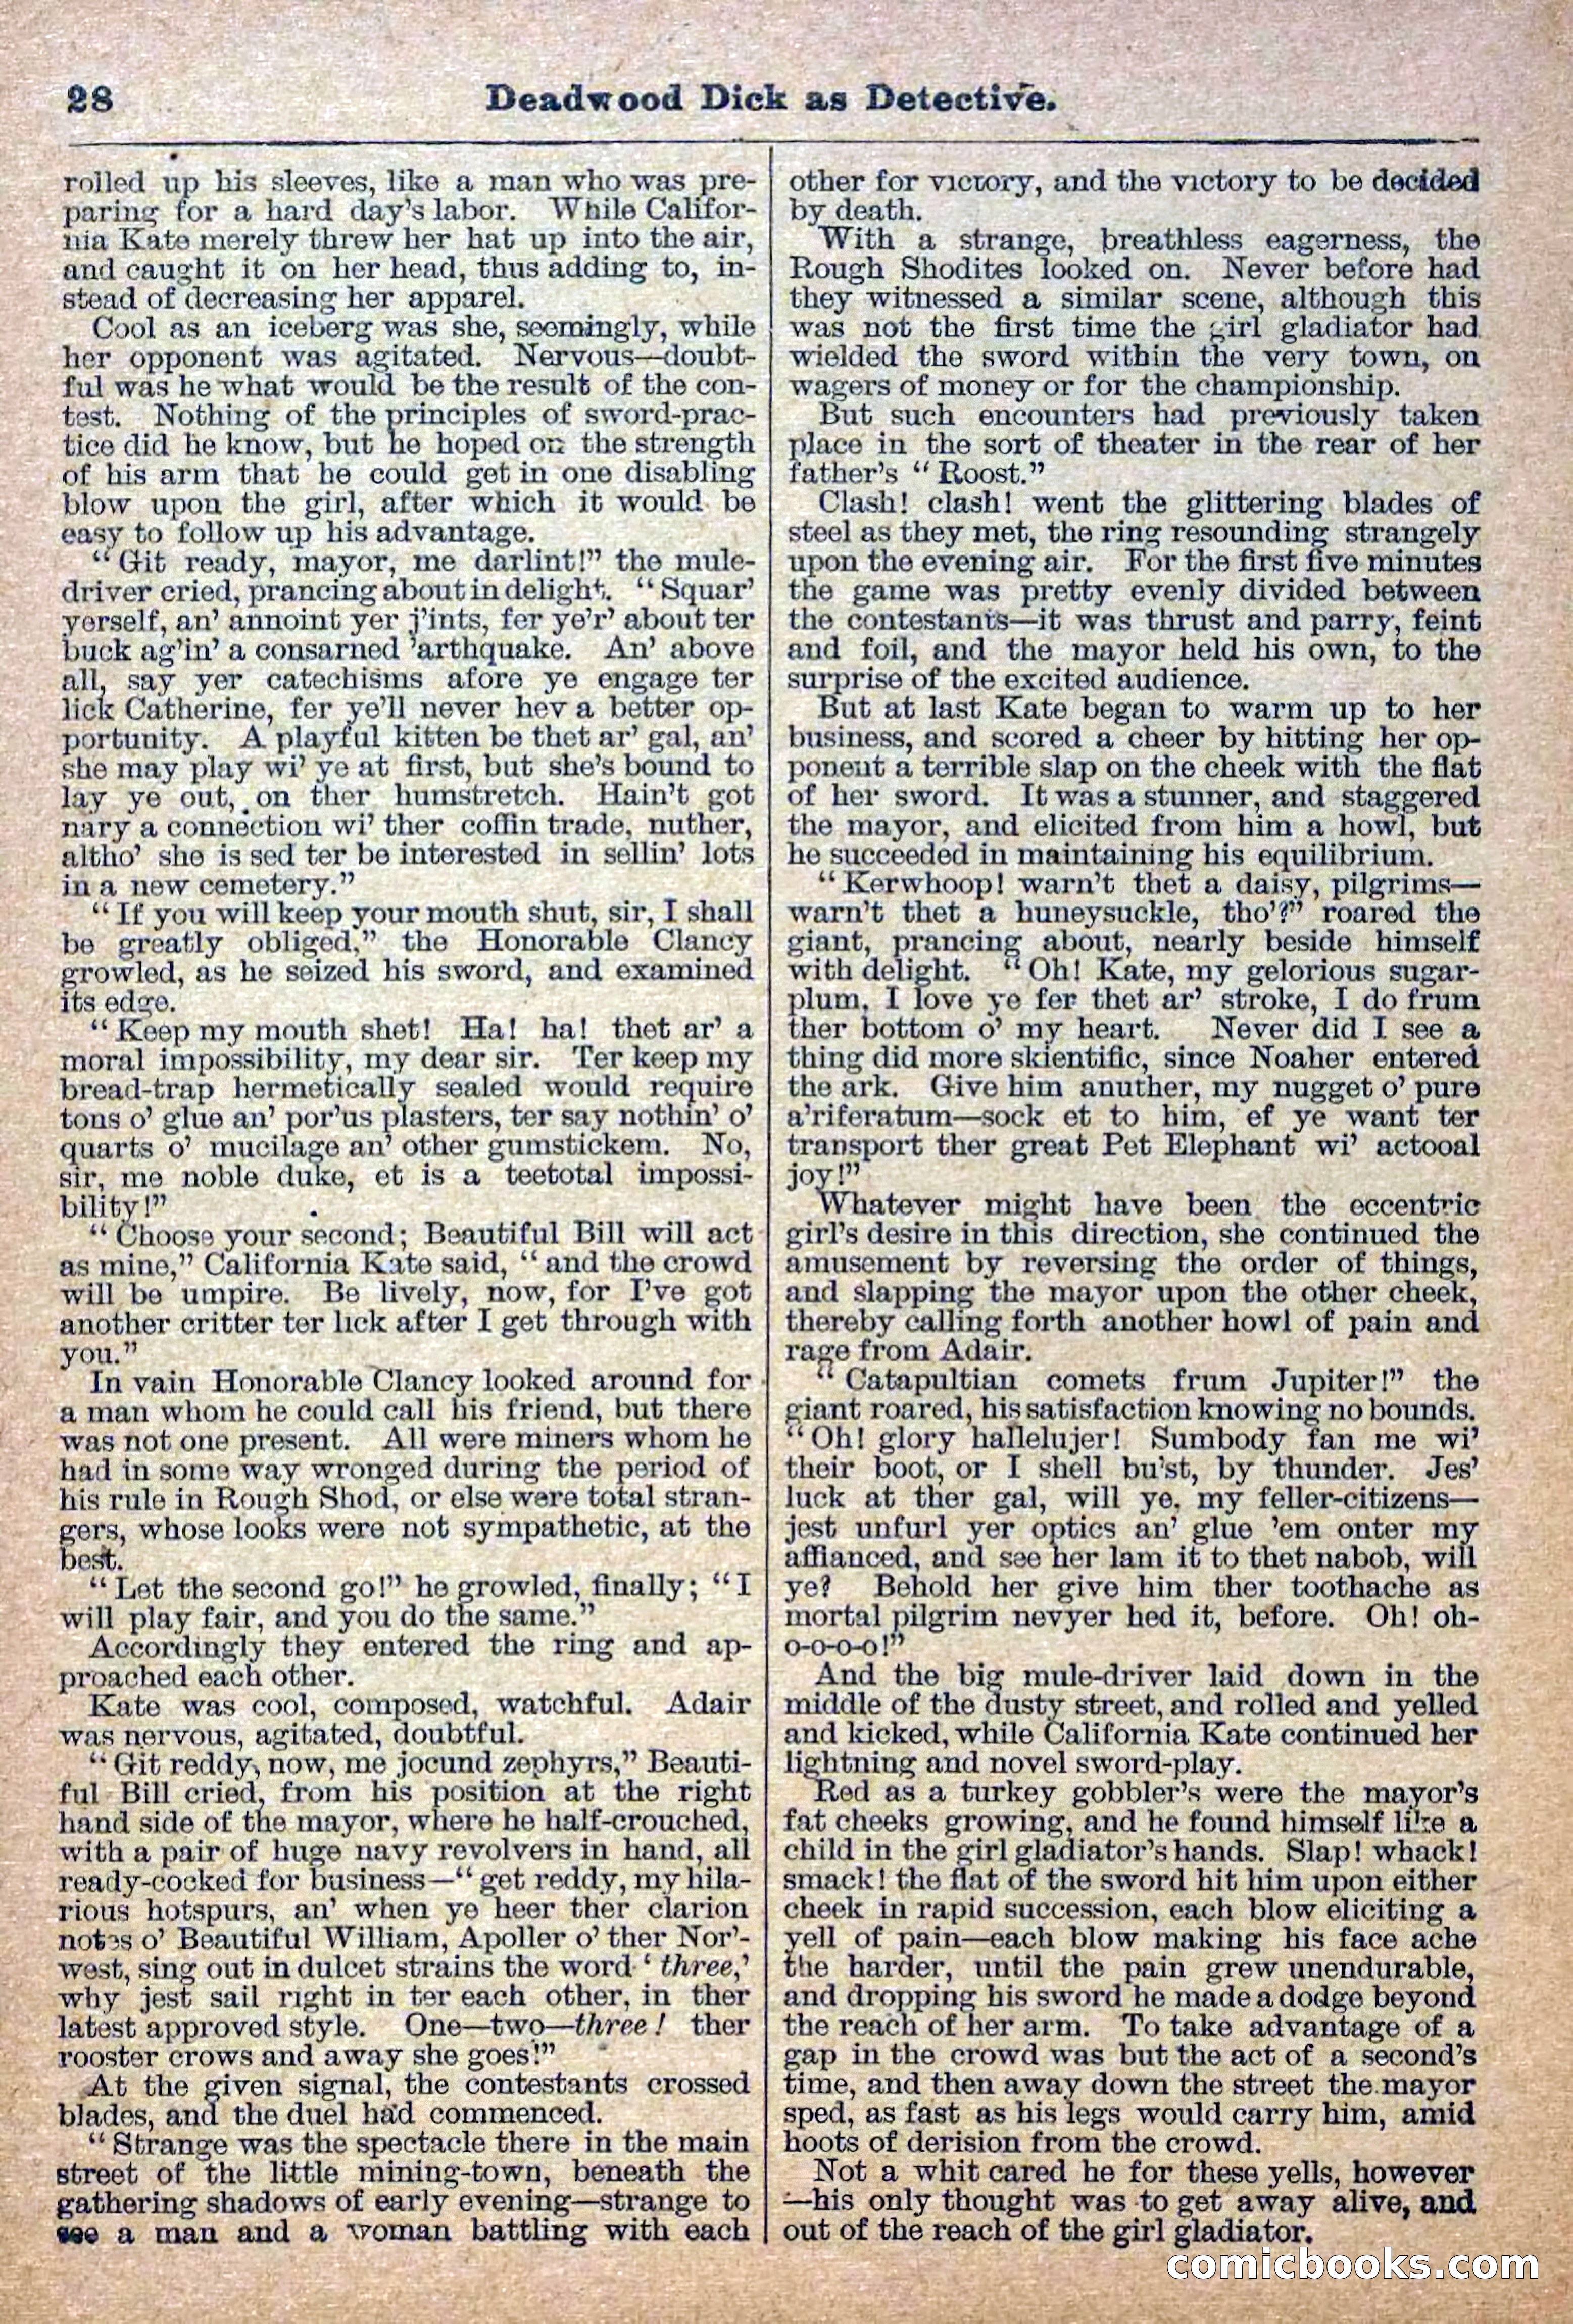
29 / 38
The Deadwood Dick Library, Vol. II, No. 24 — page 30 of 38
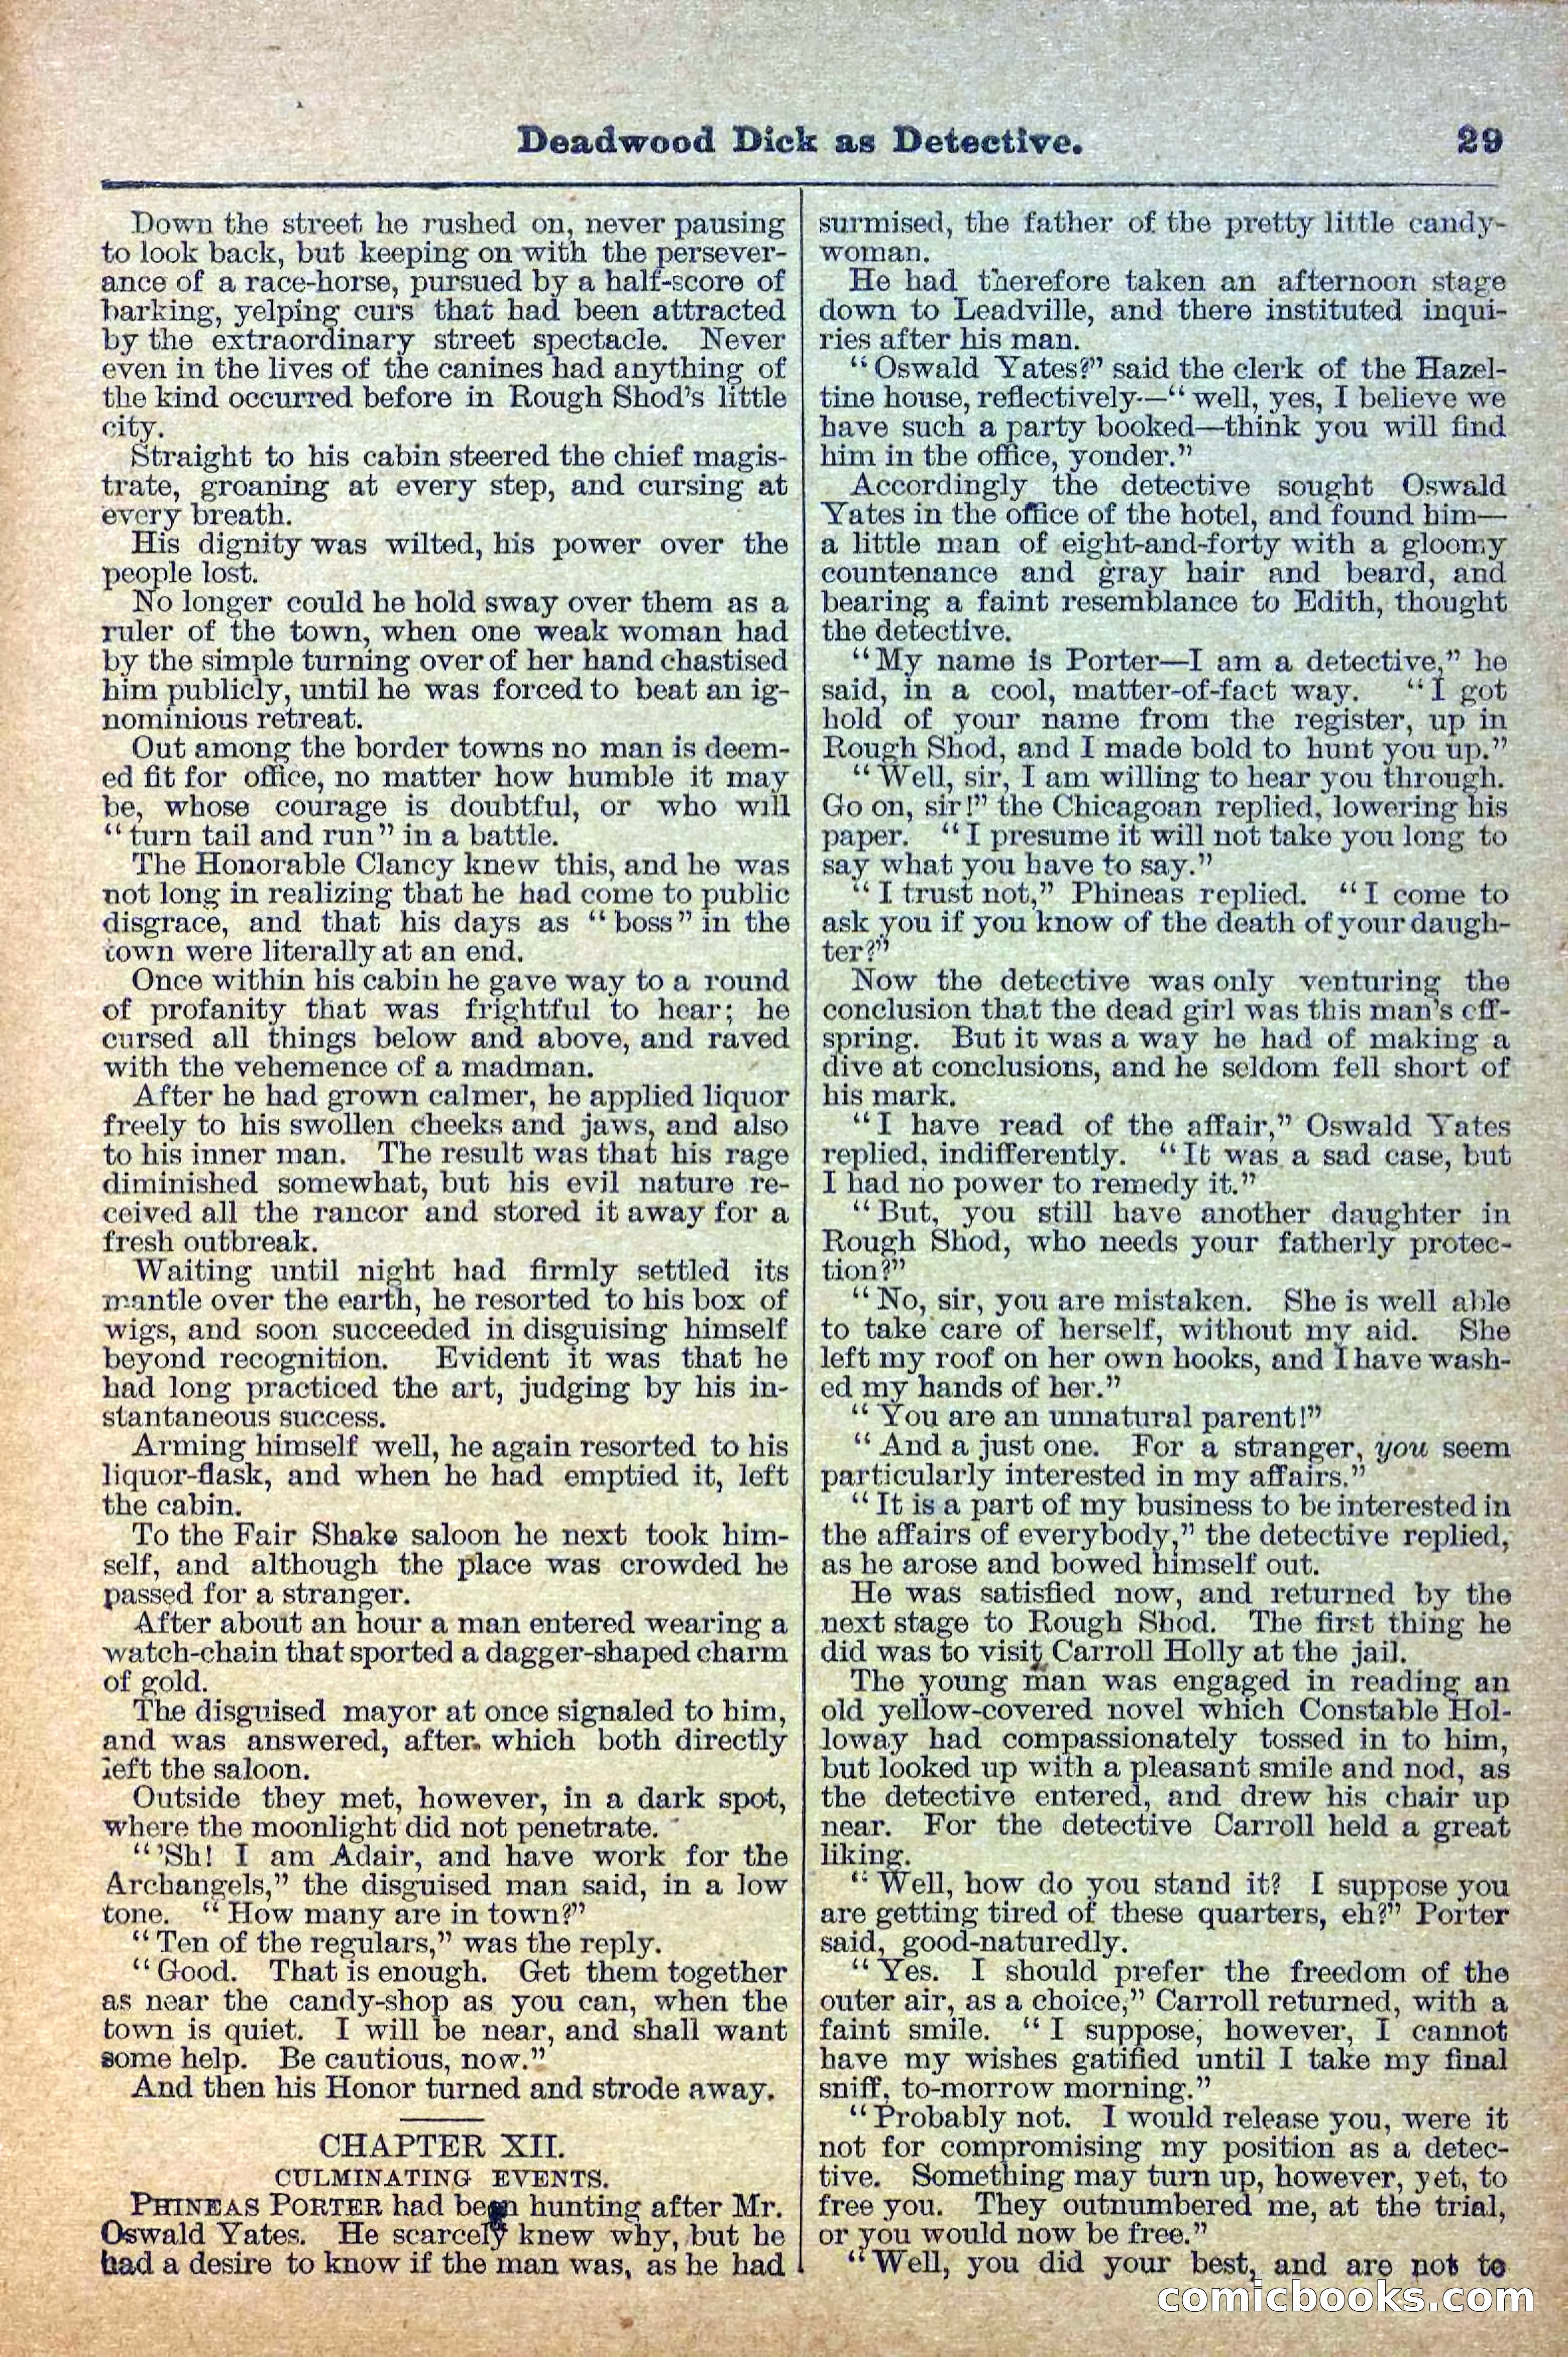
30 / 38
The Deadwood Dick Library, Vol. II, No. 24 — page 31 of 38
31 / 38
The Deadwood Dick Library, Vol. II, No. 24 — page 32 of 38
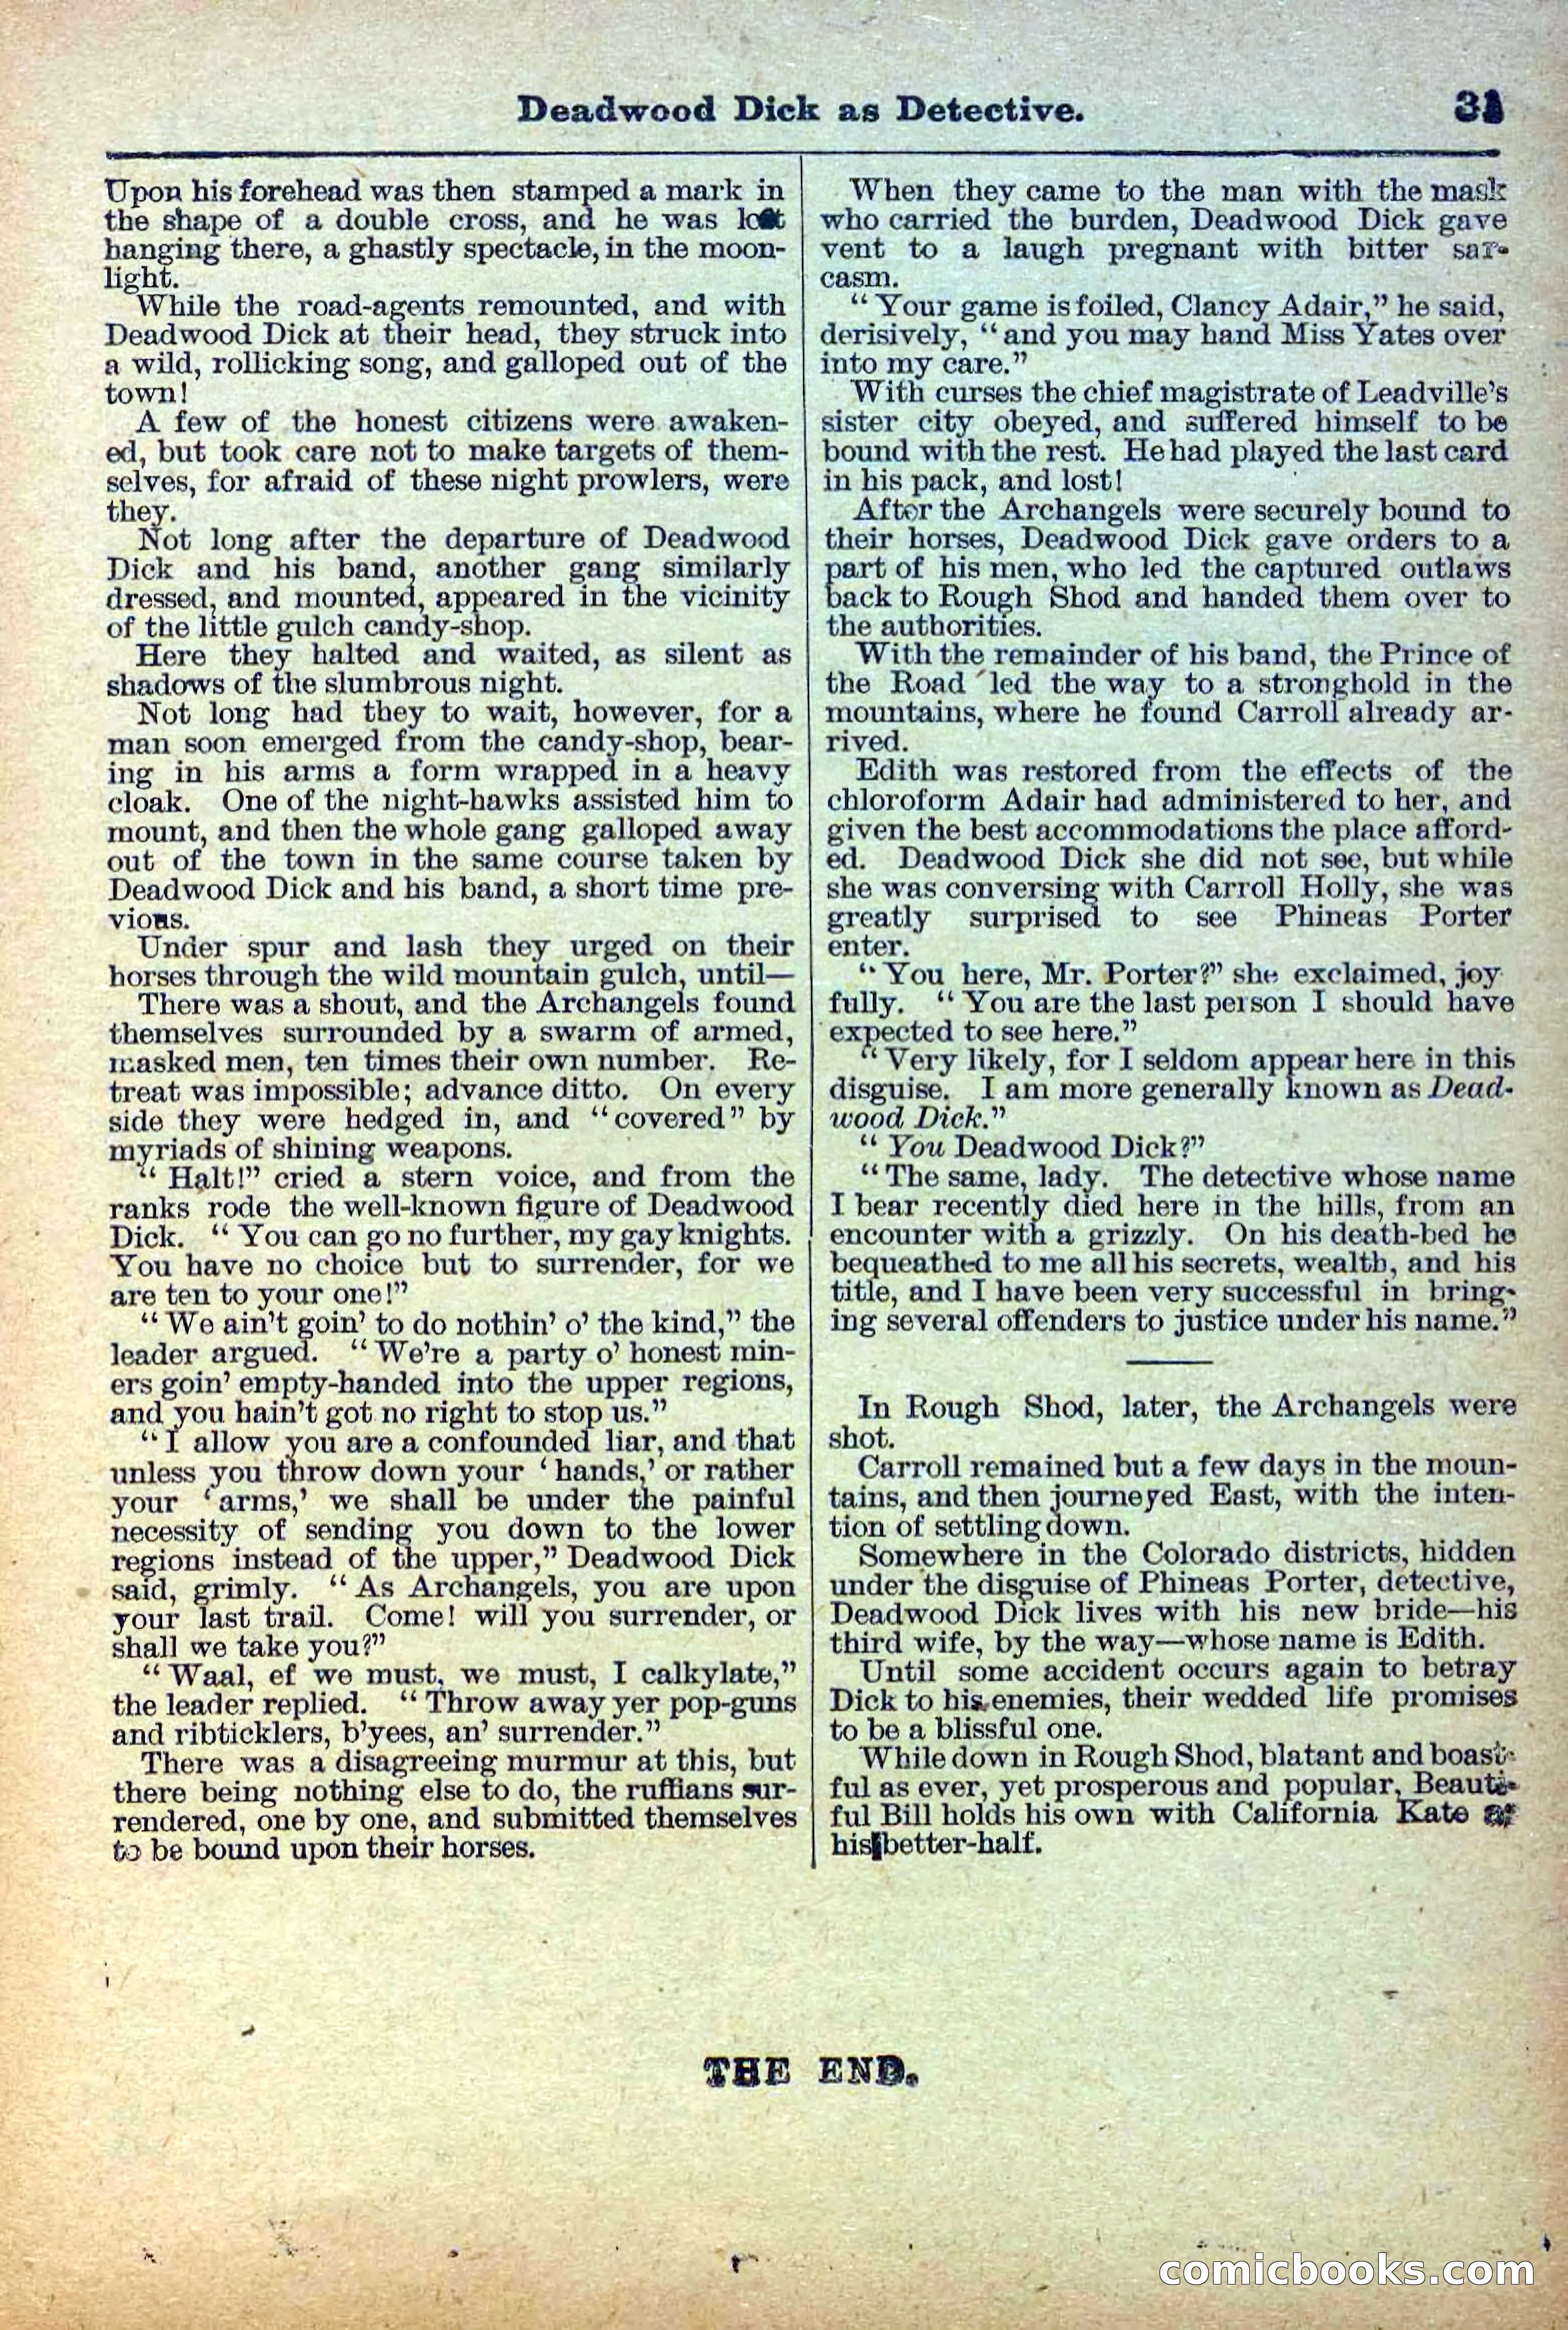
32 / 38
The Deadwood Dick Library, Vol. II, No. 24 — page 33 of 38
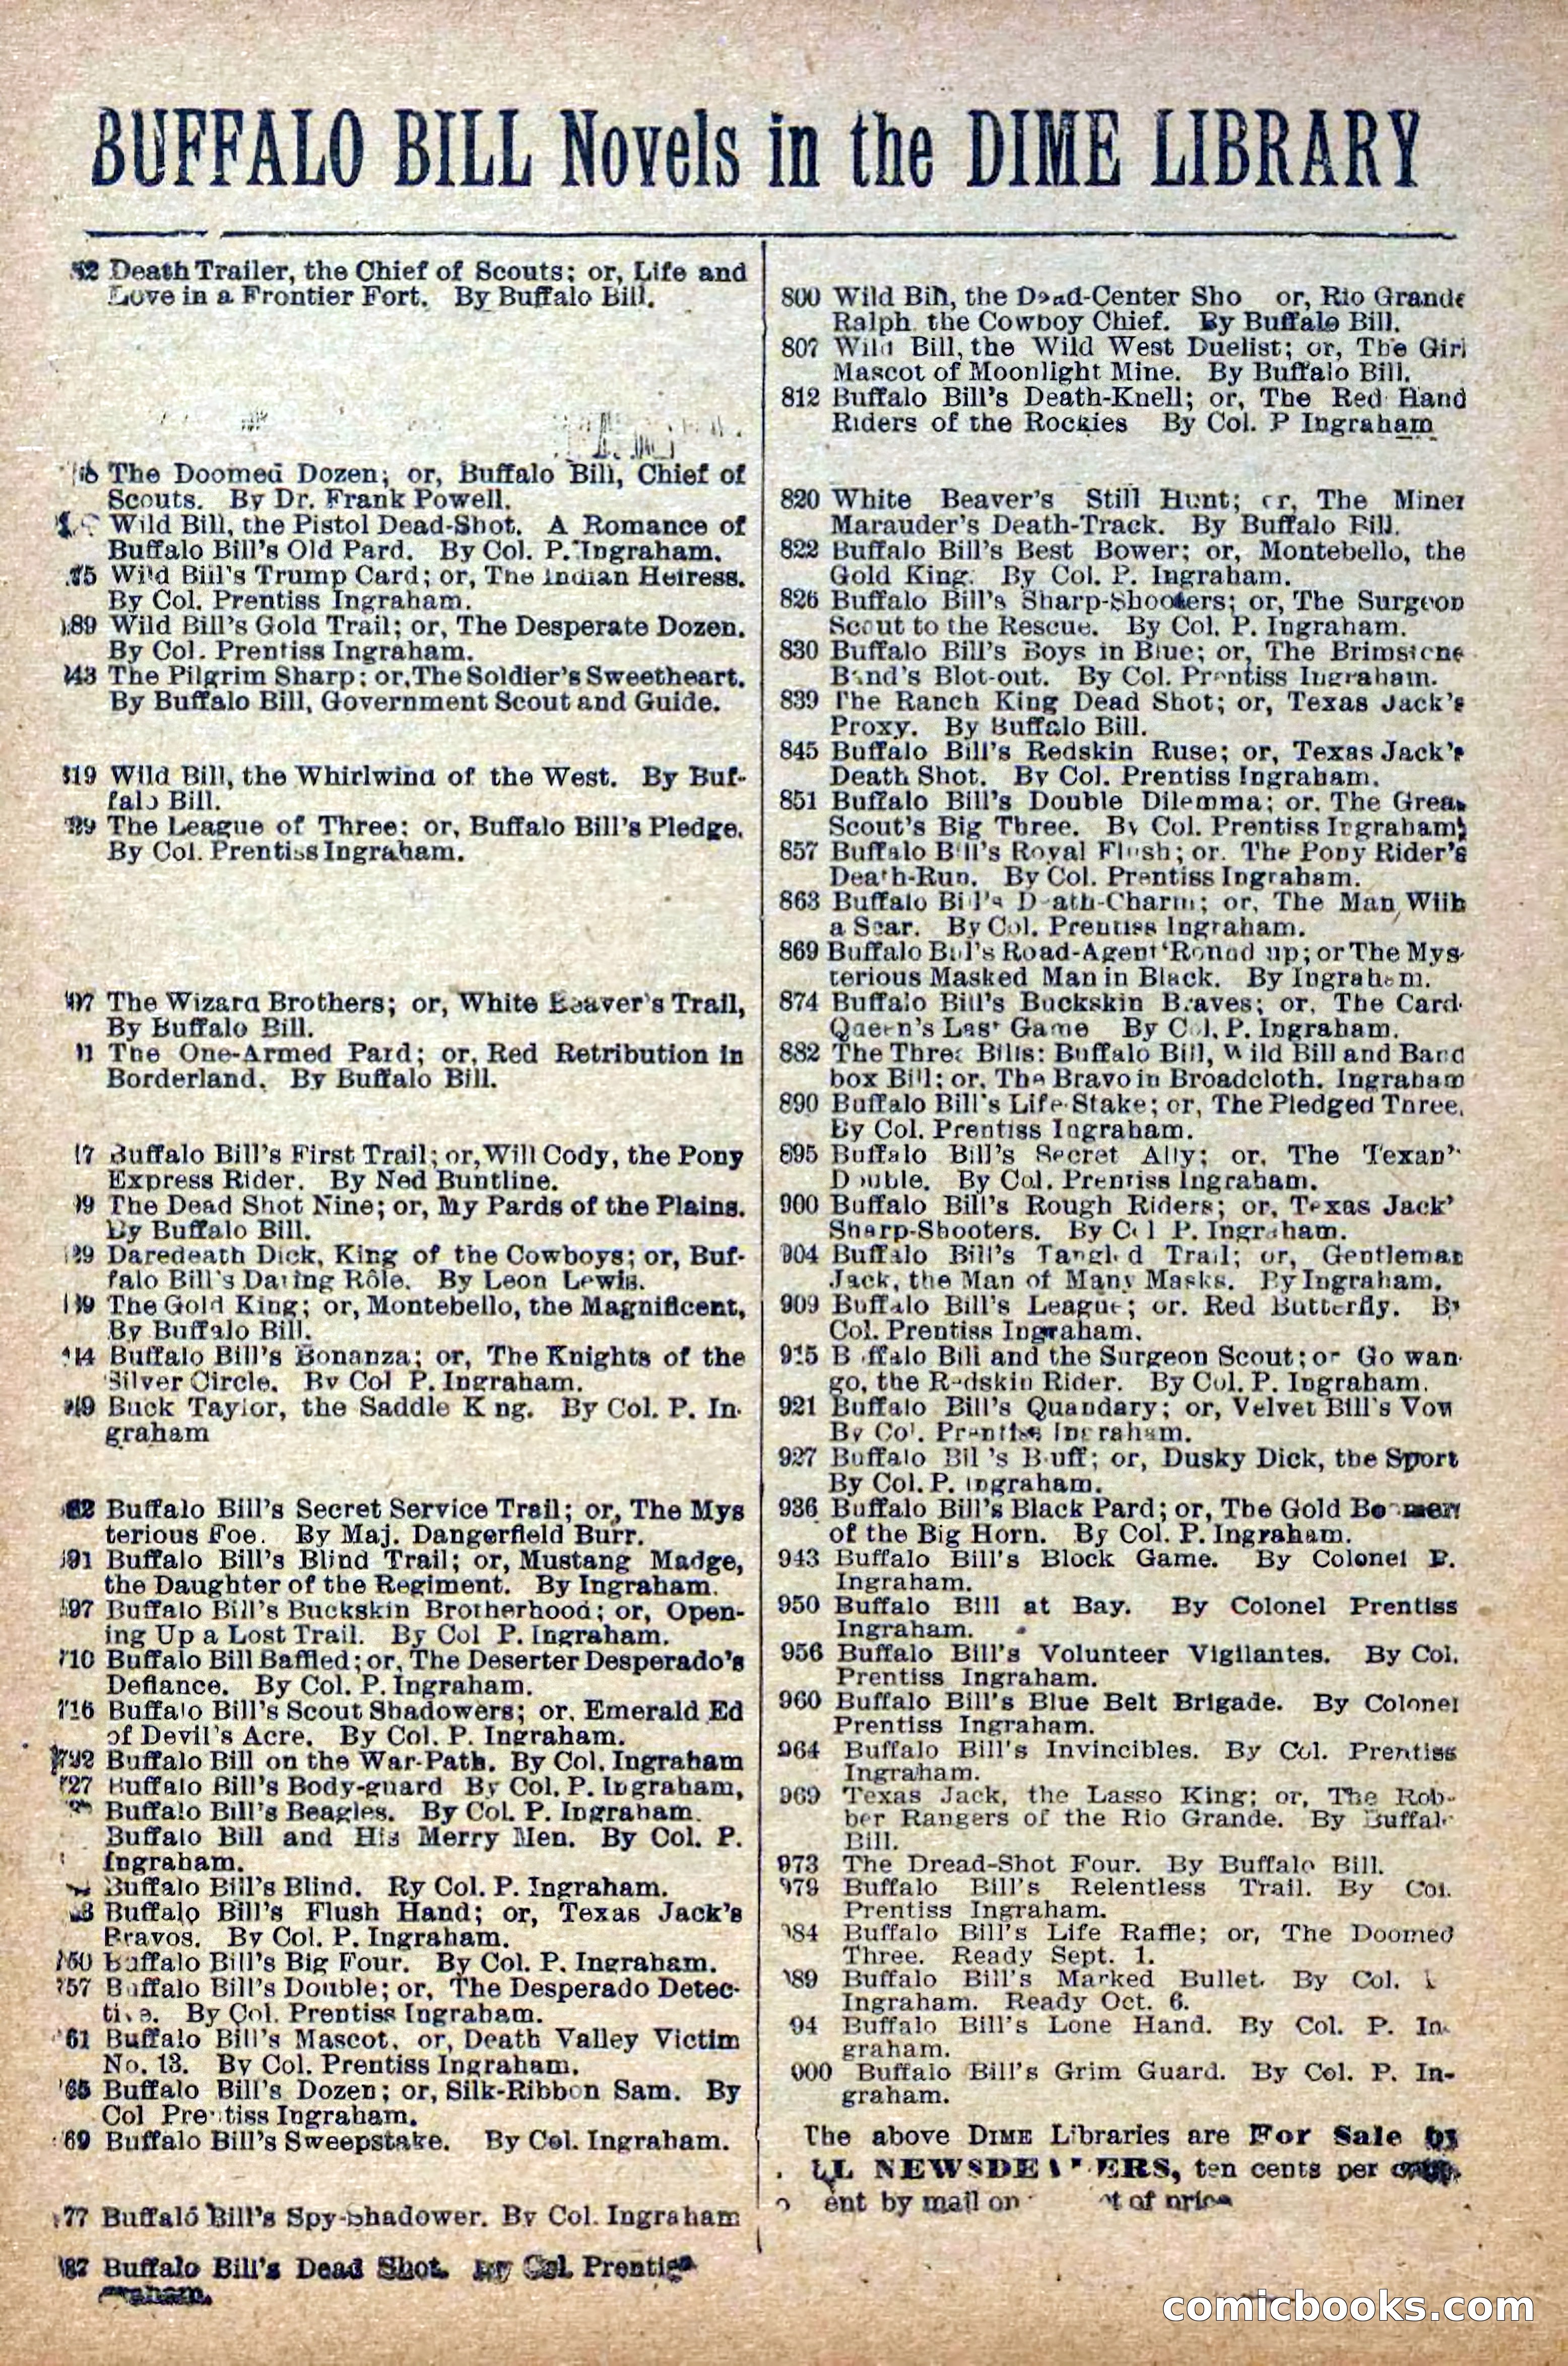
33 / 38
The Deadwood Dick Library, Vol. II, No. 24 — page 34 of 38
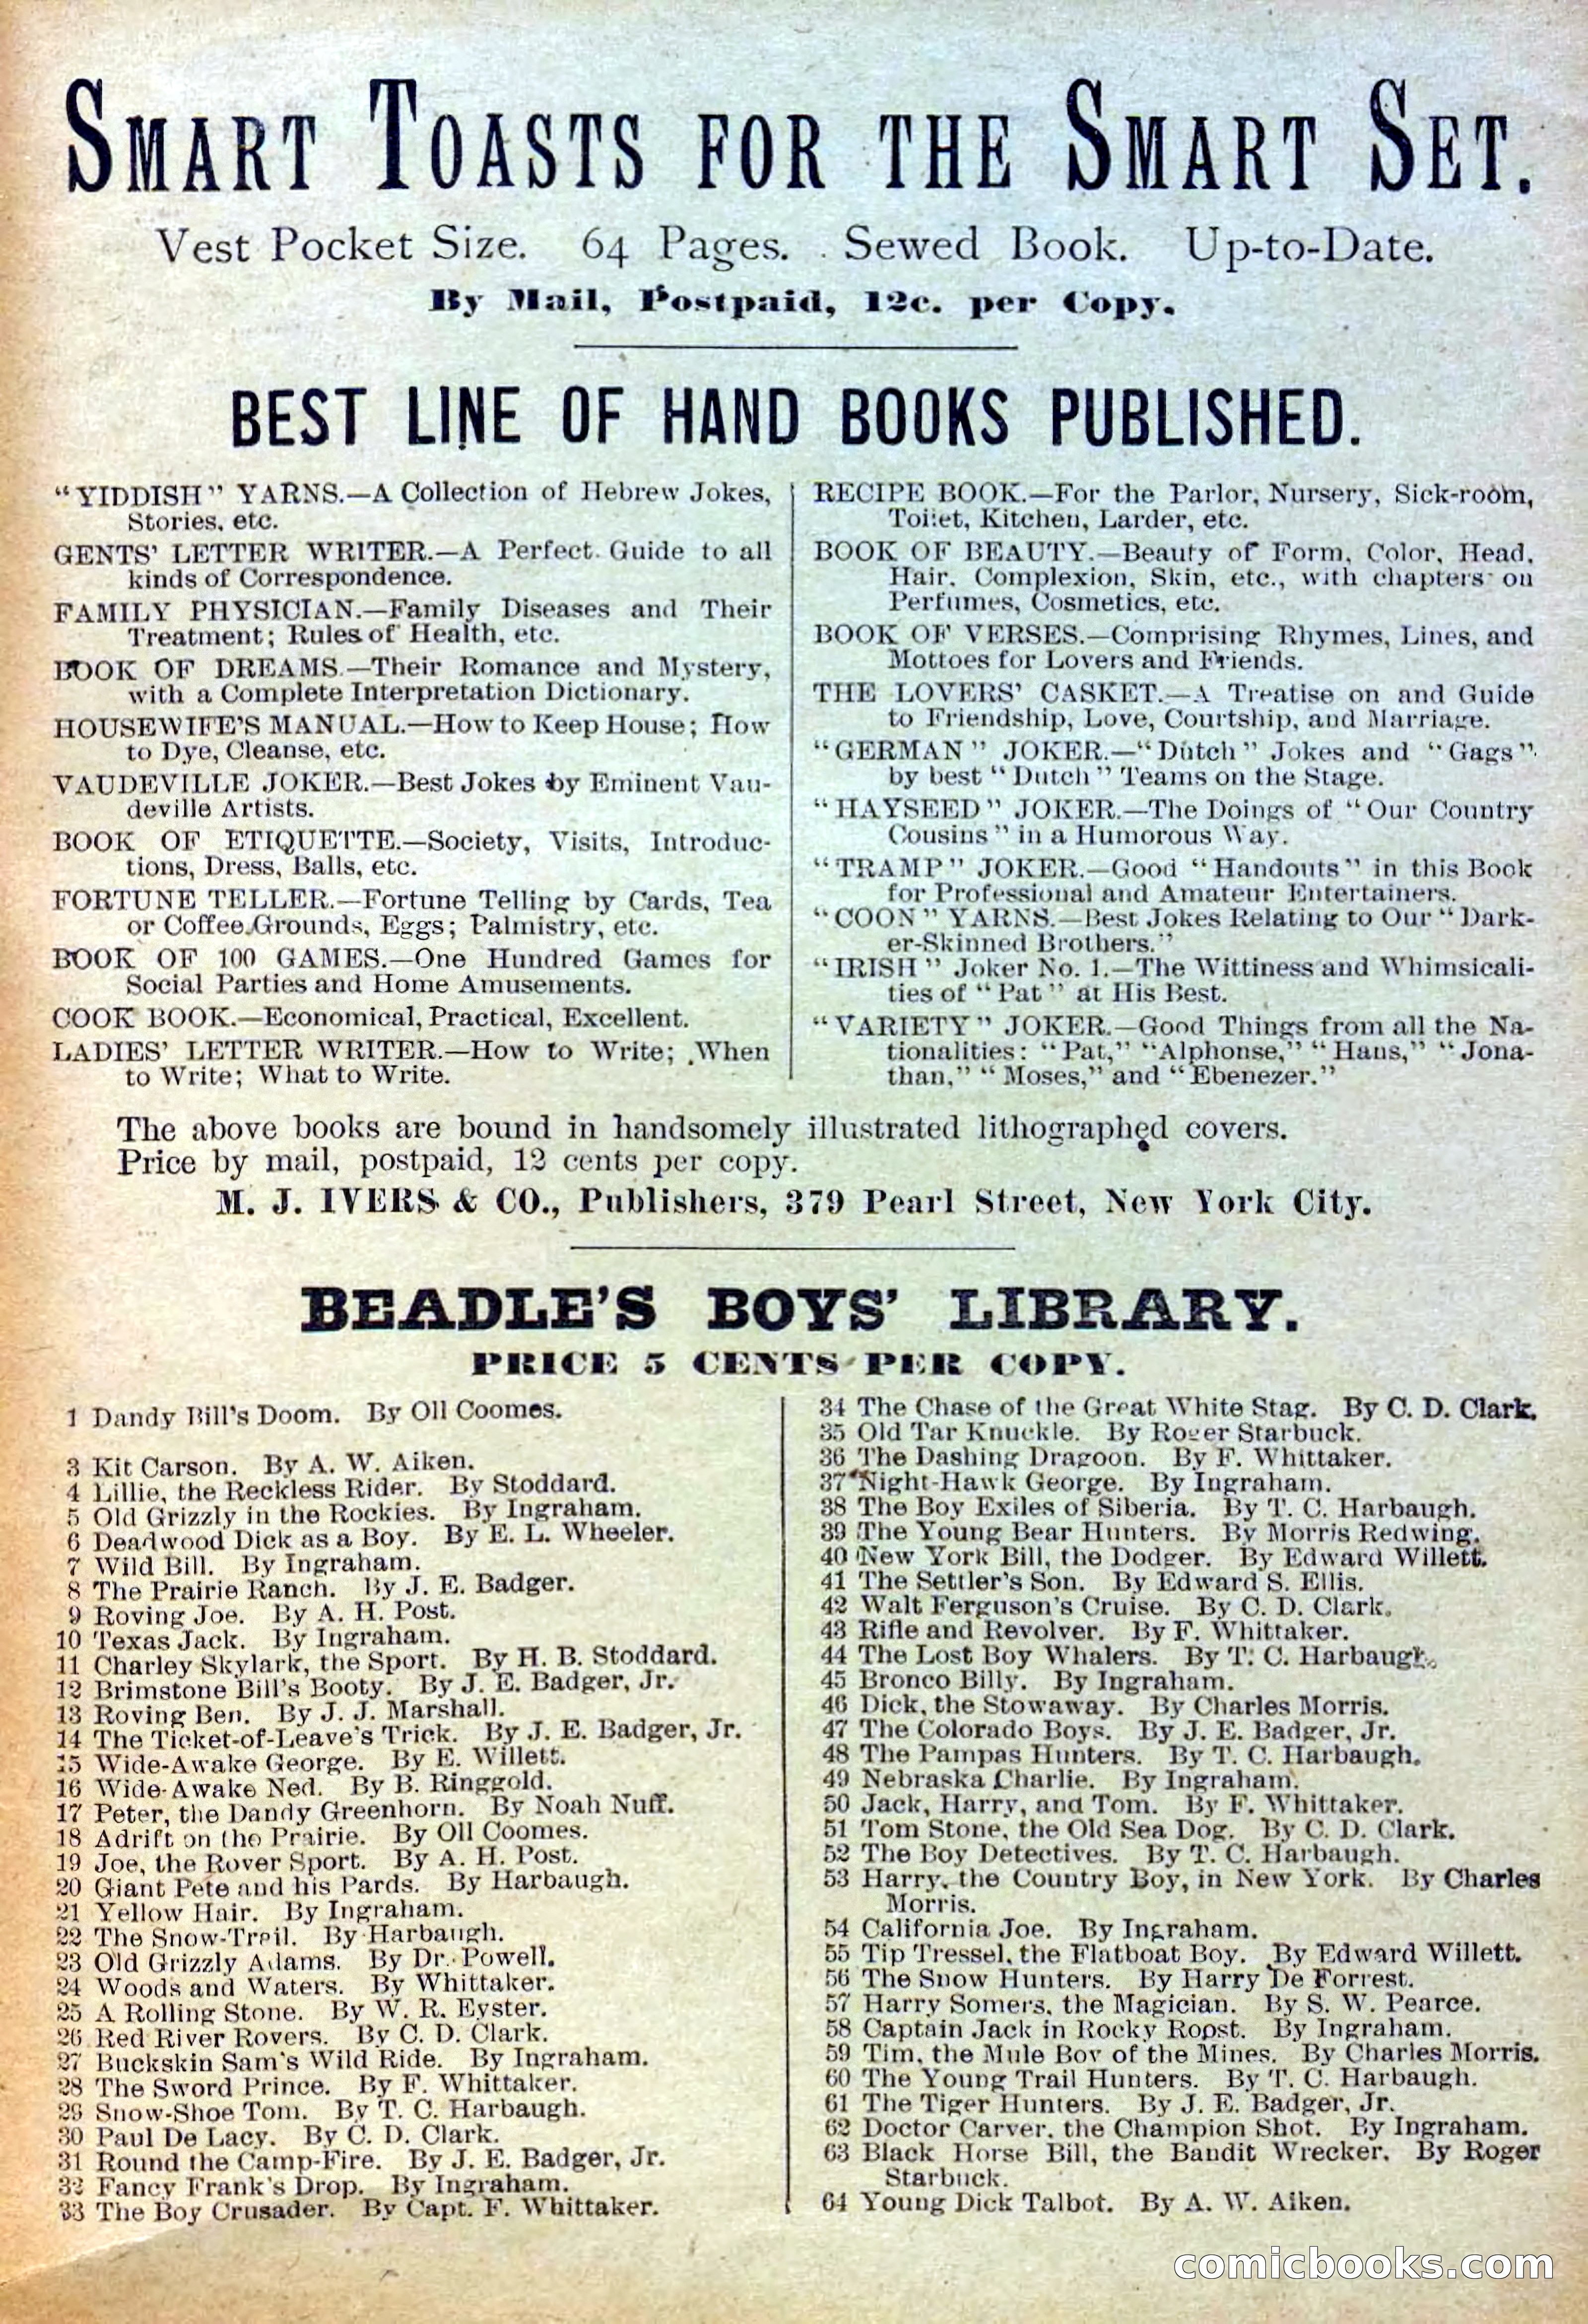
34 / 38
The Deadwood Dick Library, Vol. II, No. 24 — page 35 of 38
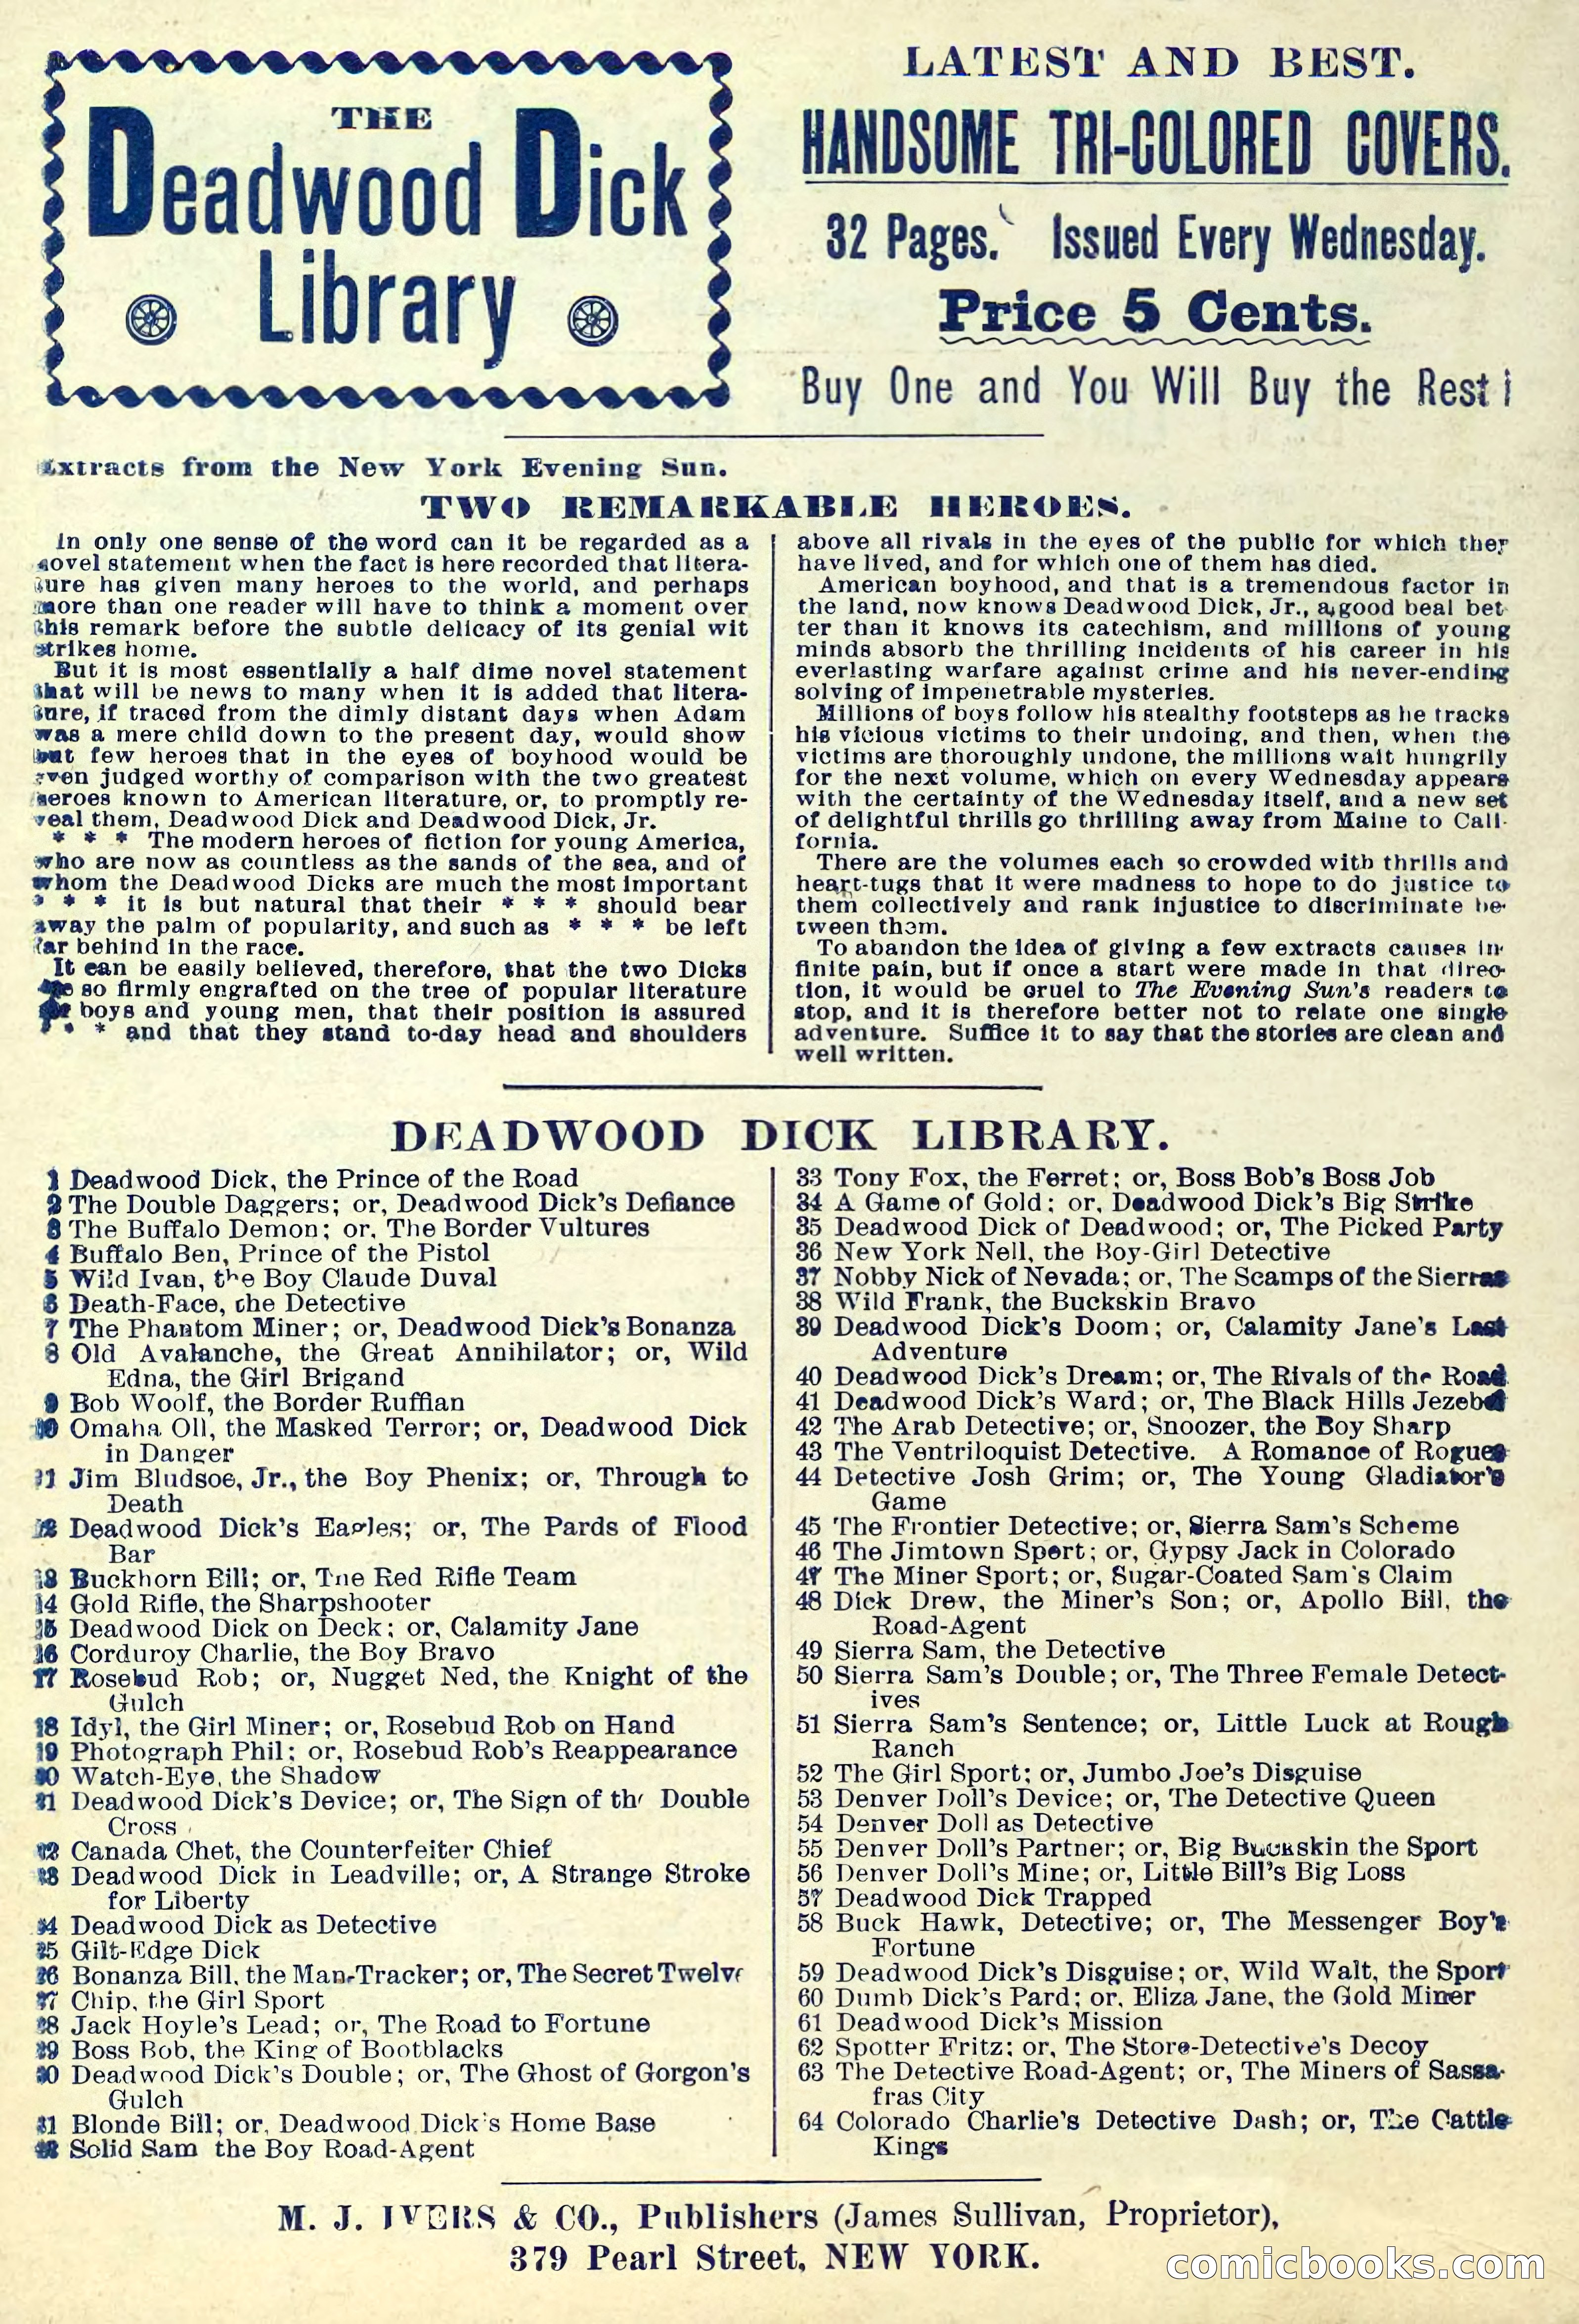
35 / 38
The Deadwood Dick Library, Vol. II, No. 24 — page 36 of 38
36 / 38
The Deadwood Dick Library, Vol. II, No. 24 — page 37 of 38
37 / 38
The Deadwood Dick Library, Vol. II, No. 24 — page 38 of 38
38 / 38

About this issue

This issue of the Half-Dime Library (August 23, 1899) features the opening chapters of "Deadwood Dick as Detective," by Edward L. Wheeler. Set in Rough Shod, a mining town near Leadville, Colorado, the story begins with a trap being laid. The Honorable Clancy Adair, the town's de facto mayor and ruling authority, visits Captain Sal Savage's saloon—the Champion's Roost, which doubles as hotel and gambling den—to hire Savage and his wife Nance to murder an incoming enemy named Carroll Holly. The stage arrives carrying several passengers including the registered guests Barry Merridin (tourist), Joseph Rainbolt (rifle-shot), Josh Page, Oswald Yates, and Phineas Porter, an elderly New York detective. The narrative establishes the rough frontier setting and introduces multiple characters whose roles in the unfolding murder plot remain unclear.

Browse this issue page by page

Each page has its own page — the cartoon, who’s in it, and what the satire means.

  1. Page 1 View this page →
  2. Page 2 View this page →
  3. Page 3 View this page →
  4. Page 4 View this page →
  5. Page 5 View this page →
  6. Page 6 View this page →
  7. Page 7 View this page →
  8. Page 8 View this page →
  9. Page 9 View this page →
  10. Page 10 View this page →
  11. Page 11 View this page →
  12. Page 12 View this page →
  13. Page 13 View this page →
  14. Page 14 View this page →
  15. Page 15 View this page →
  16. Page 16 View this page →
  17. Page 17 View this page →
  18. Page 18 View this page →
  19. Page 19 View this page →
  20. Page 20 View this page →
  21. Page 21 View this page →
  22. Page 22 View this page →
  23. Page 23 View this page →
  24. Page 24 View this page →
  25. Page 25 View this page →
  26. Page 26 View this page →
  27. Page 27 View this page →
  28. Page 28 View this page →
  29. Page 29 View this page →
  30. Page 30 View this page →
  31. Page 31 View this page →
  32. Page 32 View this page →
  33. Page 33 View this page →
  34. Page 34 View this page →
  35. Page 35 View this page →
  36. Page 36 View this page →
  37. Page 37 View this page →
  38. Page 38 View this page →