
ComicBooks.com Register / Loginit's free!

A complete, restored issue of Pulp Fiction from 1899 — all 36 pages of painted-cover fiction magazines that launched science fiction, horror, and hardboiled crime, free to page through at ComicBooks.com.

← Back to Pulp Fiction All exhibitions

HomeExhibitionPulp FictionRead

A complete issue · 36 pages · 1899

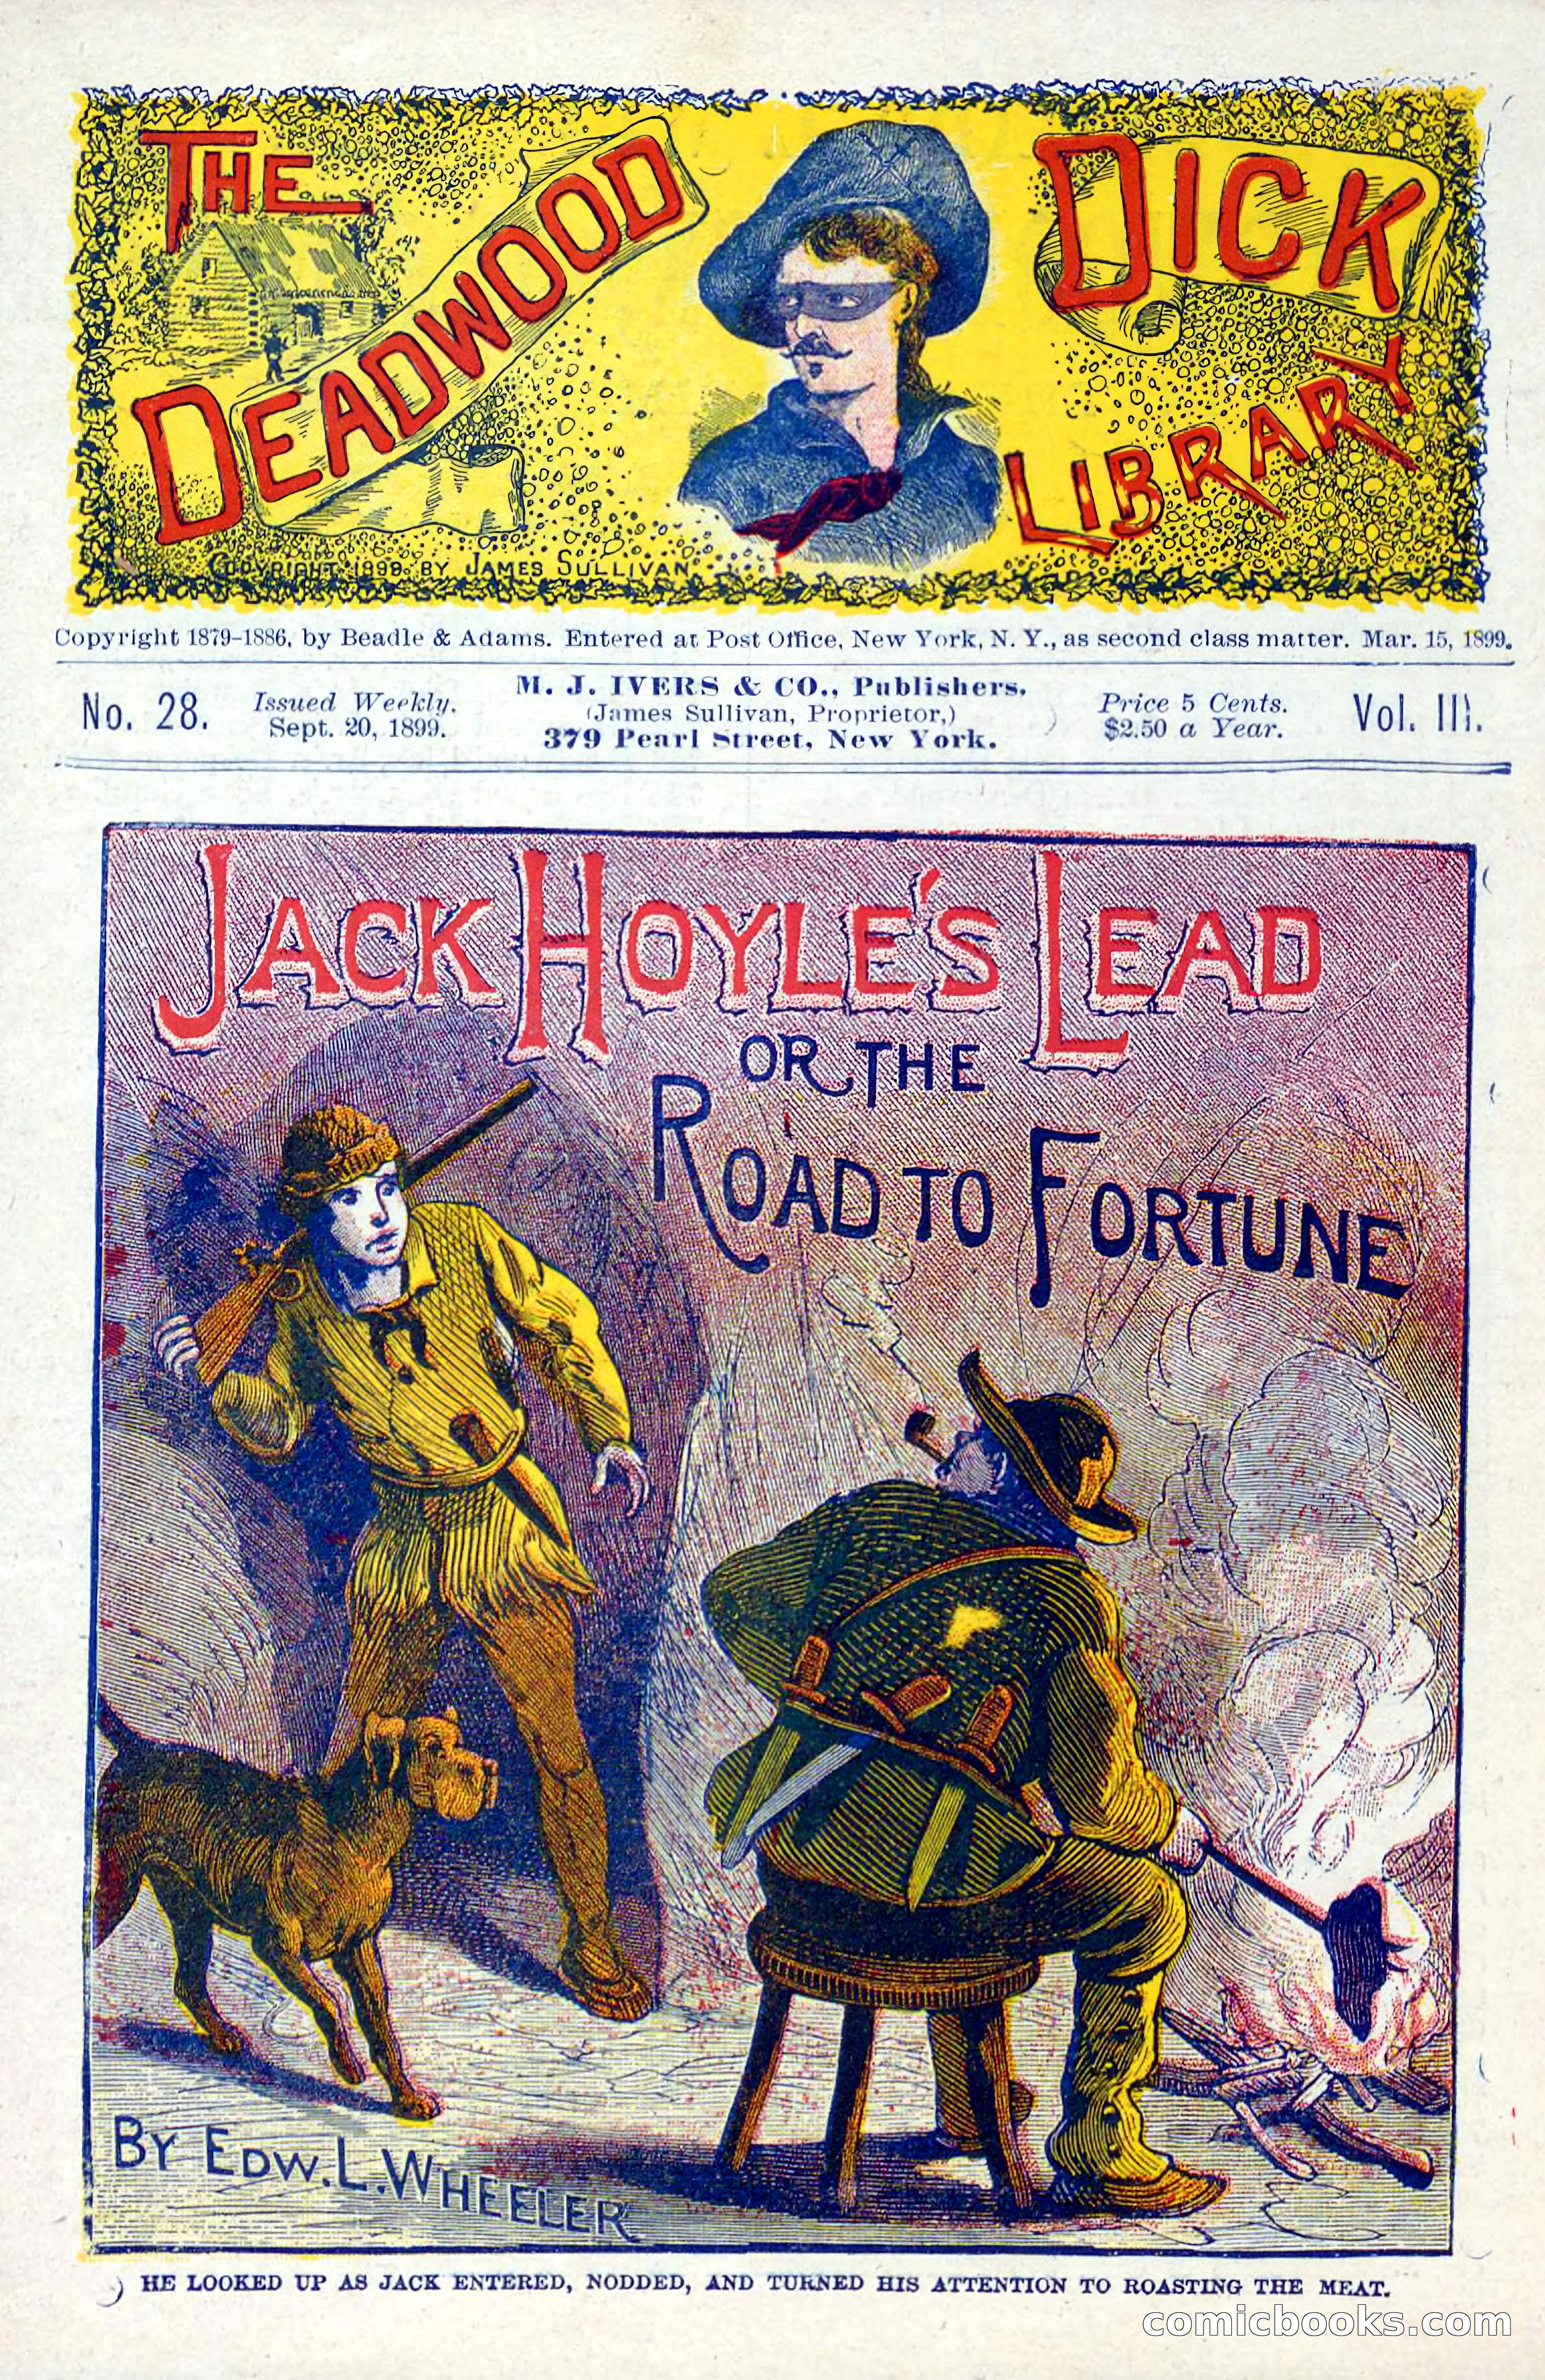
The Deadwood Dick Library, Vol. III, No. 28
1899 · Free to read

The Deadwood Dick Library, Vol. III, No. 28 — page 1 of 36
1 / 36
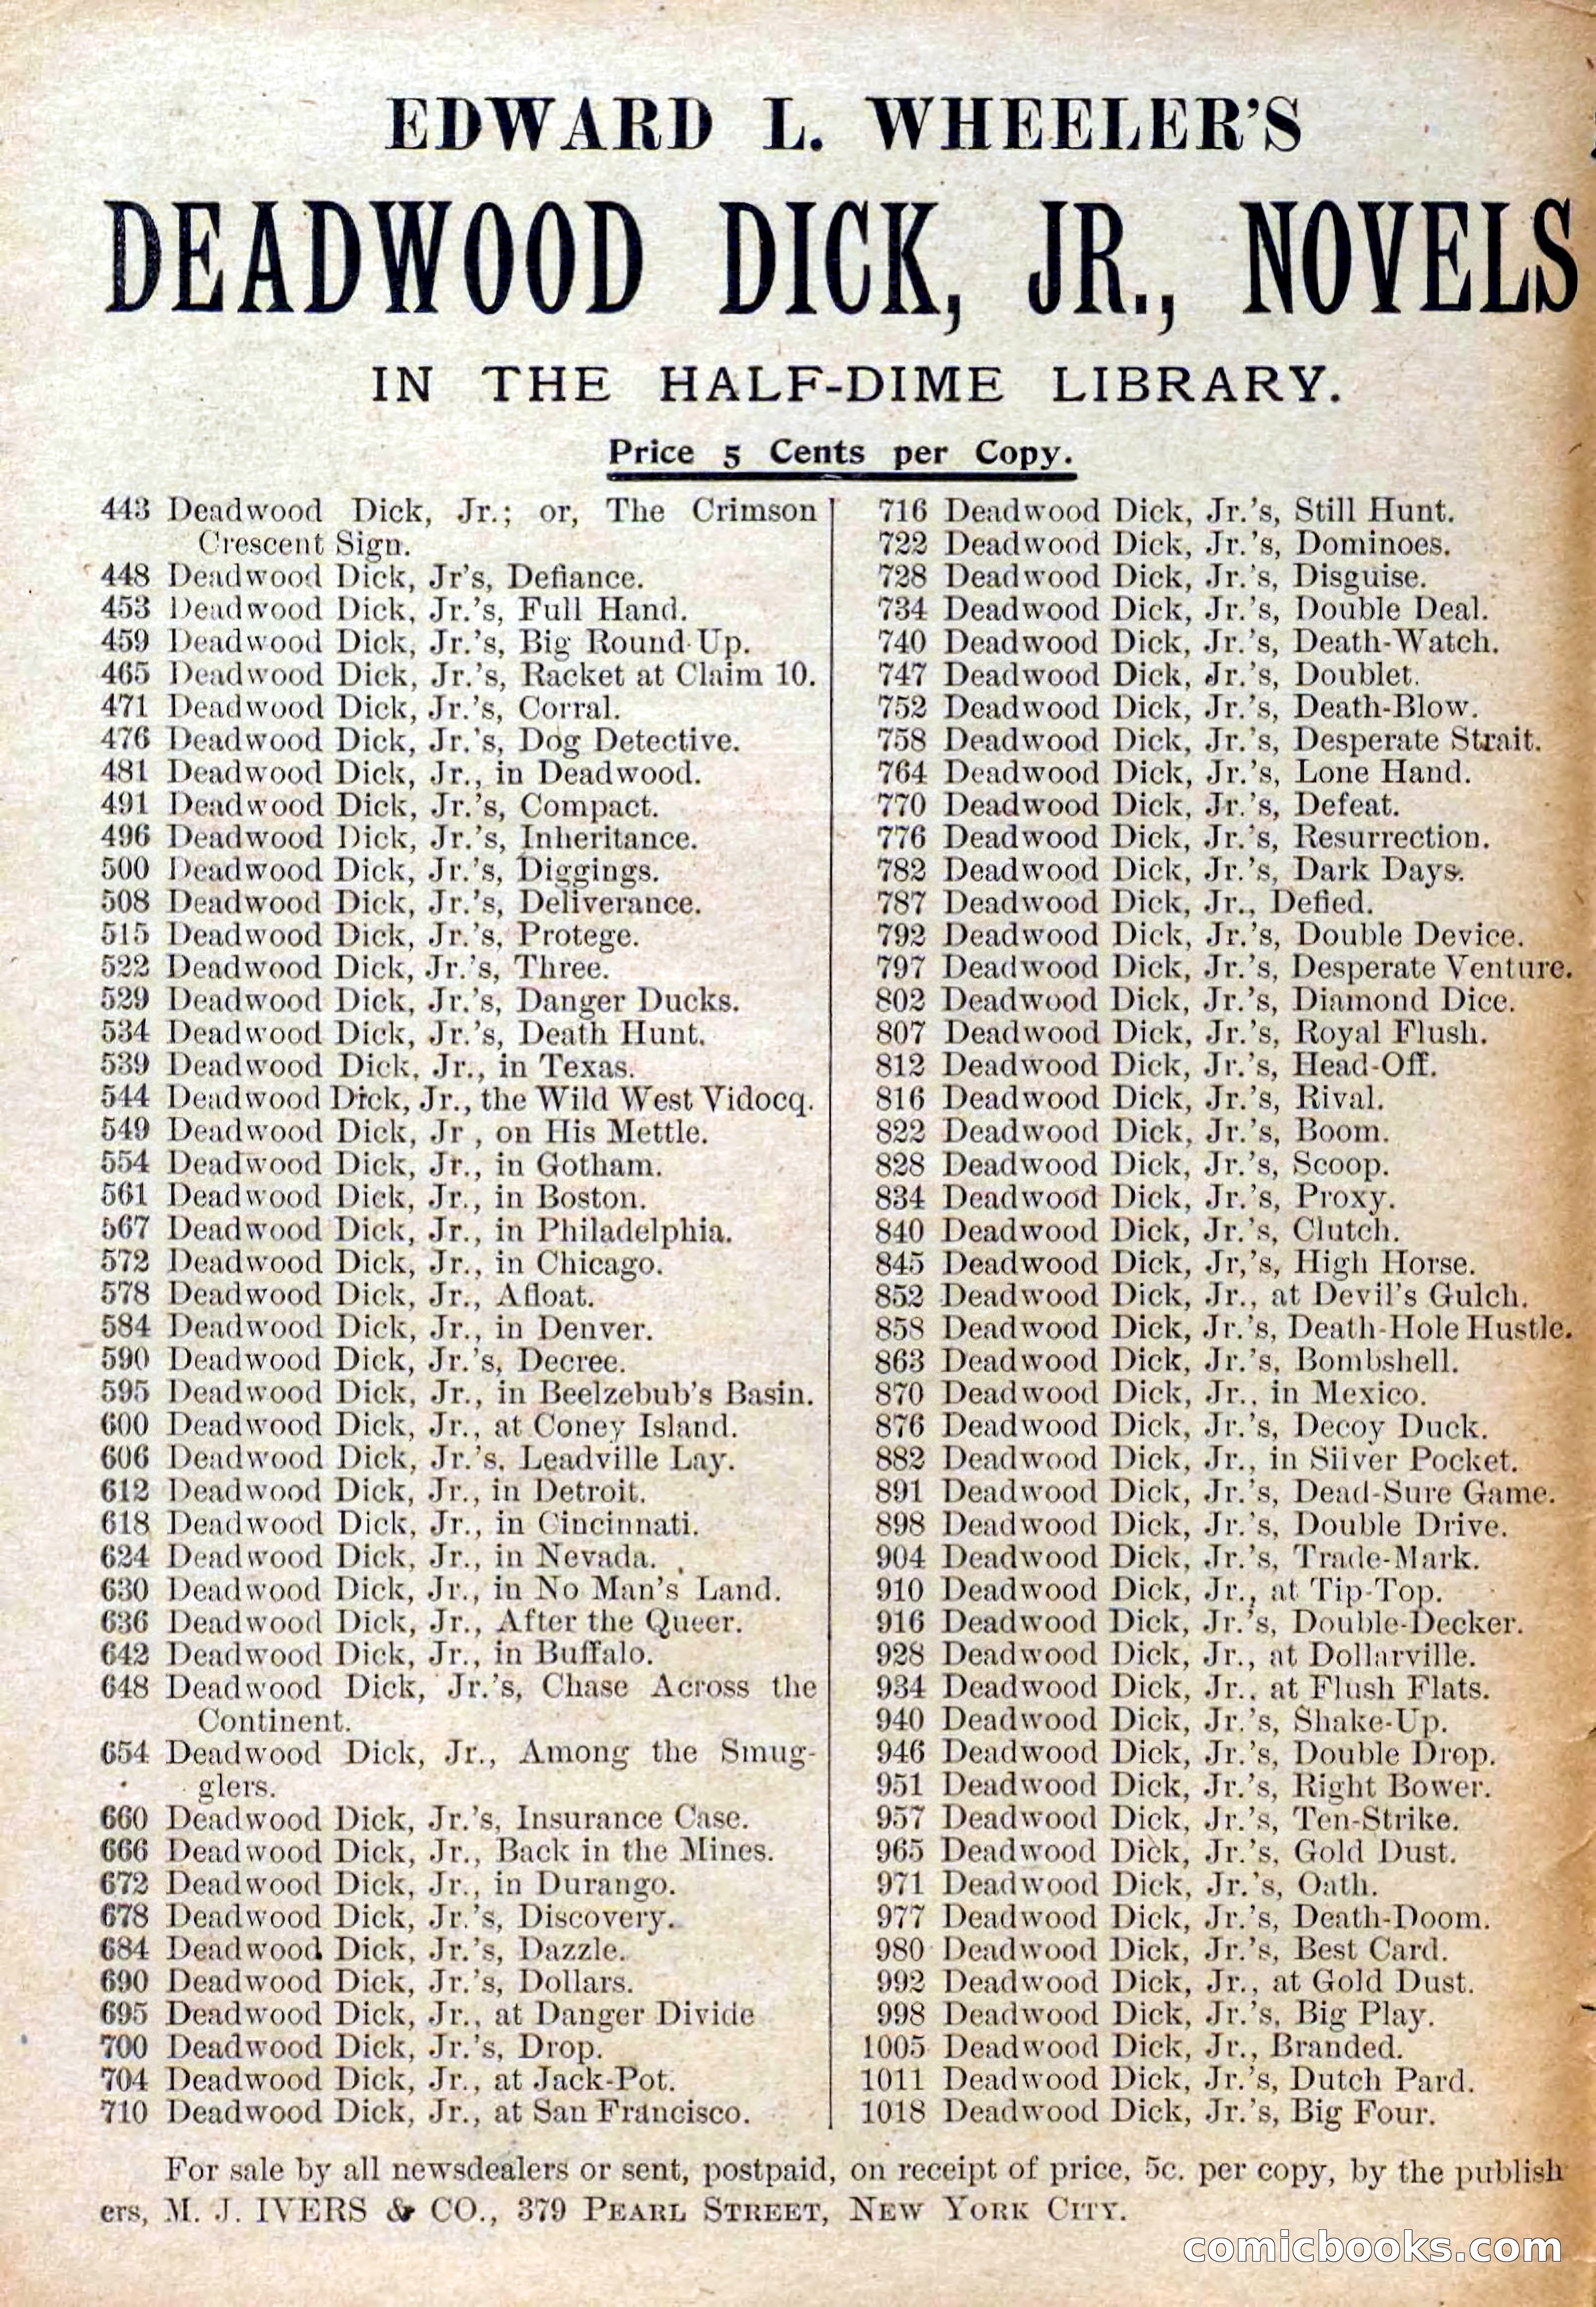
The Deadwood Dick Library, Vol. III, No. 28 — page 2 of 36
2 / 36
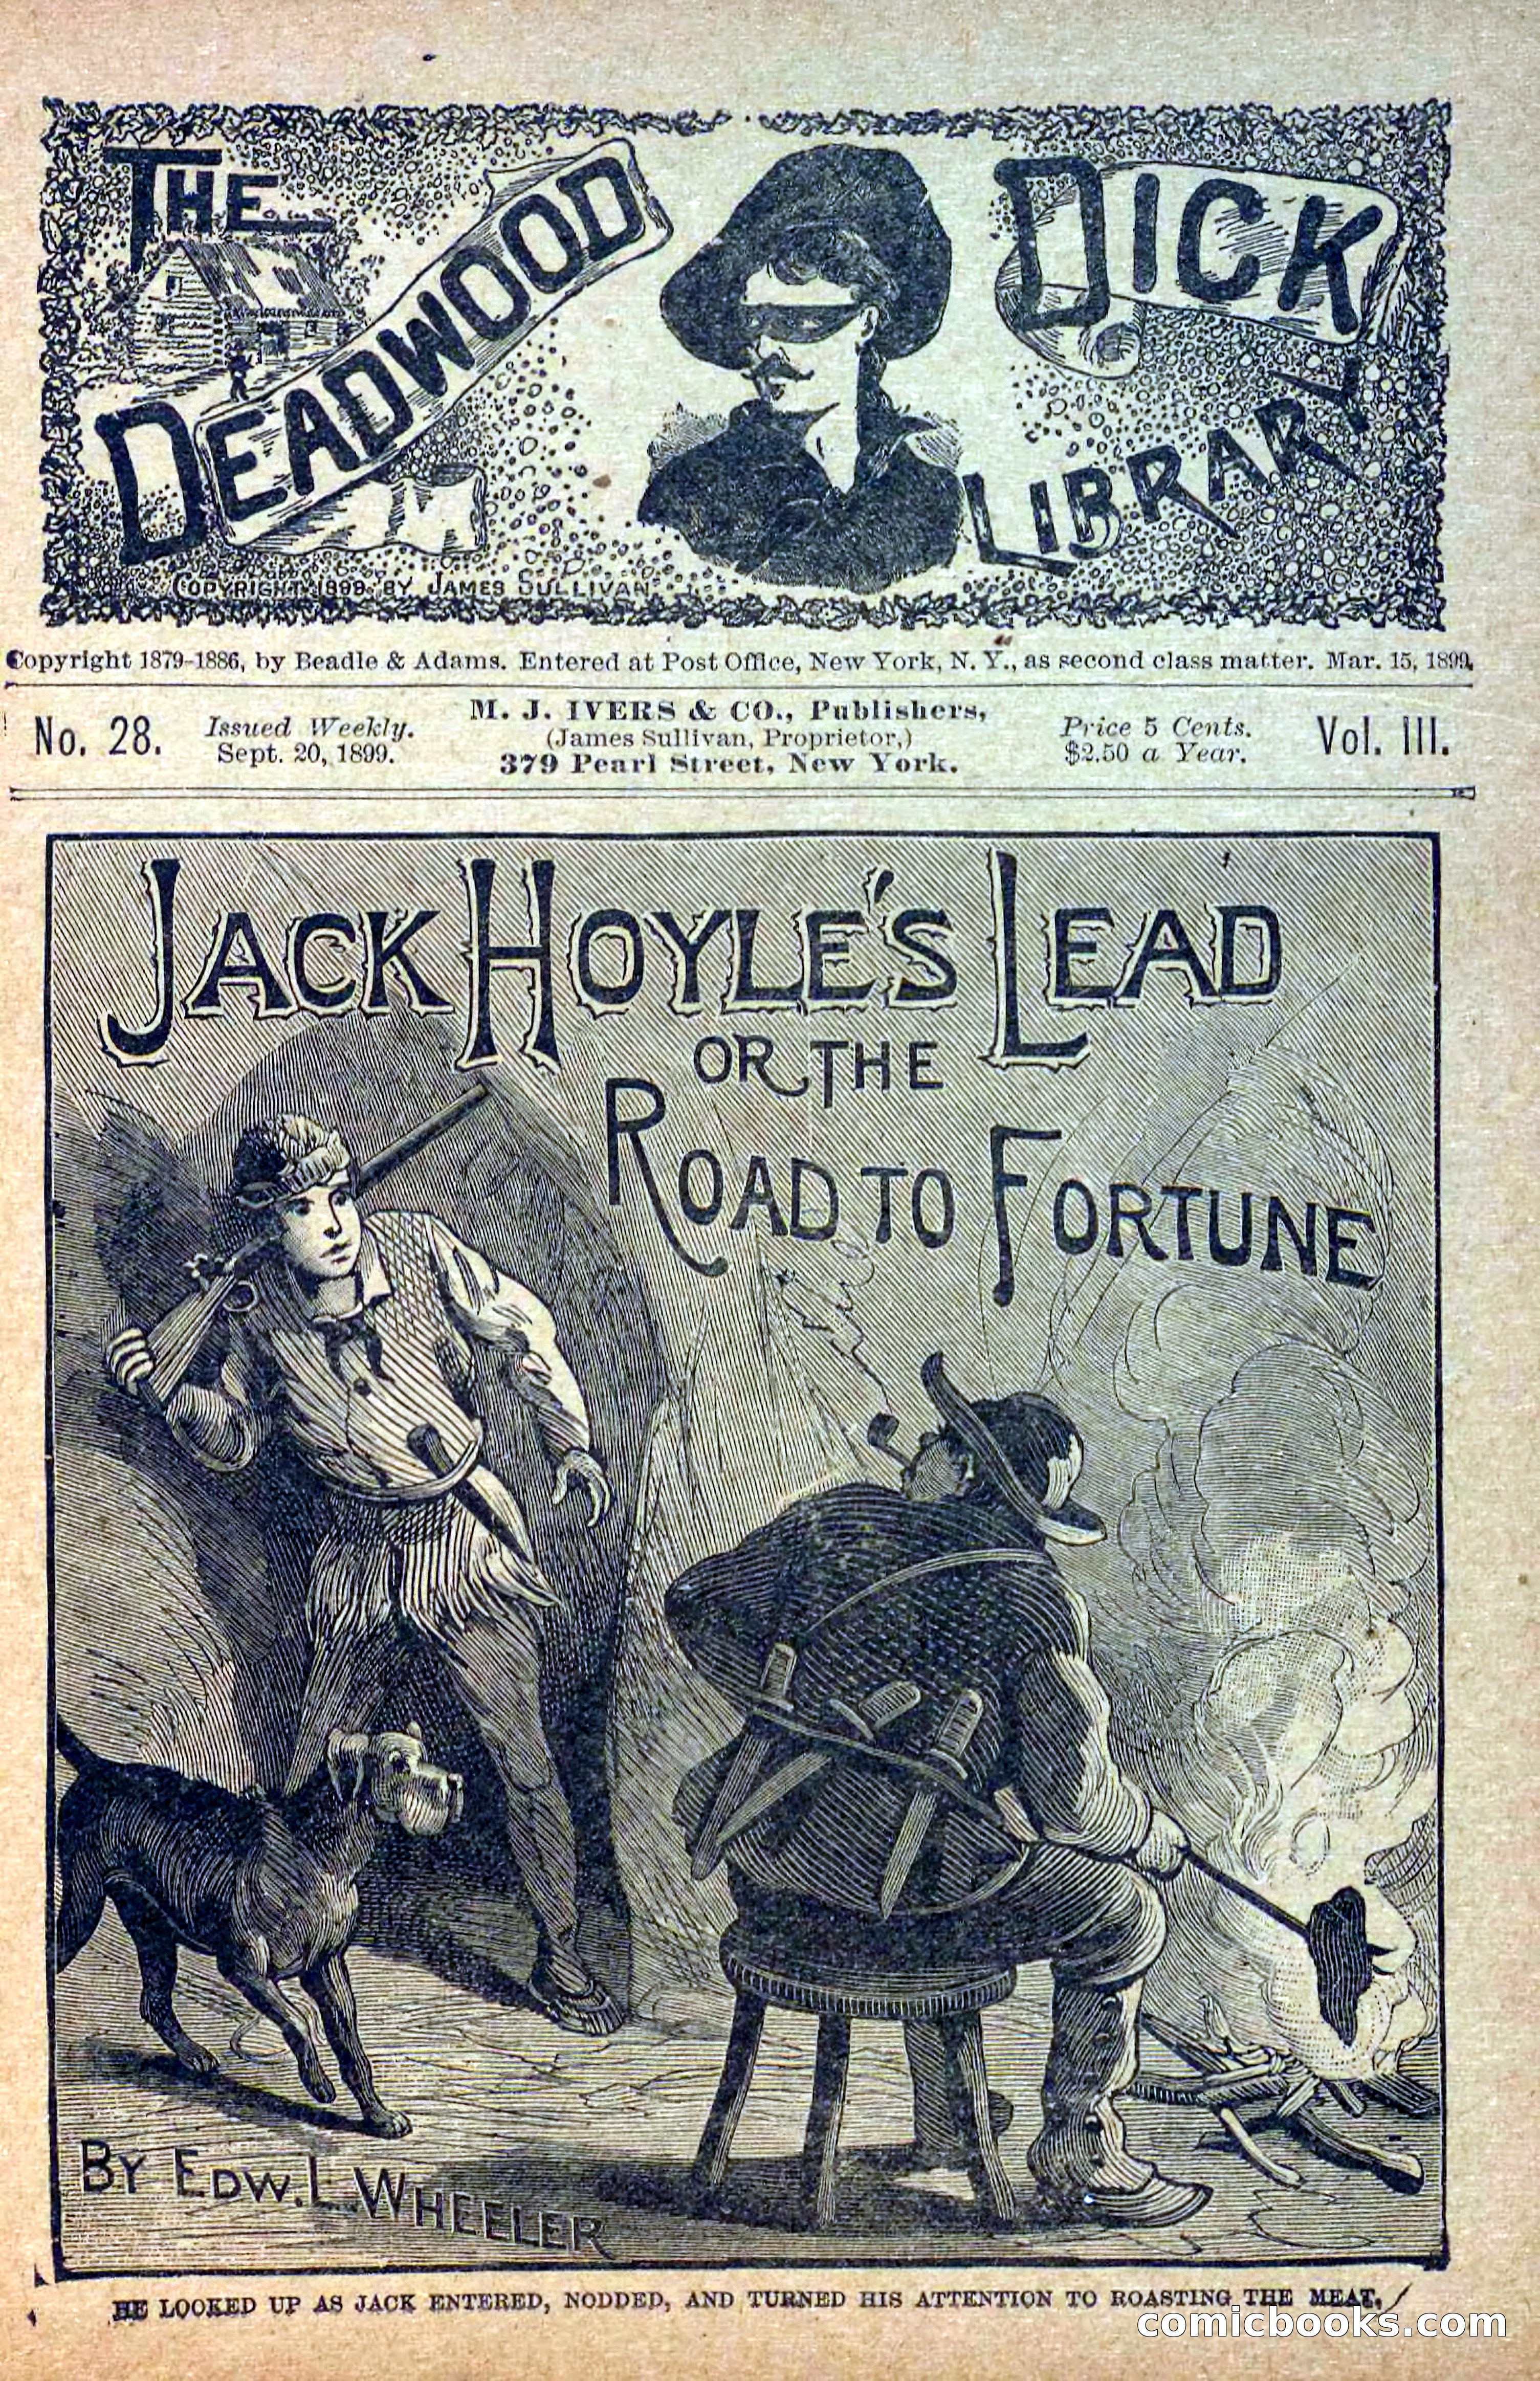
The Deadwood Dick Library, Vol. III, No. 28 — page 3 of 36
3 / 36
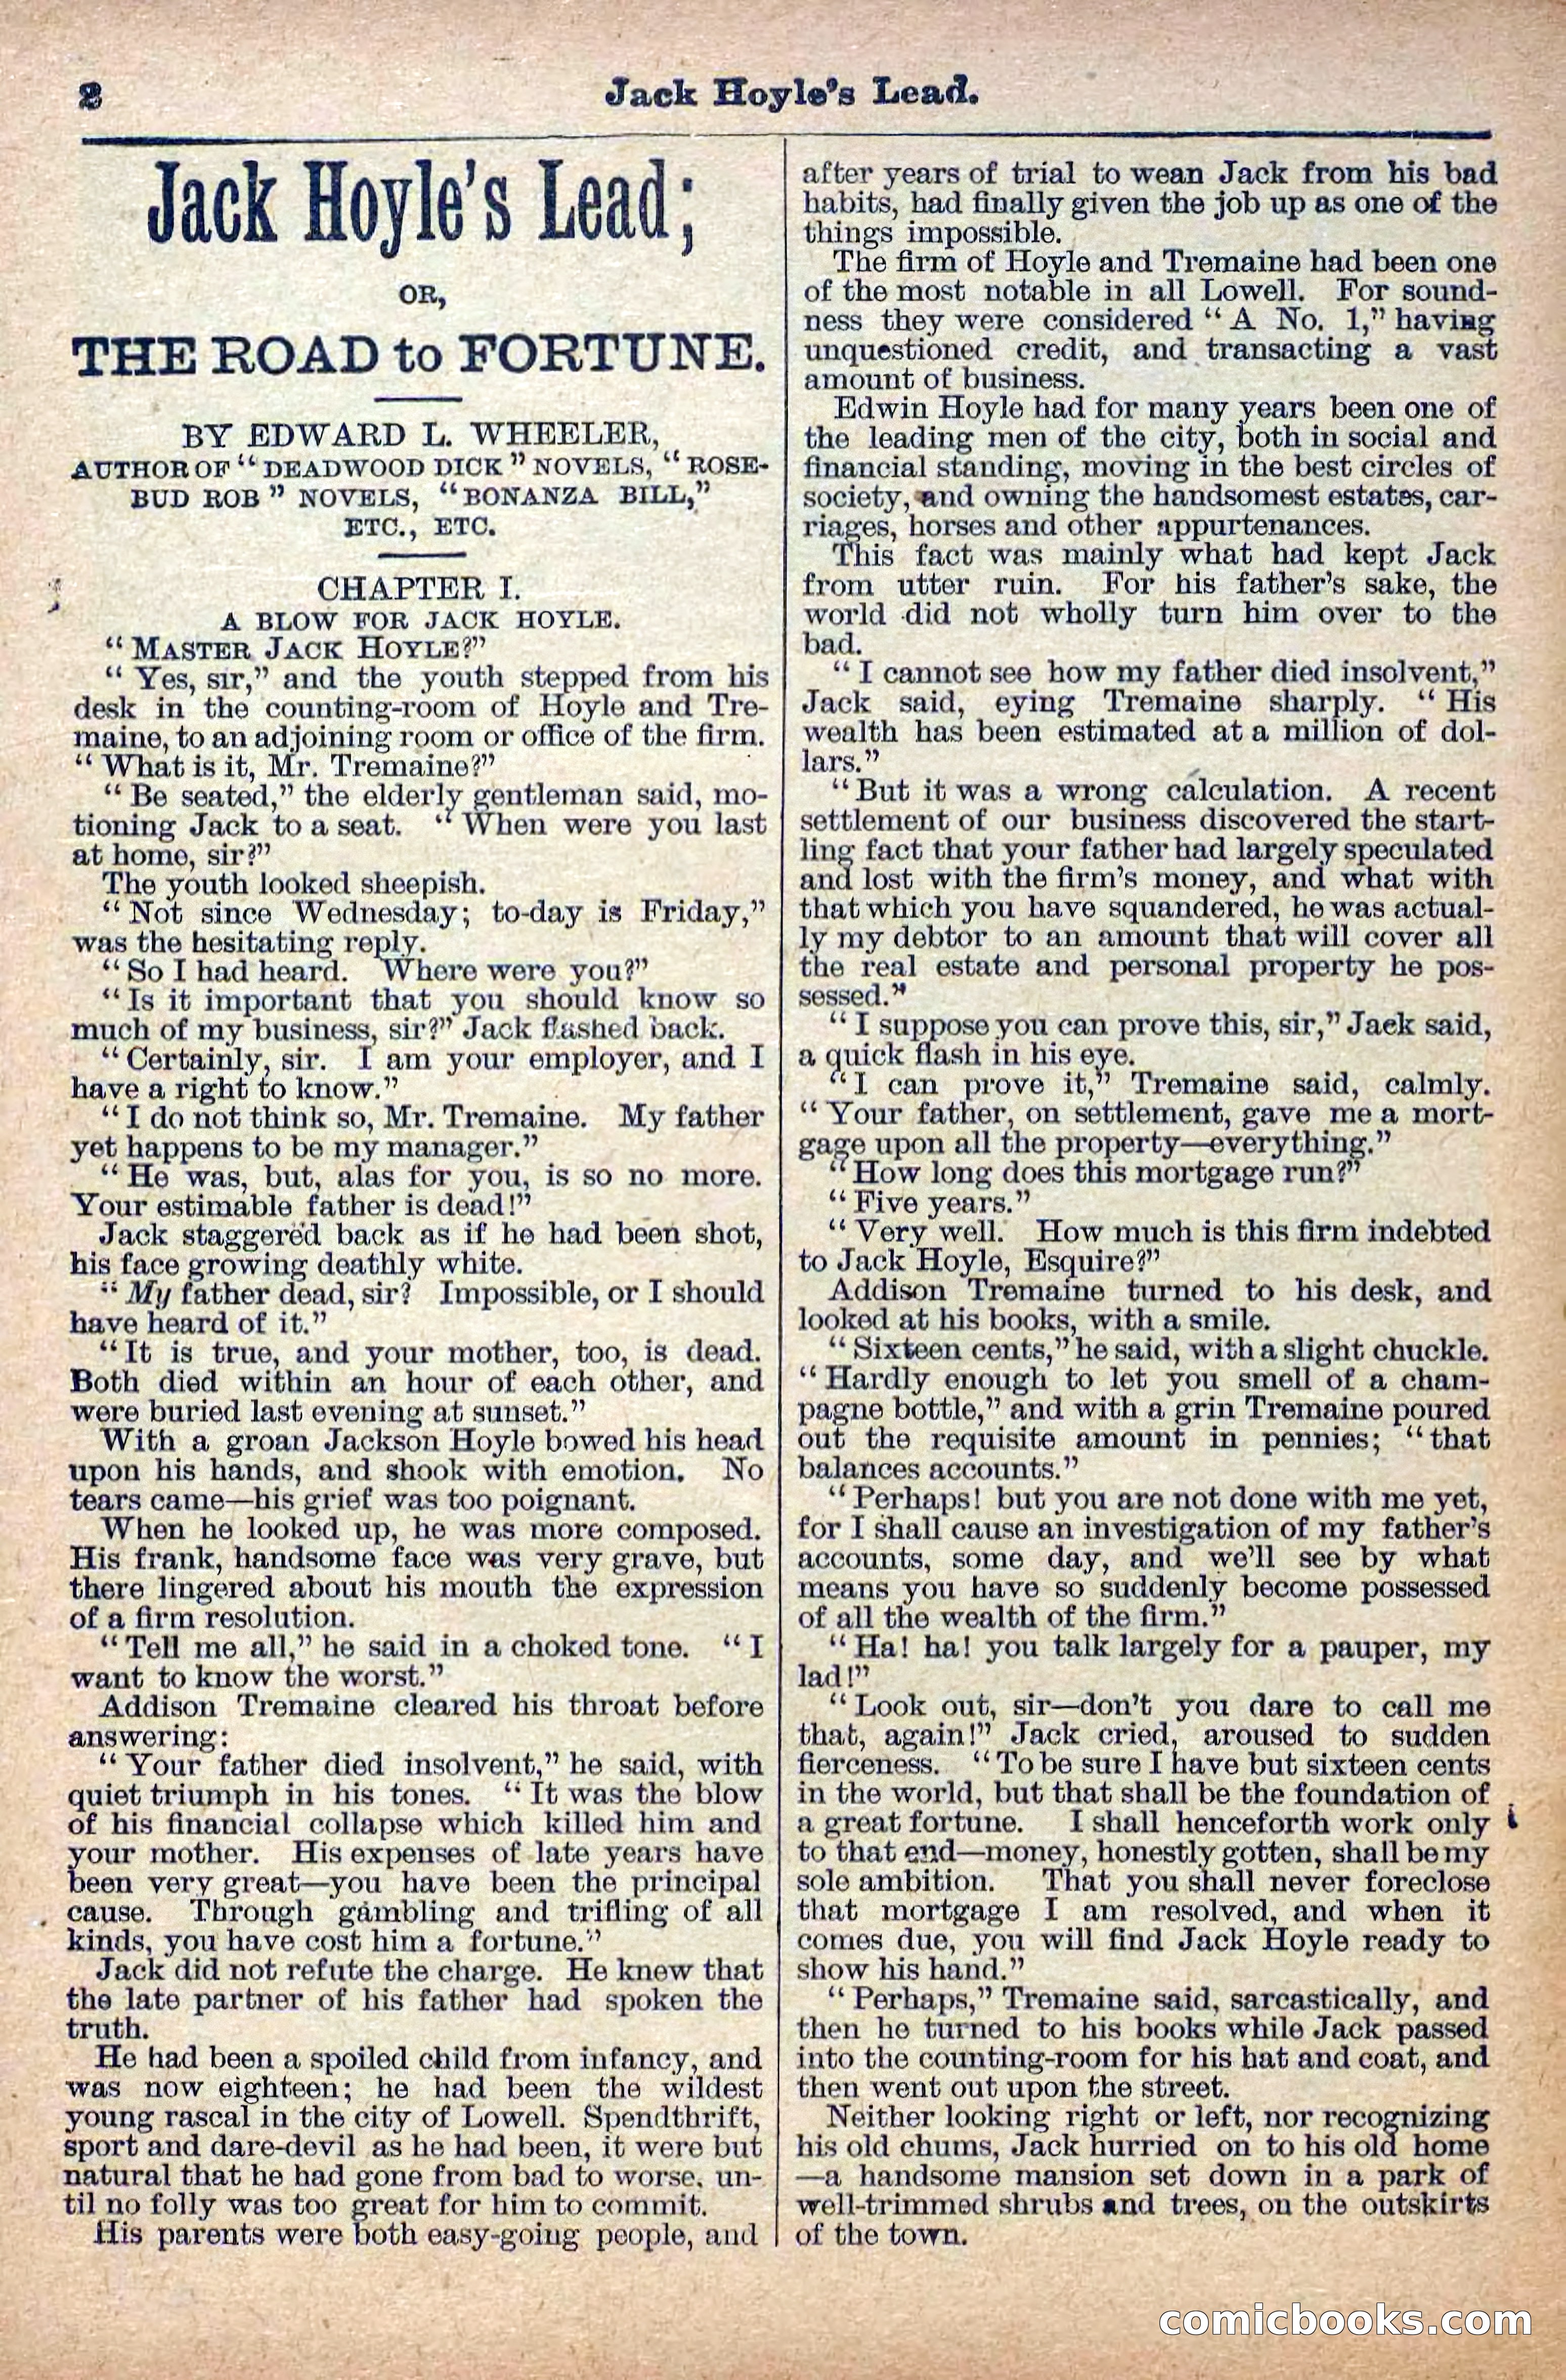
The Deadwood Dick Library, Vol. III, No. 28 — page 4 of 36
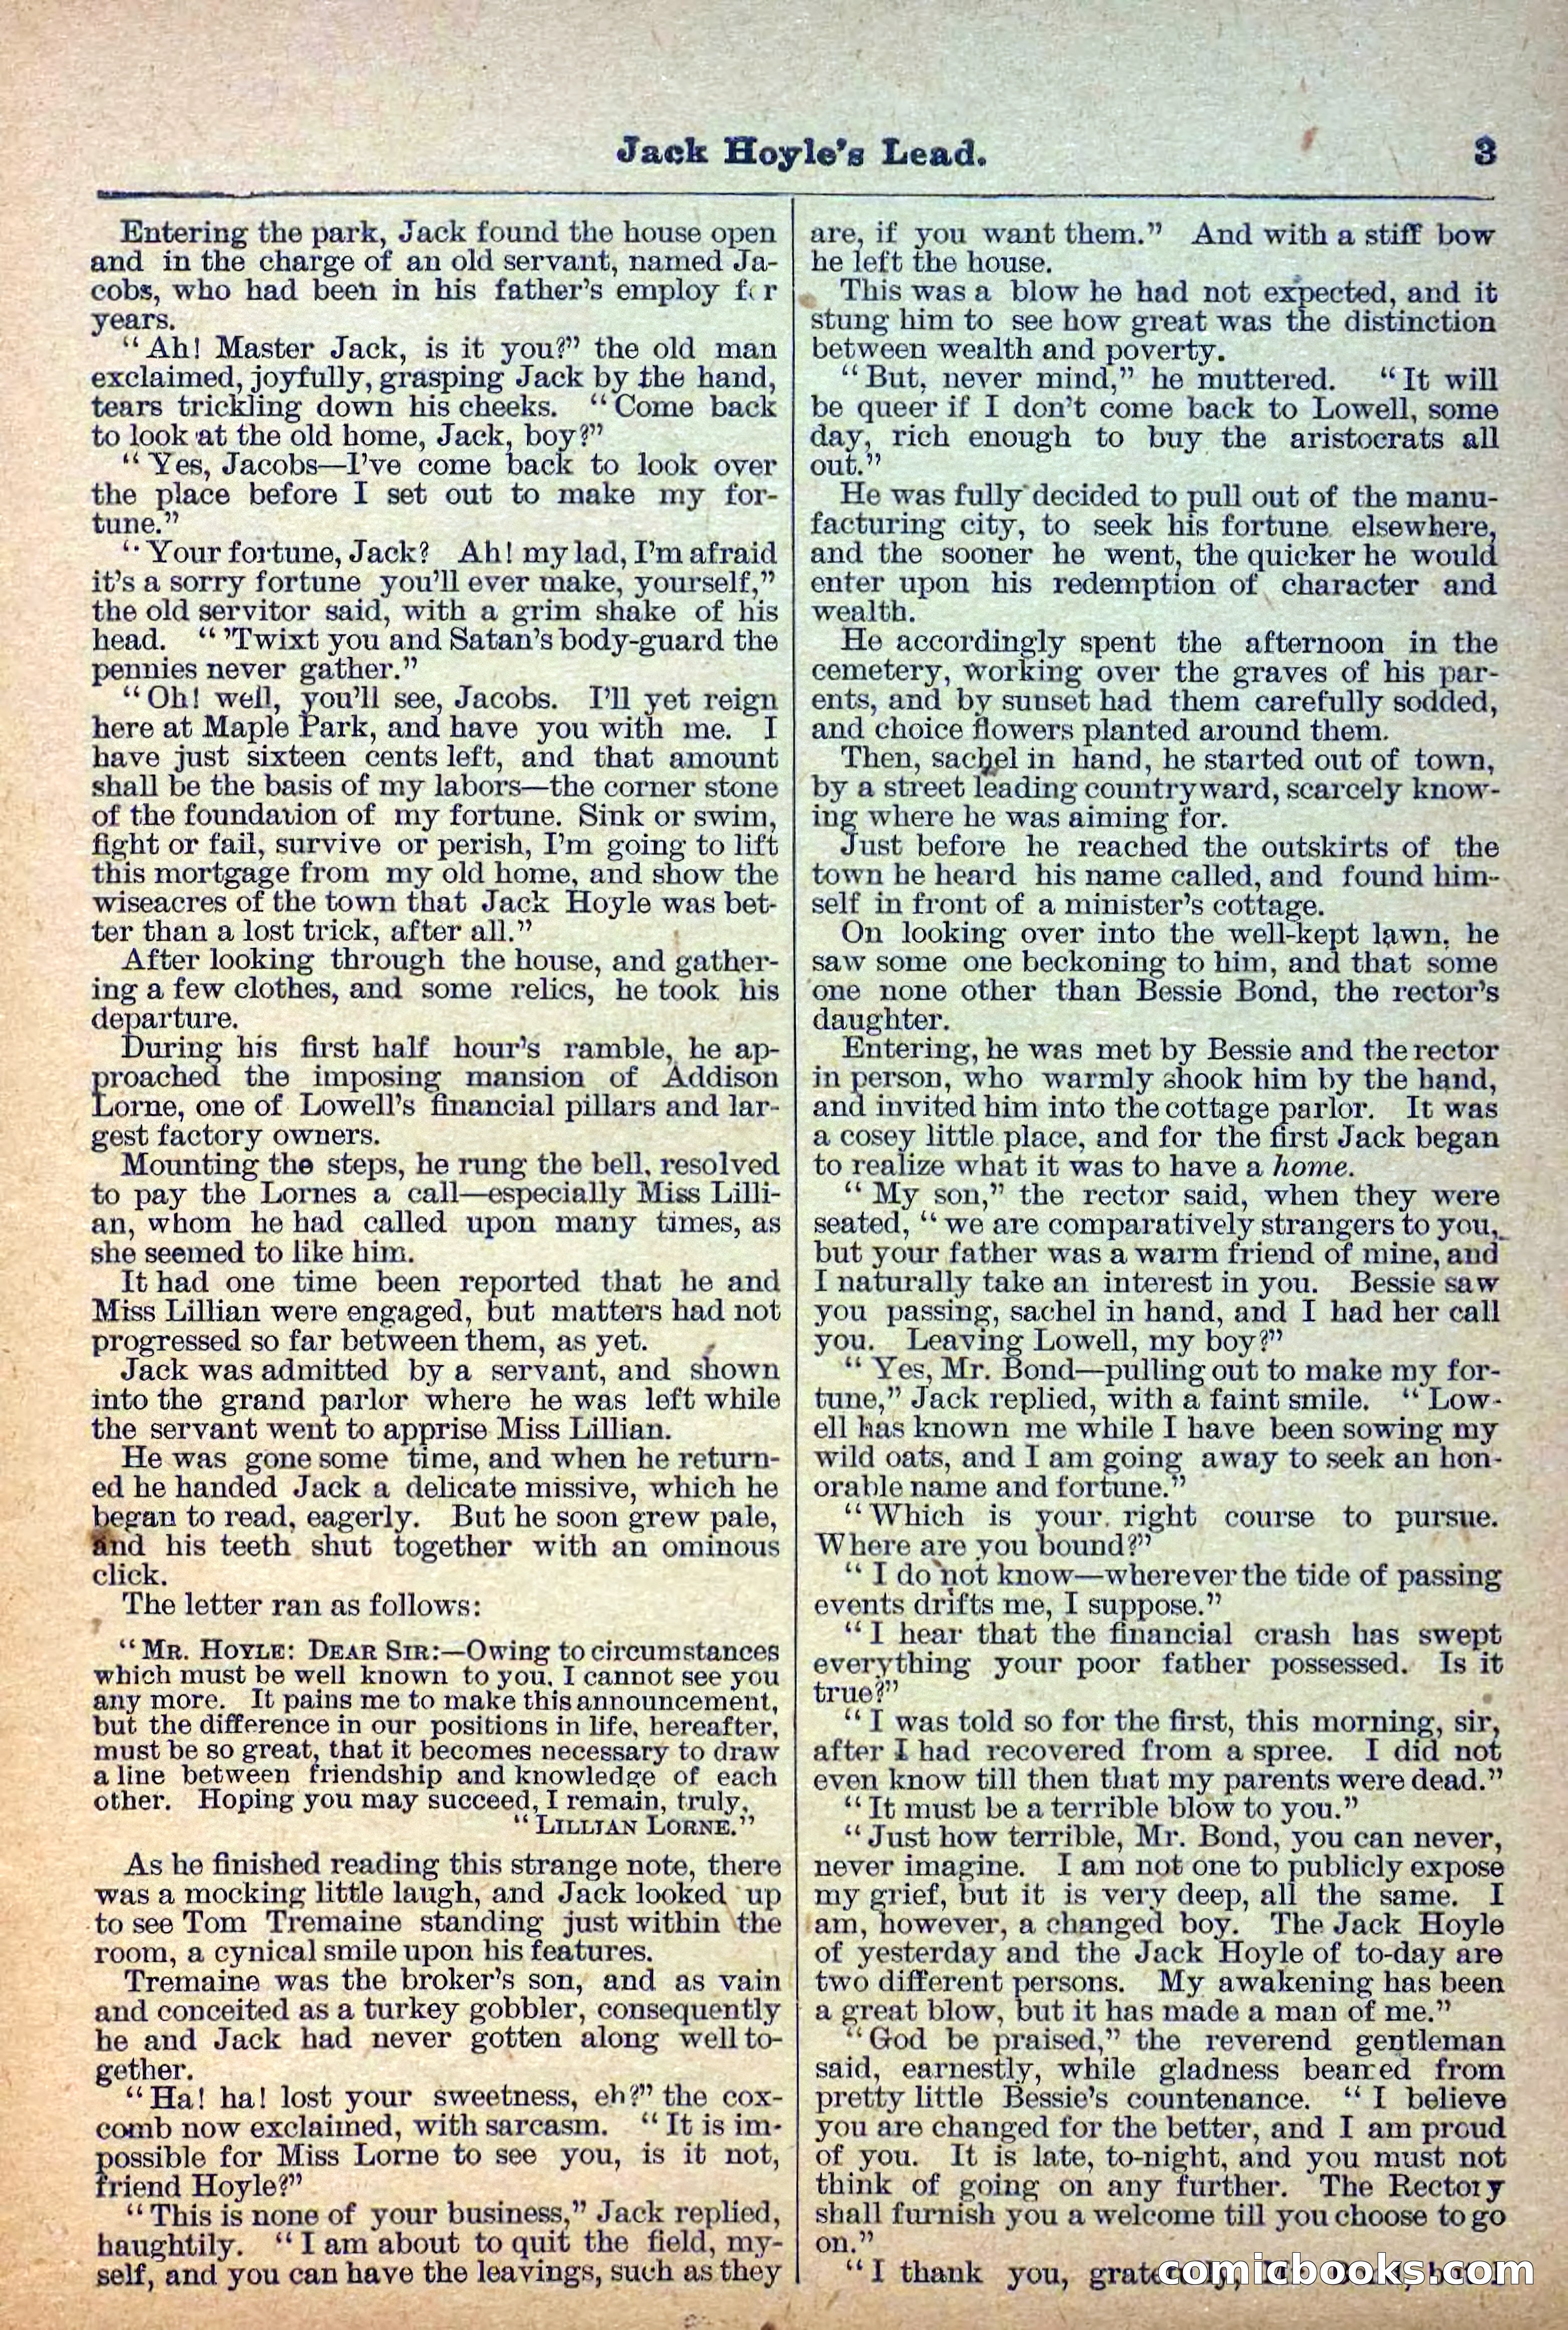
4 / 36
The Deadwood Dick Library, Vol. III, No. 28 — page 5 of 36
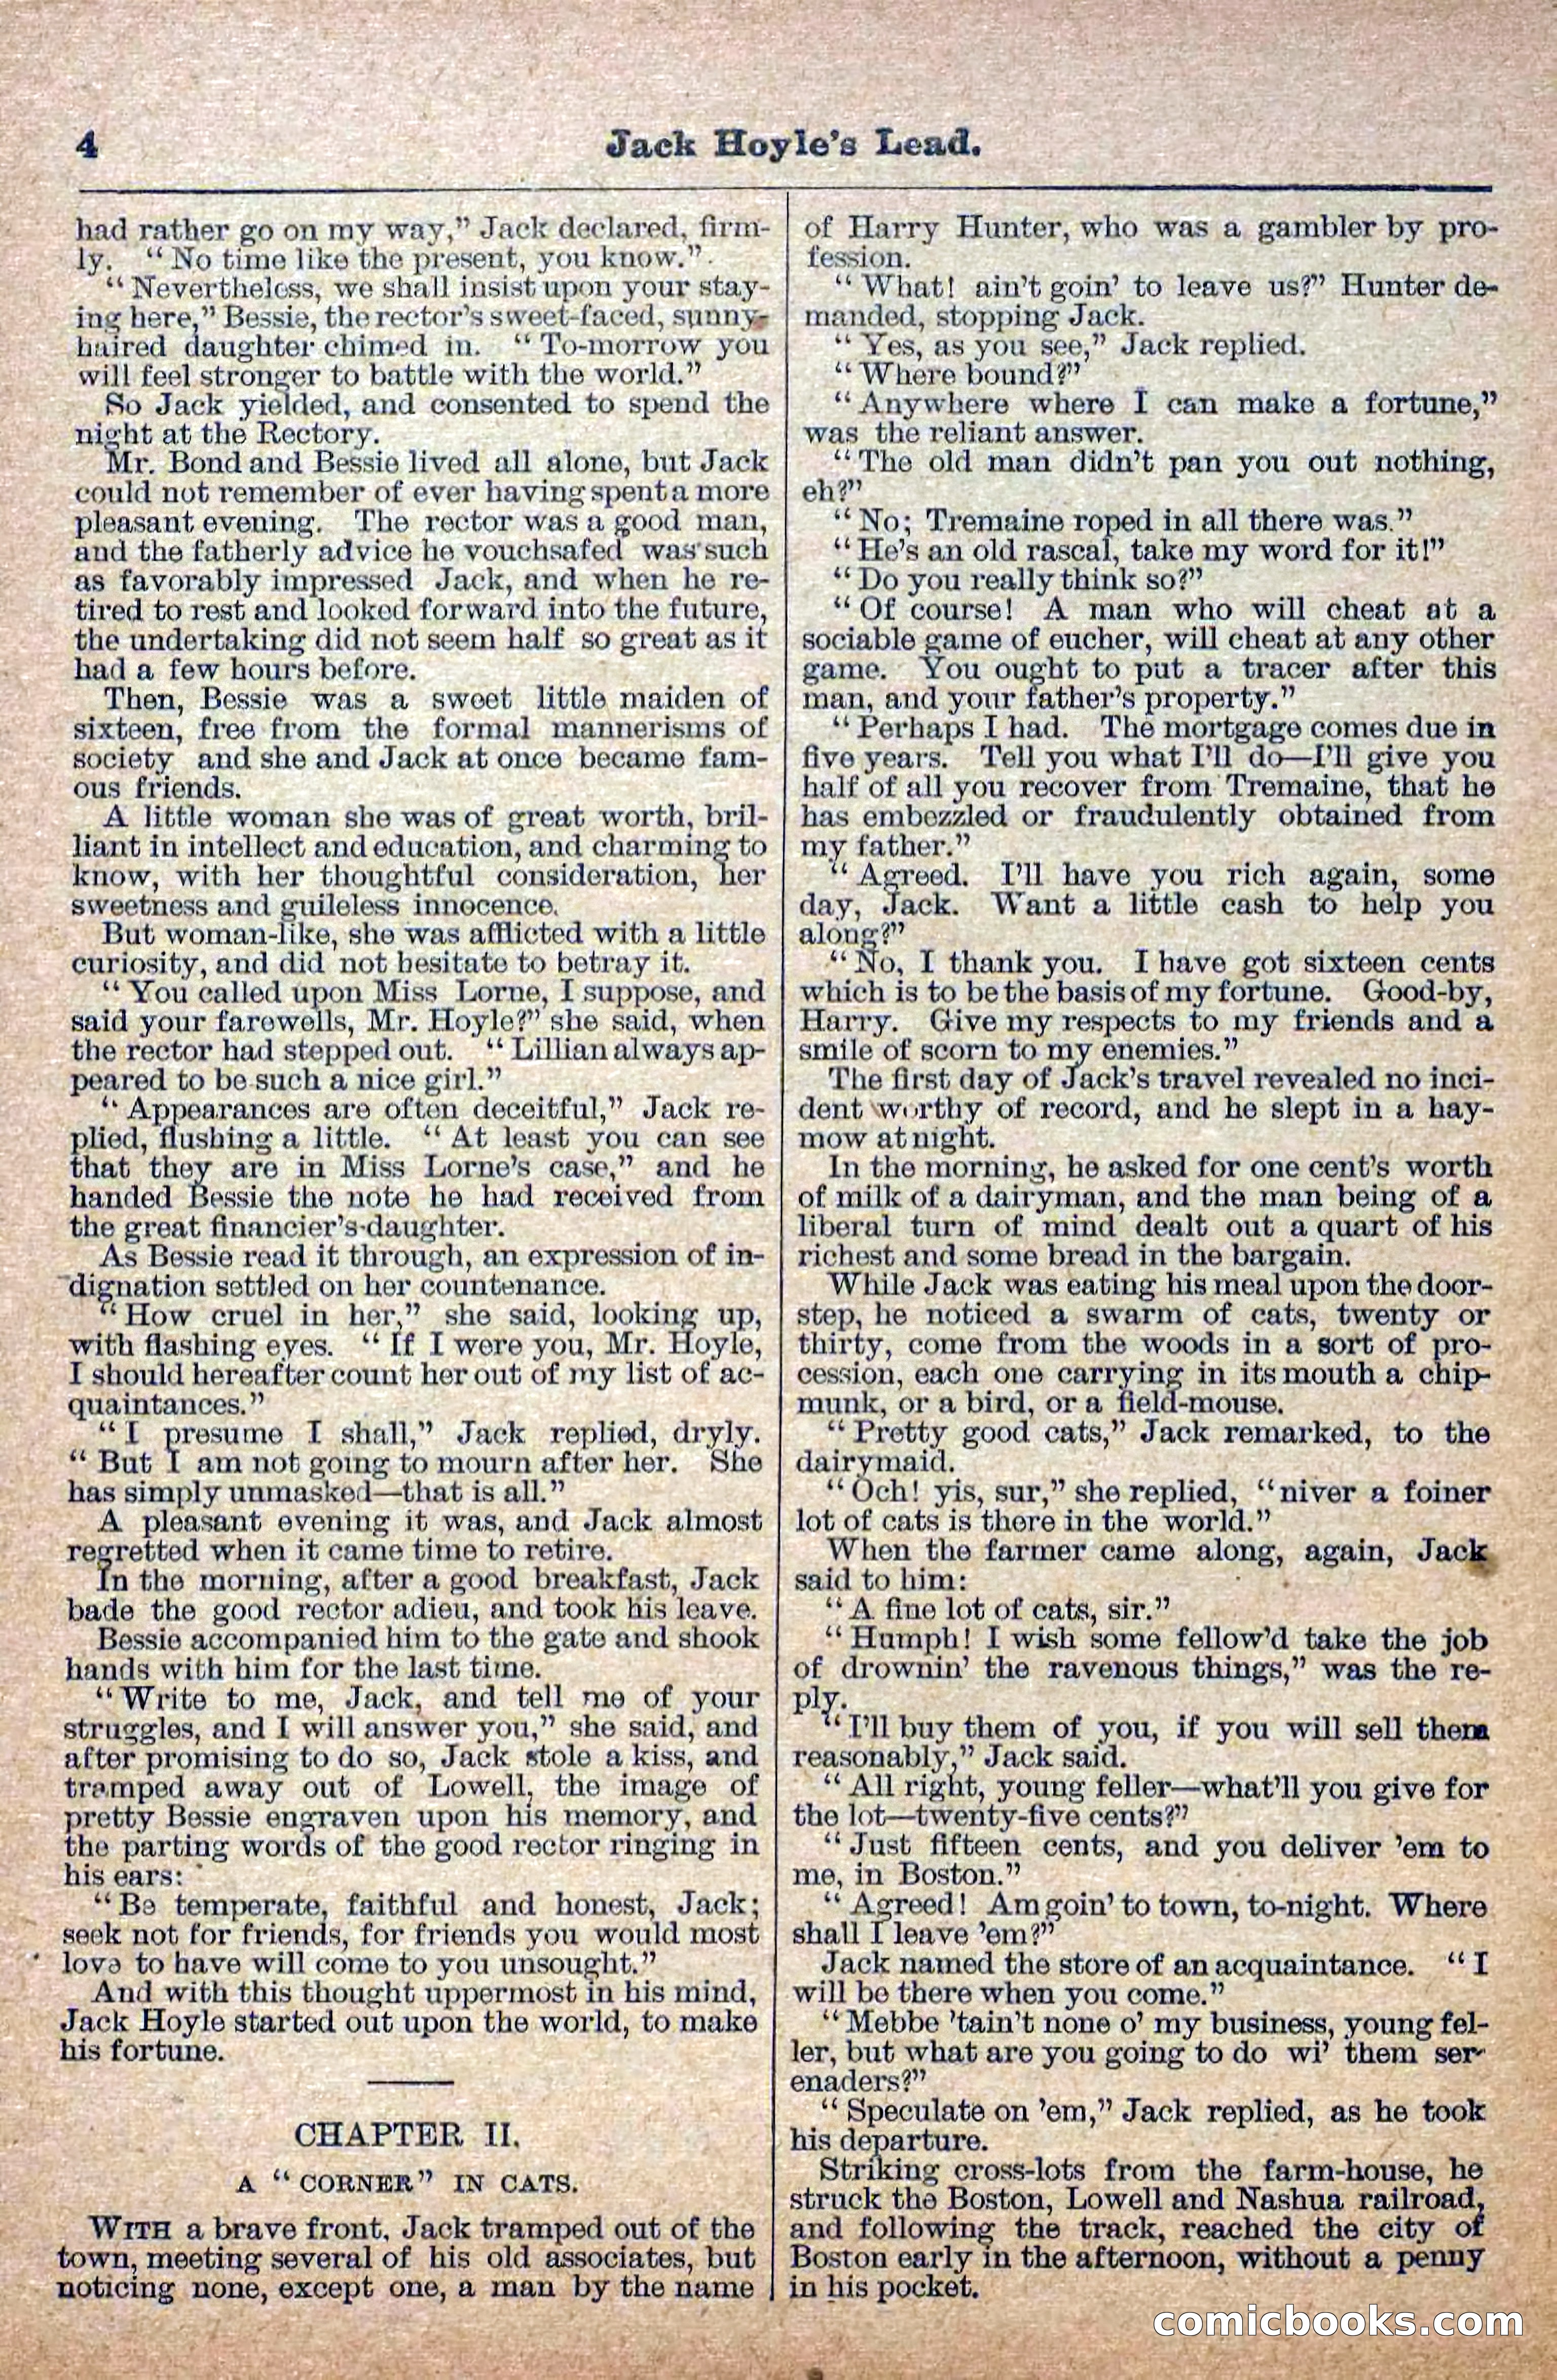
5 / 36
The Deadwood Dick Library, Vol. III, No. 28 — page 6 of 36
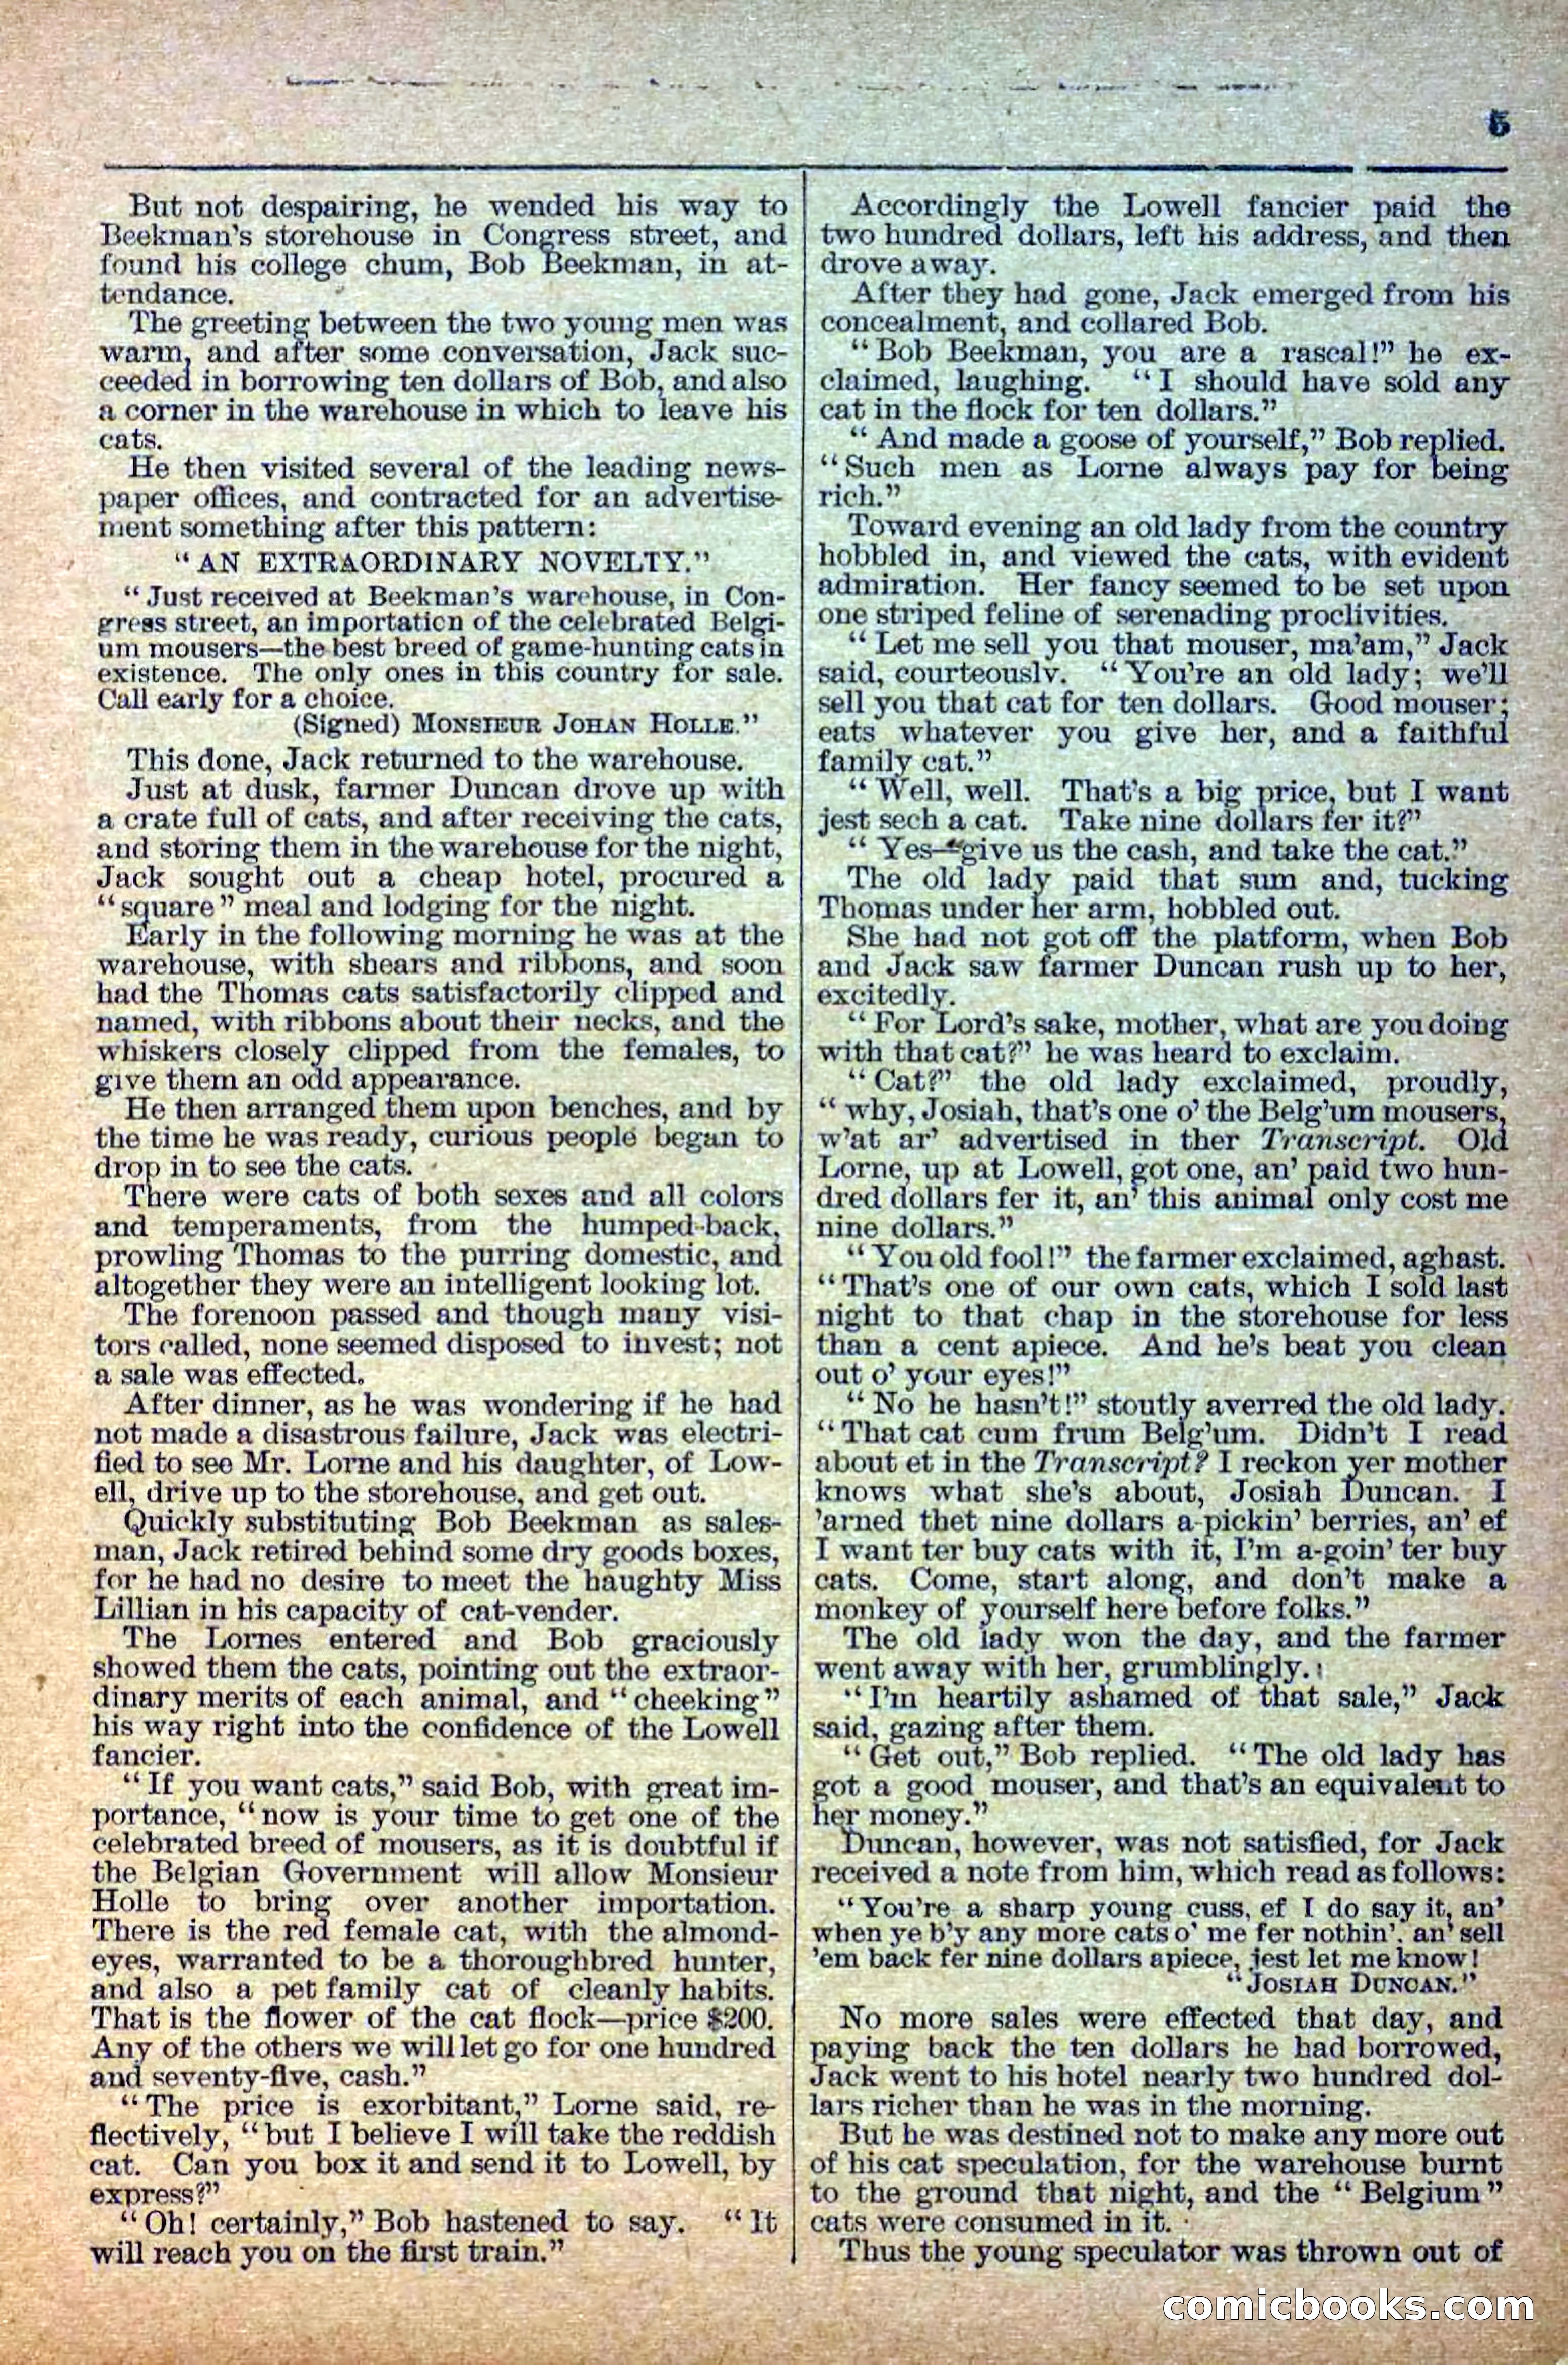
6 / 36
The Deadwood Dick Library, Vol. III, No. 28 — page 7 of 36
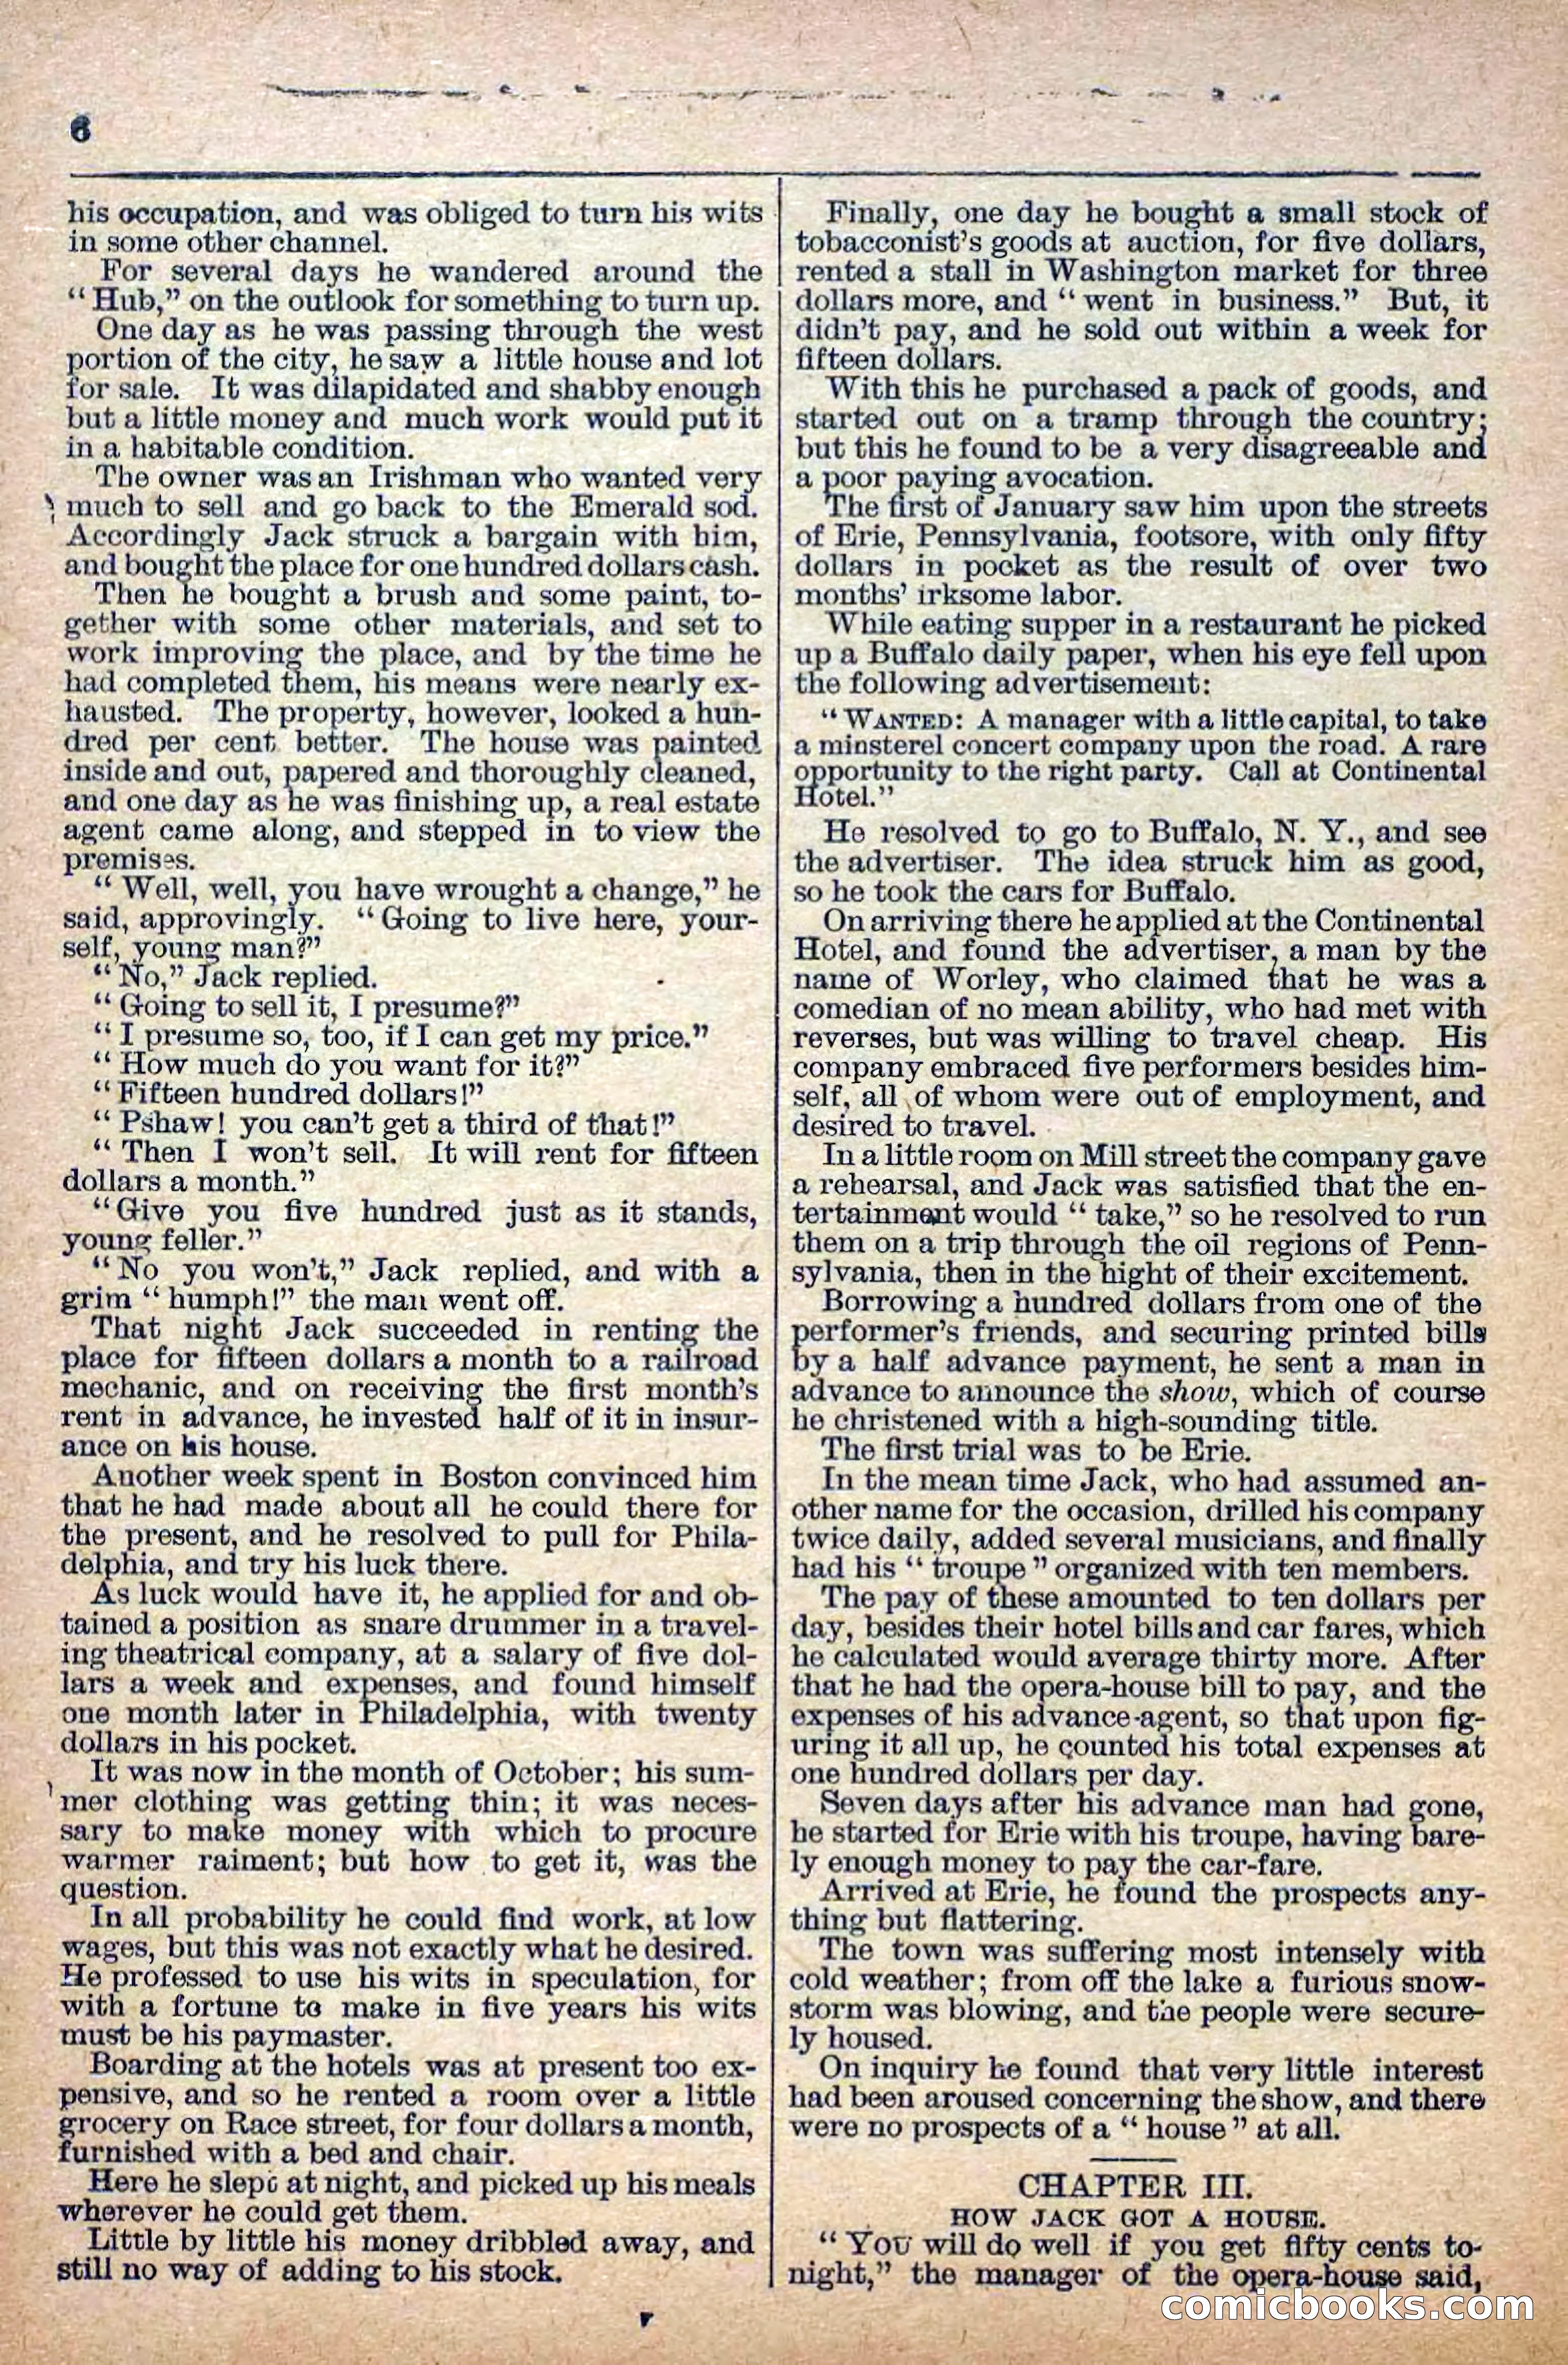
7 / 36
The Deadwood Dick Library, Vol. III, No. 28 — page 8 of 36
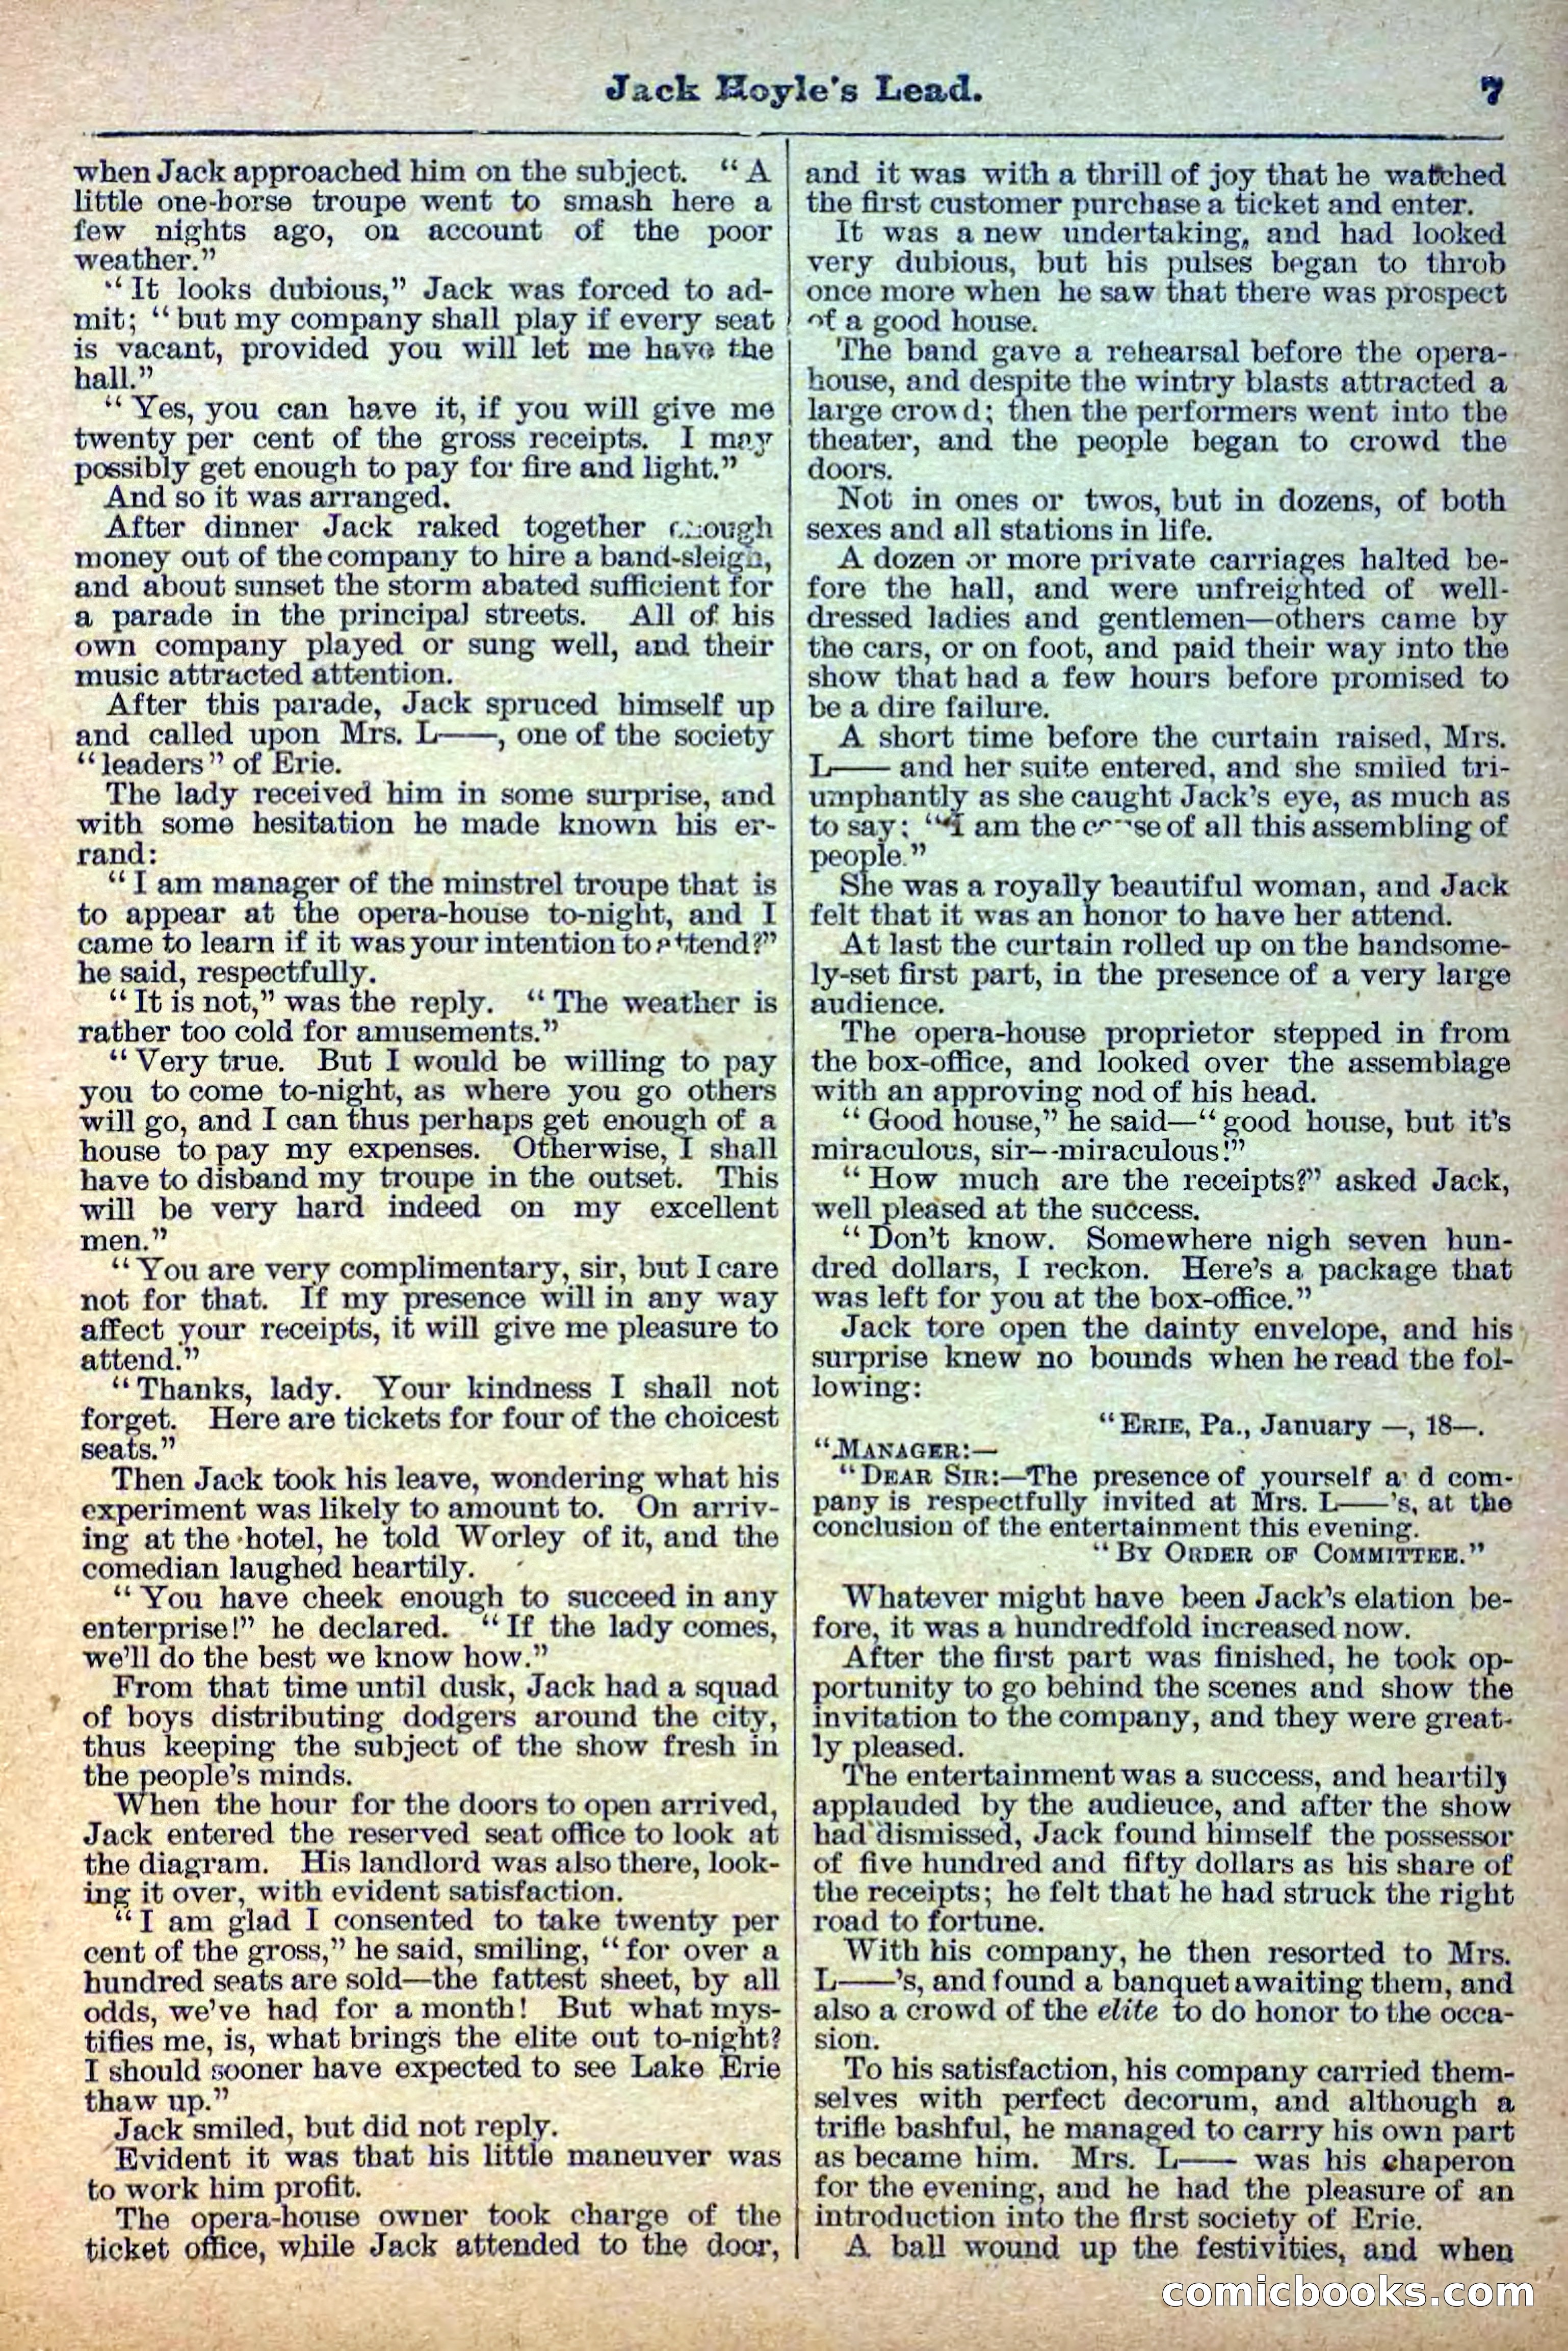
8 / 36
The Deadwood Dick Library, Vol. III, No. 28 — page 9 of 36
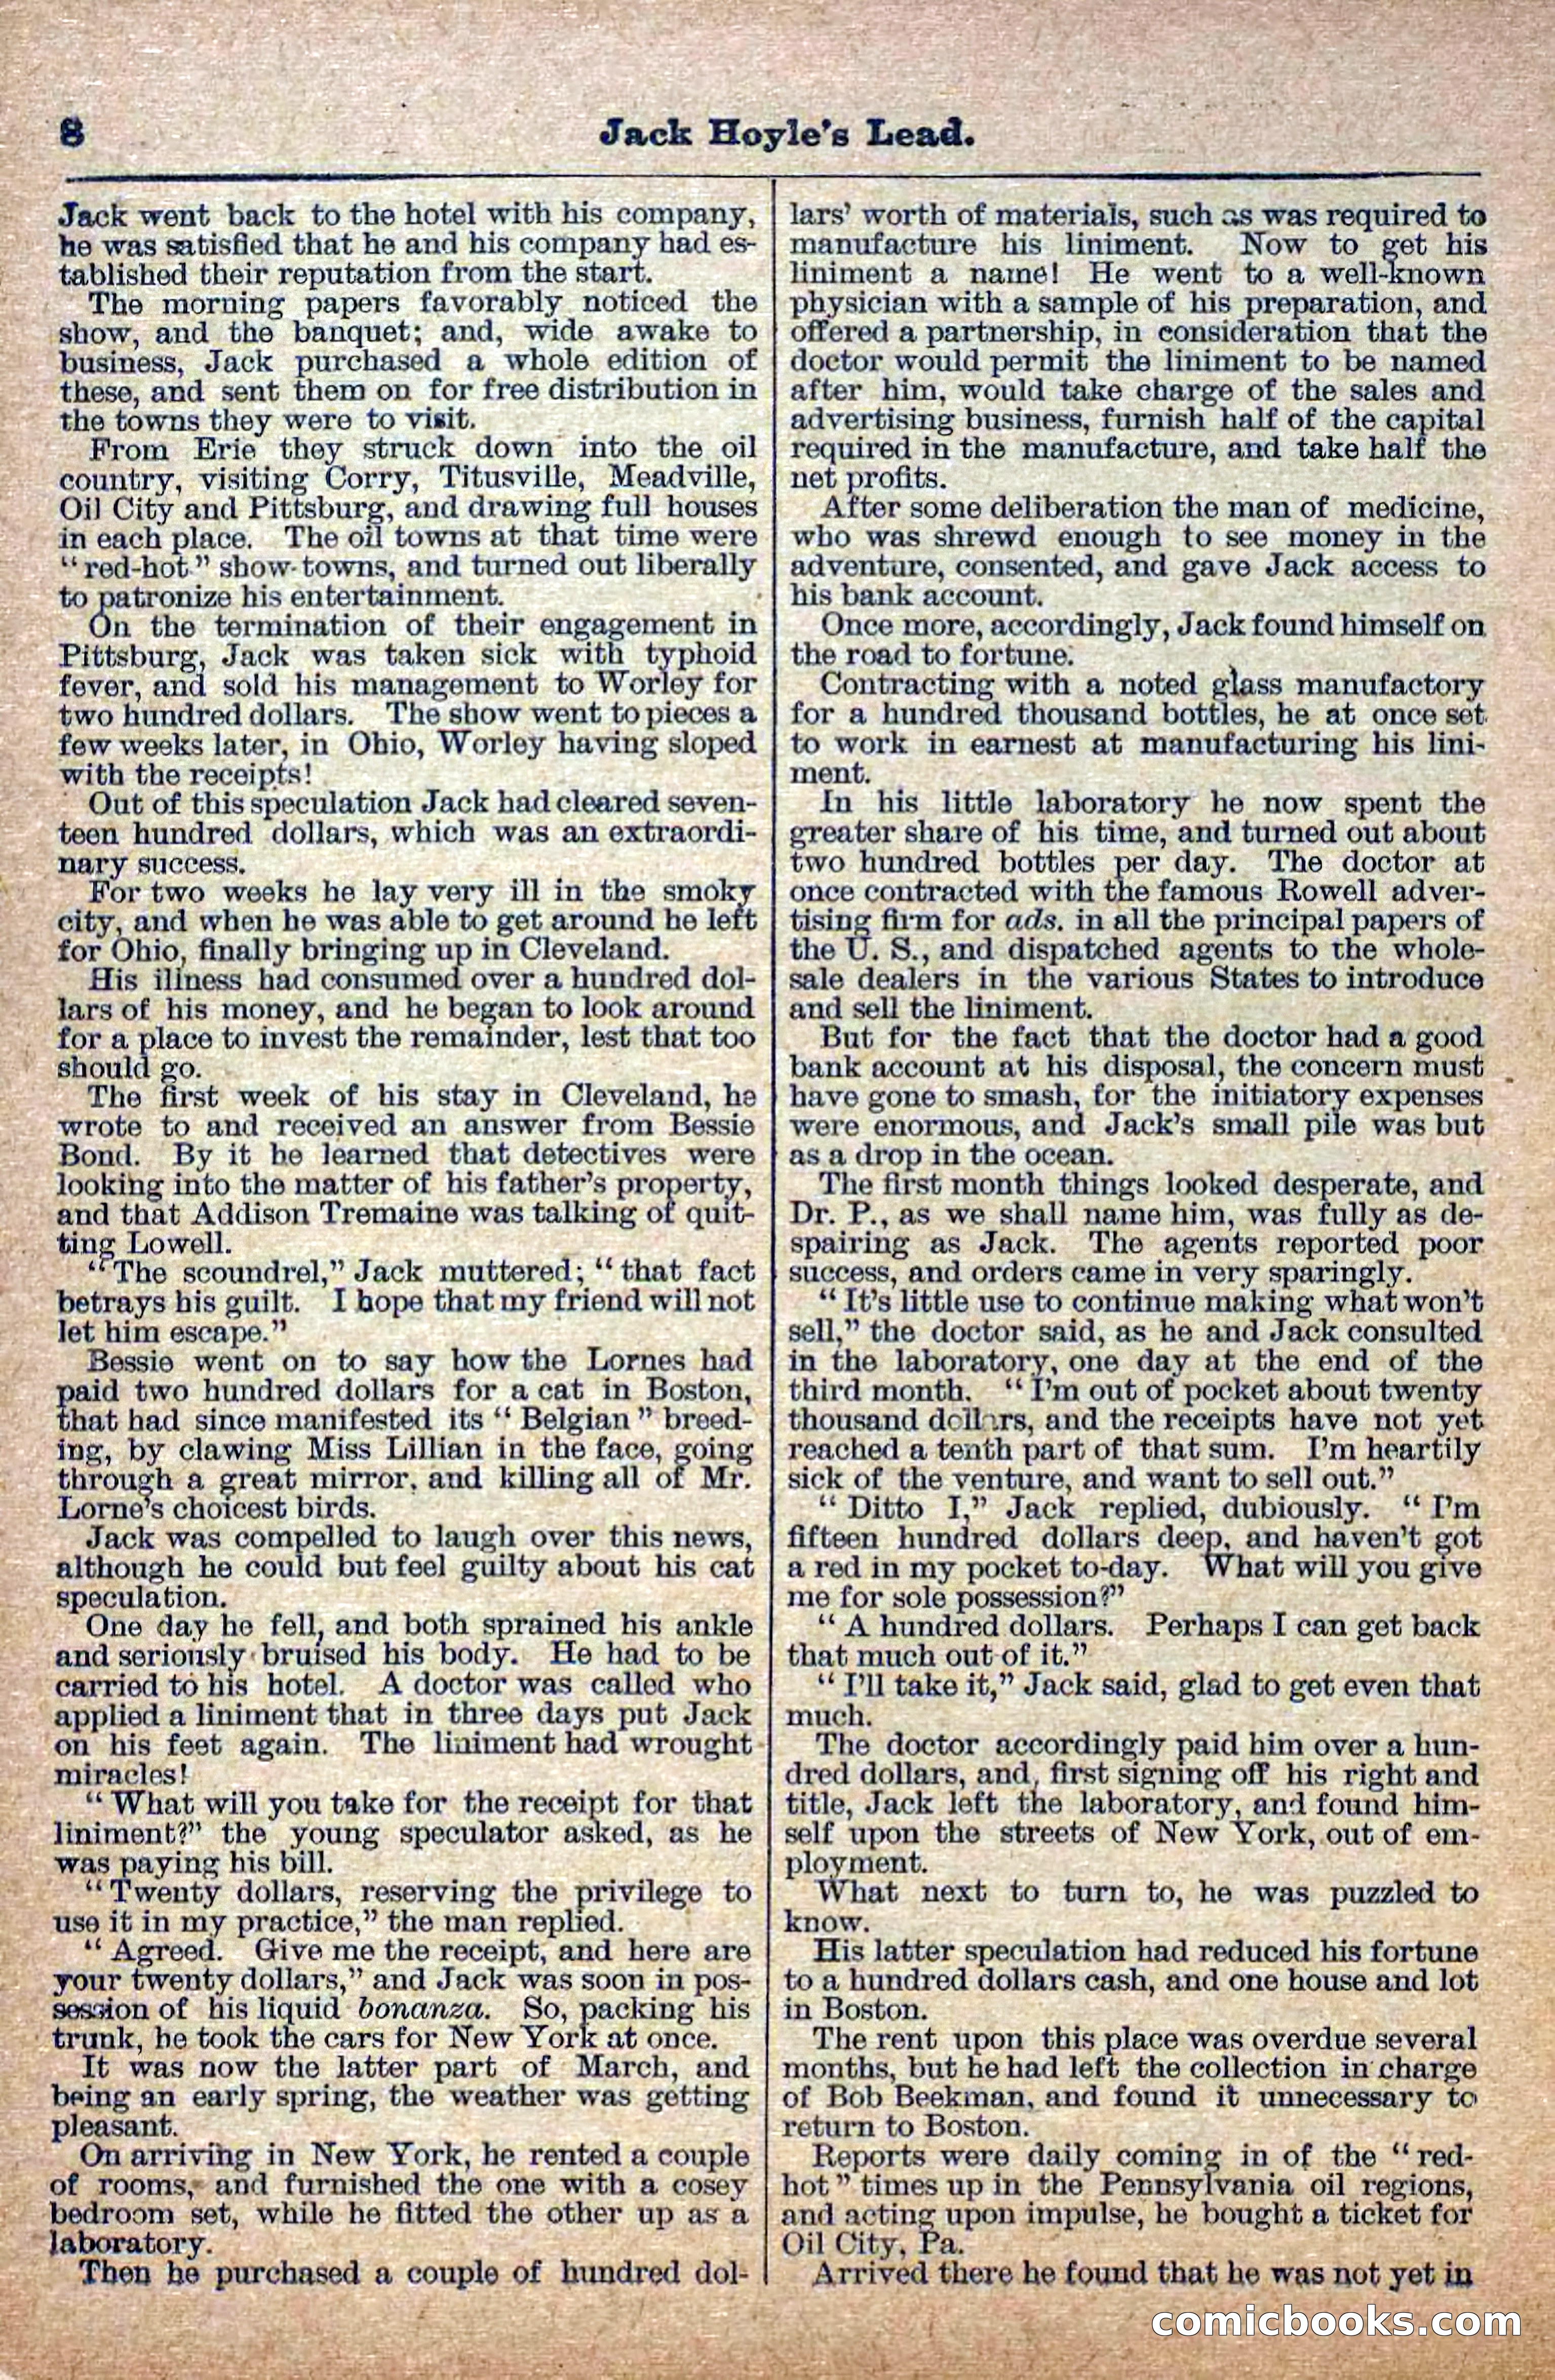
9 / 36
The Deadwood Dick Library, Vol. III, No. 28 — page 10 of 36
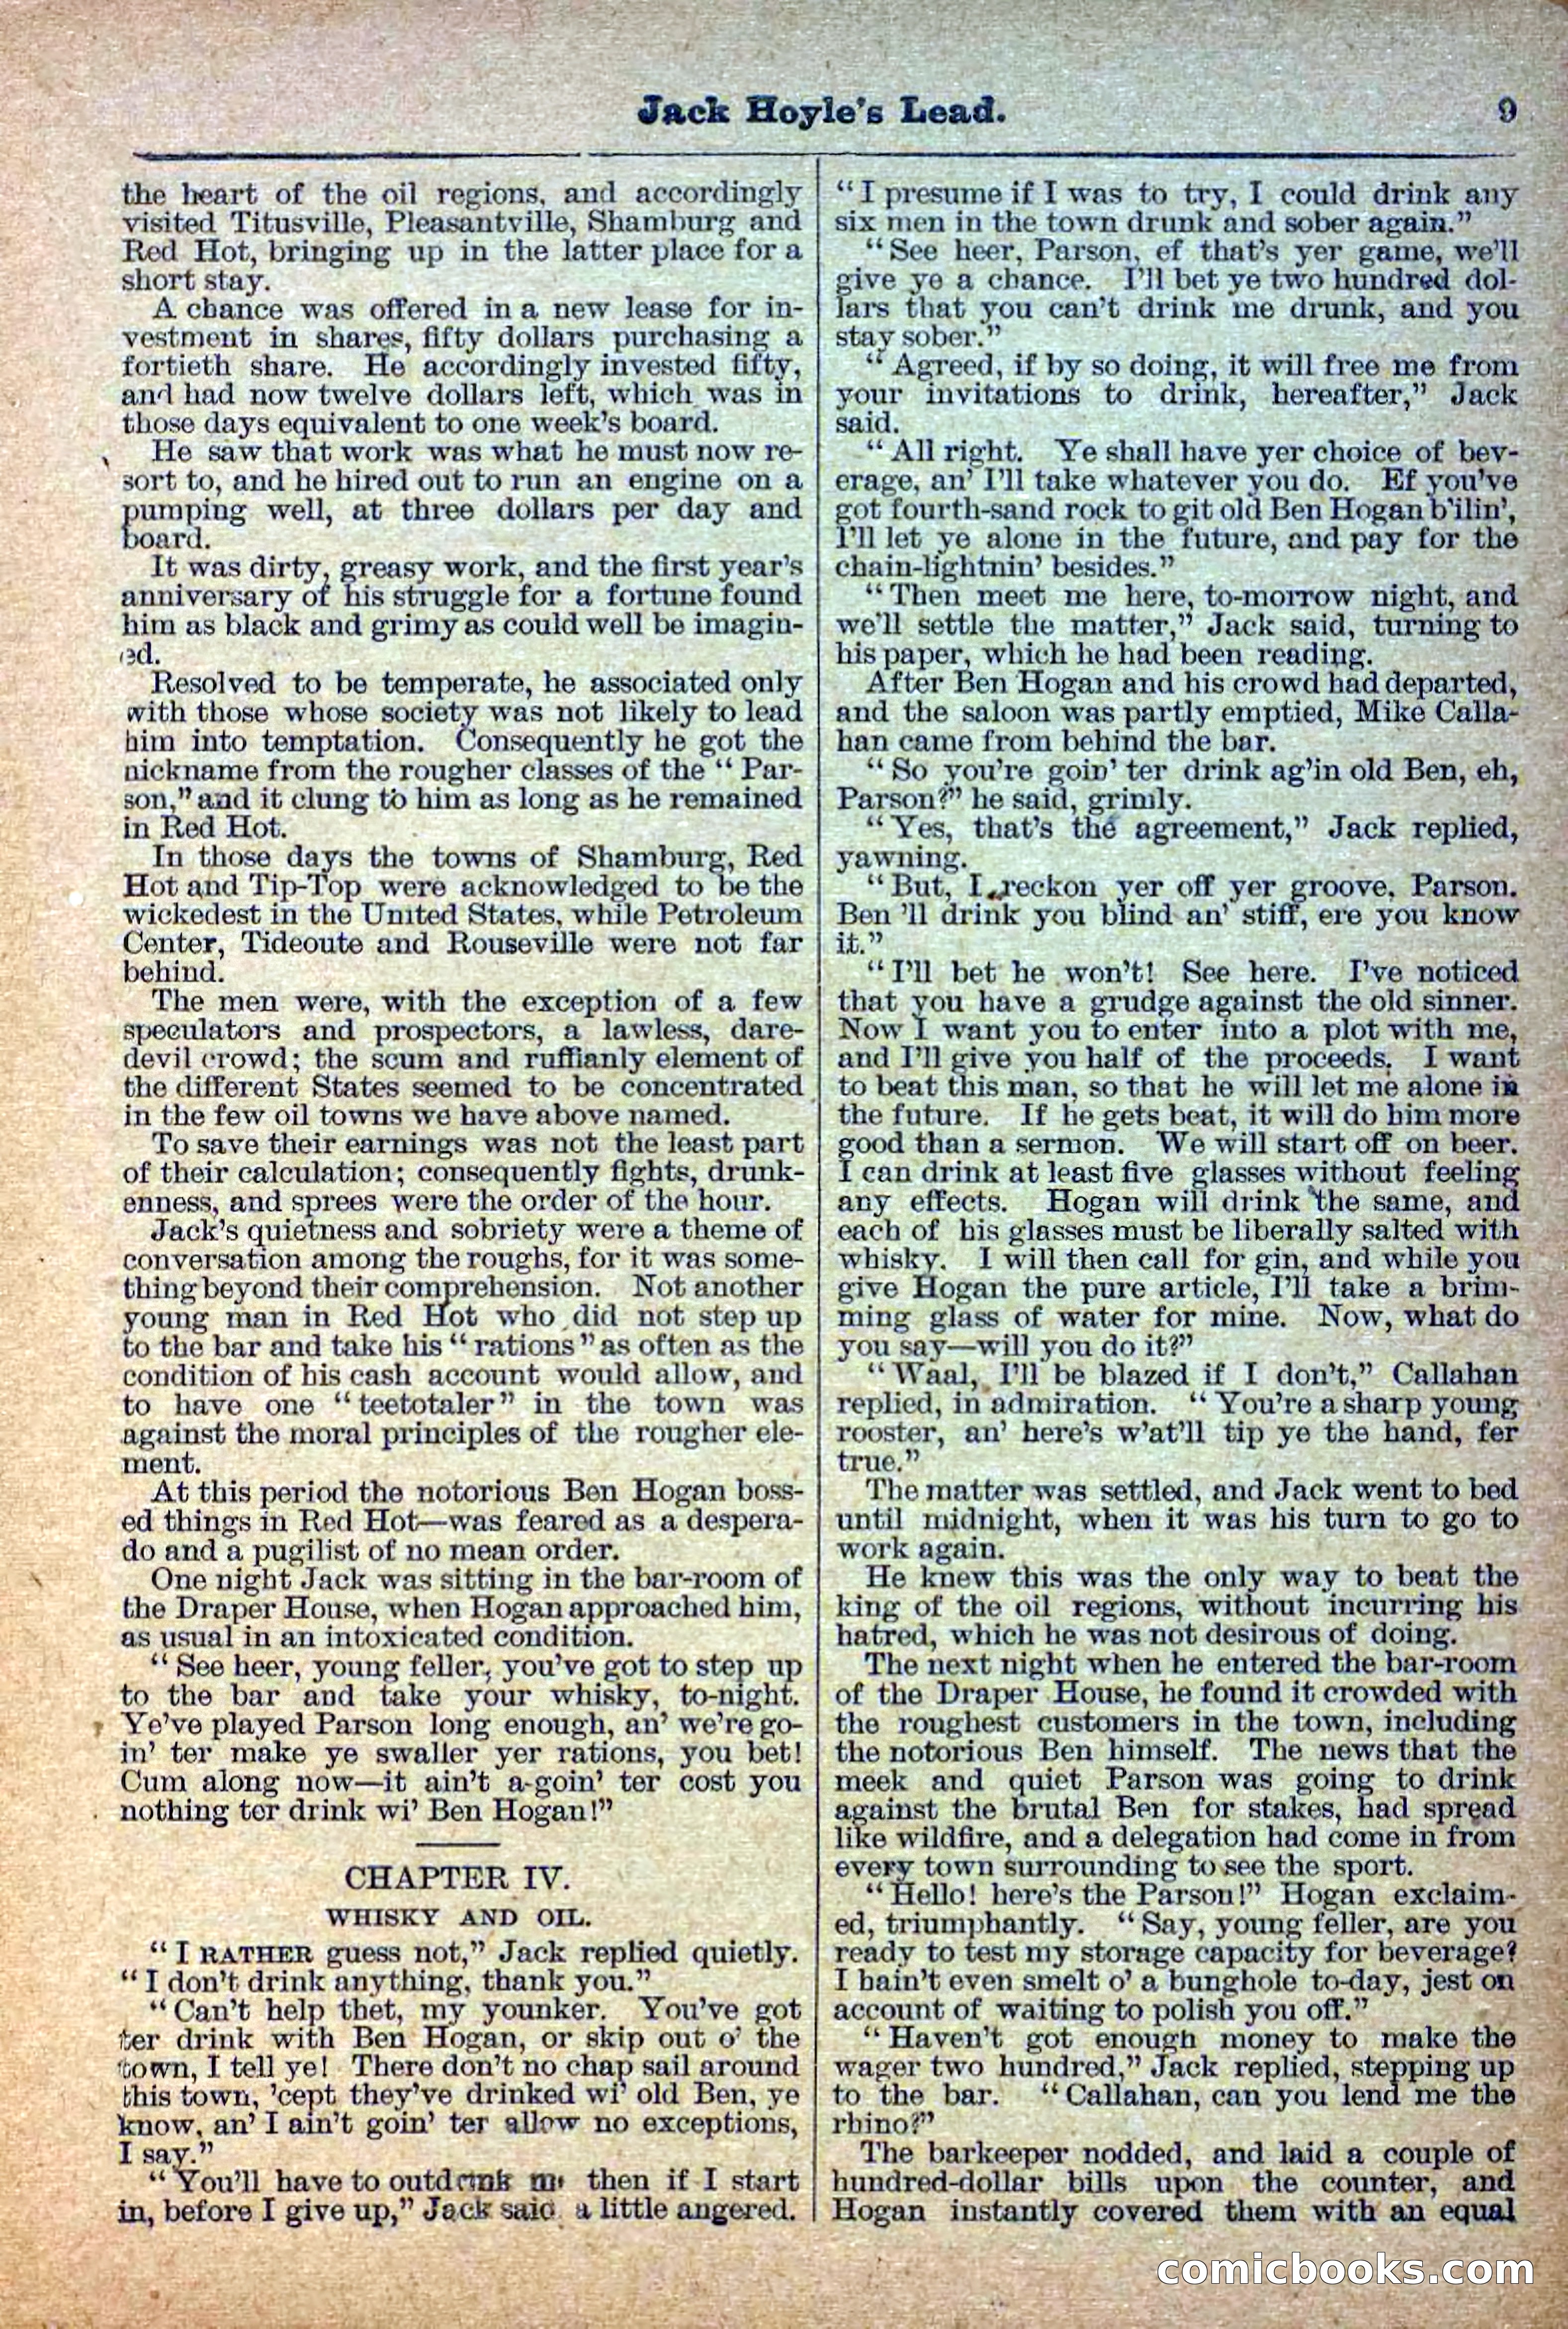
10 / 36
The Deadwood Dick Library, Vol. III, No. 28 — page 11 of 36
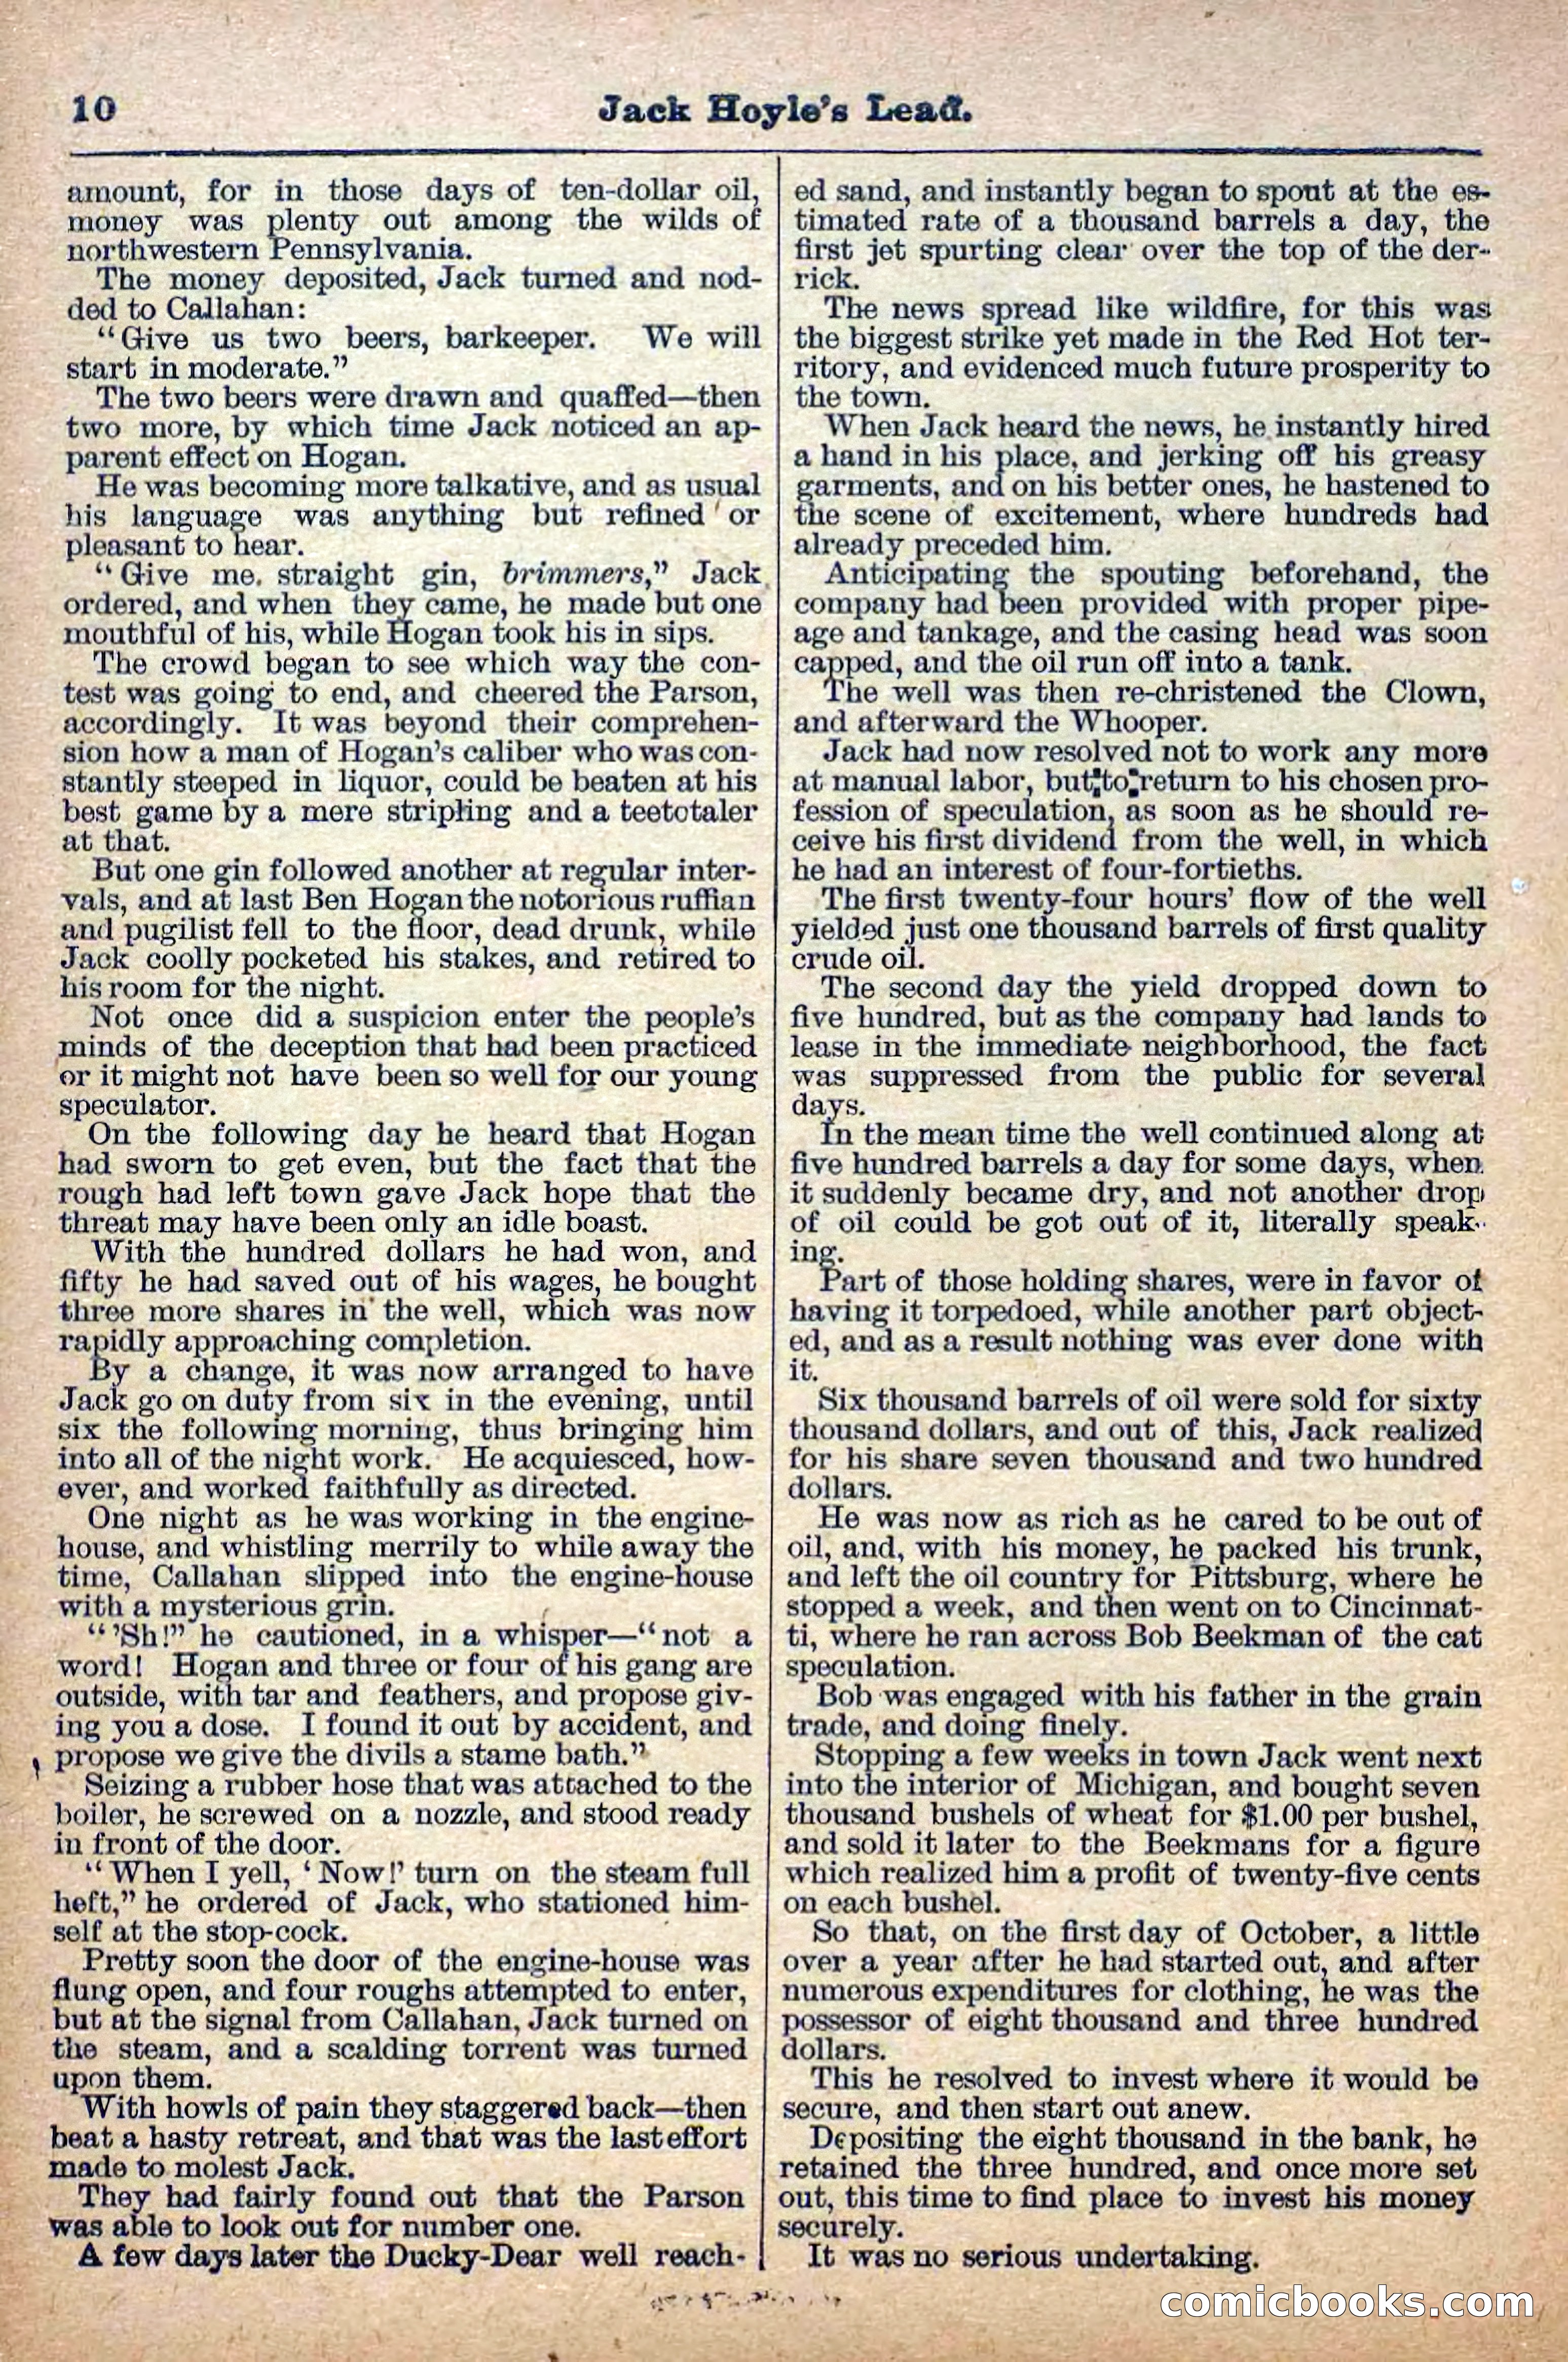
11 / 36
The Deadwood Dick Library, Vol. III, No. 28 — page 12 of 36
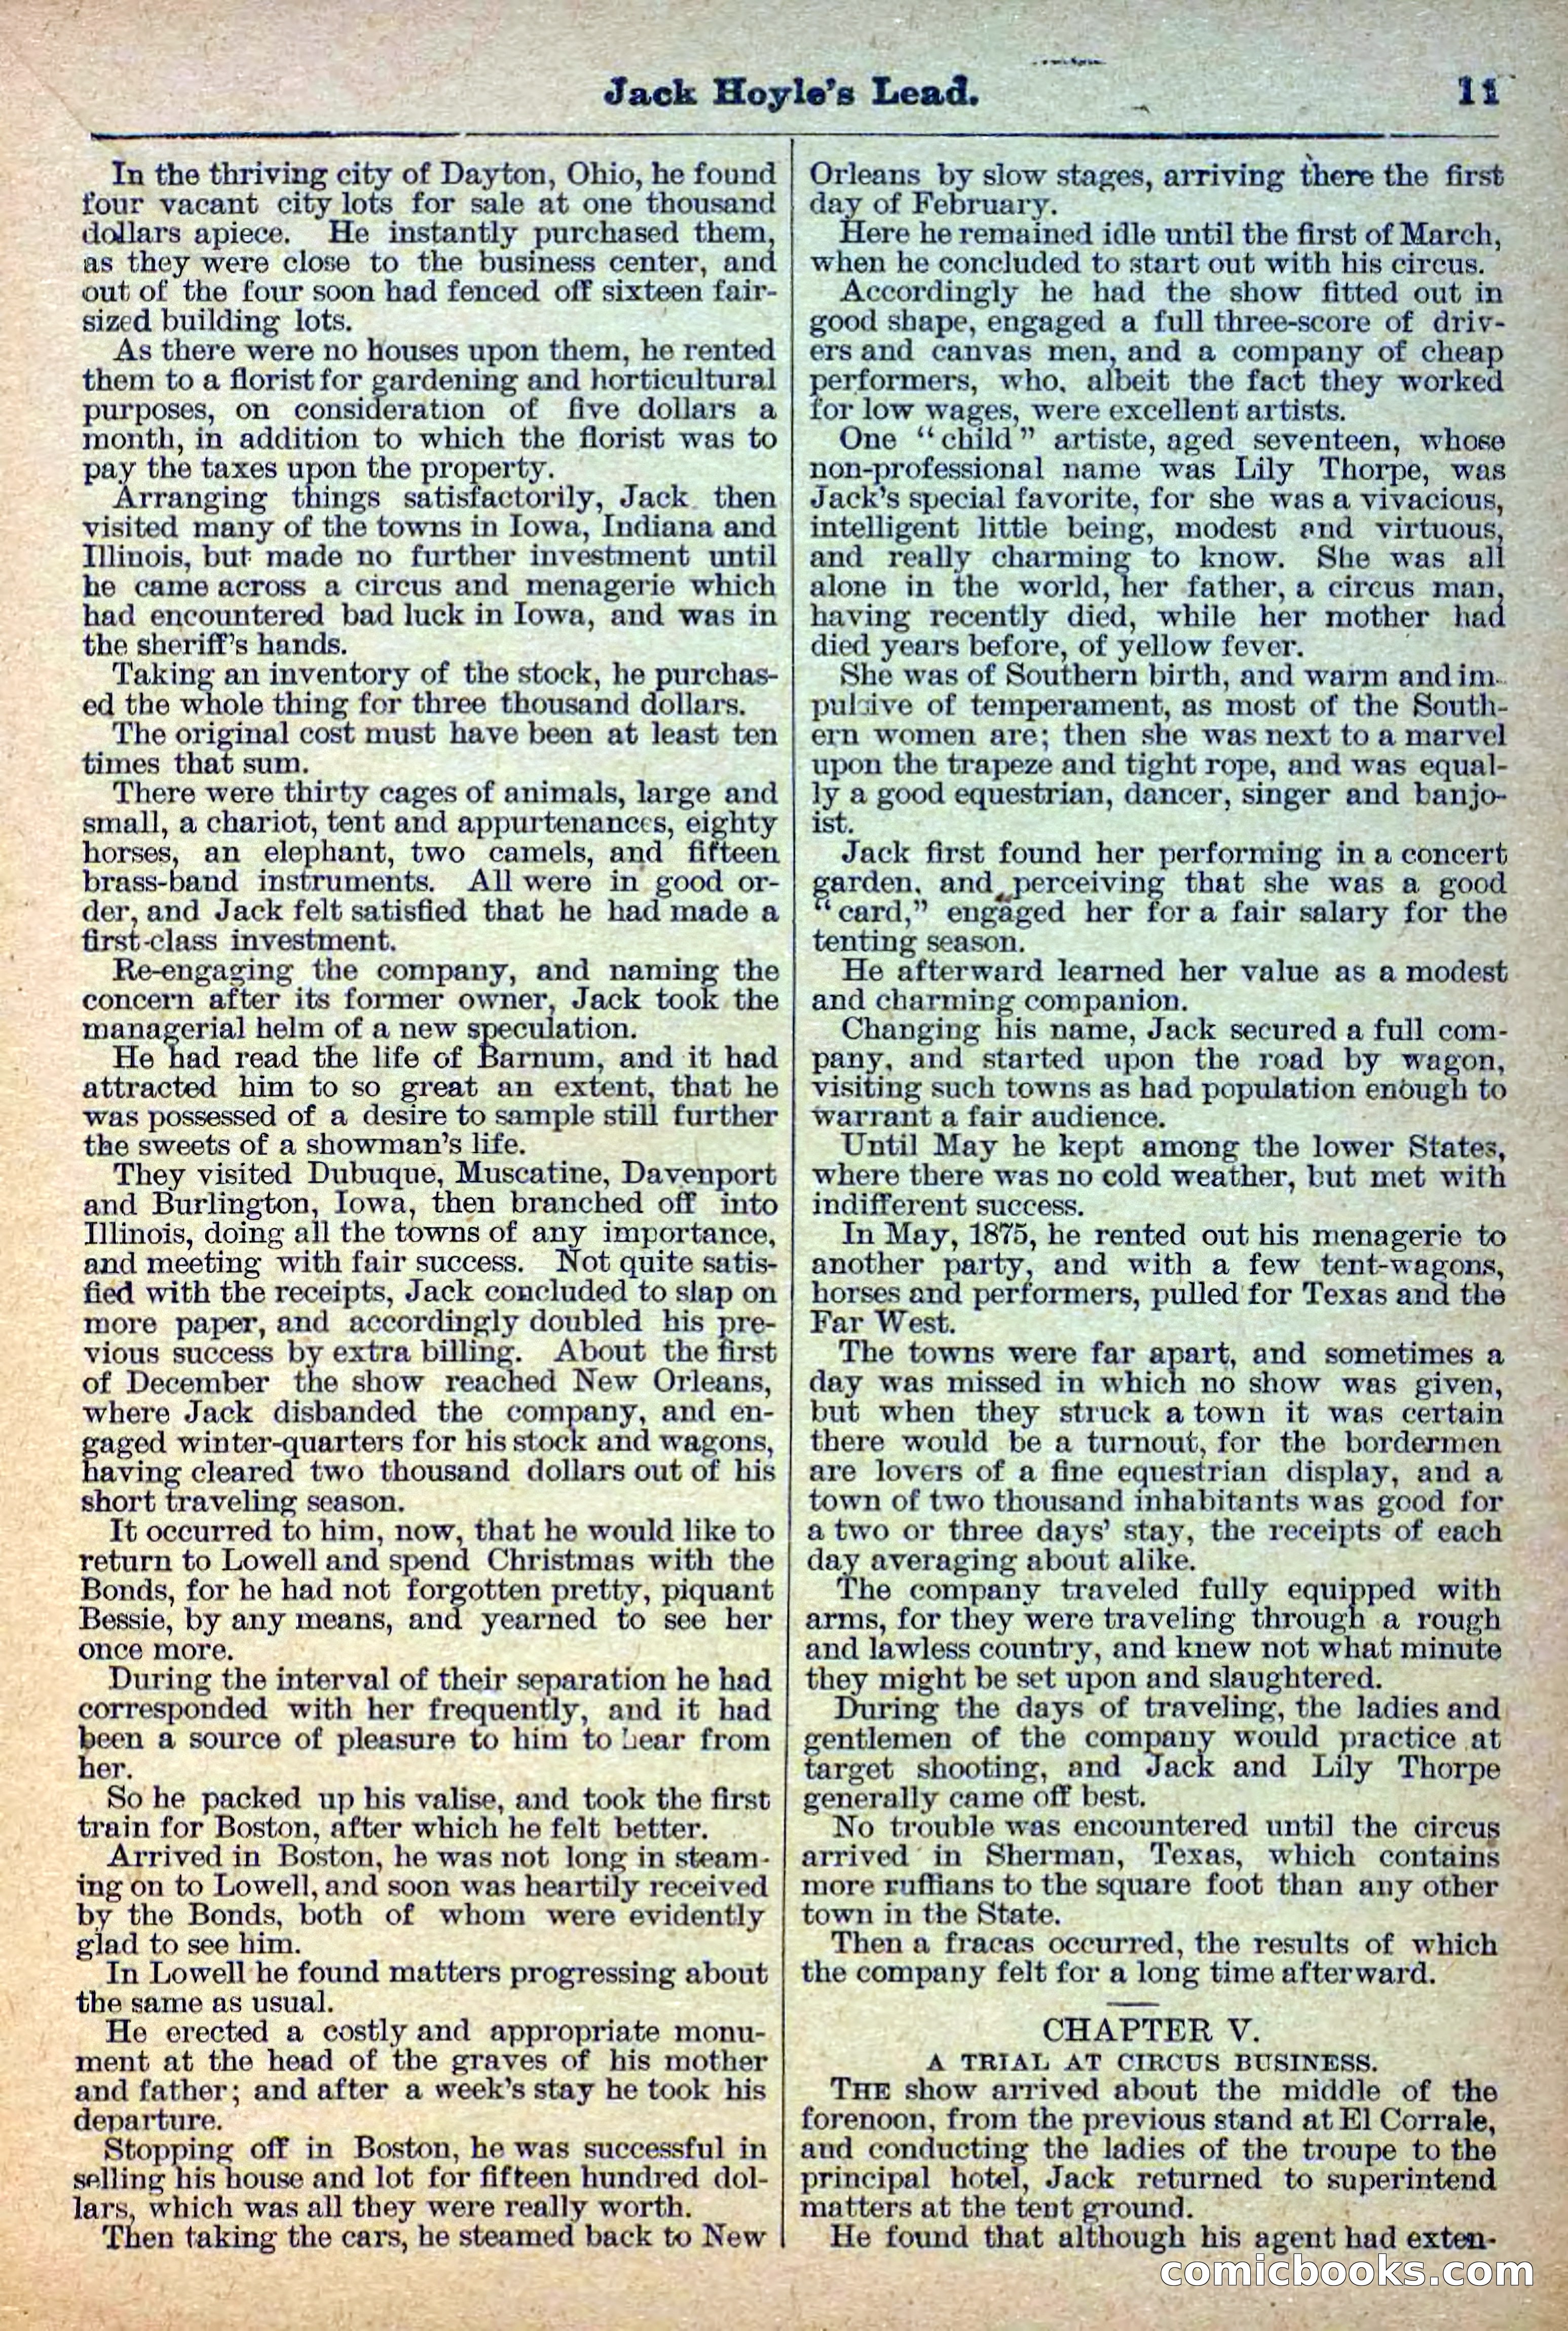
12 / 36
The Deadwood Dick Library, Vol. III, No. 28 — page 13 of 36
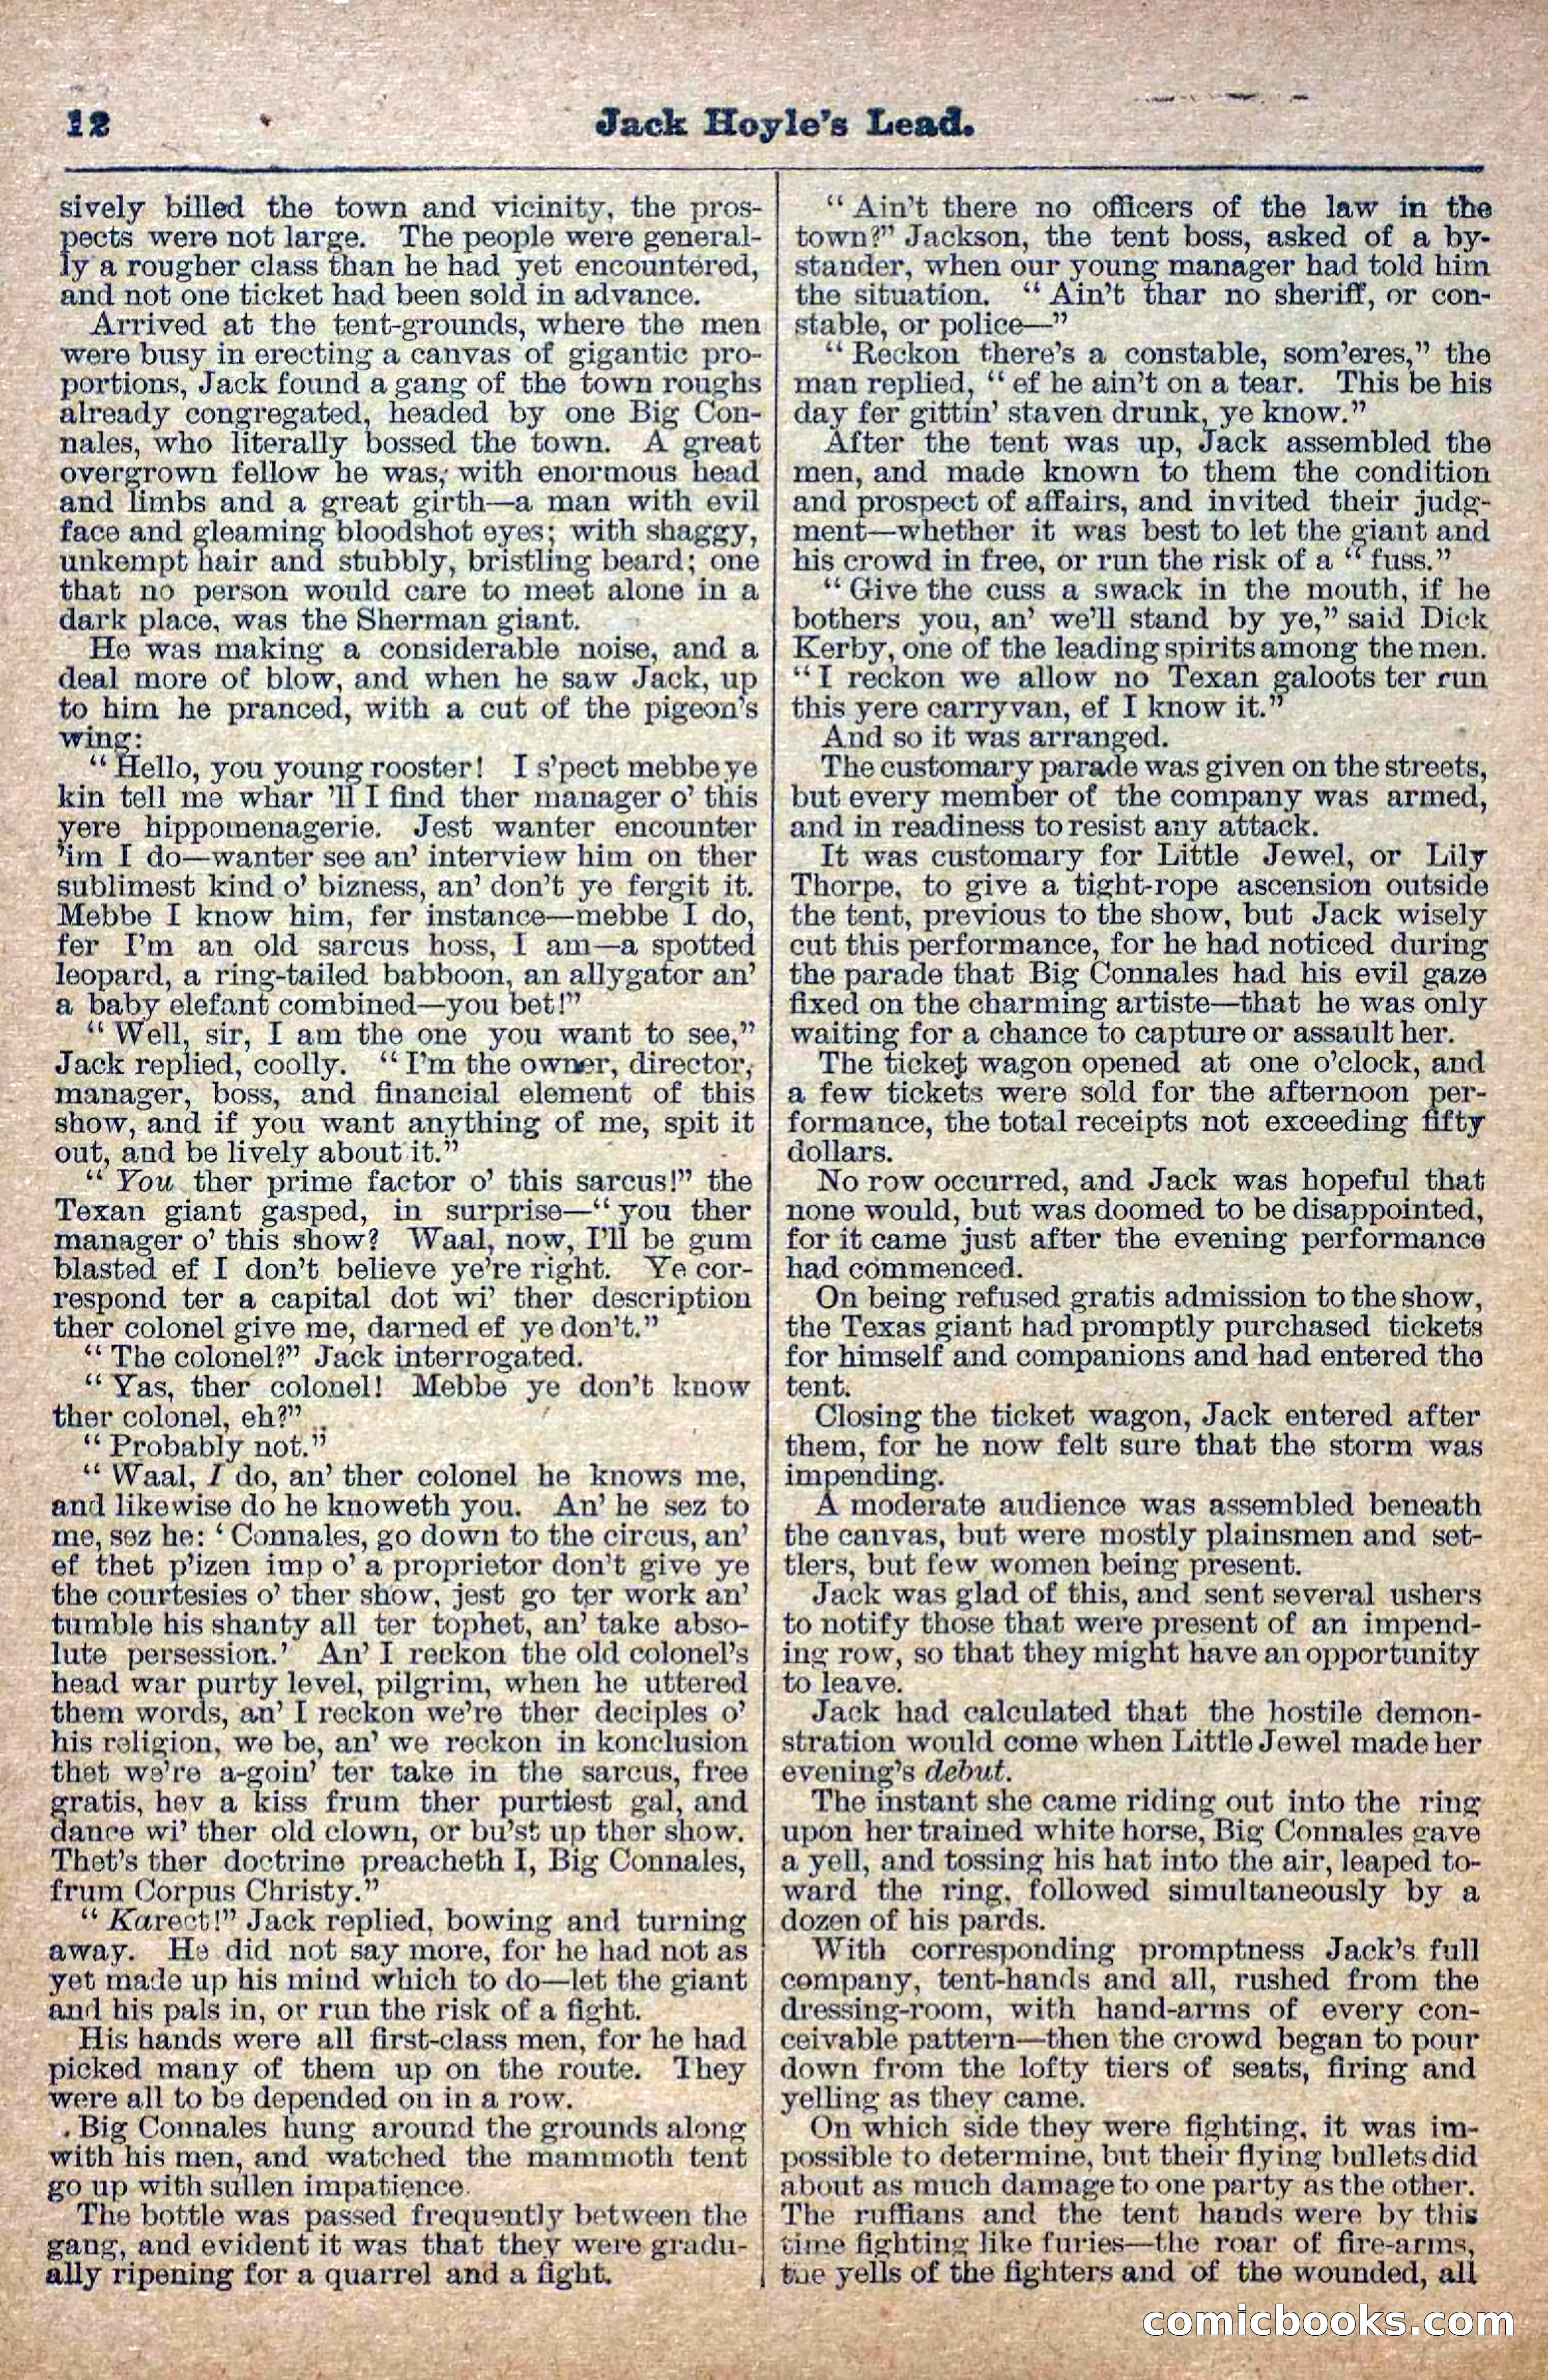
13 / 36
The Deadwood Dick Library, Vol. III, No. 28 — page 14 of 36
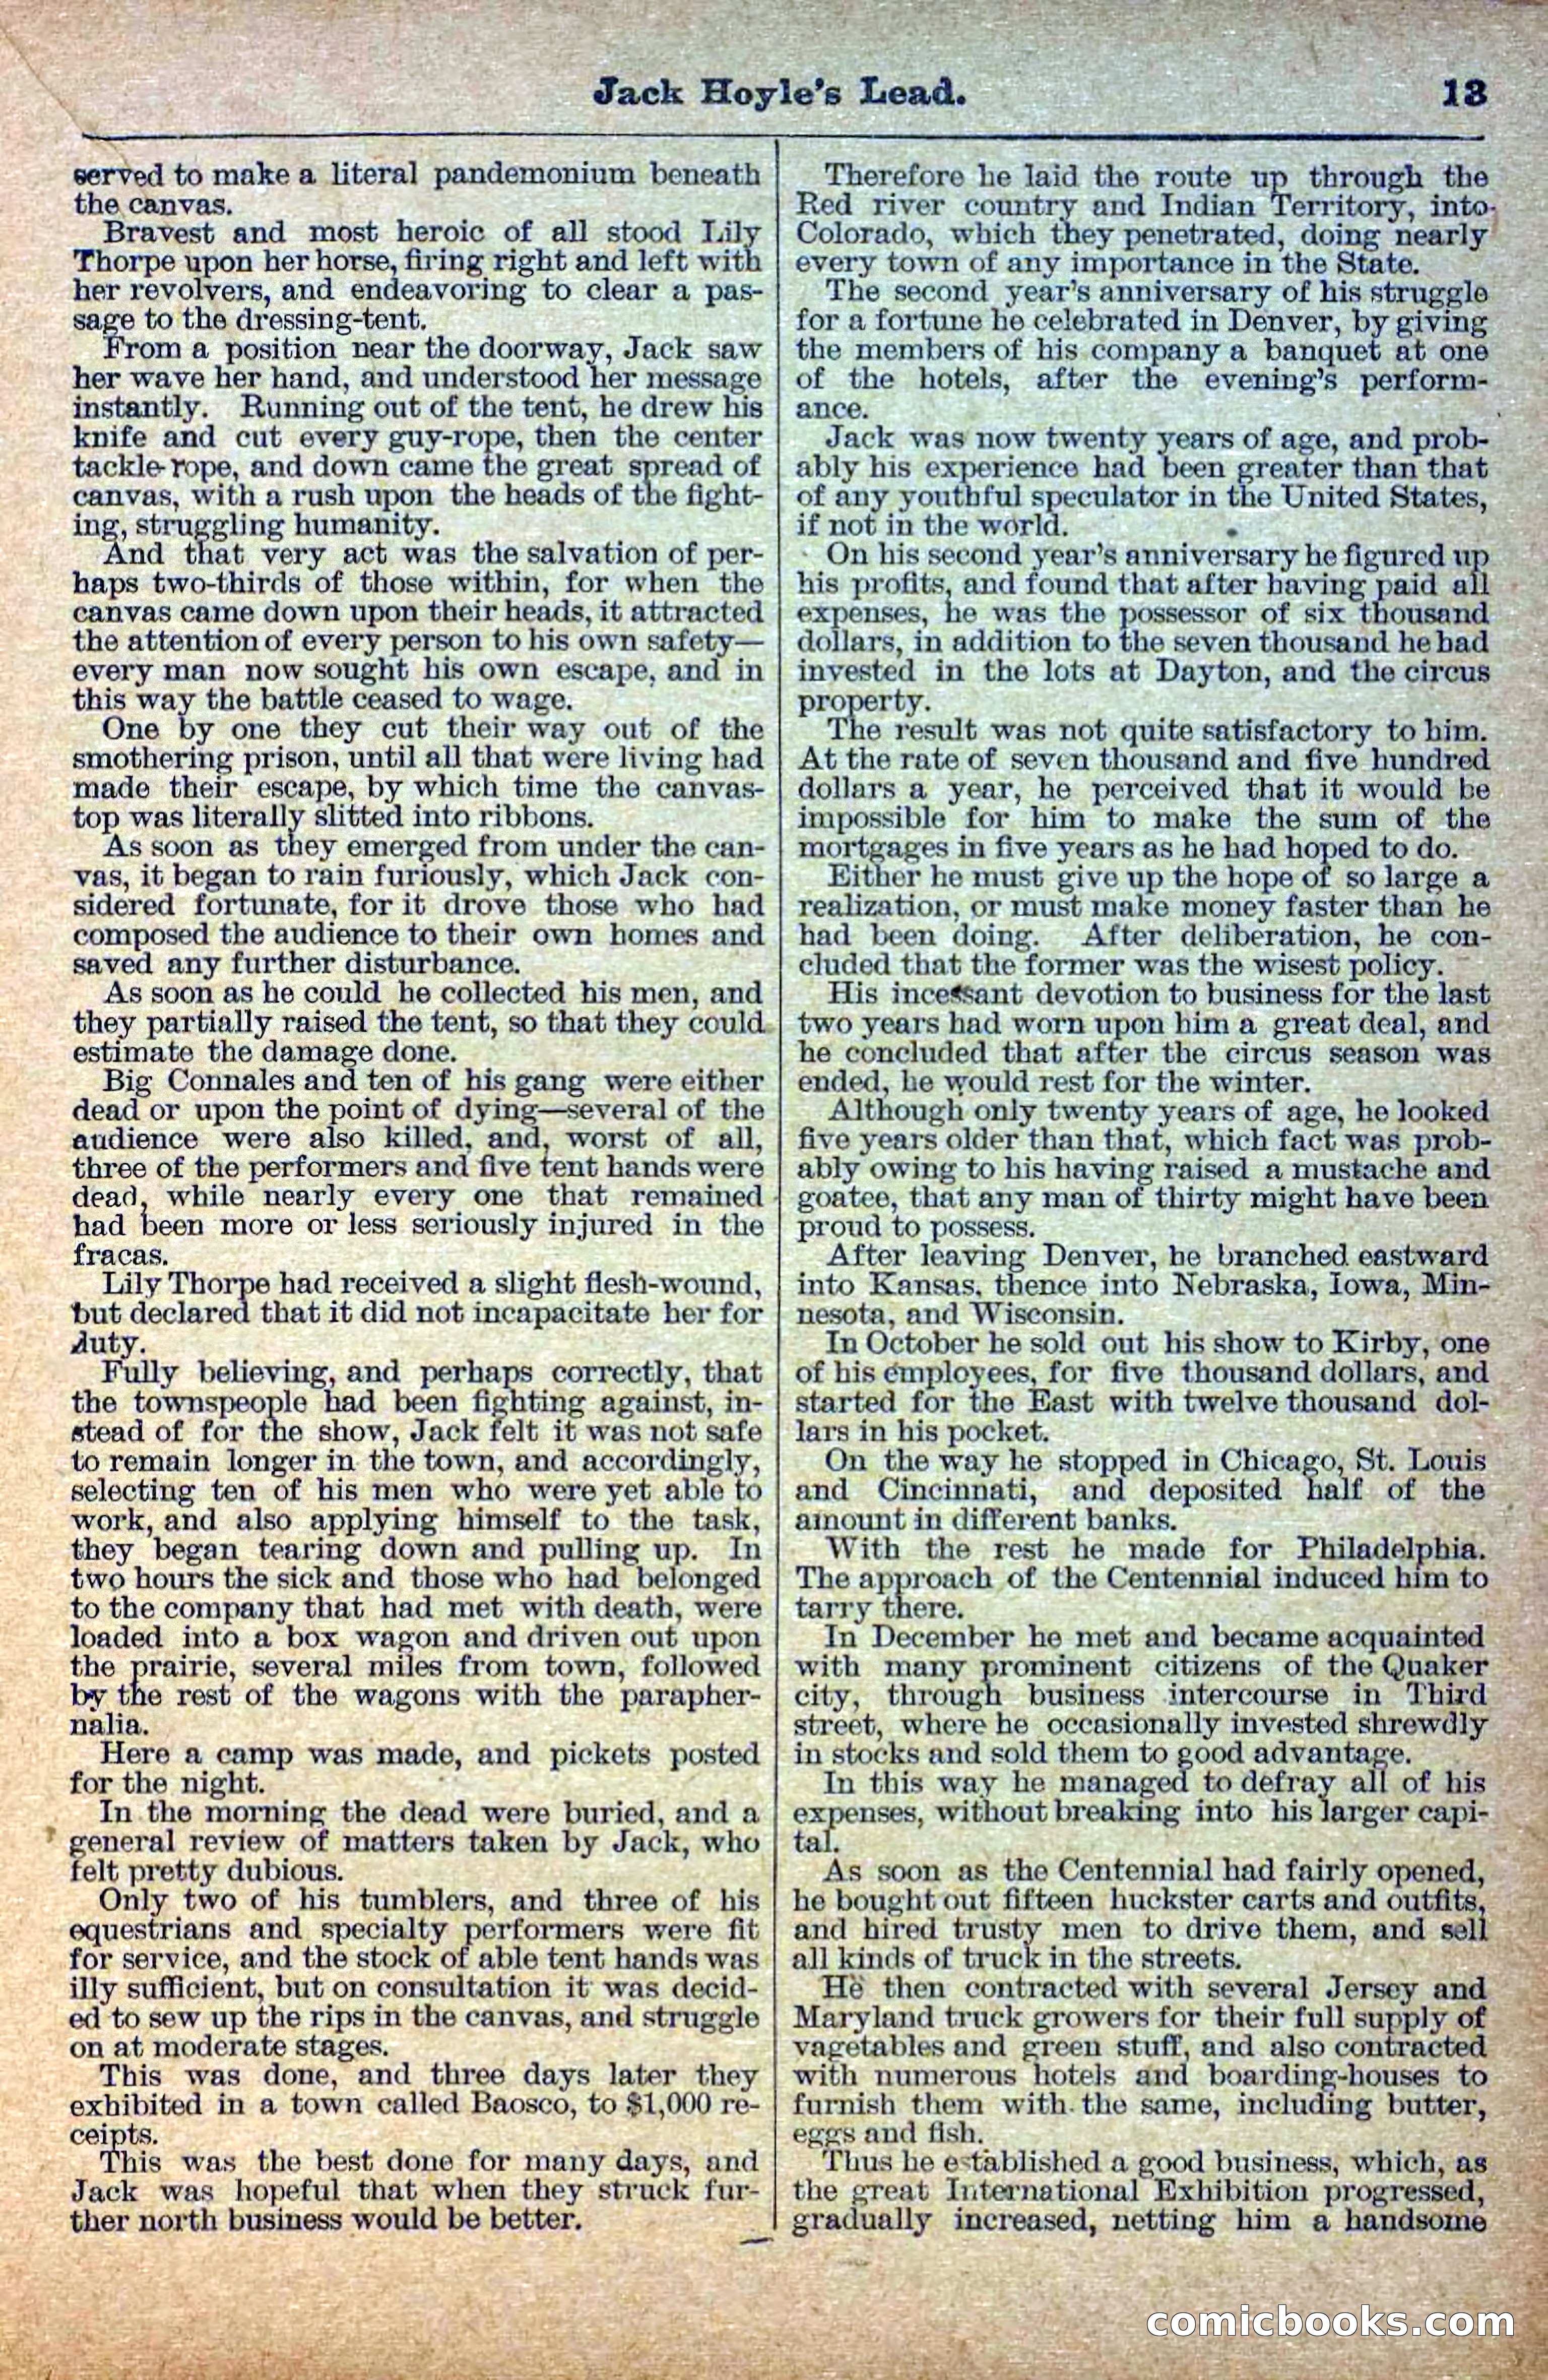
14 / 36
The Deadwood Dick Library, Vol. III, No. 28 — page 15 of 36
15 / 36
The Deadwood Dick Library, Vol. III, No. 28 — page 16 of 36
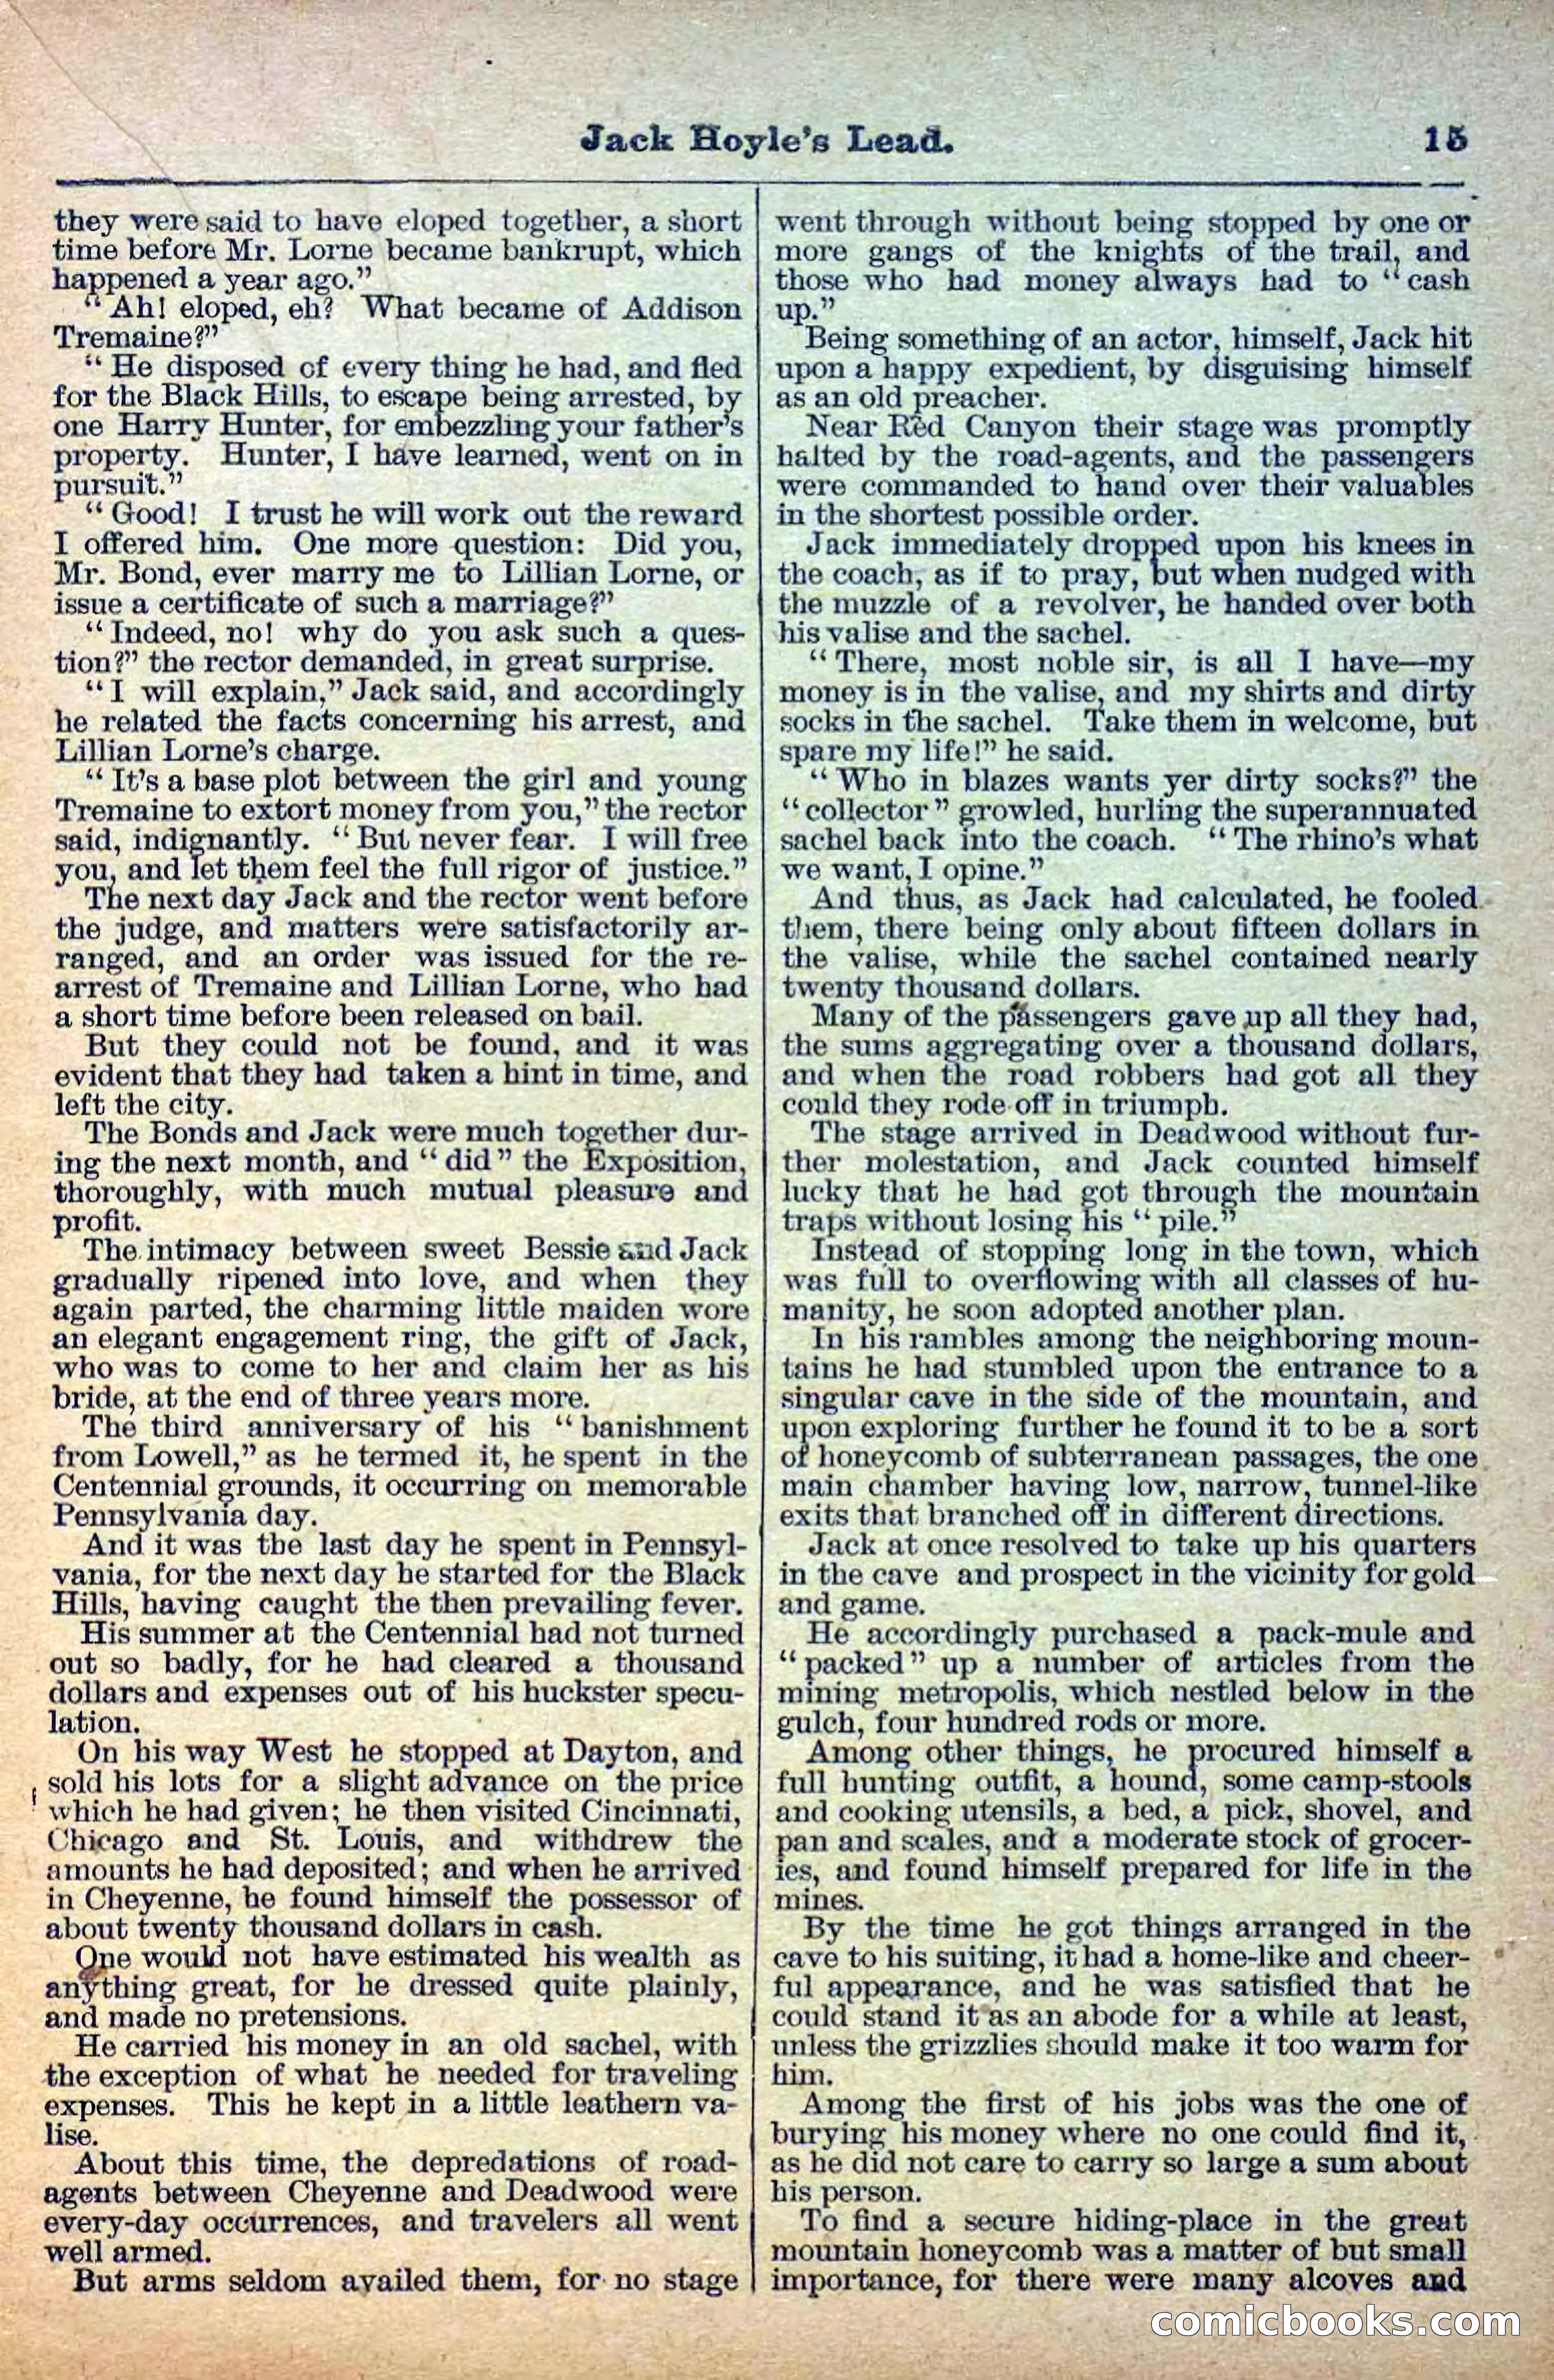
16 / 36
The Deadwood Dick Library, Vol. III, No. 28 — page 17 of 36
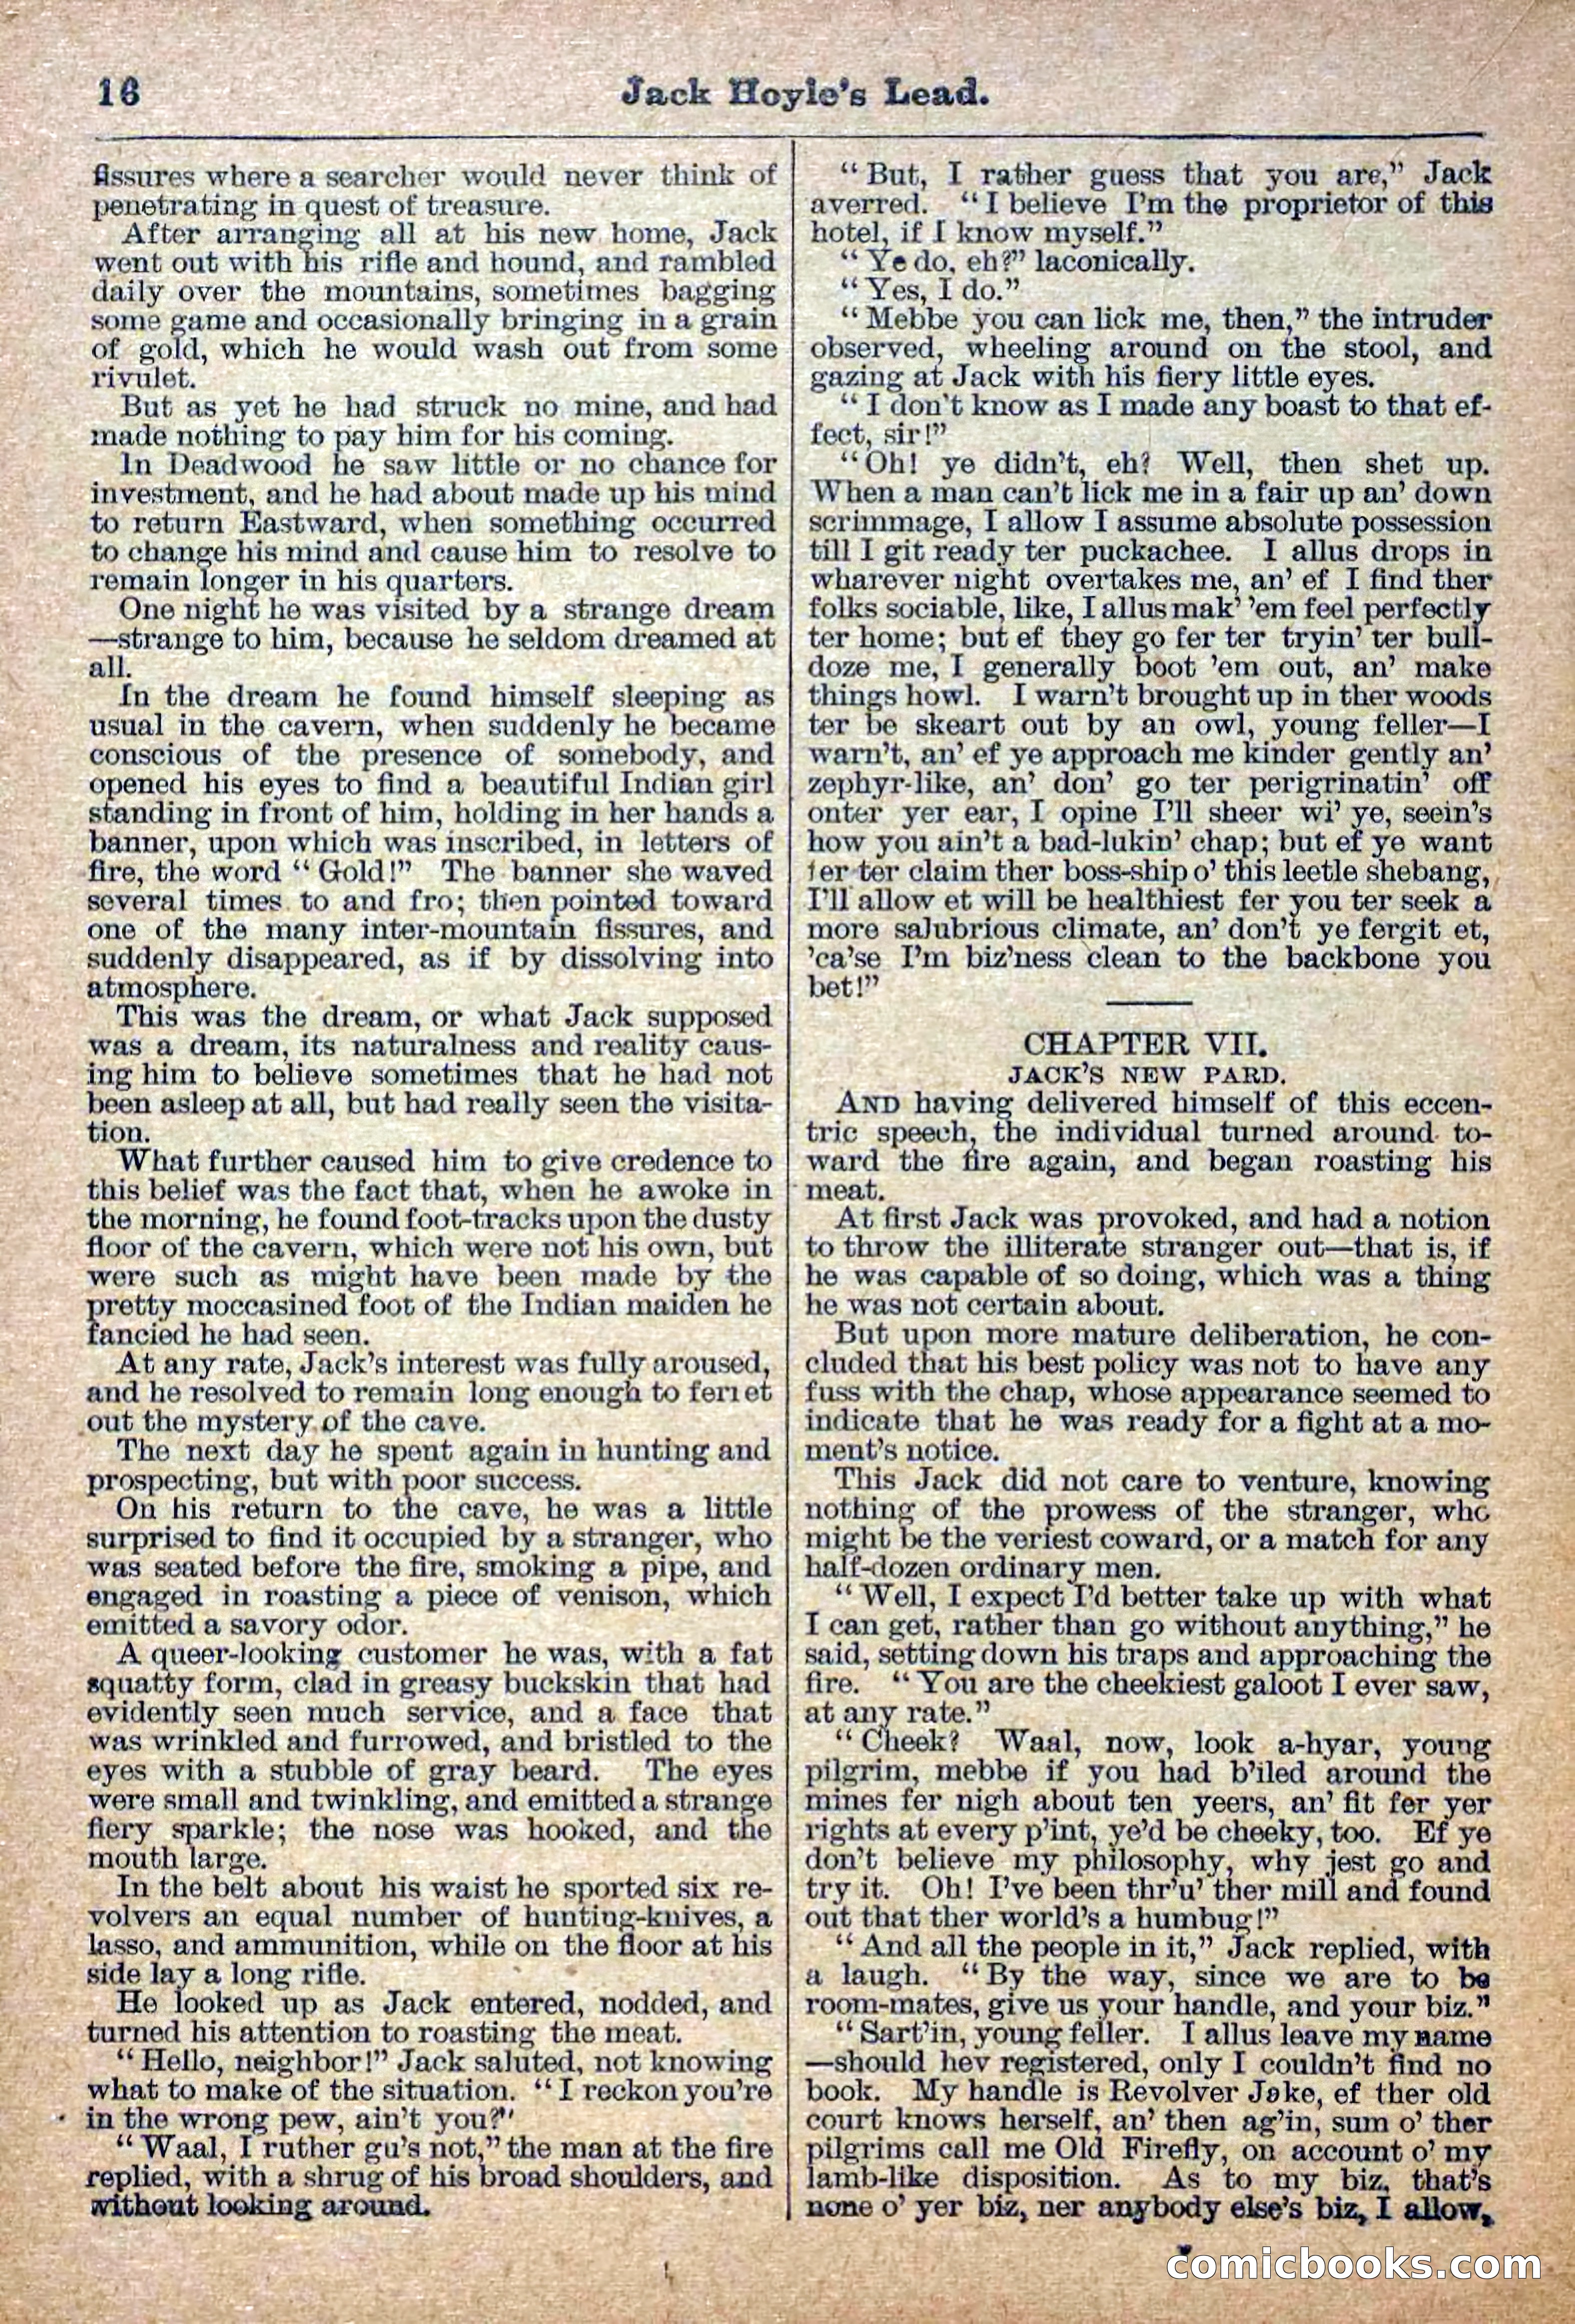
17 / 36
The Deadwood Dick Library, Vol. III, No. 28 — page 18 of 36
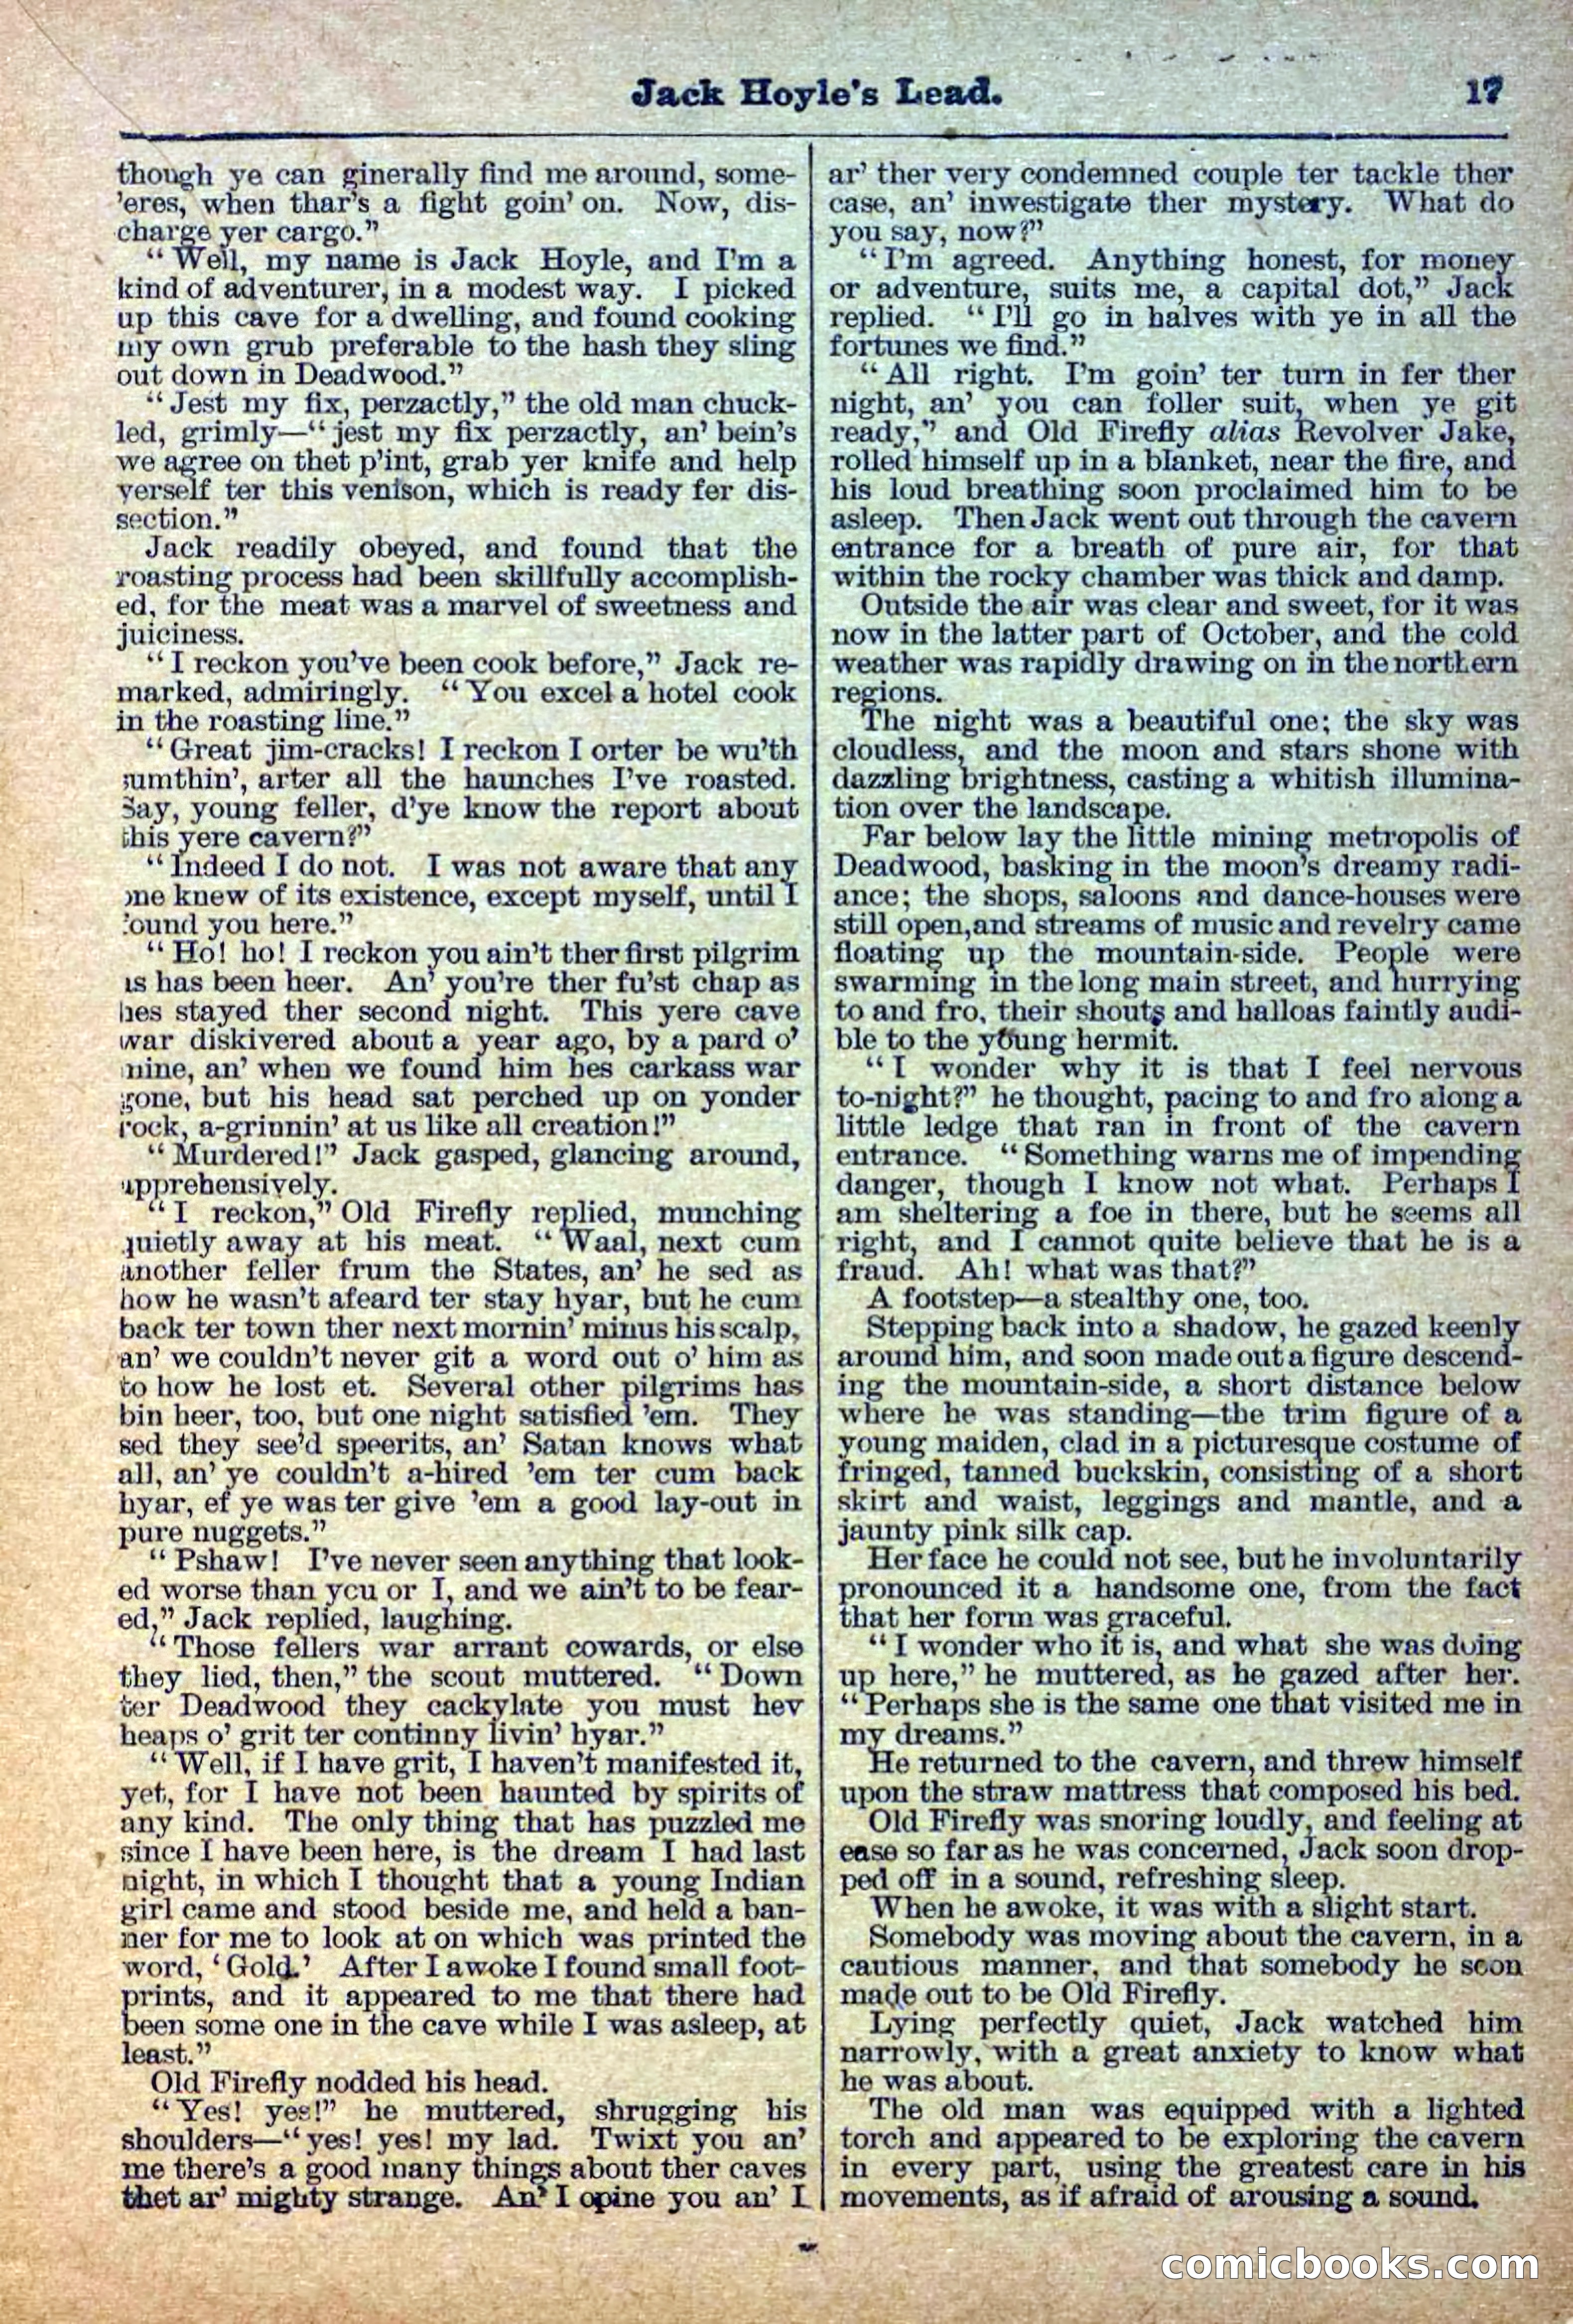
18 / 36
The Deadwood Dick Library, Vol. III, No. 28 — page 19 of 36
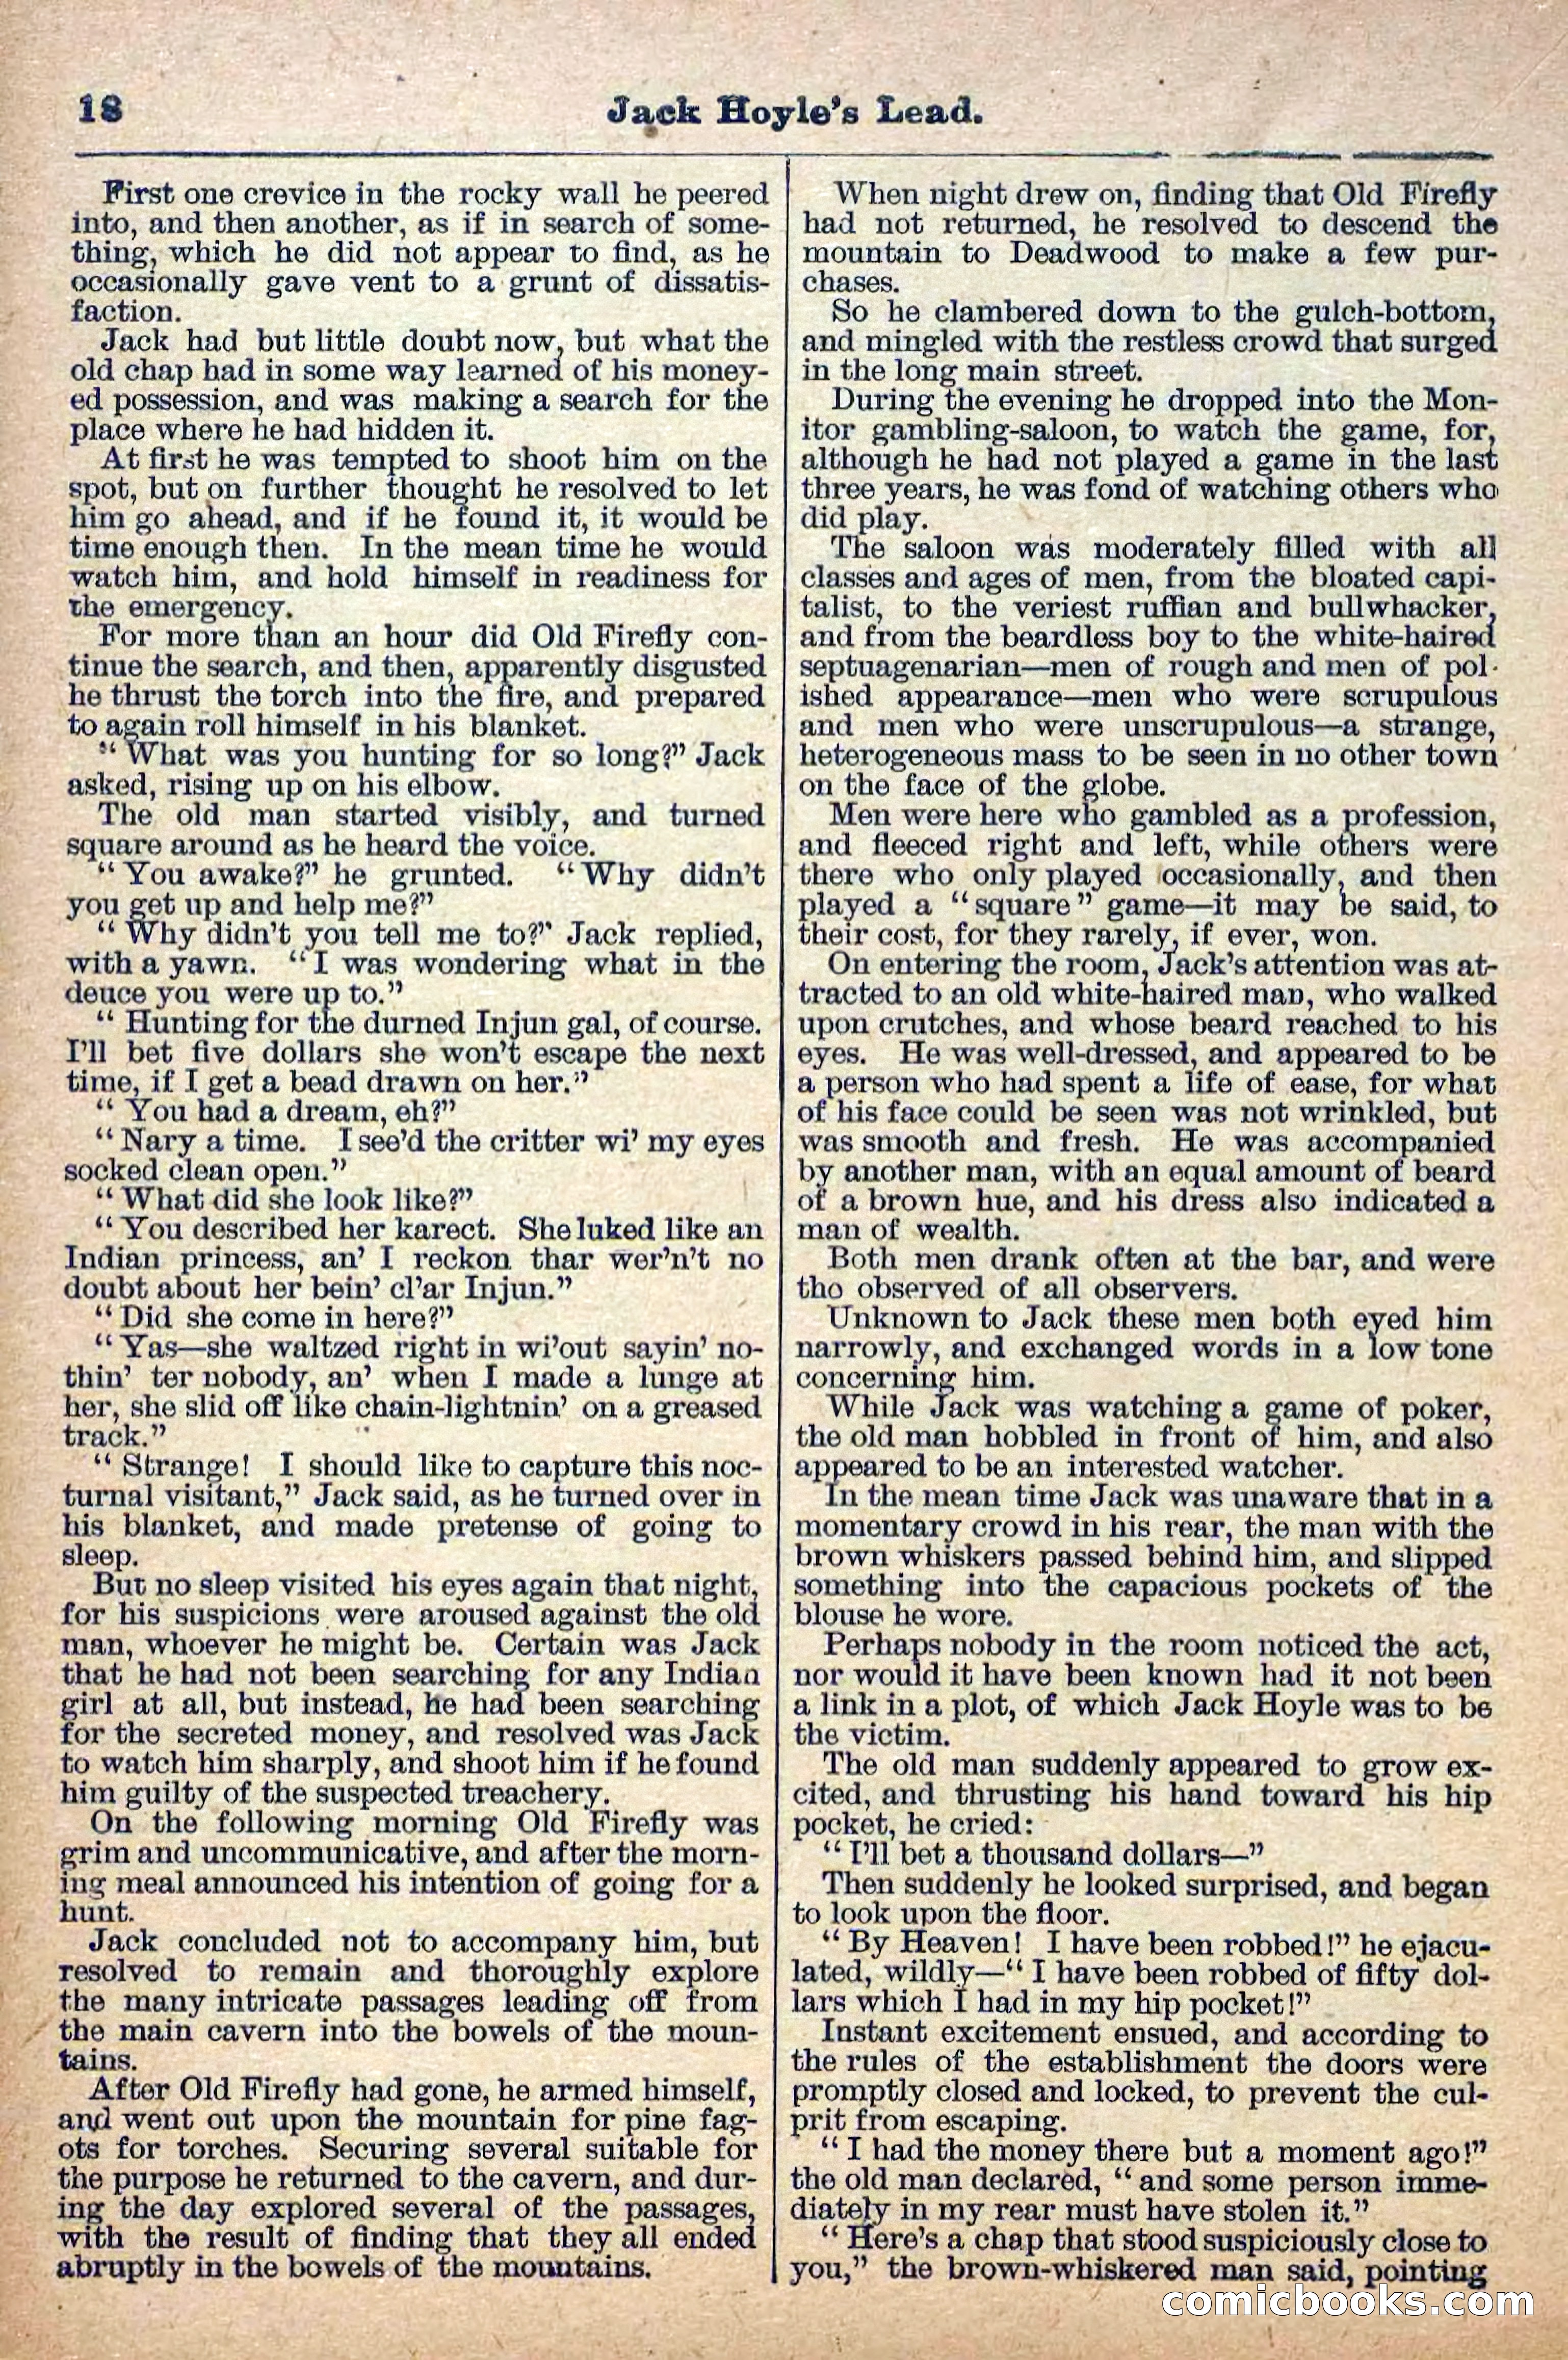
19 / 36
The Deadwood Dick Library, Vol. III, No. 28 — page 20 of 36
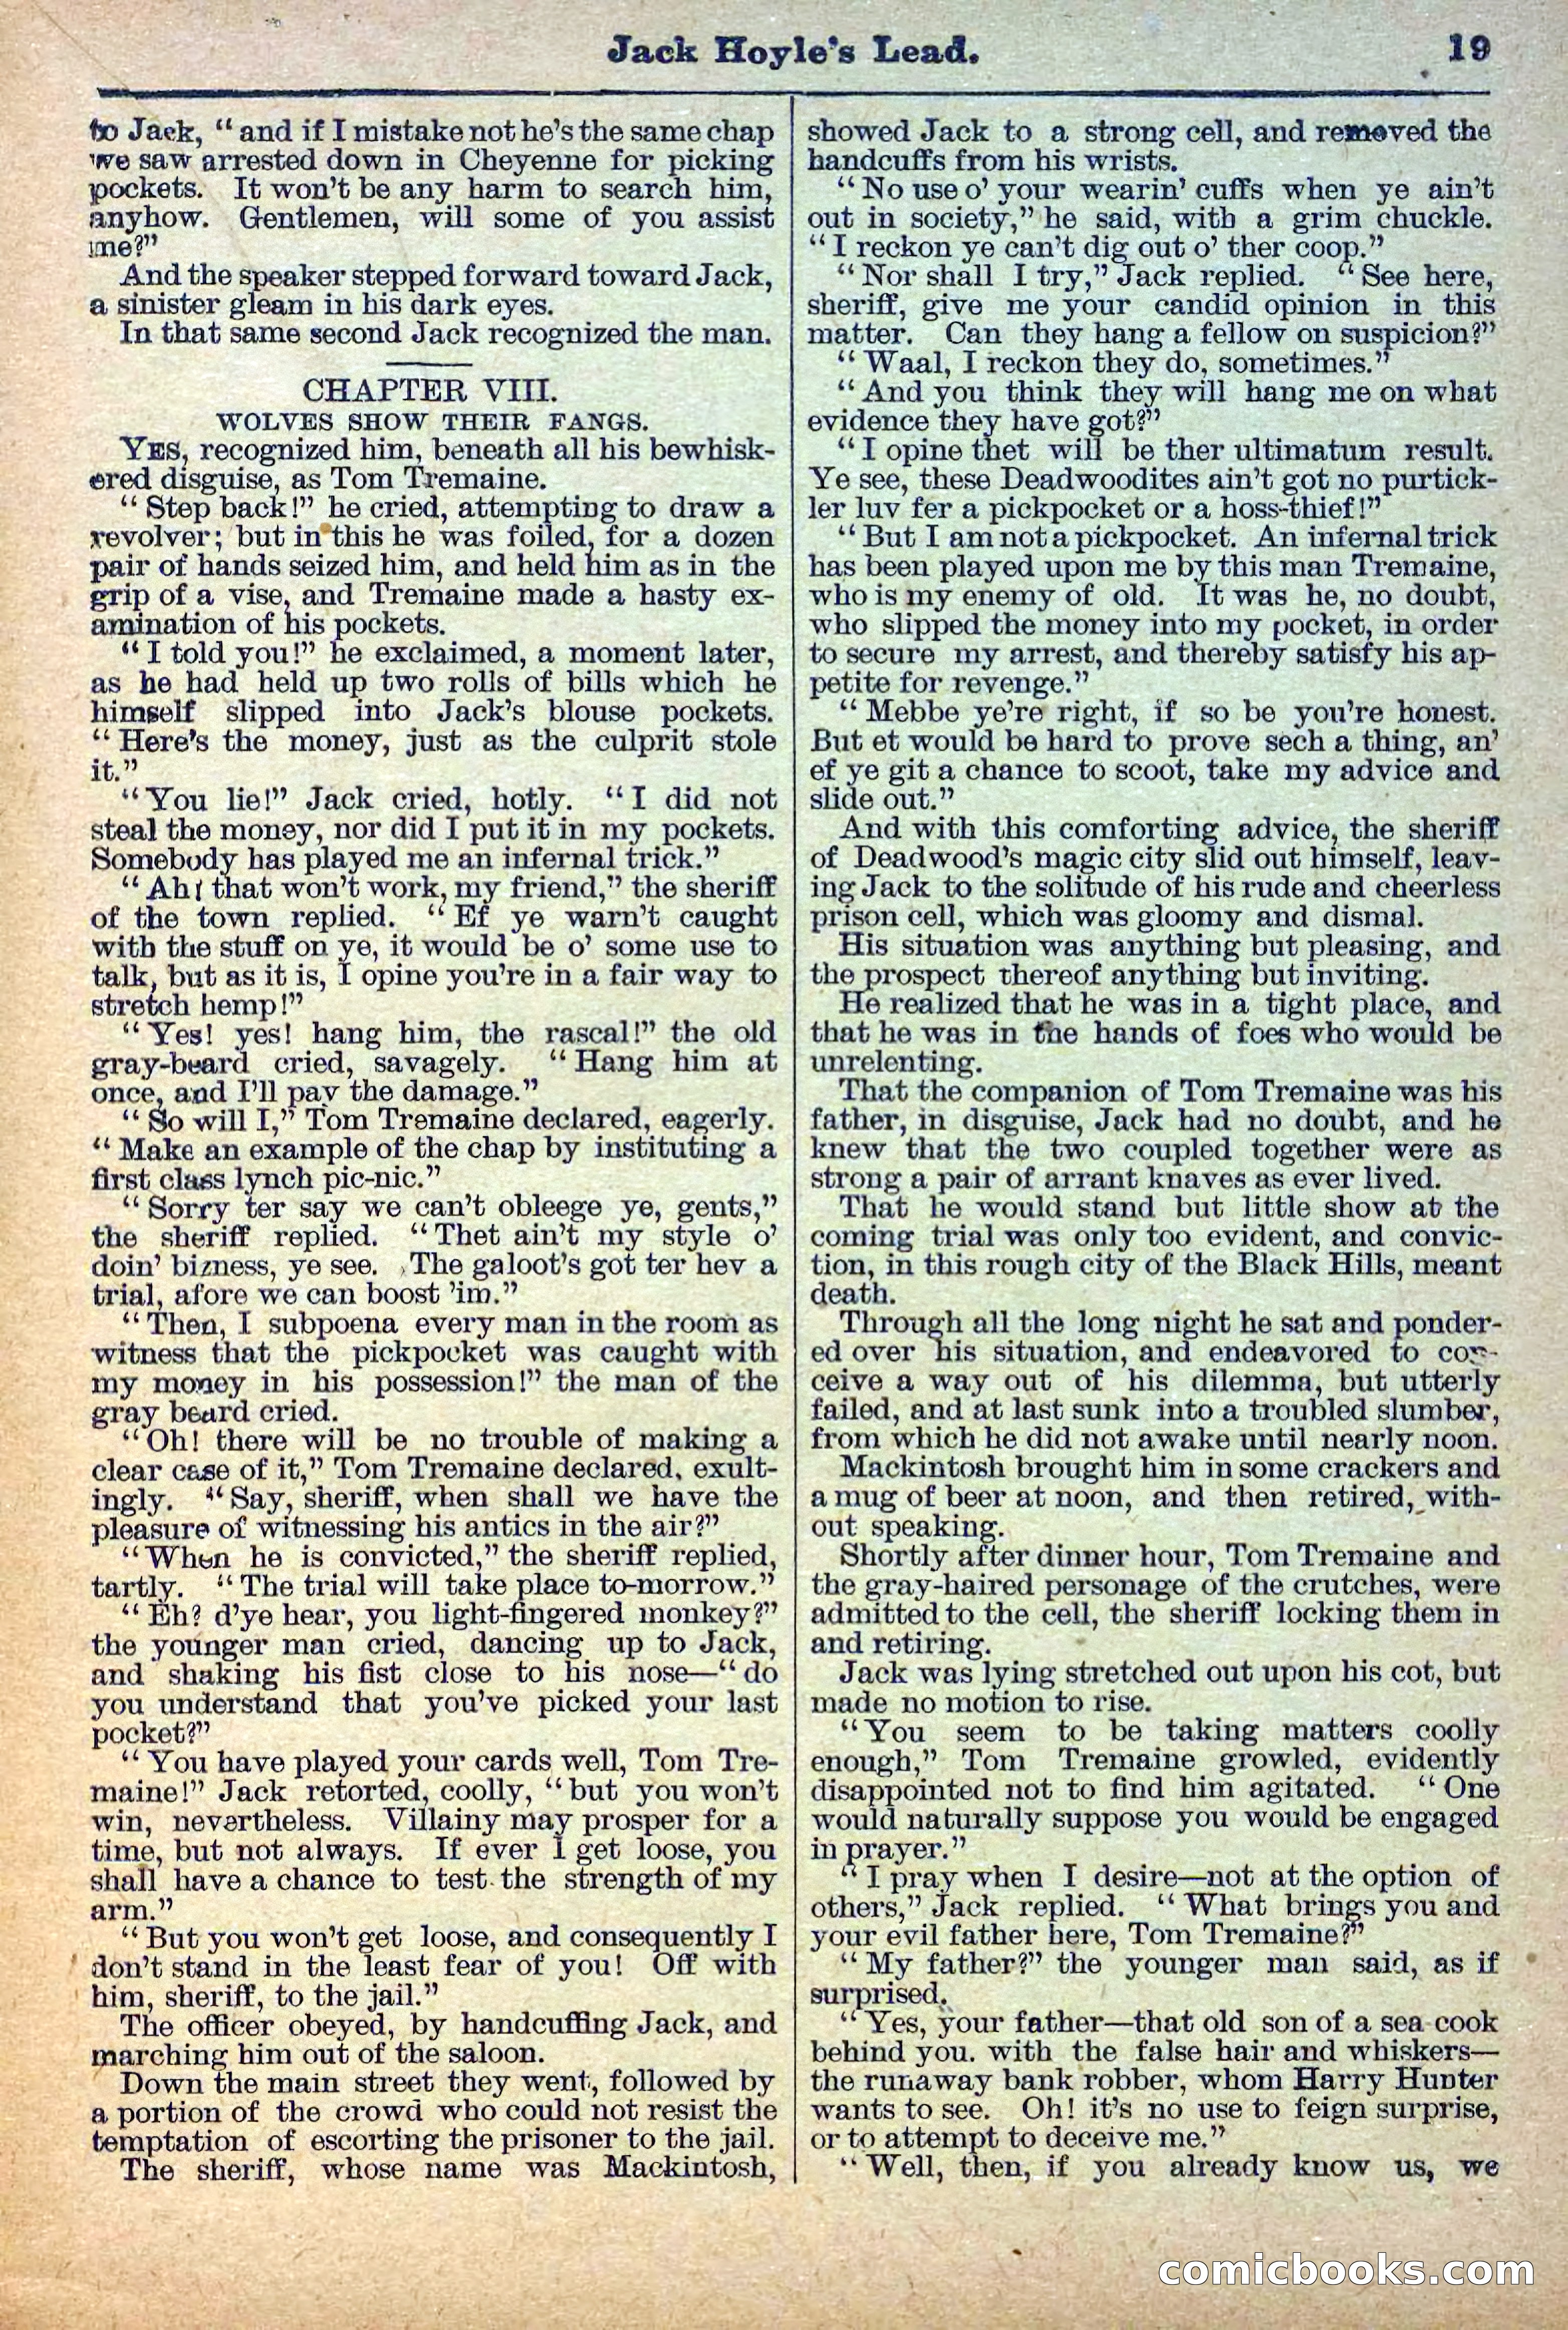
20 / 36
The Deadwood Dick Library, Vol. III, No. 28 — page 21 of 36
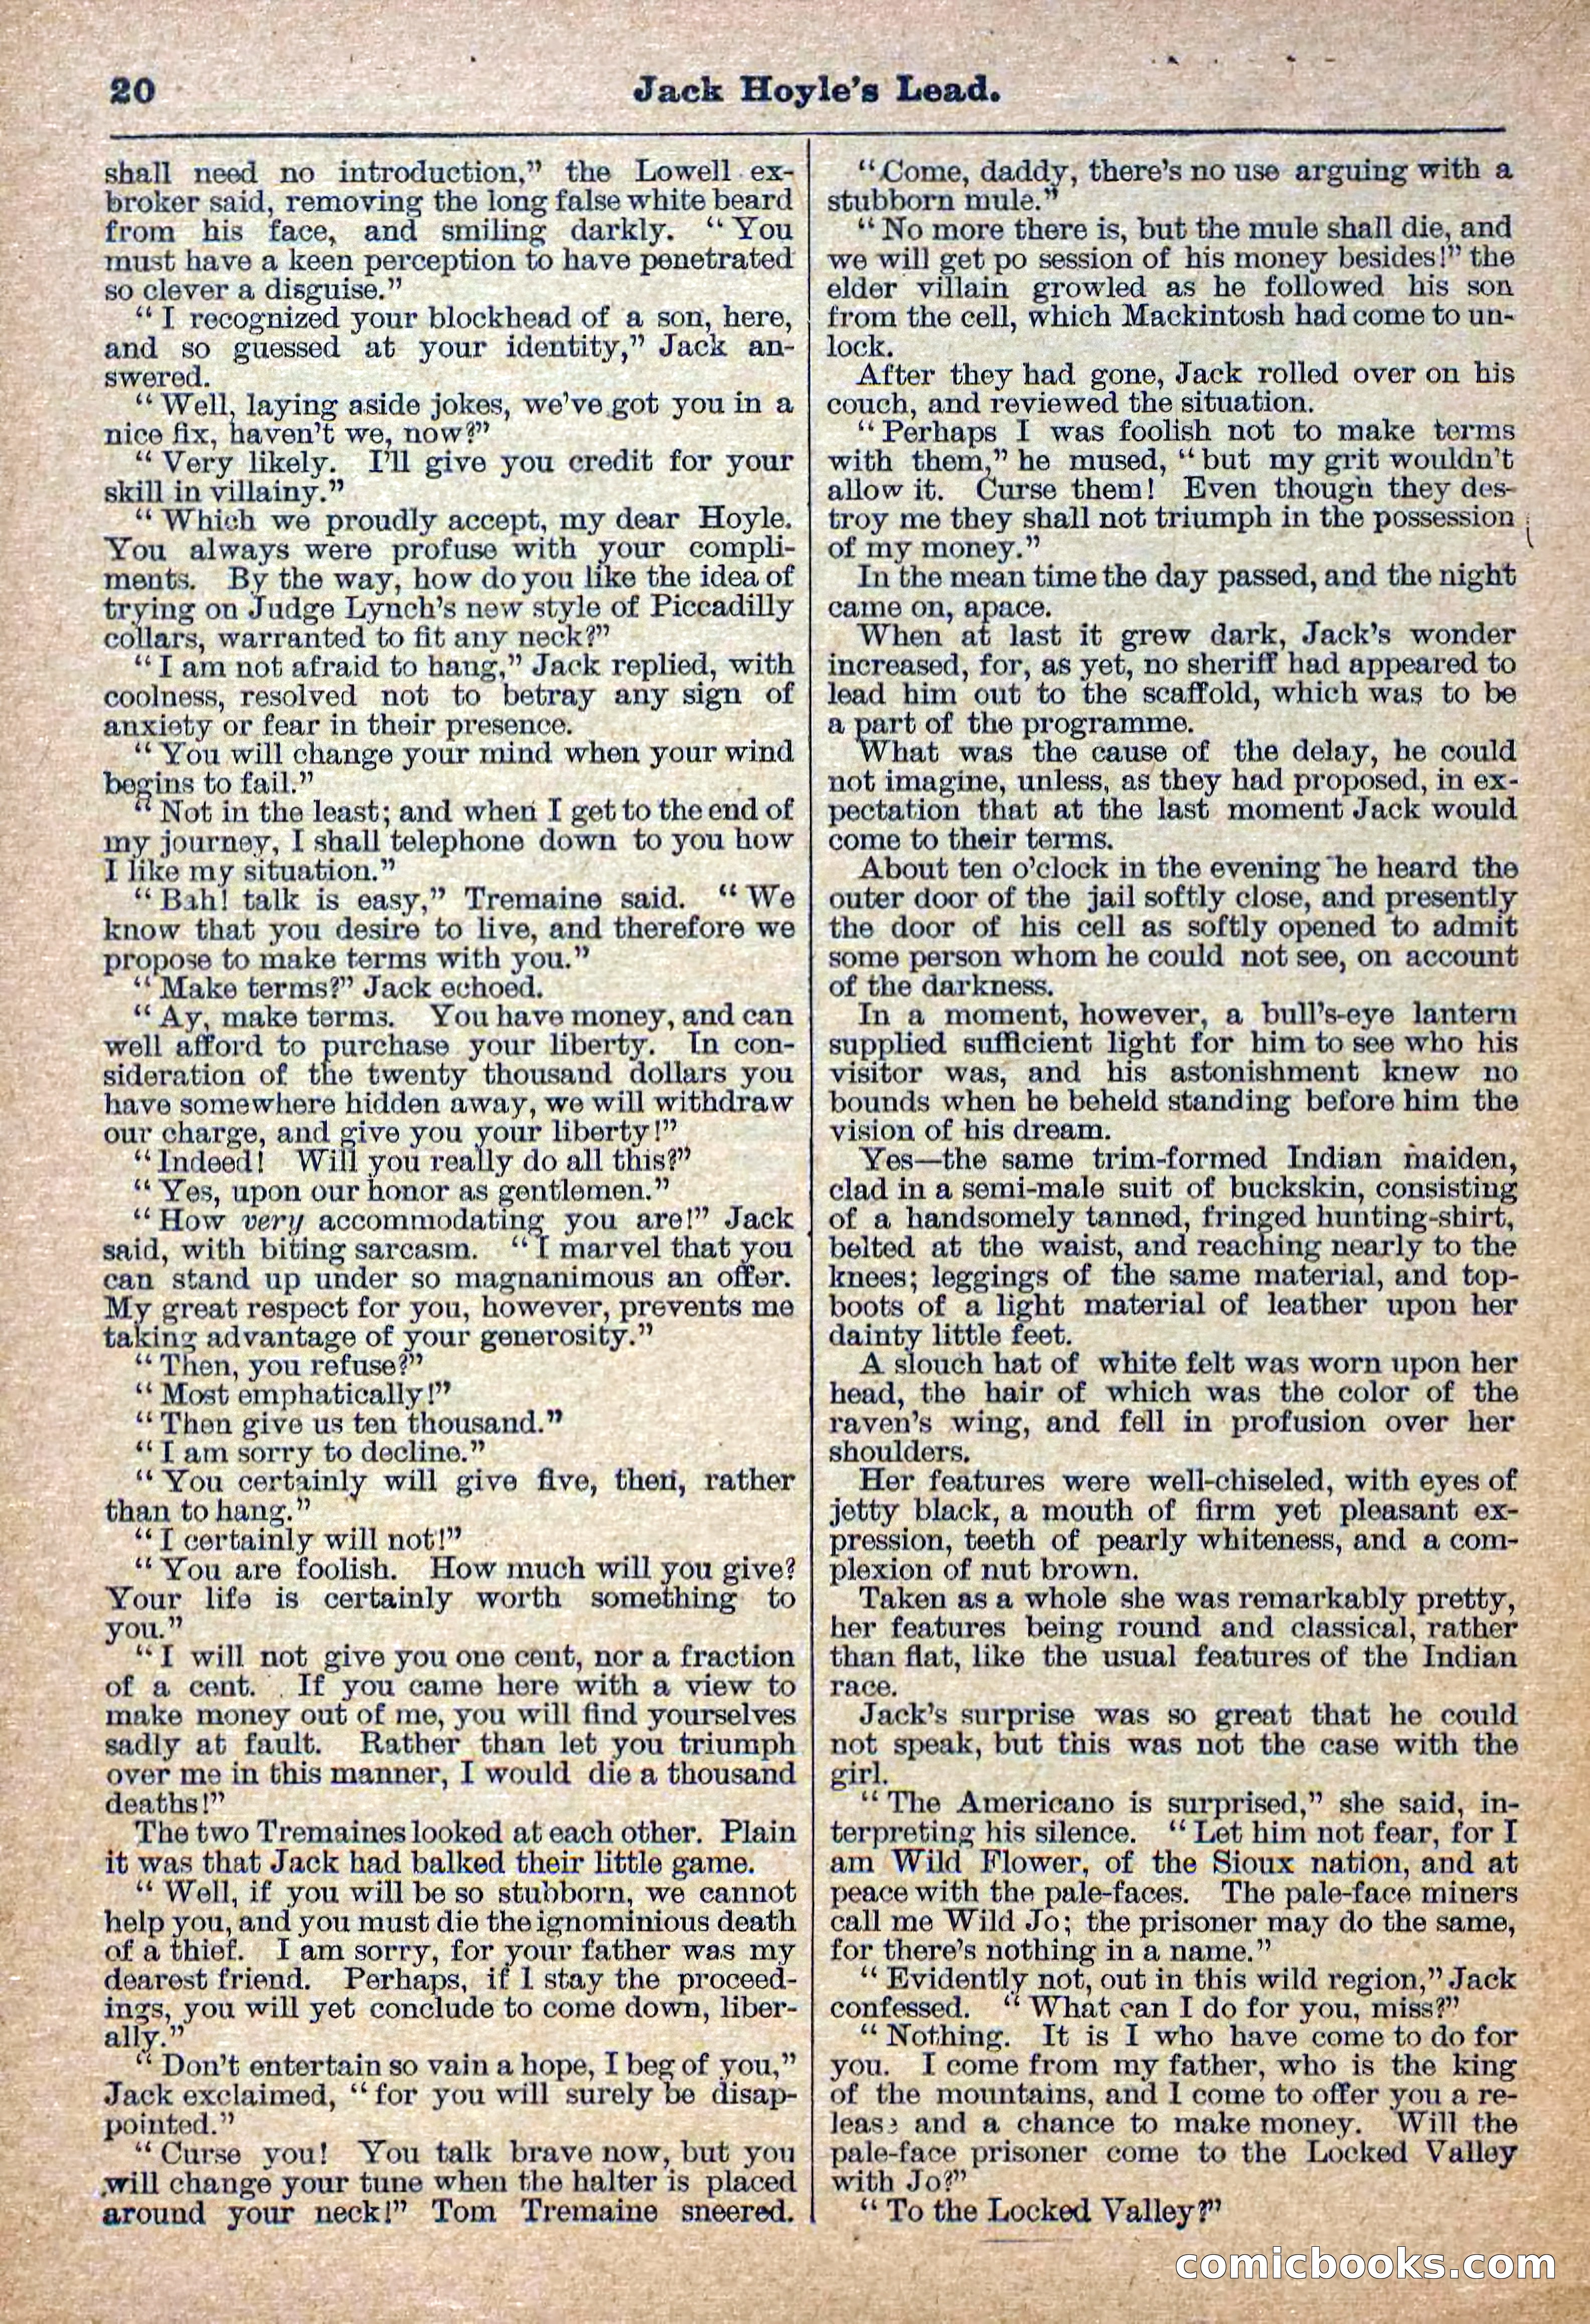
21 / 36
The Deadwood Dick Library, Vol. III, No. 28 — page 22 of 36
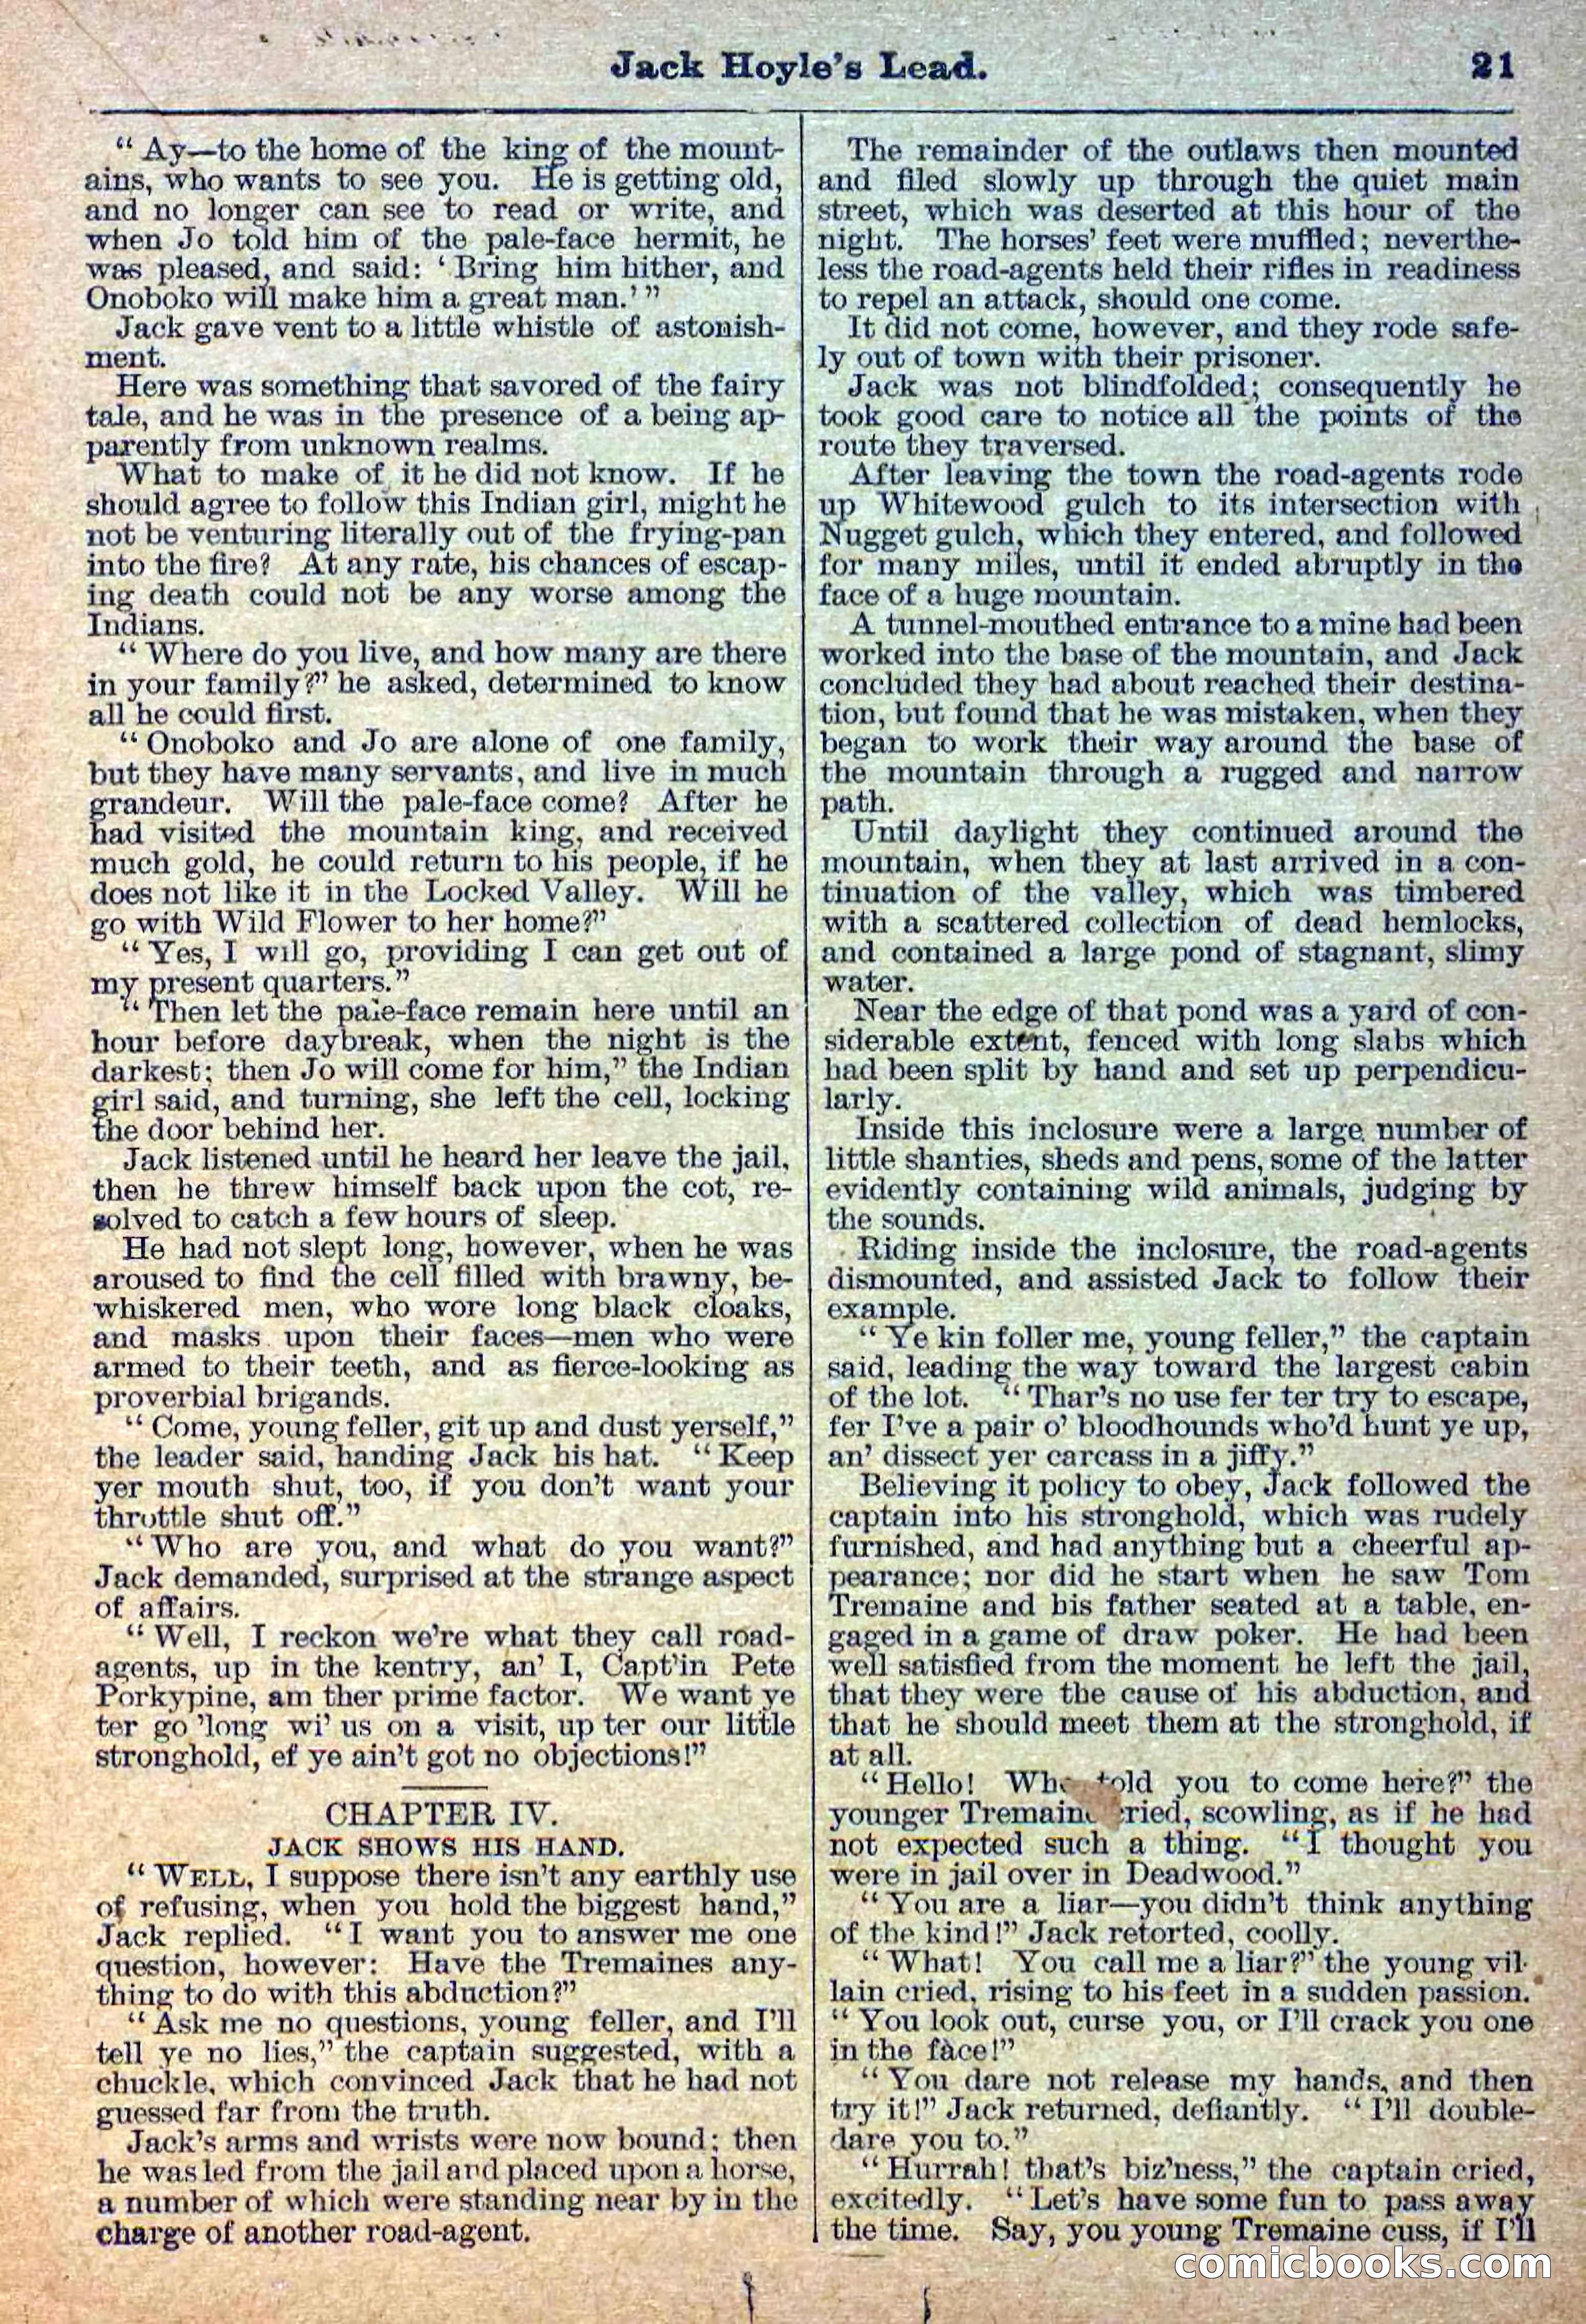
22 / 36
The Deadwood Dick Library, Vol. III, No. 28 — page 23 of 36
23 / 36
The Deadwood Dick Library, Vol. III, No. 28 — page 24 of 36
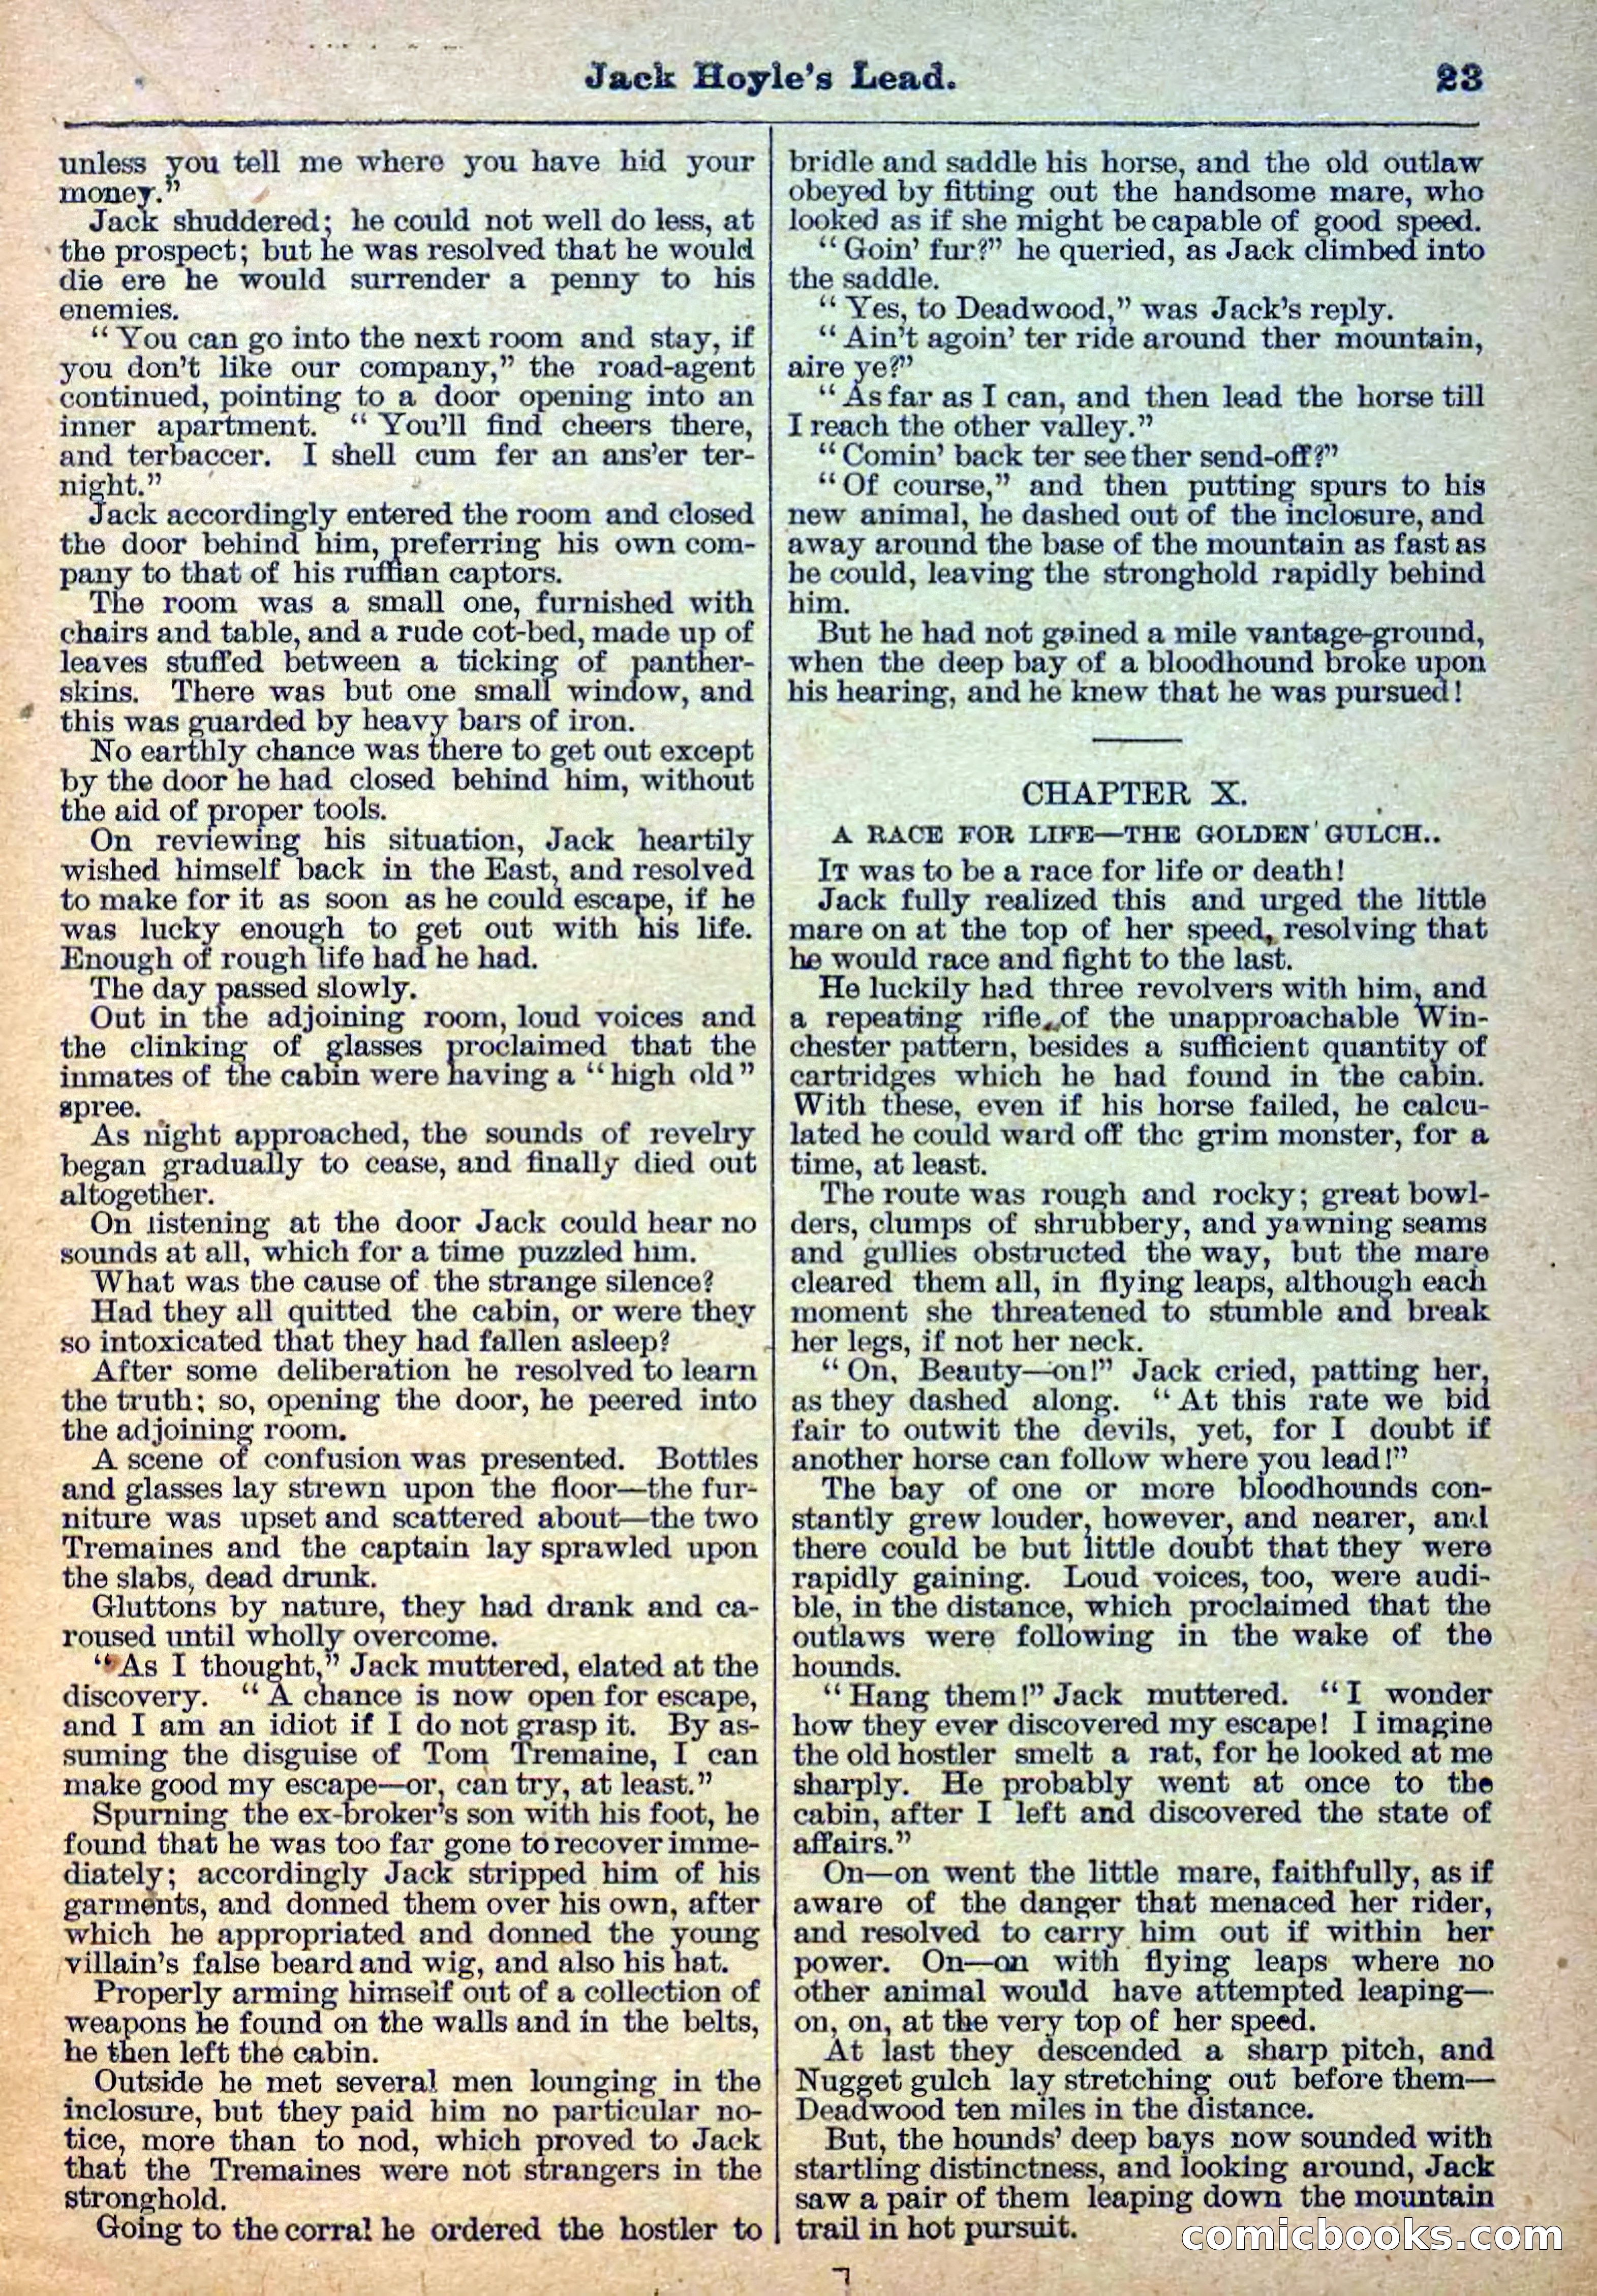
24 / 36
The Deadwood Dick Library, Vol. III, No. 28 — page 25 of 36
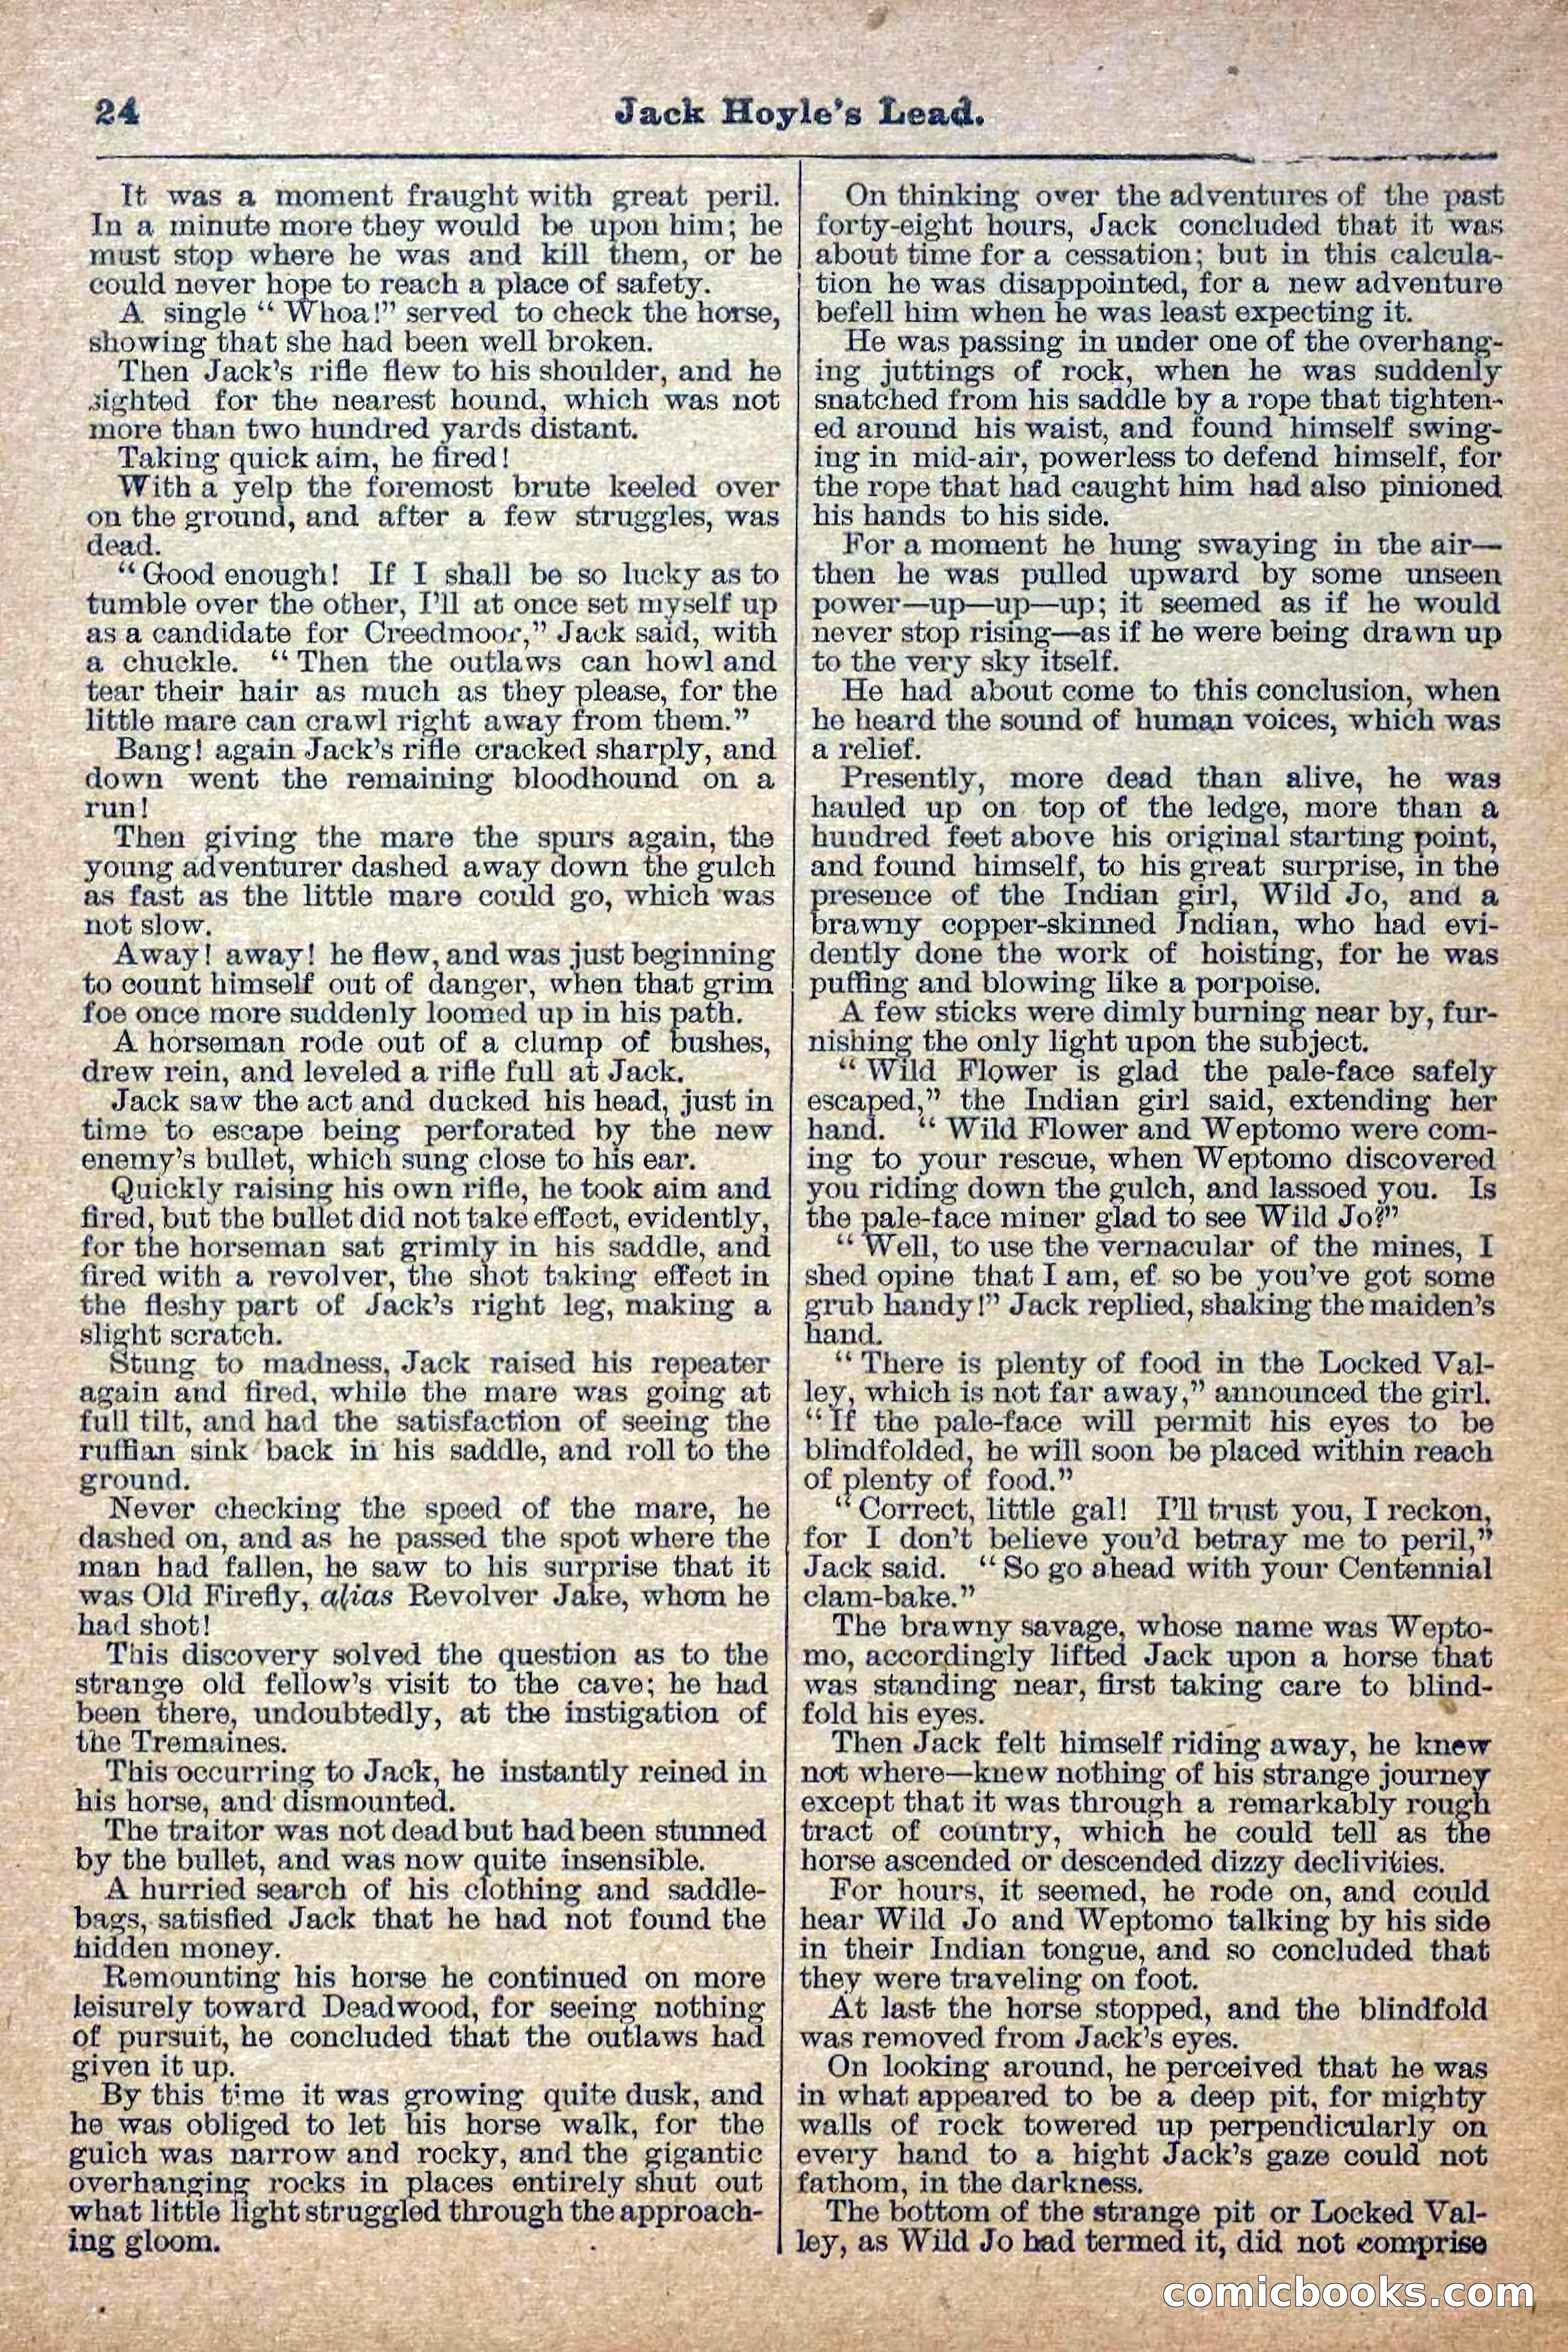
25 / 36
The Deadwood Dick Library, Vol. III, No. 28 — page 26 of 36
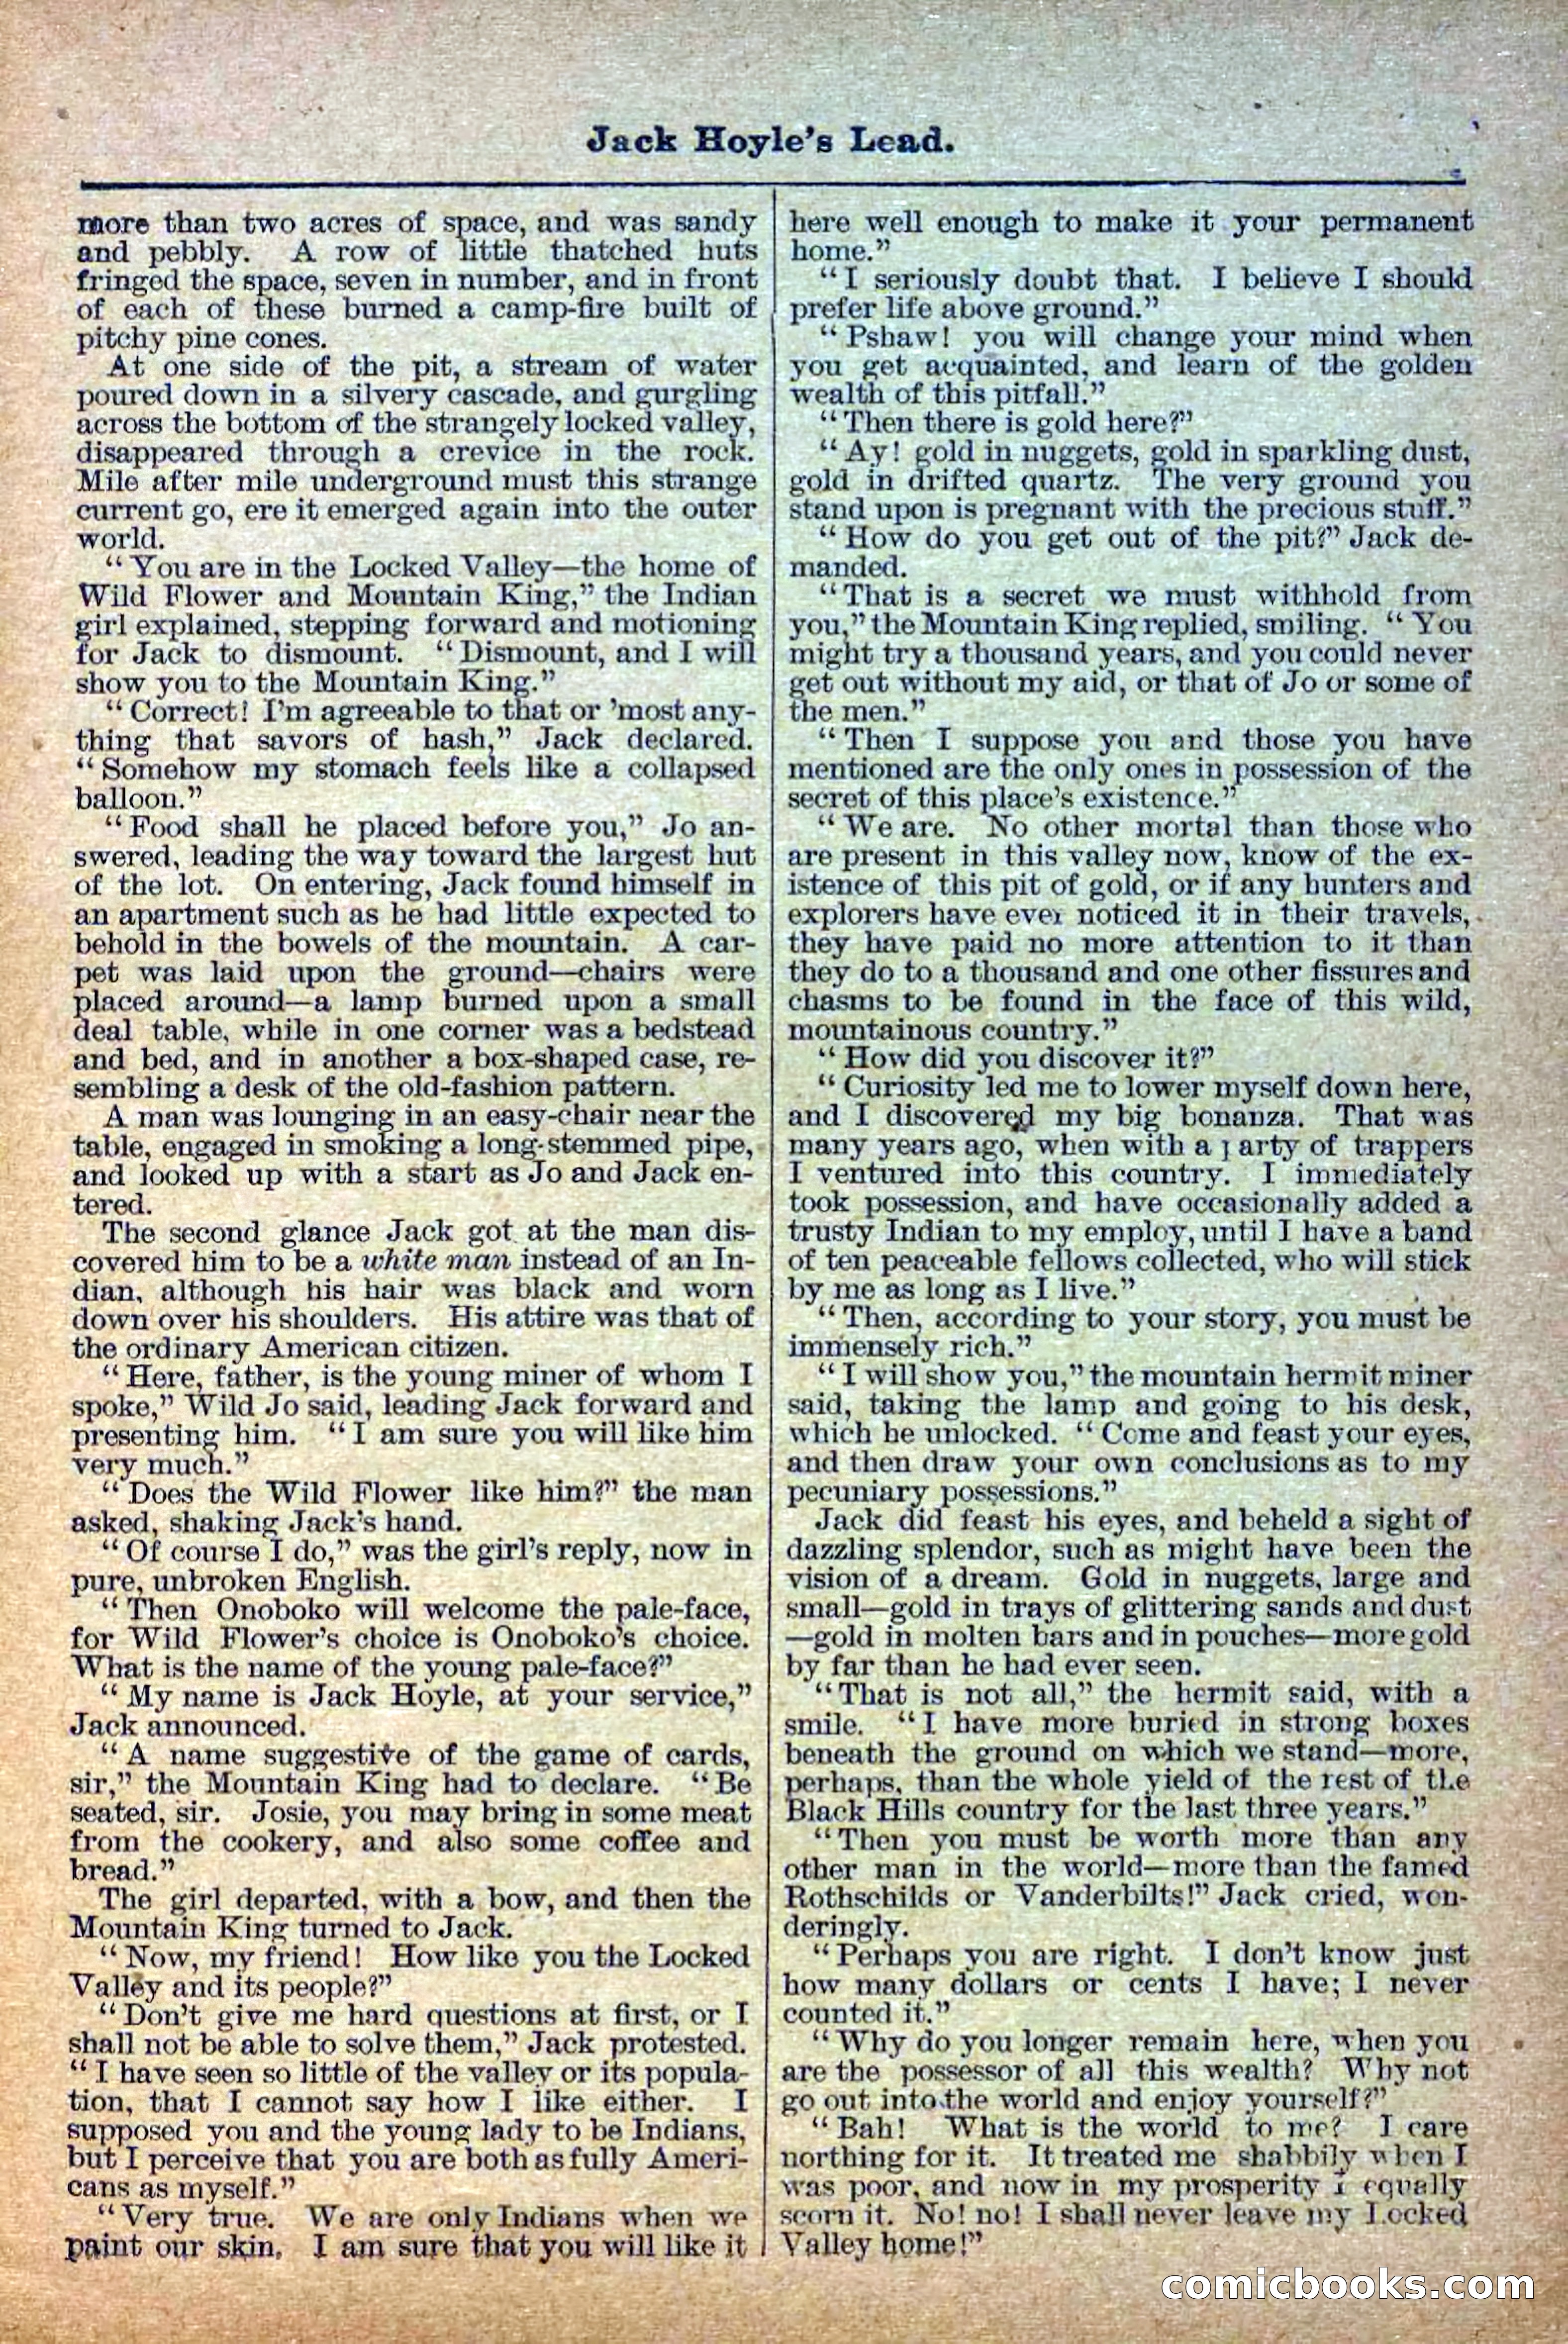
26 / 36
The Deadwood Dick Library, Vol. III, No. 28 — page 27 of 36
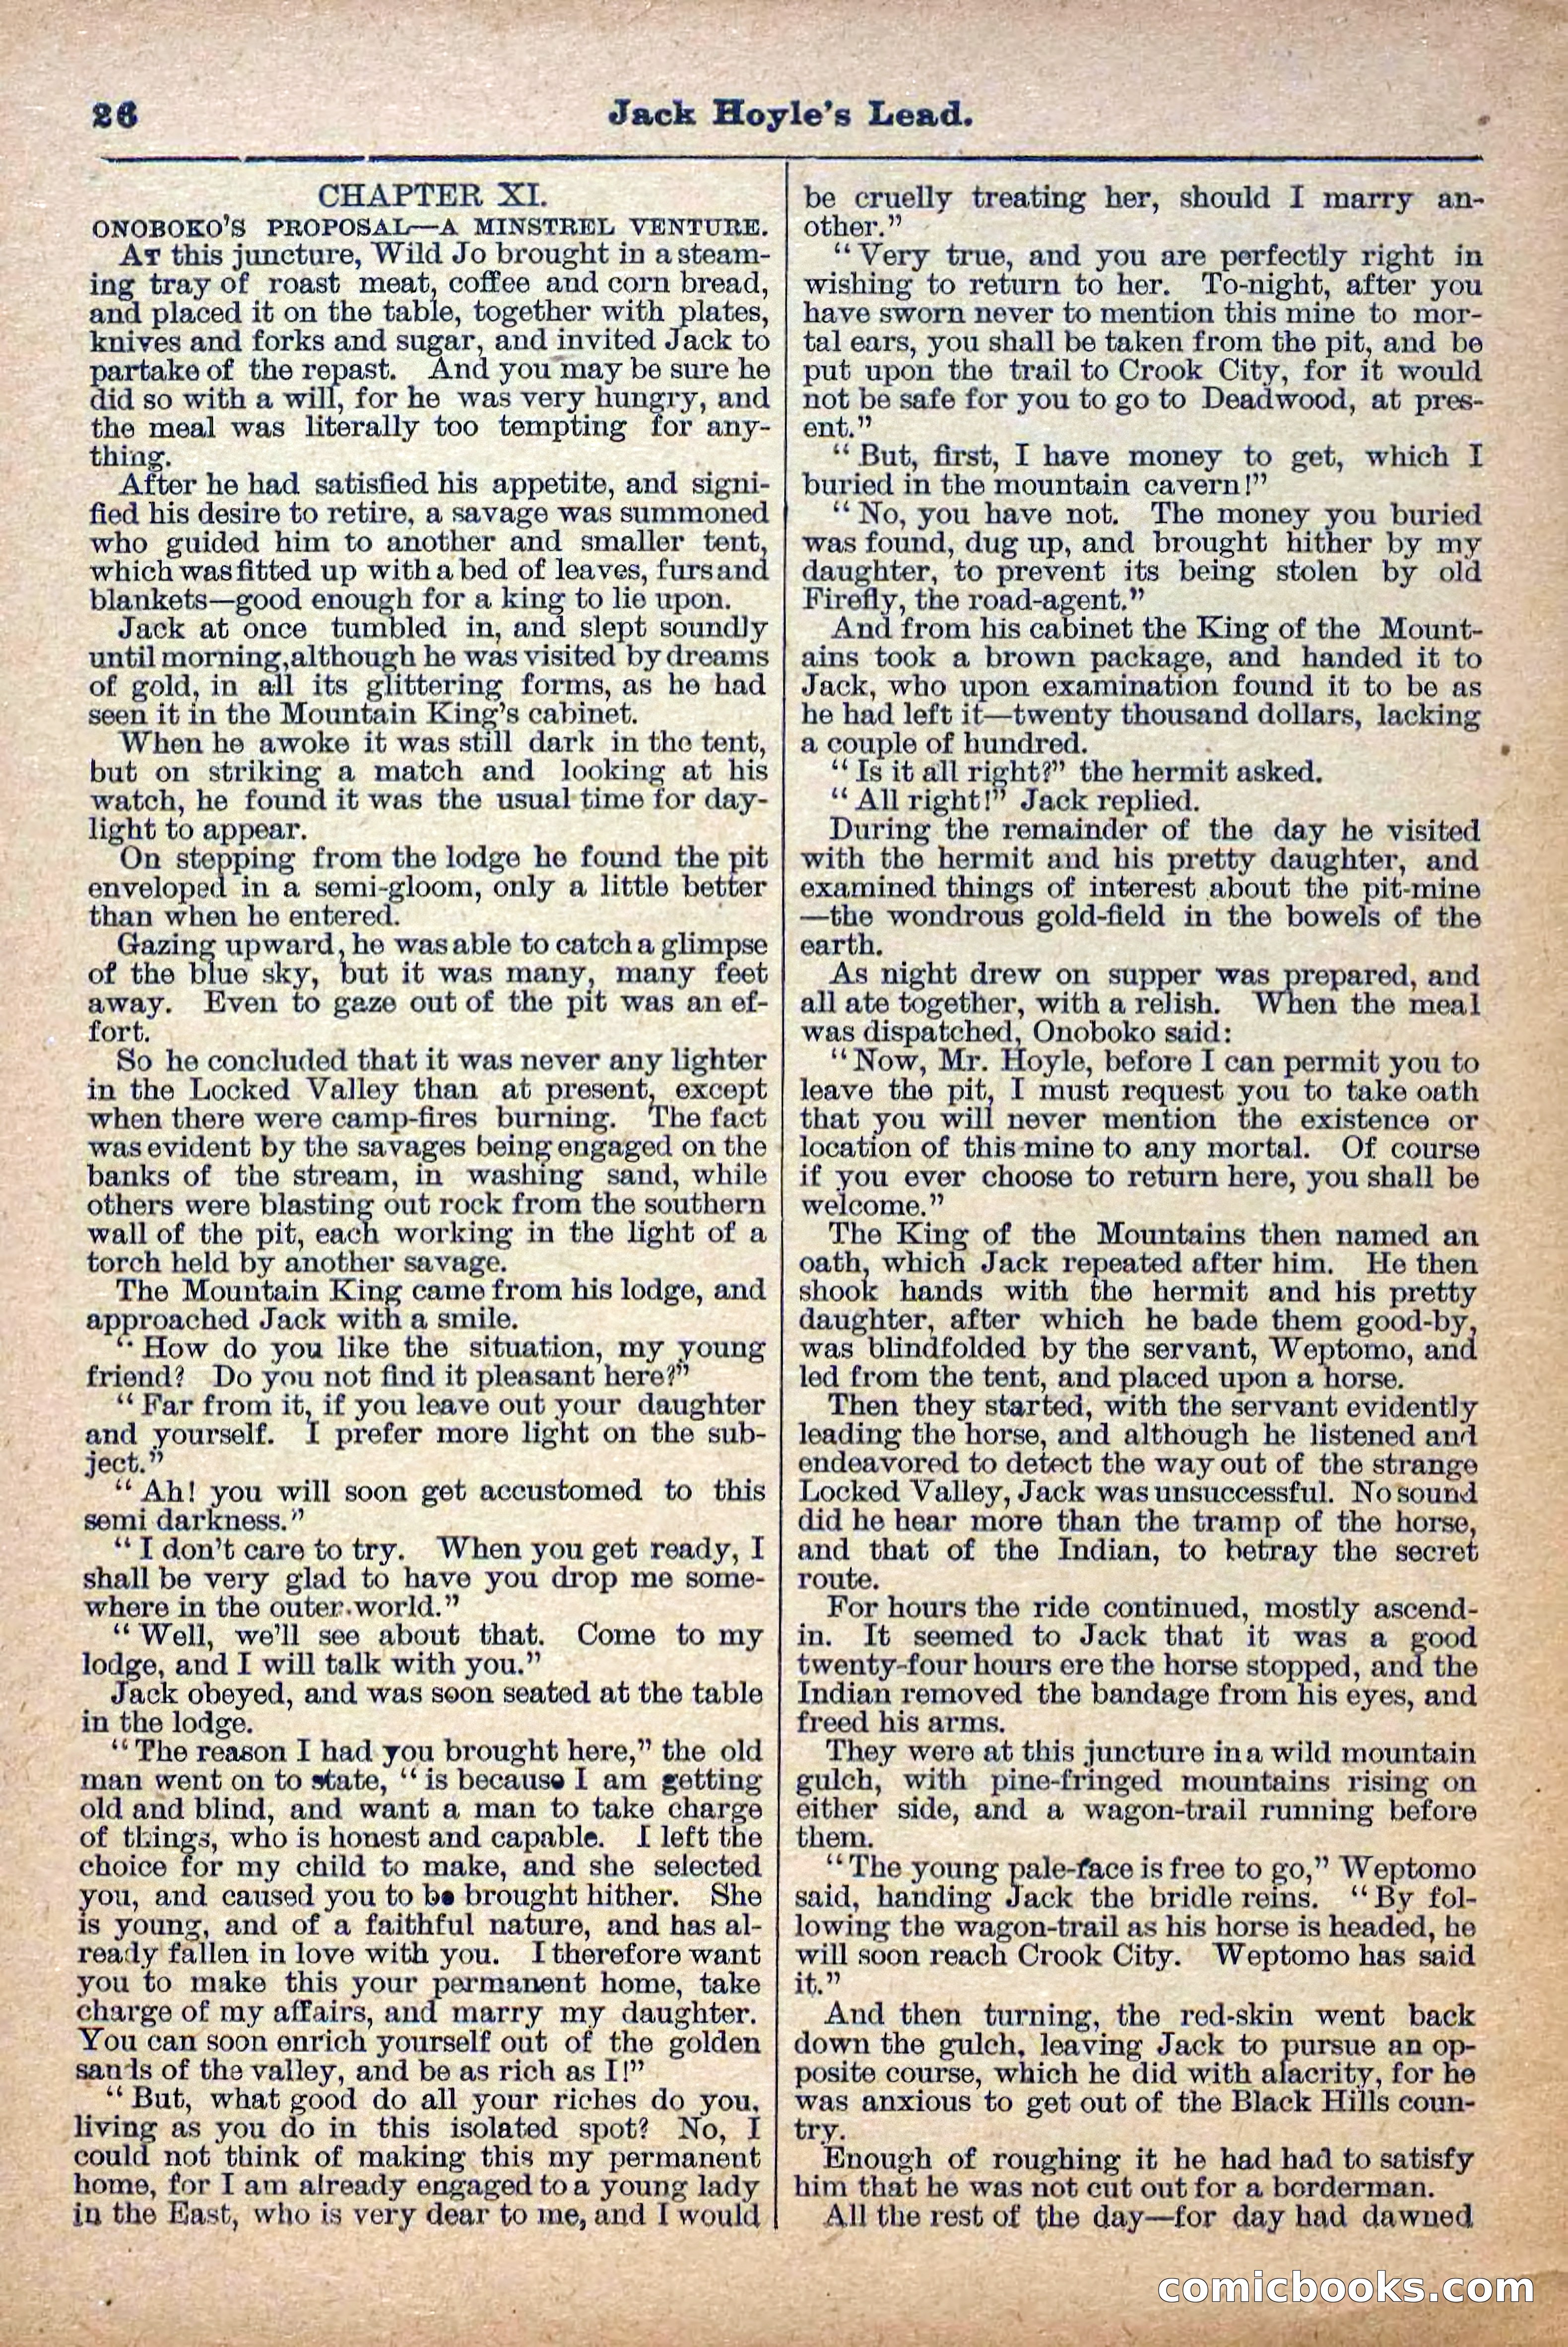
27 / 36
The Deadwood Dick Library, Vol. III, No. 28 — page 28 of 36
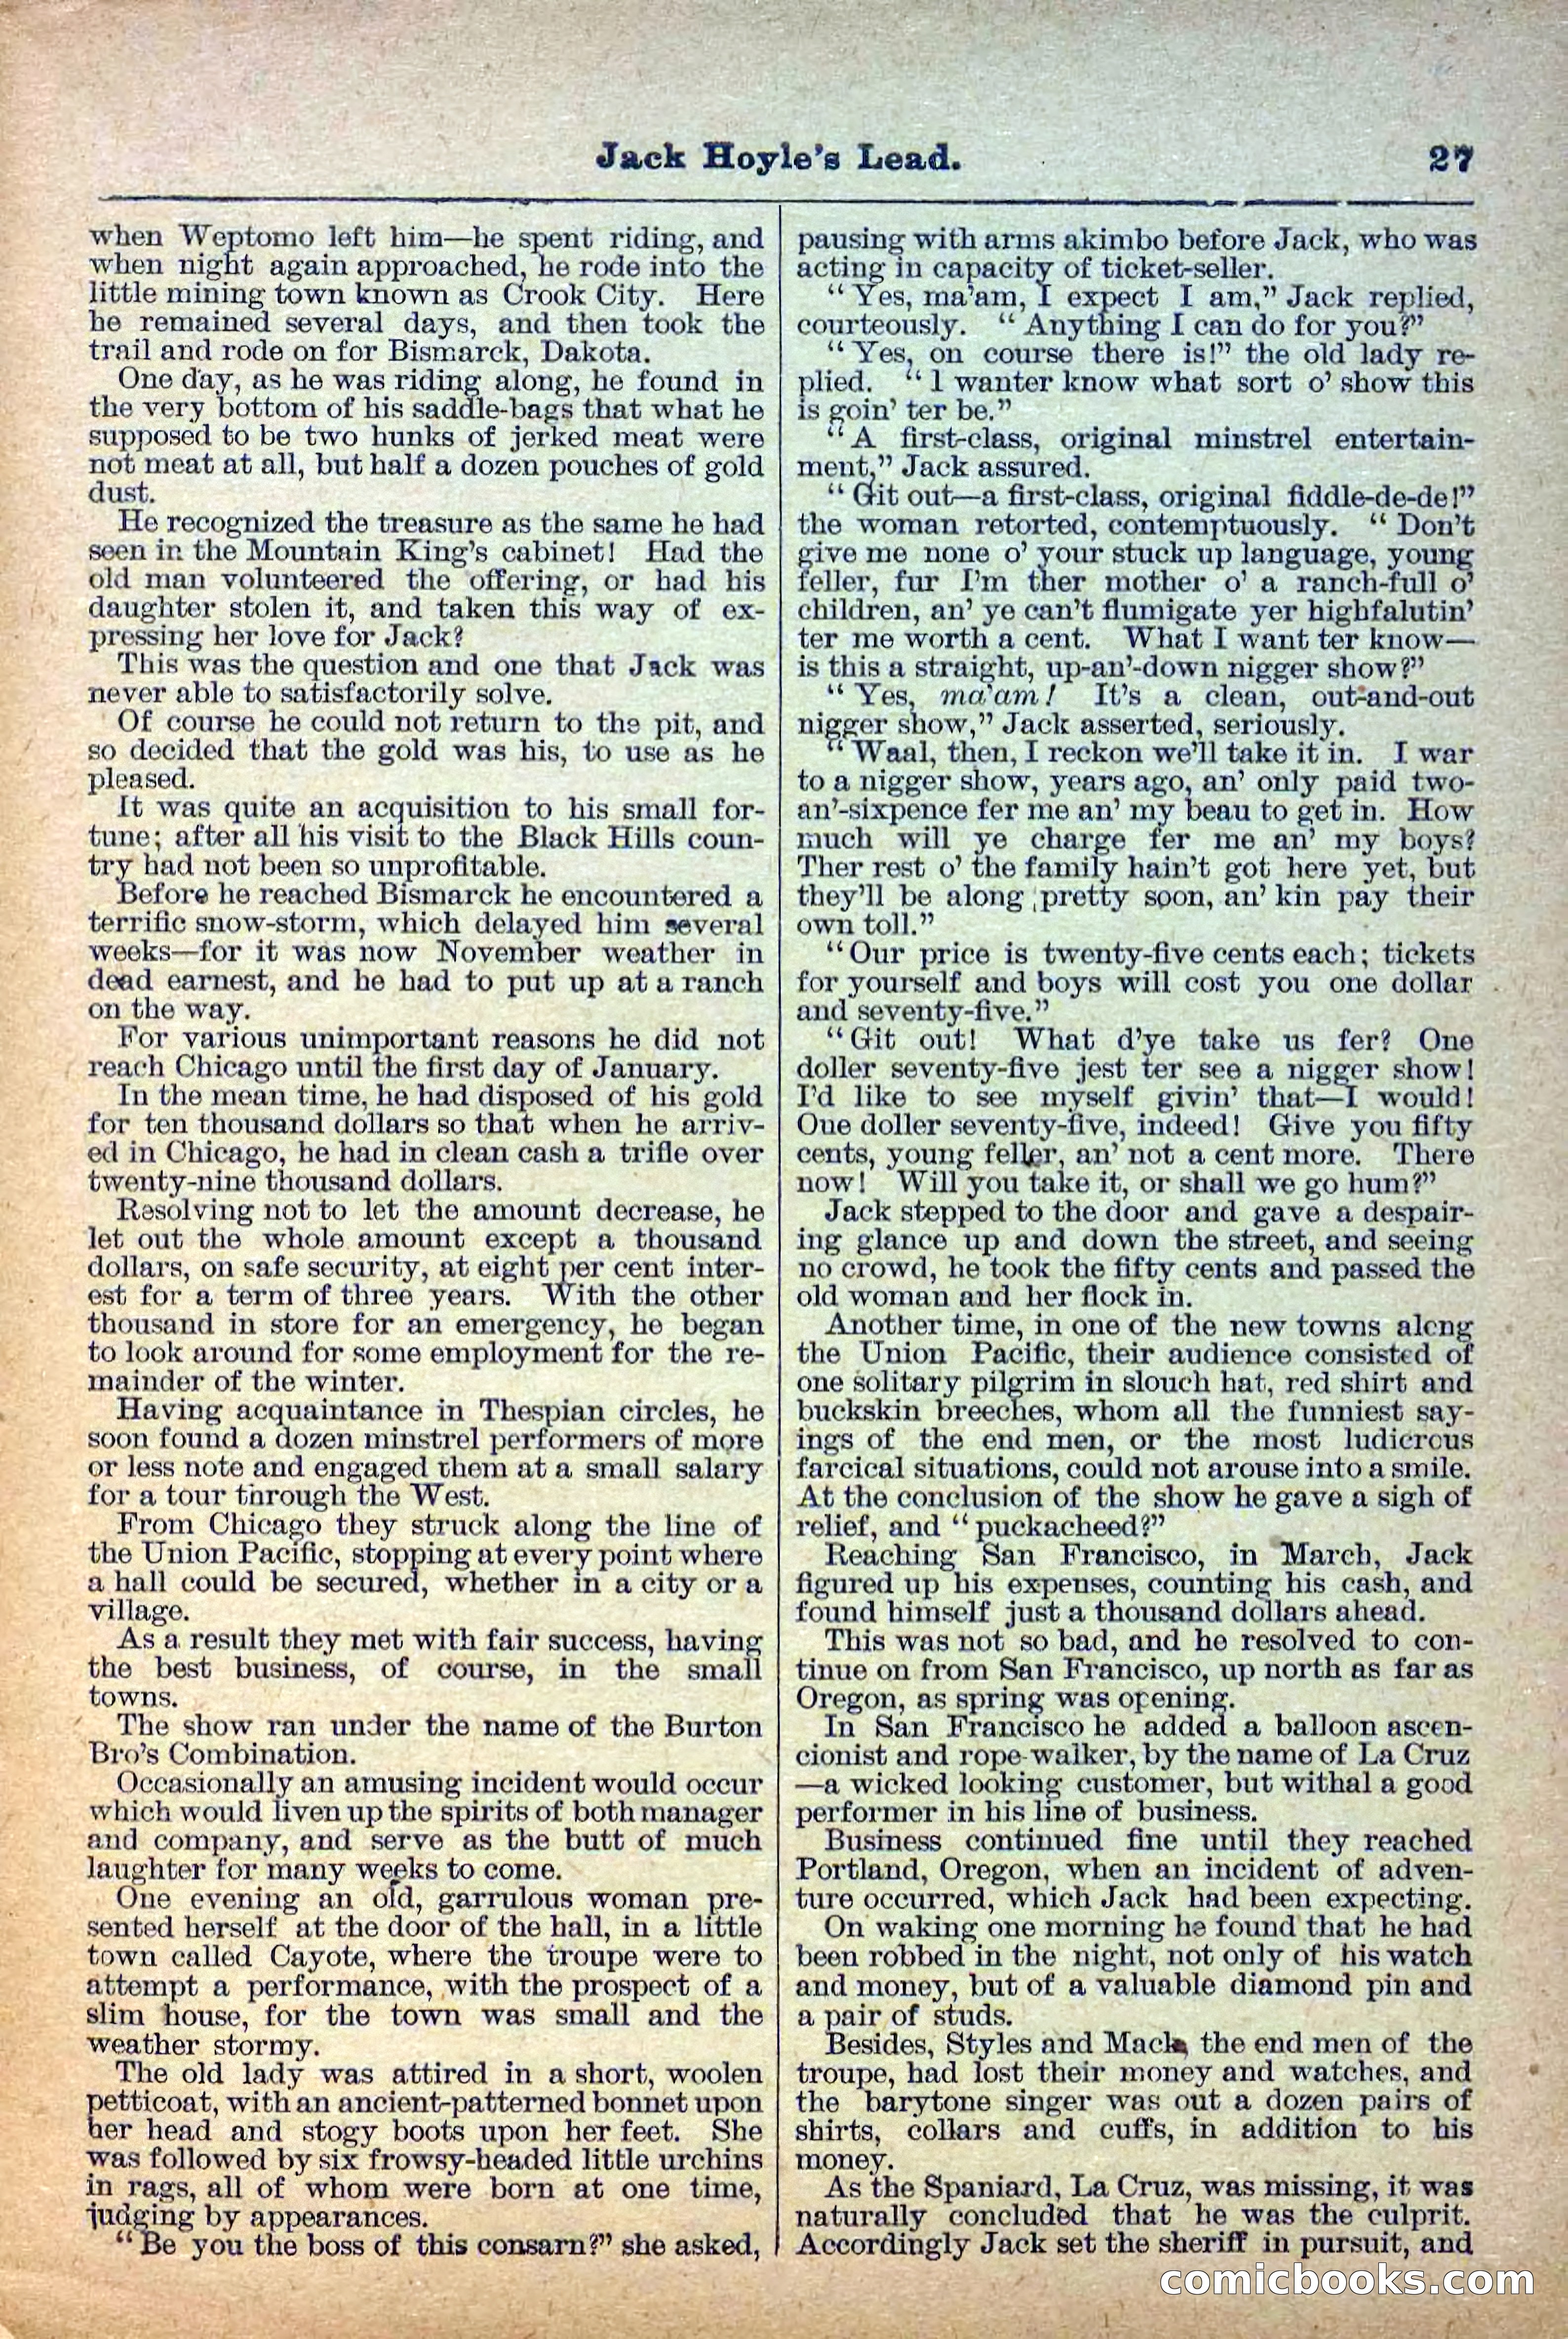
28 / 36
The Deadwood Dick Library, Vol. III, No. 28 — page 29 of 36
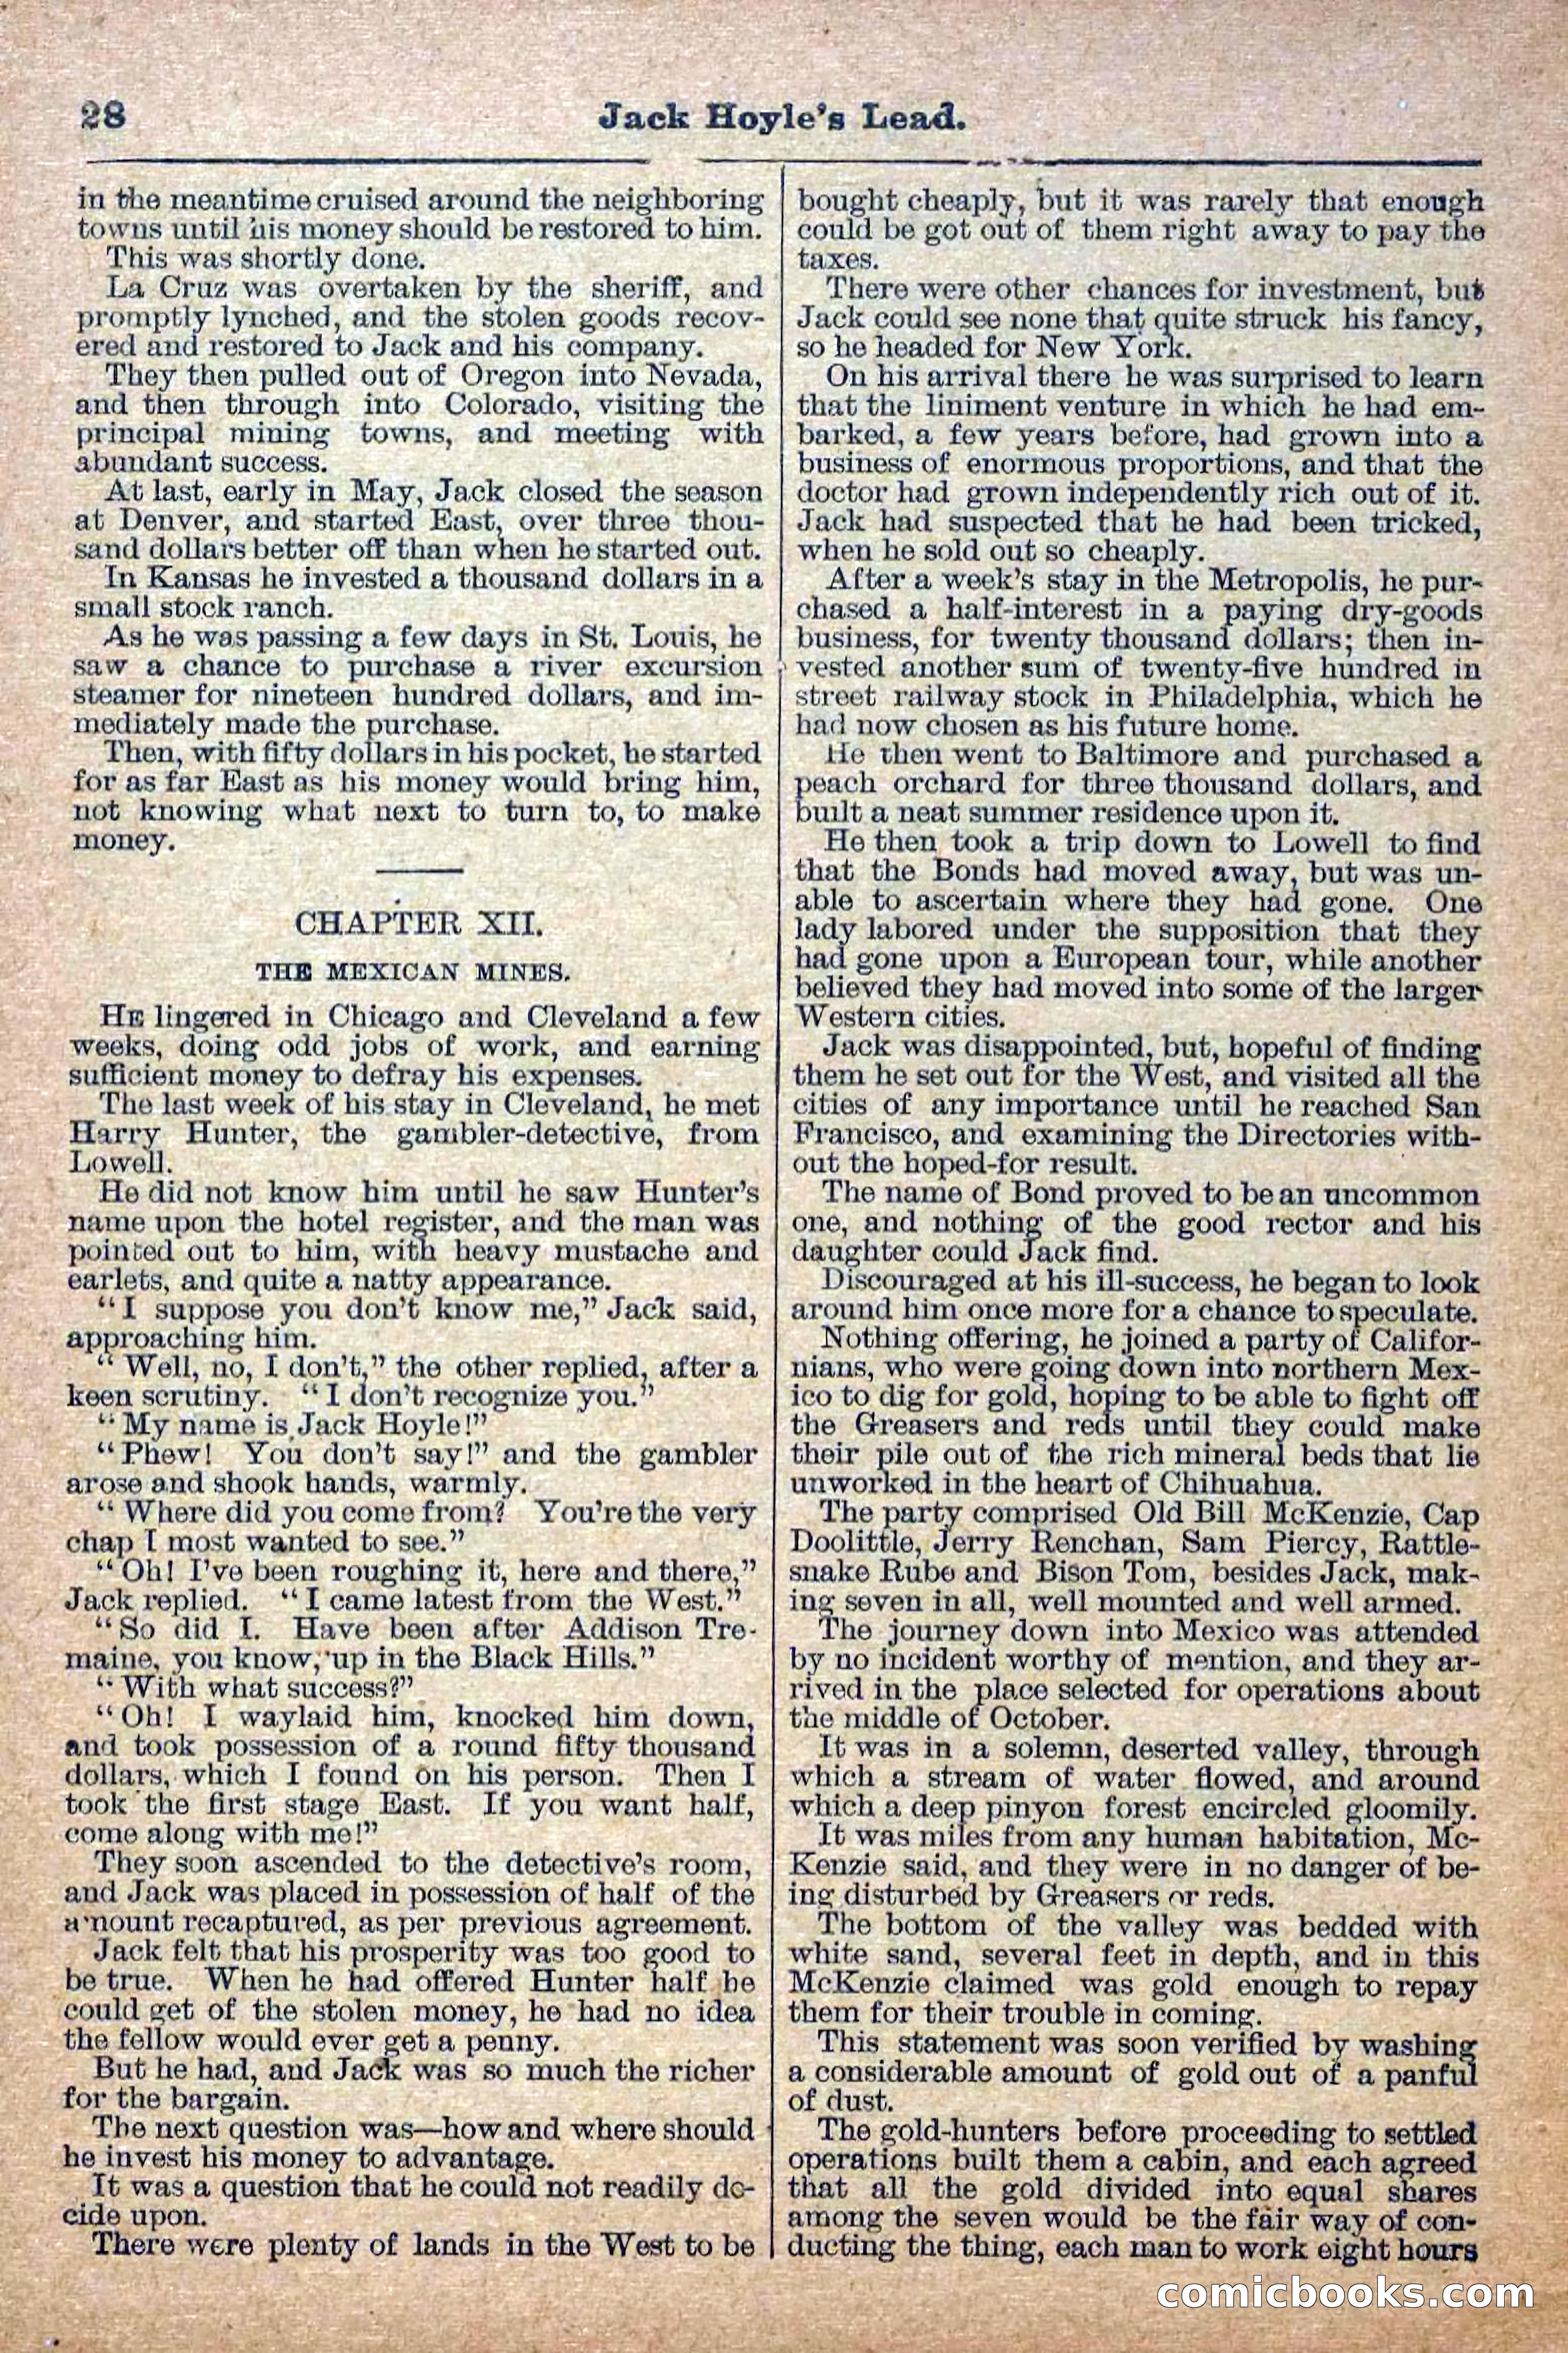
29 / 36
The Deadwood Dick Library, Vol. III, No. 28 — page 30 of 36
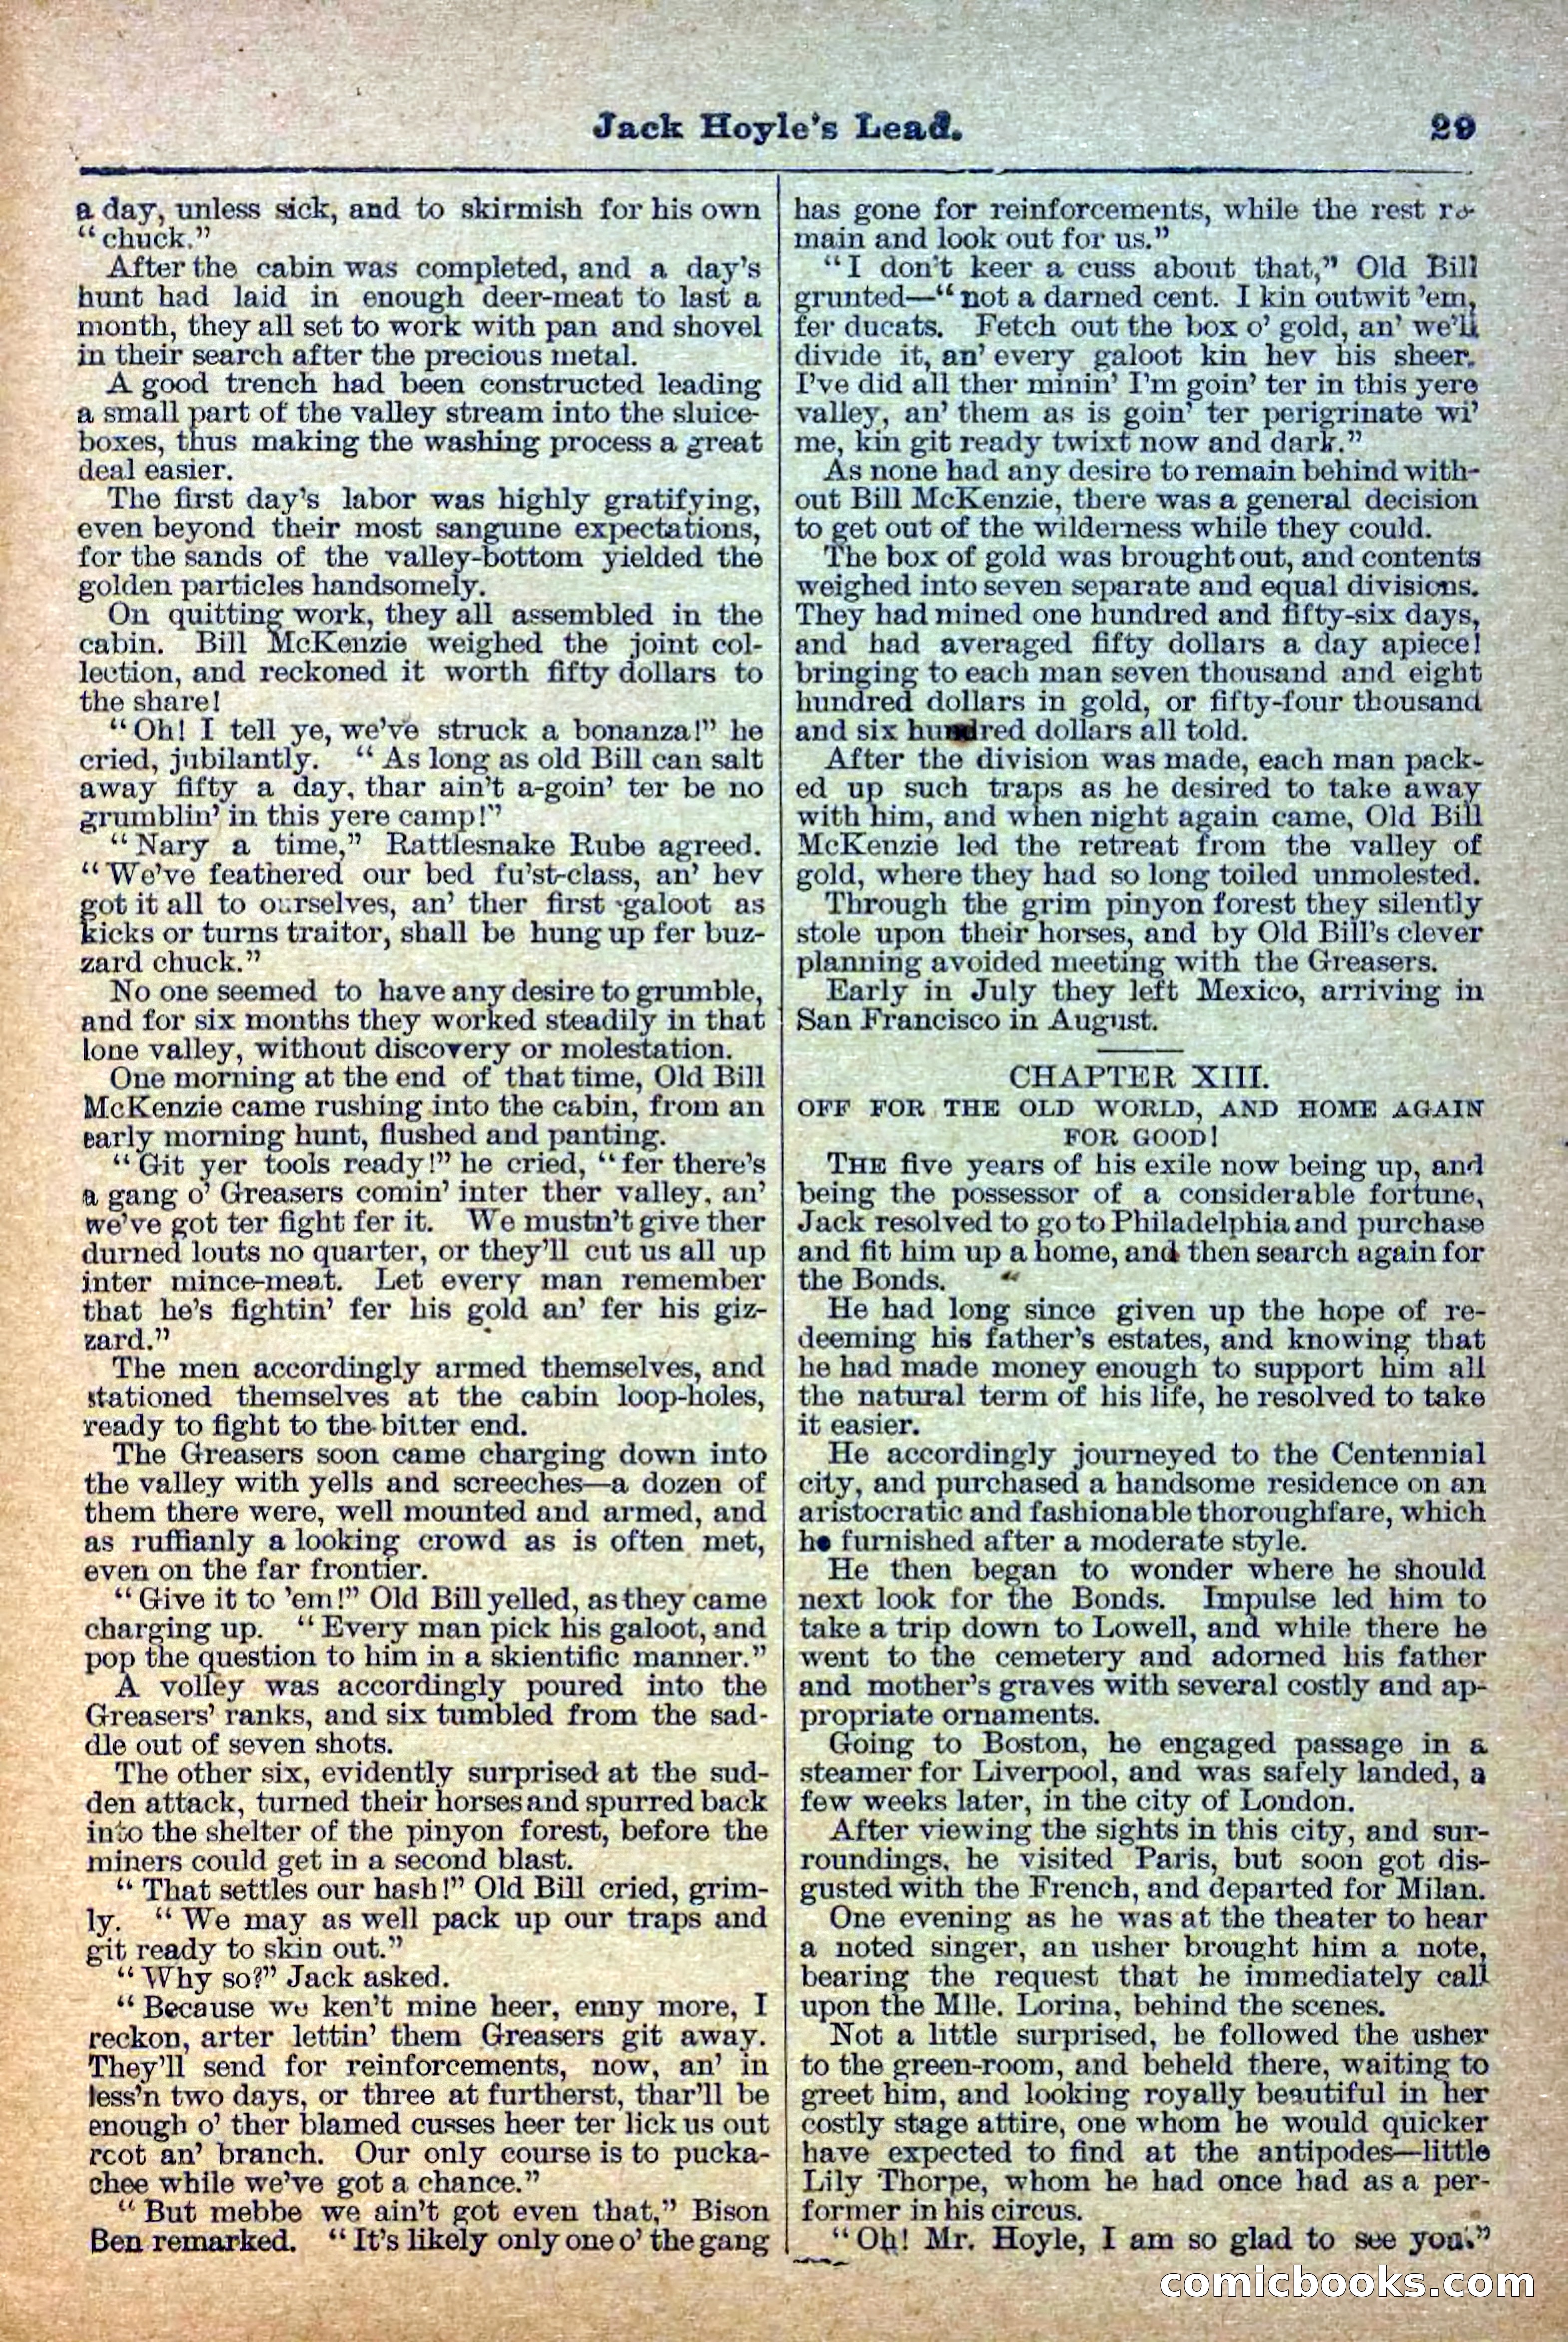
30 / 36
The Deadwood Dick Library, Vol. III, No. 28 — page 31 of 36
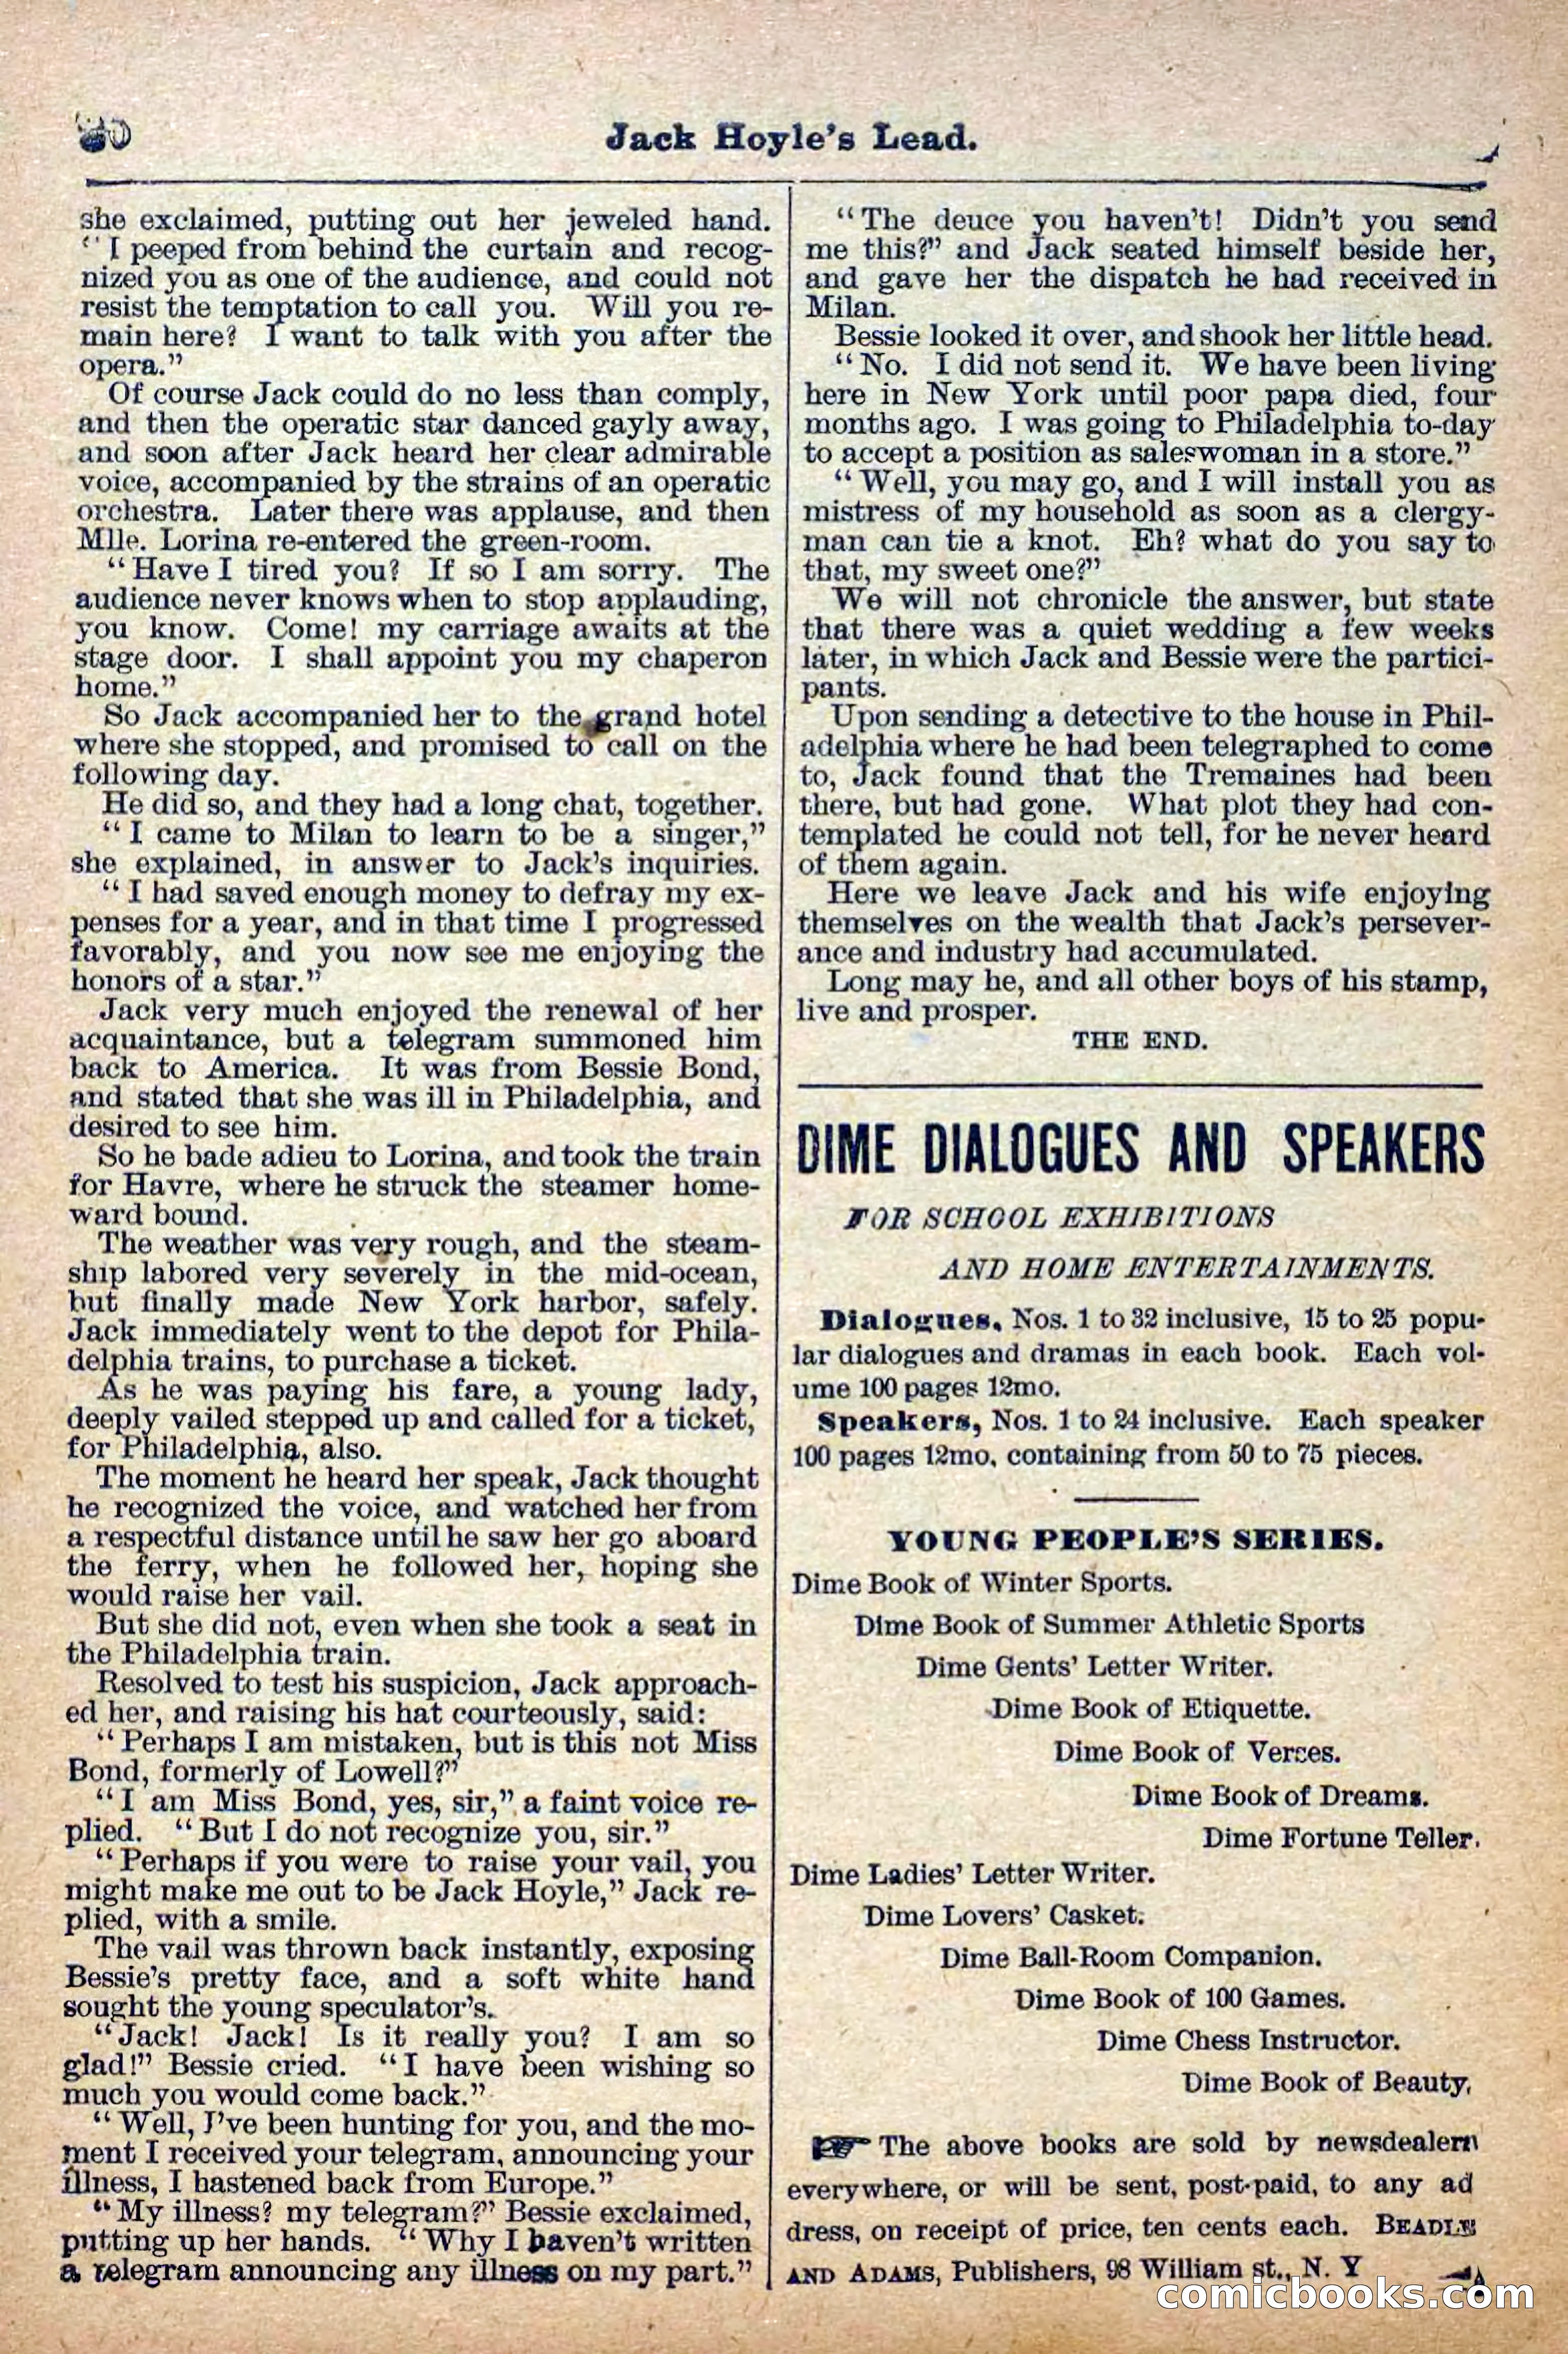
31 / 36
The Deadwood Dick Library, Vol. III, No. 28 — page 32 of 36
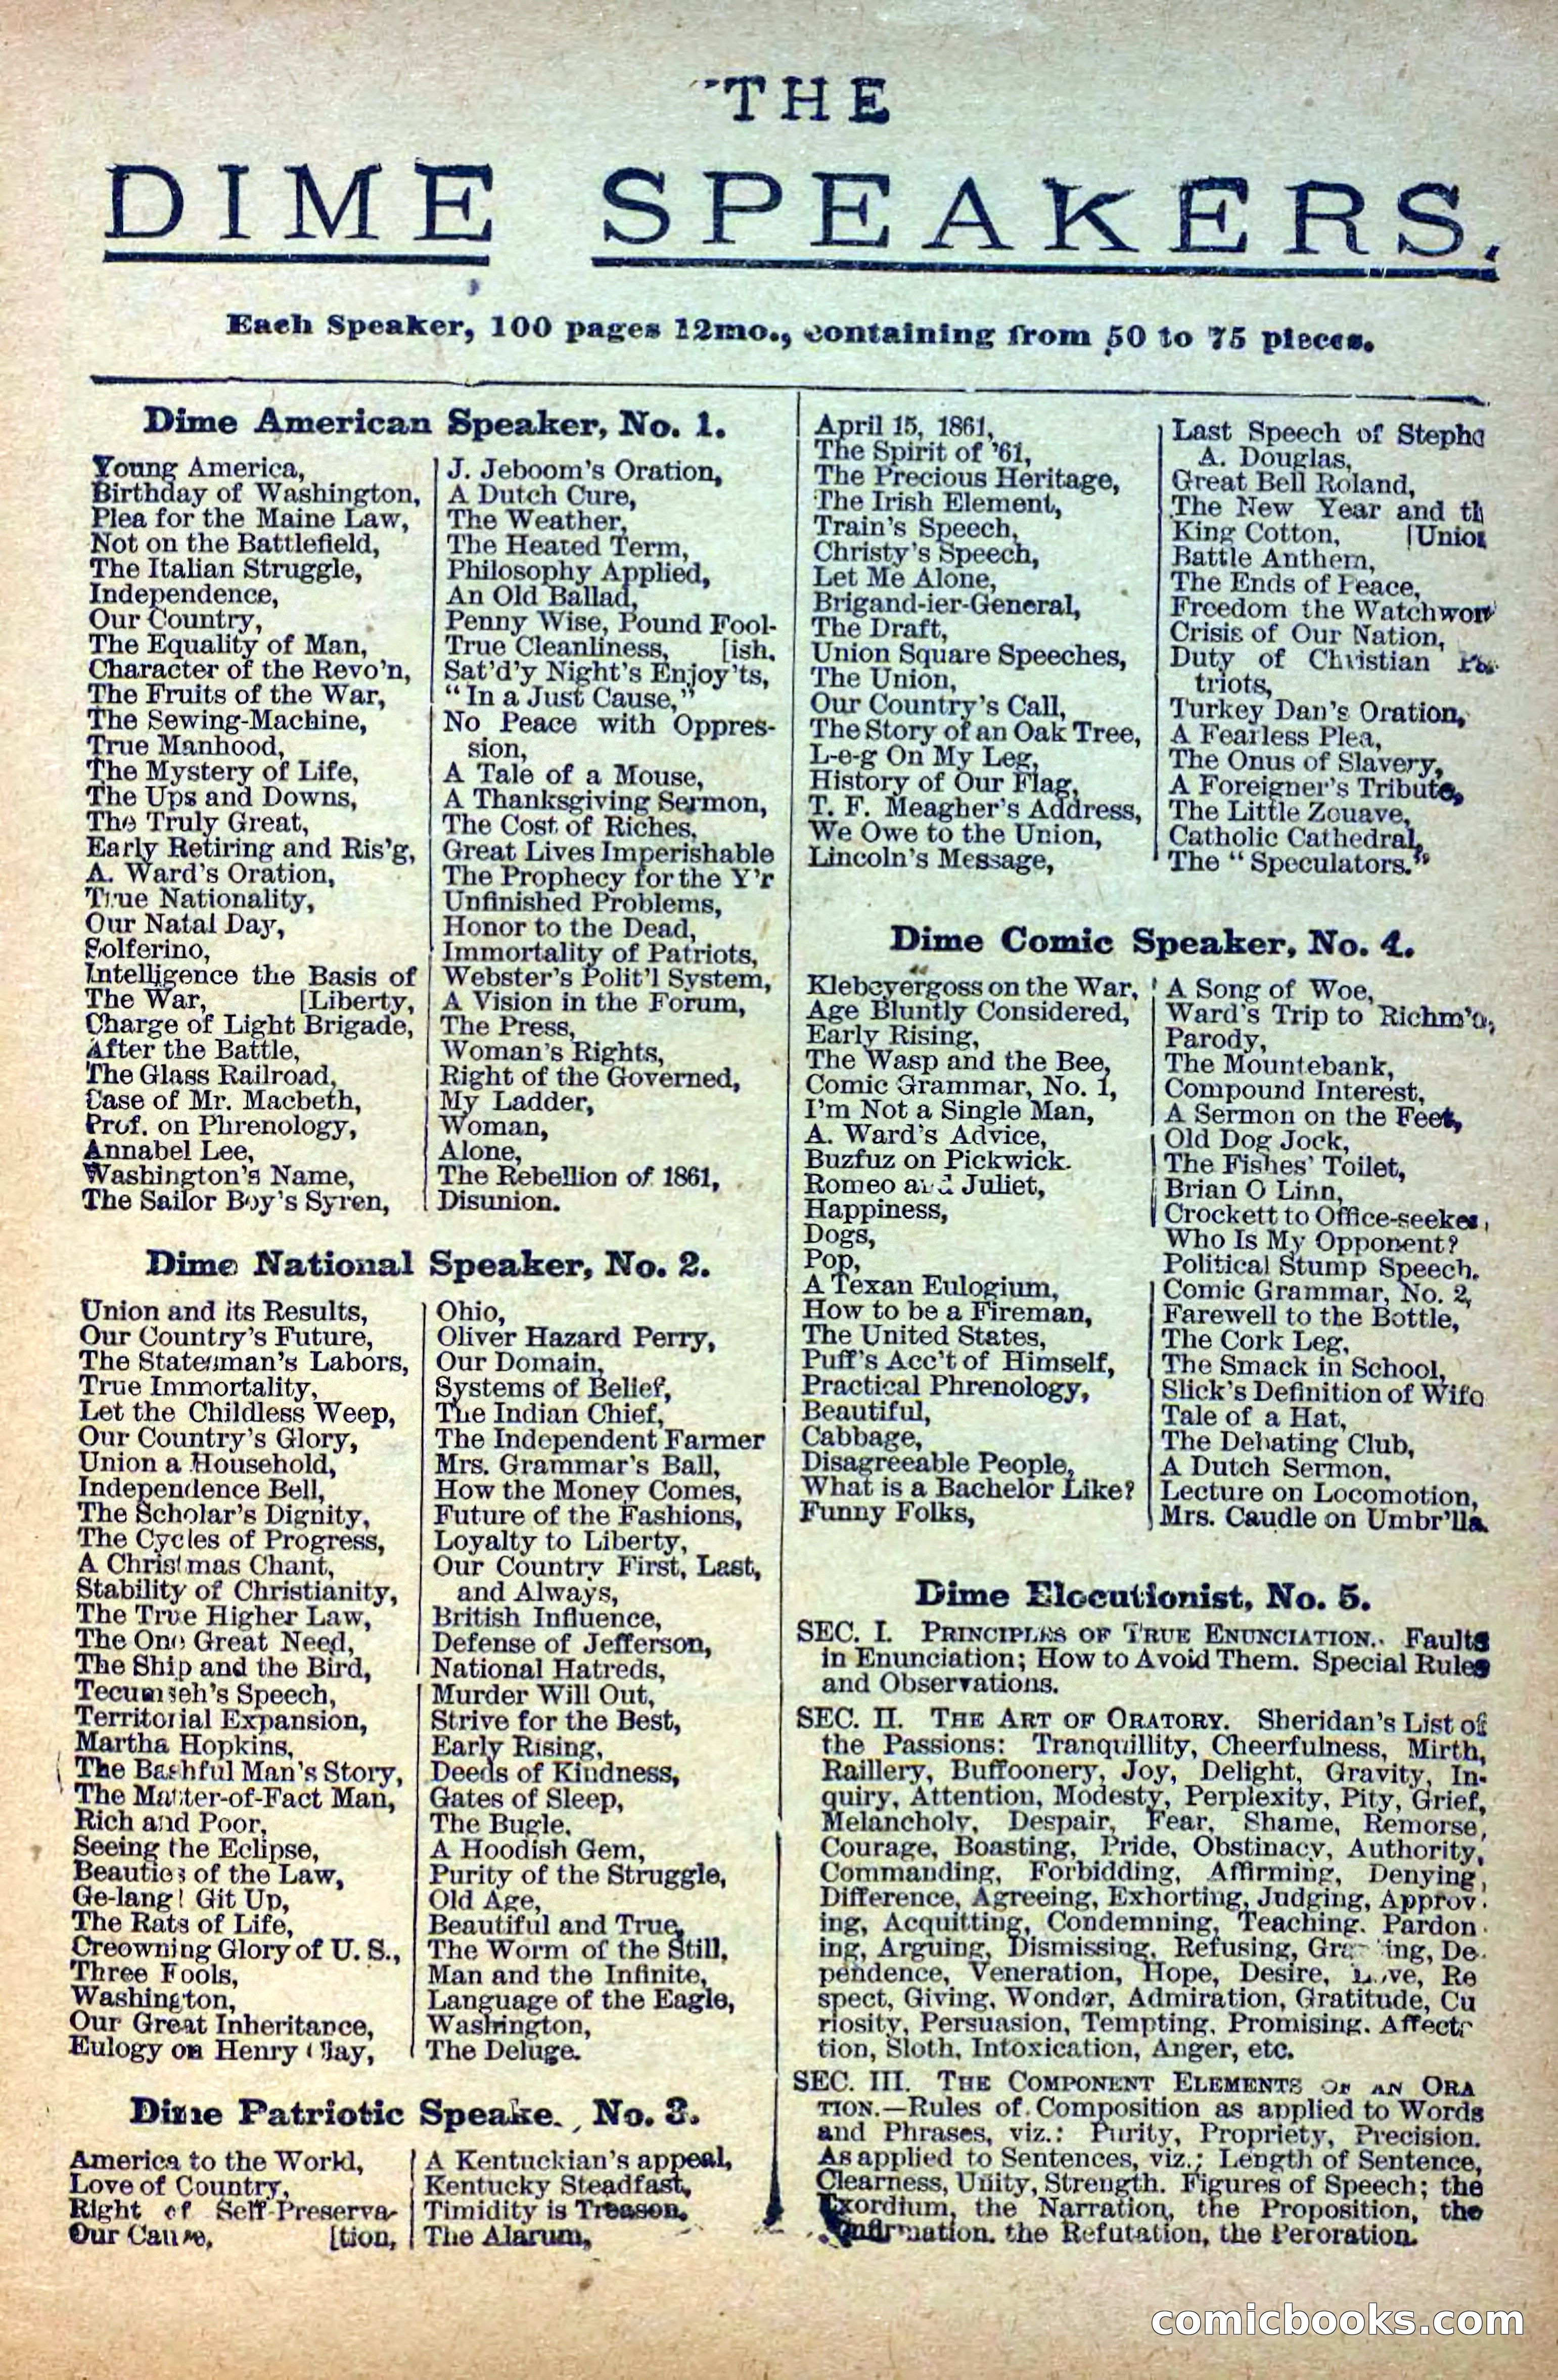
32 / 36
The Deadwood Dick Library, Vol. III, No. 28 — page 33 of 36
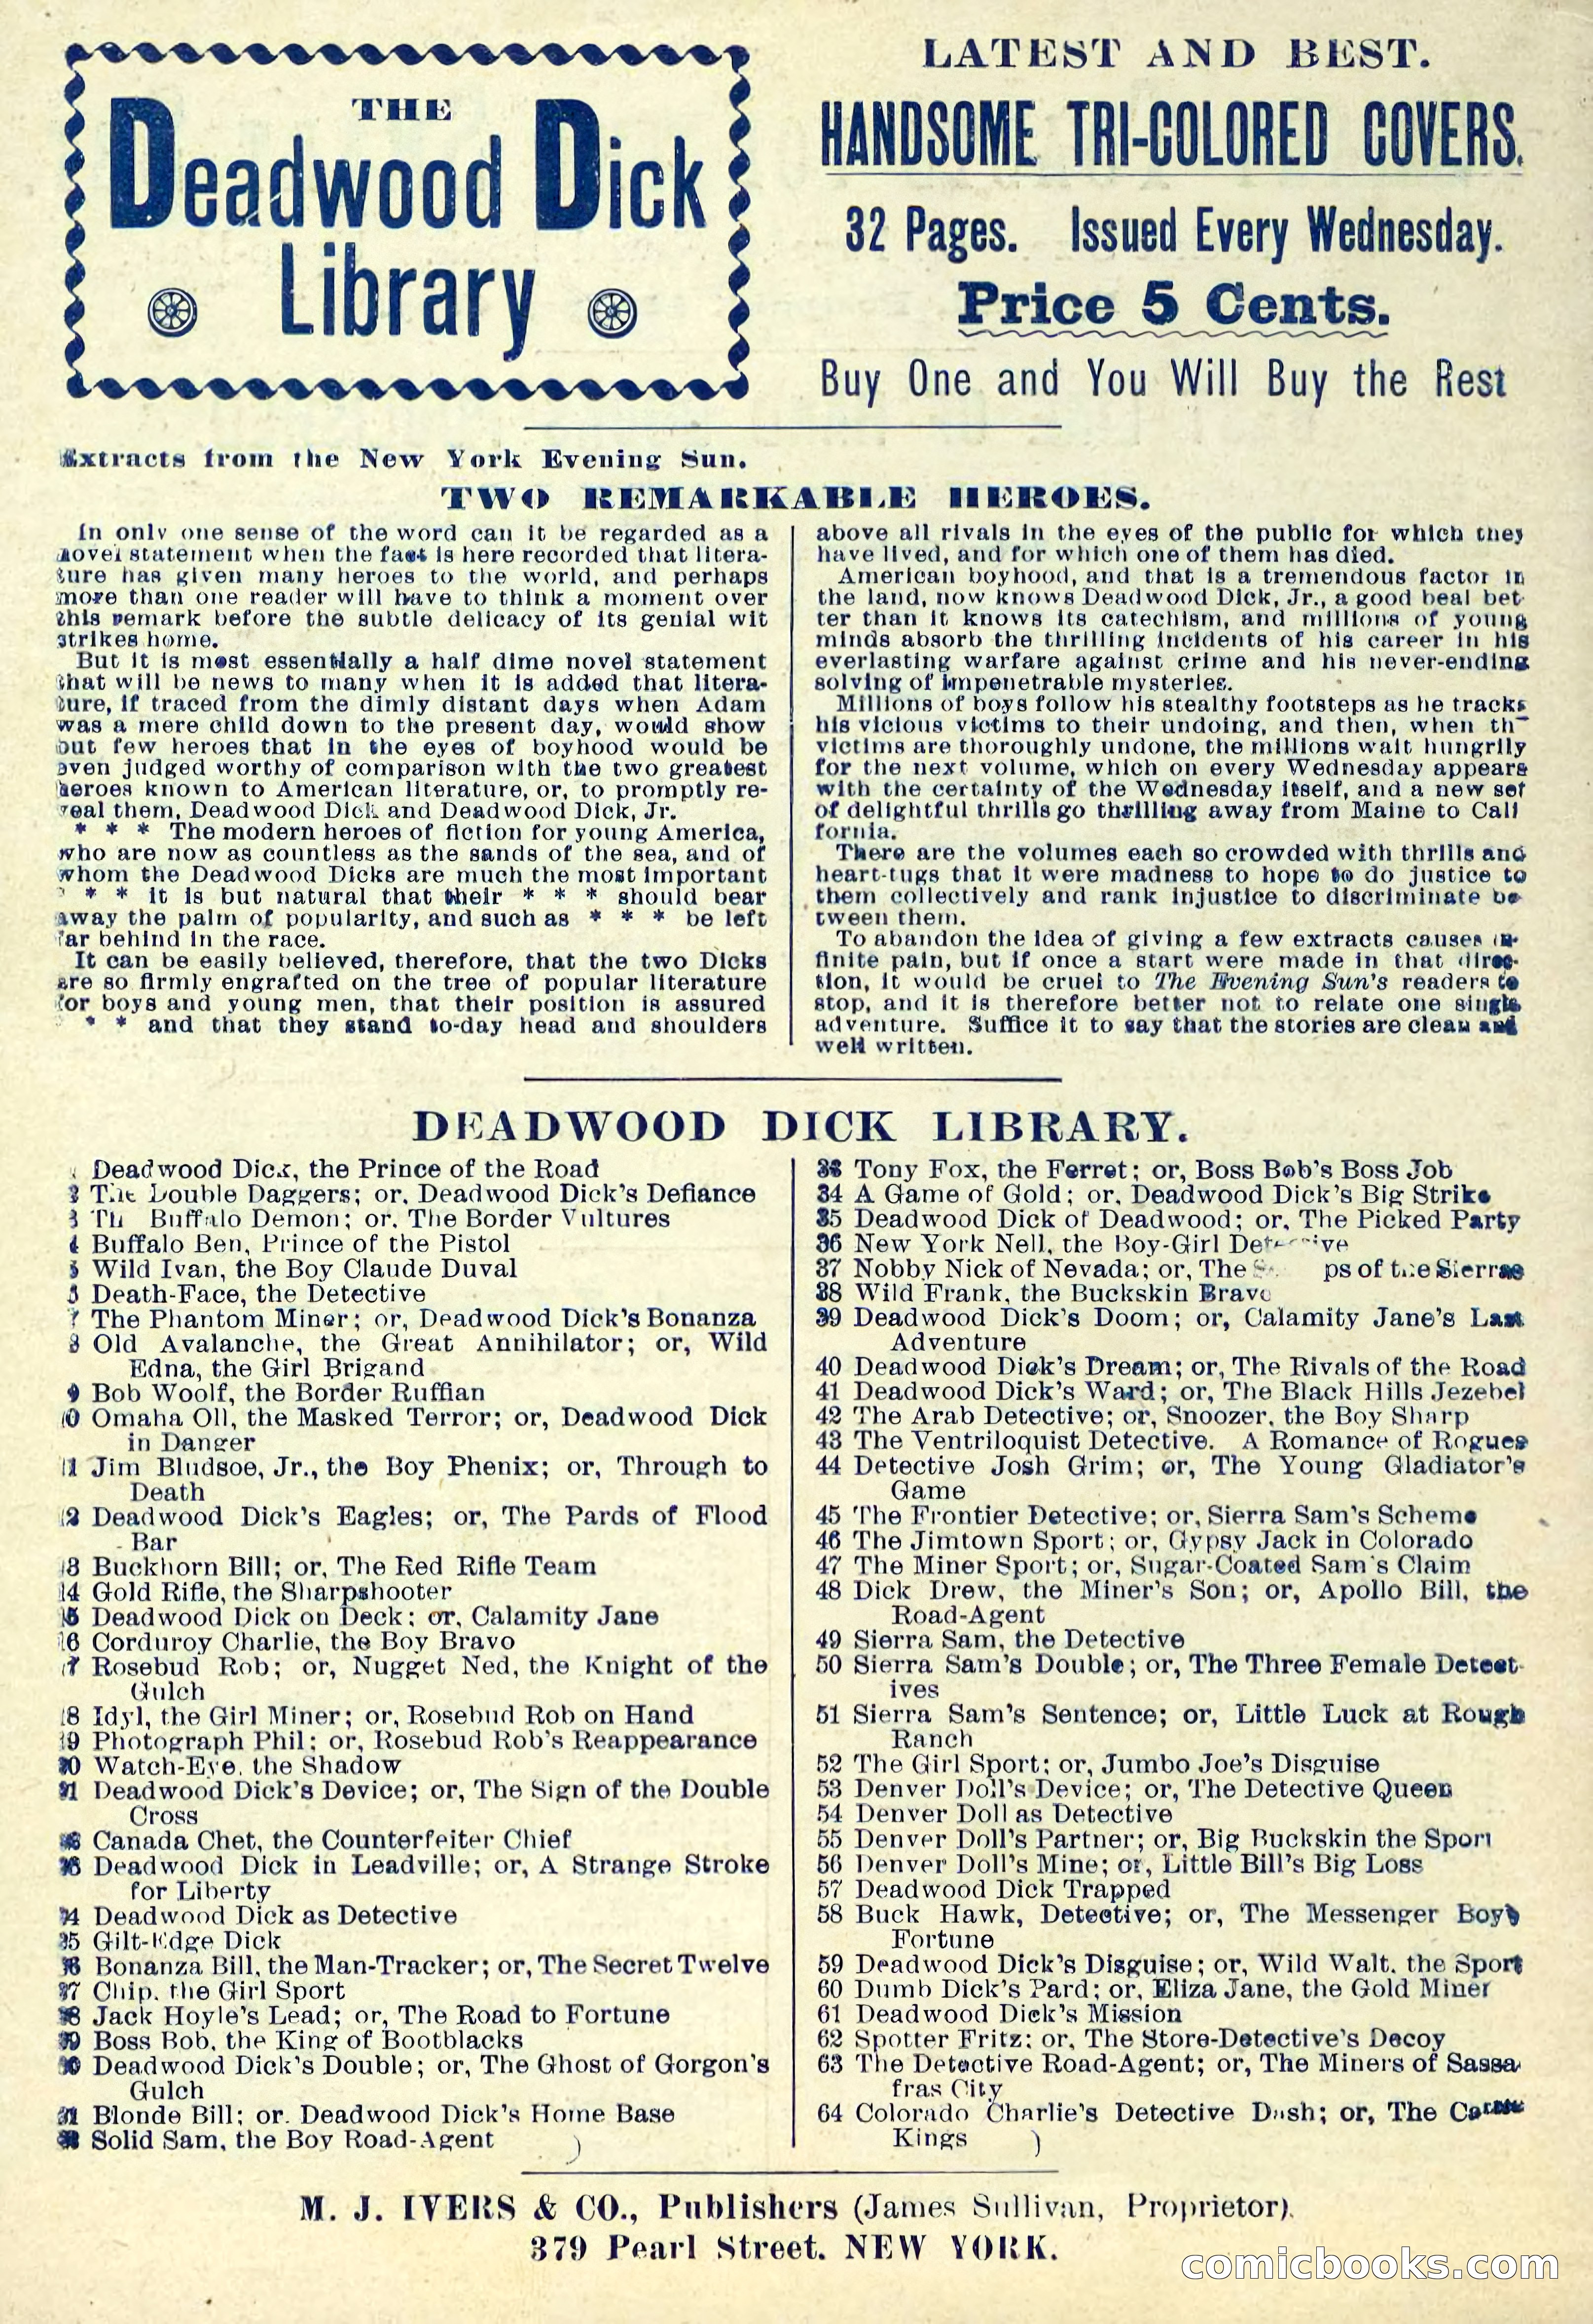
33 / 36
The Deadwood Dick Library, Vol. III, No. 28 — page 34 of 36
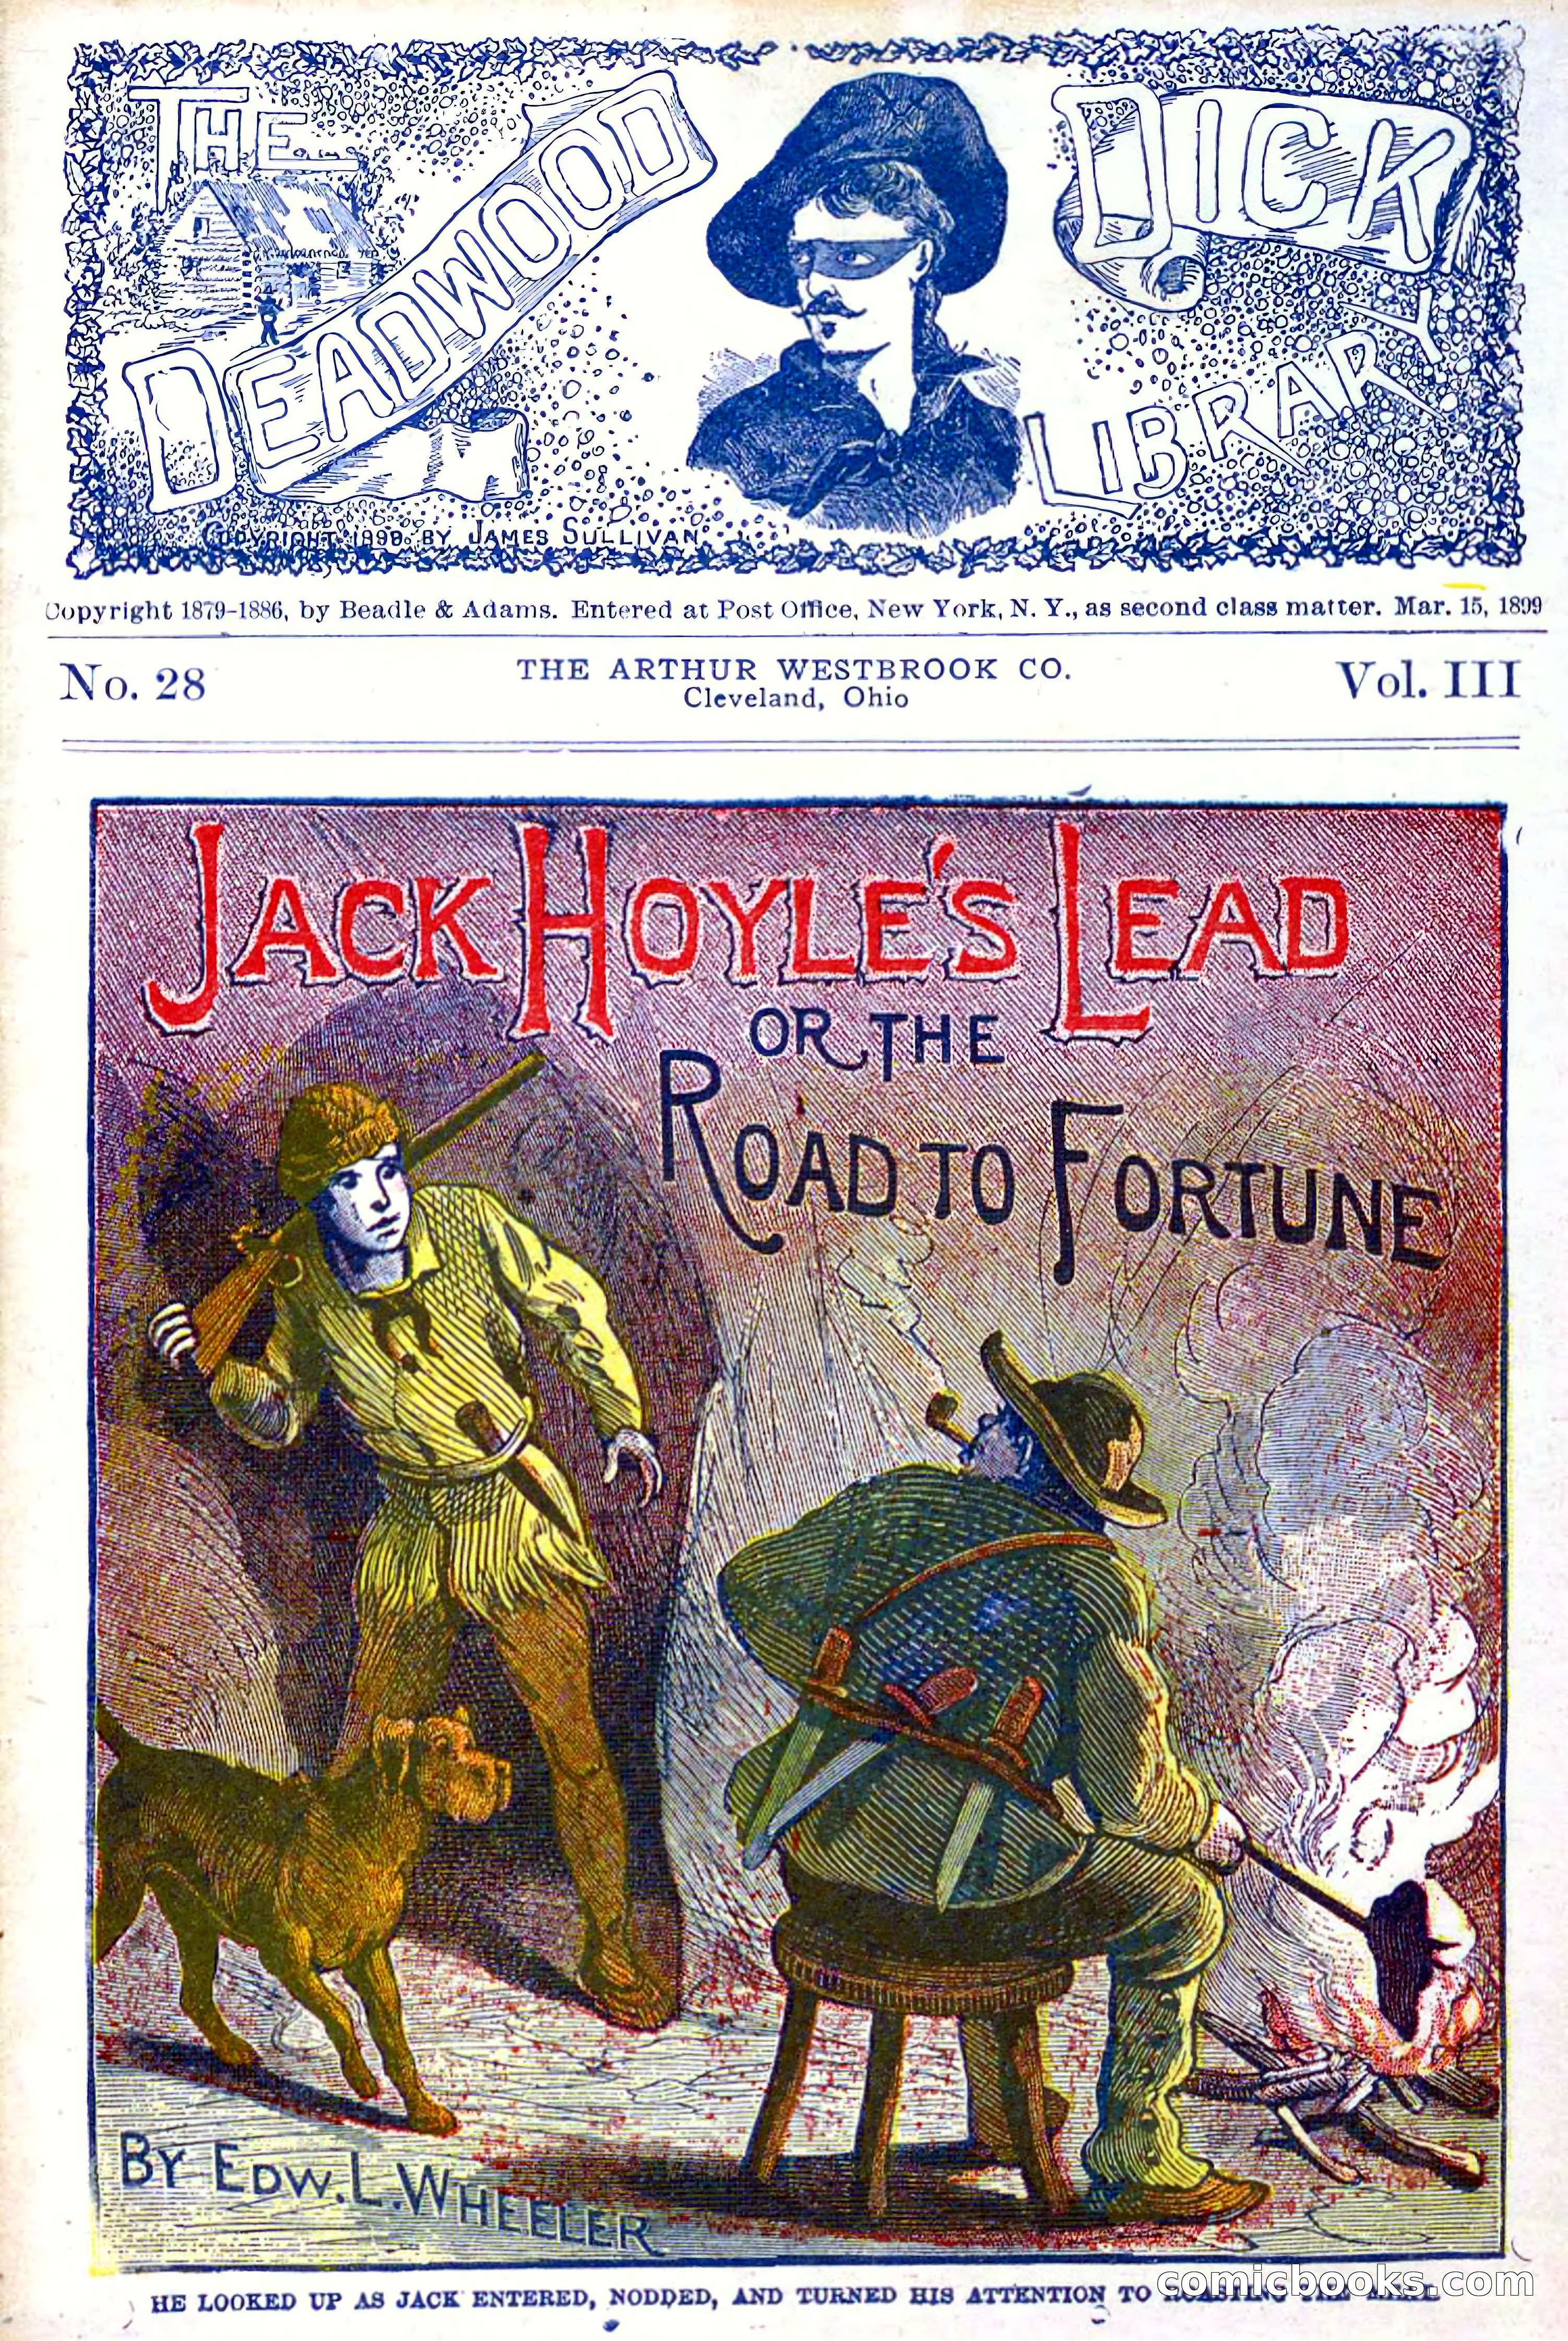
34 / 36
The Deadwood Dick Library, Vol. III, No. 28 — page 35 of 36
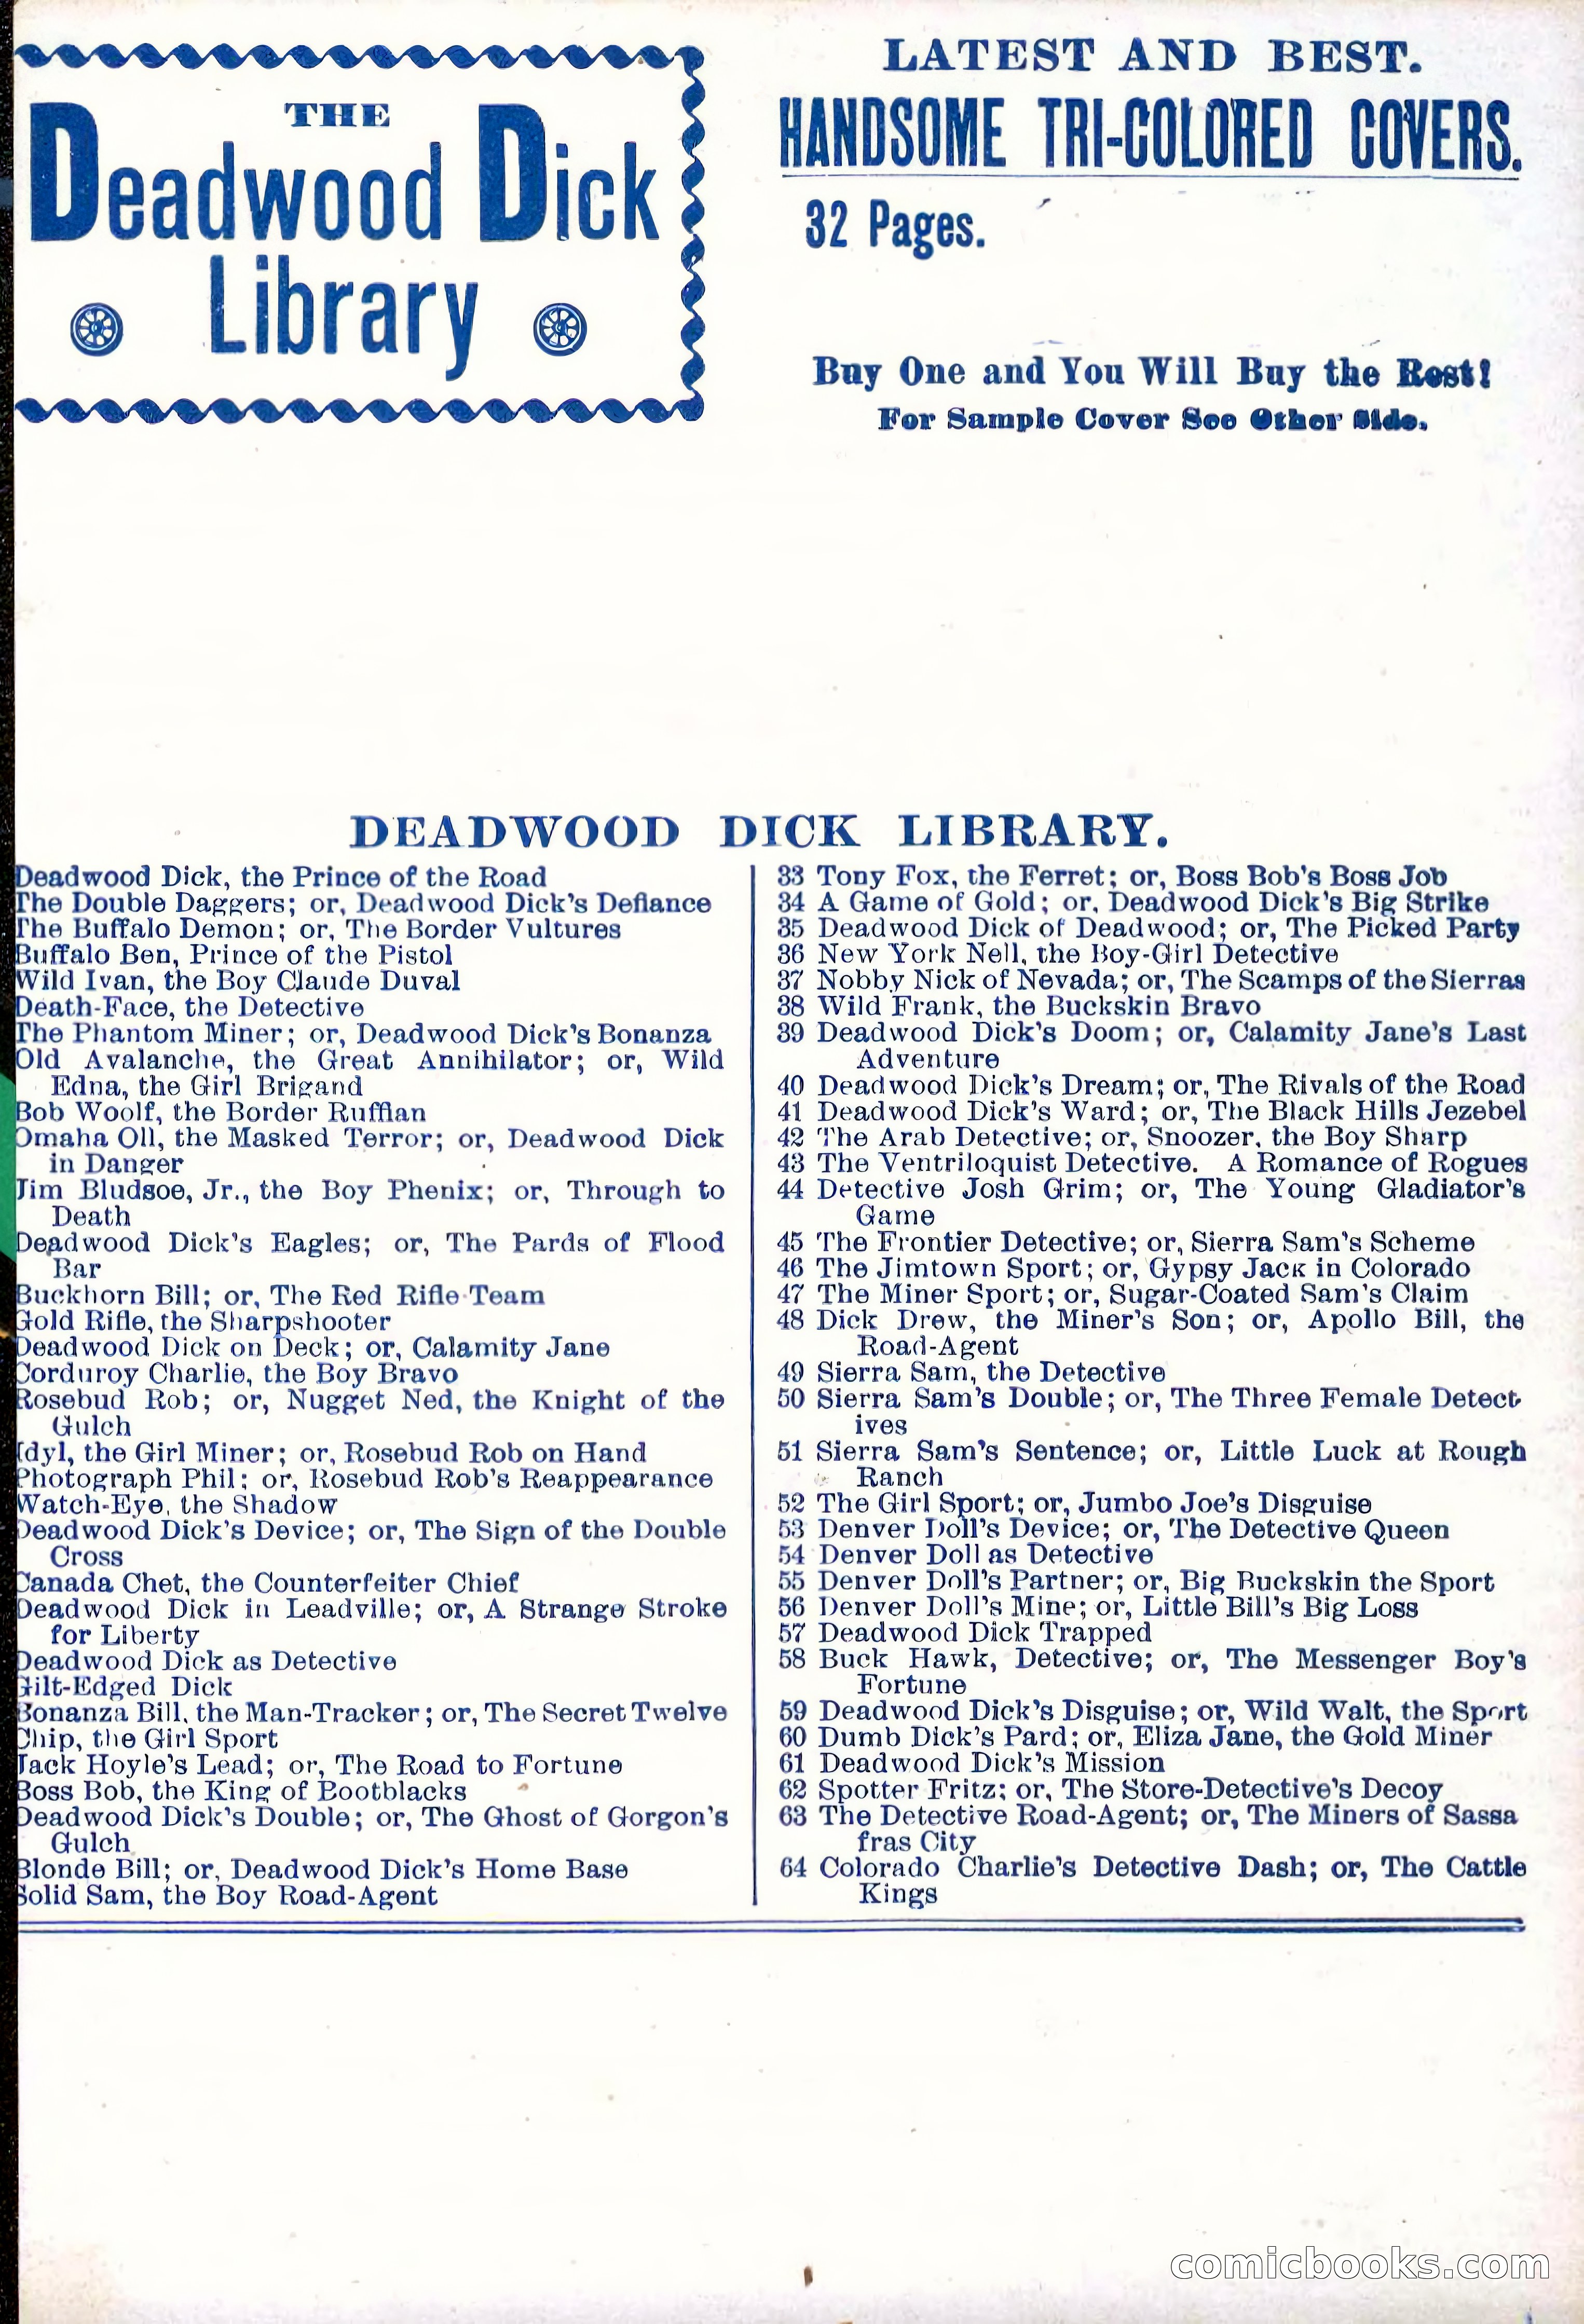
35 / 36
The Deadwood Dick Library, Vol. III, No. 28 — page 36 of 36
36 / 36

About this issue

This issue of The Seas Library (September 20, 1899, No. 28) is primarily a table of contents listing numerous installments of the "Deadwood Dick, Jr." series by Edward L. Wheeler, spanning entries 443 through 1018. The individual titles emphasize adventure and Western locales: "The Crimson Crescent Sign," "Dog Detective," "Death Hunt," "in Gotham," "Among the Smugglers," "at Coney Island," and similar episodic narratives. The featured complete story is "Jack Hoyle's Lead: The Road to Fortune" by Wheeler. Eighteen-year-old Jack Hoyle learns his parents have died and his father left the family insolvent, with their employer Addison Tremaine holding a five-year mortgage on all property. Rejected by Miss Lillian Lorne due to his reduced circumstances and mocked by Tremaine's son, Jack vows to rebuild his fortune through honest work. He leaves Lowell with sixteen cents, receiving encouragement from the rector Mr. Bond and his daughter Bessie.

Browse this issue page by page

Each page has its own page — the cartoon, who’s in it, and what the satire means.

  1. Page 1 View this page →
  2. Page 2 View this page →
  3. Page 3 View this page →
  4. Page 4 View this page →
  5. Page 5 View this page →
  6. Page 6 View this page →
  7. Page 7 View this page →
  8. Page 8 View this page →
  9. Page 9 View this page →
  10. Page 10 View this page →
  11. Page 11 View this page →
  12. Page 12 View this page →
  13. Page 13 View this page →
  14. Page 14 View this page →
  15. Page 15 View this page →
  16. Page 16 View this page →
  17. Page 17 View this page →
  18. Page 18 View this page →
  19. Page 19 View this page →
  20. Page 20 View this page →
  21. Page 21 View this page →
  22. Page 22 View this page →
  23. Page 23 View this page →
  24. Page 24 View this page →
  25. Page 25 View this page →
  26. Page 26 View this page →
  27. Page 27 View this page →
  28. Page 28 View this page →
  29. Page 29 View this page →
  30. Page 30 View this page →
  31. Page 31 View this page →
  32. Page 32 View this page →
  33. Page 33 View this page →
  34. Page 34 View this page →
  35. Page 35 View this page →
  36. Page 36 View this page →