
ComicBooks.com Register / Loginit's free!

A complete, restored issue of Pulp Fiction from 1899 — all 39 pages of painted-cover fiction magazines that launched science fiction, horror, and hardboiled crime, free to page through at ComicBooks.com.

← Back to Pulp Fiction All exhibitions

HomeExhibitionPulp FictionRead

A complete issue · 39 pages · 1899

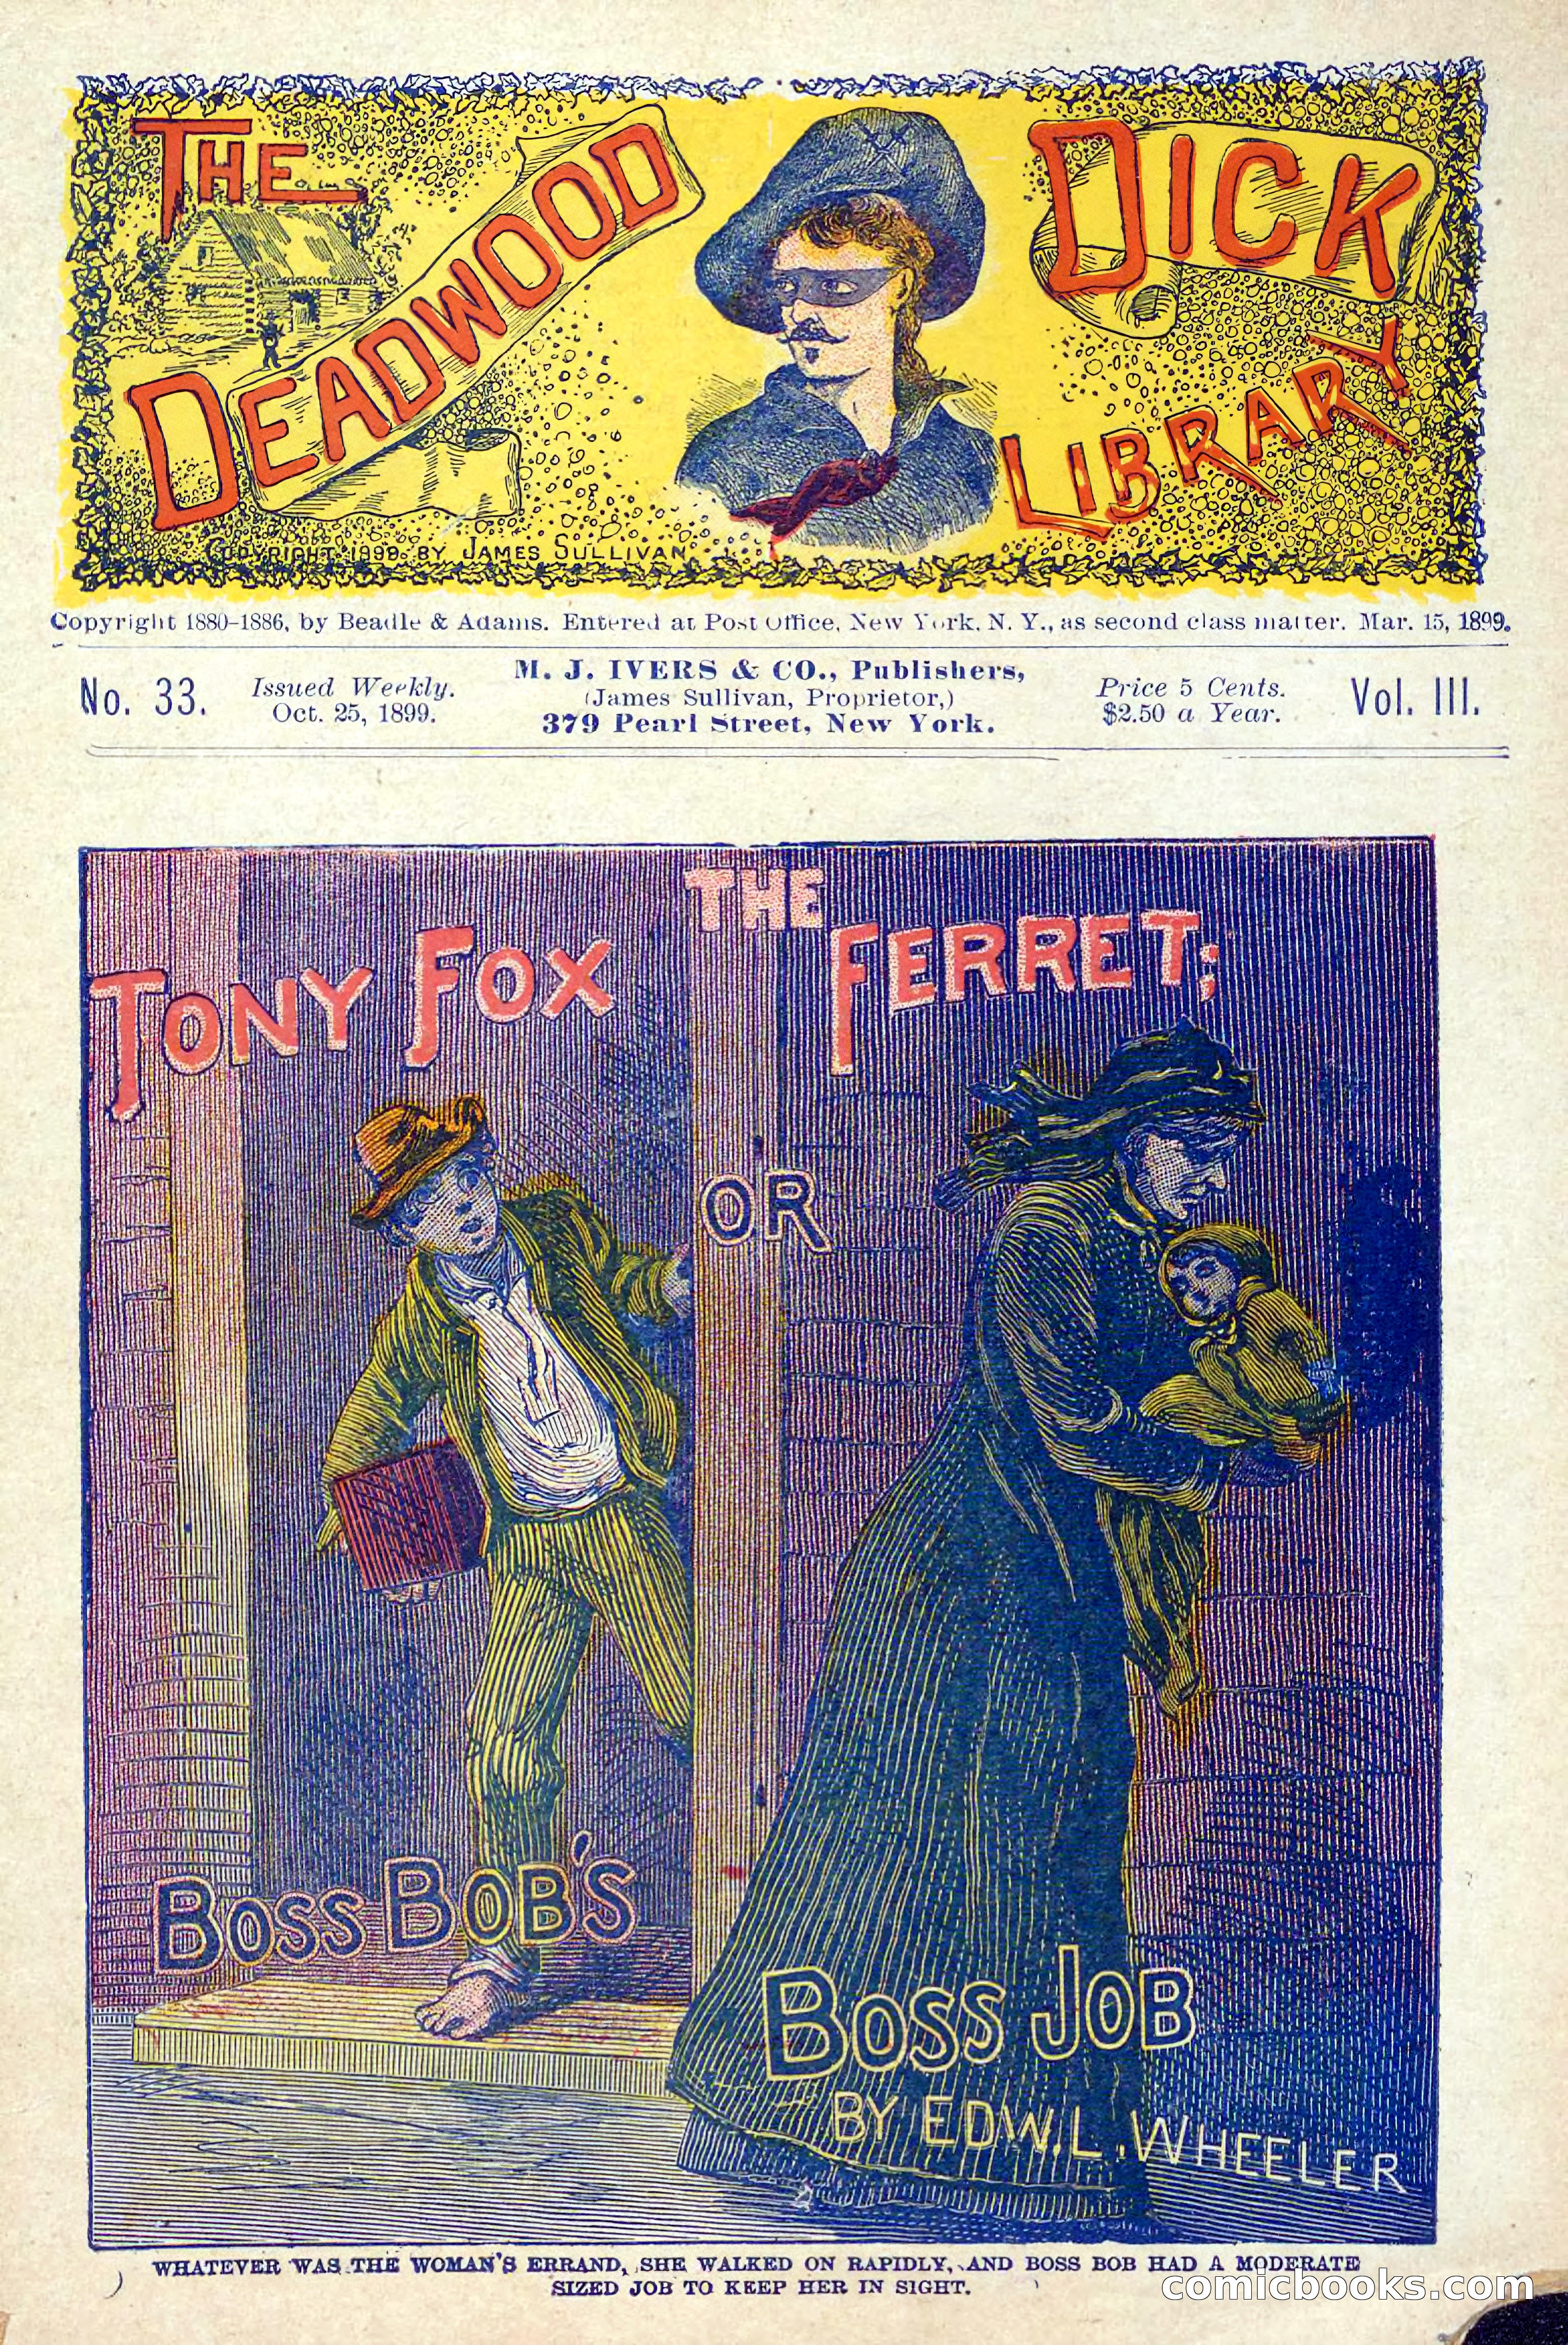
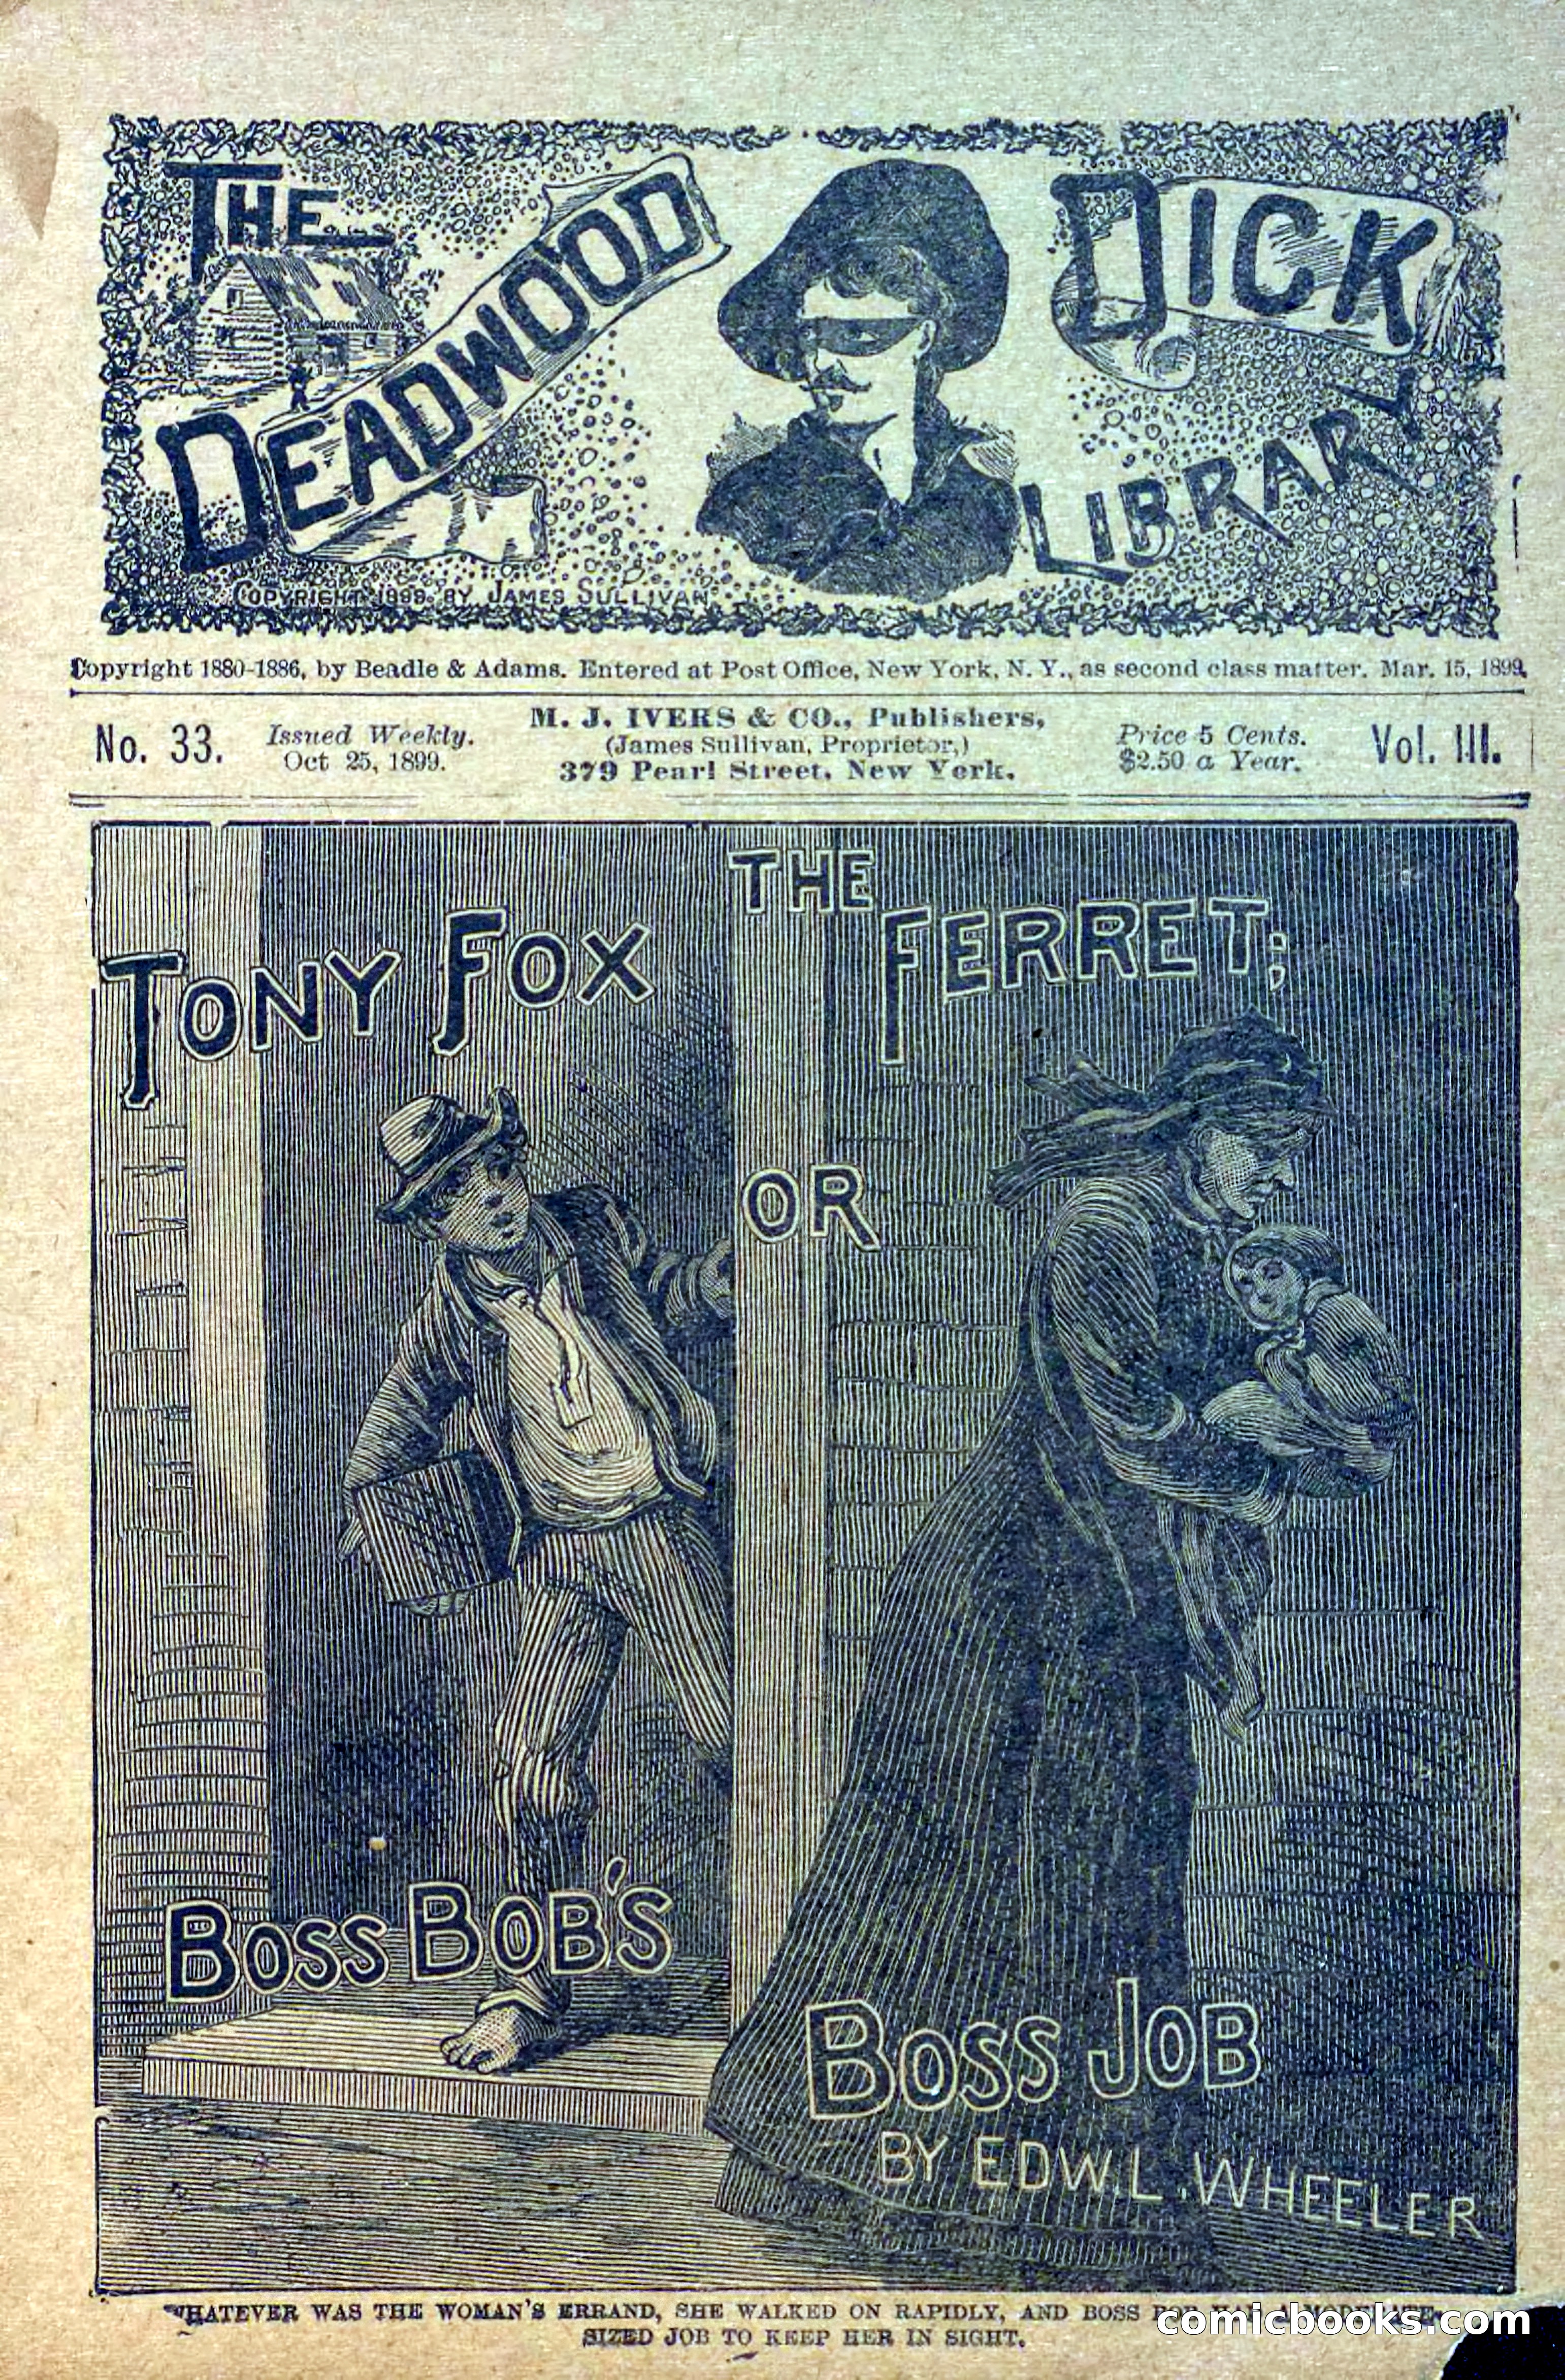
The Deadwood Dick Library, Vol. III, No. 33
1899 · Free to read

The Deadwood Dick Library, Vol. III, No. 33 — page 1 of 39
1 / 39
The Deadwood Dick Library, Vol. III, No. 33 — page 2 of 39
2 / 39
The Deadwood Dick Library, Vol. III, No. 33 — page 3 of 39
3 / 39
The Deadwood Dick Library, Vol. III, No. 33 — page 4 of 39
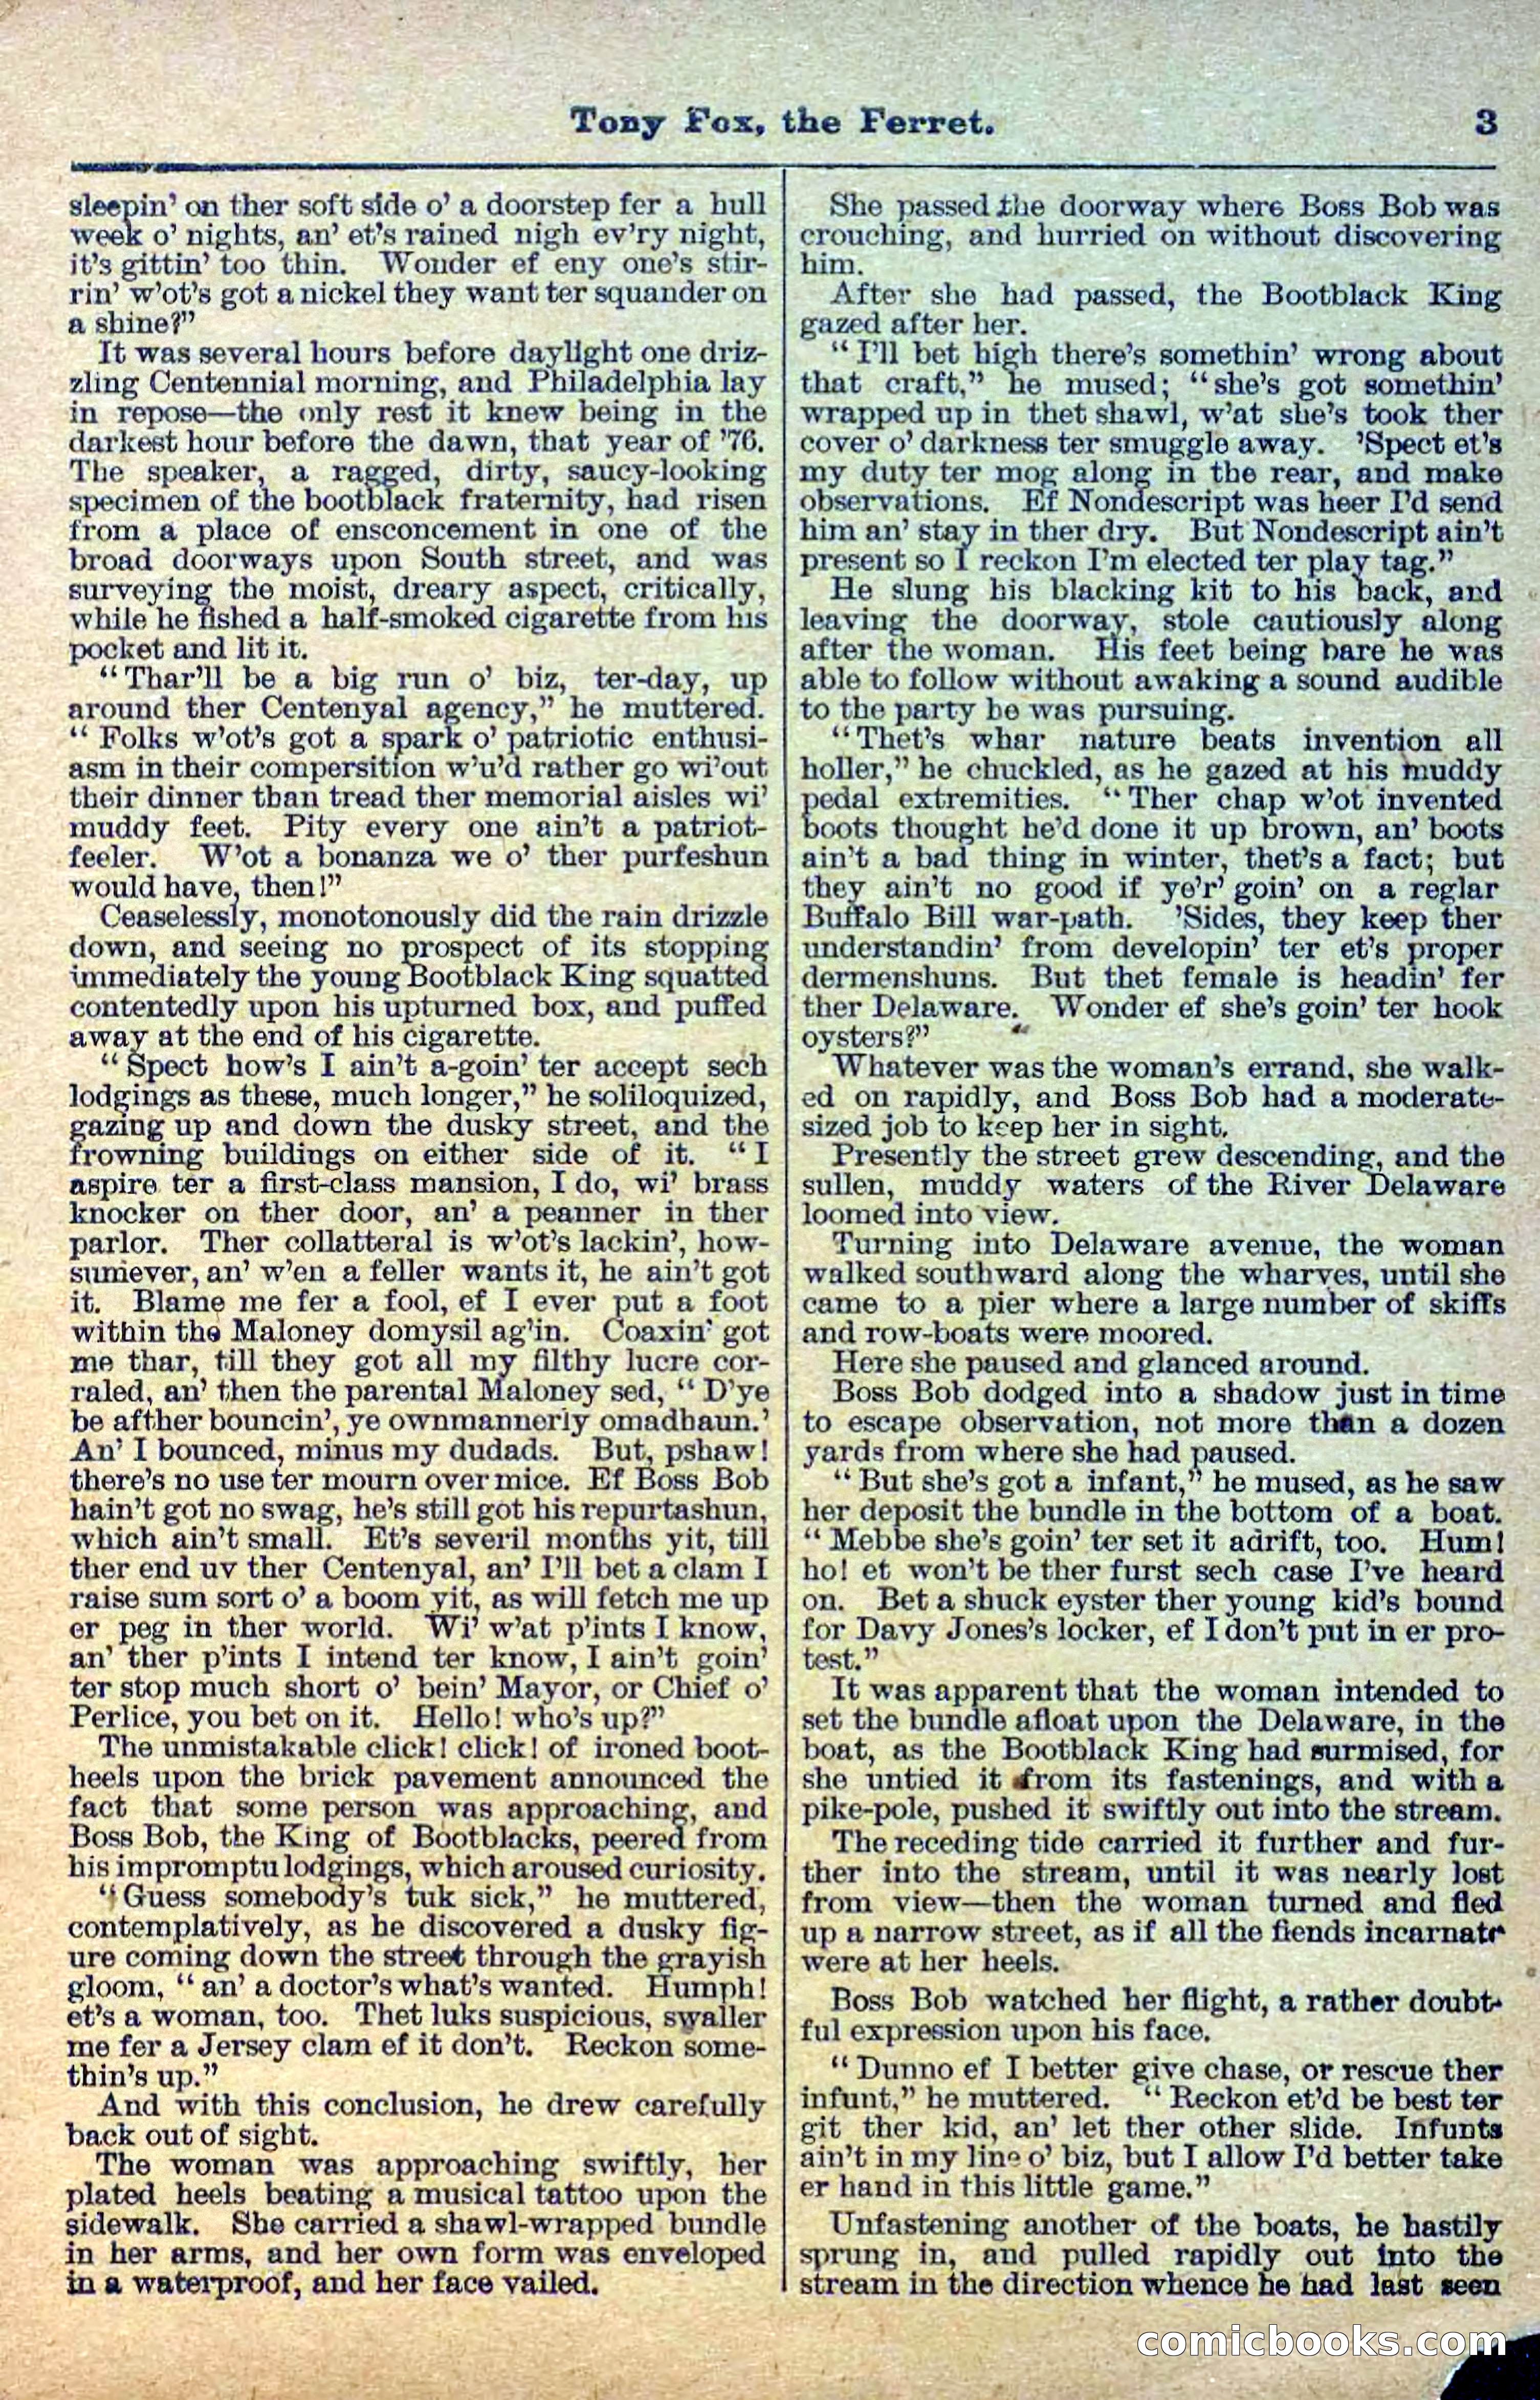
4 / 39
The Deadwood Dick Library, Vol. III, No. 33 — page 5 of 39
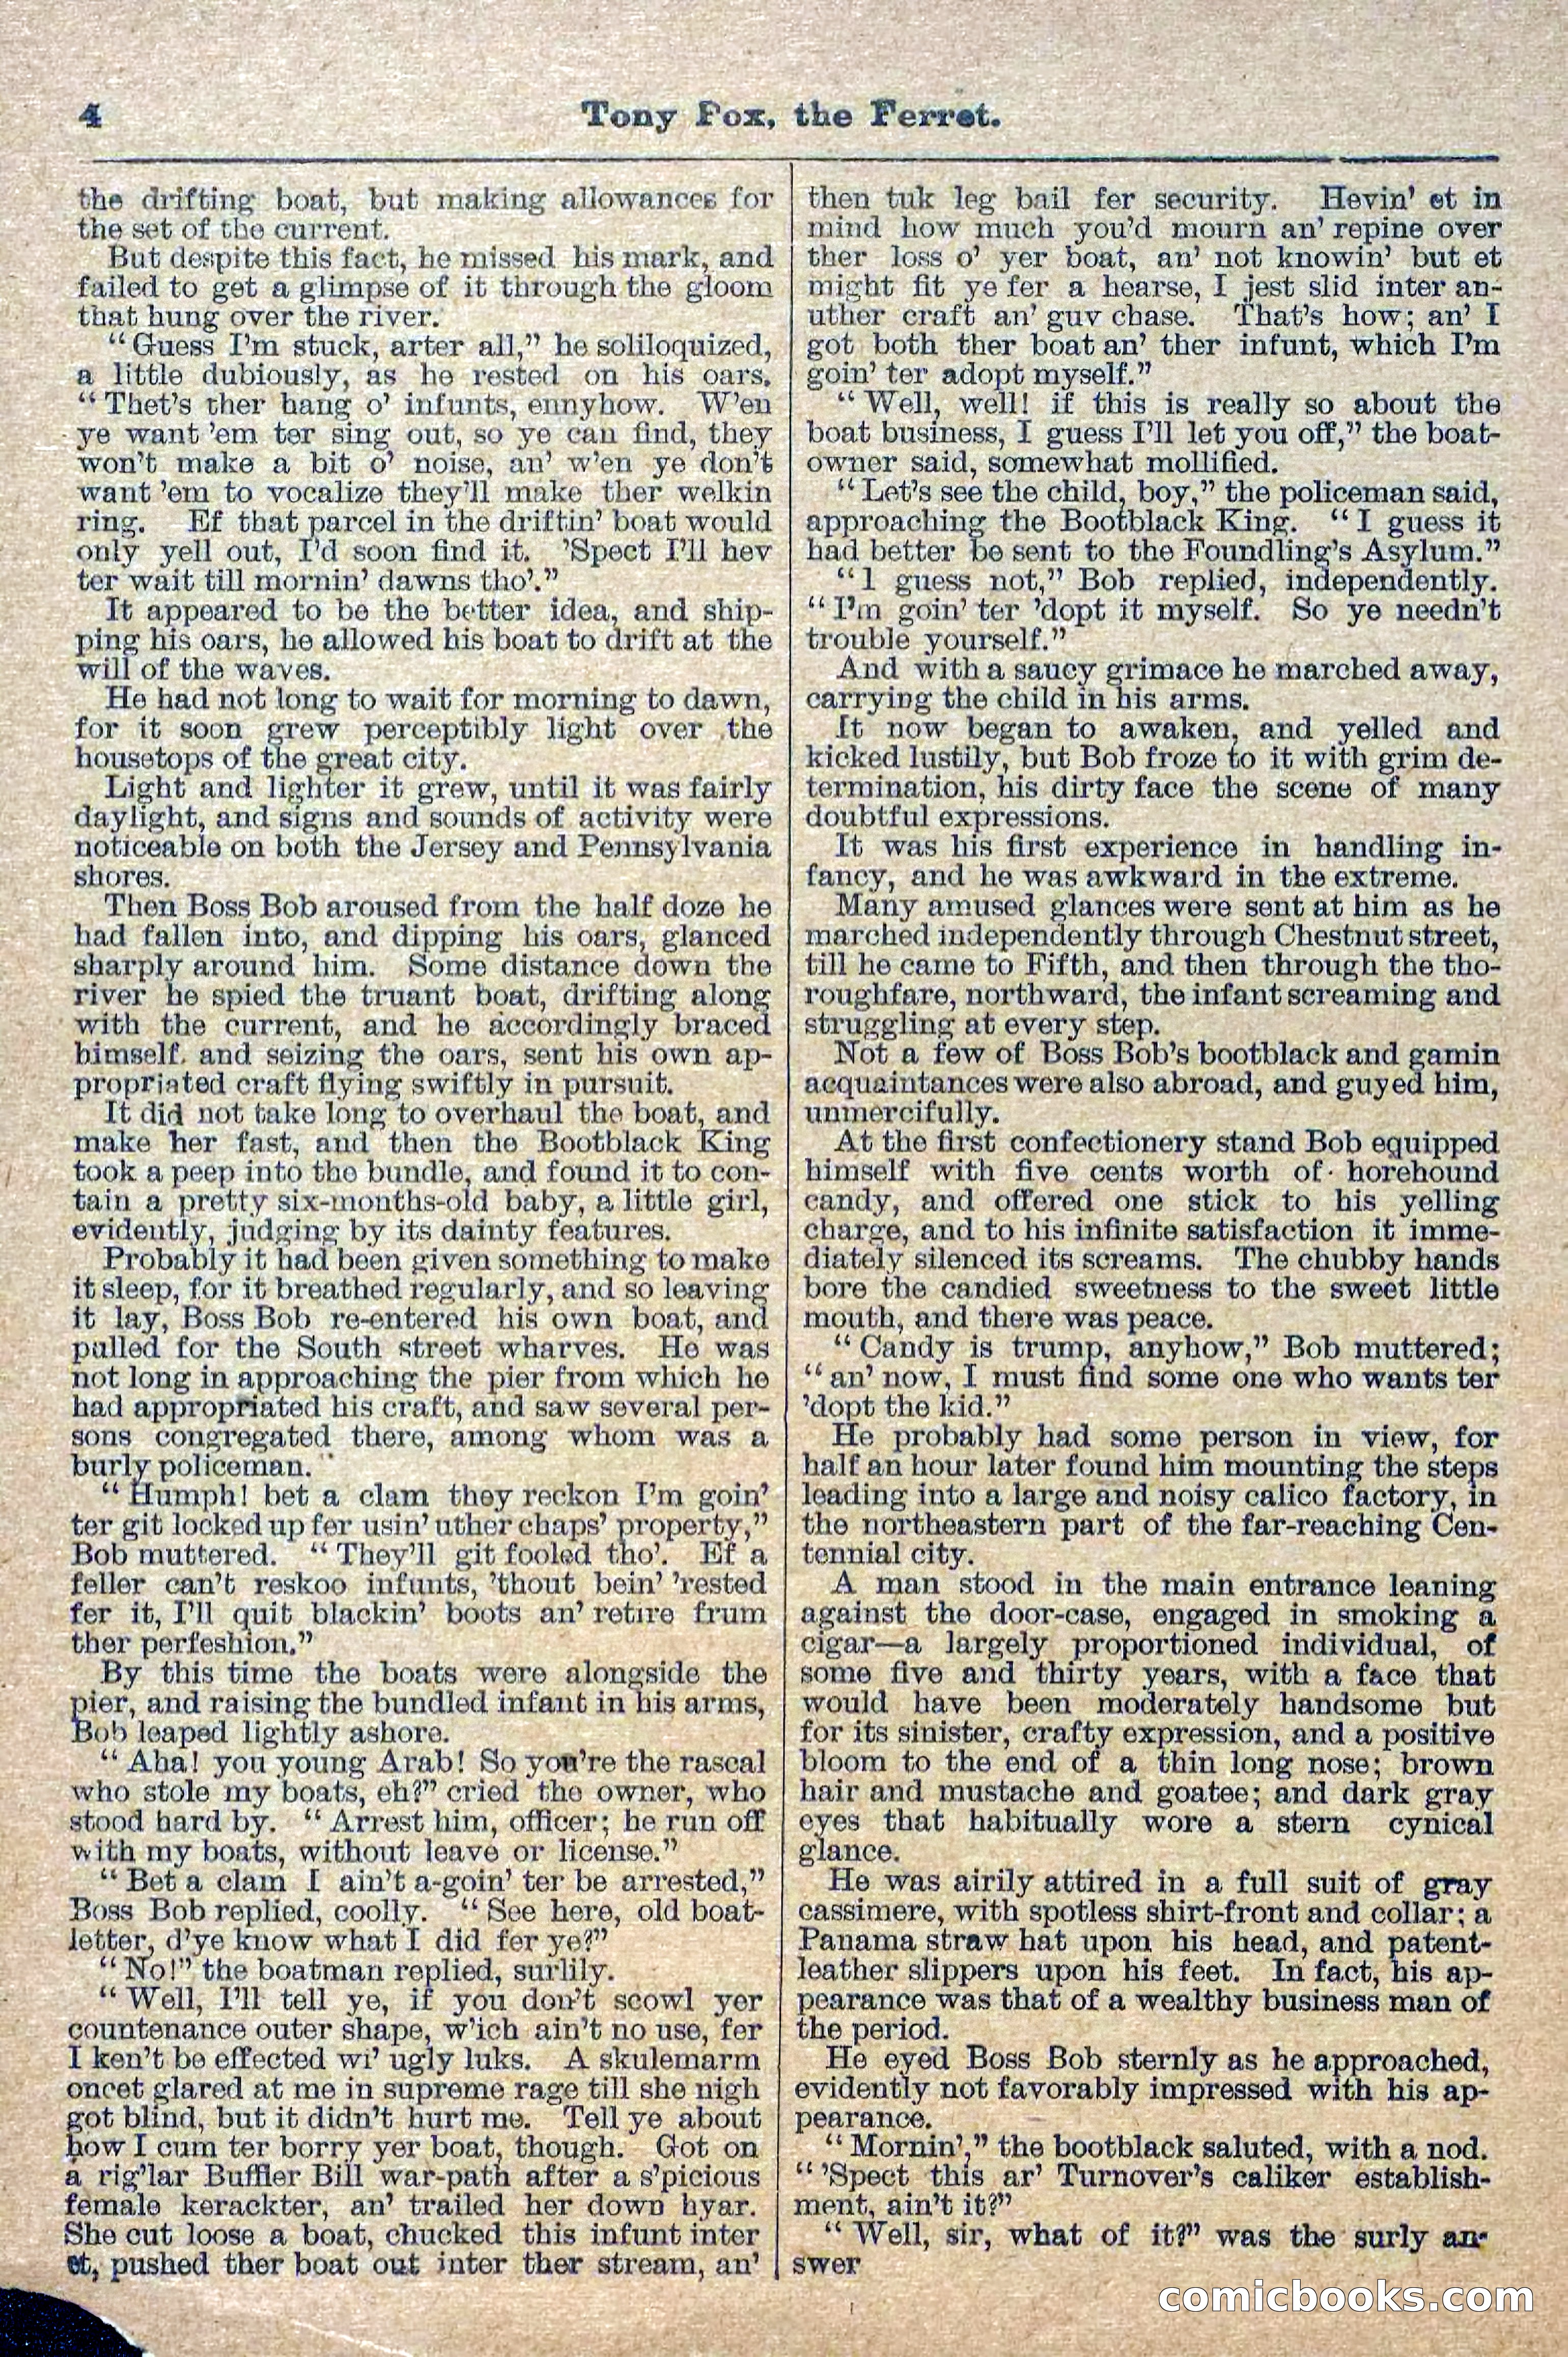
5 / 39
The Deadwood Dick Library, Vol. III, No. 33 — page 6 of 39
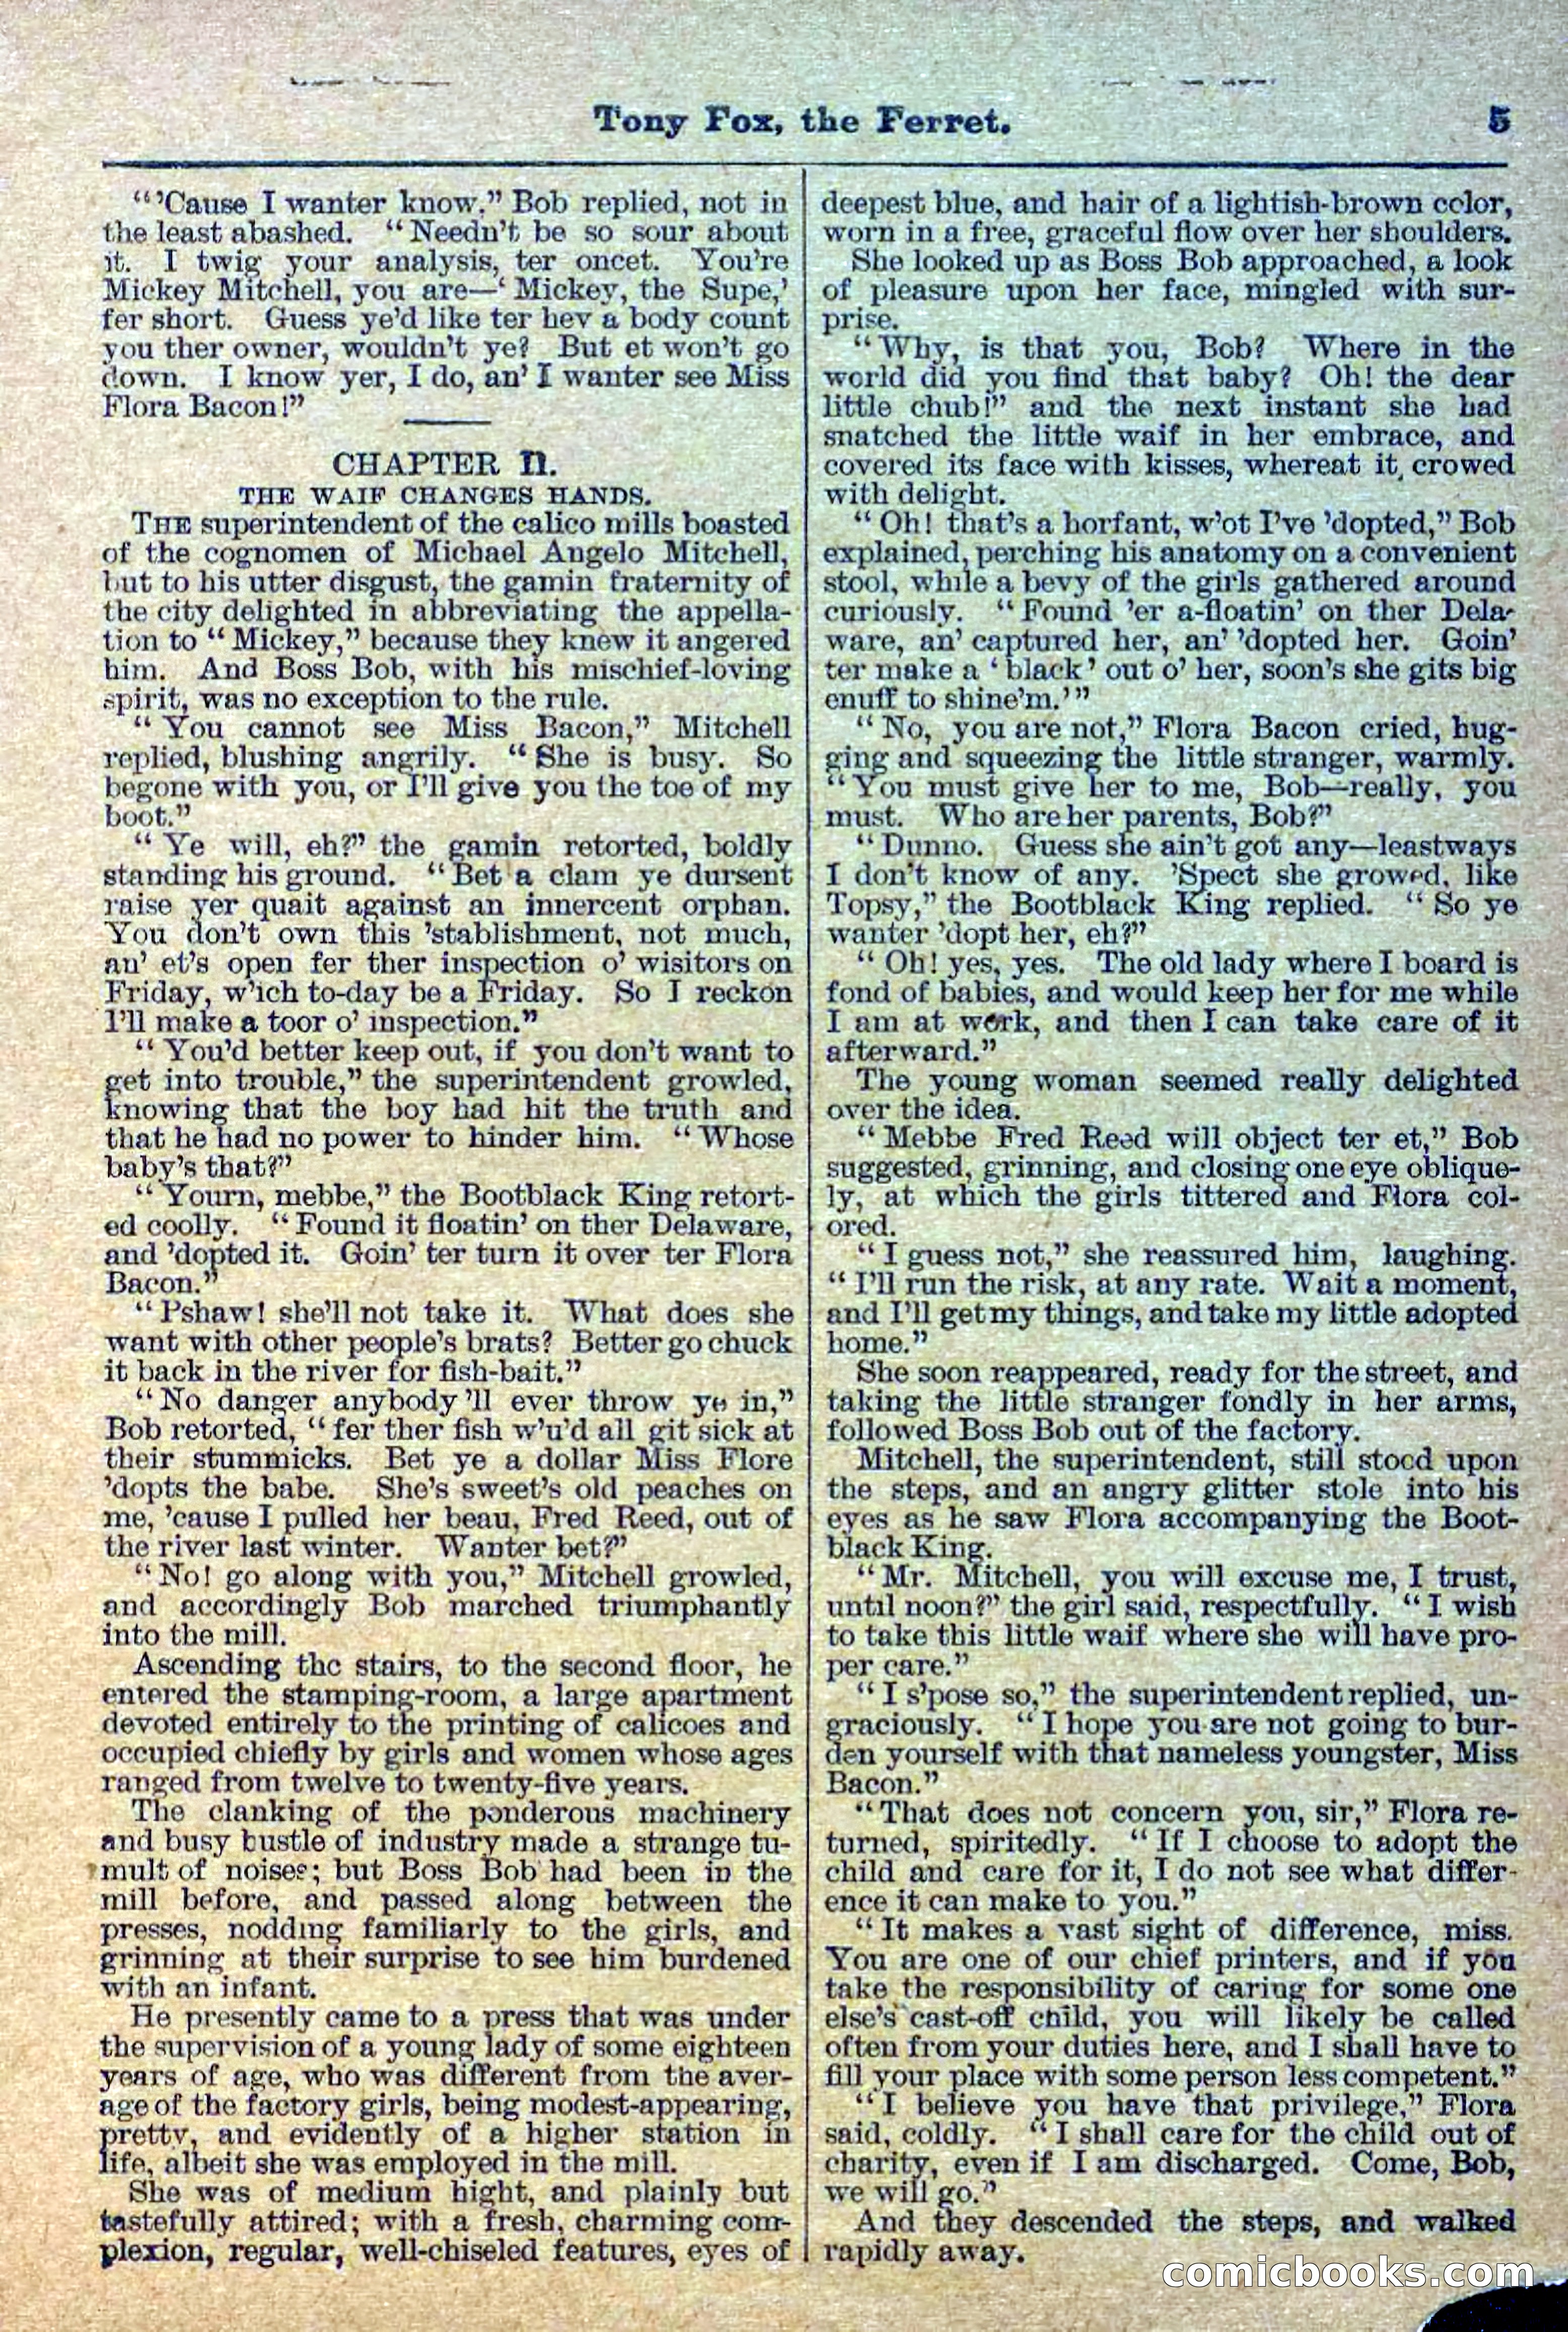
6 / 39
The Deadwood Dick Library, Vol. III, No. 33 — page 7 of 39
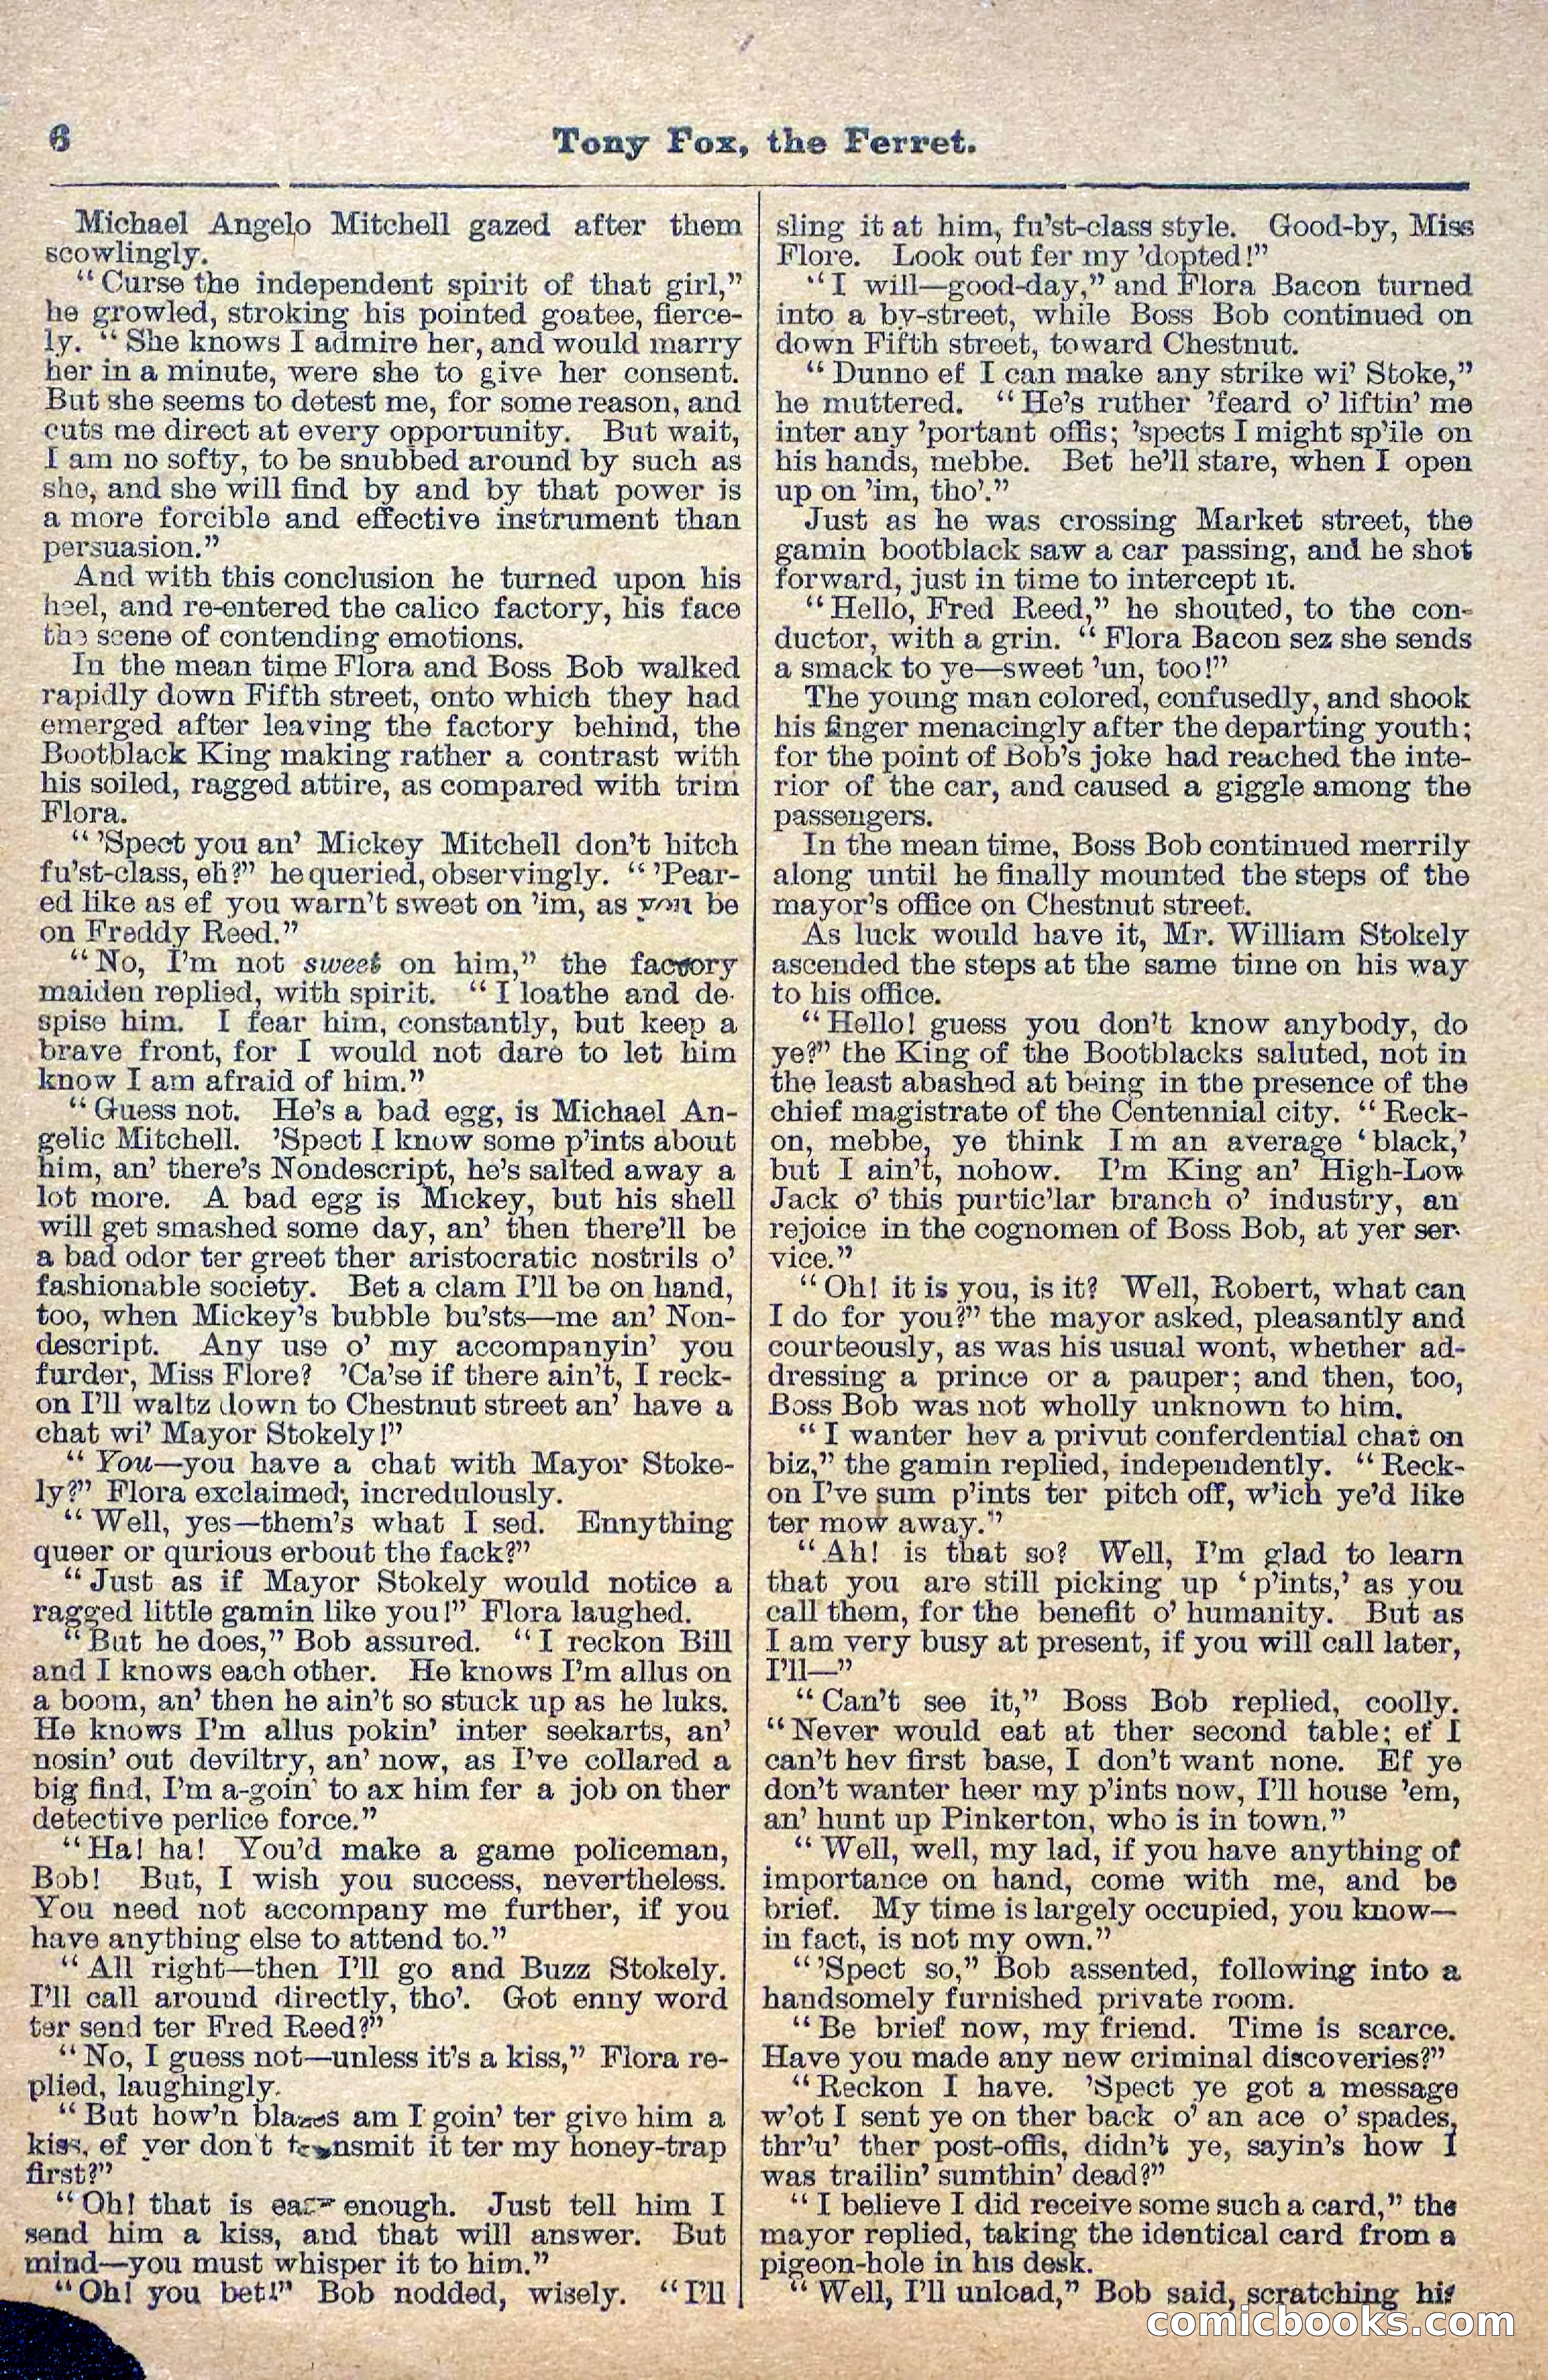
7 / 39
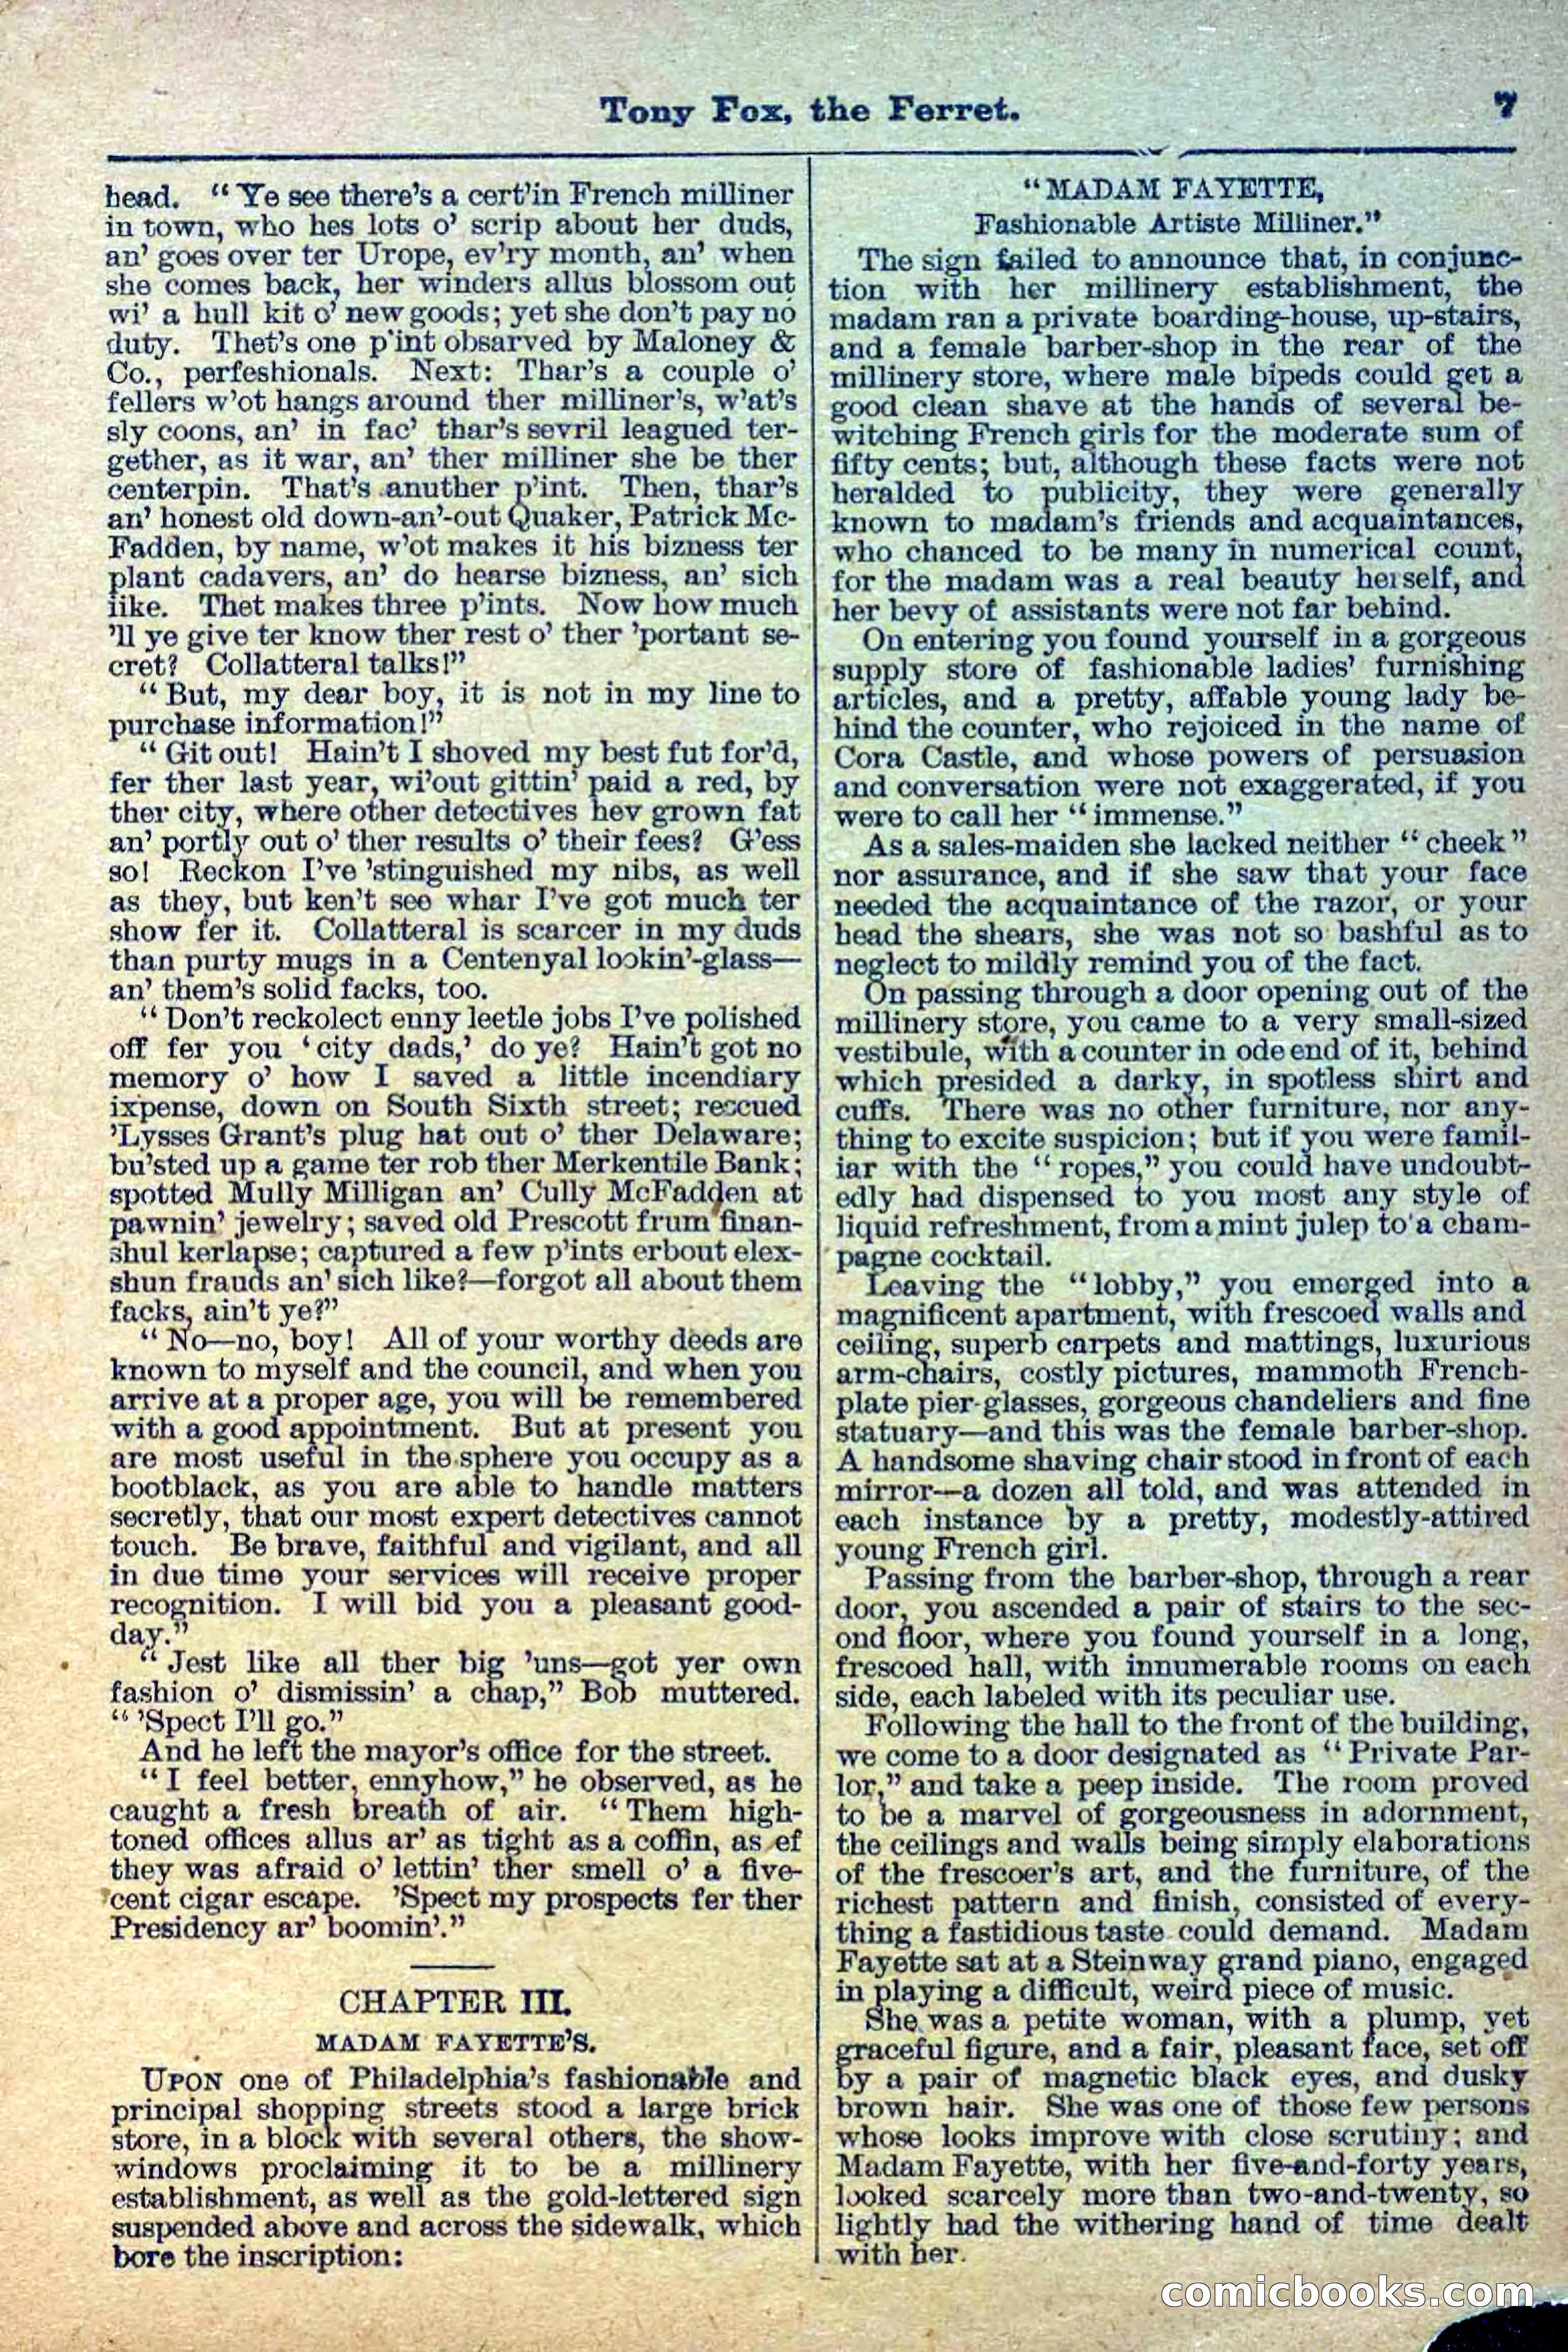
The Deadwood Dick Library, Vol. III, No. 33 — page 8 of 39
8 / 39
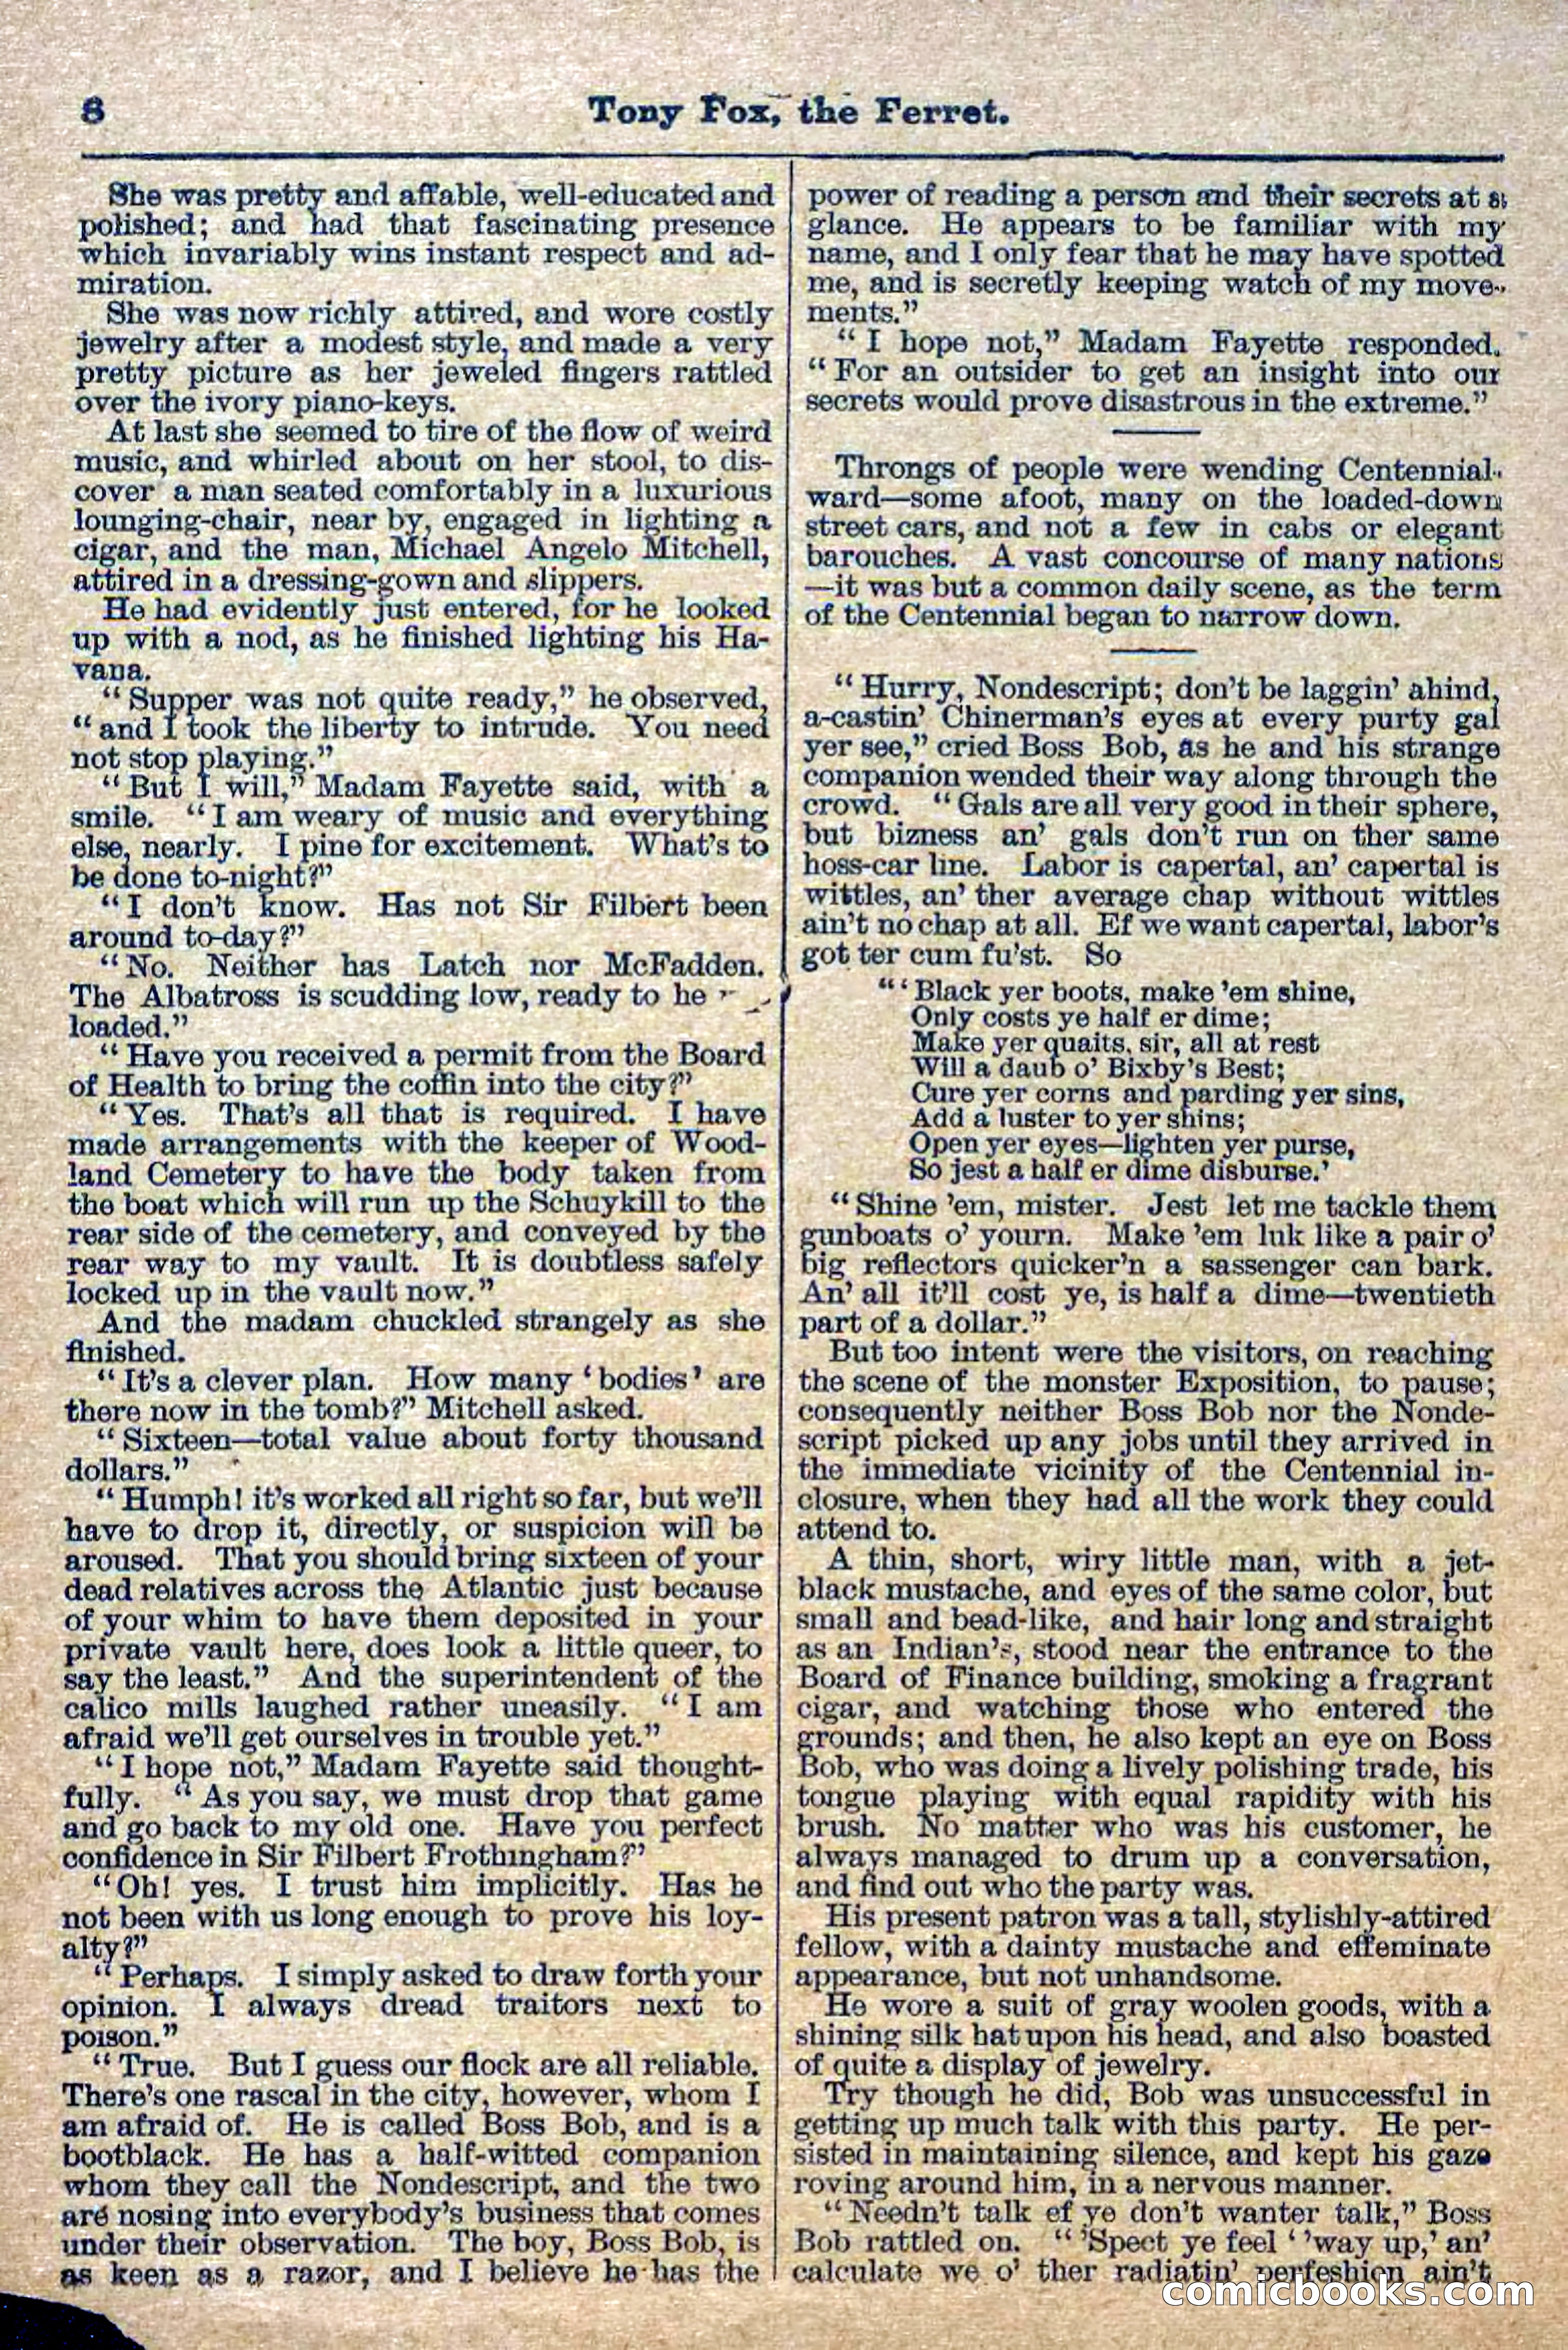
The Deadwood Dick Library, Vol. III, No. 33 — page 9 of 39
9 / 39
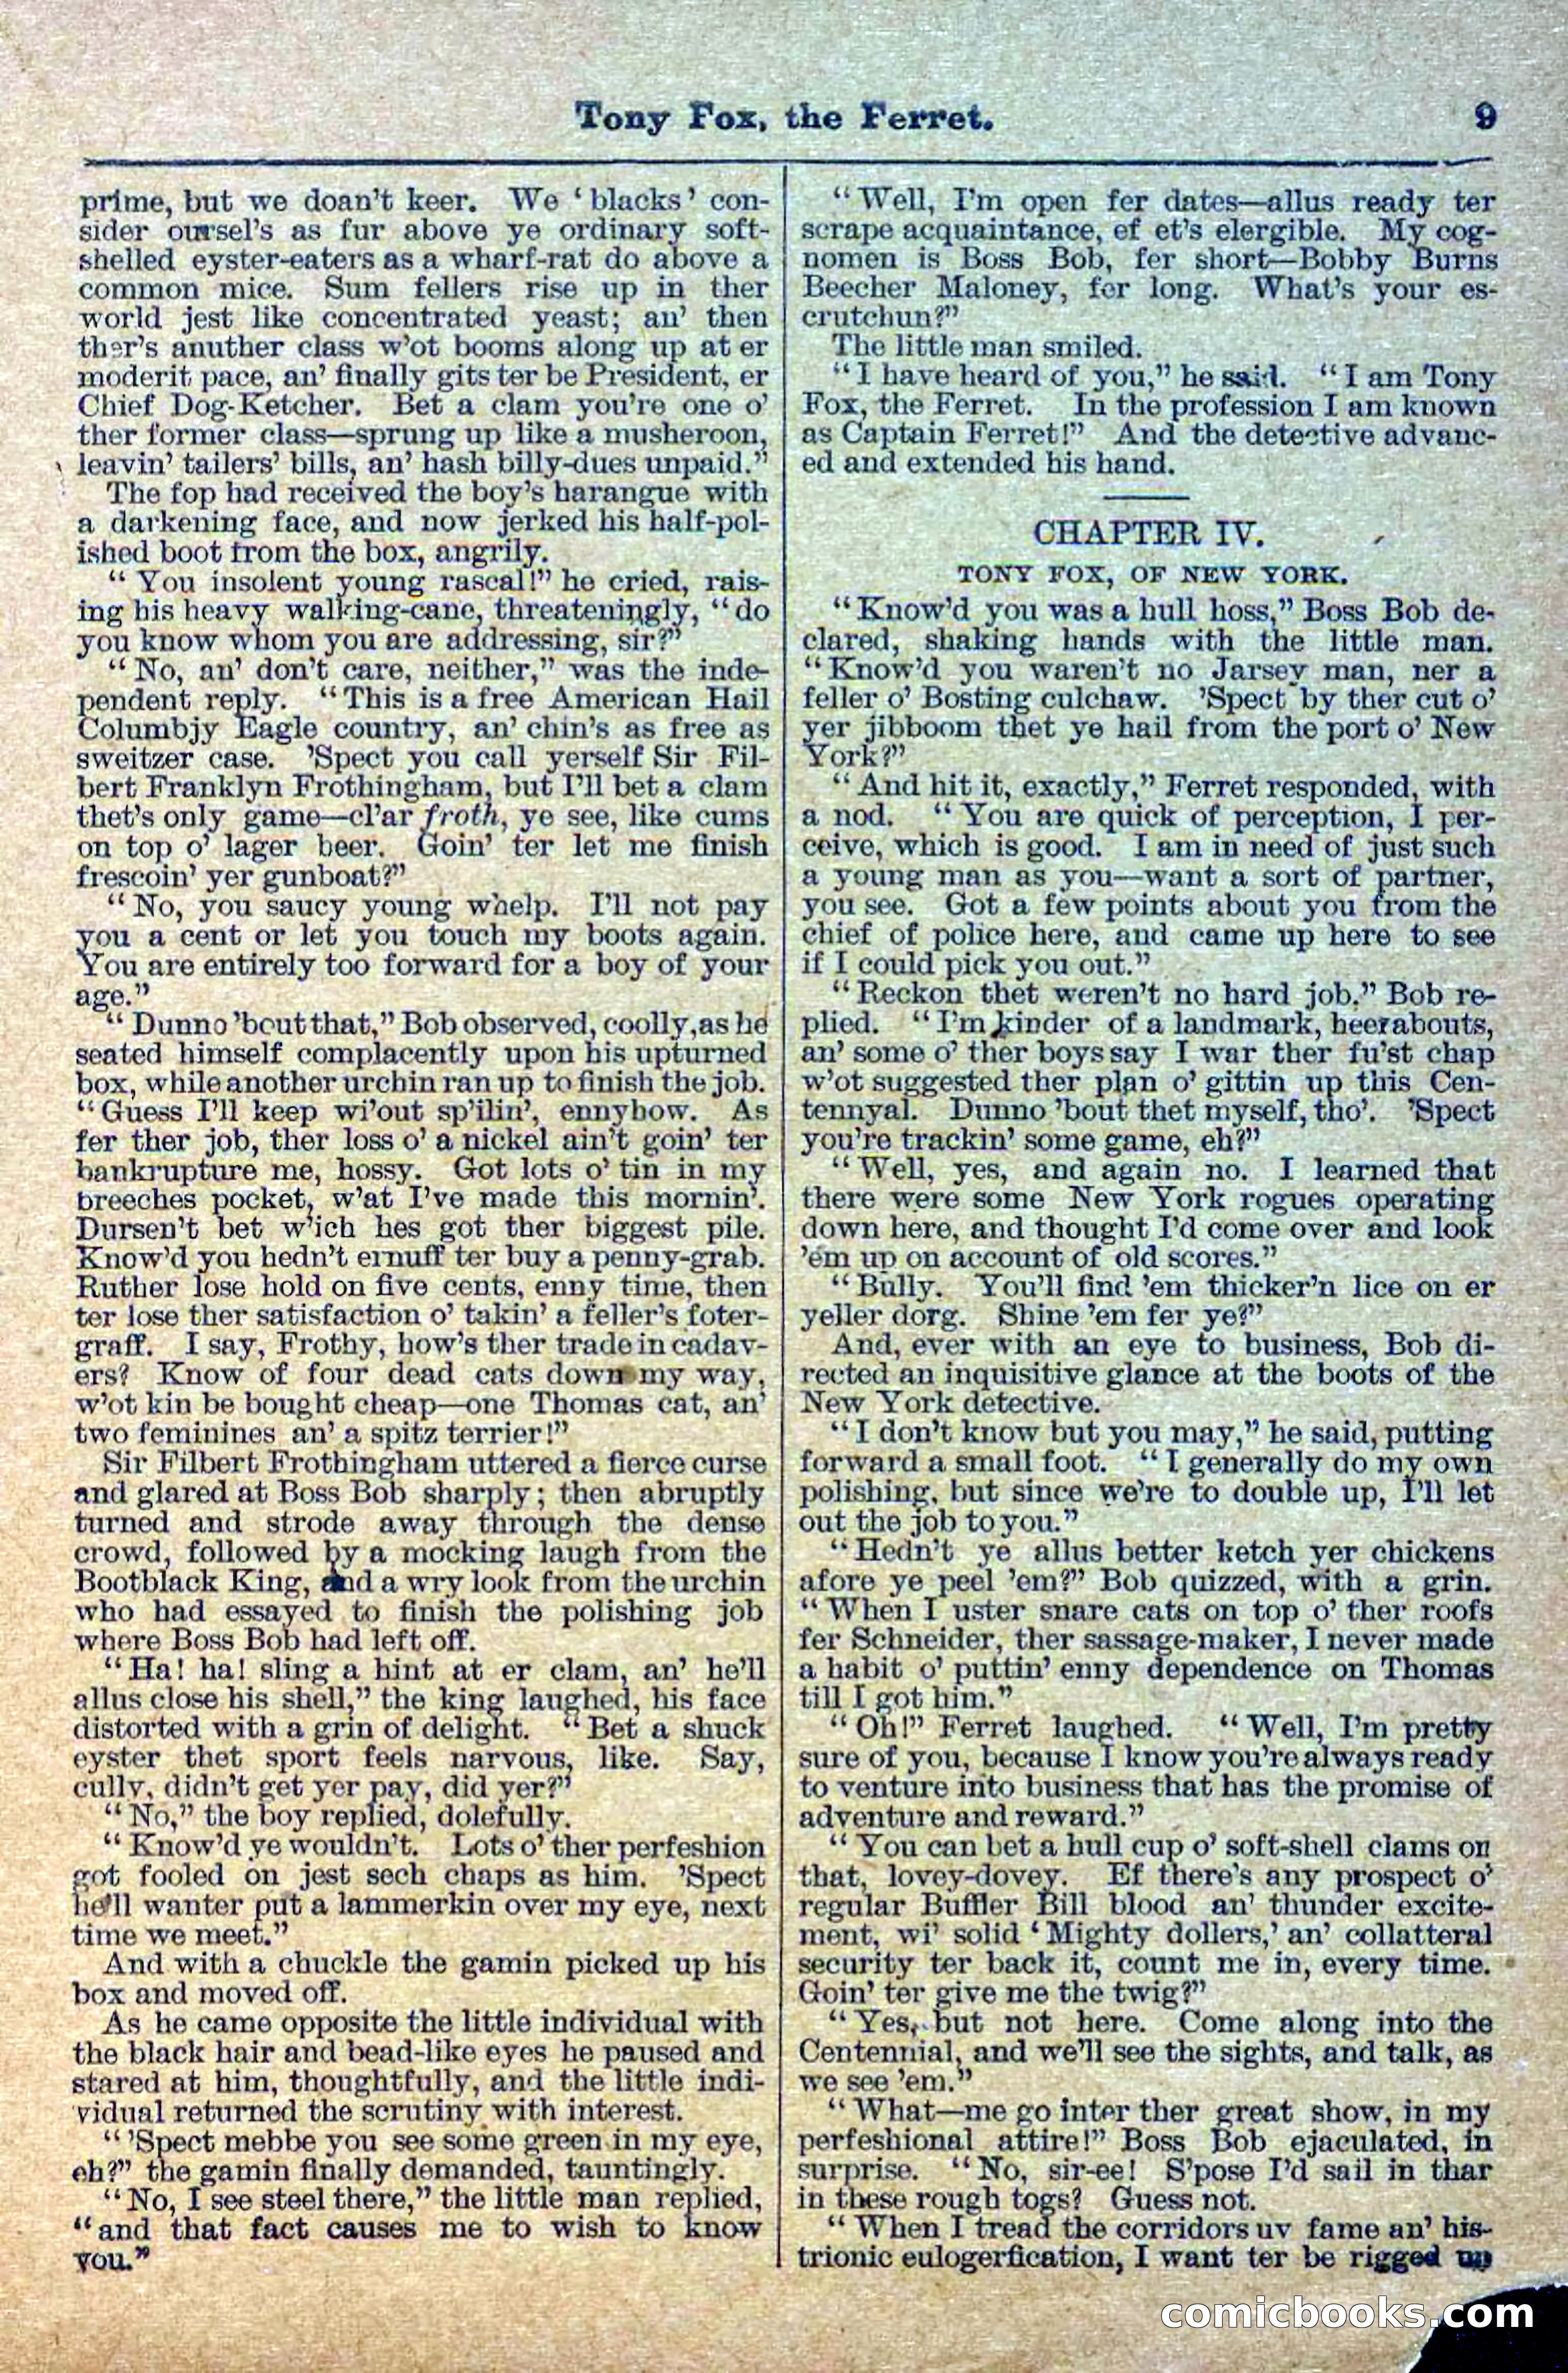
The Deadwood Dick Library, Vol. III, No. 33 — page 10 of 39
10 / 39
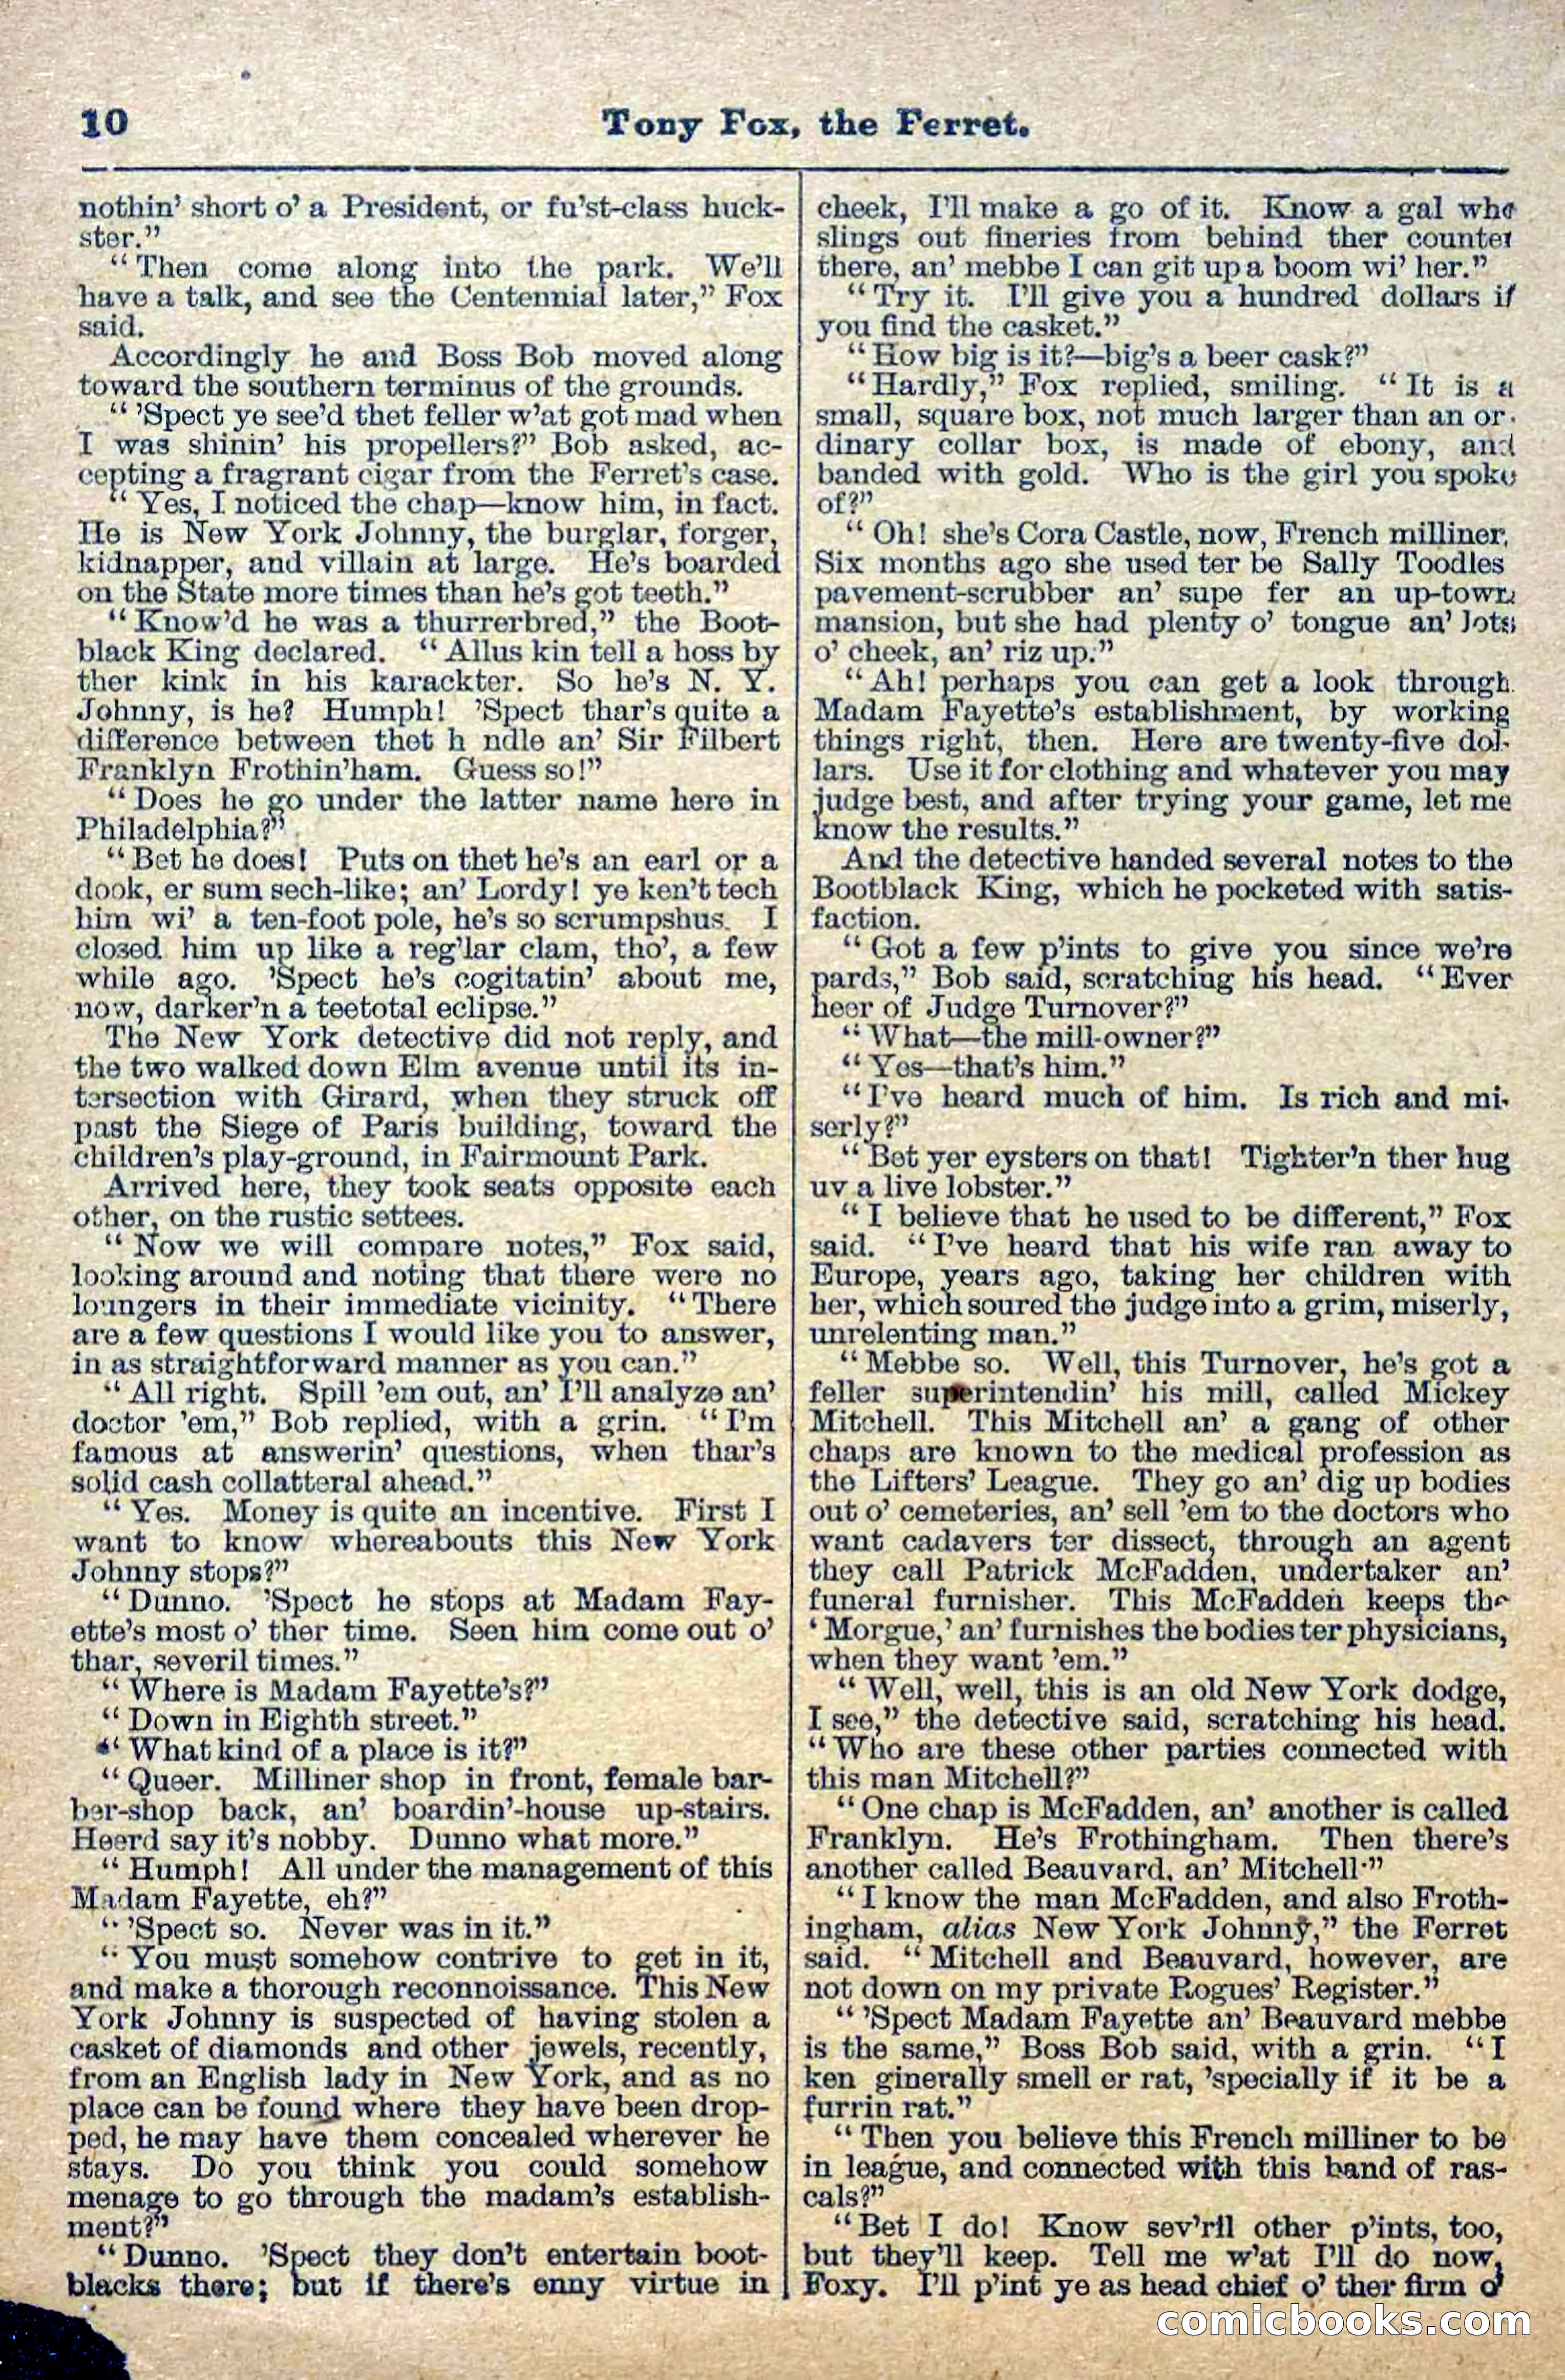
The Deadwood Dick Library, Vol. III, No. 33 — page 11 of 39
11 / 39
The Deadwood Dick Library, Vol. III, No. 33 — page 12 of 39
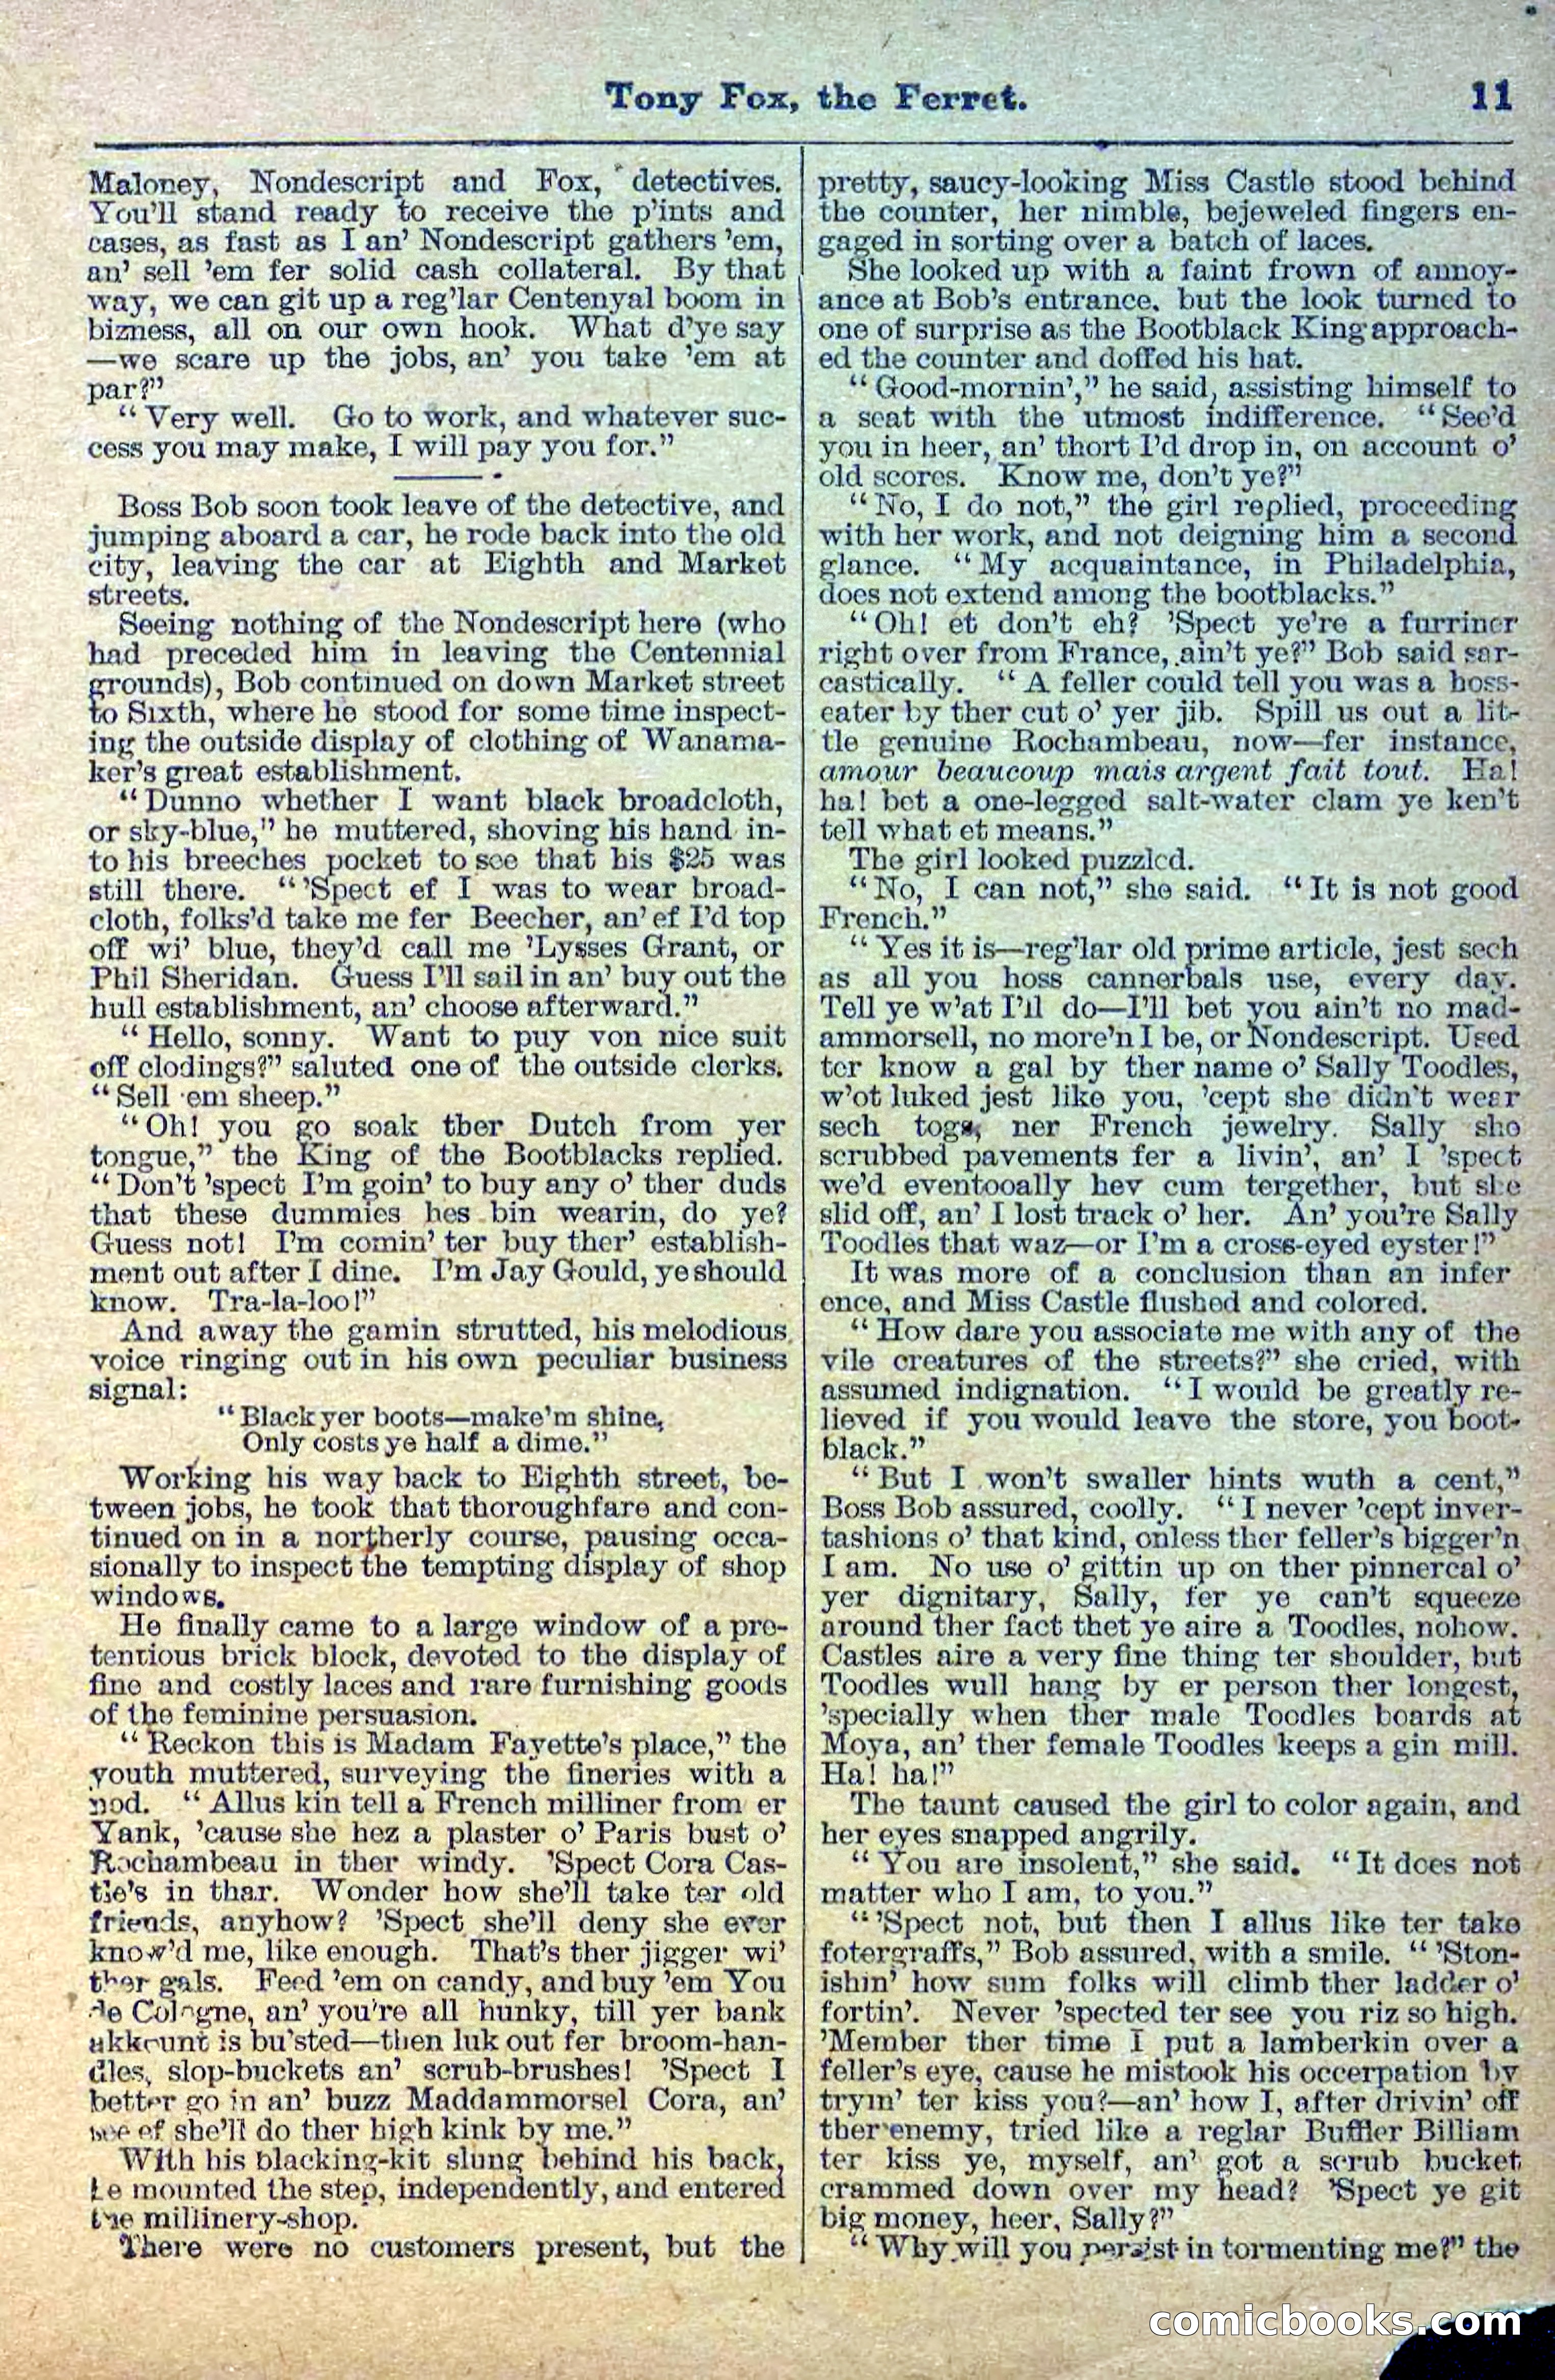
12 / 39
The Deadwood Dick Library, Vol. III, No. 33 — page 13 of 39
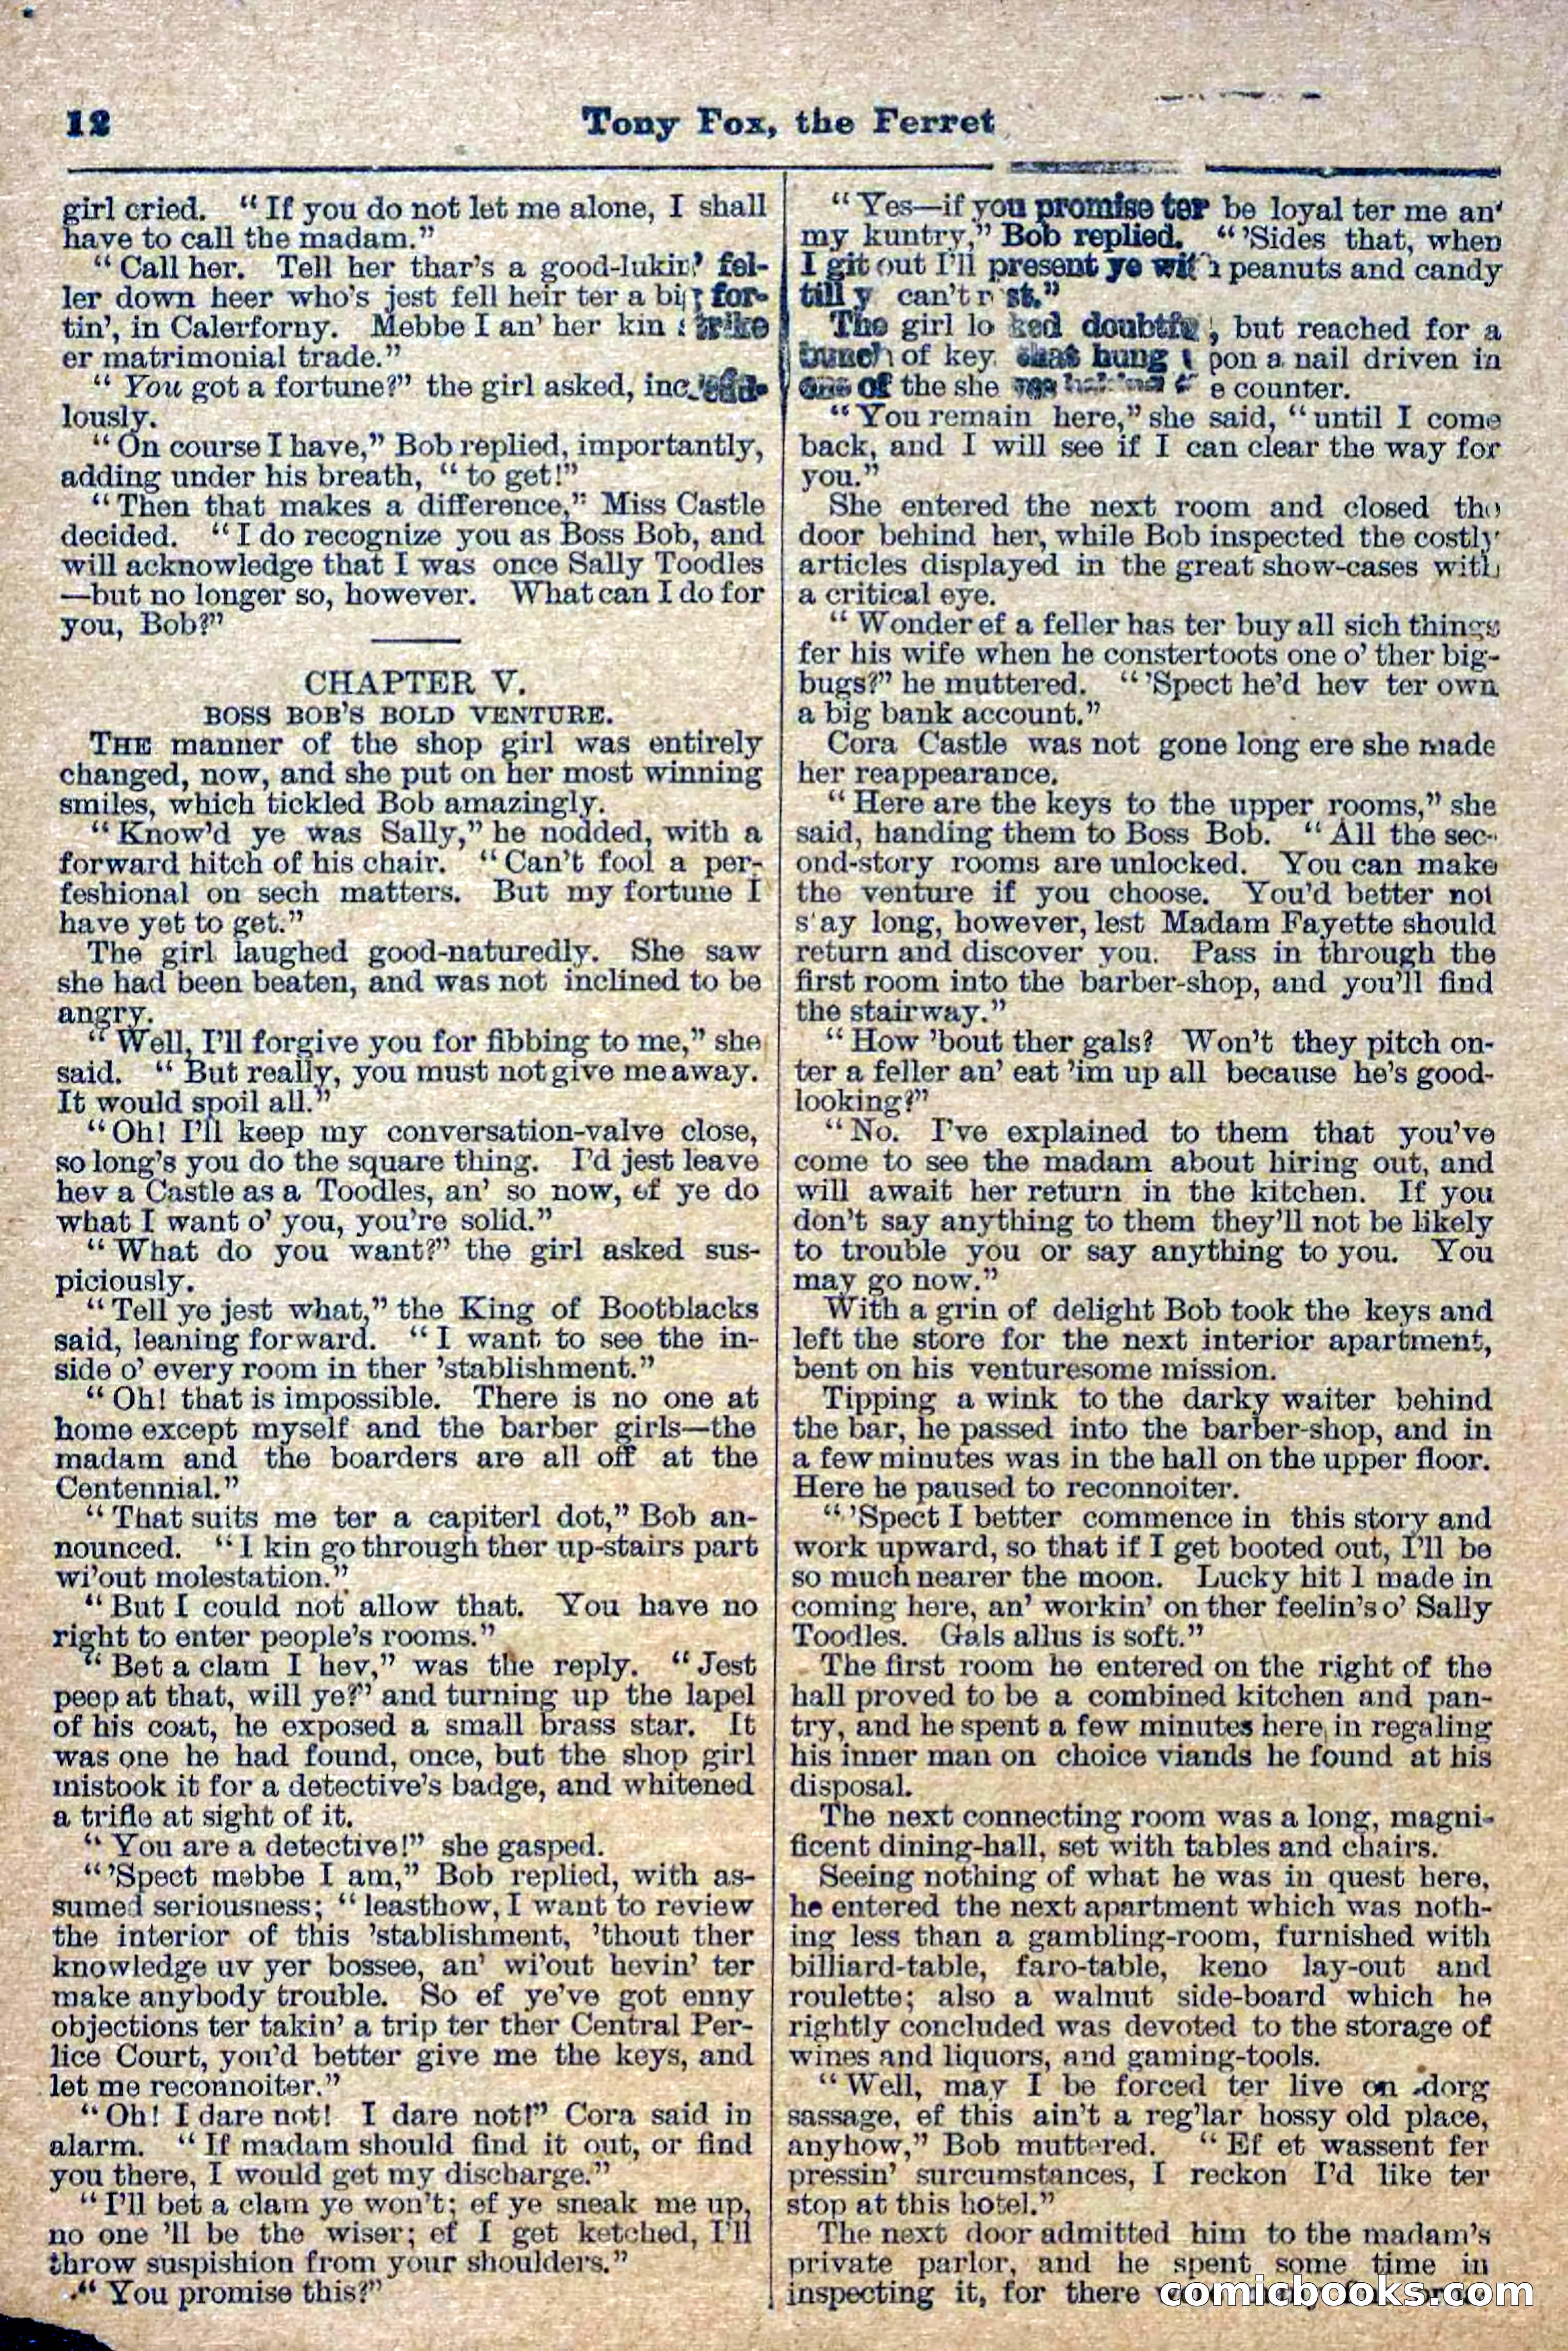
13 / 39
The Deadwood Dick Library, Vol. III, No. 33 — page 14 of 39
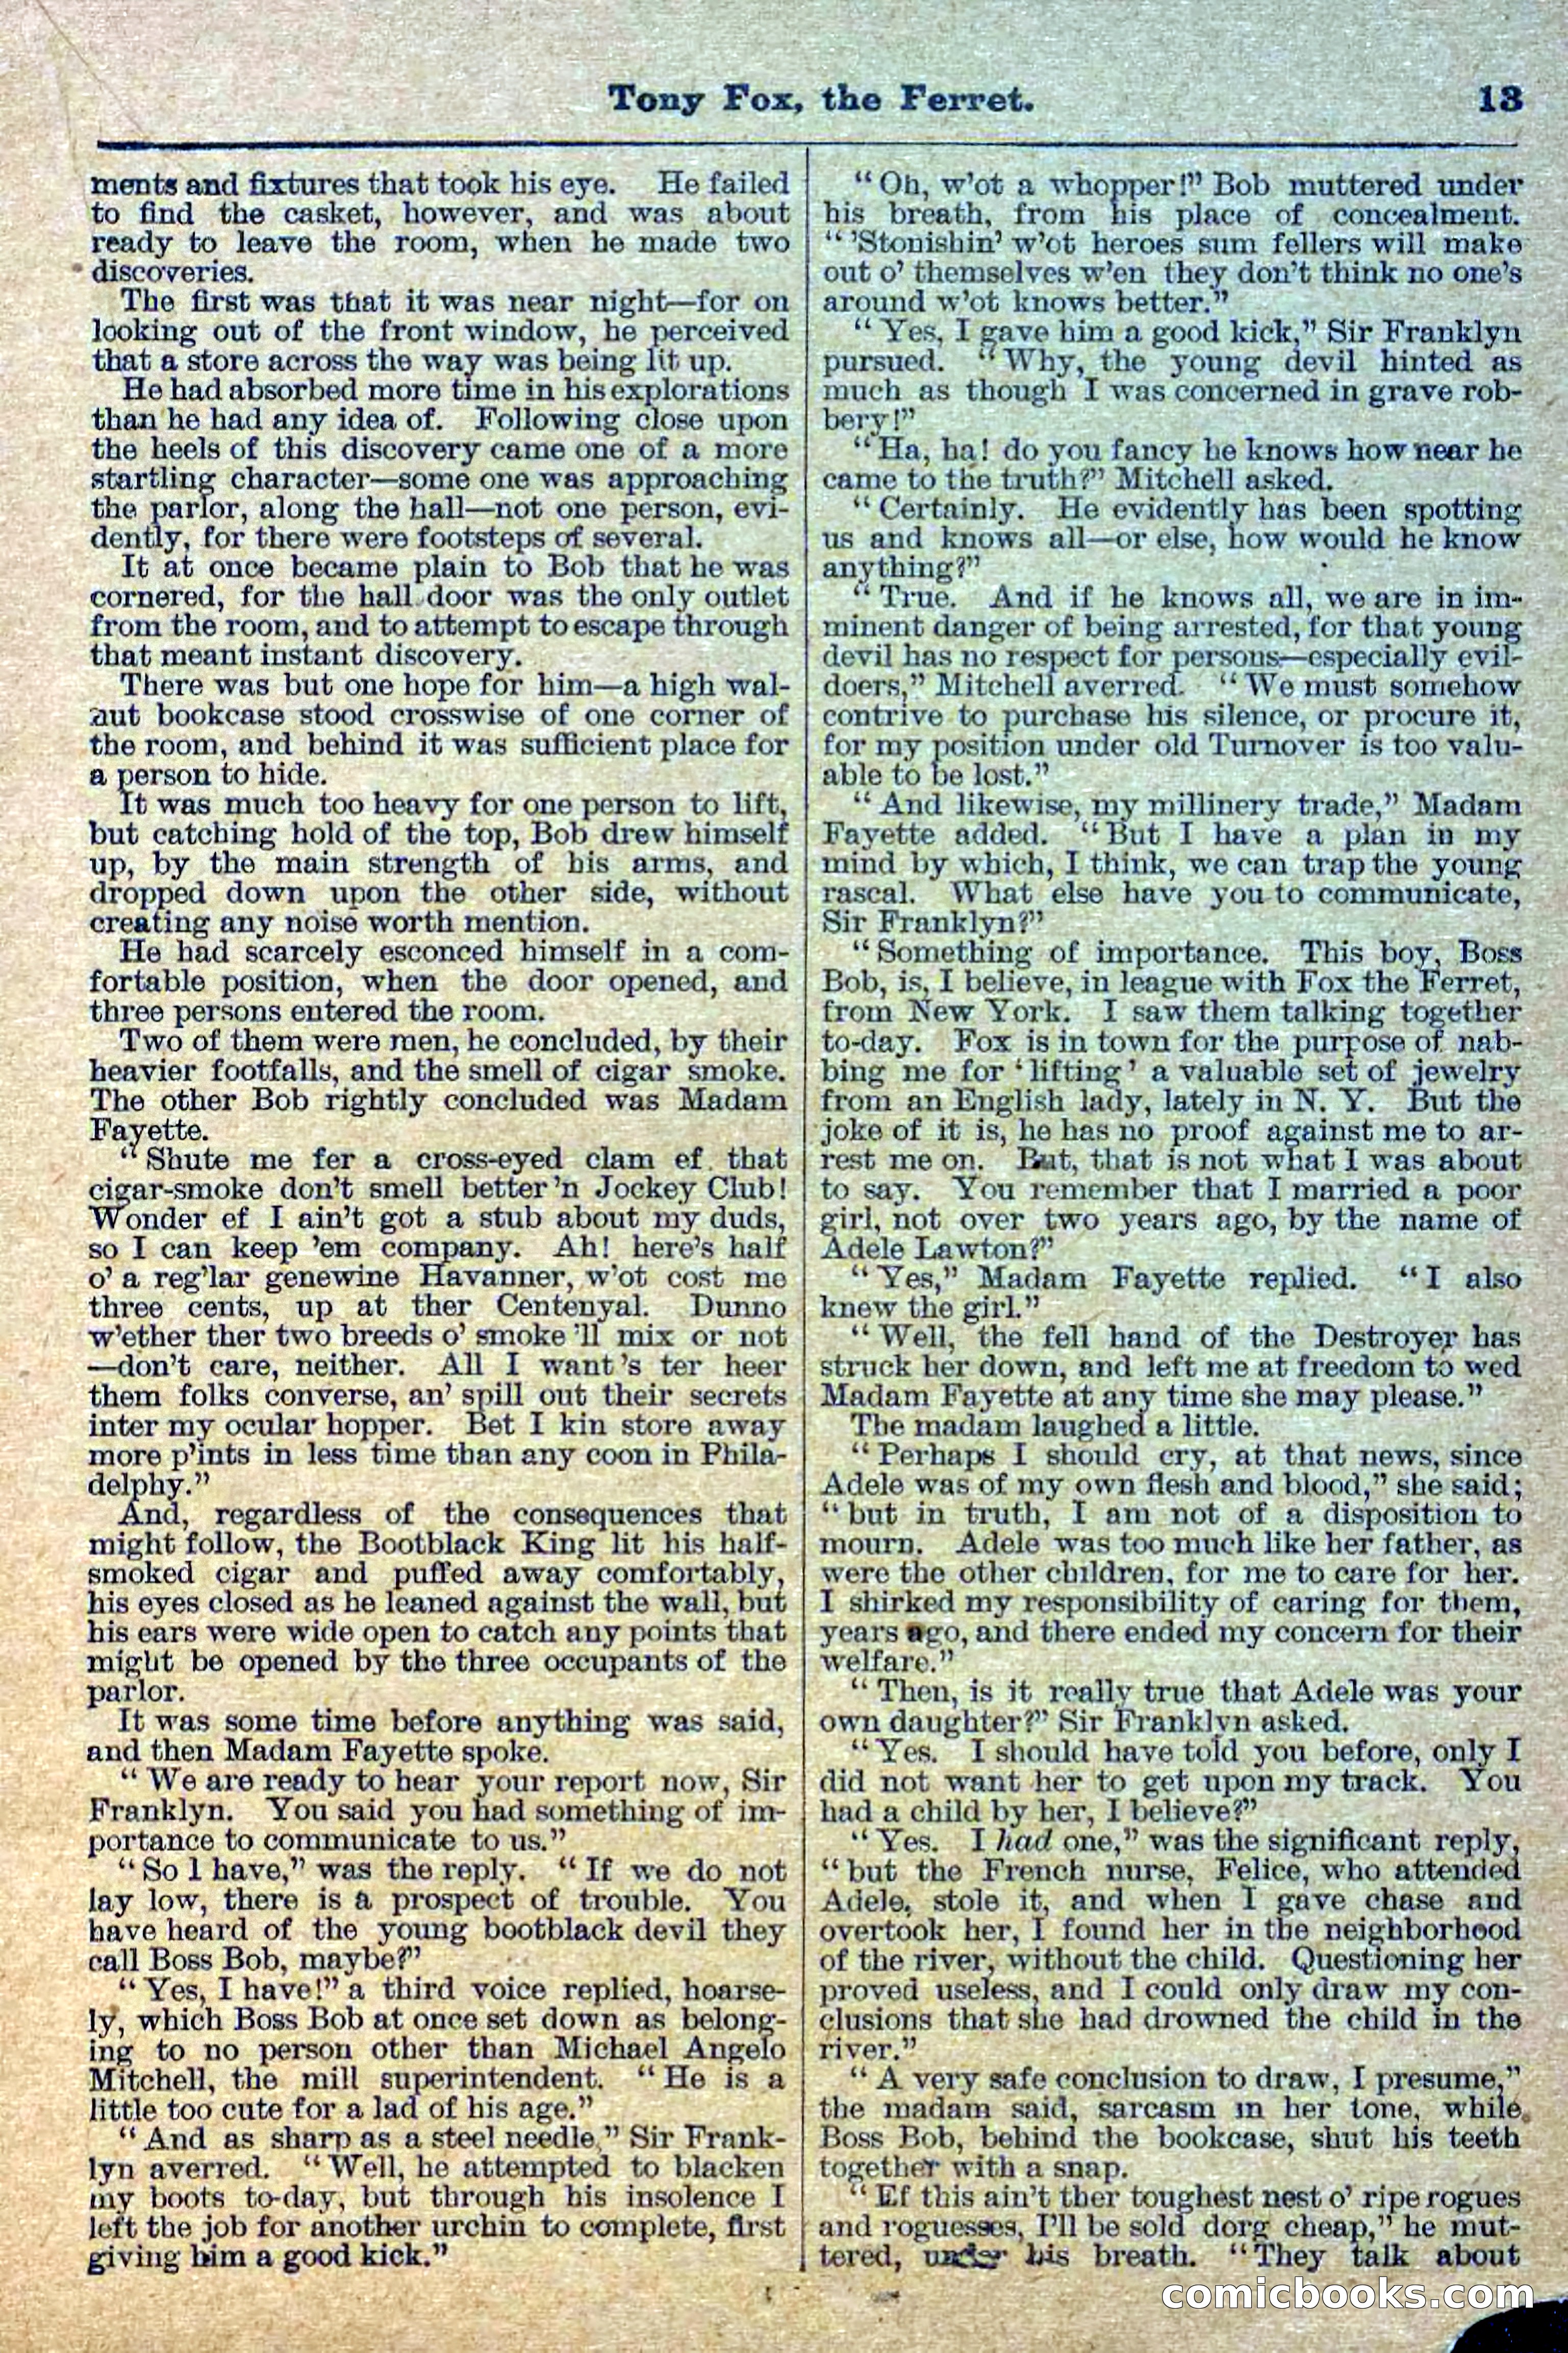
14 / 39
The Deadwood Dick Library, Vol. III, No. 33 — page 15 of 39
15 / 39
The Deadwood Dick Library, Vol. III, No. 33 — page 16 of 39
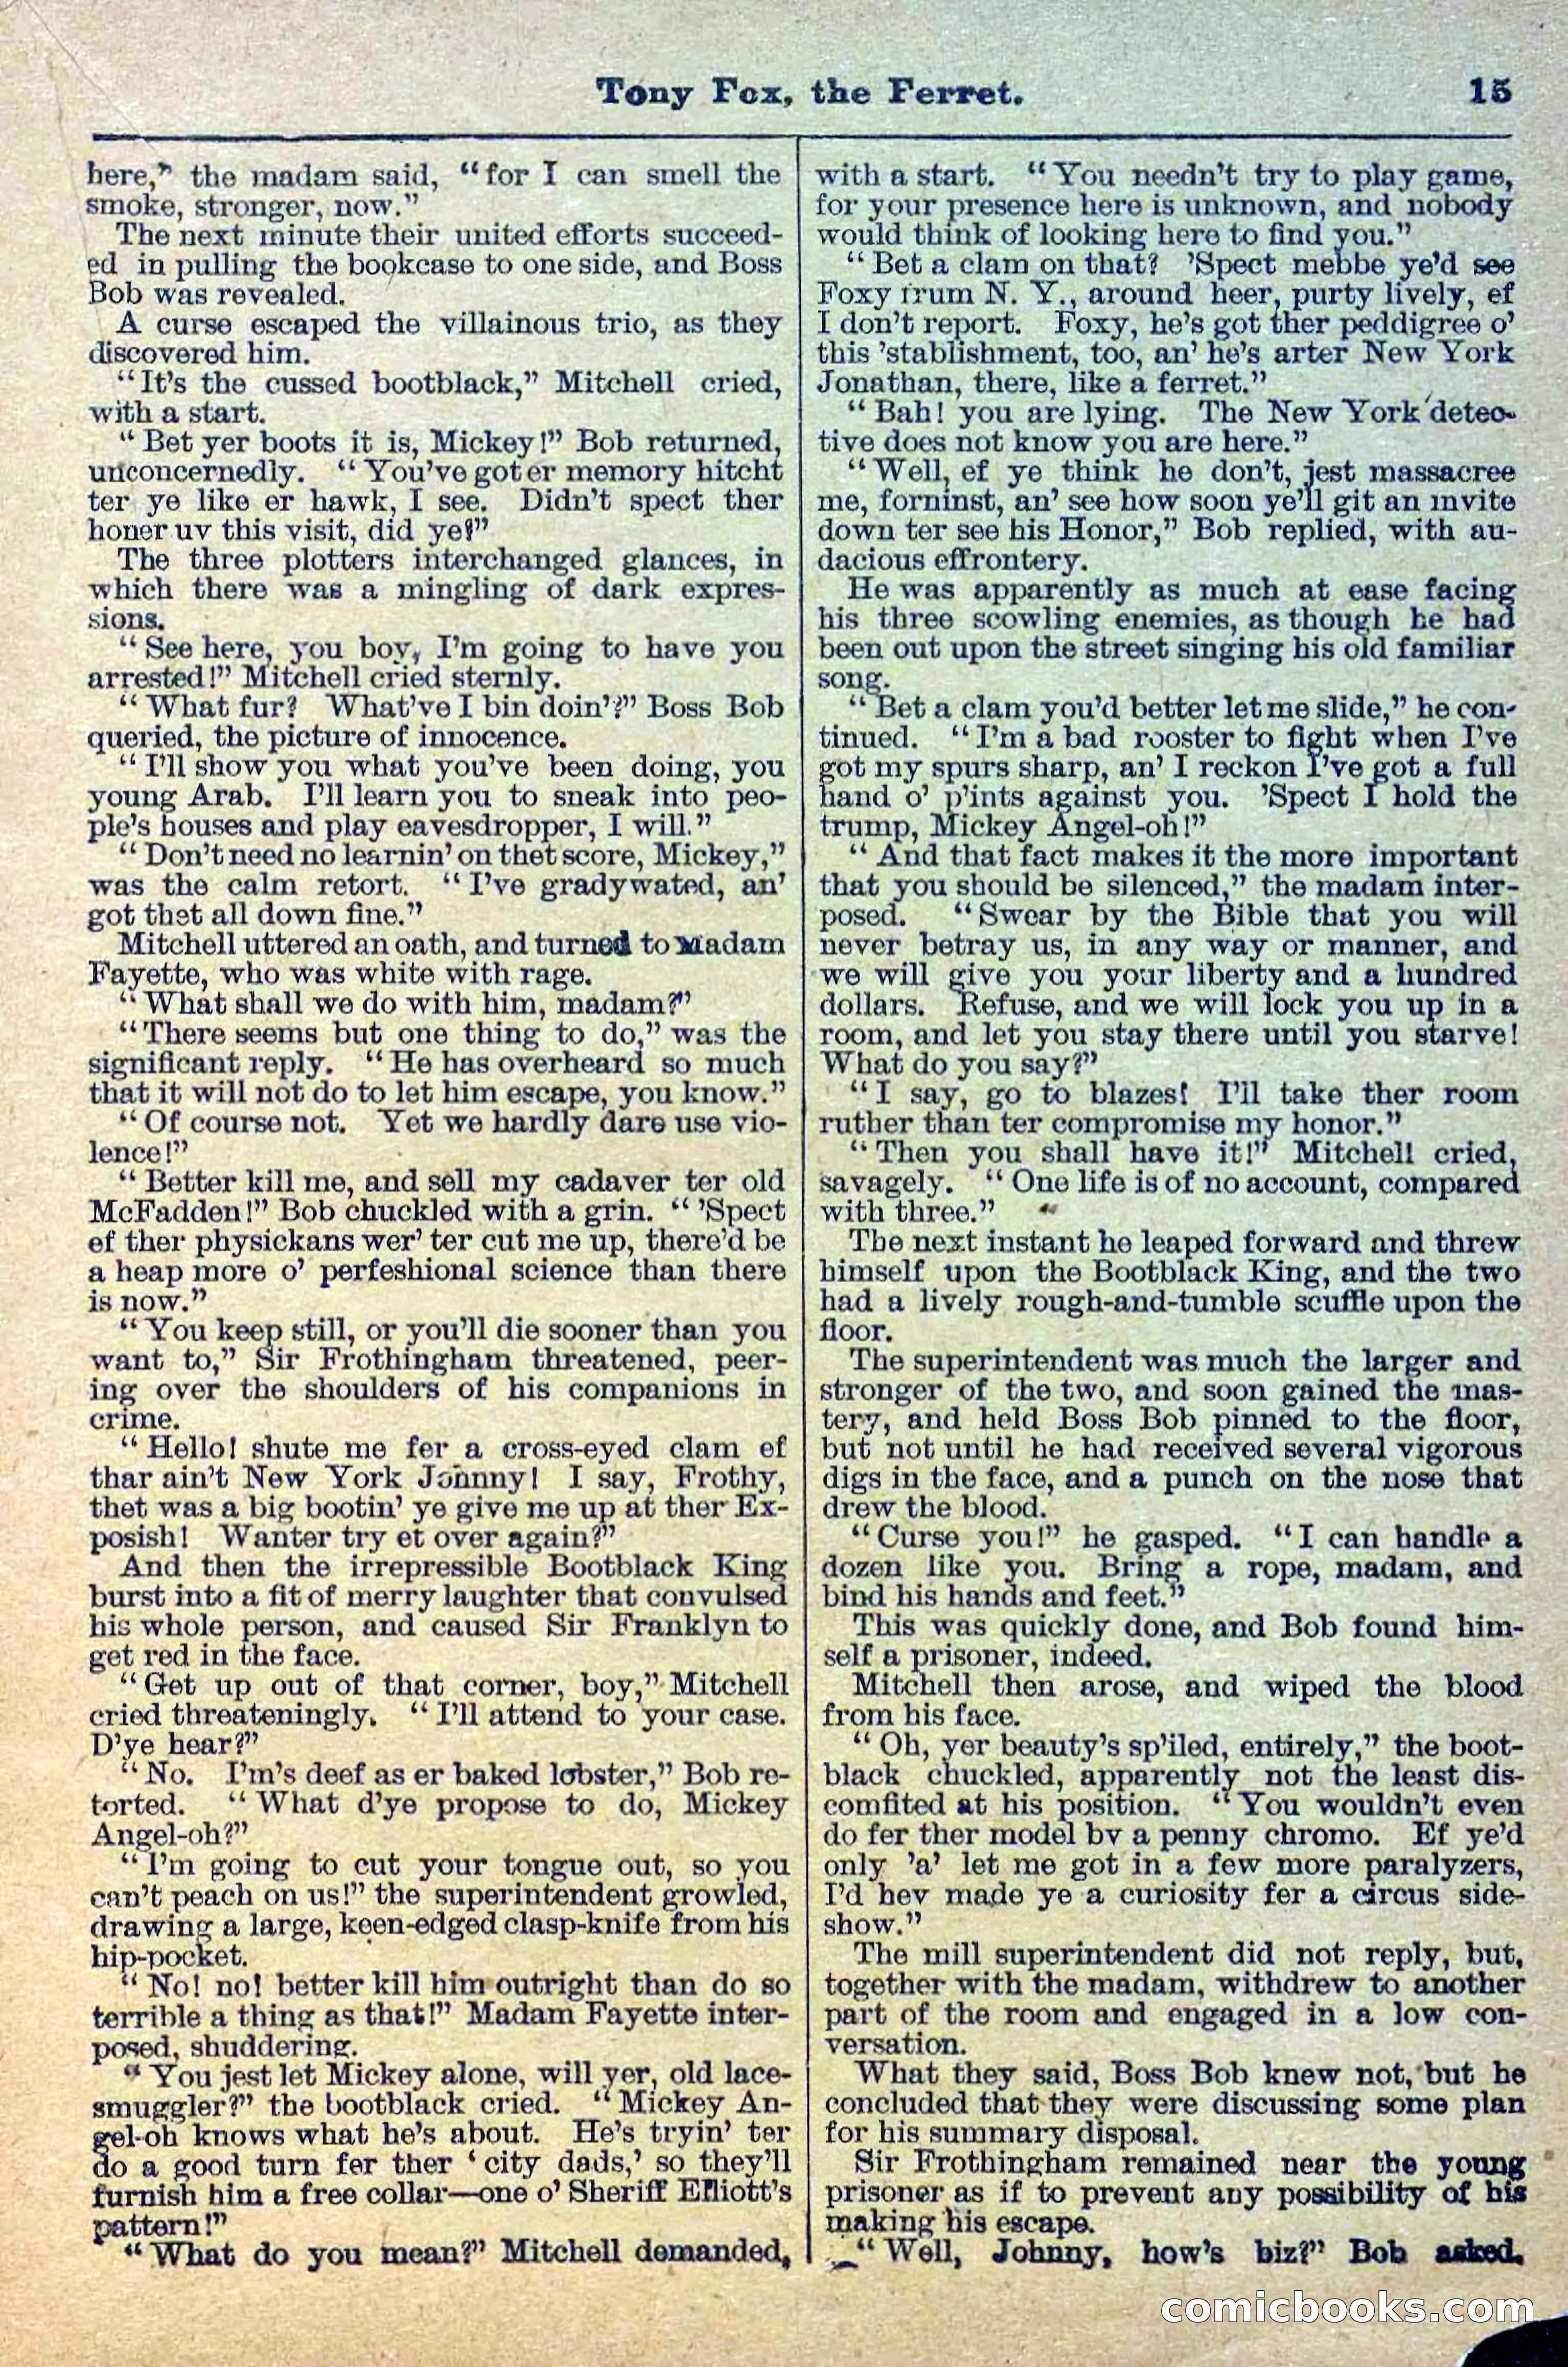
16 / 39
The Deadwood Dick Library, Vol. III, No. 33 — page 17 of 39
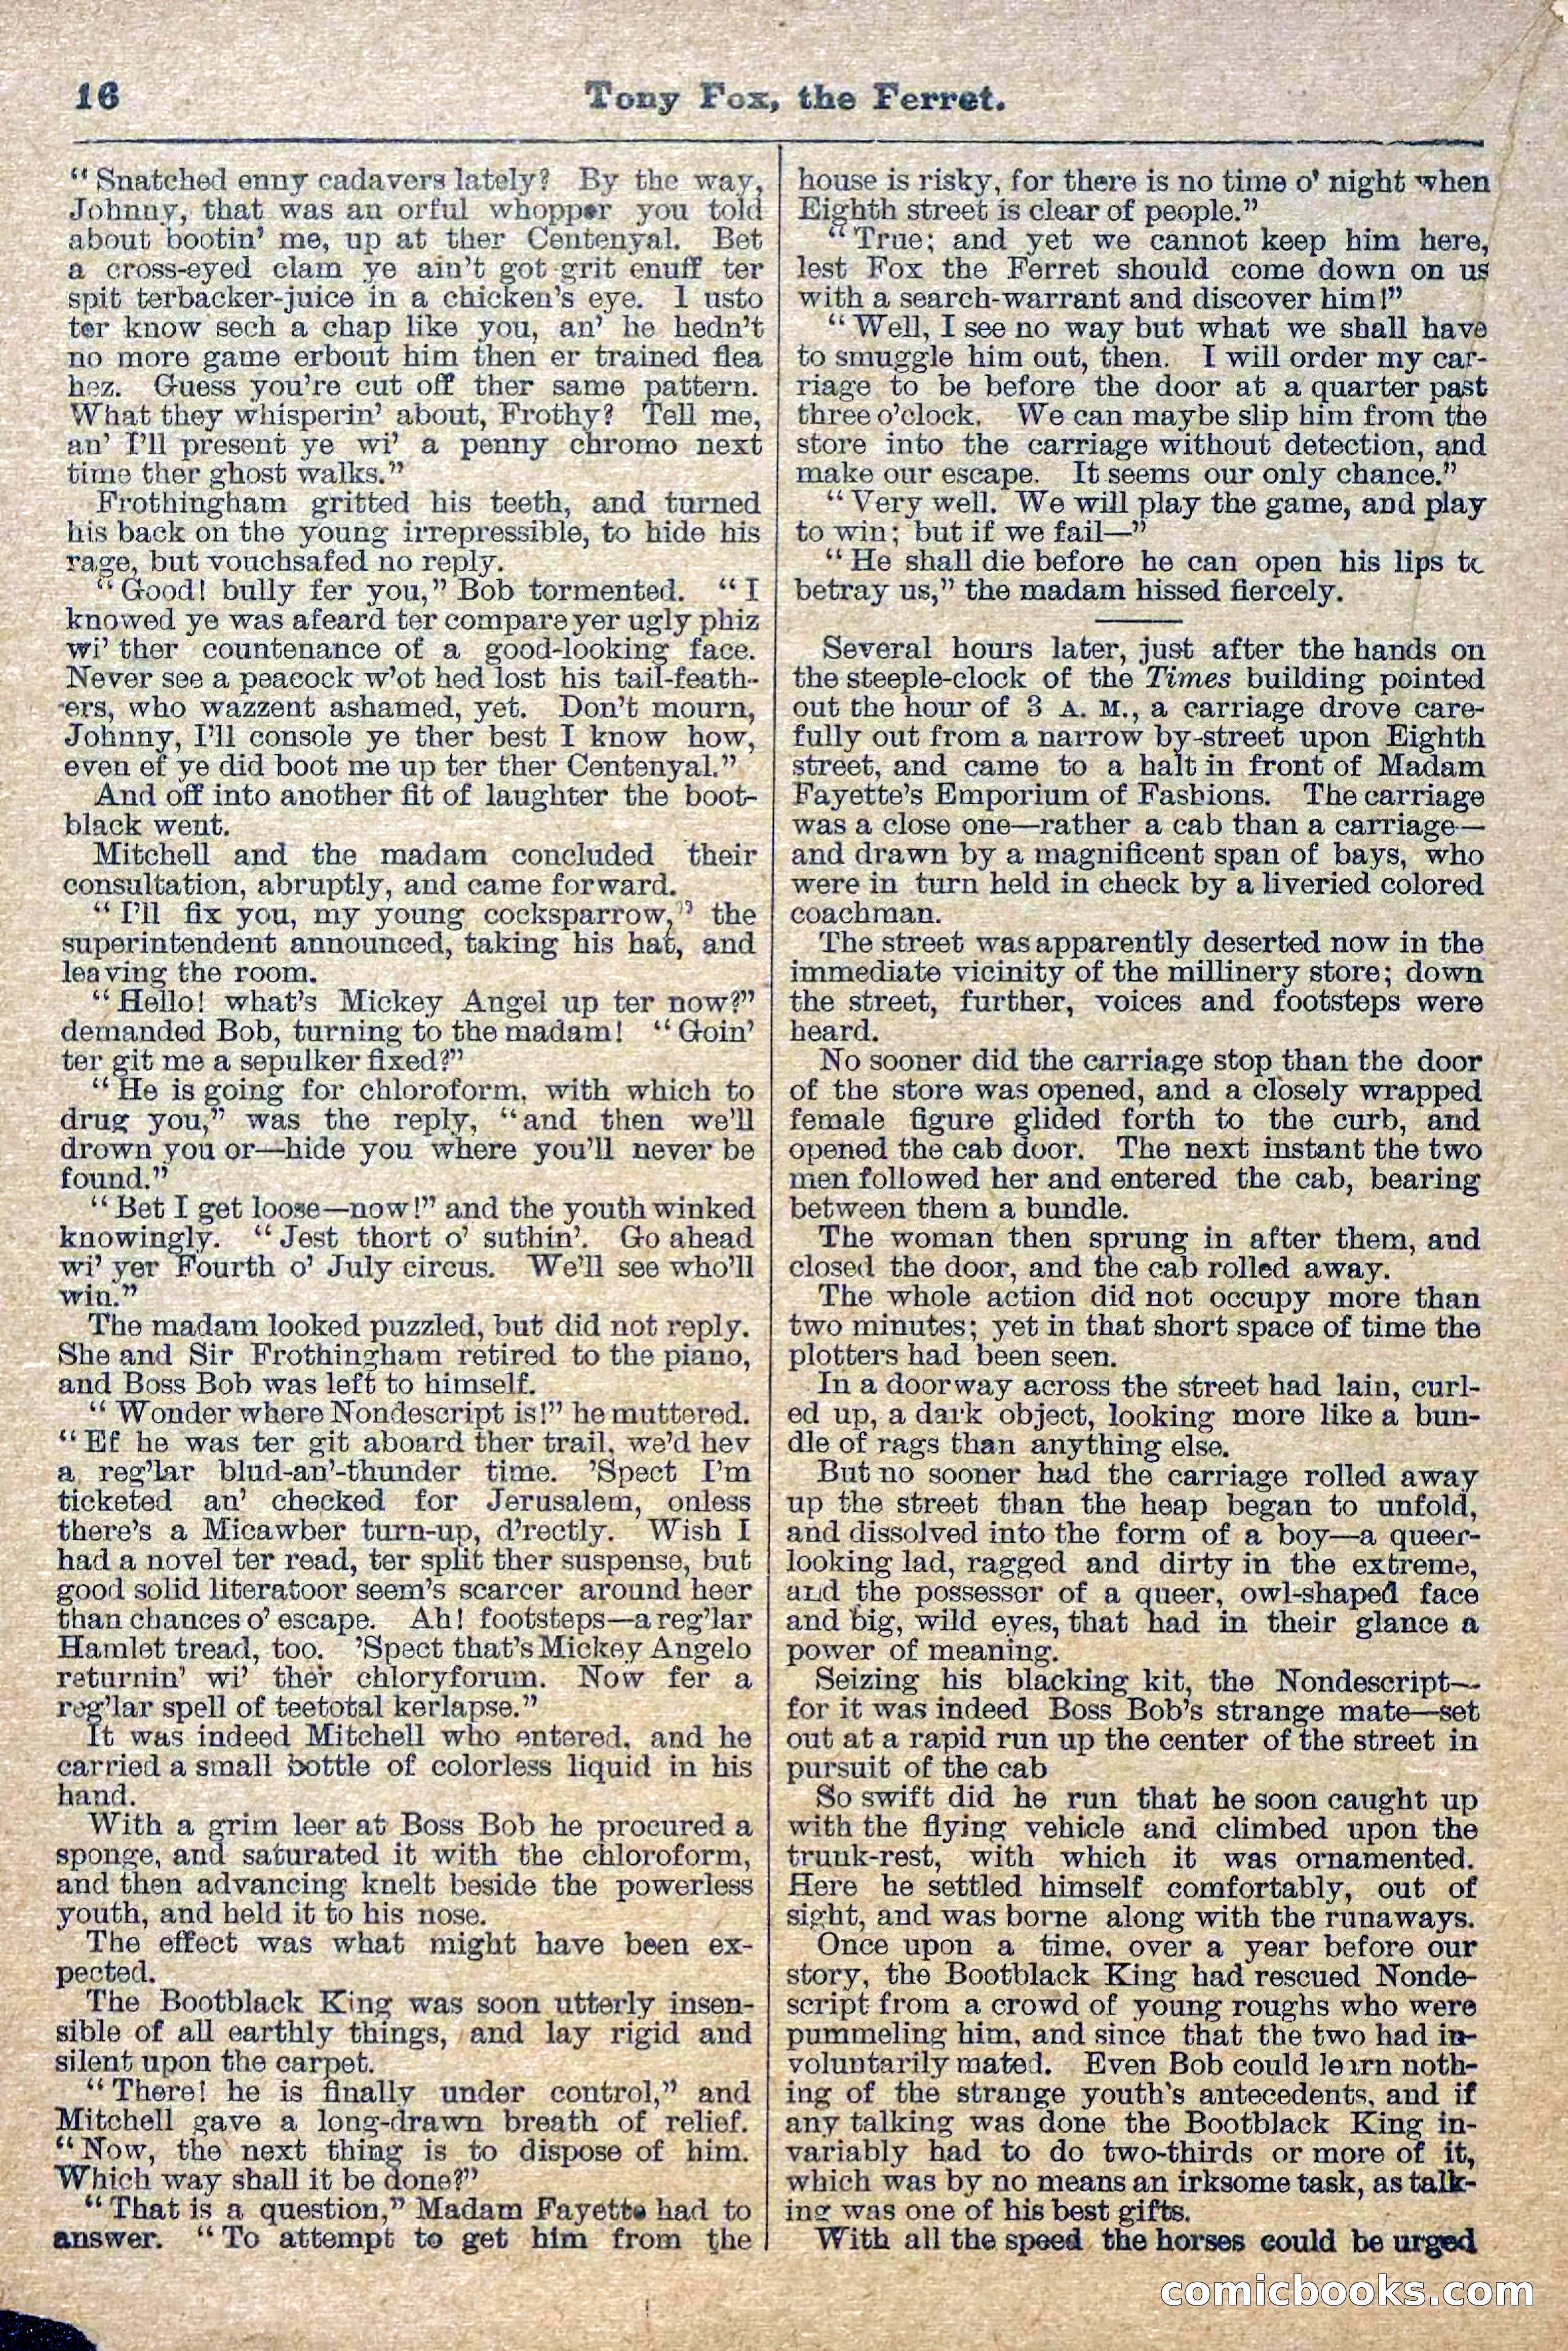
17 / 39
The Deadwood Dick Library, Vol. III, No. 33 — page 18 of 39
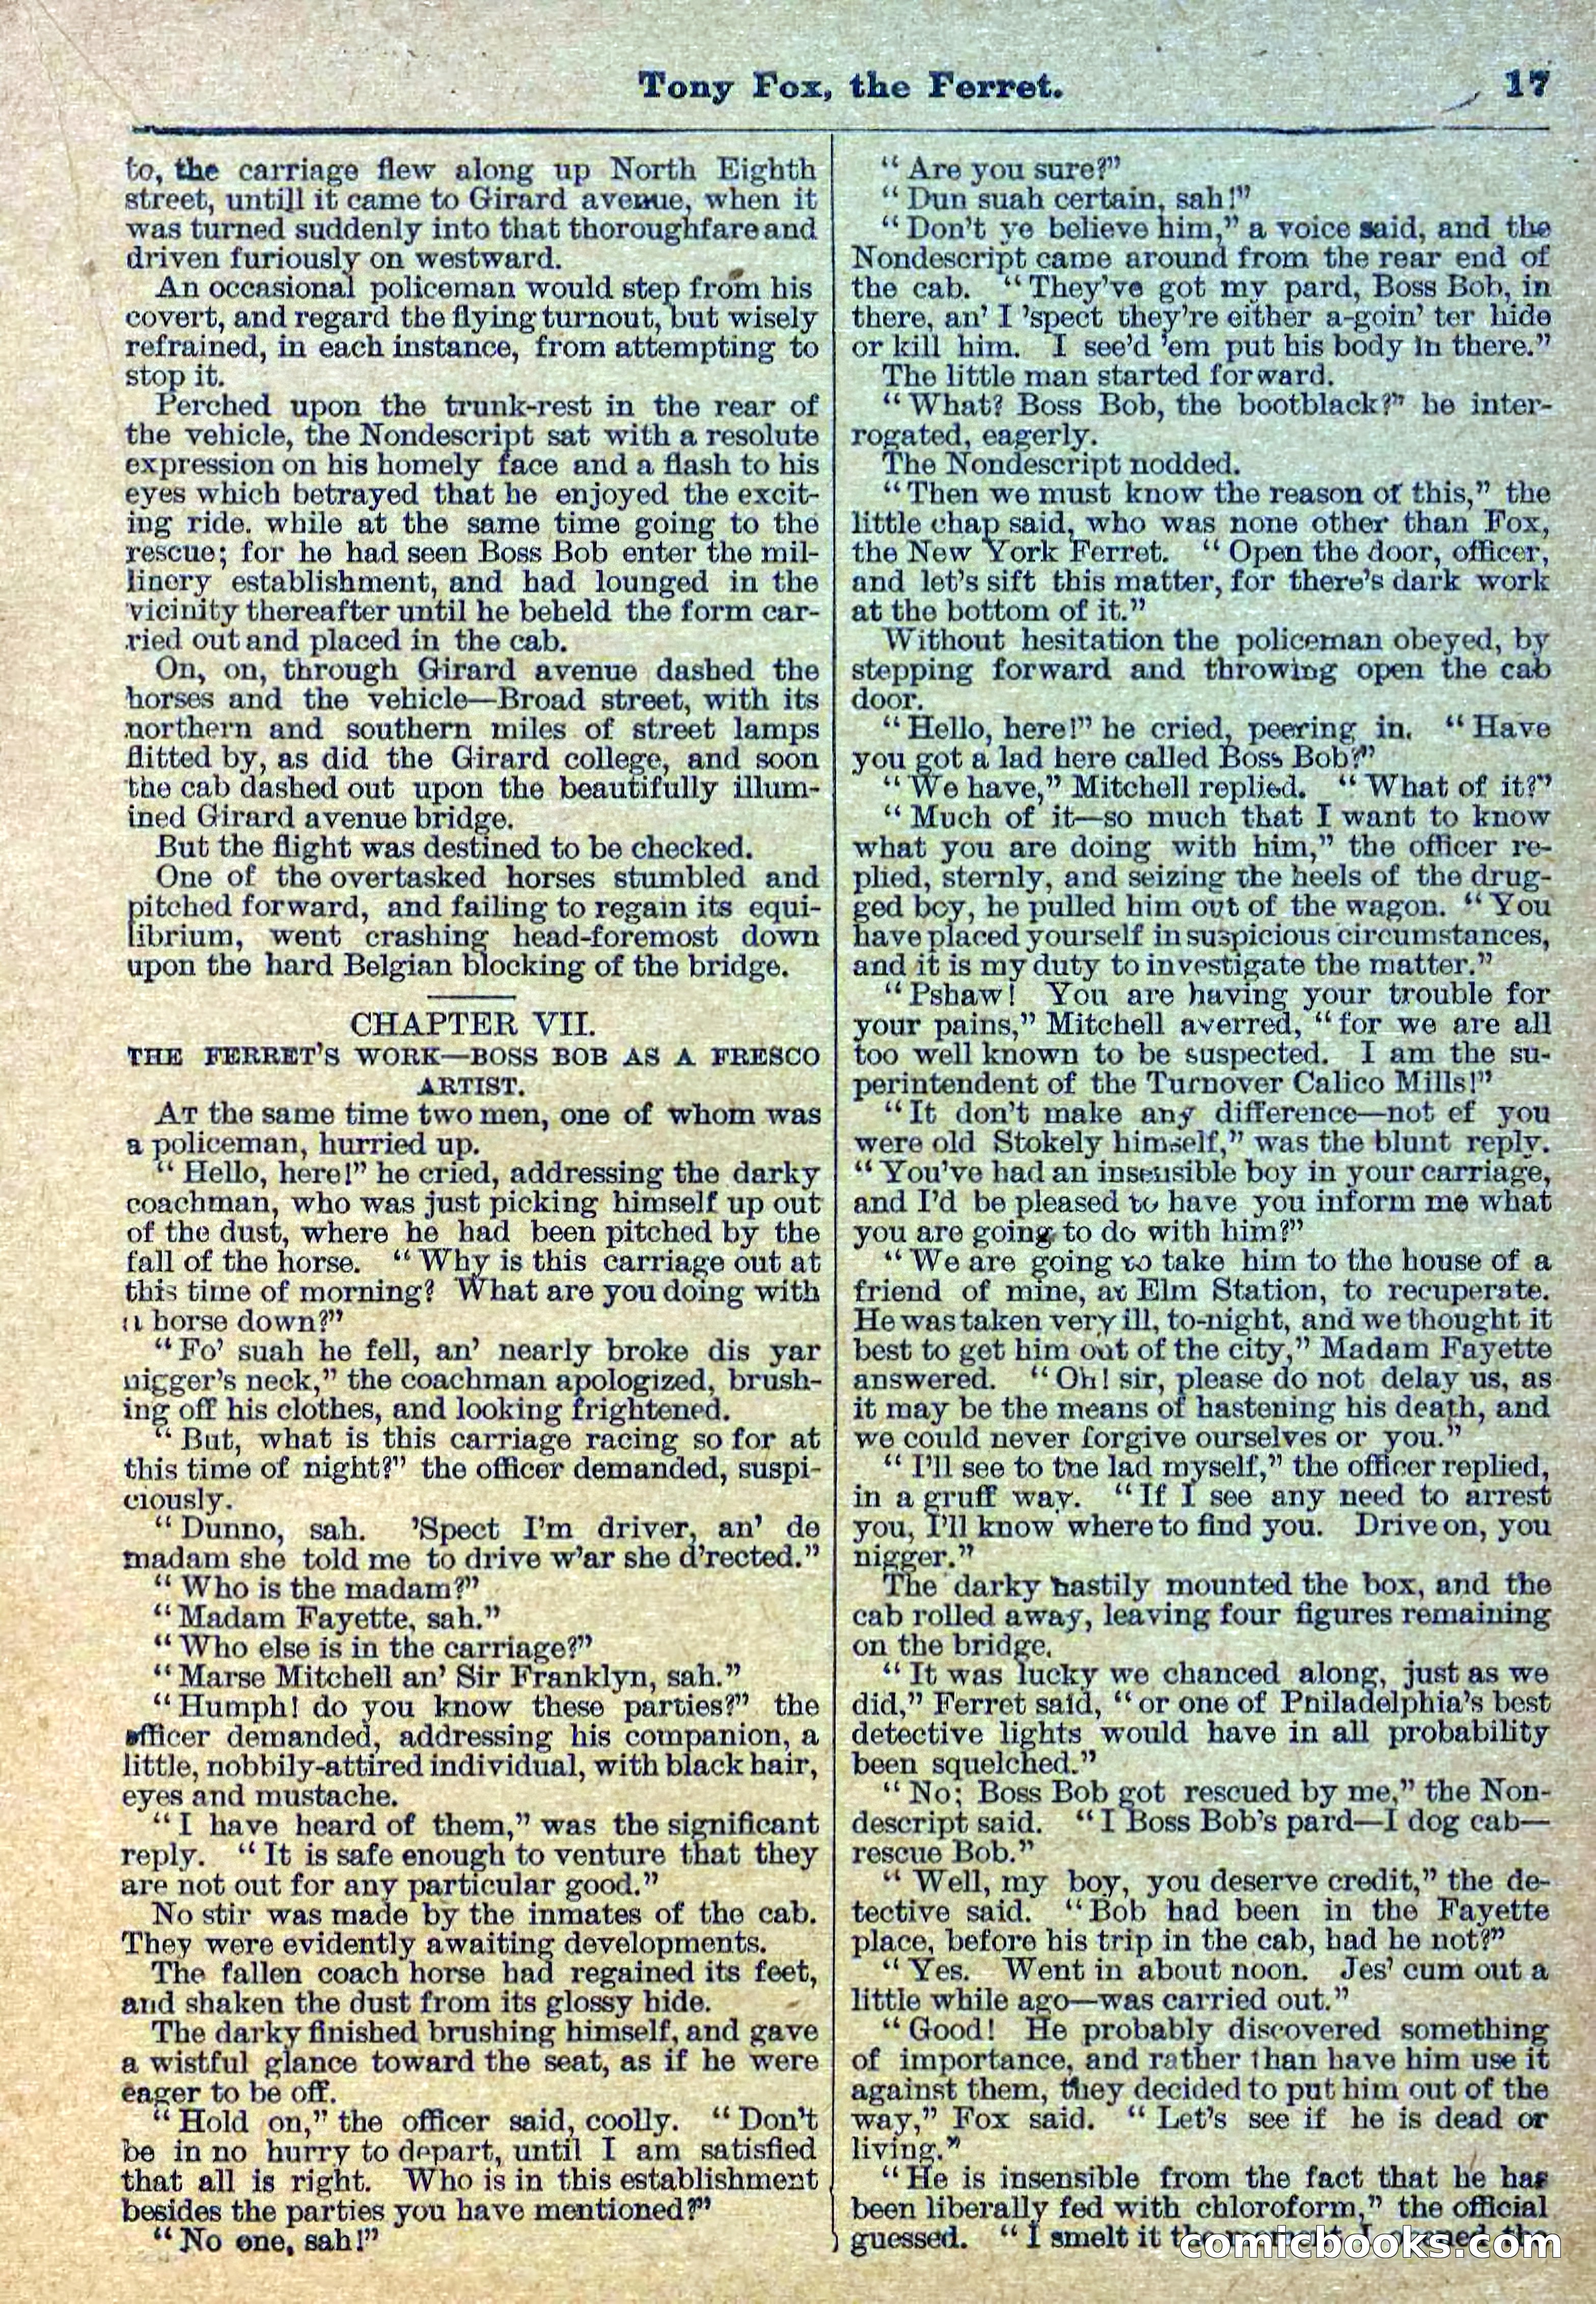
18 / 39
The Deadwood Dick Library, Vol. III, No. 33 — page 19 of 39
19 / 39
The Deadwood Dick Library, Vol. III, No. 33 — page 20 of 39
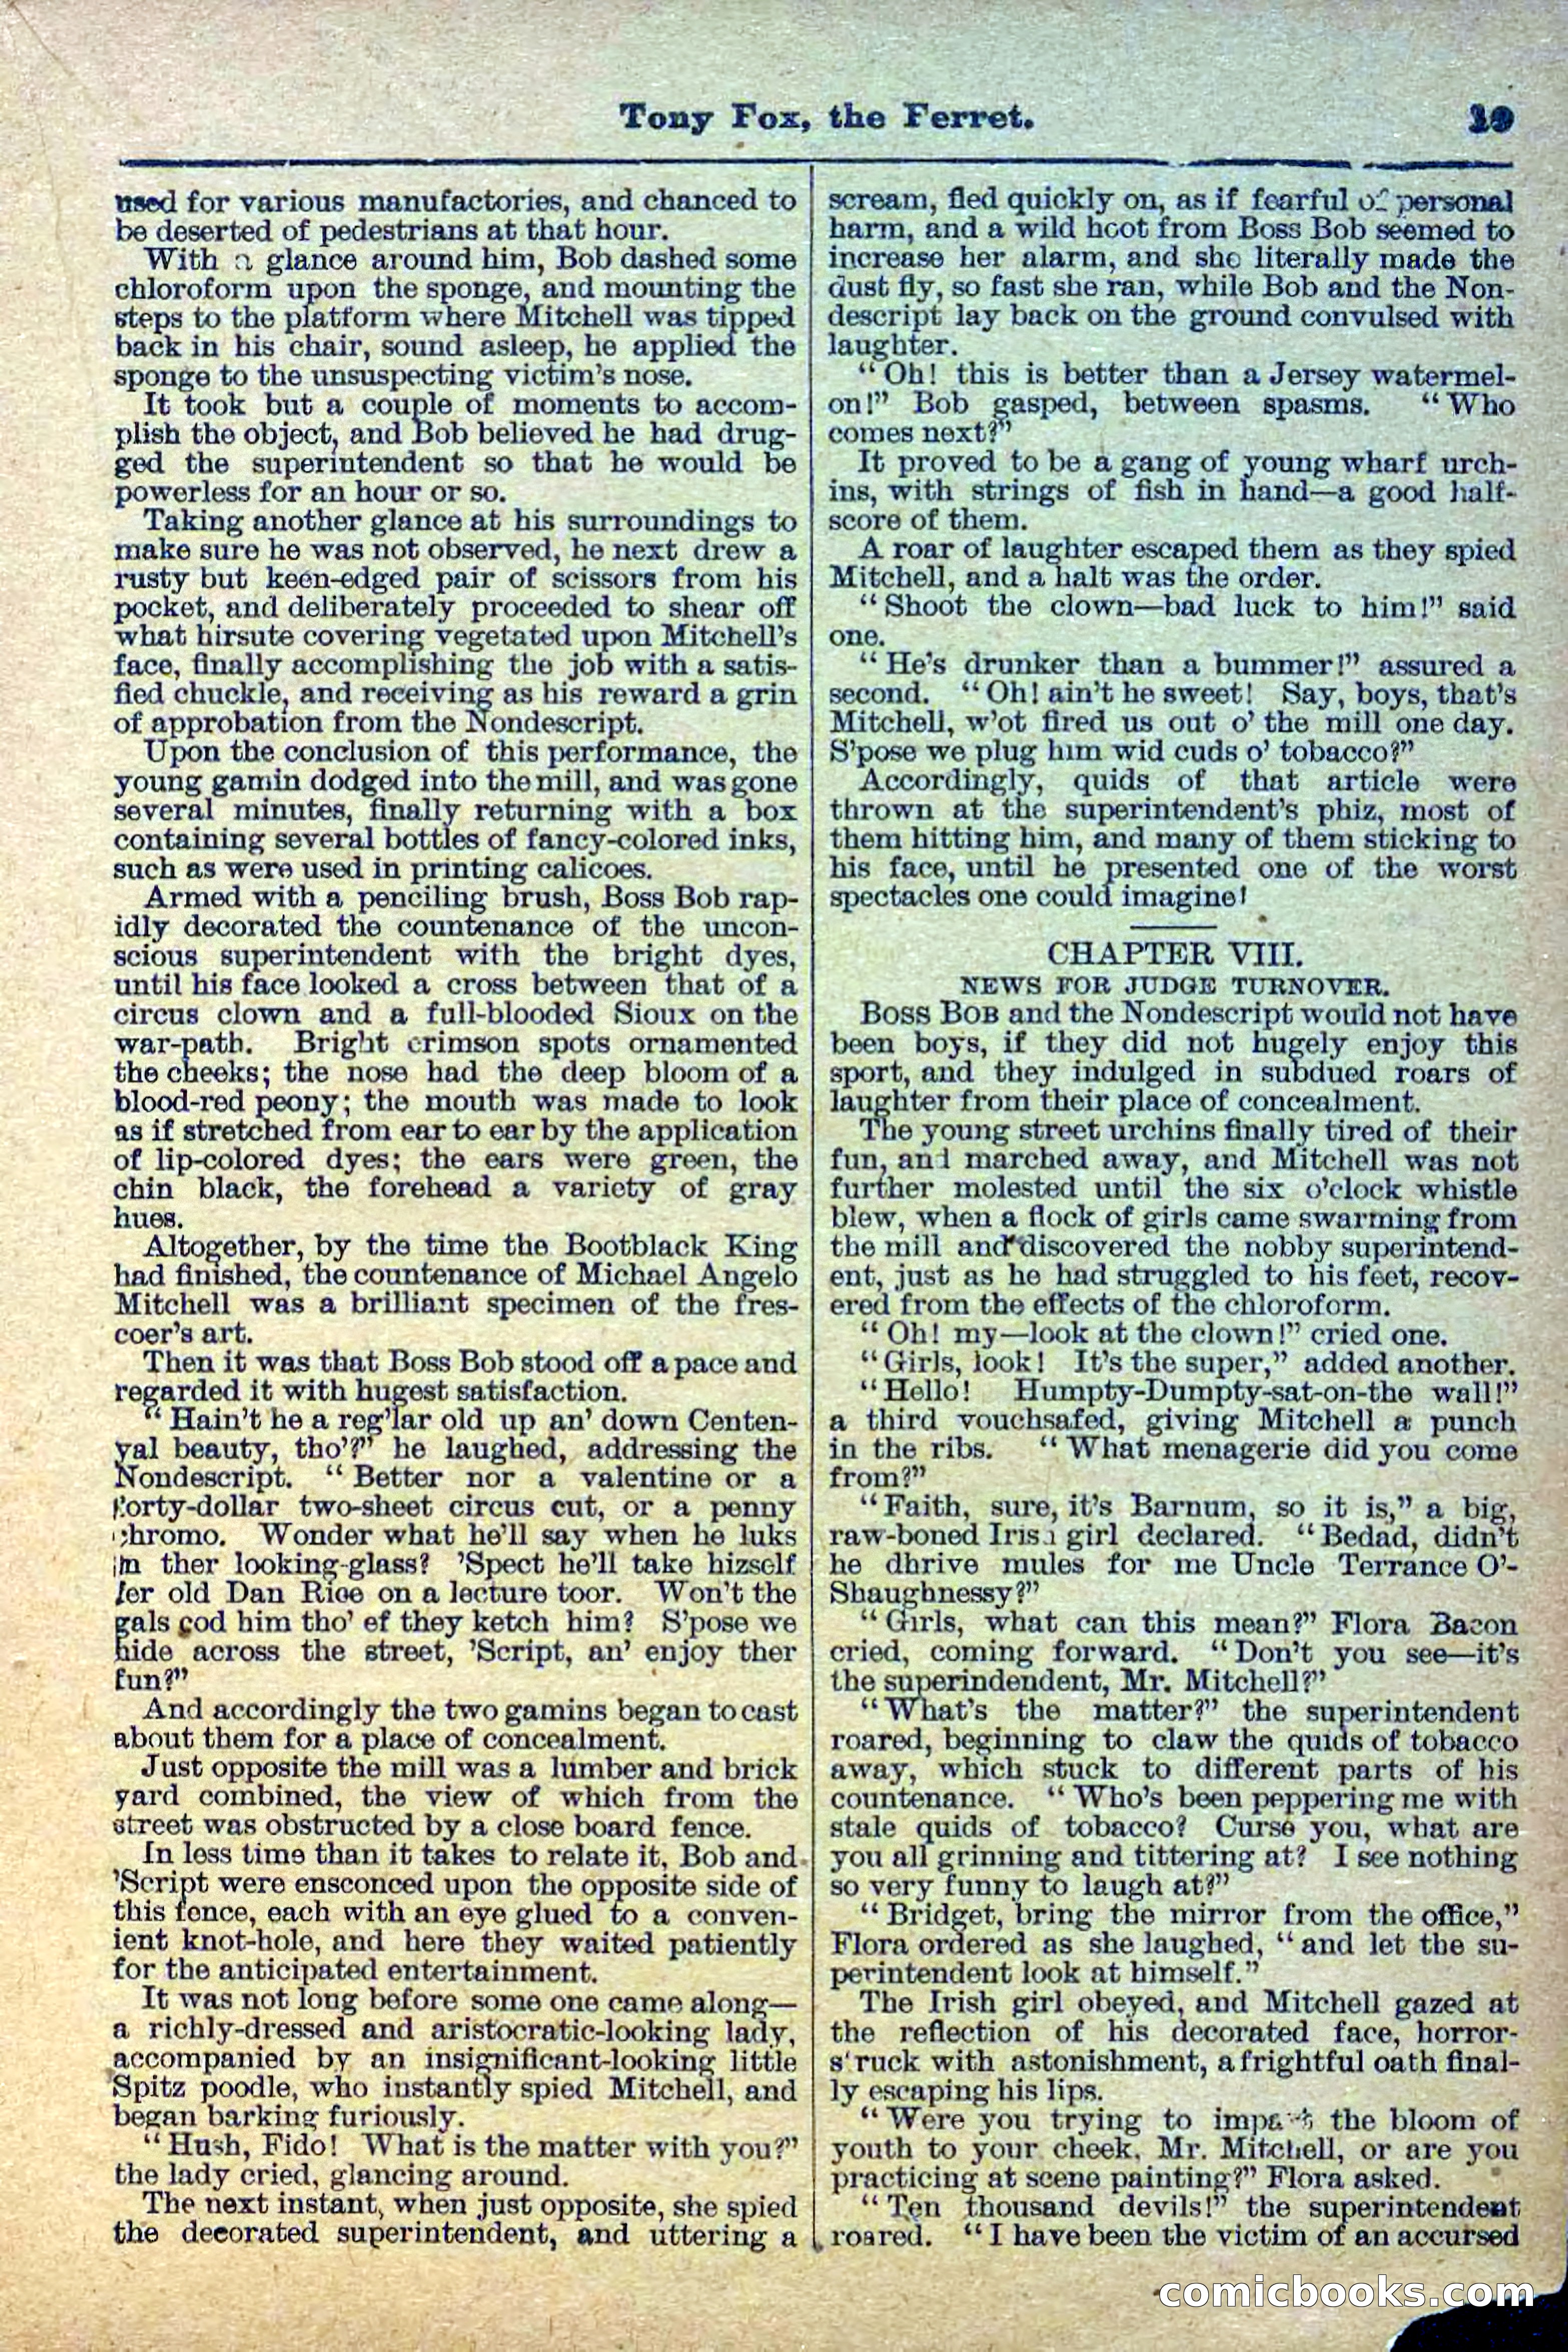
20 / 39
The Deadwood Dick Library, Vol. III, No. 33 — page 21 of 39
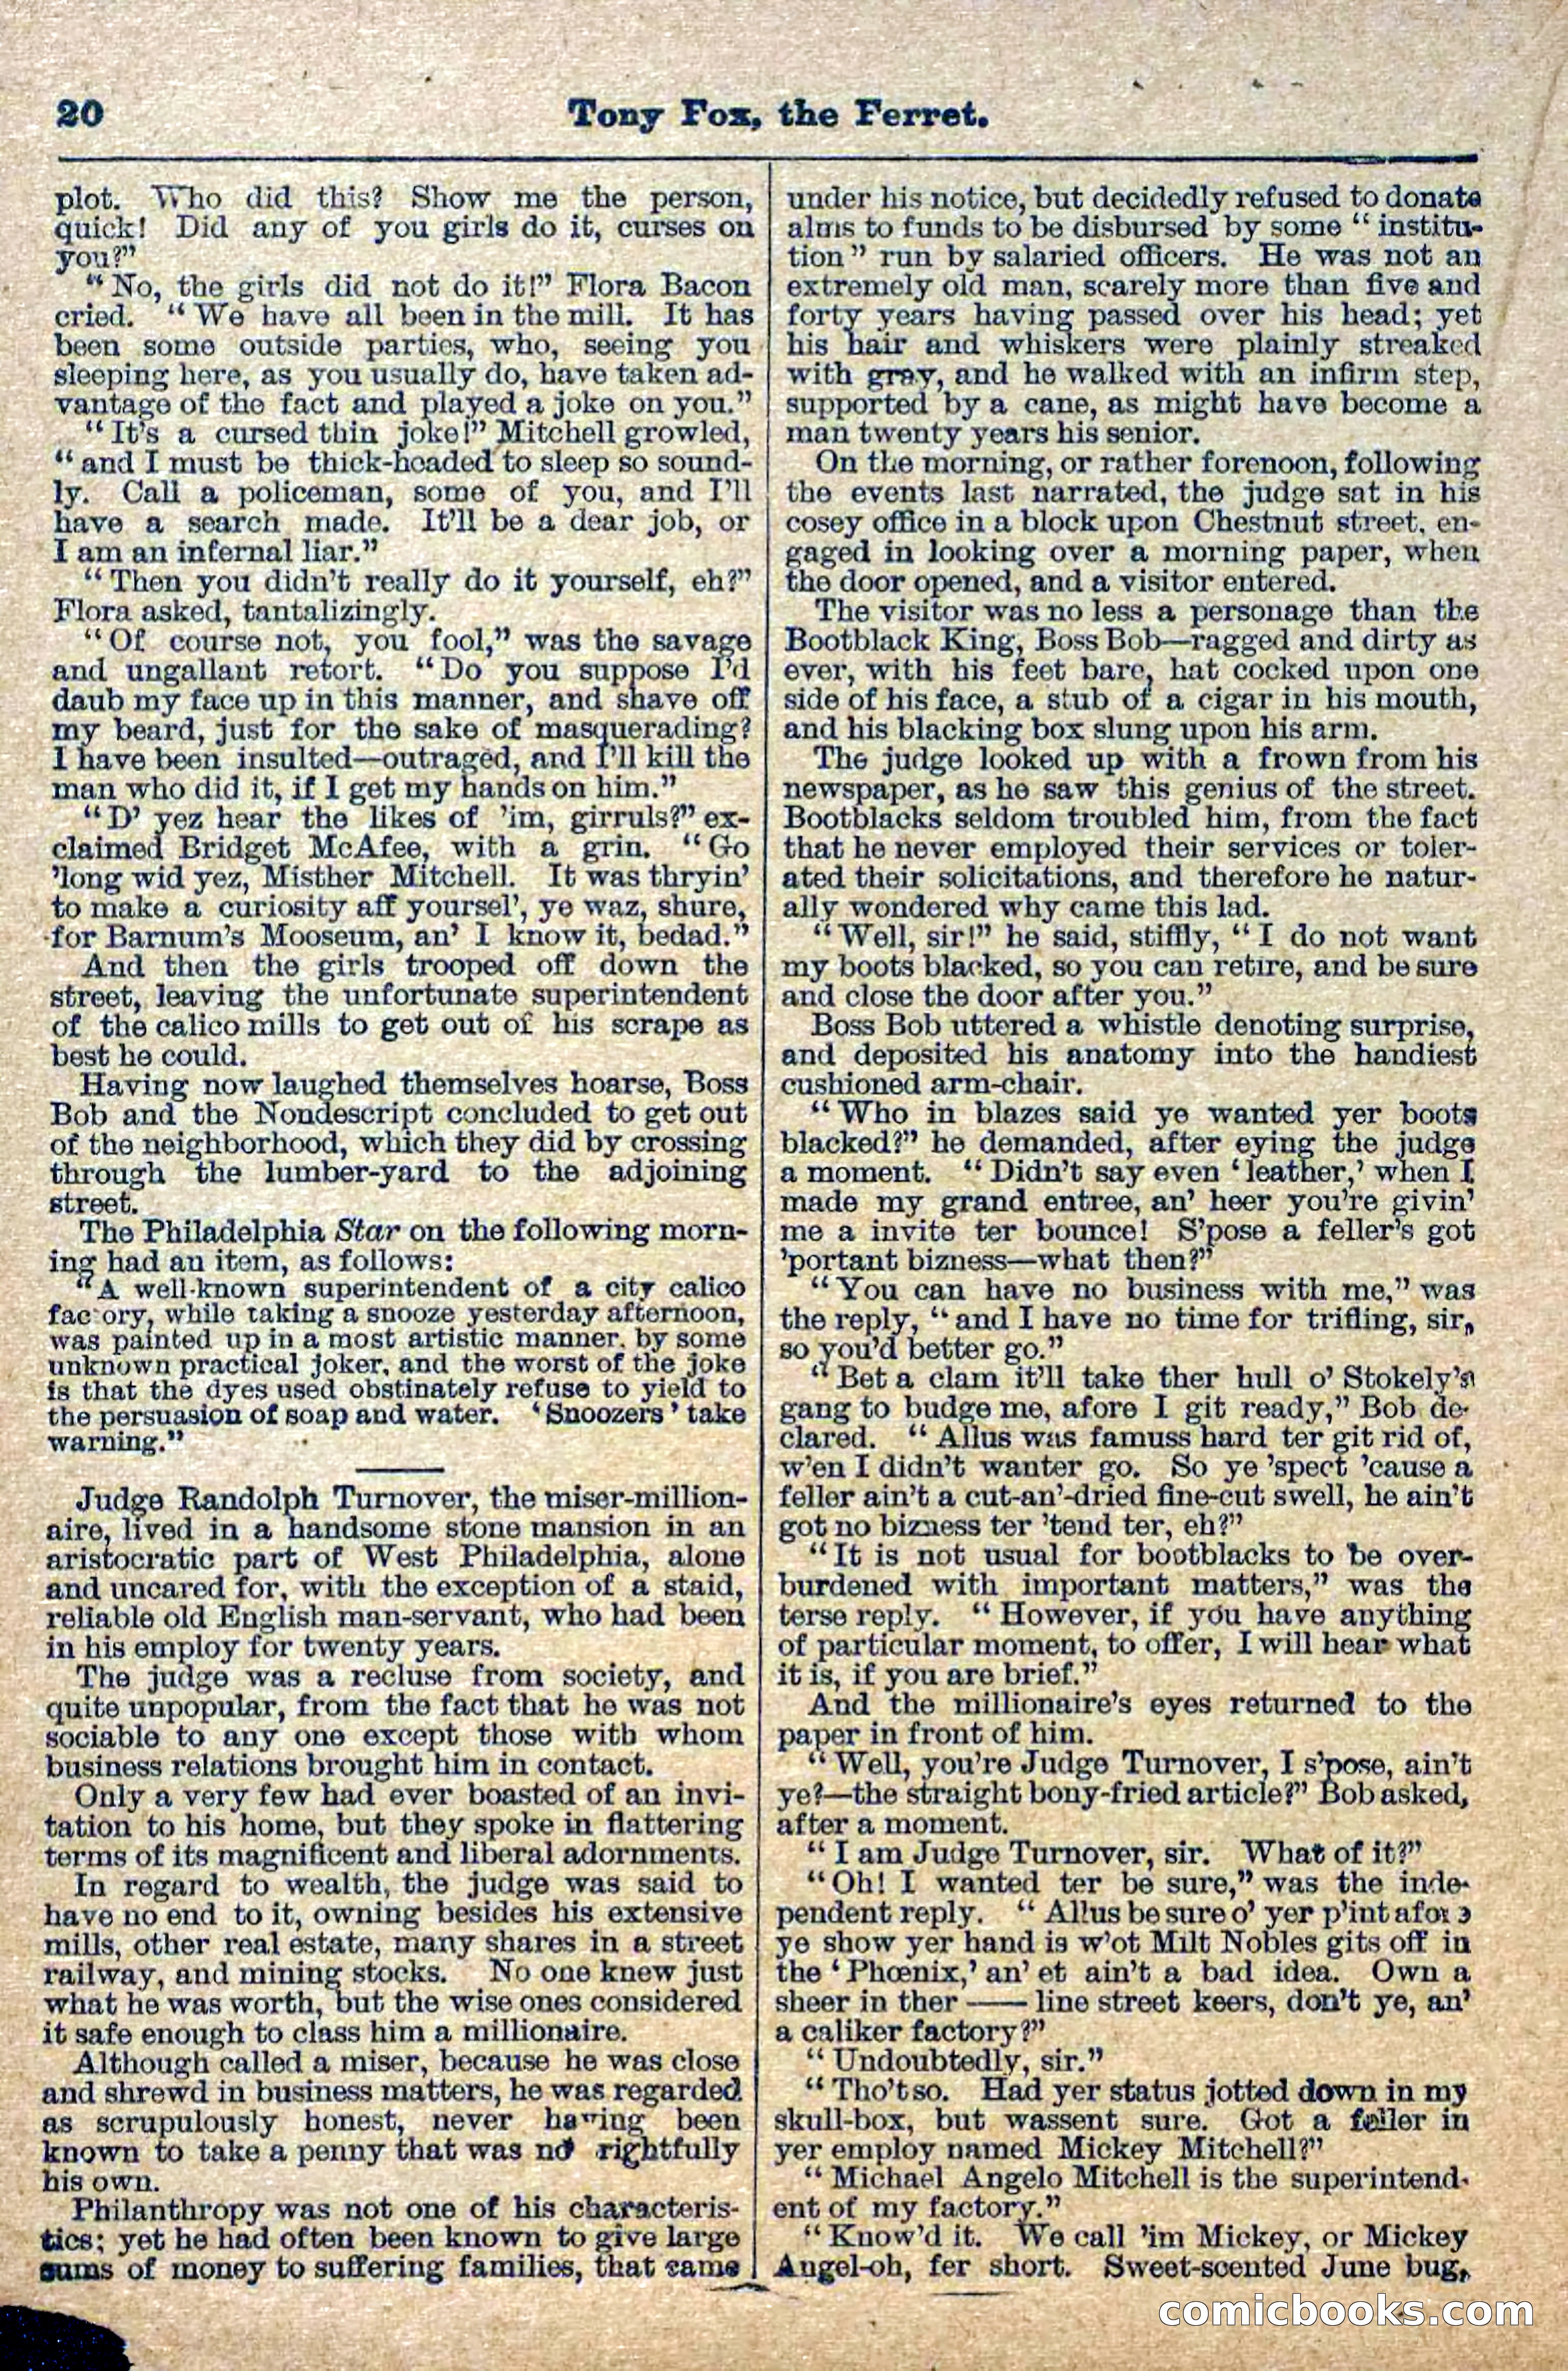
21 / 39
The Deadwood Dick Library, Vol. III, No. 33 — page 22 of 39
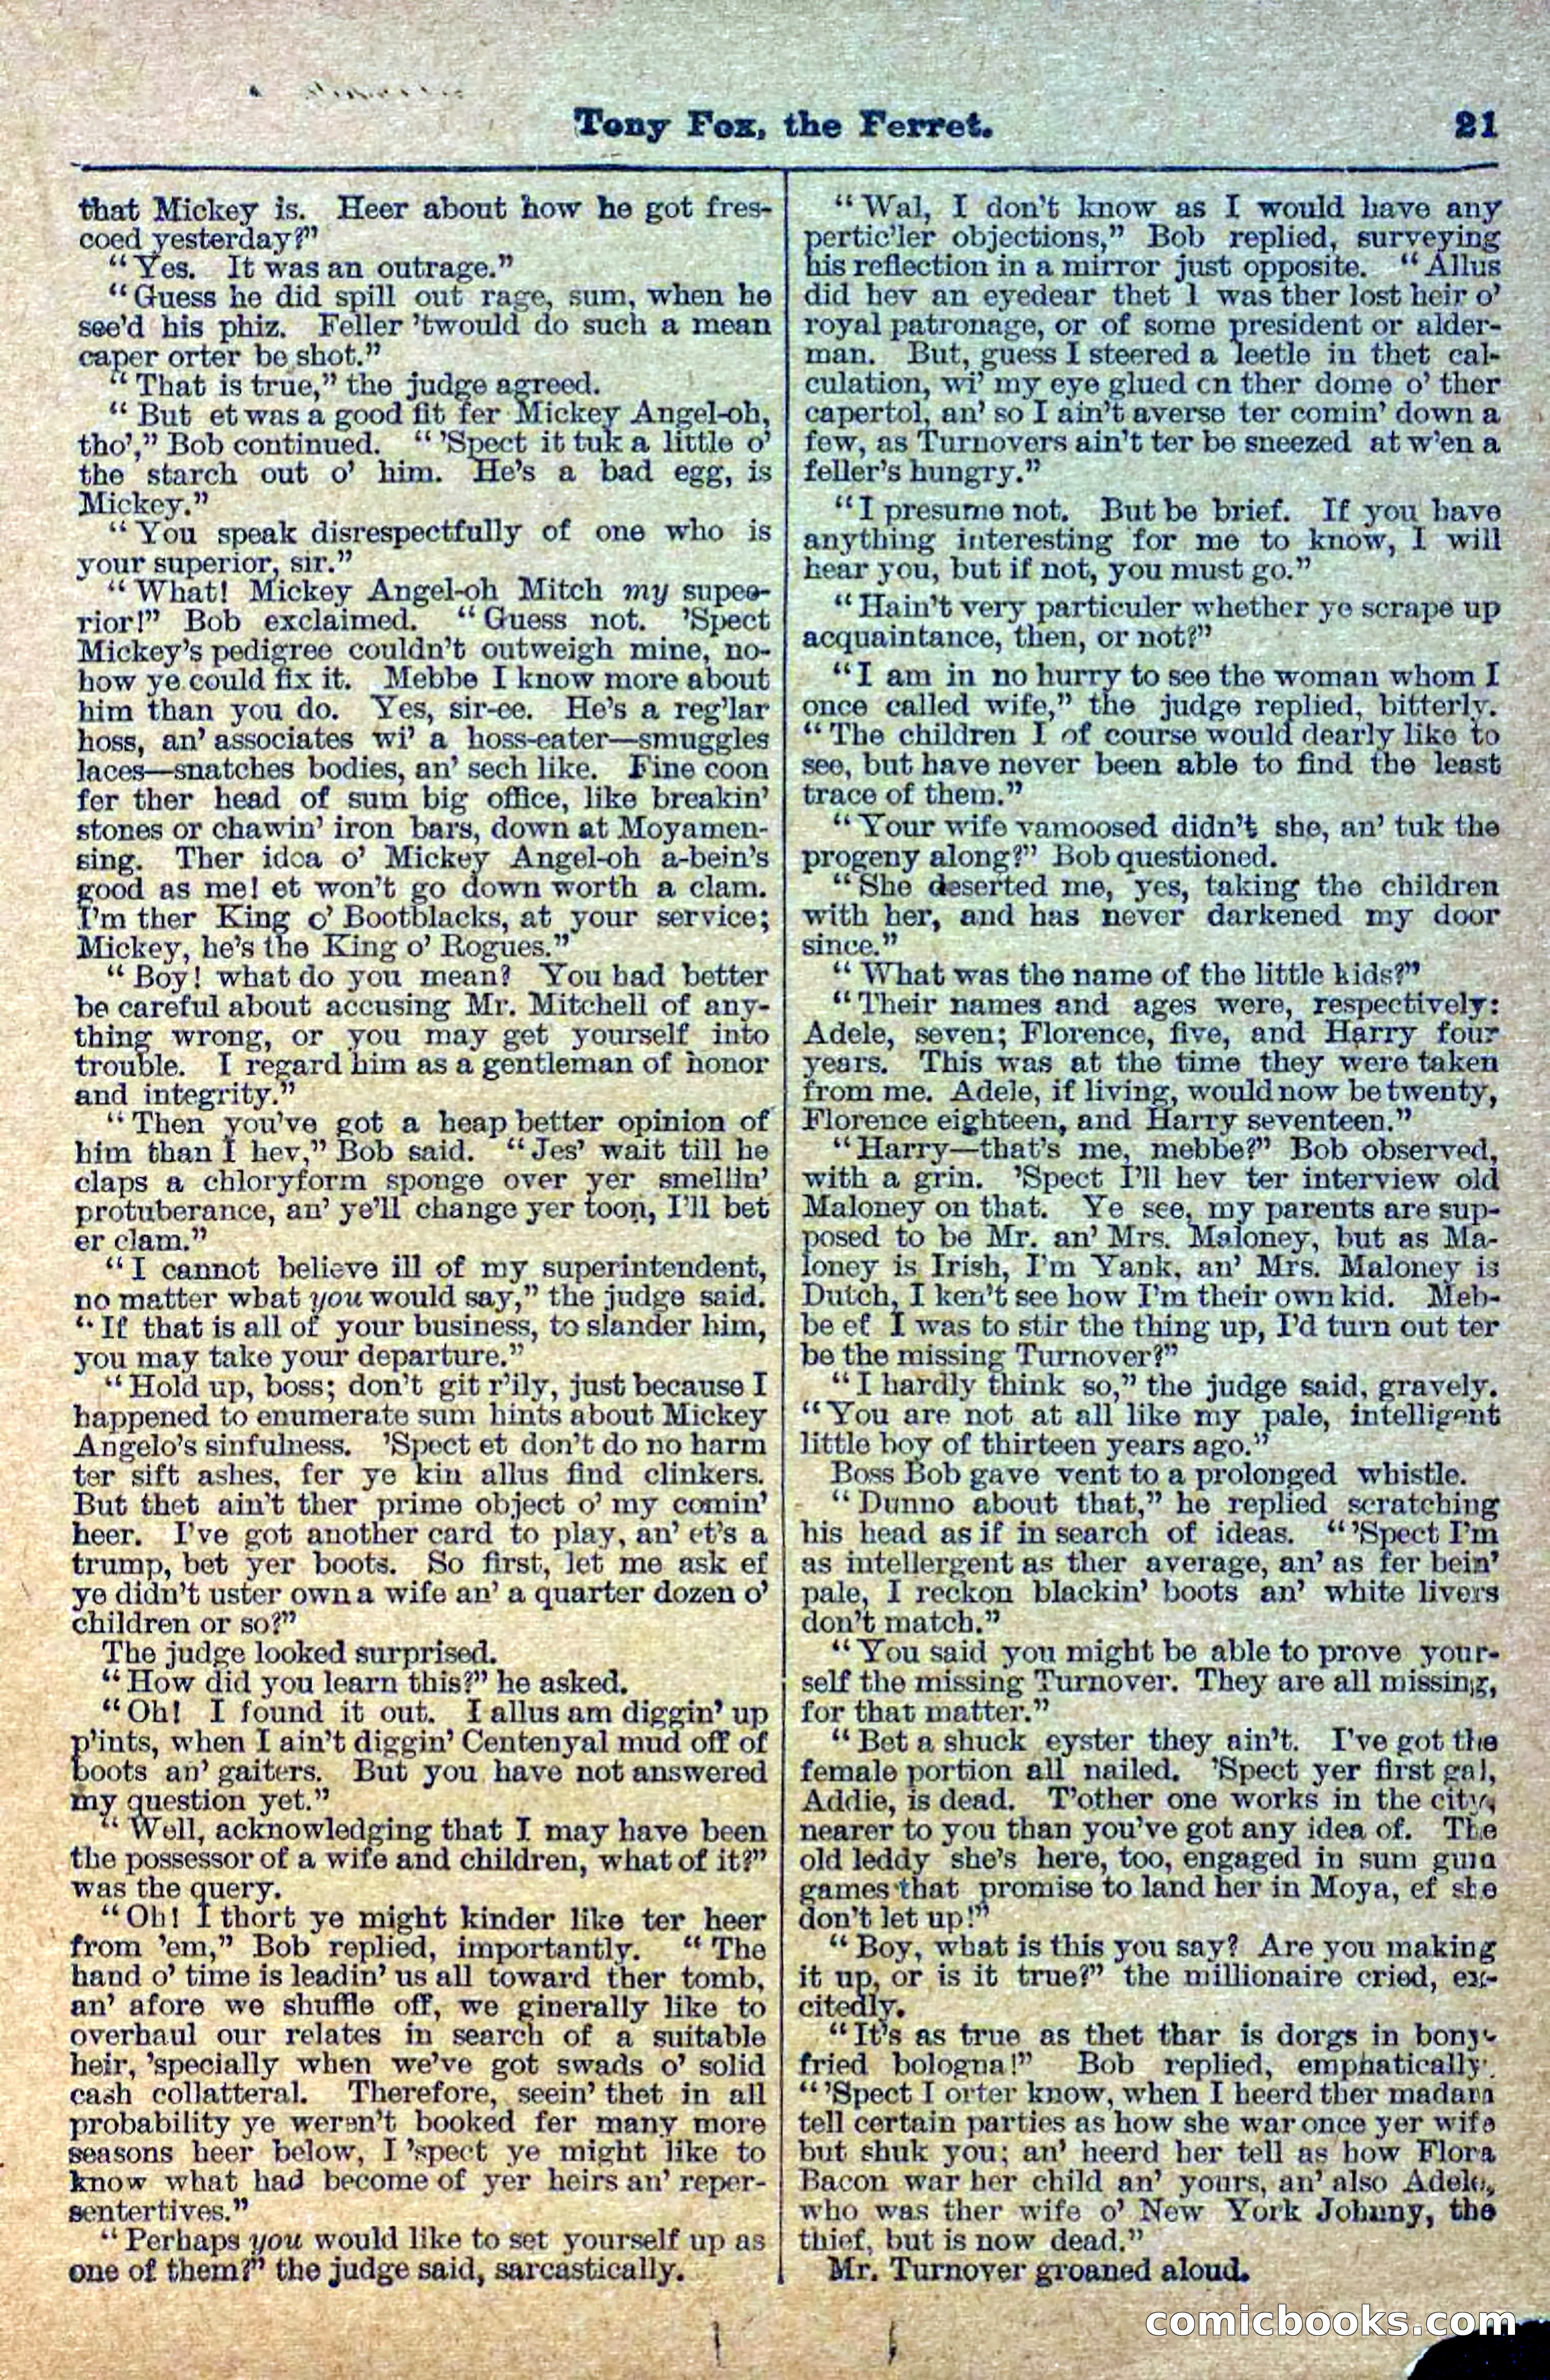
22 / 39
The Deadwood Dick Library, Vol. III, No. 33 — page 23 of 39
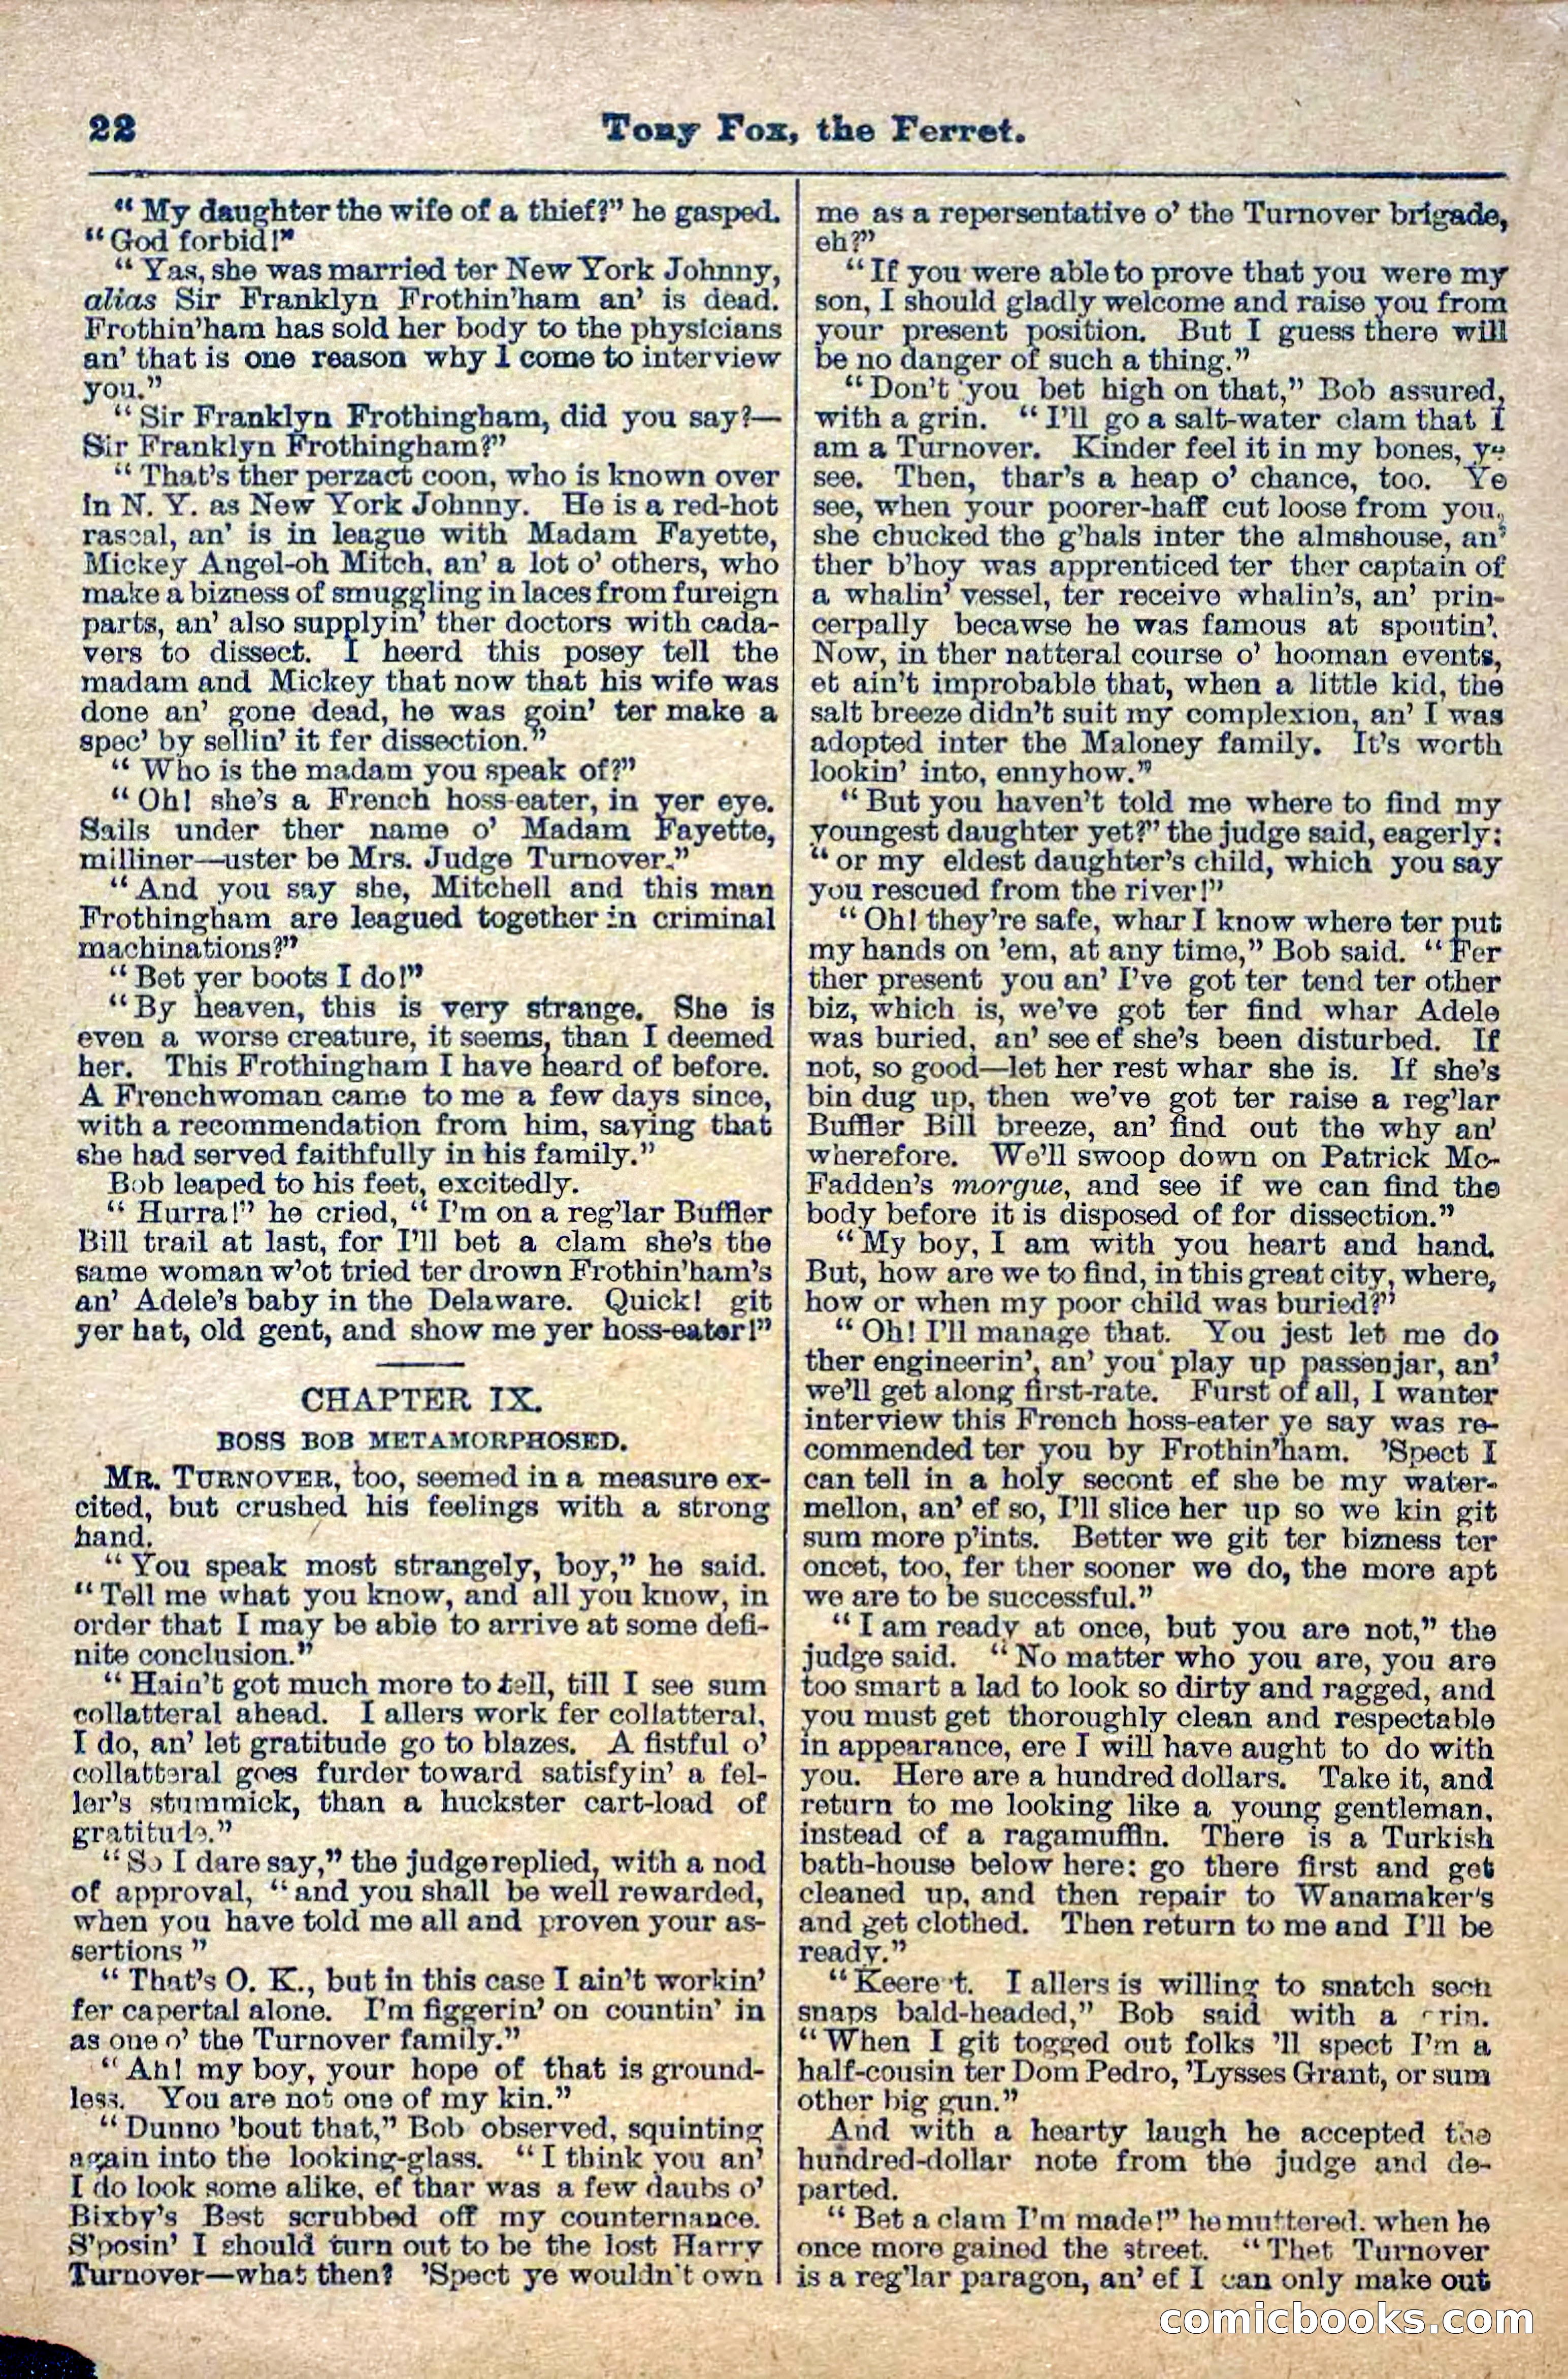
23 / 39
The Deadwood Dick Library, Vol. III, No. 33 — page 24 of 39
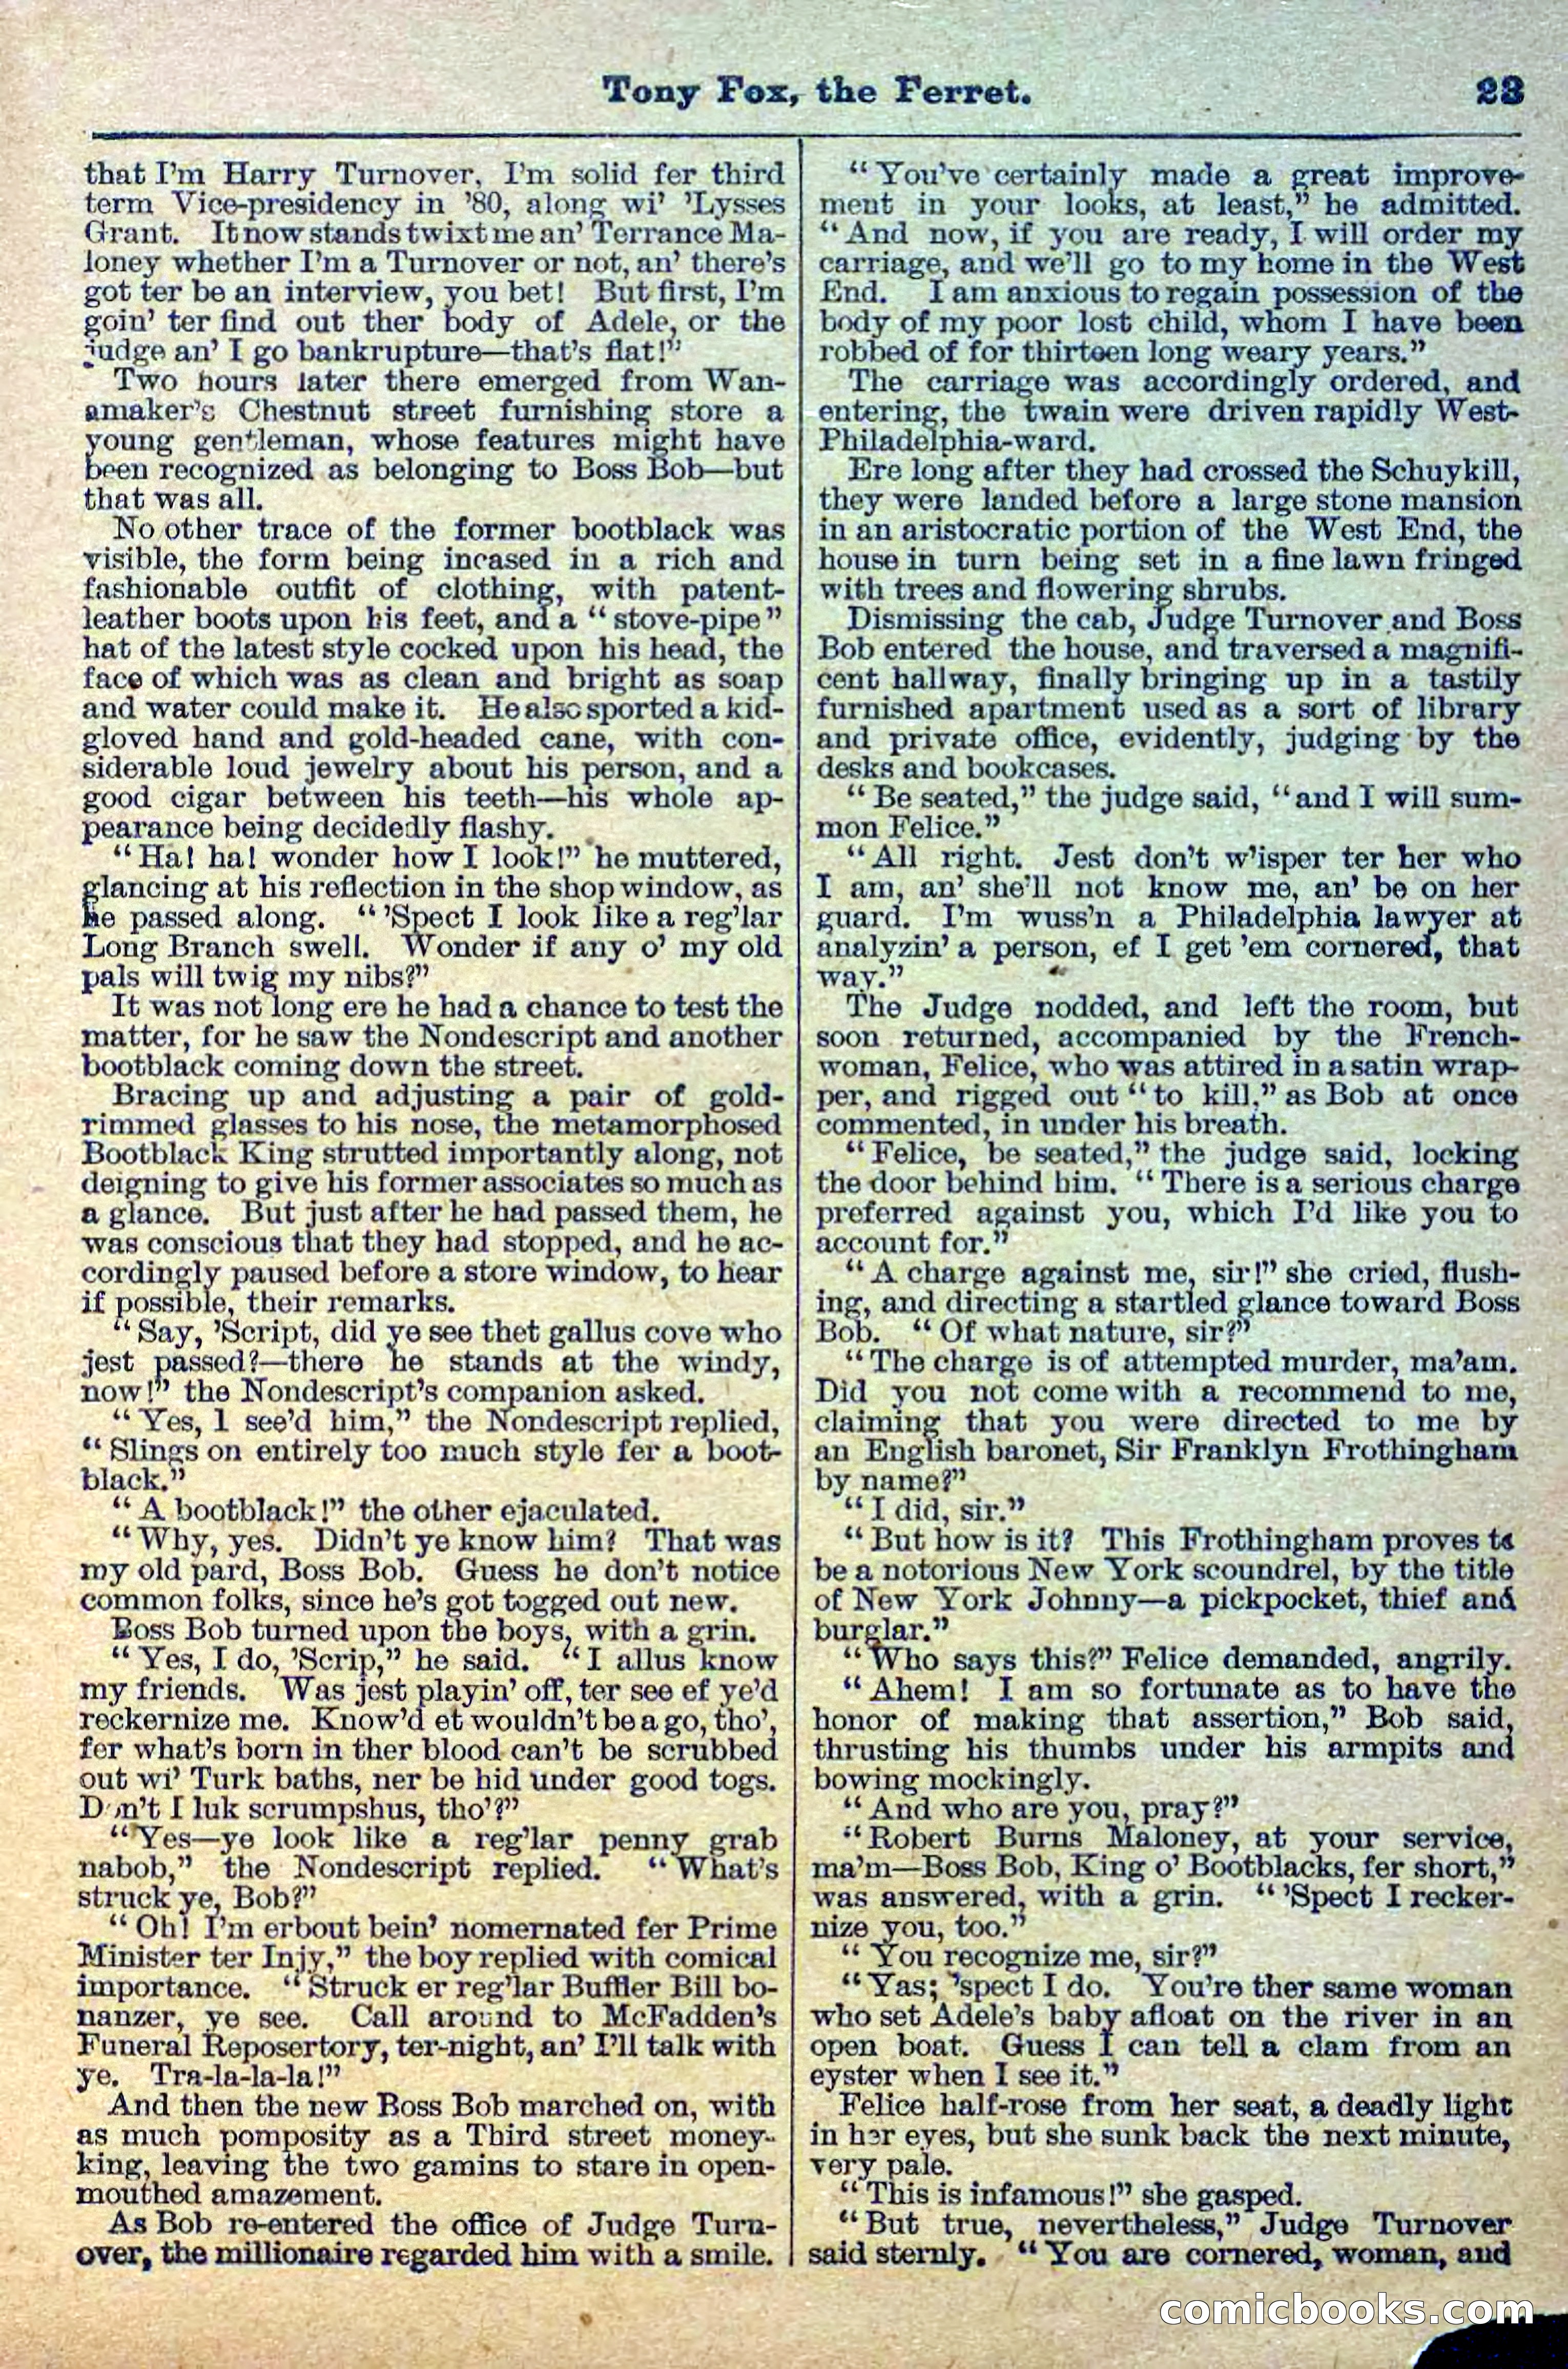
24 / 39
The Deadwood Dick Library, Vol. III, No. 33 — page 25 of 39
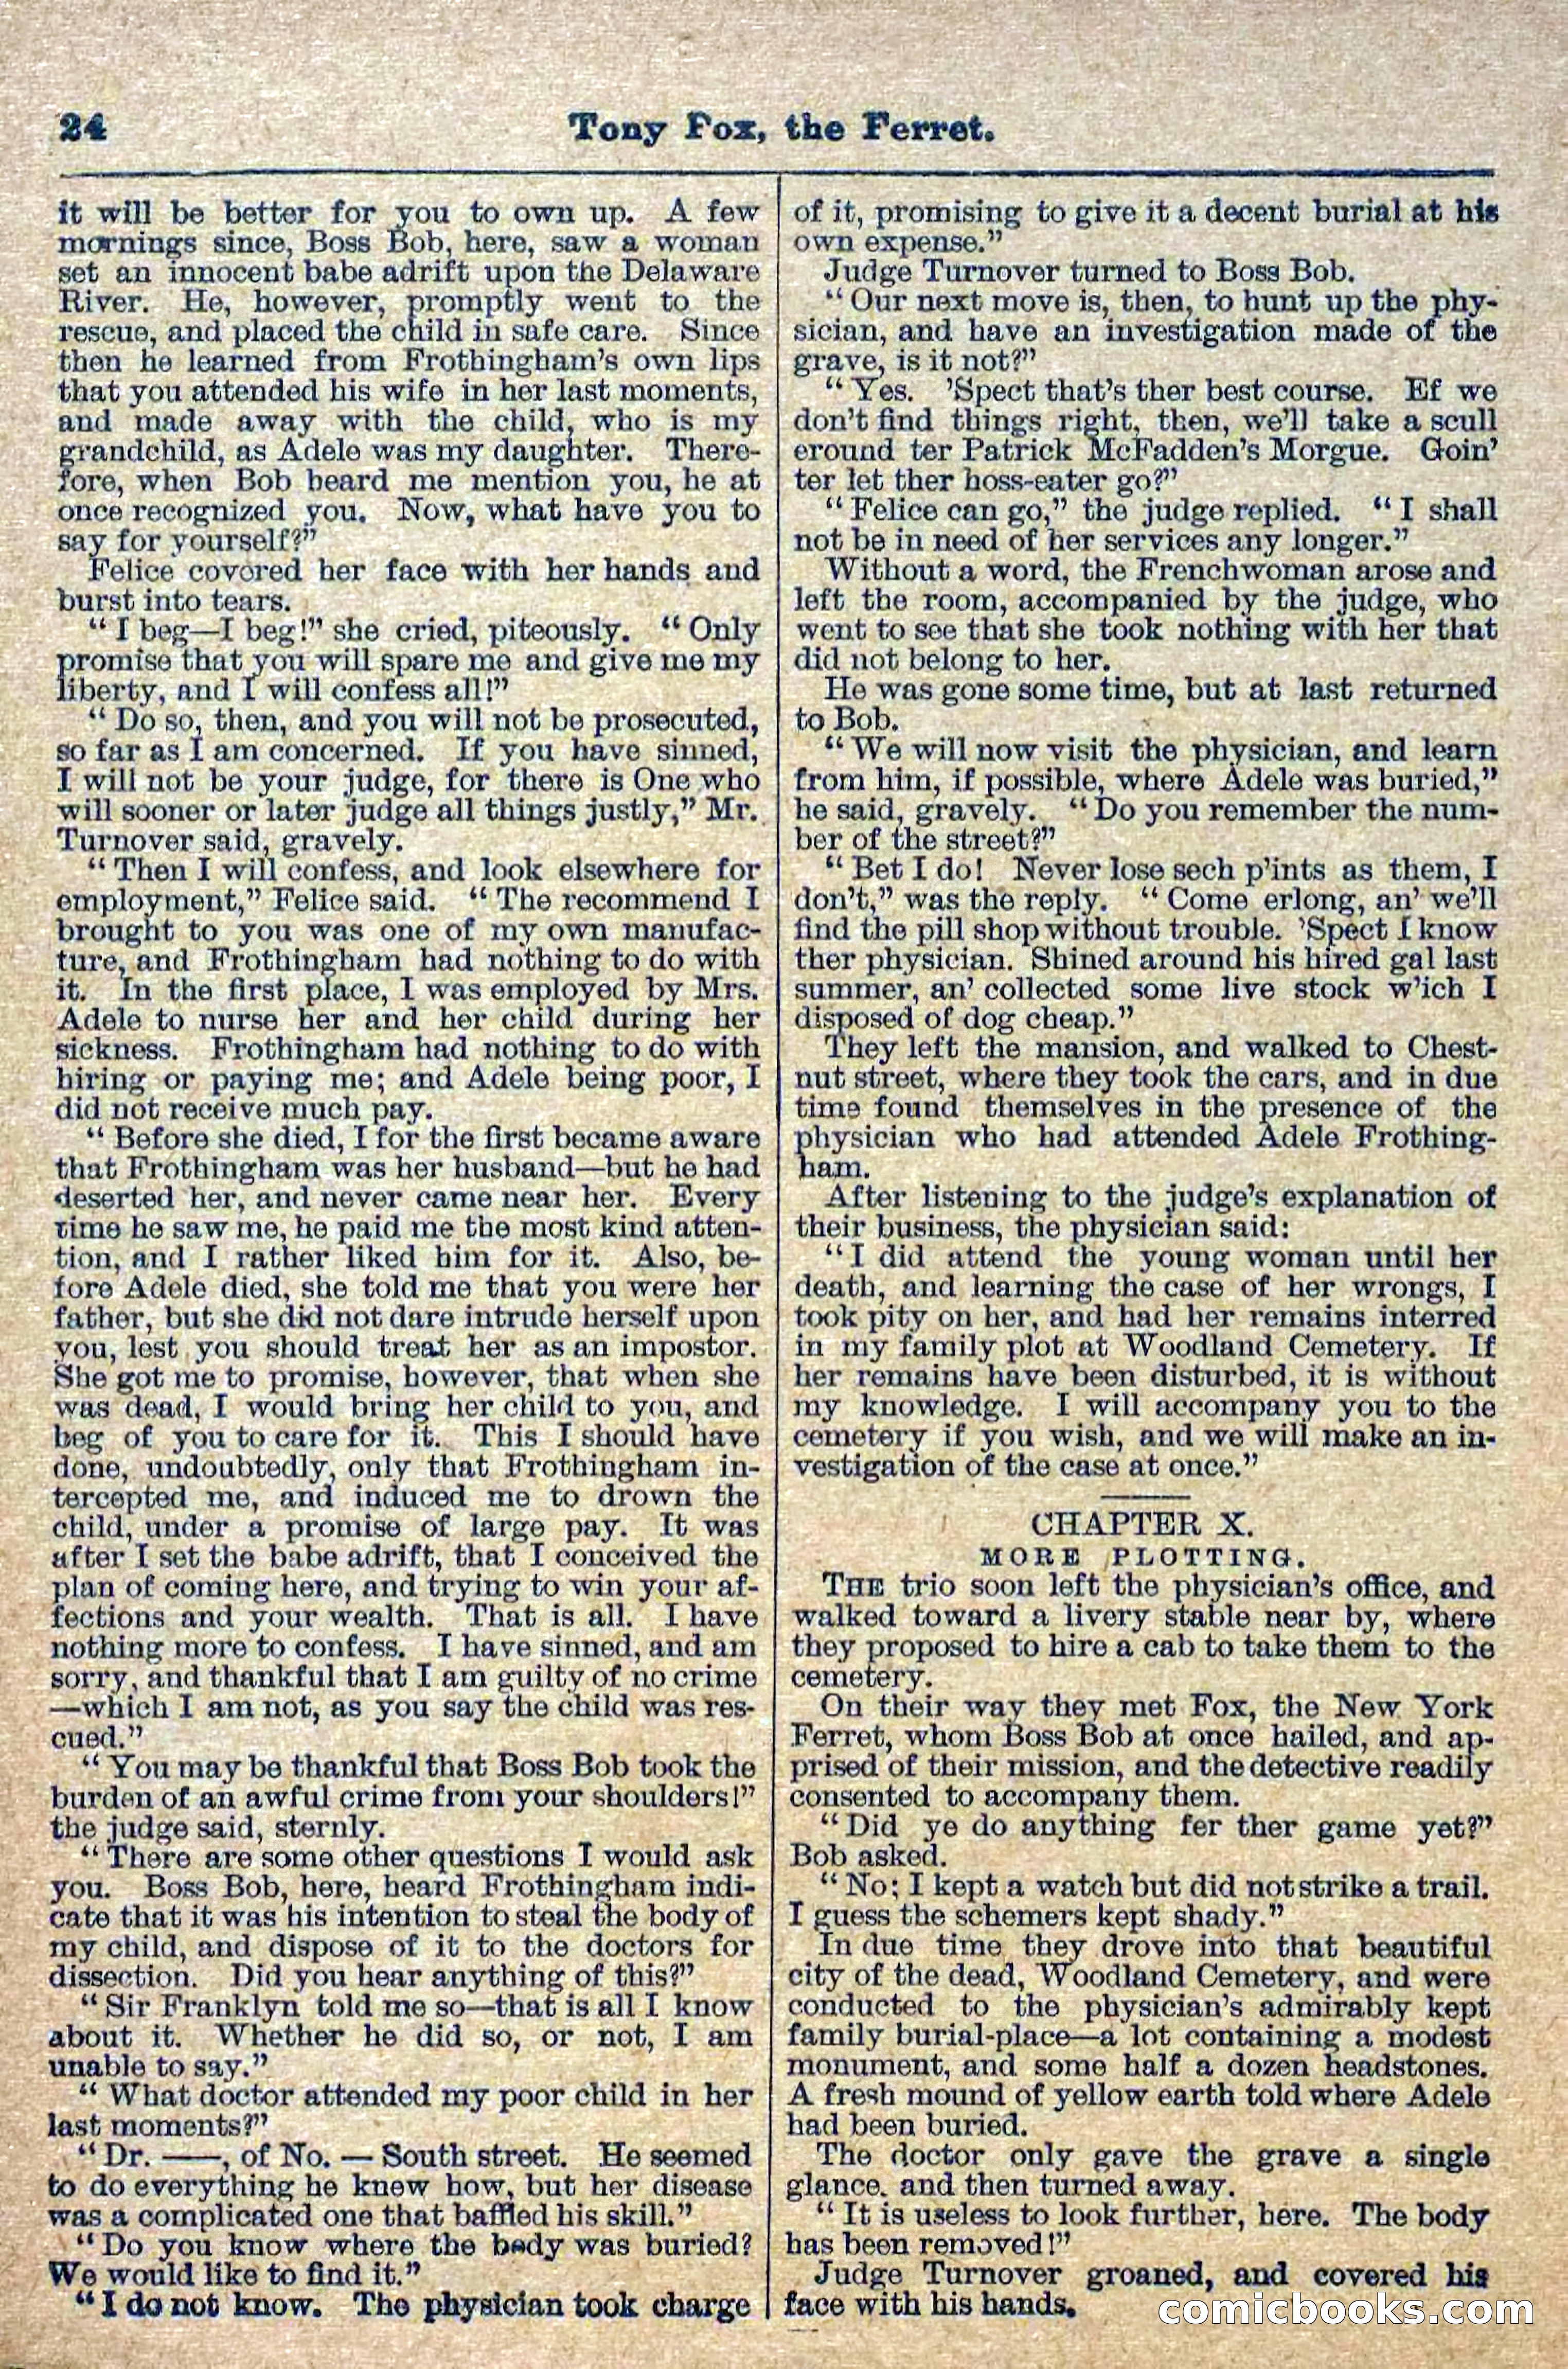
25 / 39
The Deadwood Dick Library, Vol. III, No. 33 — page 26 of 39
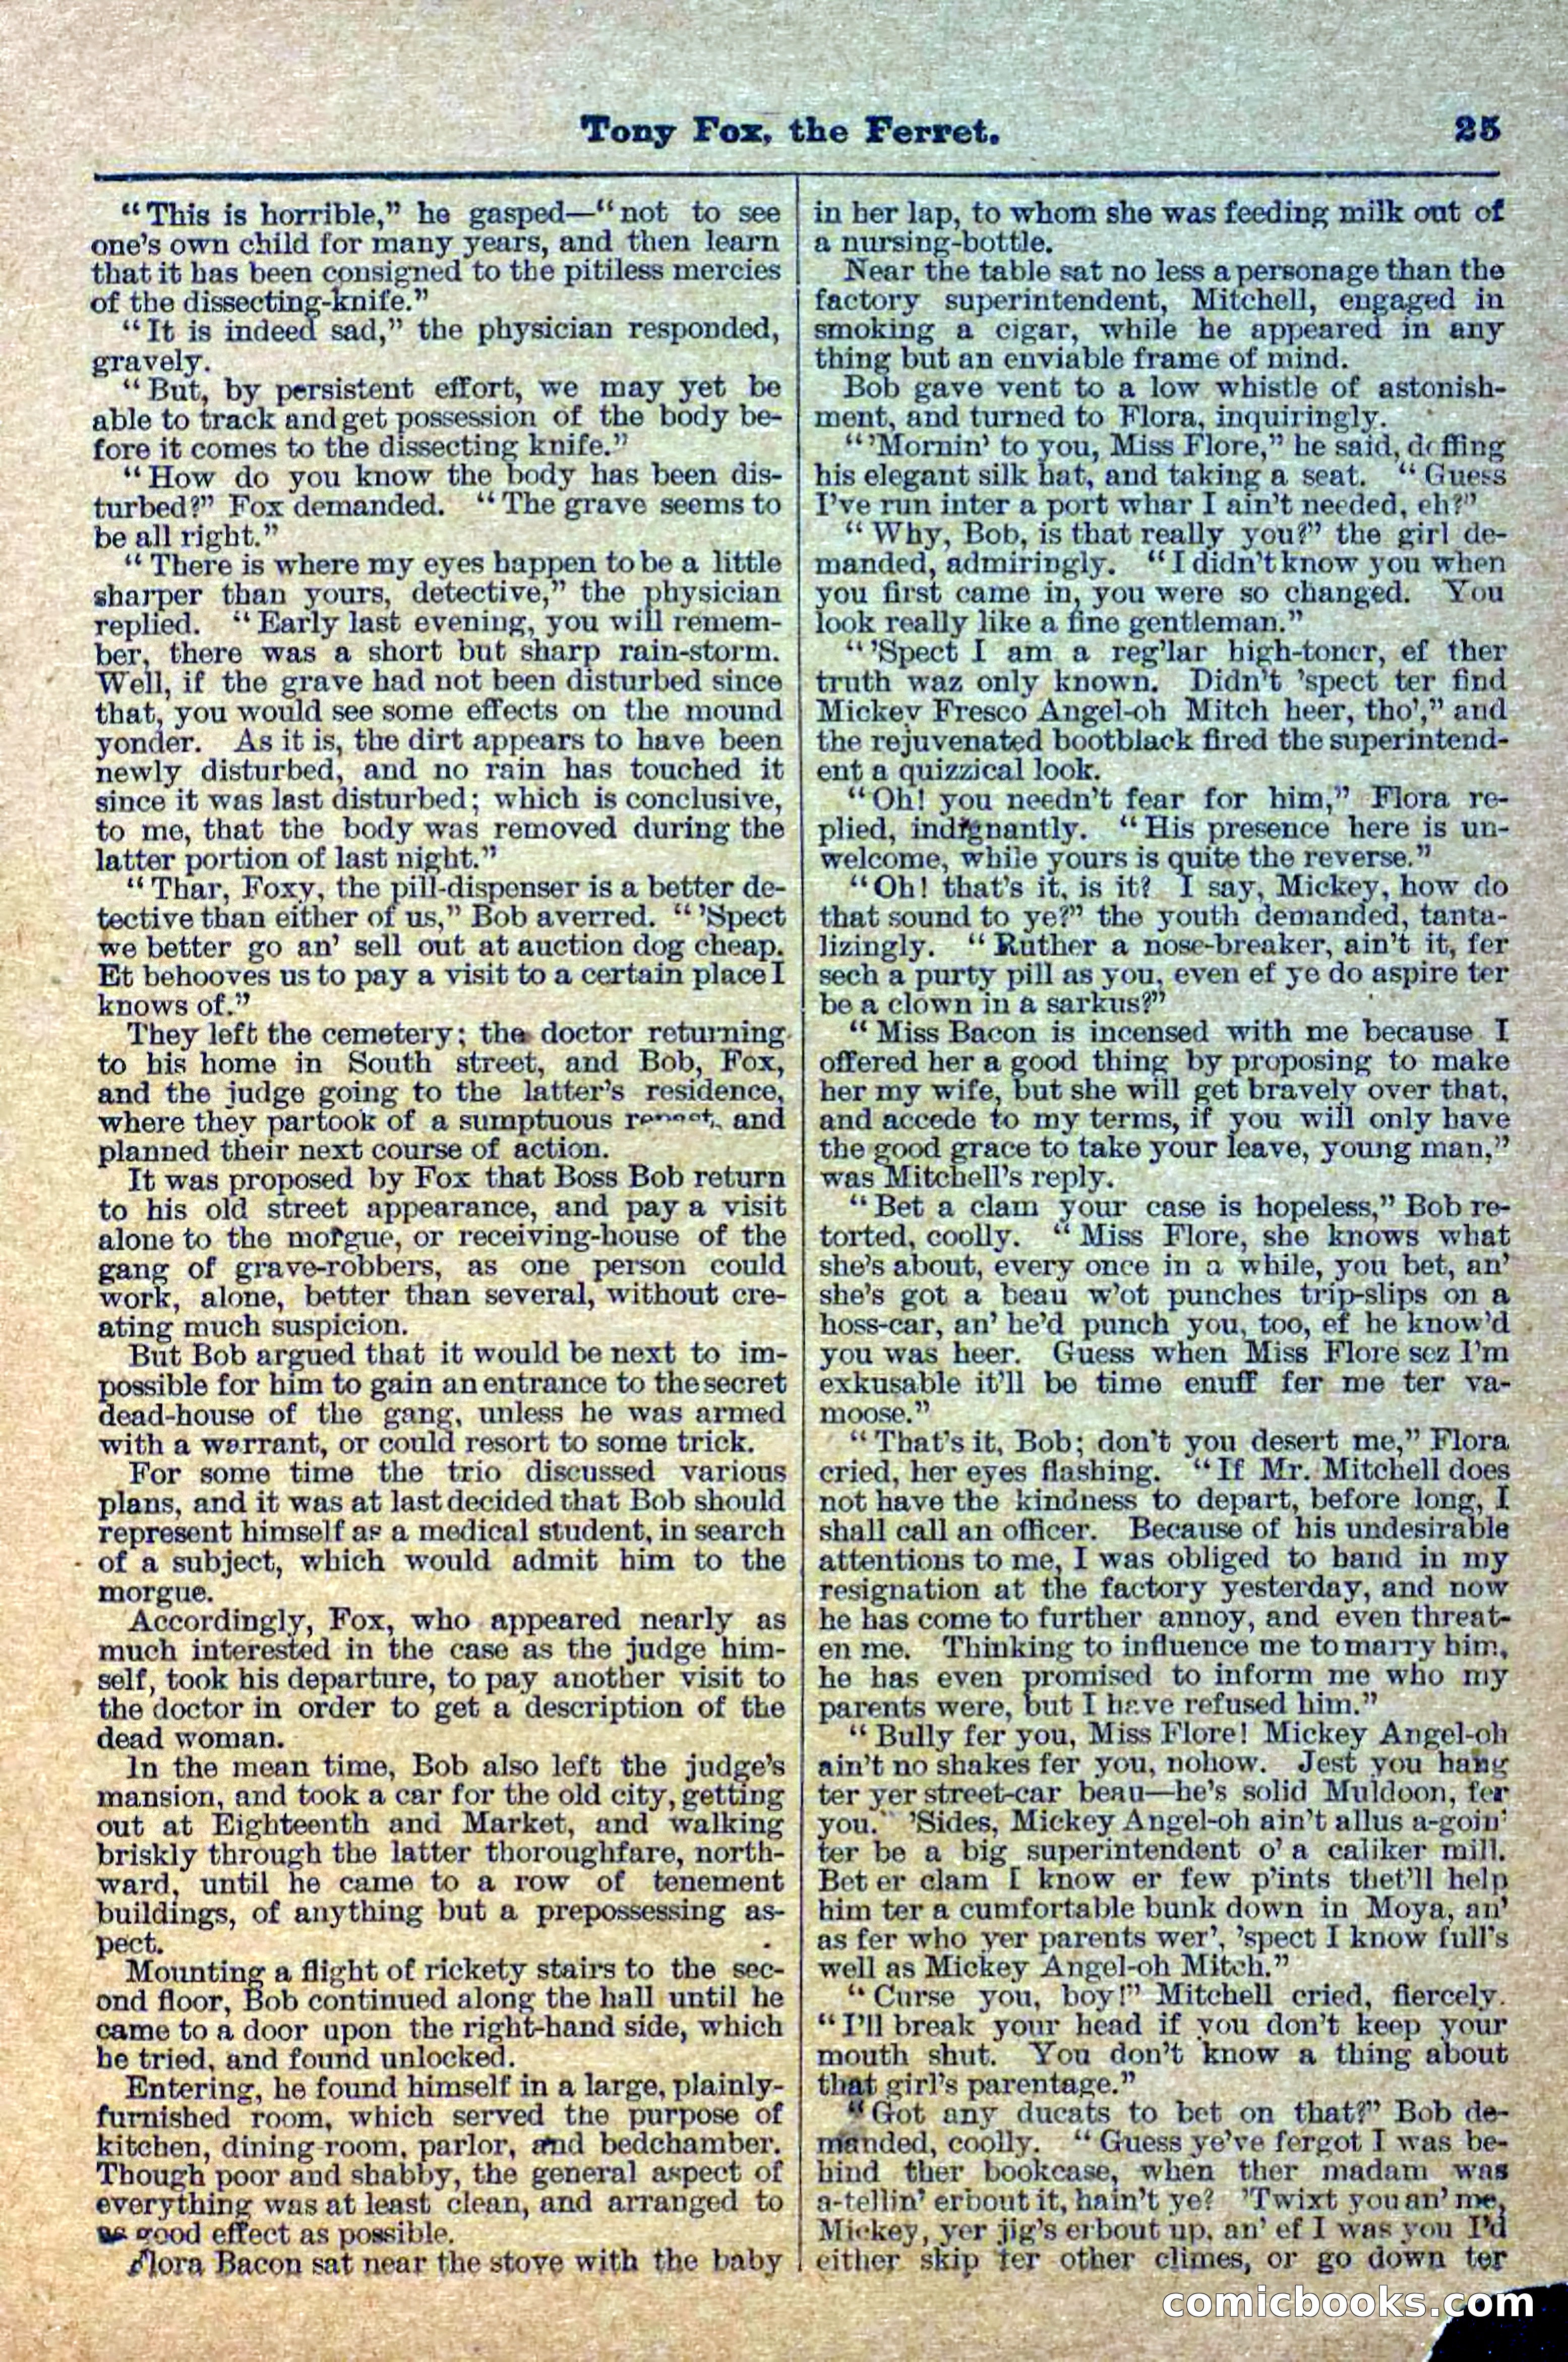
26 / 39
The Deadwood Dick Library, Vol. III, No. 33 — page 27 of 39
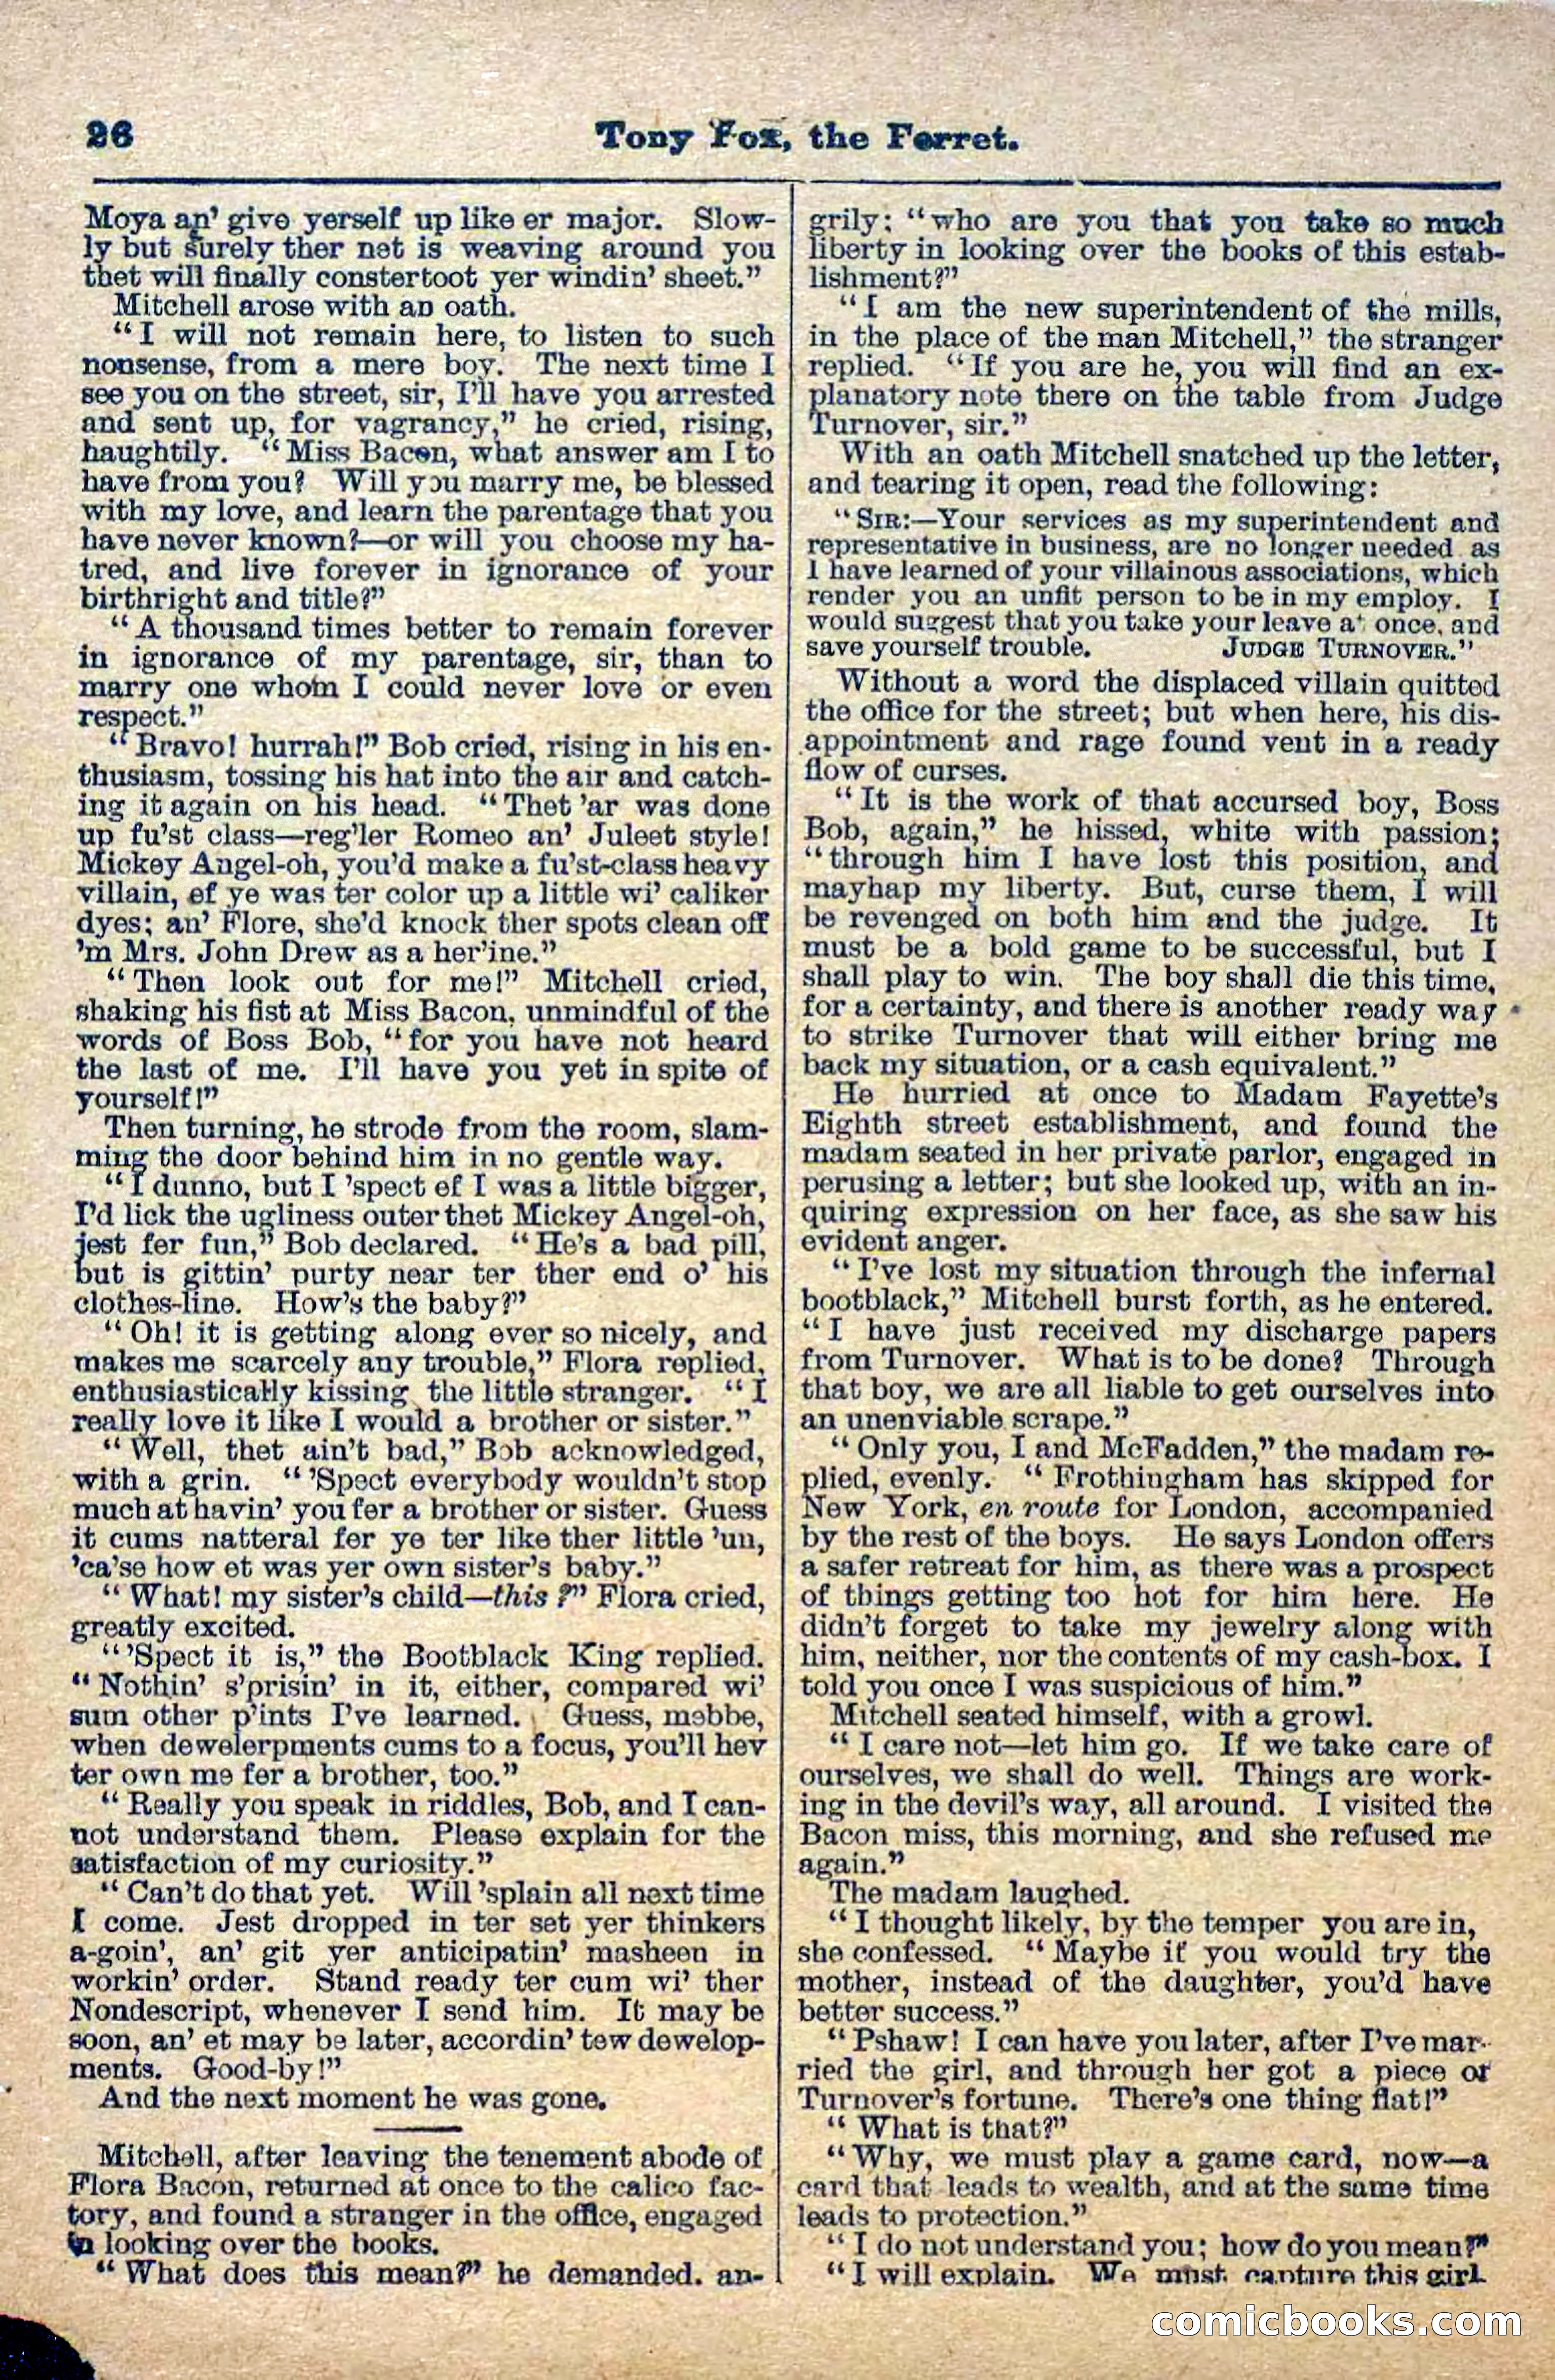
27 / 39
The Deadwood Dick Library, Vol. III, No. 33 — page 28 of 39
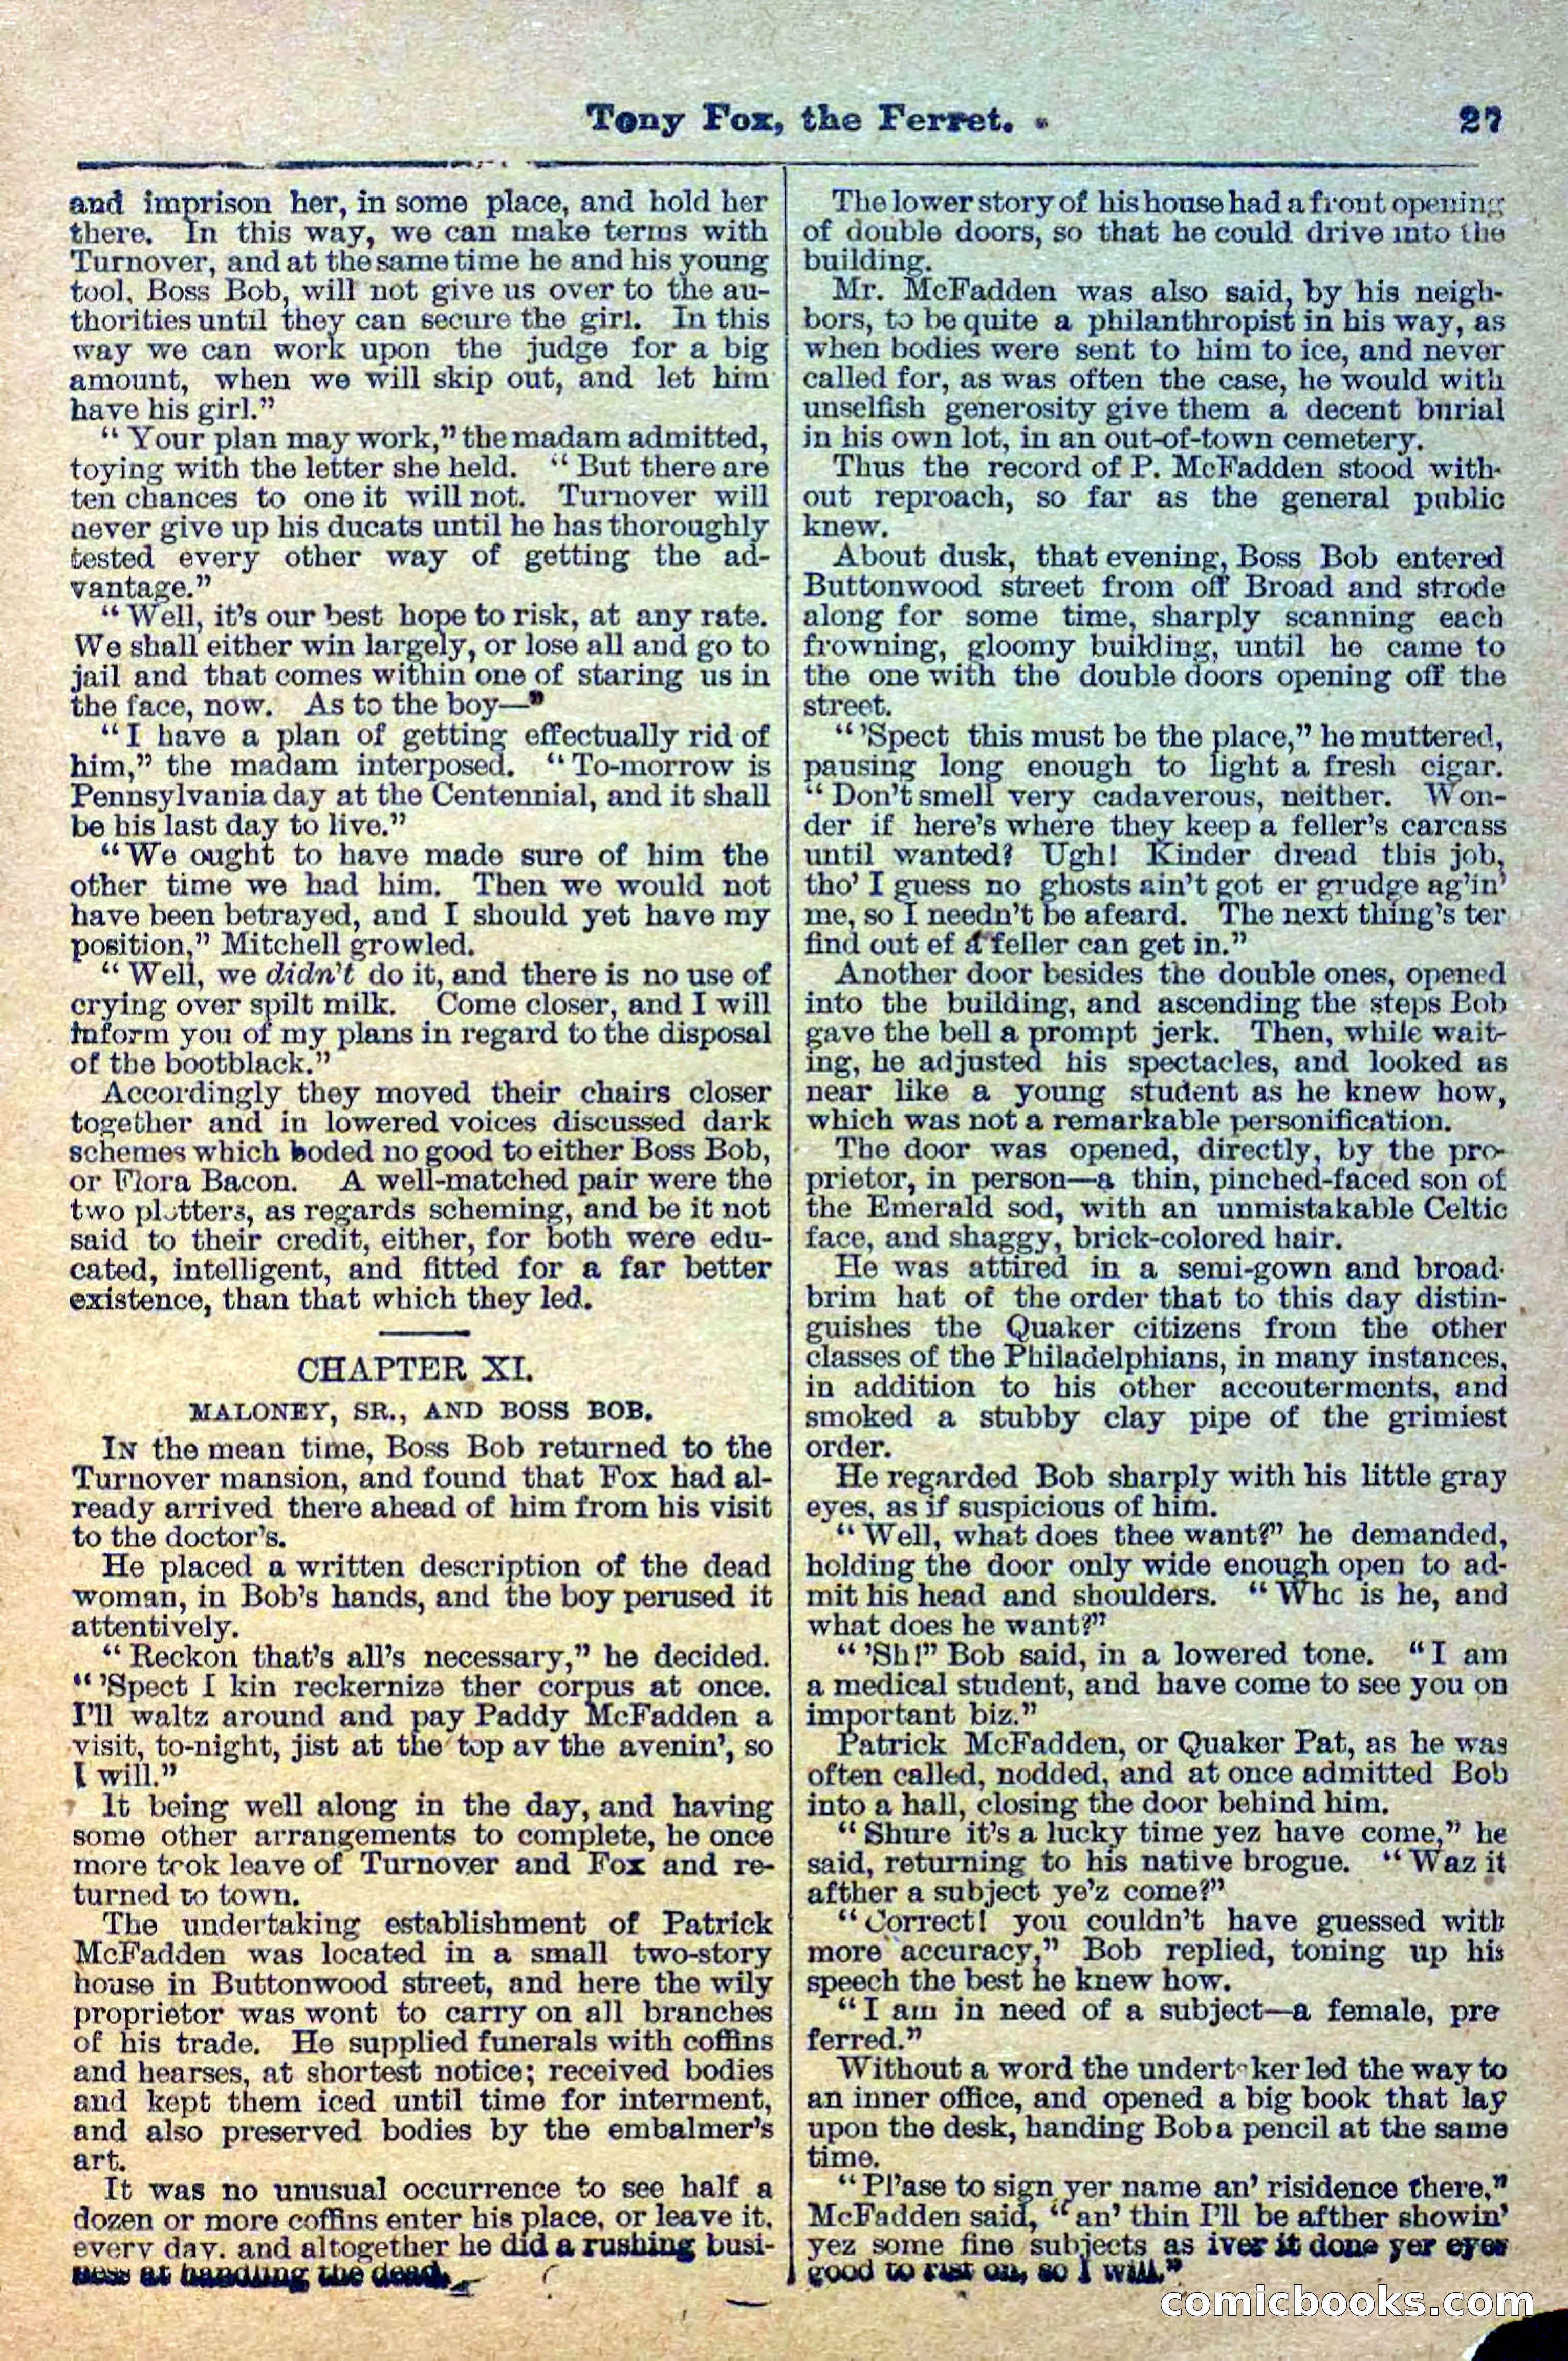
28 / 39
The Deadwood Dick Library, Vol. III, No. 33 — page 29 of 39
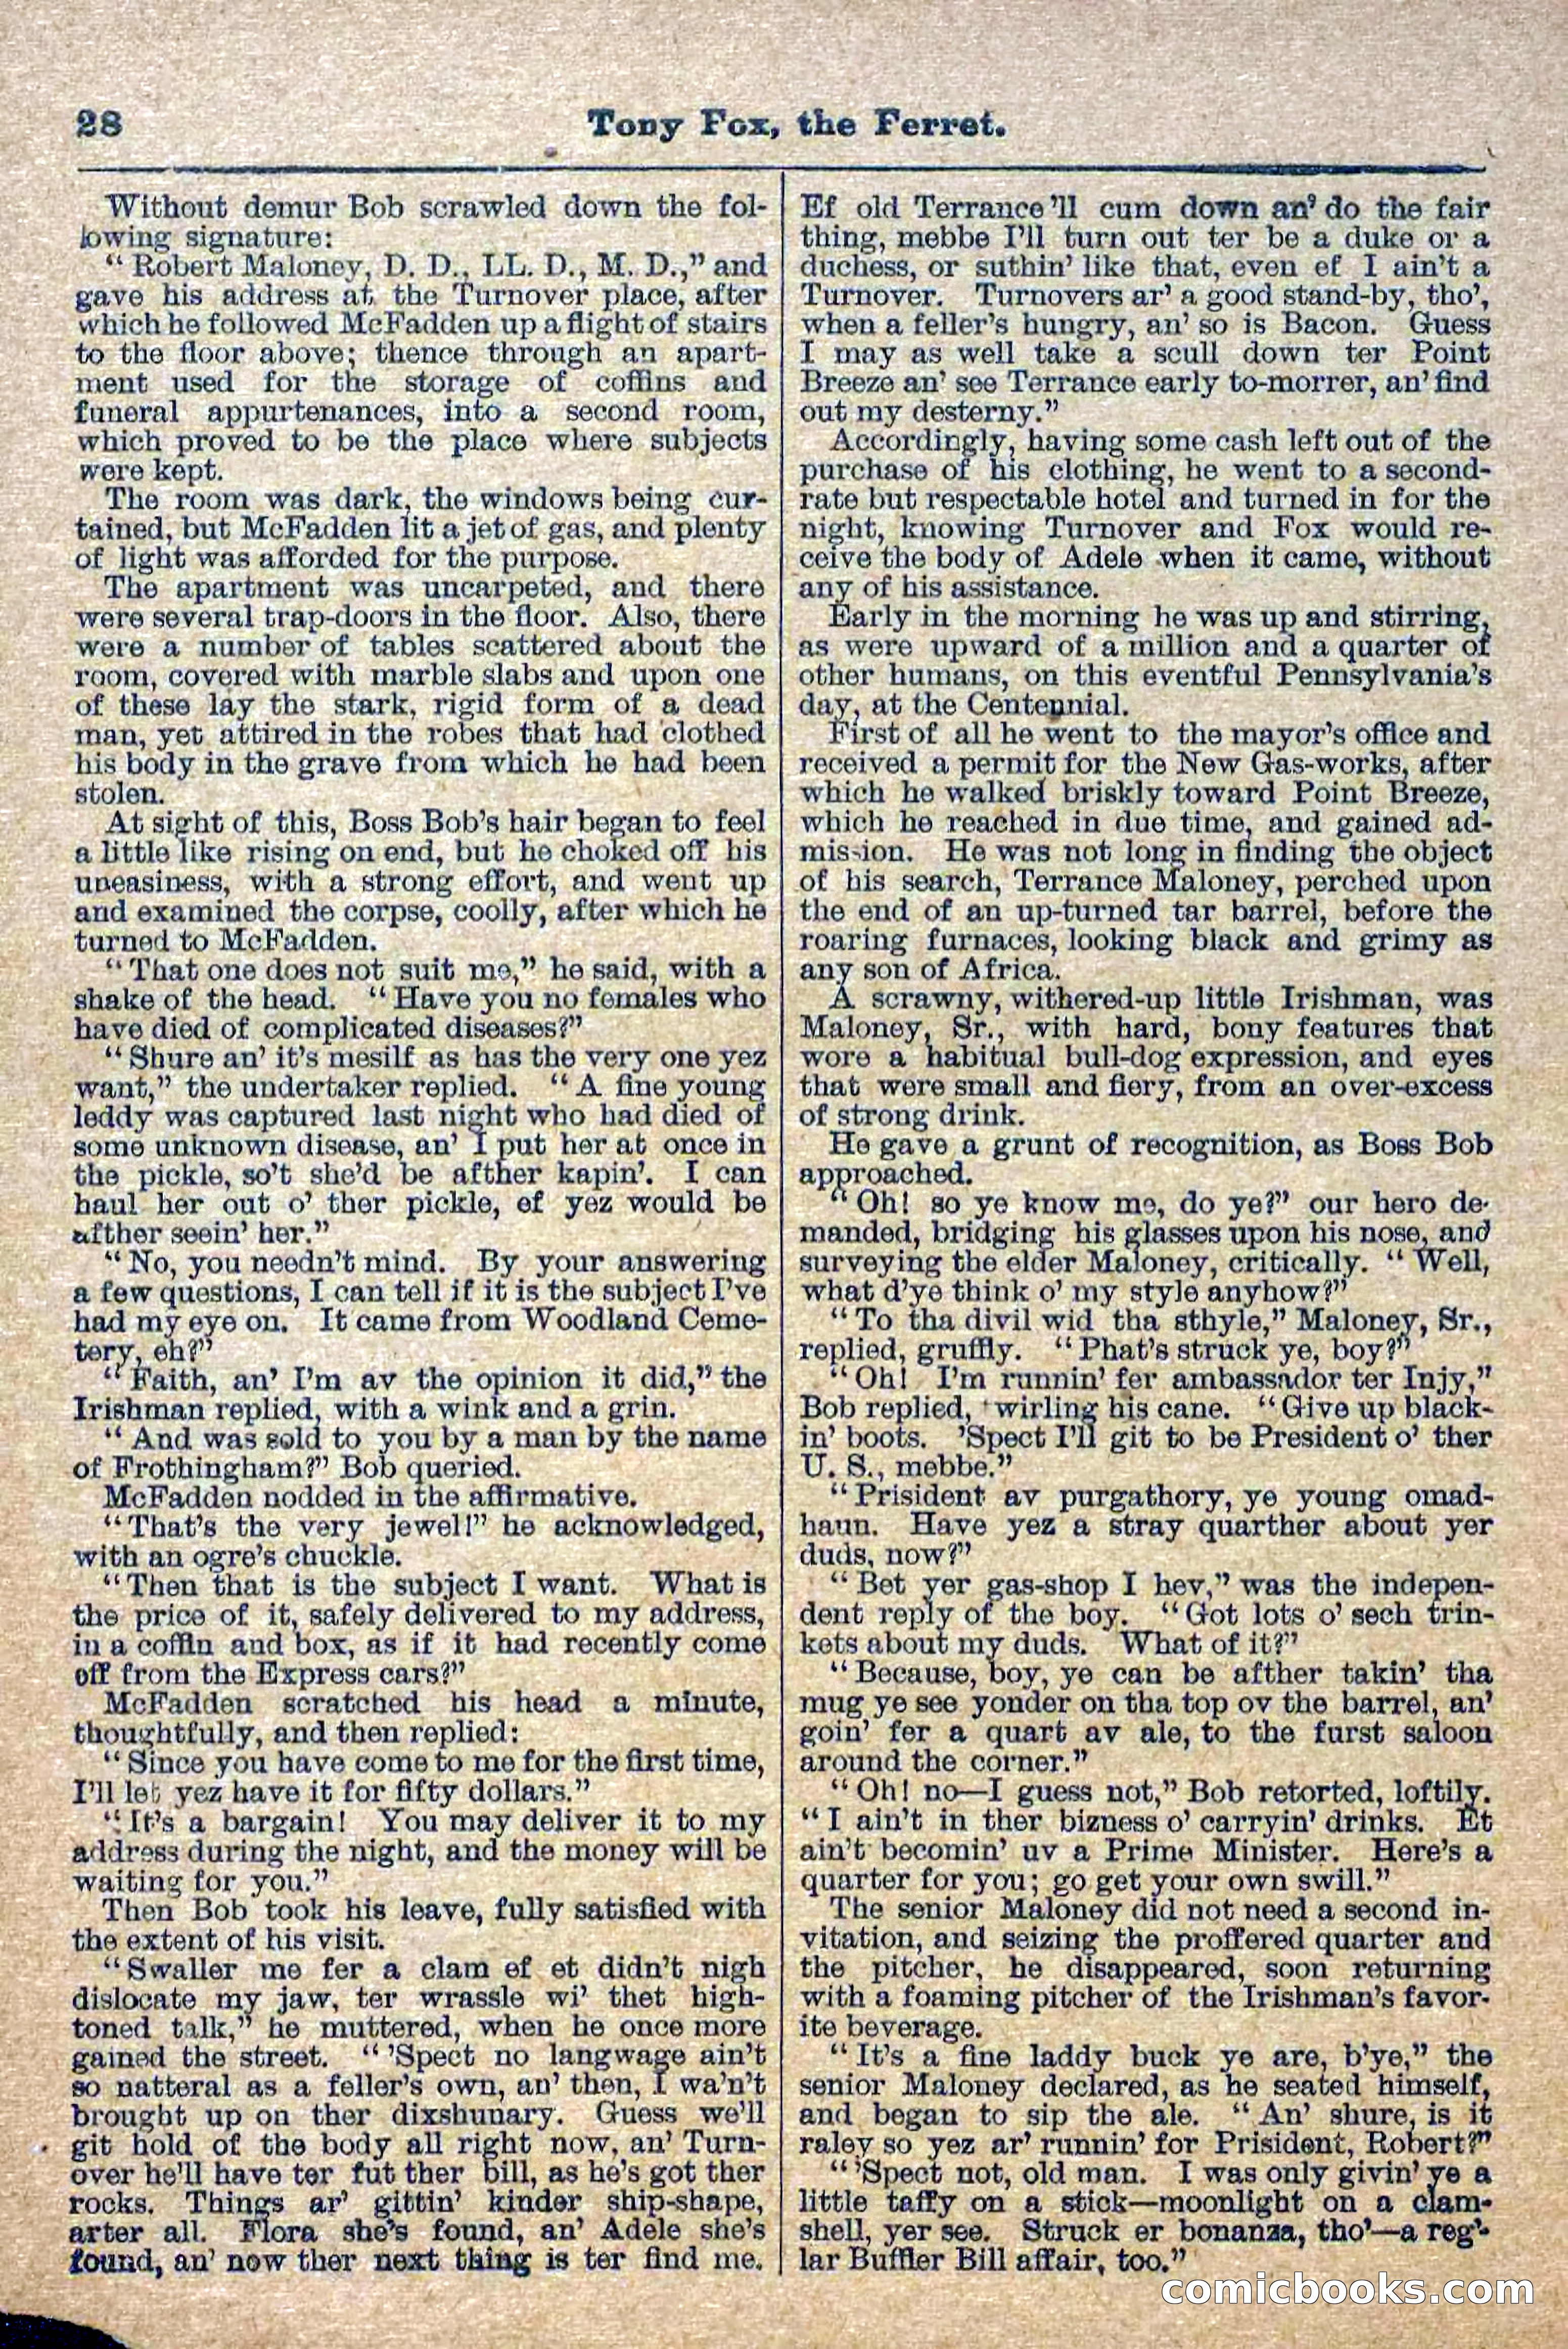
29 / 39
The Deadwood Dick Library, Vol. III, No. 33 — page 30 of 39
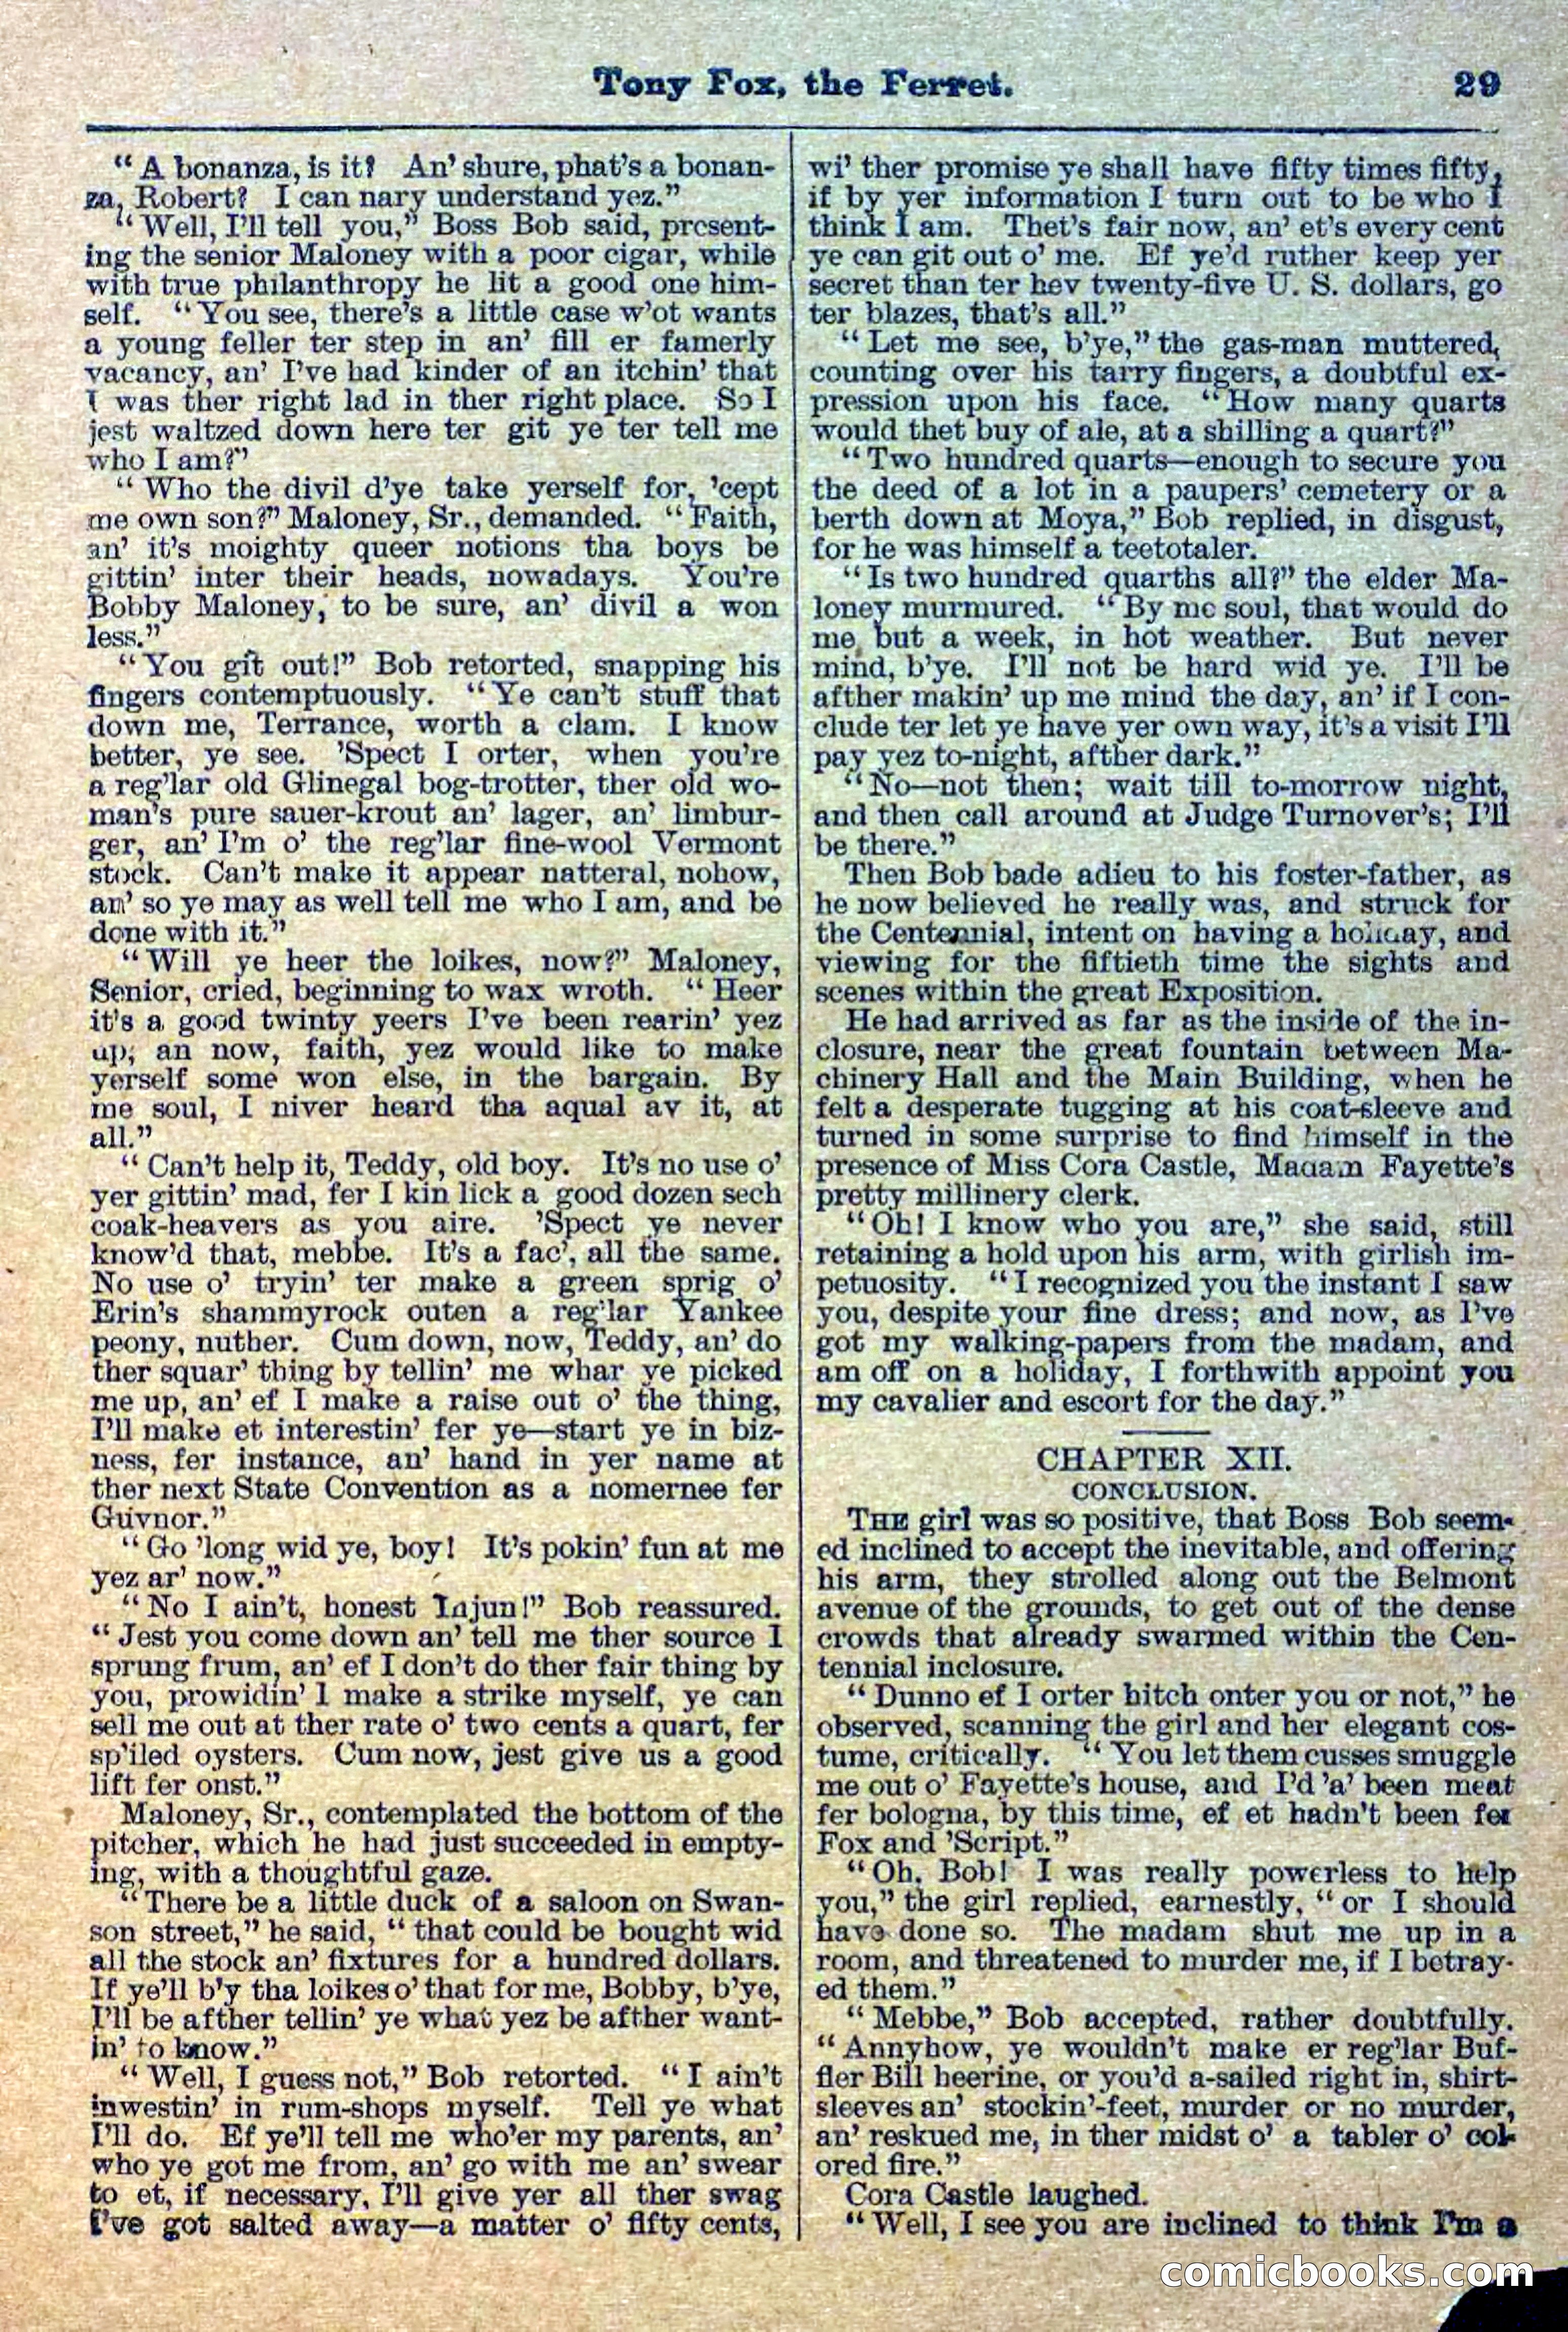
30 / 39
The Deadwood Dick Library, Vol. III, No. 33 — page 31 of 39
31 / 39
The Deadwood Dick Library, Vol. III, No. 33 — page 32 of 39
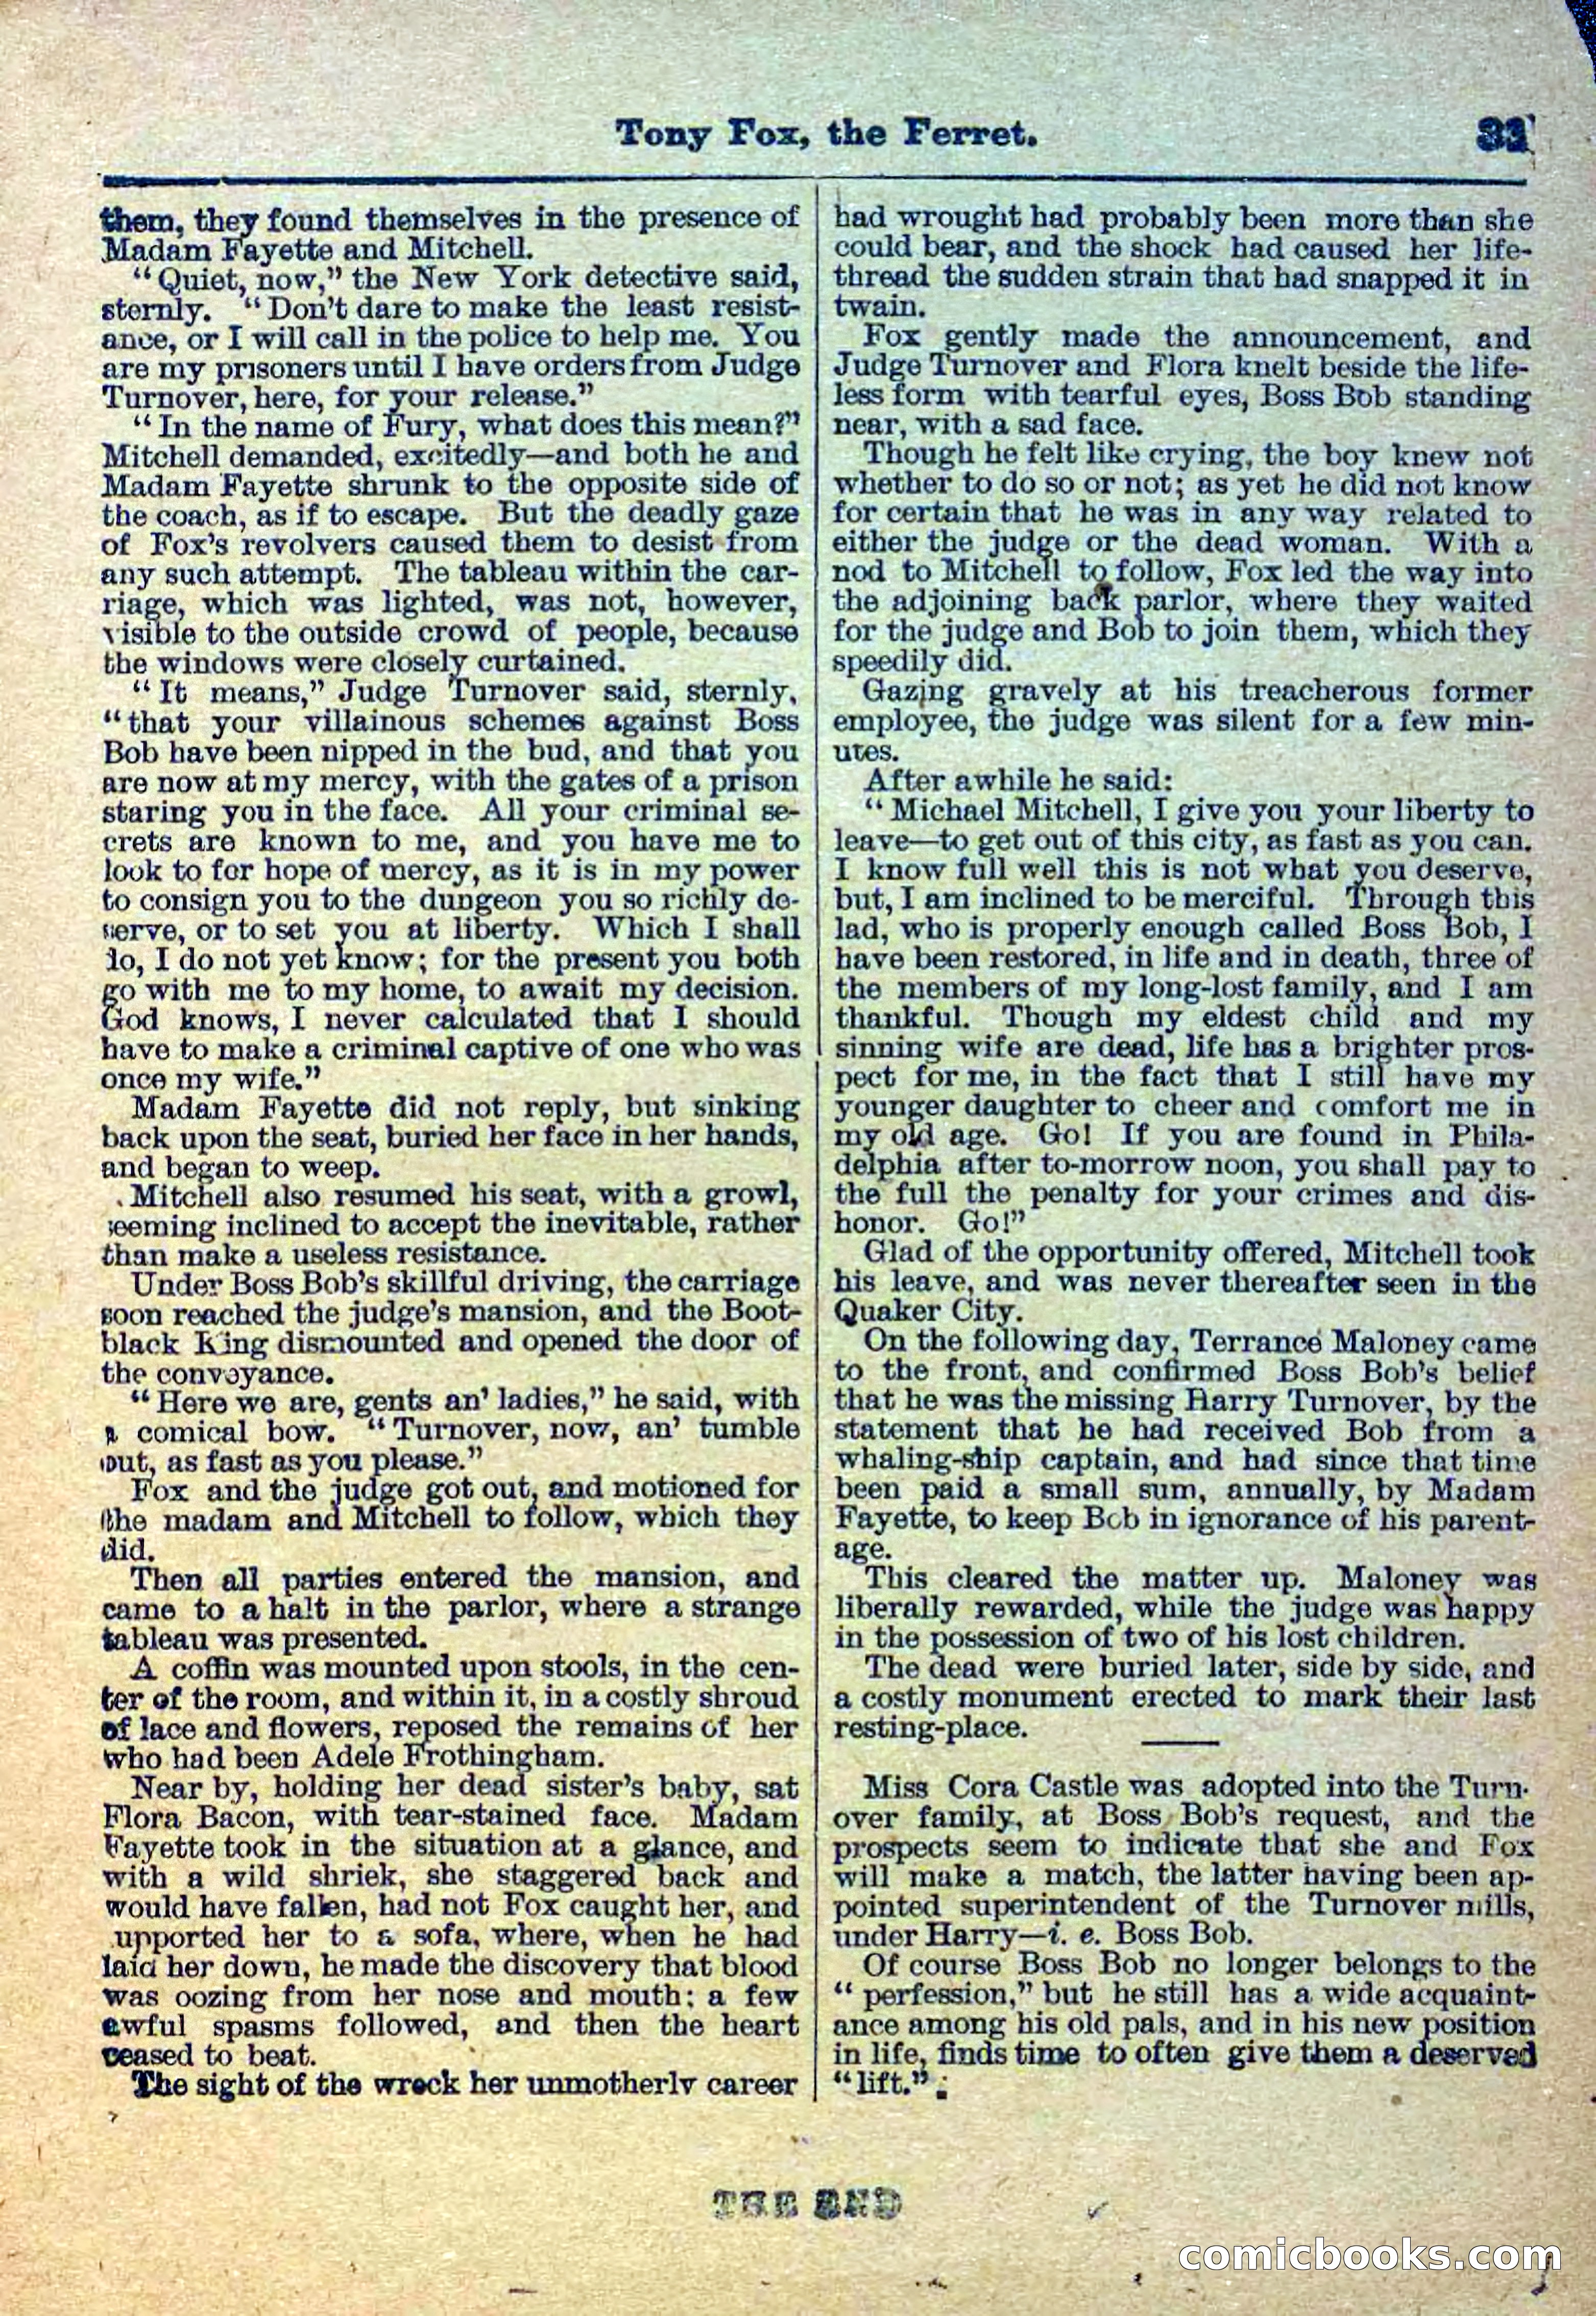
32 / 39
The Deadwood Dick Library, Vol. III, No. 33 — page 33 of 39
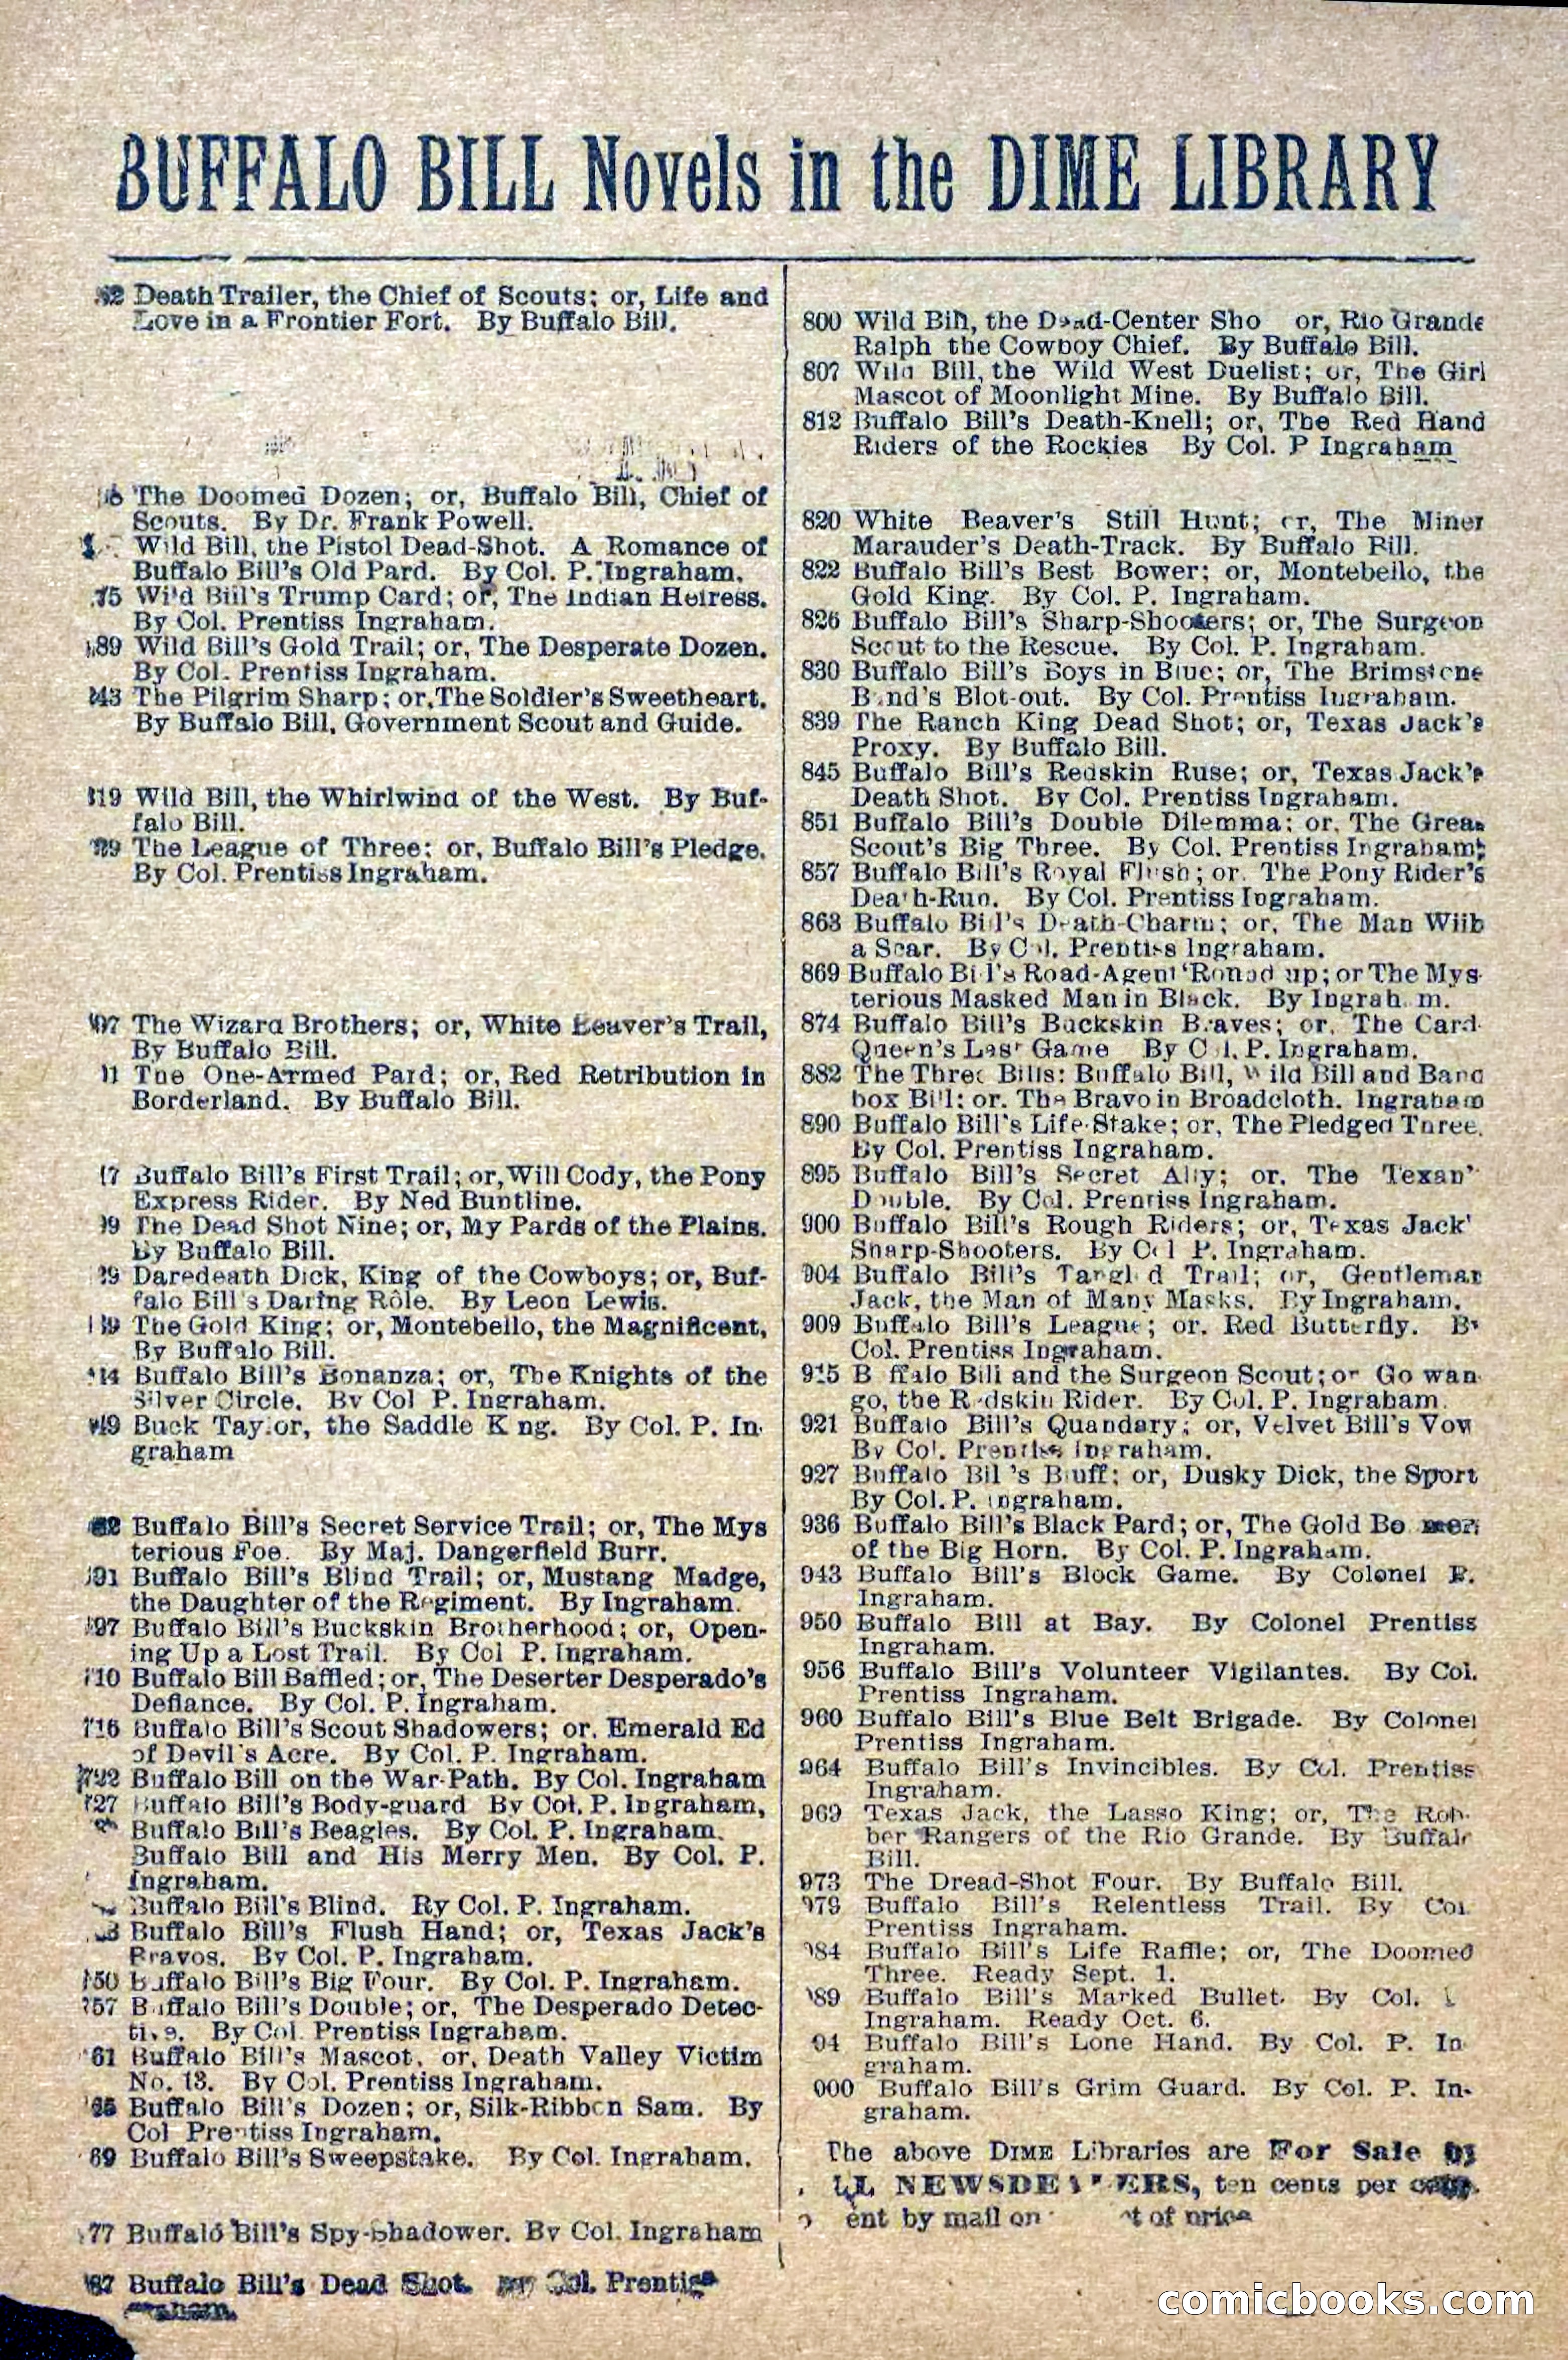
33 / 39
The Deadwood Dick Library, Vol. III, No. 33 — page 34 of 39
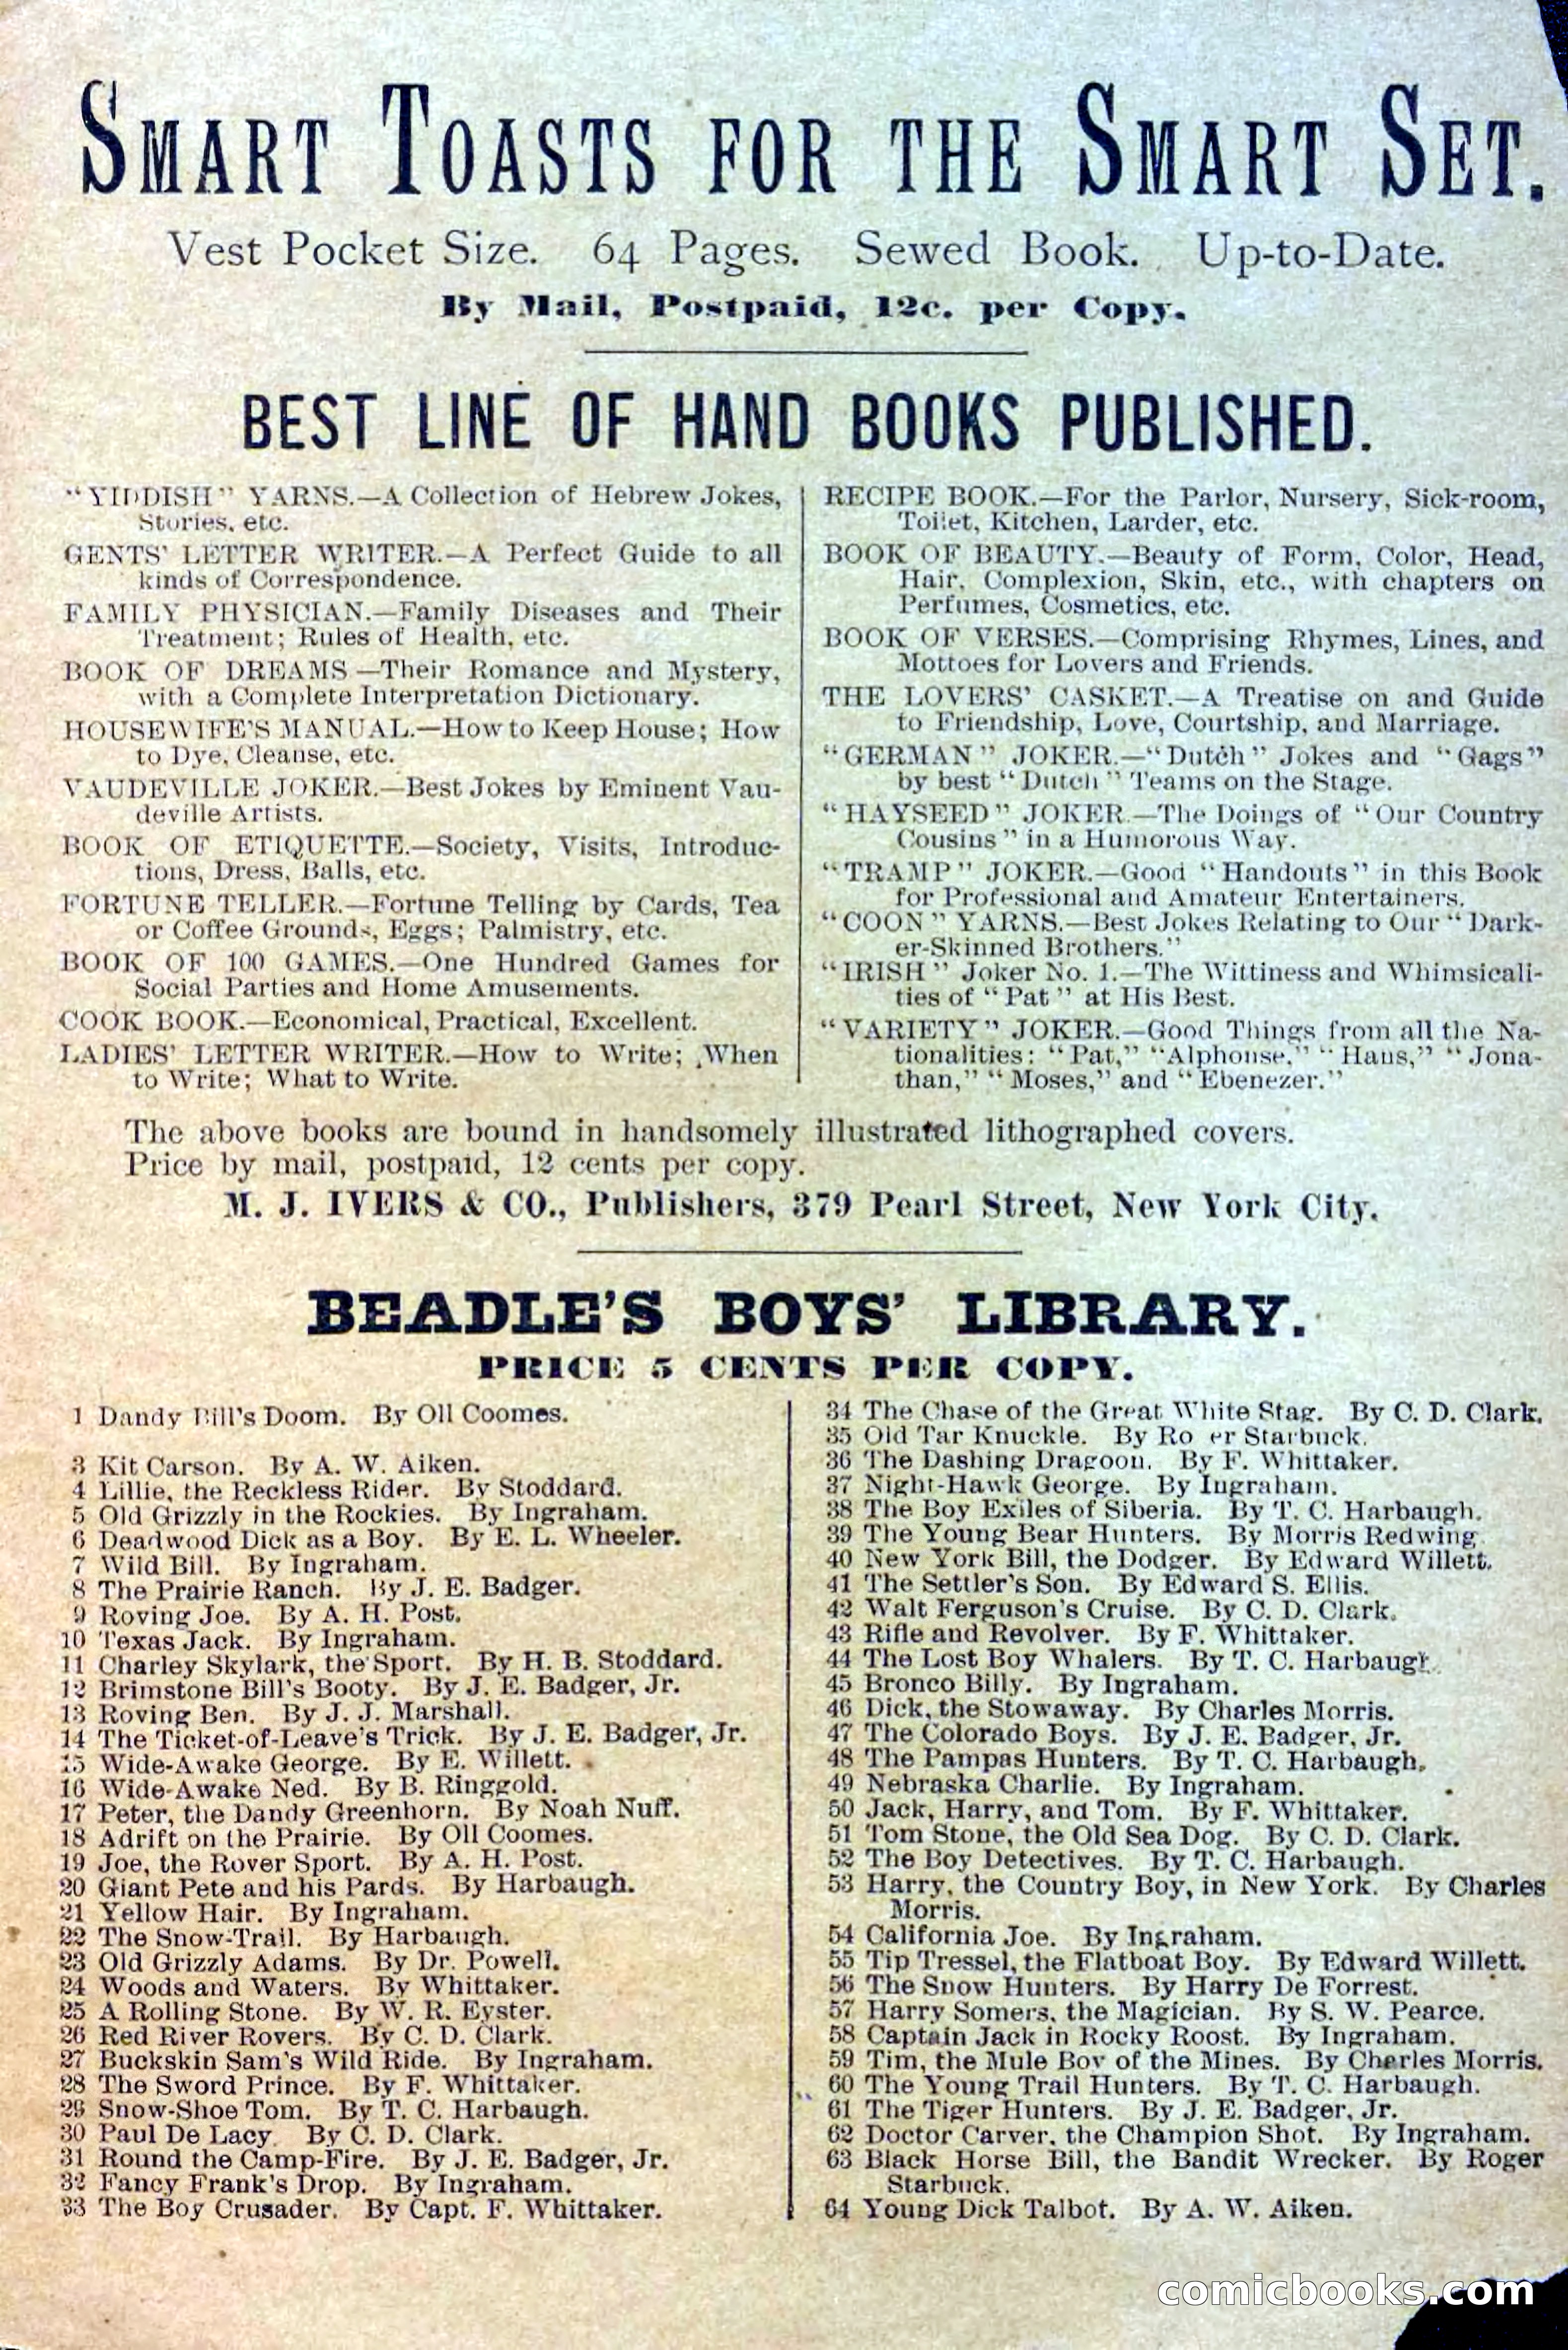
34 / 39
The Deadwood Dick Library, Vol. III, No. 33 — page 35 of 39
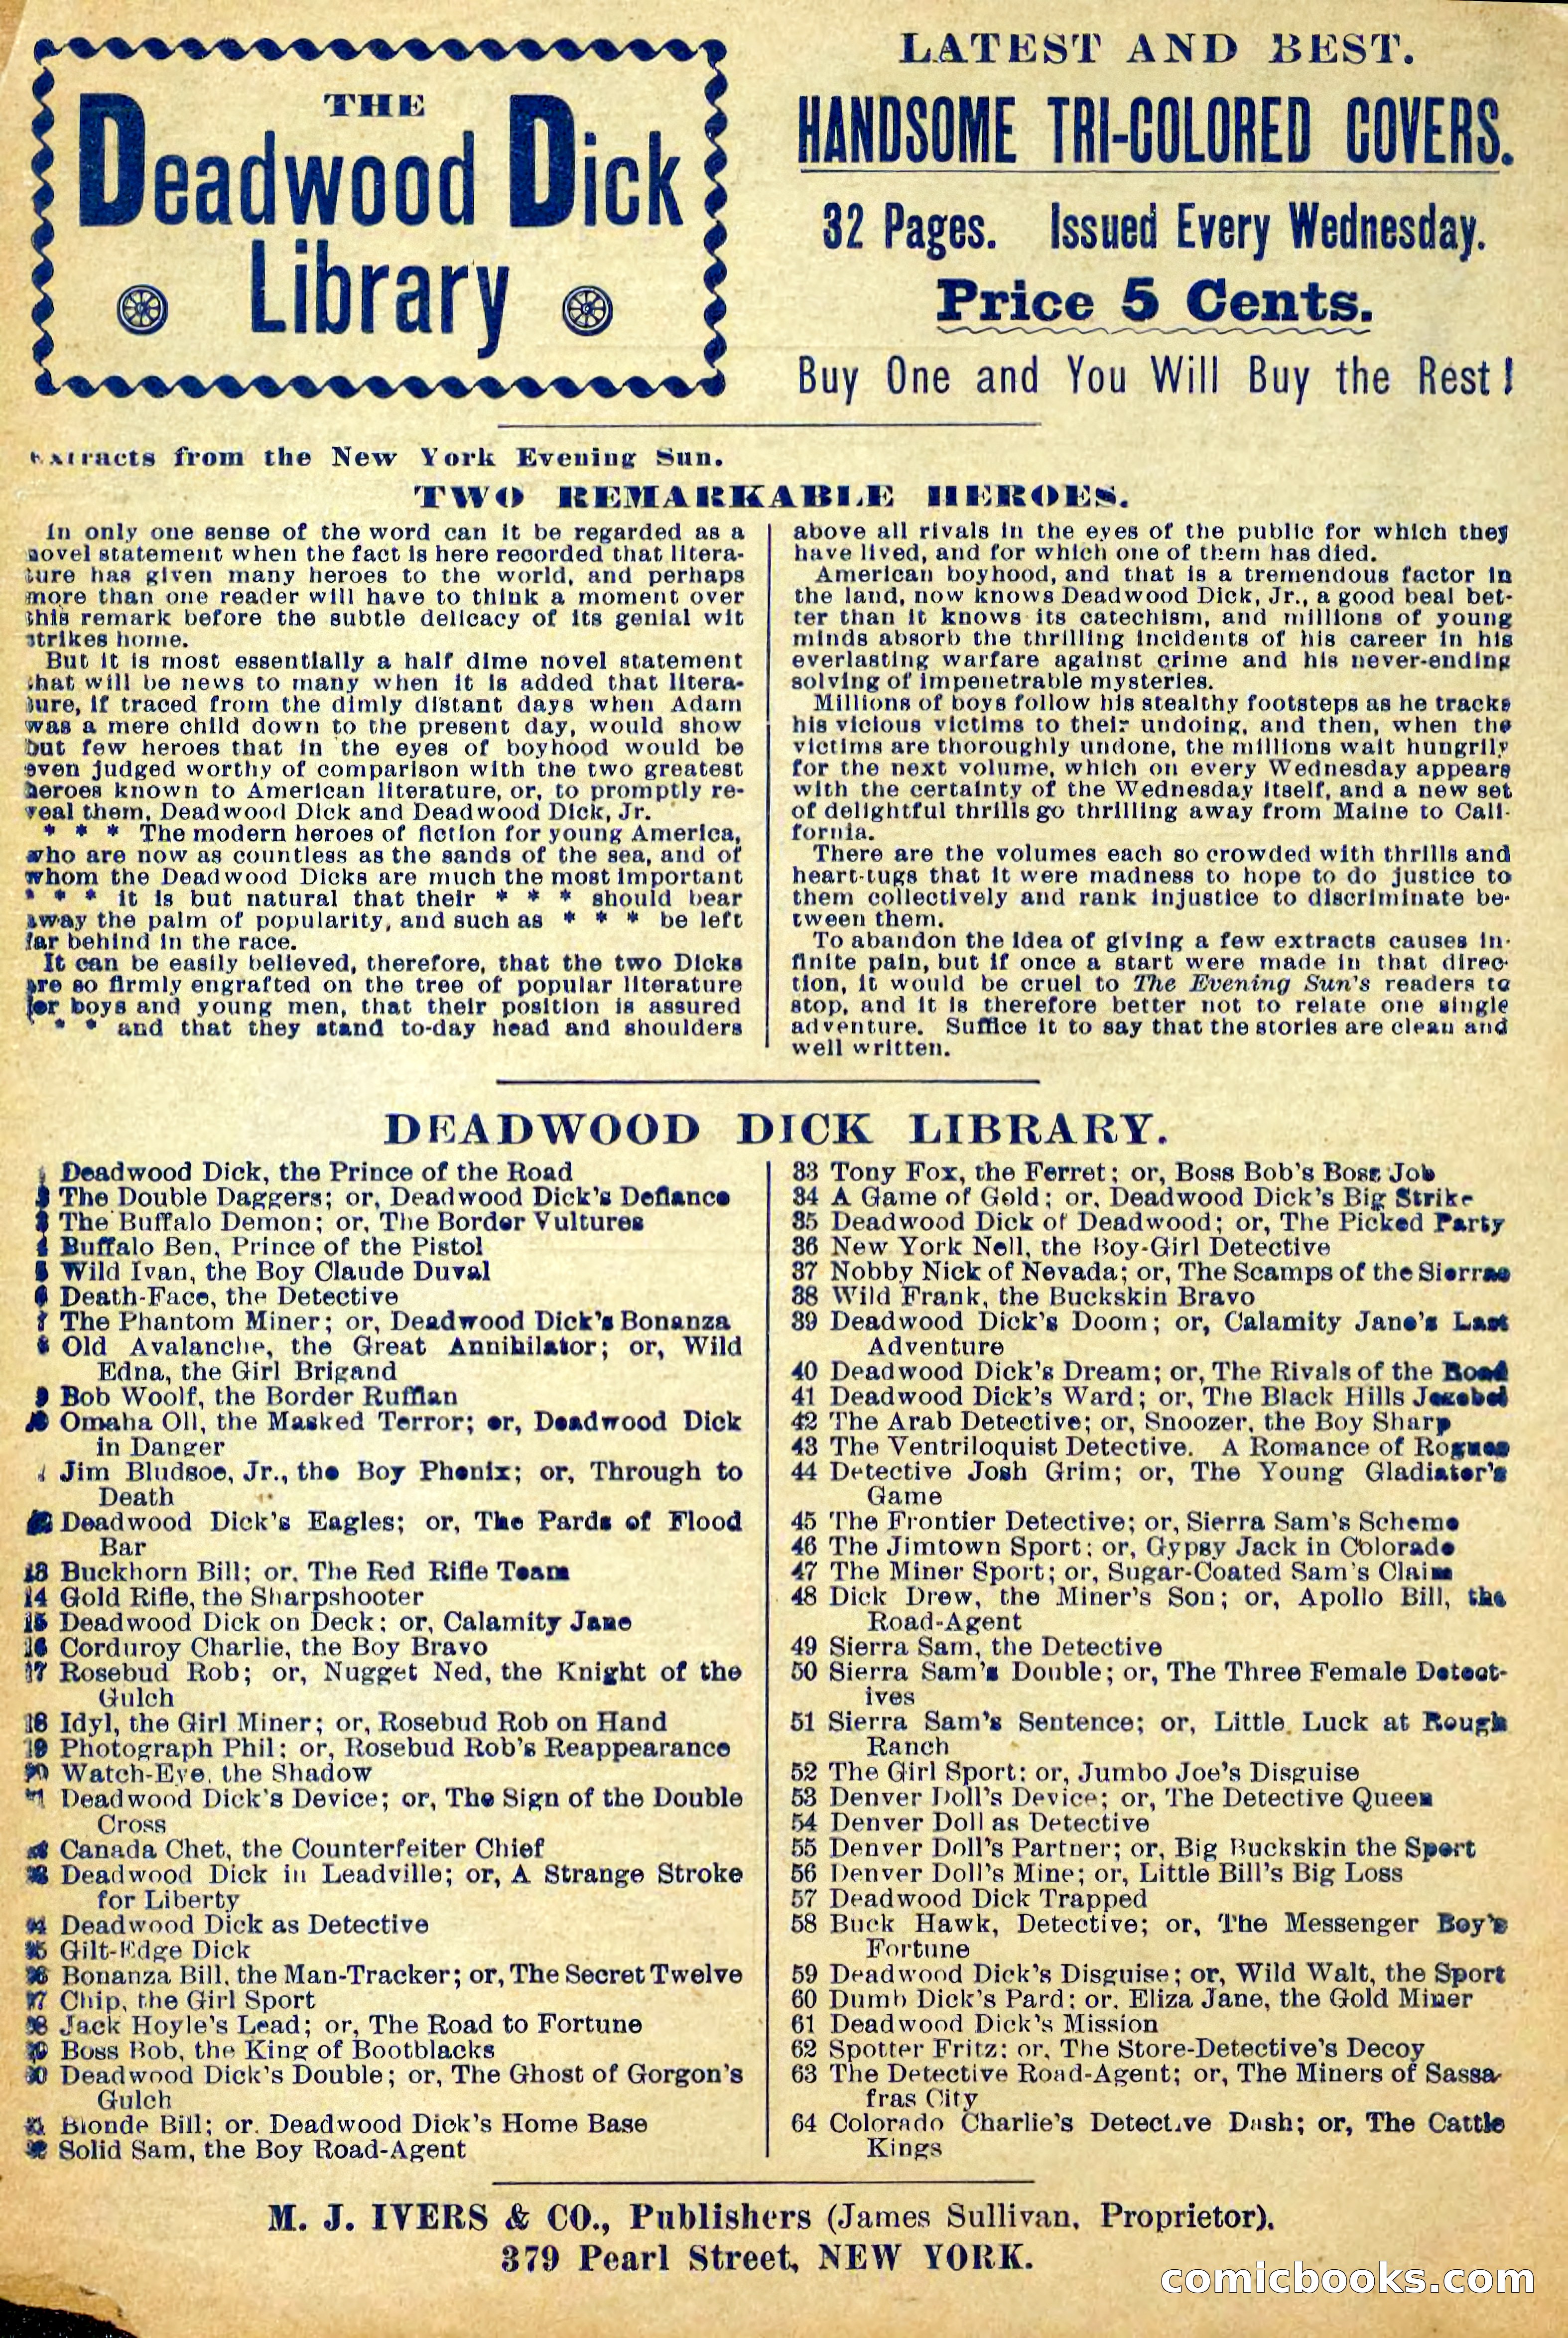
35 / 39
The Deadwood Dick Library, Vol. III, No. 33 — page 36 of 39
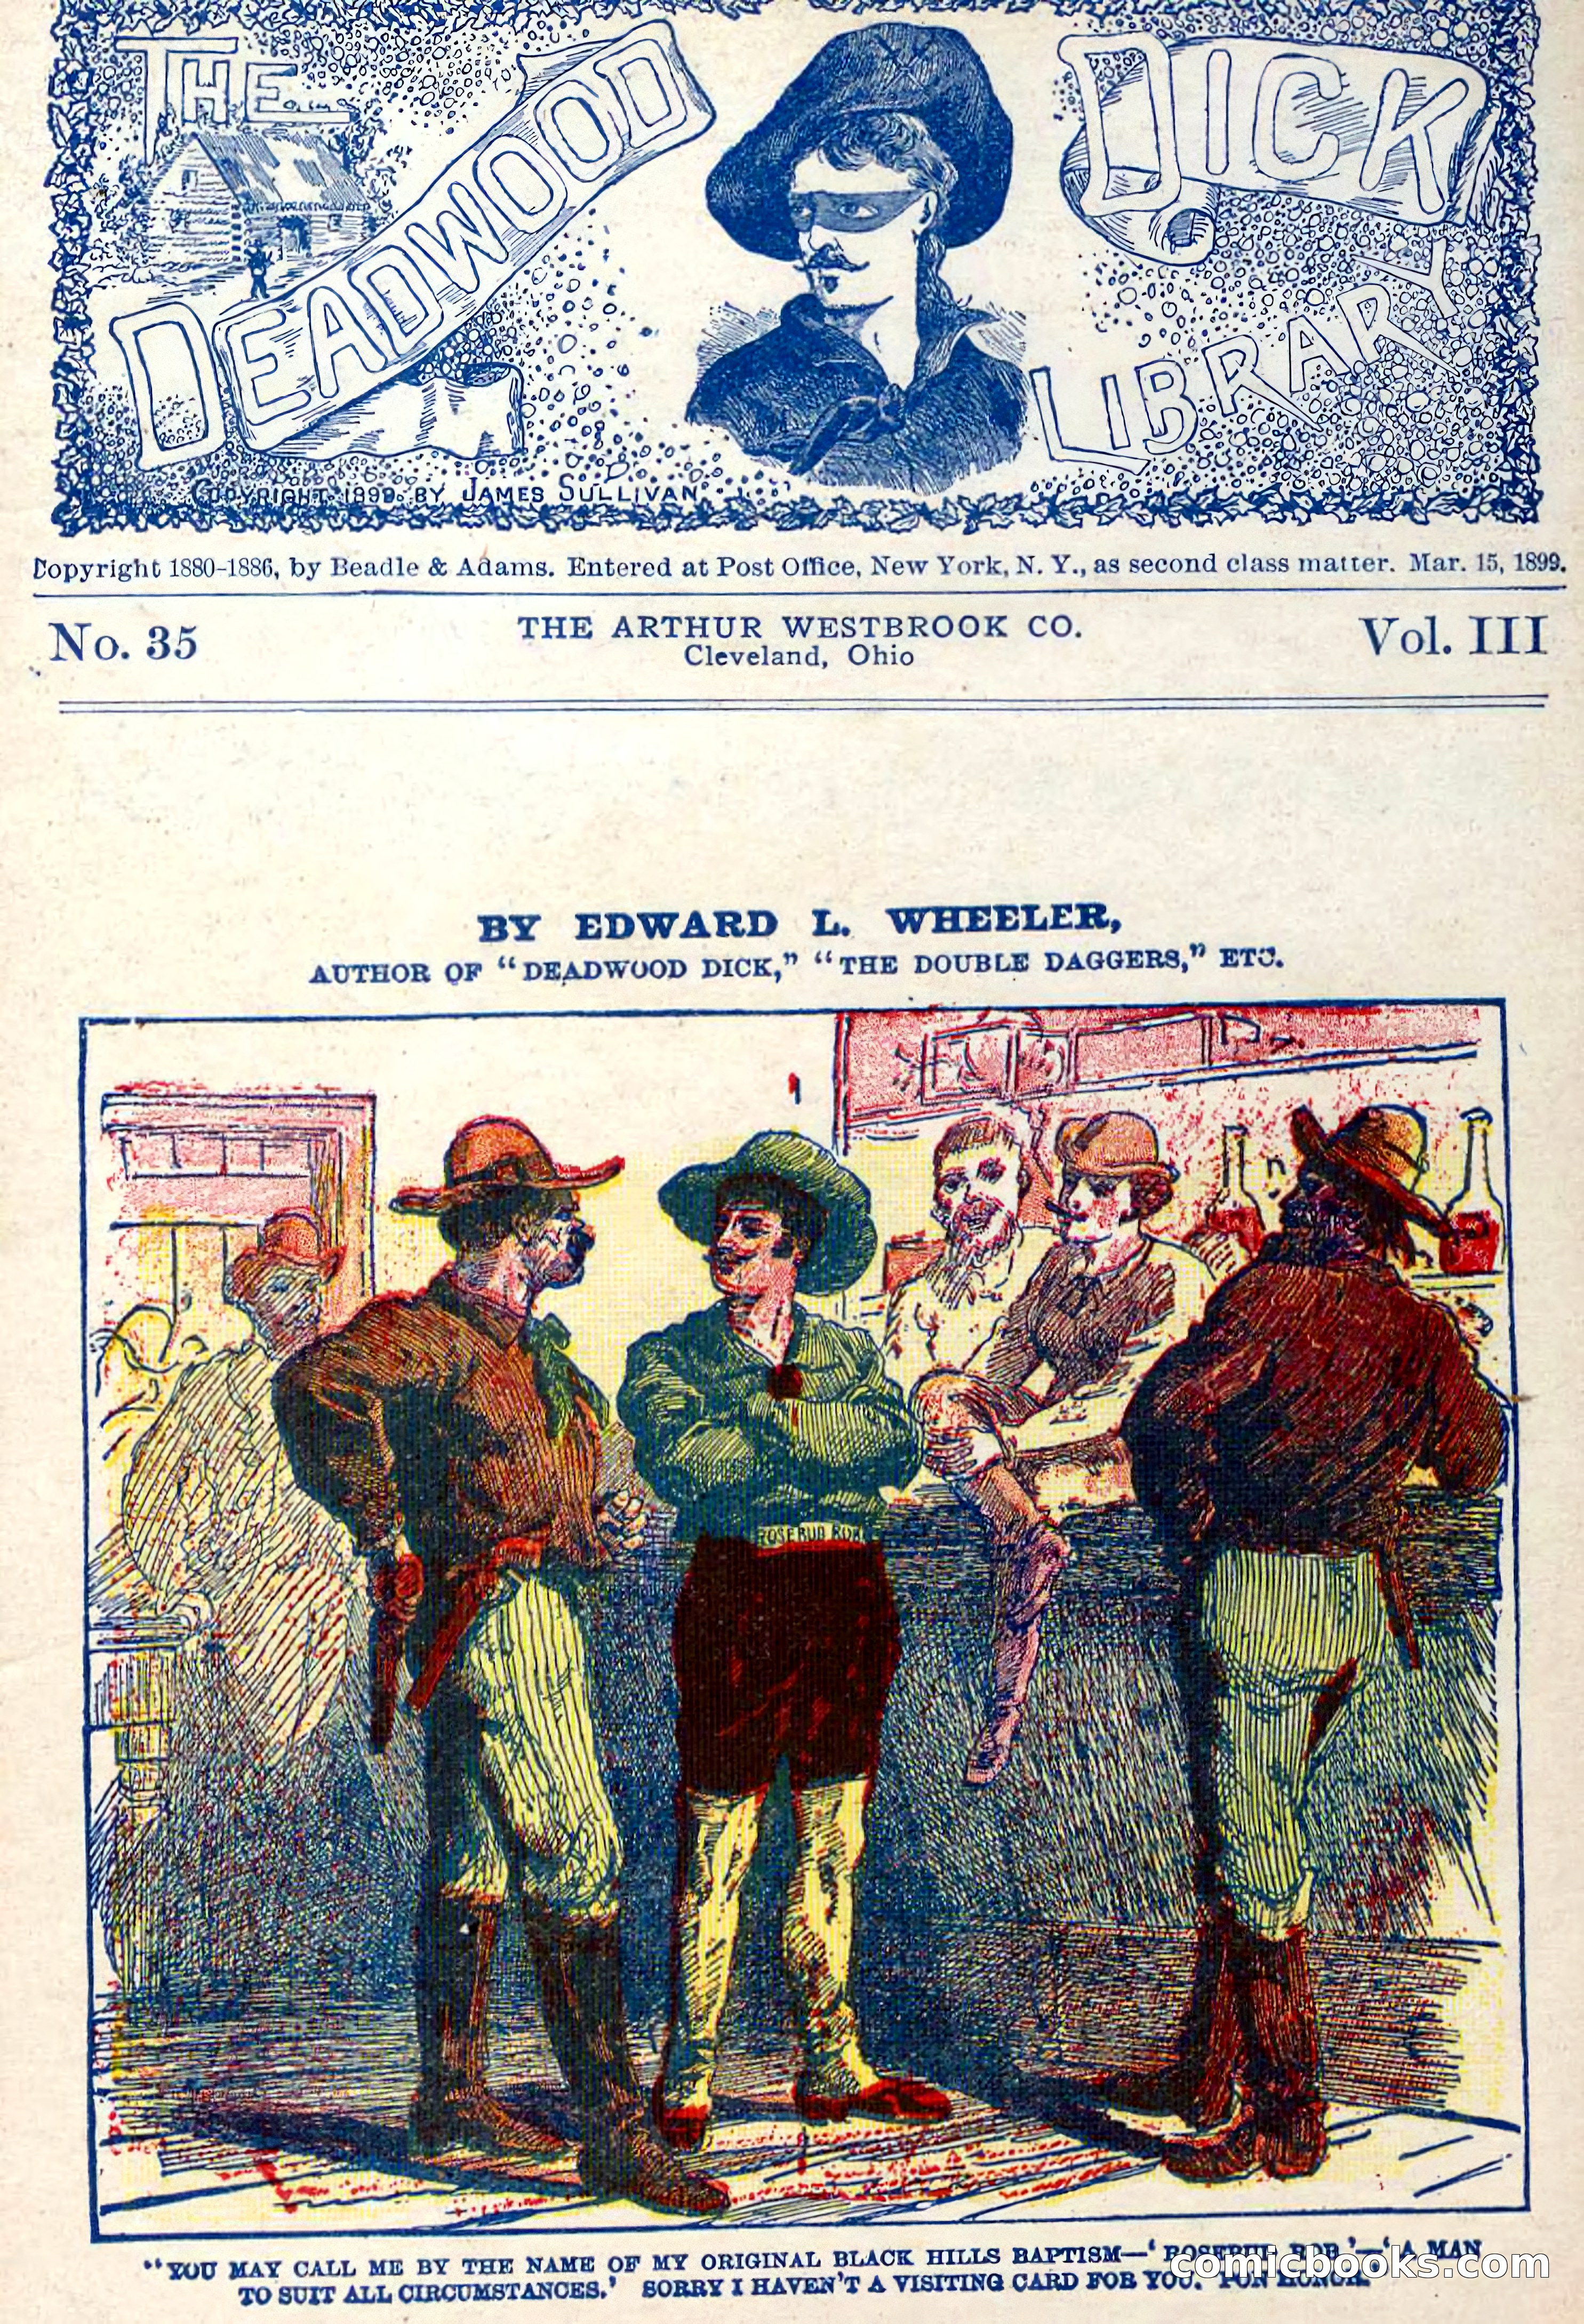
36 / 39
The Deadwood Dick Library, Vol. III, No. 33 — page 37 of 39
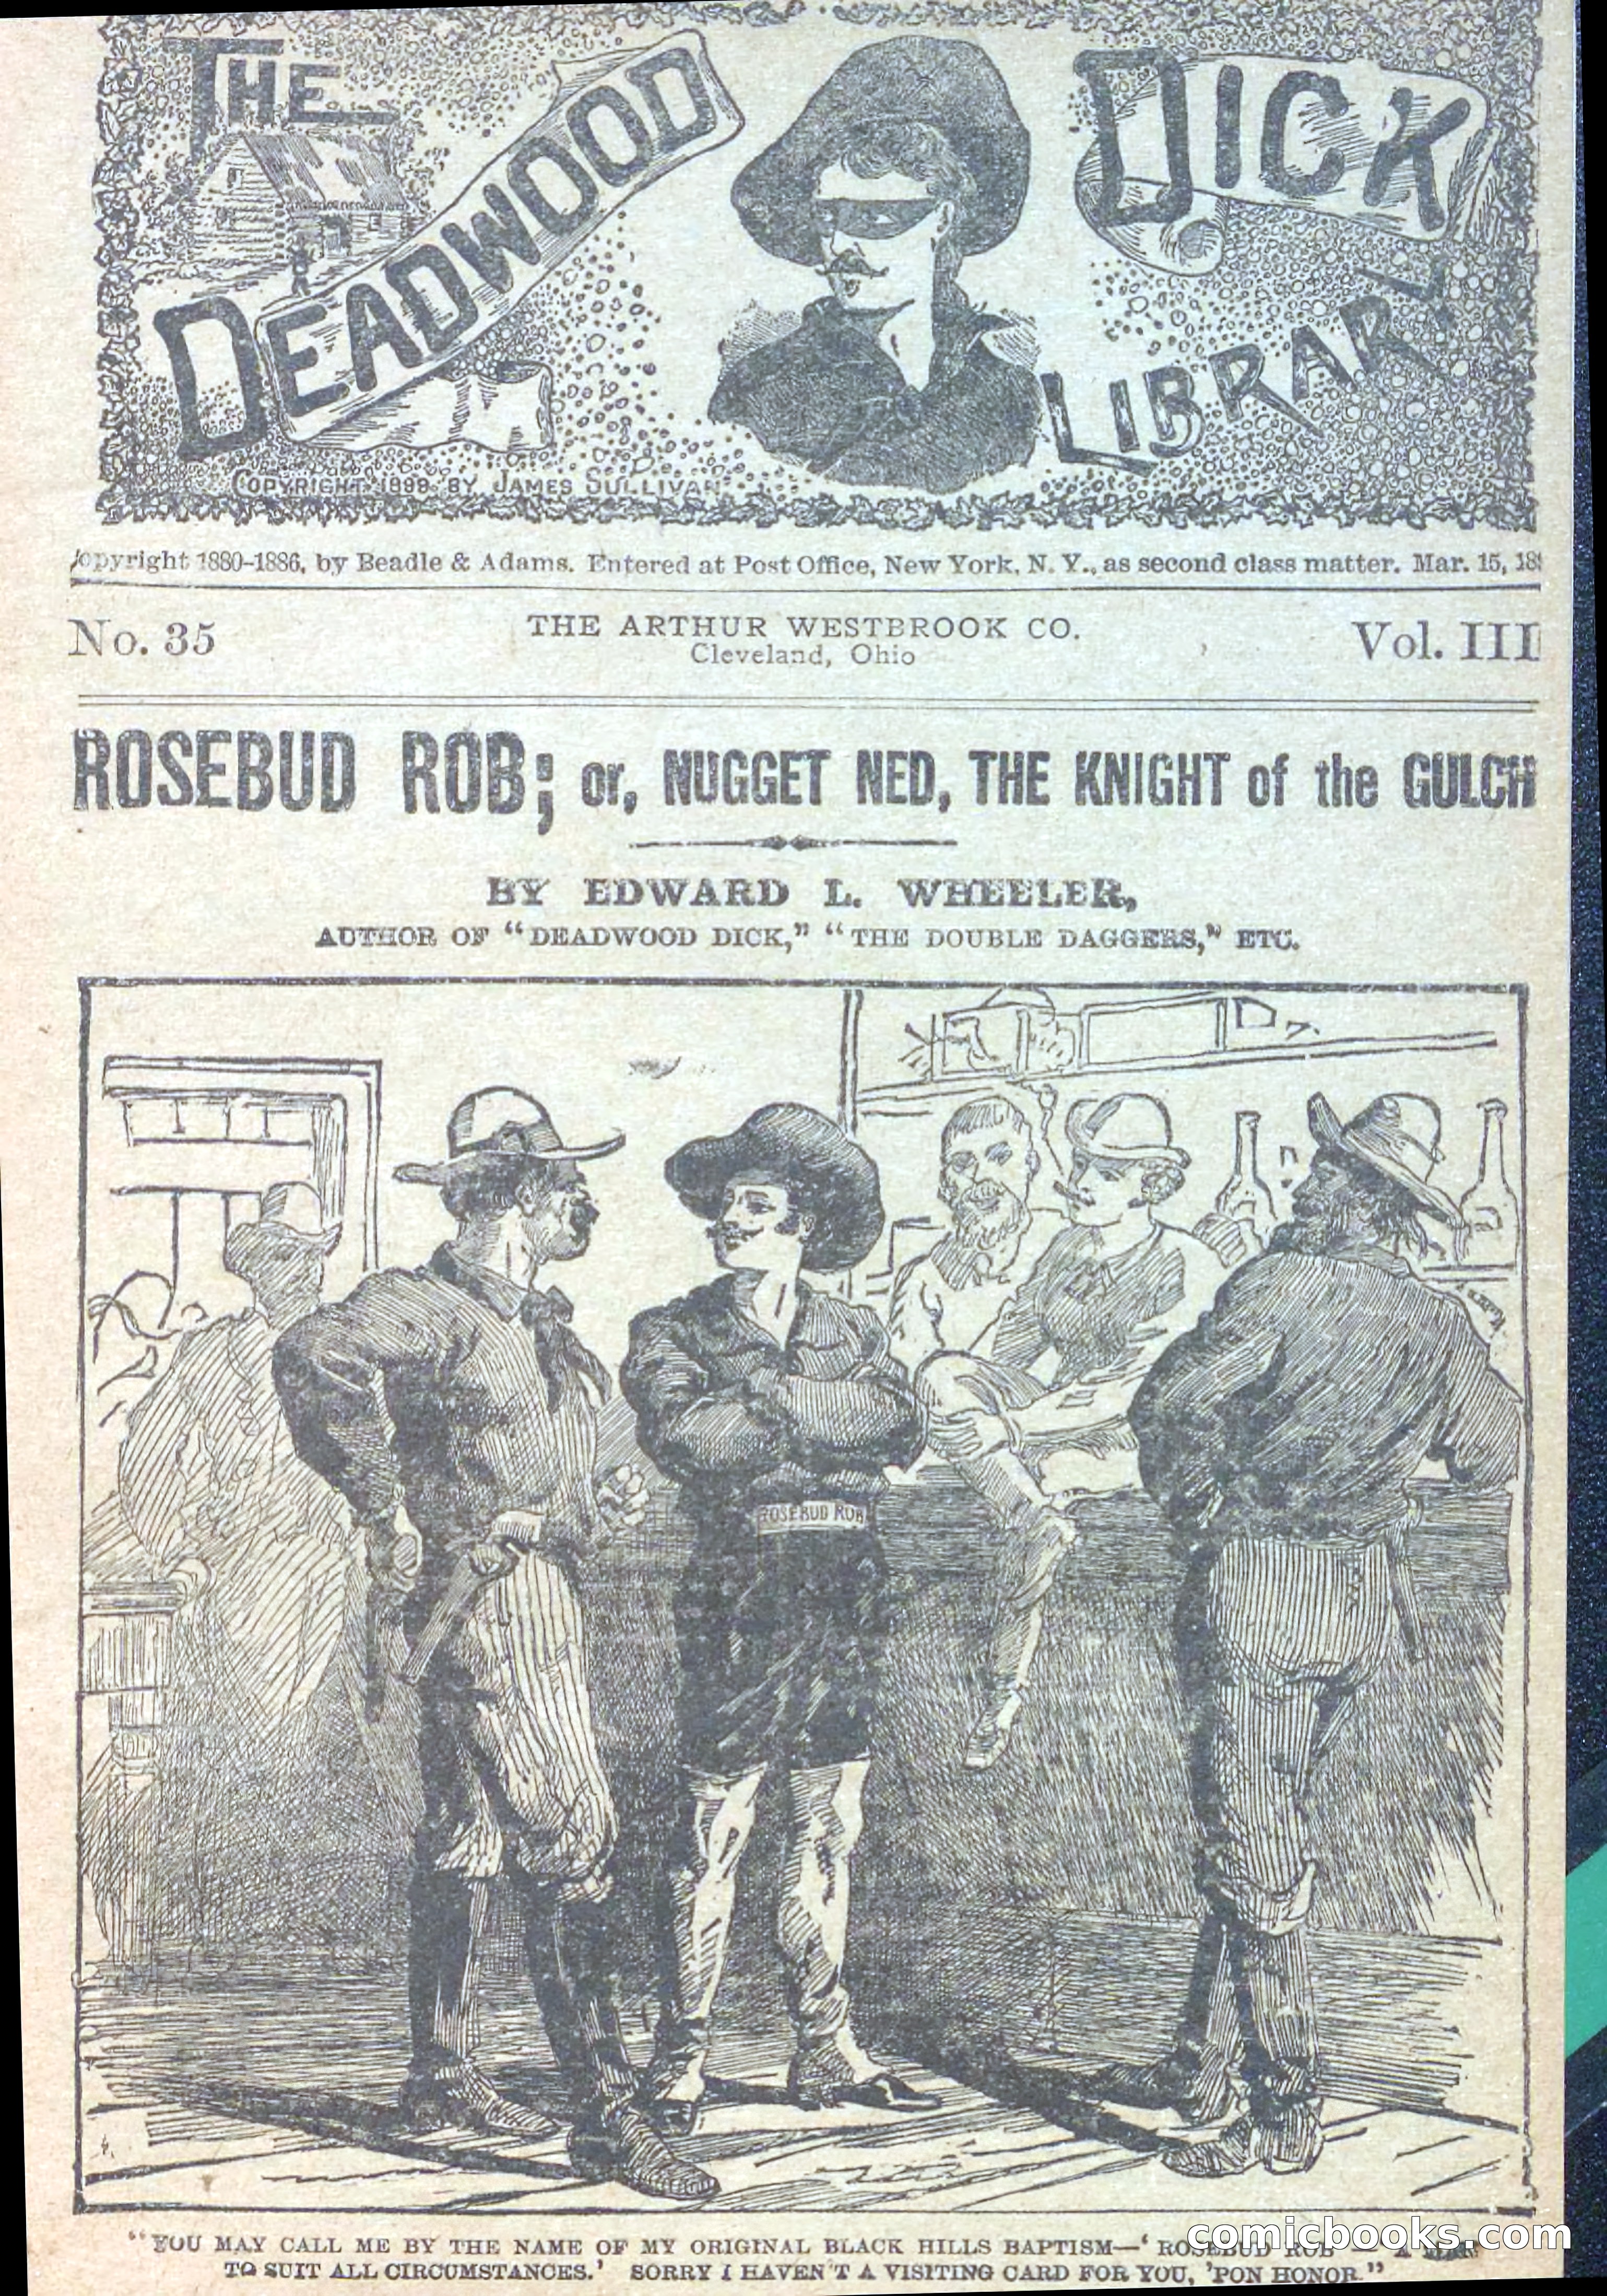
37 / 39
The Deadwood Dick Library, Vol. III, No. 33 — page 38 of 39
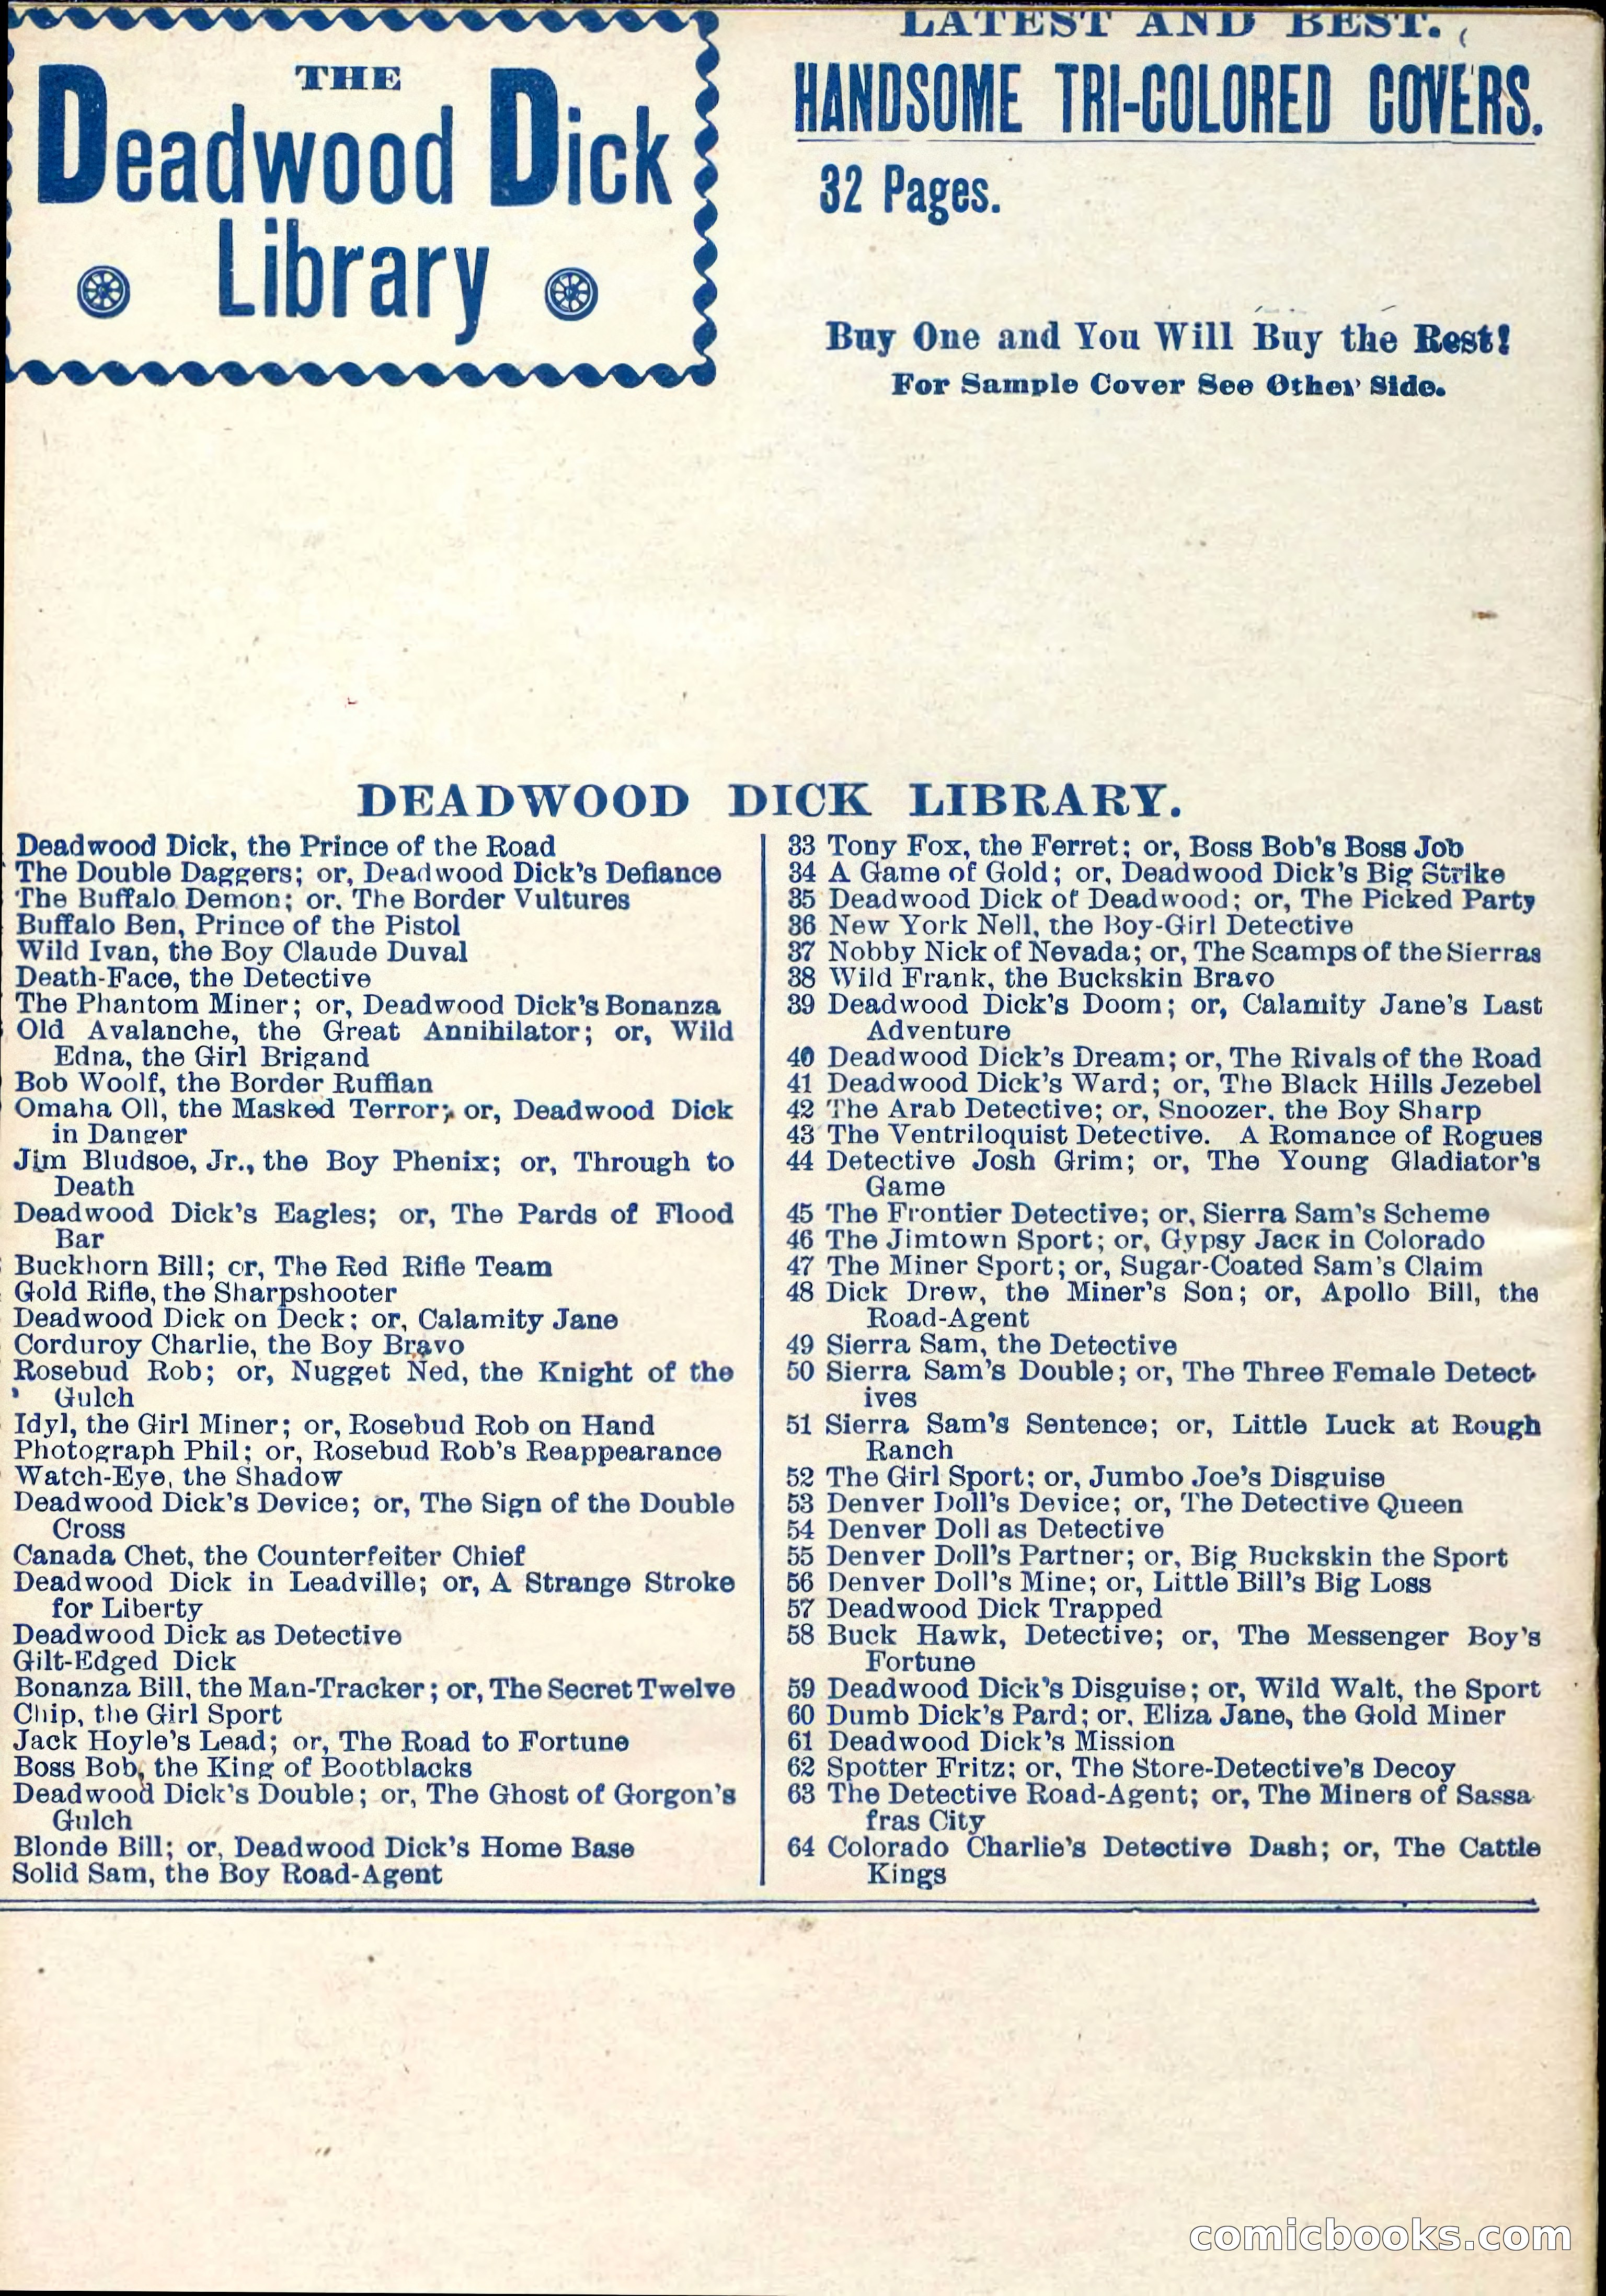
38 / 39
The Deadwood Dick Library, Vol. III, No. 33 — page 39 of 39
39 / 39

About this issue

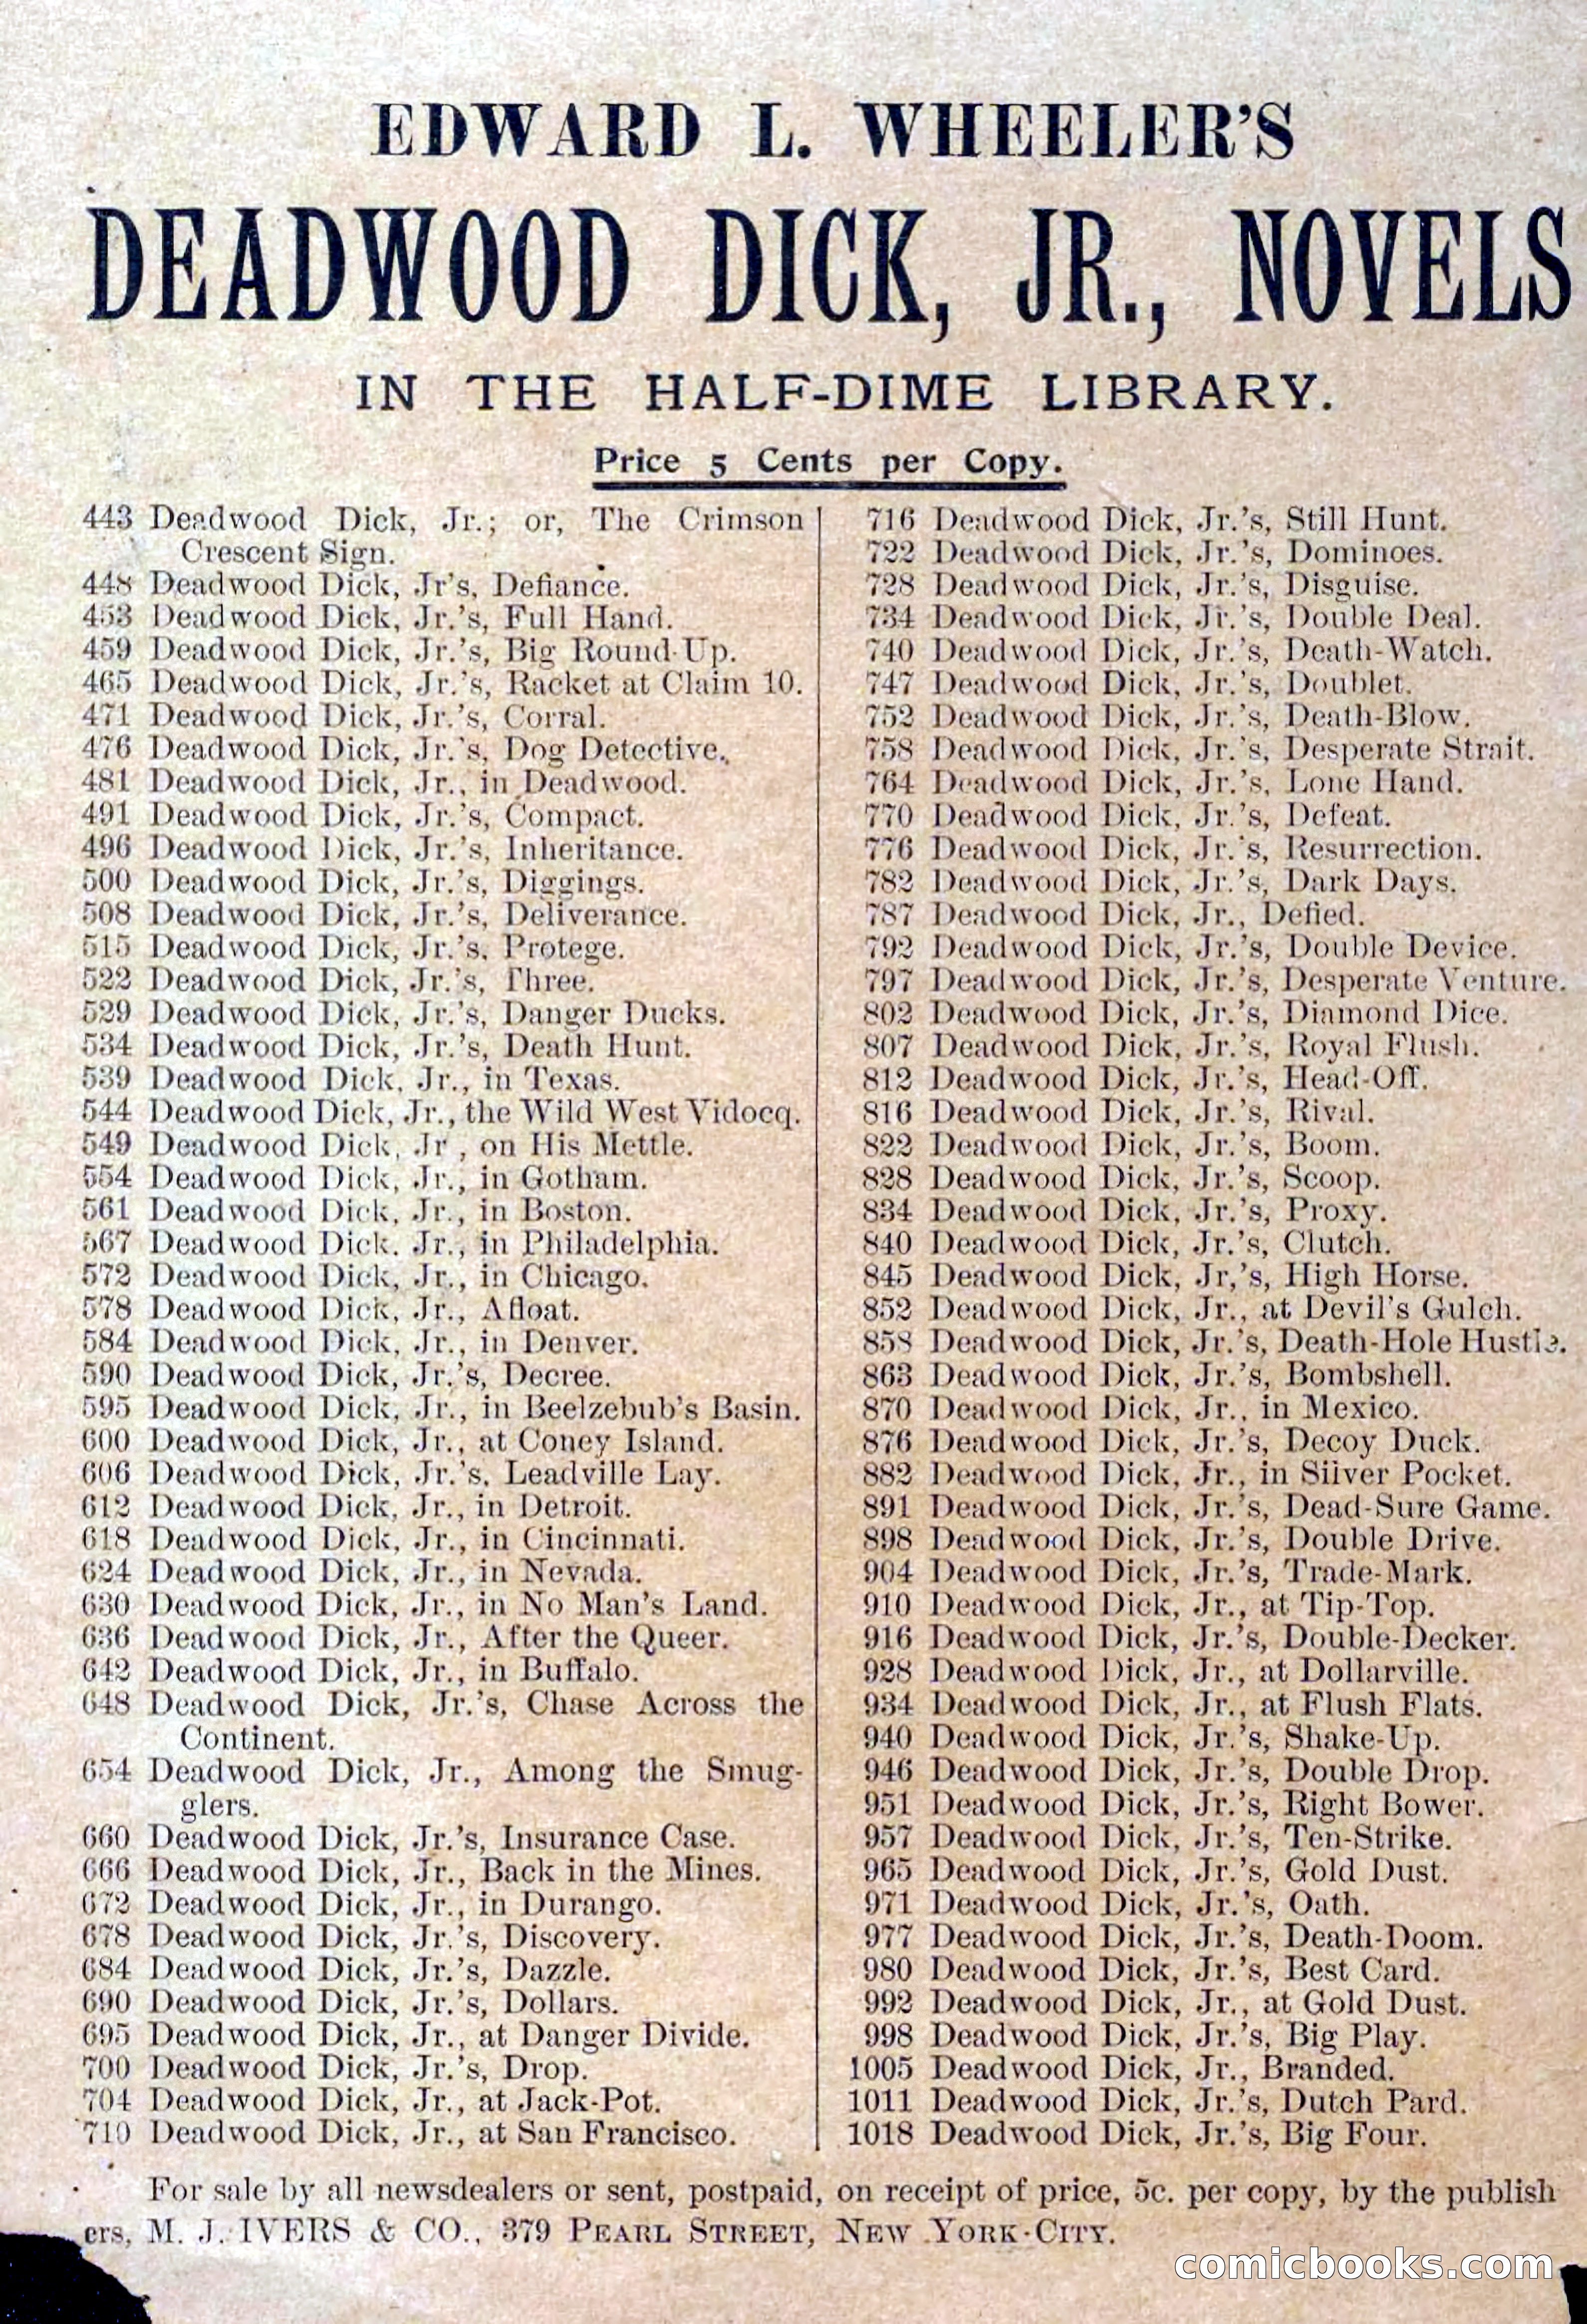
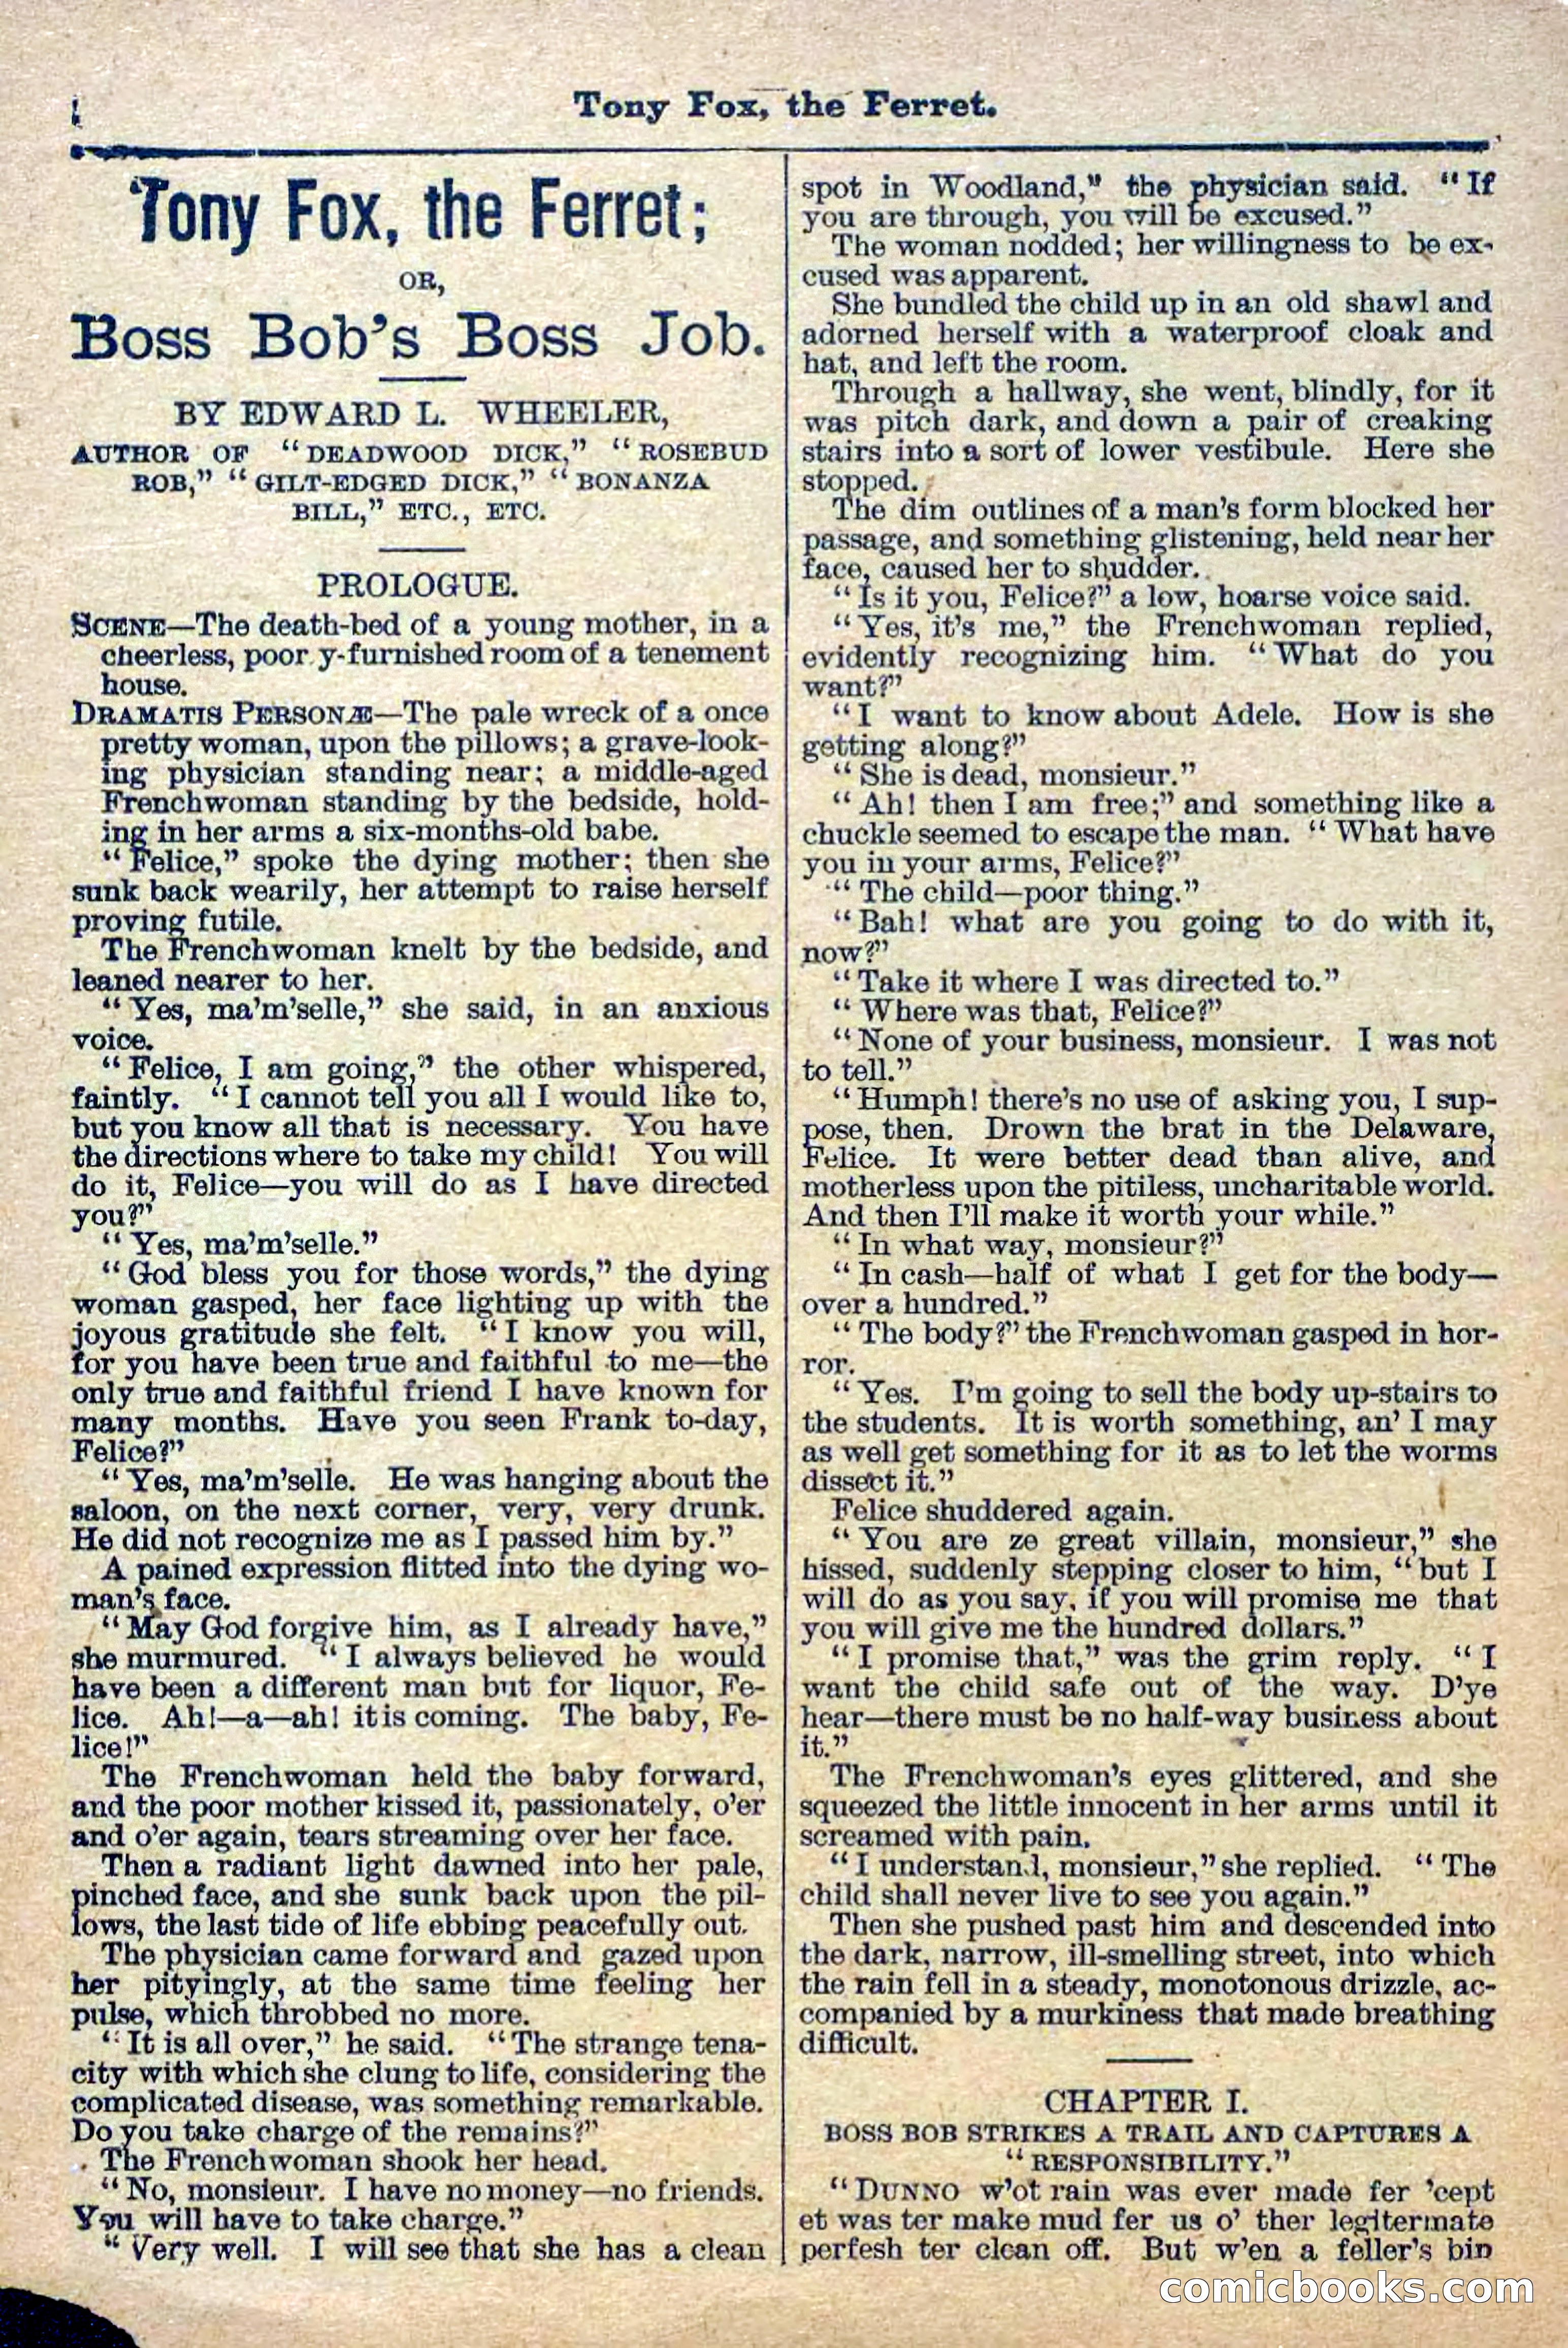
This issue of Wheeler's Half-Dime Library (No. 33, March 15, 1899) is chiefly occupied by Tony Fox, the Ferret; or, Boss Bob's Boss Job, by Edward L. Wheeler, author of the "Deadwood Dick" series. The serialized story opens in Philadelphia during the Centennial year with a deathbed scene: a dying mother entrusts her infant to Felice, a Frenchwoman, but a villainous man intercepts them, offering money for the baby's drowning and the mother's corpse for medical students. Felice agrees. However, Boss Bob, a resourceful bootblack, witnesses the woman depositing the bundled infant into a rowboat and pushing it into the Delaware River. Realizing her intent, he resolves to rescue the child. The issue also includes a catalog listing numerous Deadwood Dick, Jr. novels available in the series, priced five cents per copy.

Browse this issue page by page

Each page has its own page — the cartoon, who’s in it, and what the satire means.

  1. Page 1 View this page →
  2. Page 2 View this page →
  3. Page 3 View this page →
  4. Page 4 View this page →
  5. Page 5 View this page →
  6. Page 6 View this page →
  7. Page 7 View this page →
  8. Page 8 View this page →
  9. Page 9 View this page →
  10. Page 10 View this page →
  11. Page 11 View this page →
  12. Page 12 View this page →
  13. Page 13 View this page →
  14. Page 14 View this page →
  15. Page 15 View this page →
  16. Page 16 View this page →
  17. Page 17 View this page →
  18. Page 18 View this page →
  19. Page 19 View this page →
  20. Page 20 View this page →
  21. Page 21 View this page →
  22. Page 22 View this page →
  23. Page 23 View this page →
  24. Page 24 View this page →
  25. Page 25 View this page →
  26. Page 26 View this page →
  27. Page 27 View this page →
  28. Page 28 View this page →
  29. Page 29 View this page →
  30. Page 30 View this page →
  31. Page 31 View this page →
  32. Page 32 View this page →
  33. Page 33 View this page →
  34. Page 34 View this page →
  35. Page 35 View this page →
  36. Page 36 View this page →
  37. Page 37 View this page →
  38. Page 38 View this page →
  39. Page 39 View this page →