comicbooks.com Join Free

★ comicbooks.com Reading Room

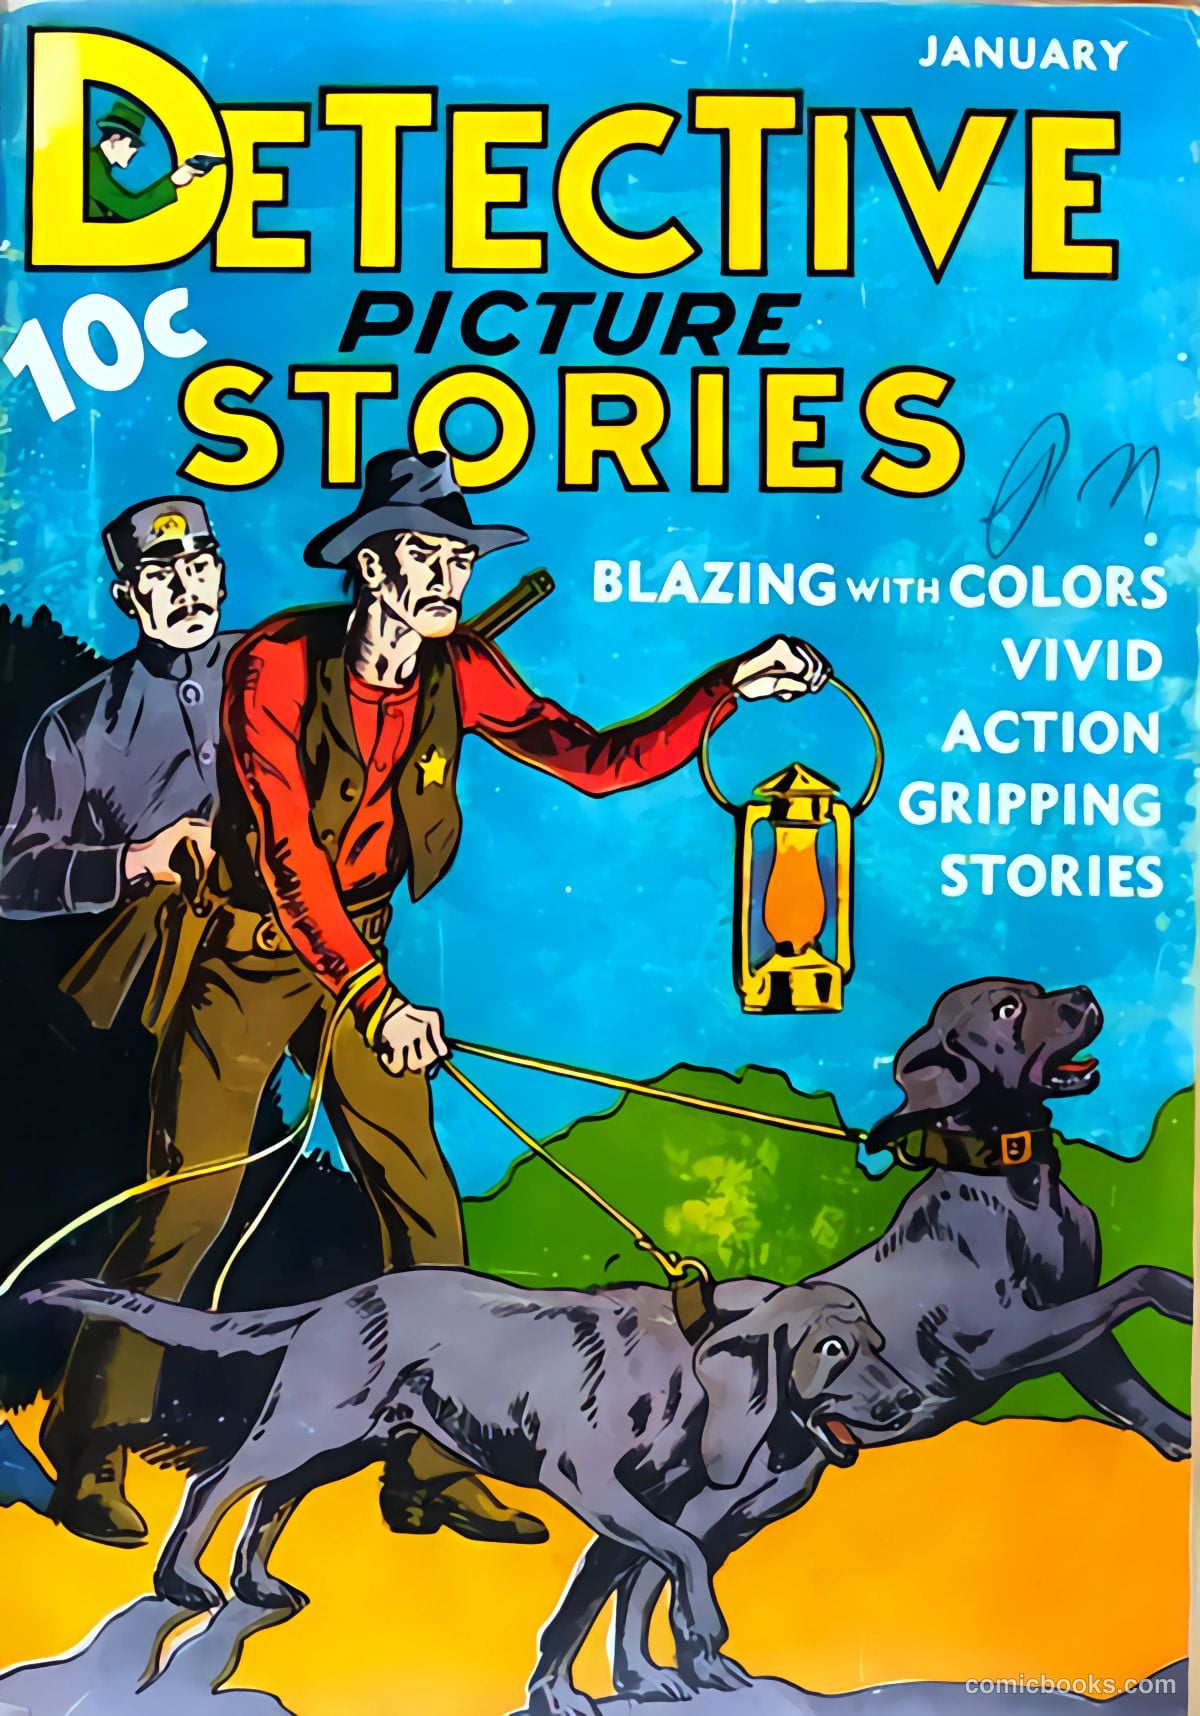
Detective Picture Stories #2 (1937)

Comics Magazine Company · 1937 · 65 pages

Free to read · restored edition by comicbooks.com · Issue details →
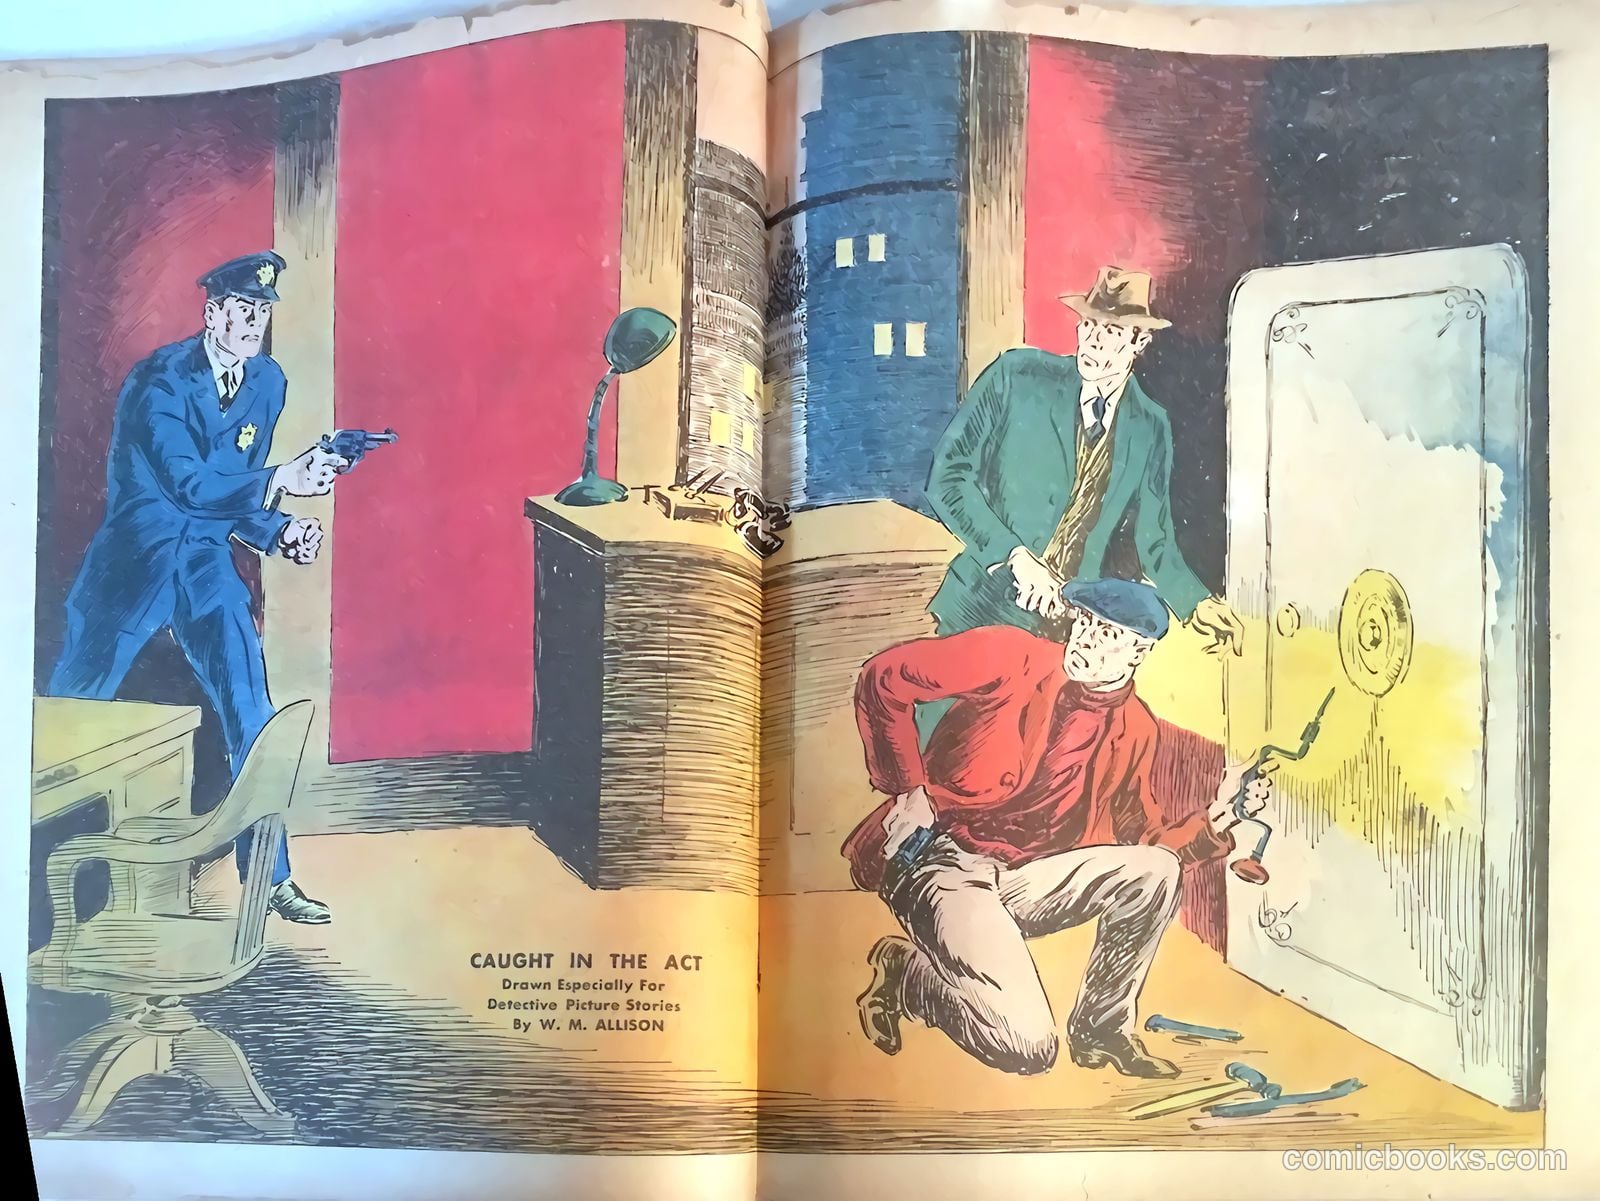
Detective Picture Stories #2 (1937) — page 1 of 65
1 / 65
Detective Picture Stories #2 (1937) — page 2 of 65
2 / 65
Detective Picture Stories #2 (1937) — page 3 of 65
3 / 65
Detective Picture Stories #2 (1937) — page 4 of 65
4 / 65
Detective Picture Stories #2 (1937) — page 5 of 65
5 / 65
Detective Picture Stories #2 (1937) — page 6 of 65
6 / 65
Detective Picture Stories #2 (1937) — page 7 of 65
7 / 65
Detective Picture Stories #2 (1937) — page 8 of 65
8 / 65
Detective Picture Stories #2 (1937) — page 9 of 65
9 / 65
Detective Picture Stories #2 (1937) — page 10 of 65
10 / 65
Detective Picture Stories #2 (1937) — page 11 of 65
11 / 65
Detective Picture Stories #2 (1937) — page 12 of 65
12 / 65
Detective Picture Stories #2 (1937) — page 13 of 65
13 / 65
Detective Picture Stories #2 (1937) — page 14 of 65
14 / 65
Detective Picture Stories #2 (1937) — page 15 of 65
15 / 65
Detective Picture Stories #2 (1937) — page 16 of 65
16 / 65
Detective Picture Stories #2 (1937) — page 17 of 65
17 / 65
Detective Picture Stories #2 (1937) — page 18 of 65
18 / 65
Detective Picture Stories #2 (1937) — page 19 of 65
19 / 65
Detective Picture Stories #2 (1937) — page 20 of 65
20 / 65
Detective Picture Stories #2 (1937) — page 21 of 65
21 / 65
Detective Picture Stories #2 (1937) — page 22 of 65
22 / 65
Detective Picture Stories #2 (1937) — page 23 of 65
23 / 65
Detective Picture Stories #2 (1937) — page 24 of 65
24 / 65
Detective Picture Stories #2 (1937) — page 25 of 65
25 / 65
Detective Picture Stories #2 (1937) — page 26 of 65
26 / 65
Detective Picture Stories #2 (1937) — page 27 of 65
27 / 65
Detective Picture Stories #2 (1937) — page 28 of 65
28 / 65
Detective Picture Stories #2 (1937) — page 29 of 65
29 / 65
Detective Picture Stories #2 (1937) — page 30 of 65
30 / 65
Detective Picture Stories #2 (1937) — page 31 of 65
31 / 65
Detective Picture Stories #2 (1937) — page 32 of 65
32 / 65
Detective Picture Stories #2 (1937) — page 33 of 65
33 / 65
Detective Picture Stories #2 (1937) — page 34 of 65
34 / 65
Detective Picture Stories #2 (1937) — page 35 of 65
35 / 65
Detective Picture Stories #2 (1937) — page 36 of 65
36 / 65
Detective Picture Stories #2 (1937) — page 37 of 65
37 / 65
Detective Picture Stories #2 (1937) — page 38 of 65
38 / 65
Detective Picture Stories #2 (1937) — page 39 of 65
39 / 65
Detective Picture Stories #2 (1937) — page 40 of 65
40 / 65
Detective Picture Stories #2 (1937) — page 41 of 65
41 / 65
Detective Picture Stories #2 (1937) — page 42 of 65
42 / 65
Detective Picture Stories #2 (1937) — page 43 of 65
43 / 65
Detective Picture Stories #2 (1937) — page 44 of 65
44 / 65
Detective Picture Stories #2 (1937) — page 45 of 65
45 / 65
Detective Picture Stories #2 (1937) — page 46 of 65
46 / 65
Detective Picture Stories #2 (1937) — page 47 of 65
47 / 65
Detective Picture Stories #2 (1937) — page 48 of 65
48 / 65
Detective Picture Stories #2 (1937) — page 49 of 65
49 / 65
Detective Picture Stories #2 (1937) — page 50 of 65
50 / 65
Detective Picture Stories #2 (1937) — page 51 of 65
51 / 65
Detective Picture Stories #2 (1937) — page 52 of 65
52 / 65
Detective Picture Stories #2 (1937) — page 53 of 65
53 / 65
Detective Picture Stories #2 (1937) — page 54 of 65
54 / 65
Detective Picture Stories #2 (1937) — page 55 of 65
55 / 65
Detective Picture Stories #2 (1937) — page 56 of 65
56 / 65
Detective Picture Stories #2 (1937) — page 57 of 65
57 / 65
Detective Picture Stories #2 (1937) — page 58 of 65
58 / 65
Detective Picture Stories #2 (1937) — page 59 of 65
59 / 65
Detective Picture Stories #2 (1937) — page 60 of 65
60 / 65
Detective Picture Stories #2 (1937) — page 61 of 65
61 / 65
Detective Picture Stories #2 (1937) — page 62 of 65
62 / 65
Detective Picture Stories #2 (1937) — page 63 of 65
63 / 65
Detective Picture Stories #2 (1937) — page 64 of 65
64 / 65
Detective Picture Stories #2 (1937) — page 65 of 65
65 / 65
ContinueDetective Picture Stories #4 →
Contains 8 stories
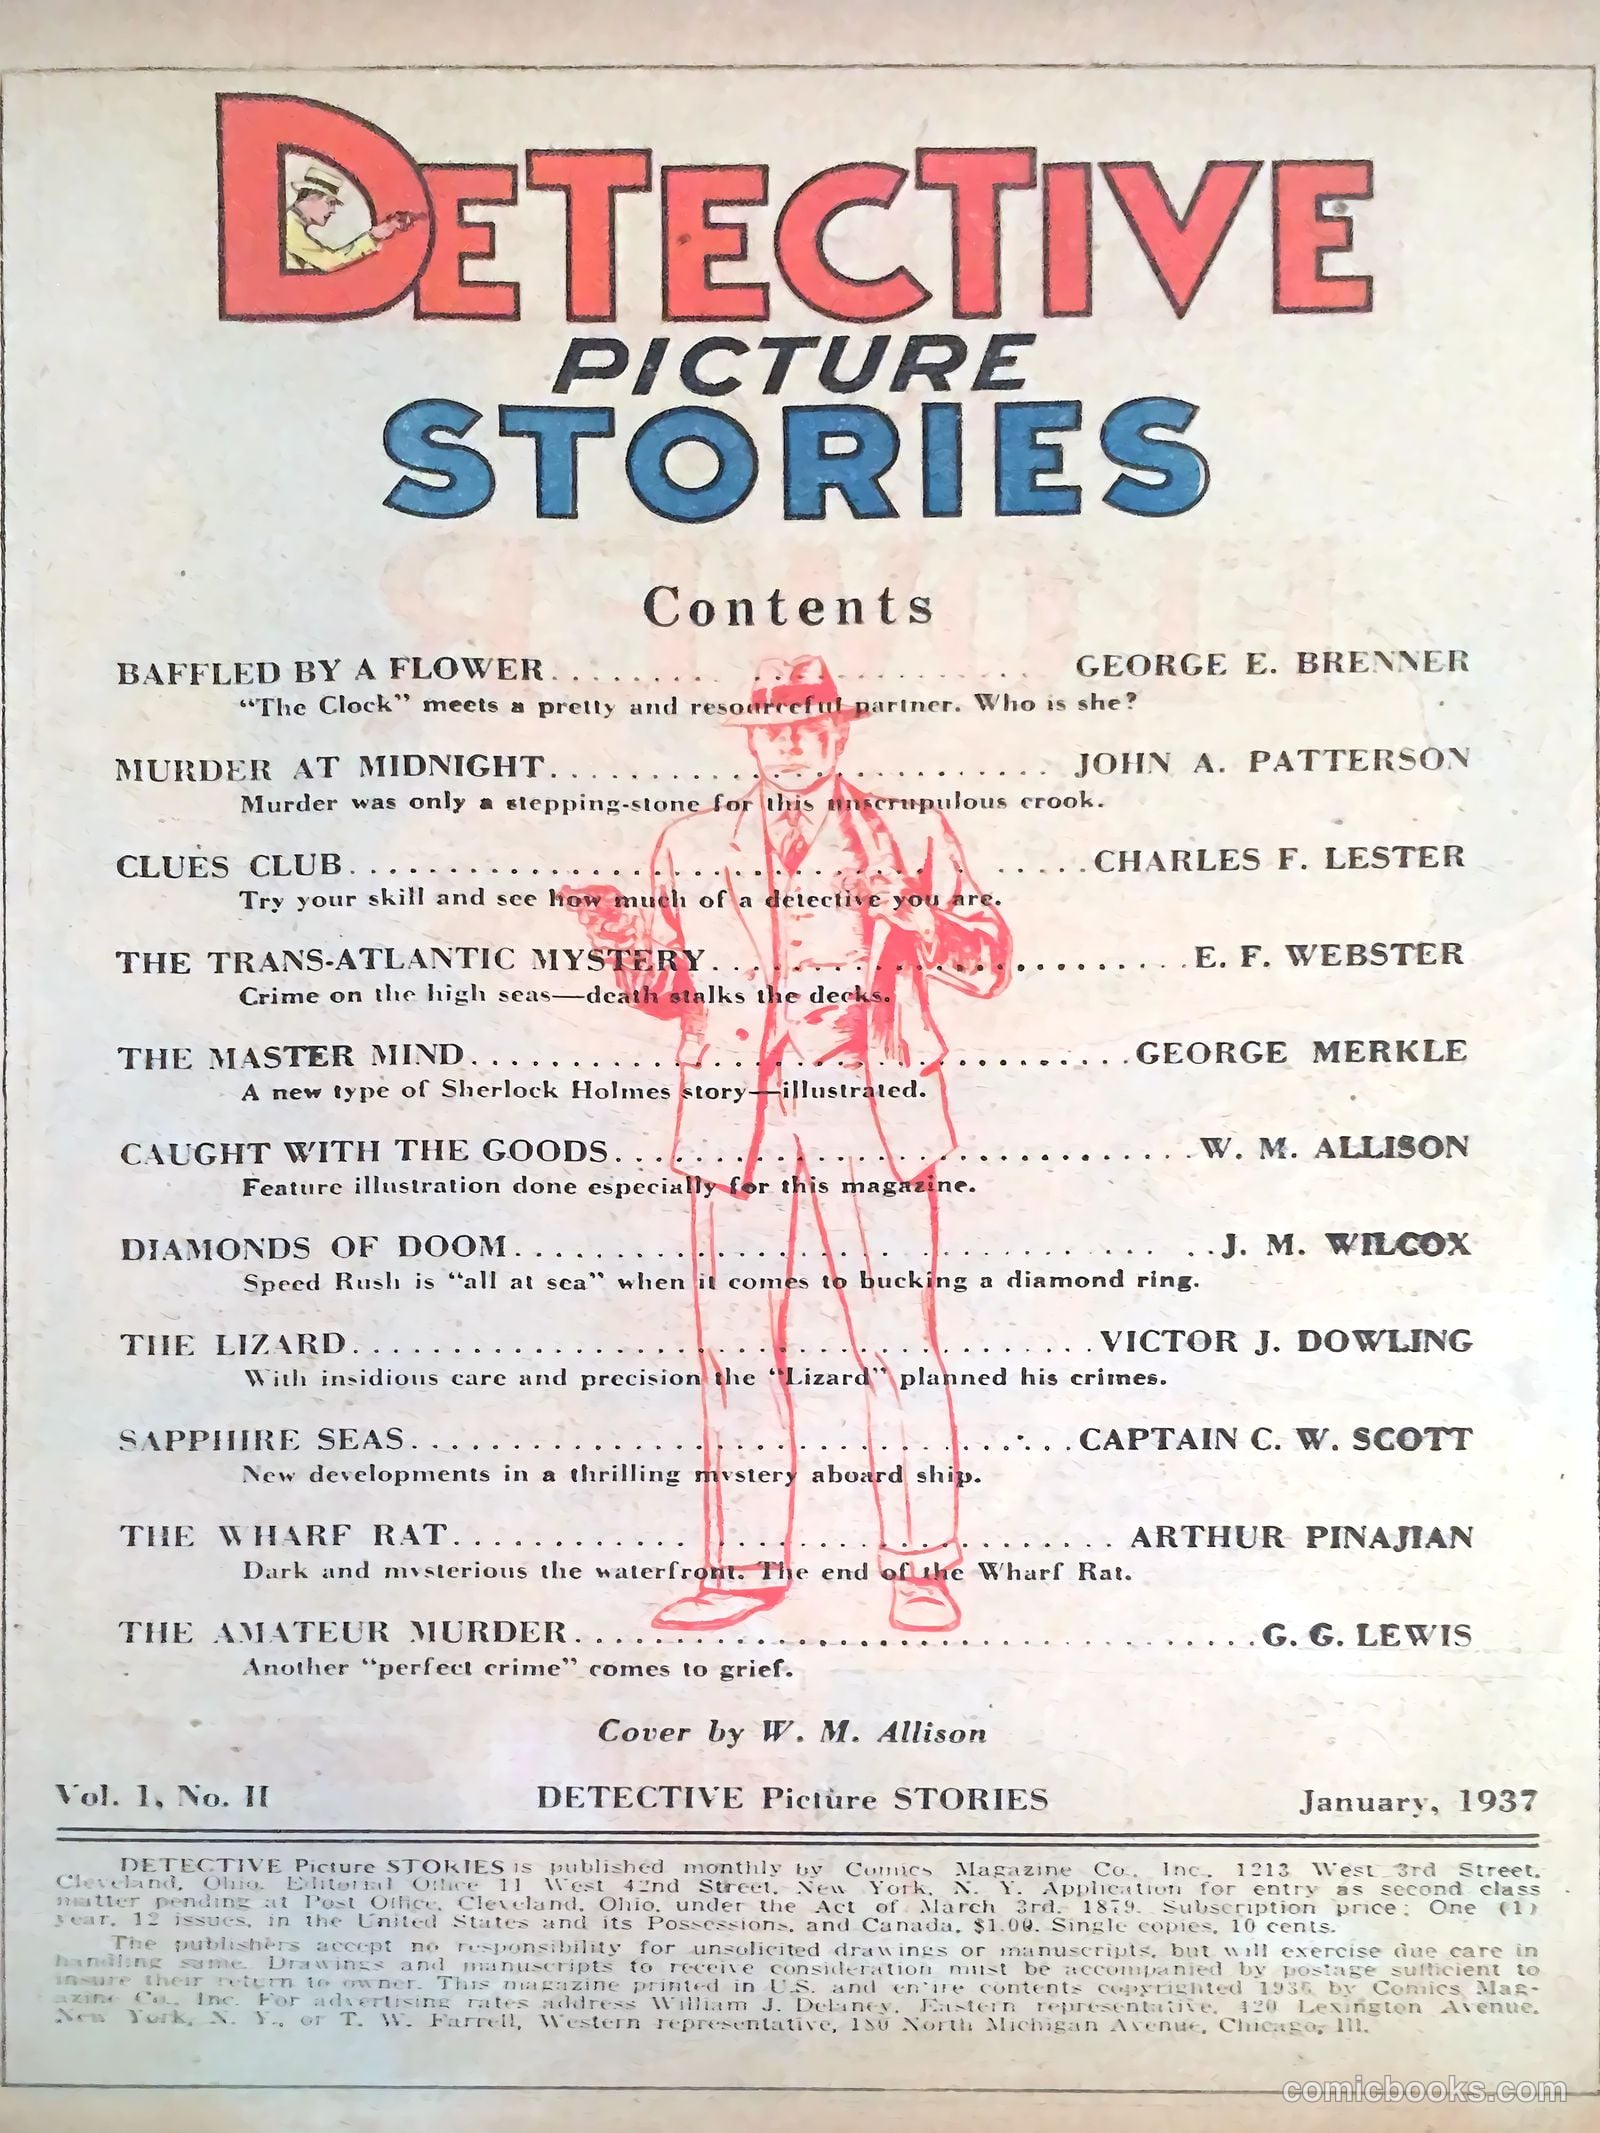
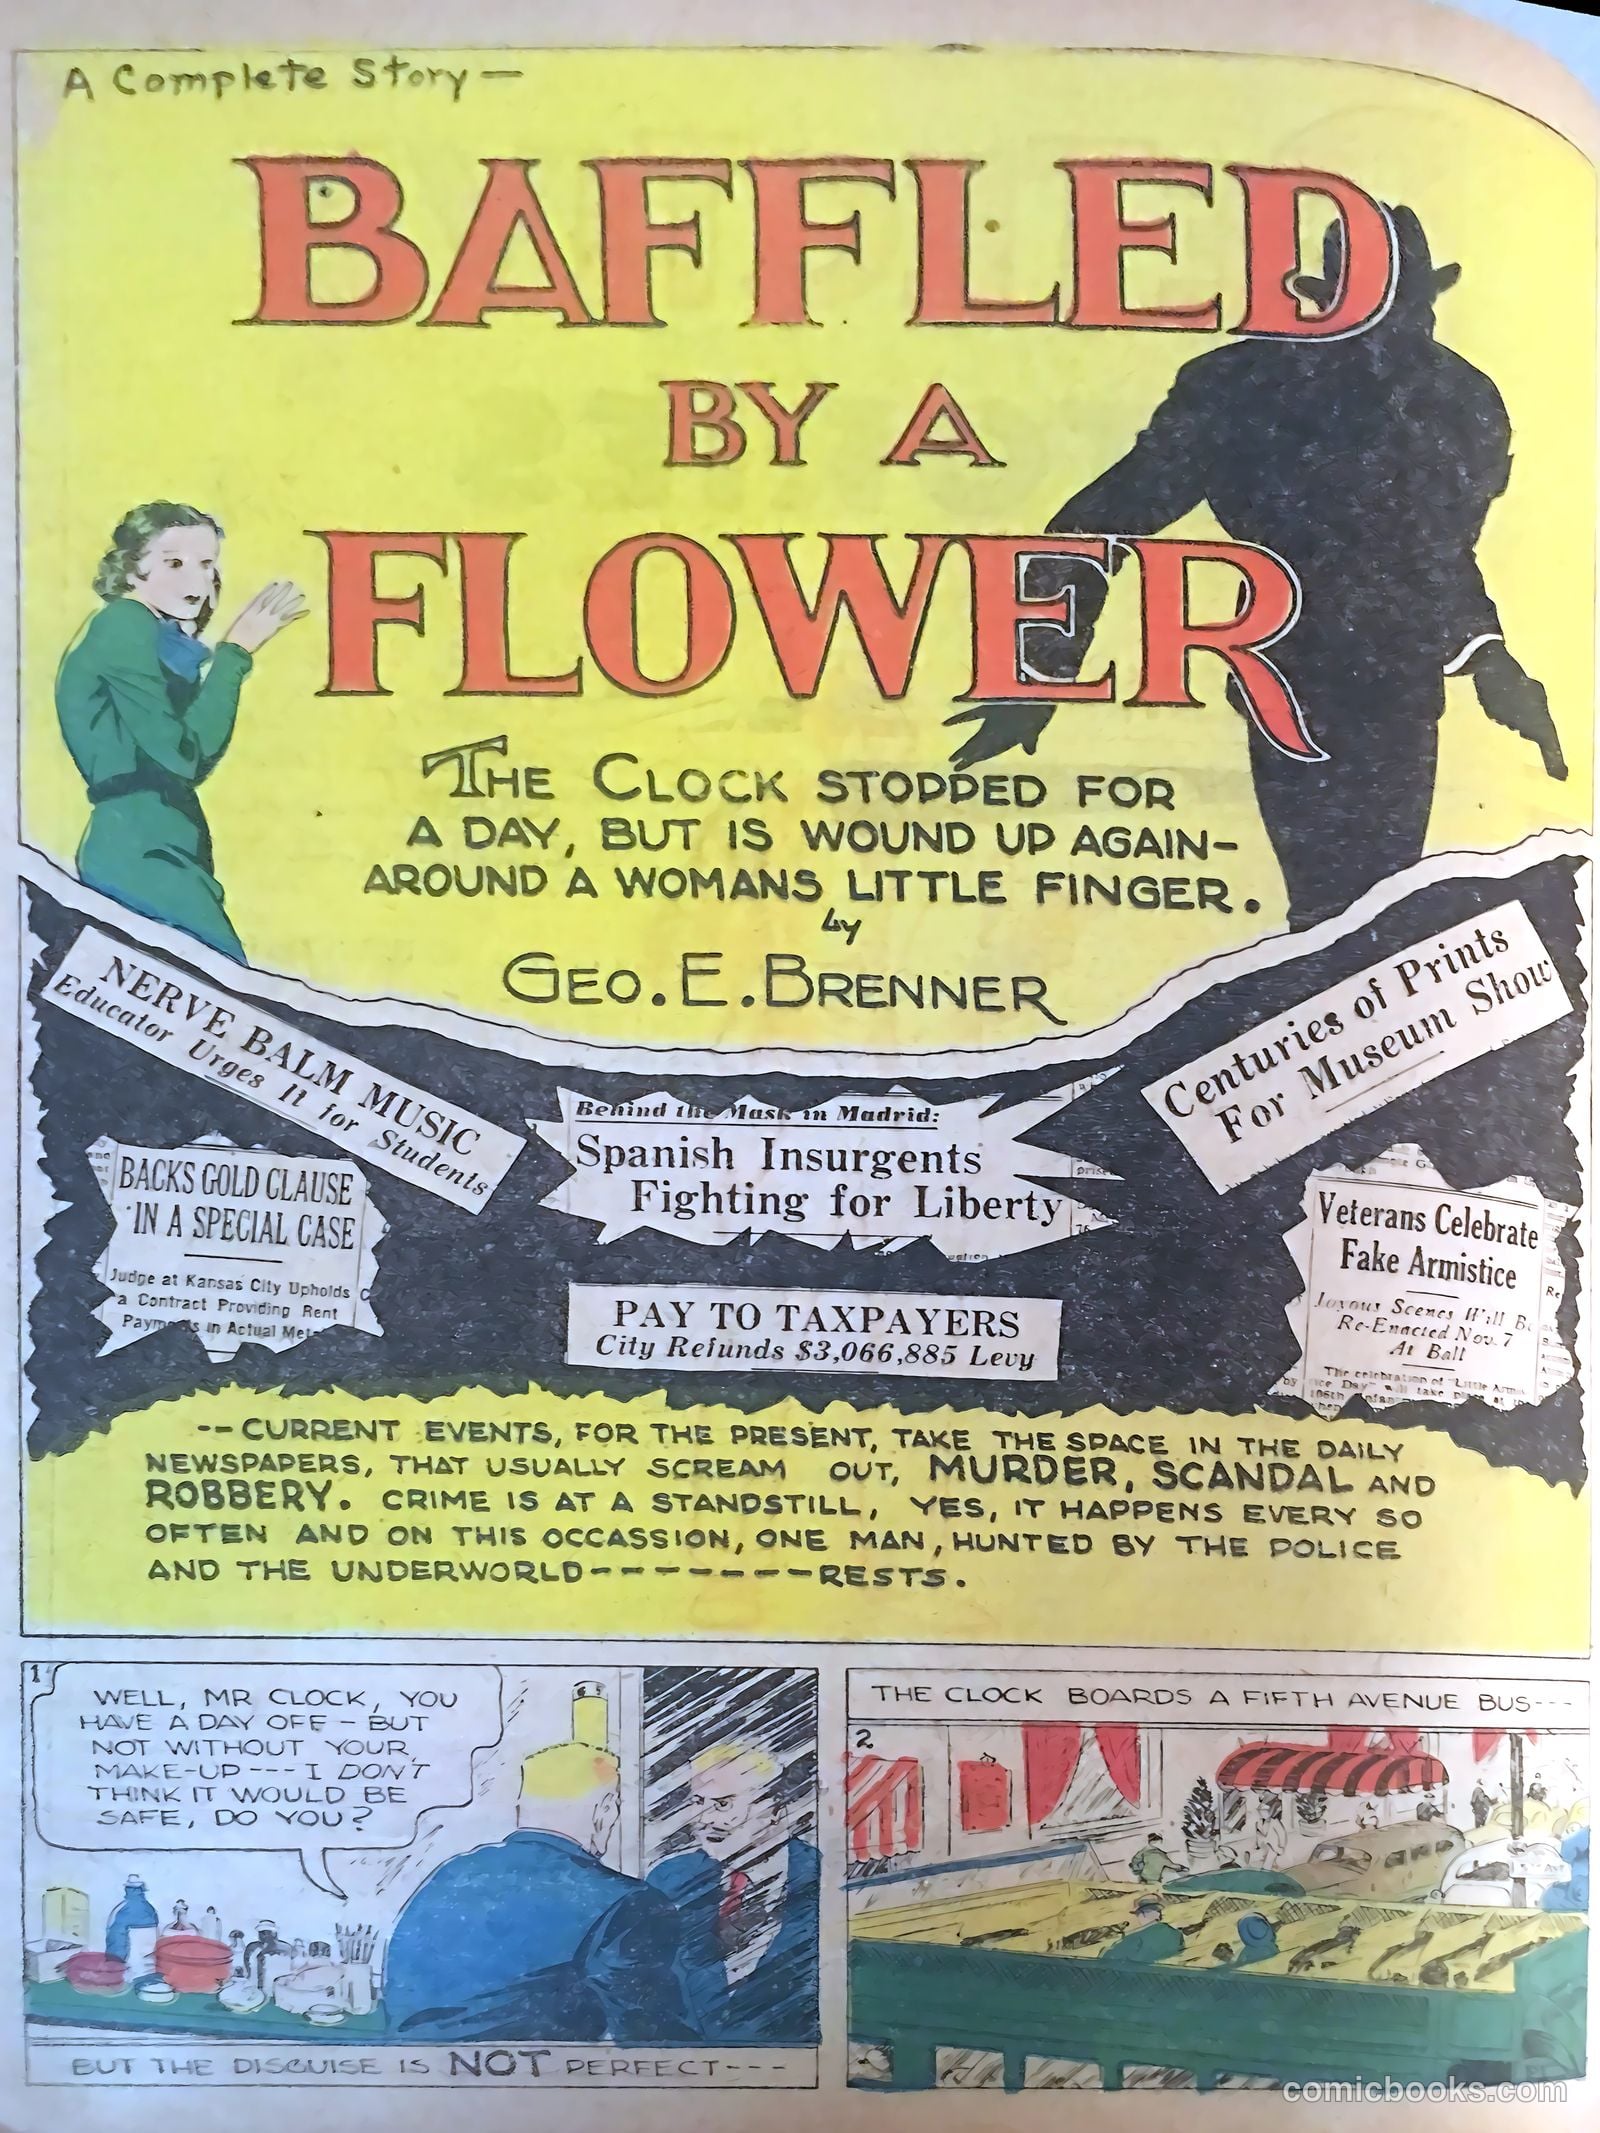
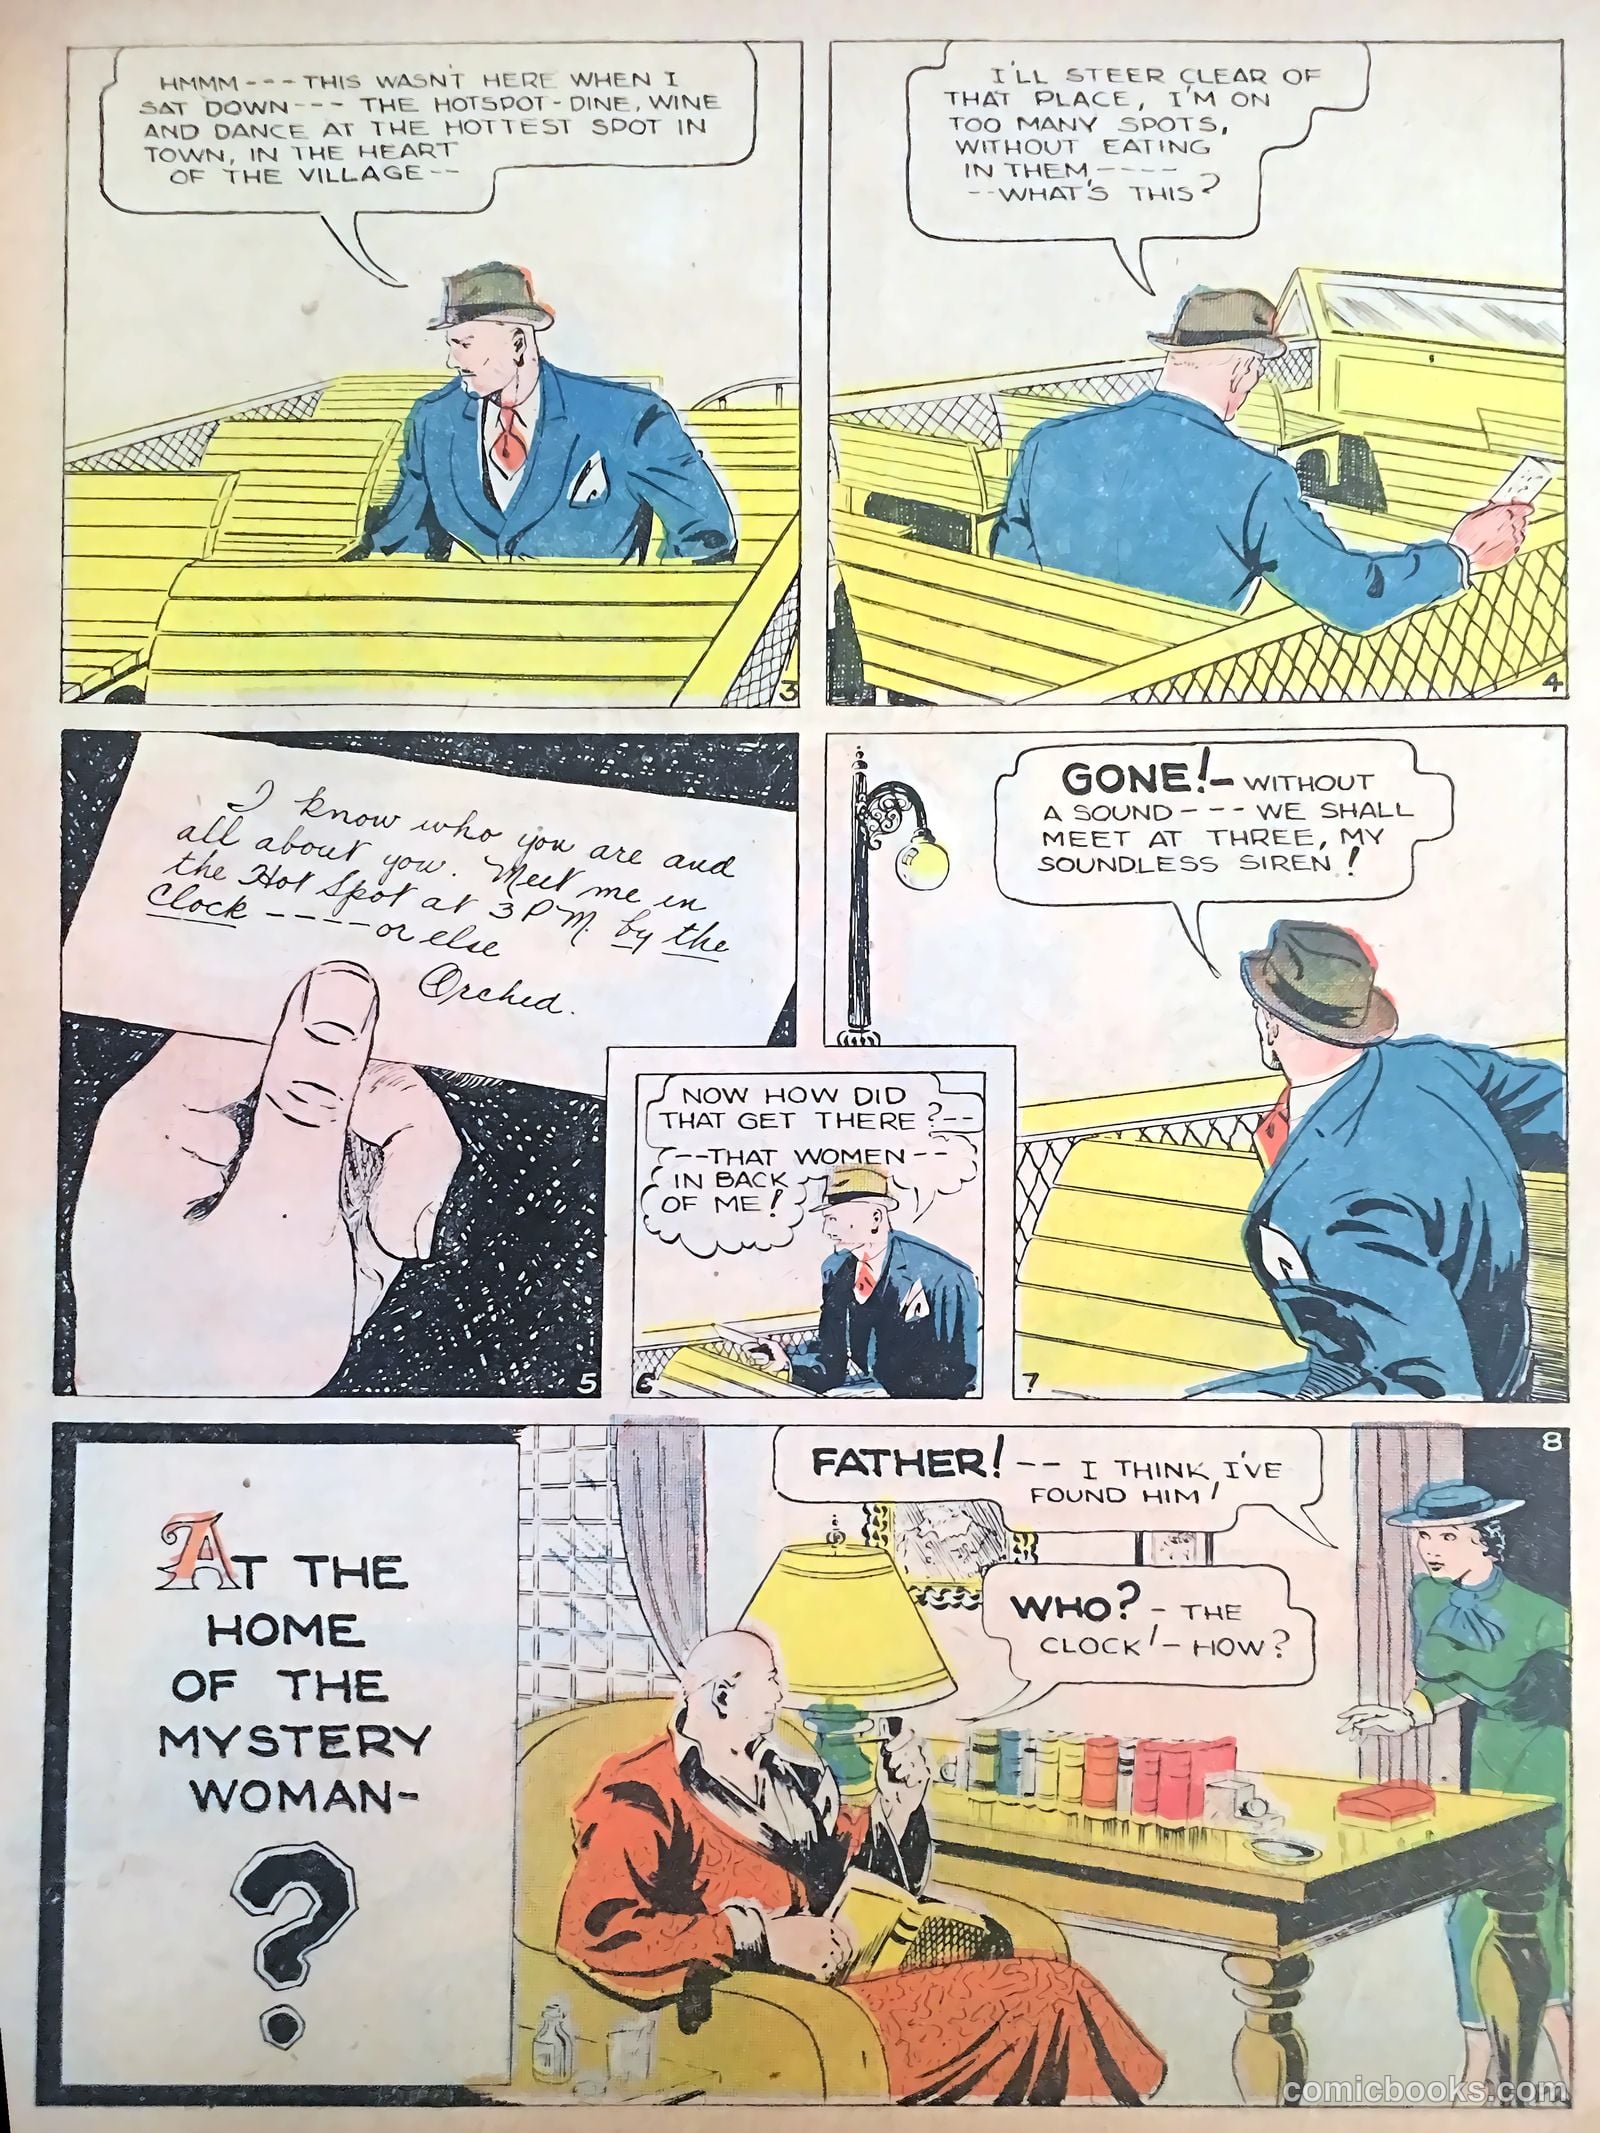
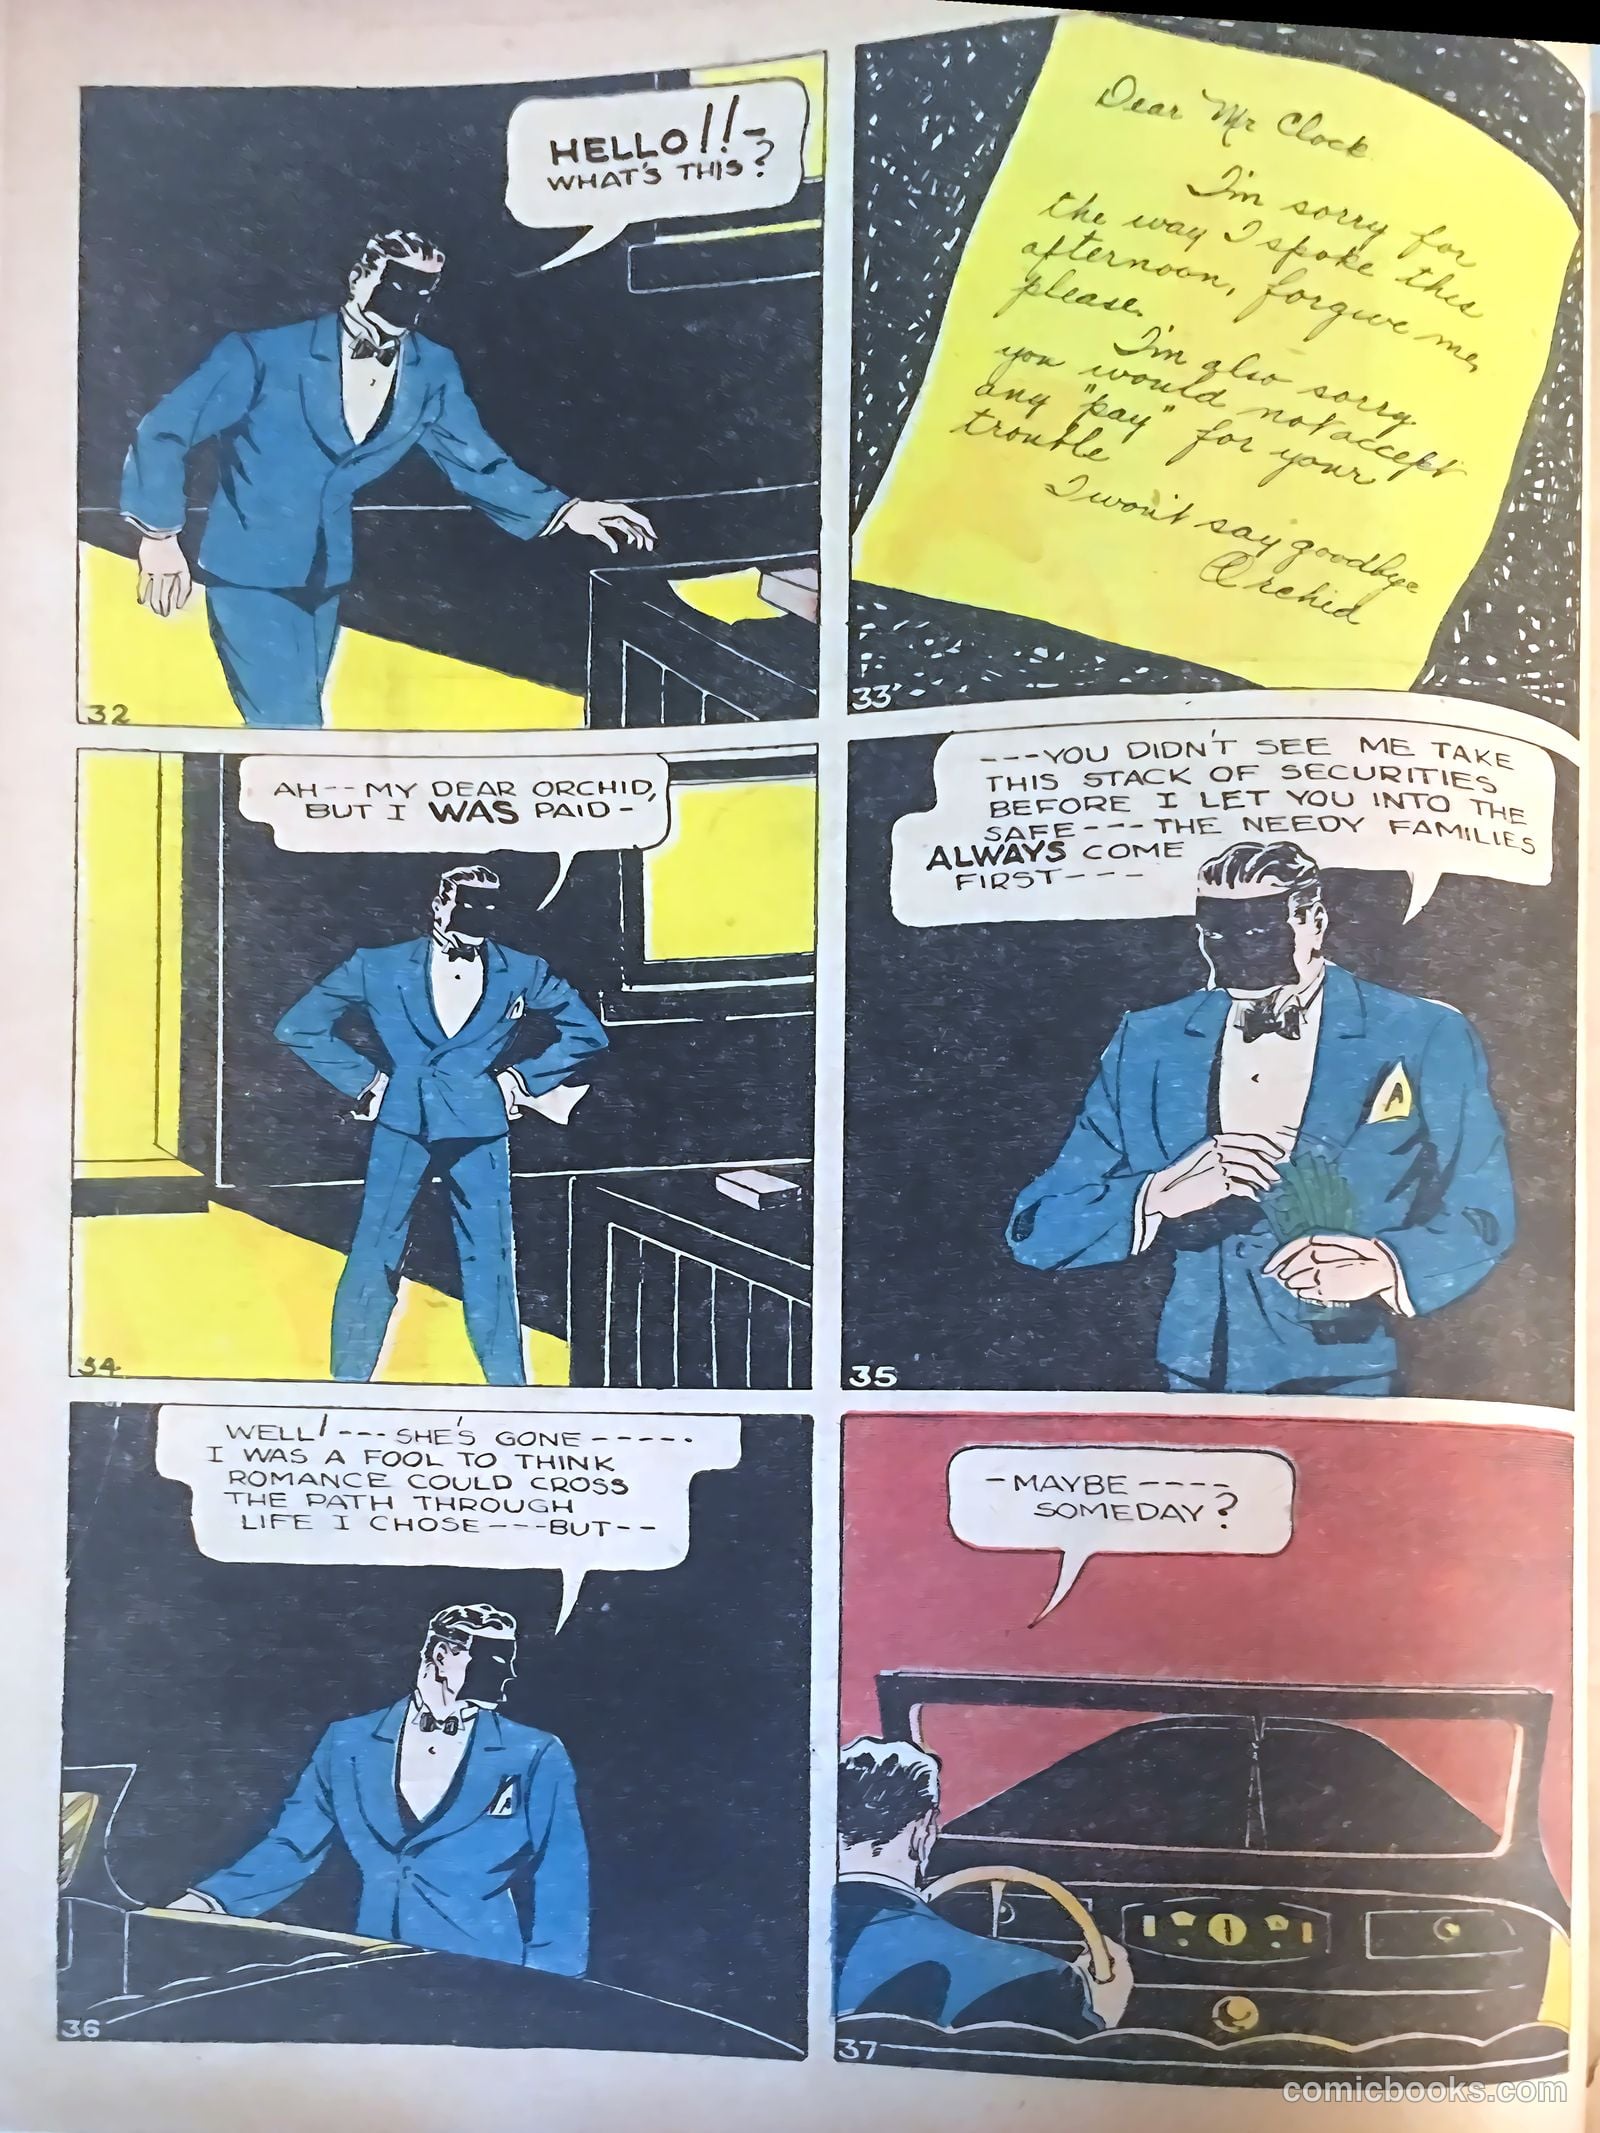
Baffled by a Flower
7 pp · superhero
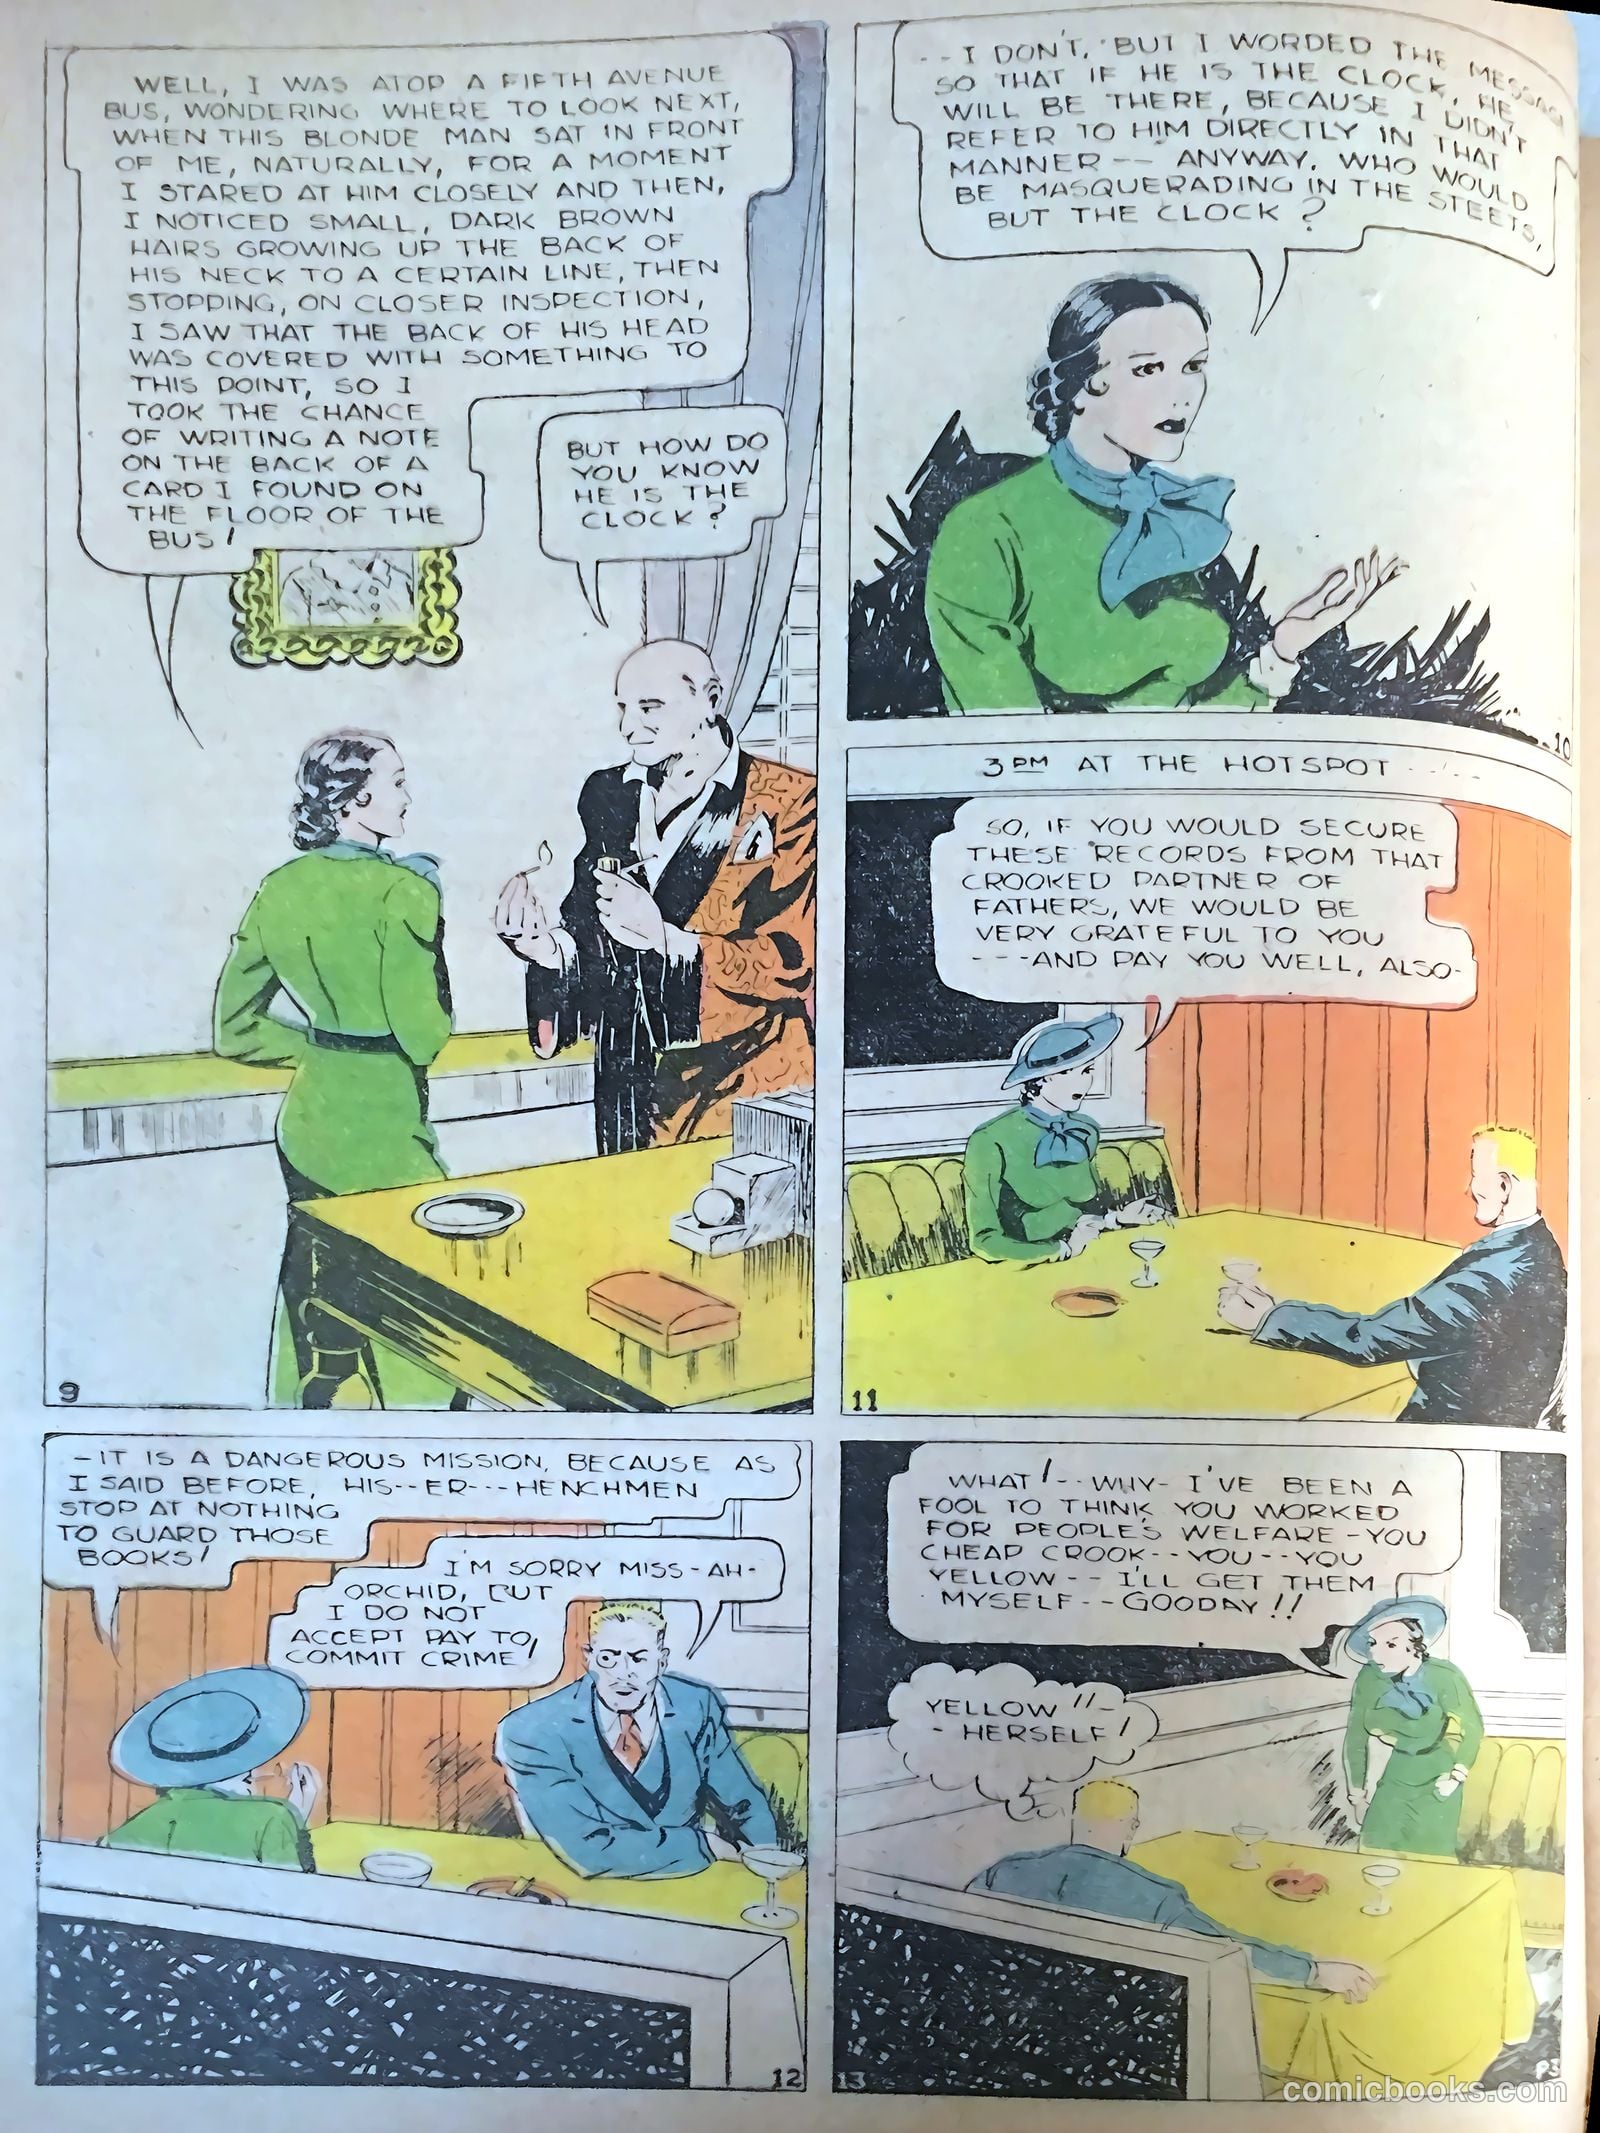
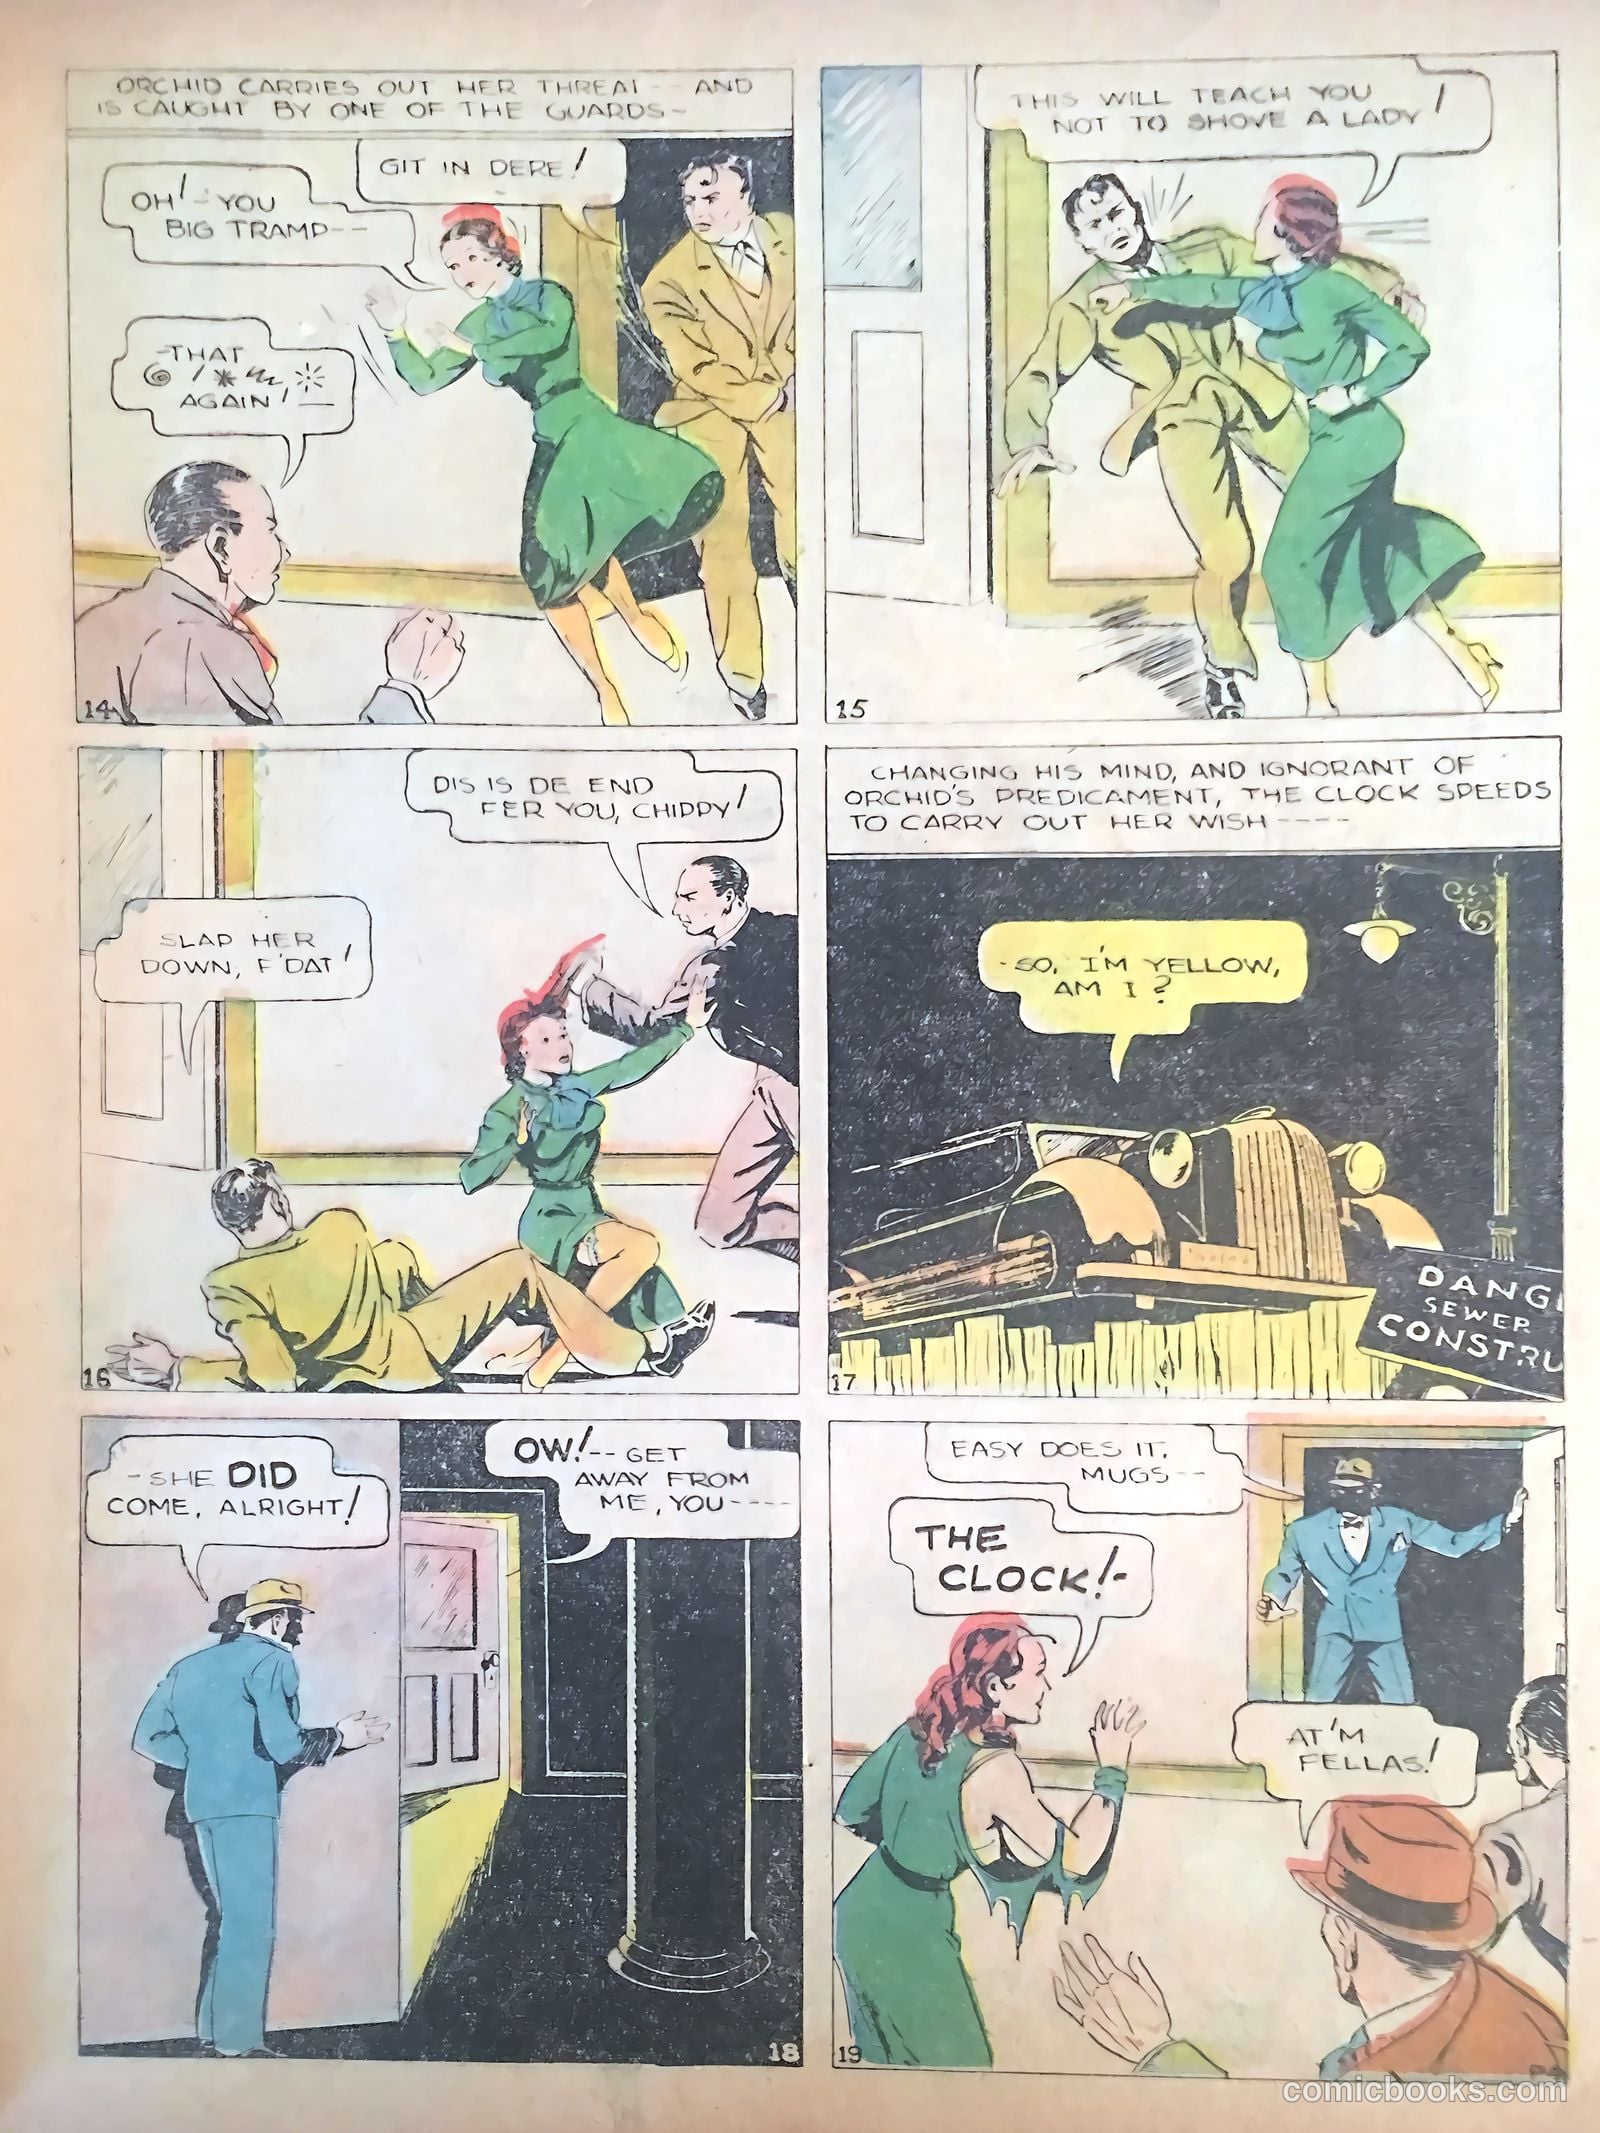
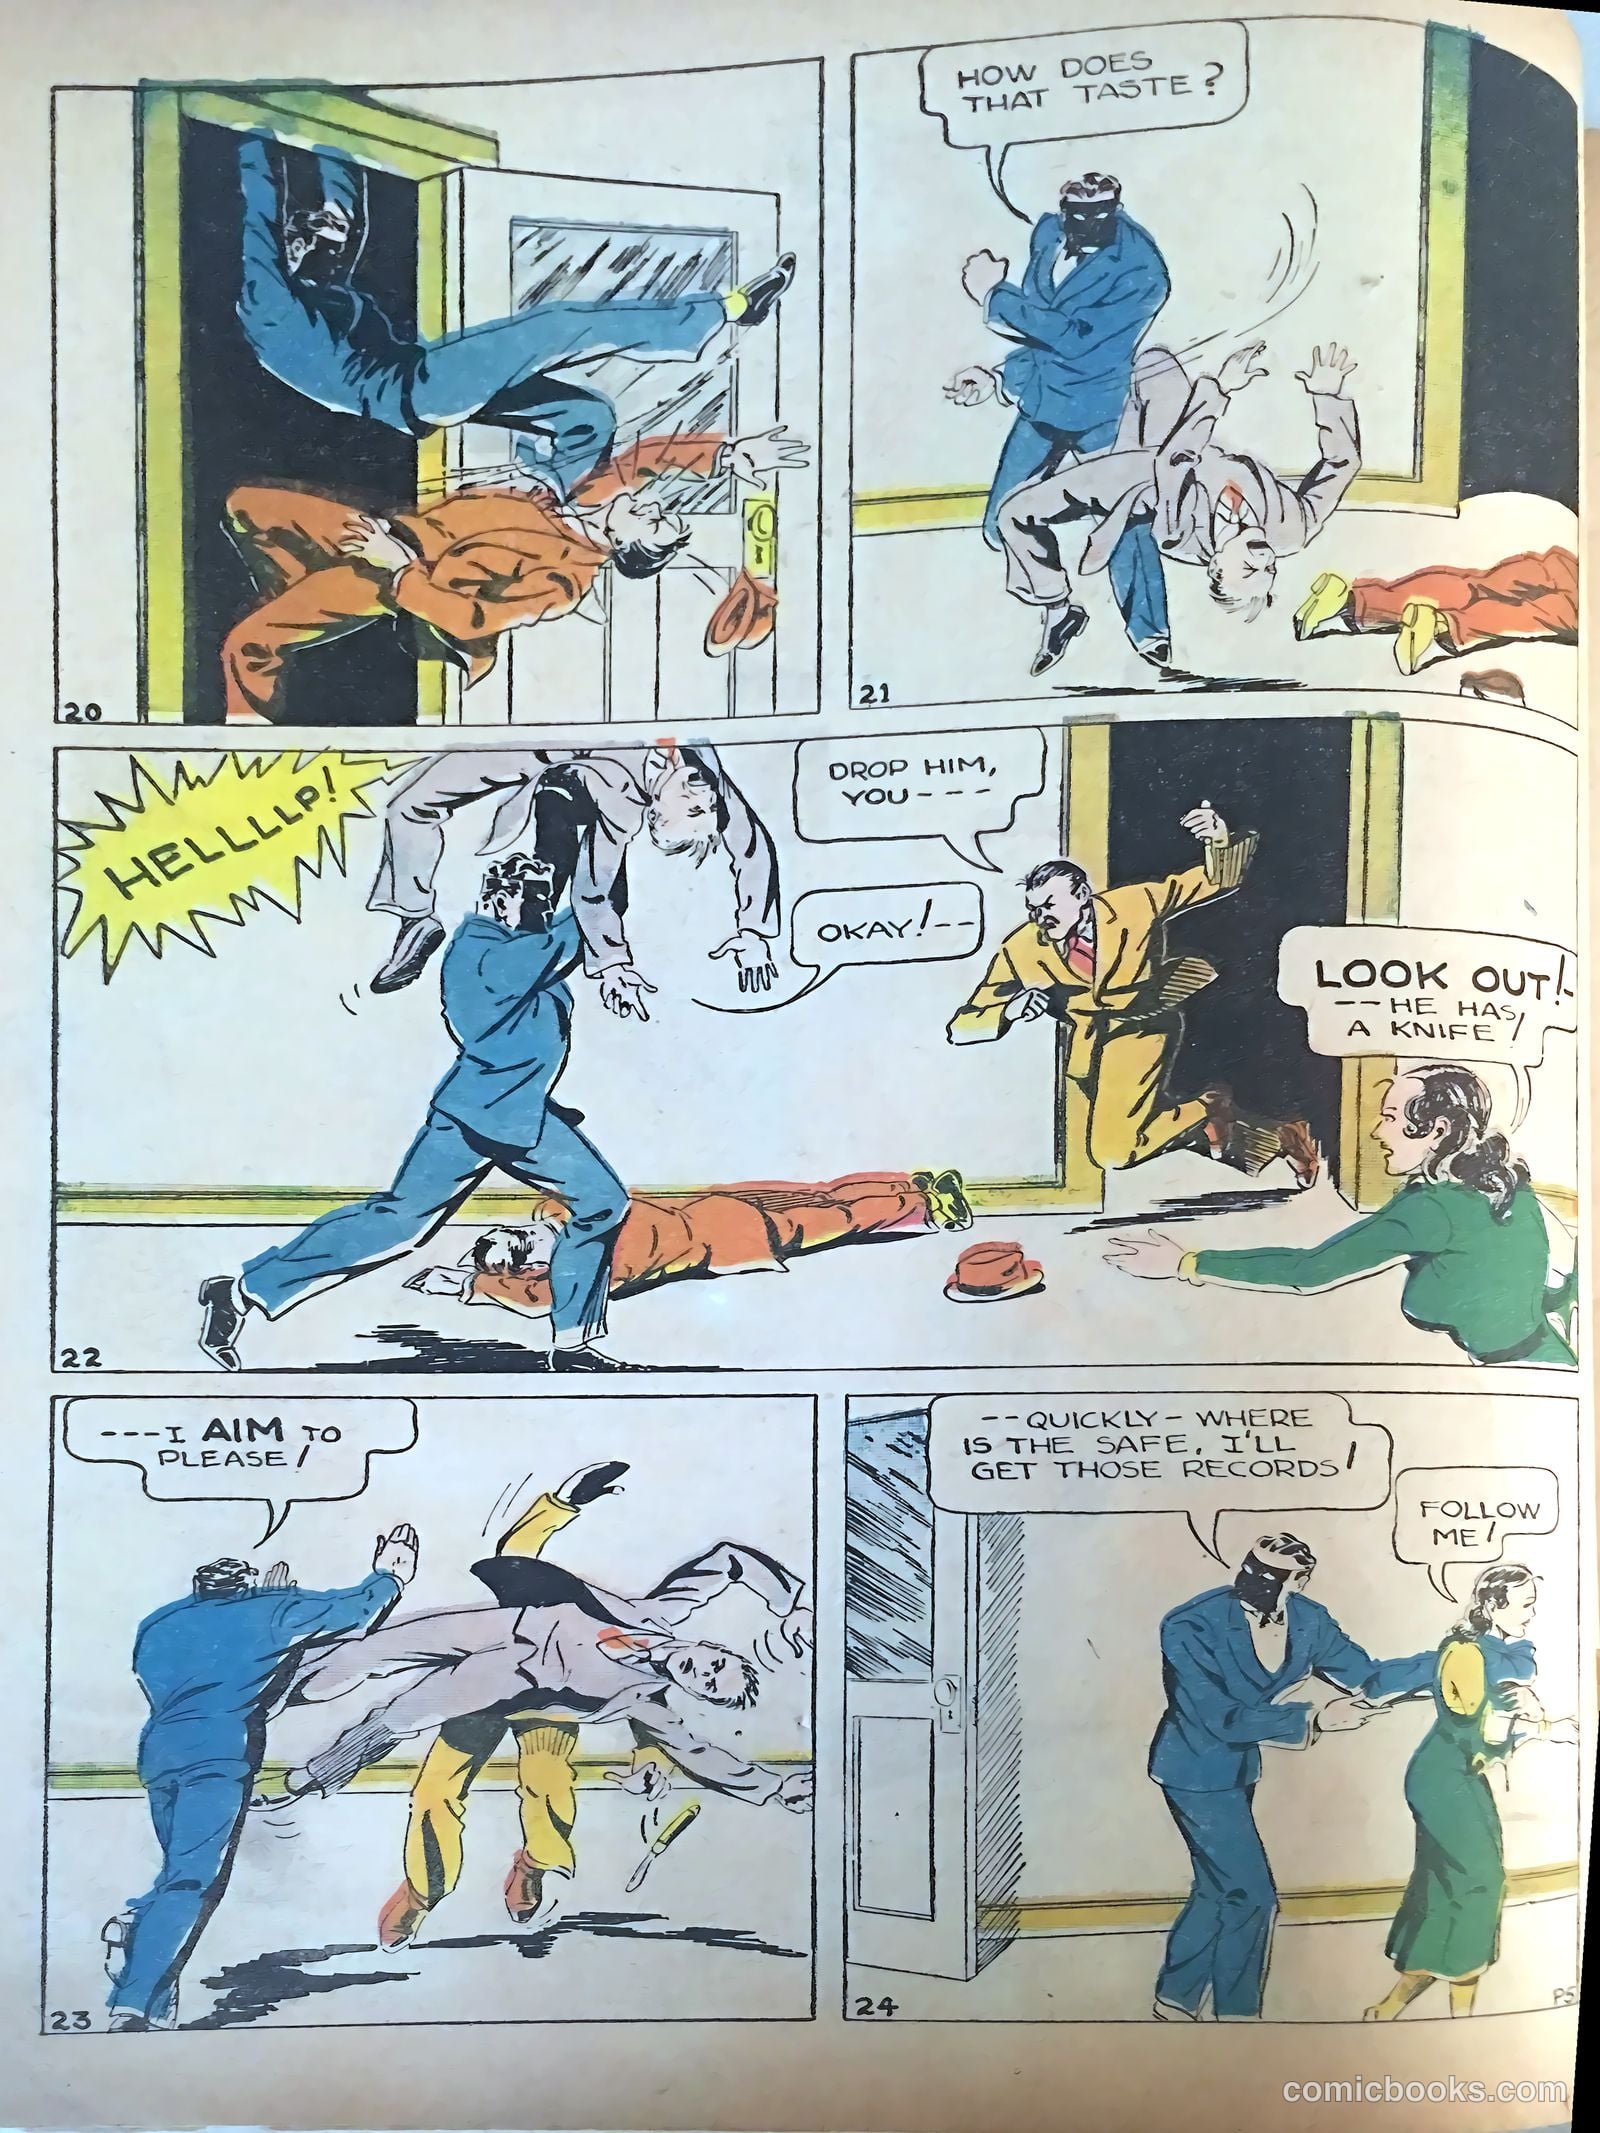
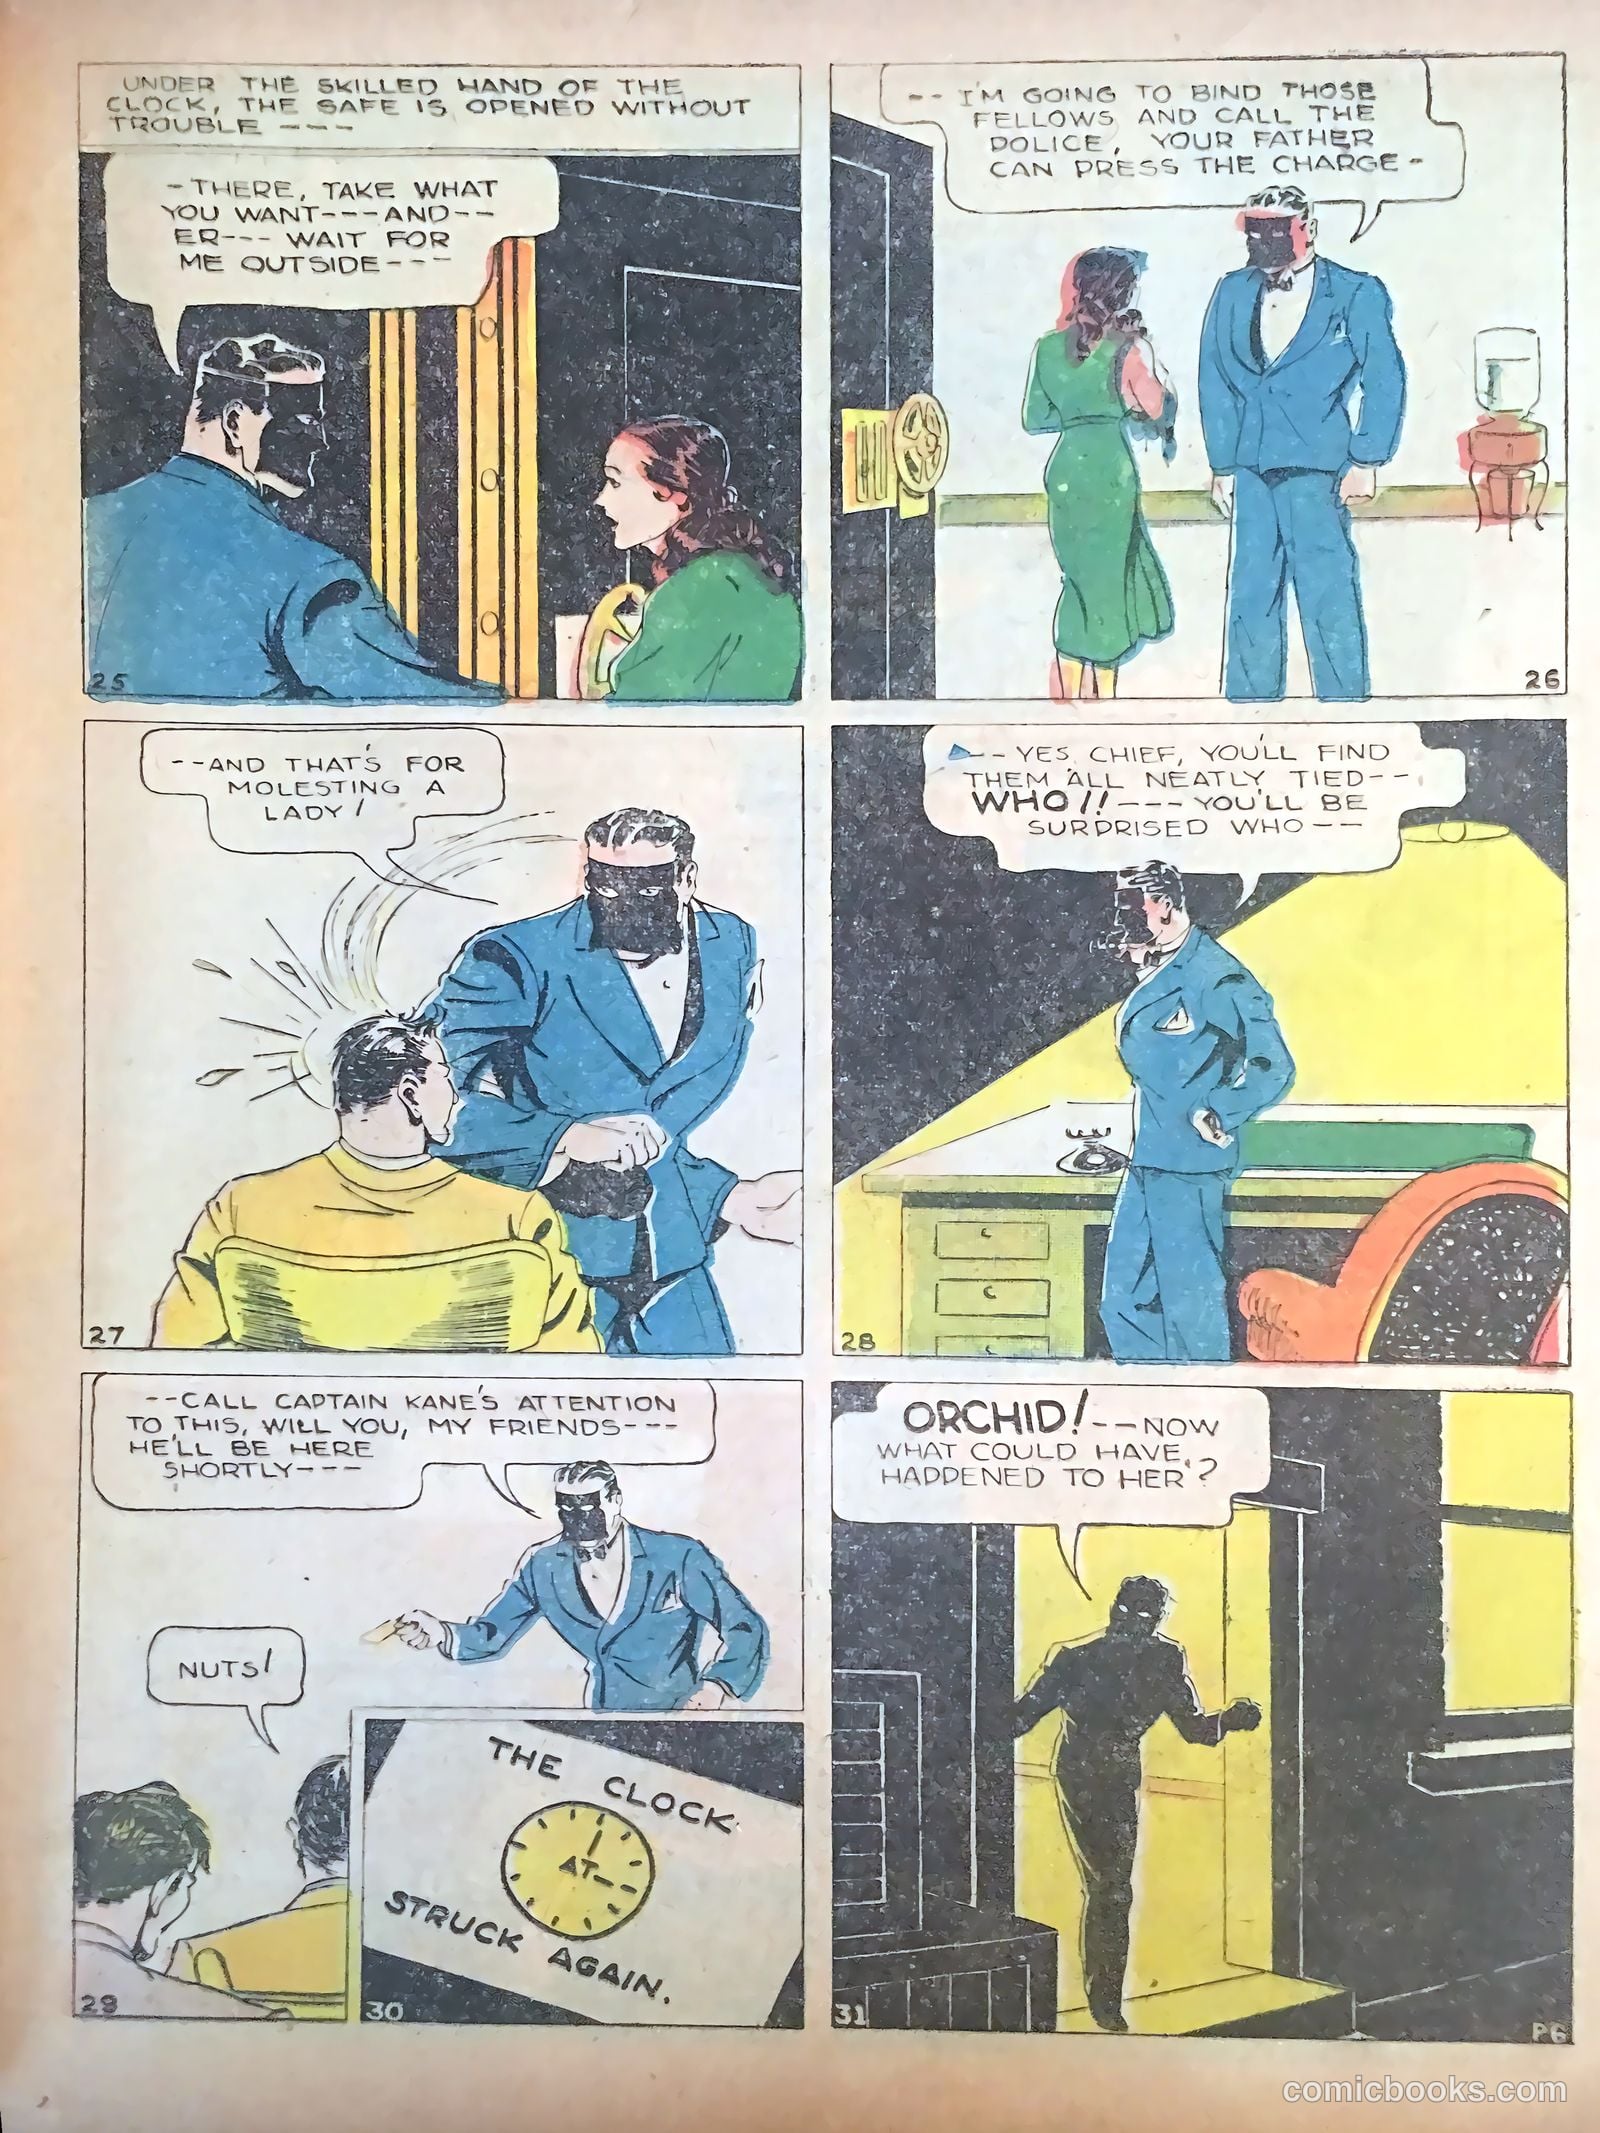
The ClockThe Orchid (introduction)

In "Baffled by a Flower," a mysterious woman known only as The Orchid watches a man on a 1937 bus, spotting an odd detail that sets her curiosity alight. When she sends him a cryptic note revealing she knows his secret identity as The Clock, he arrives at her appointed meeting place—only to find himself drawn into a sudden rescue mission, leaving him wondering who she truly is.

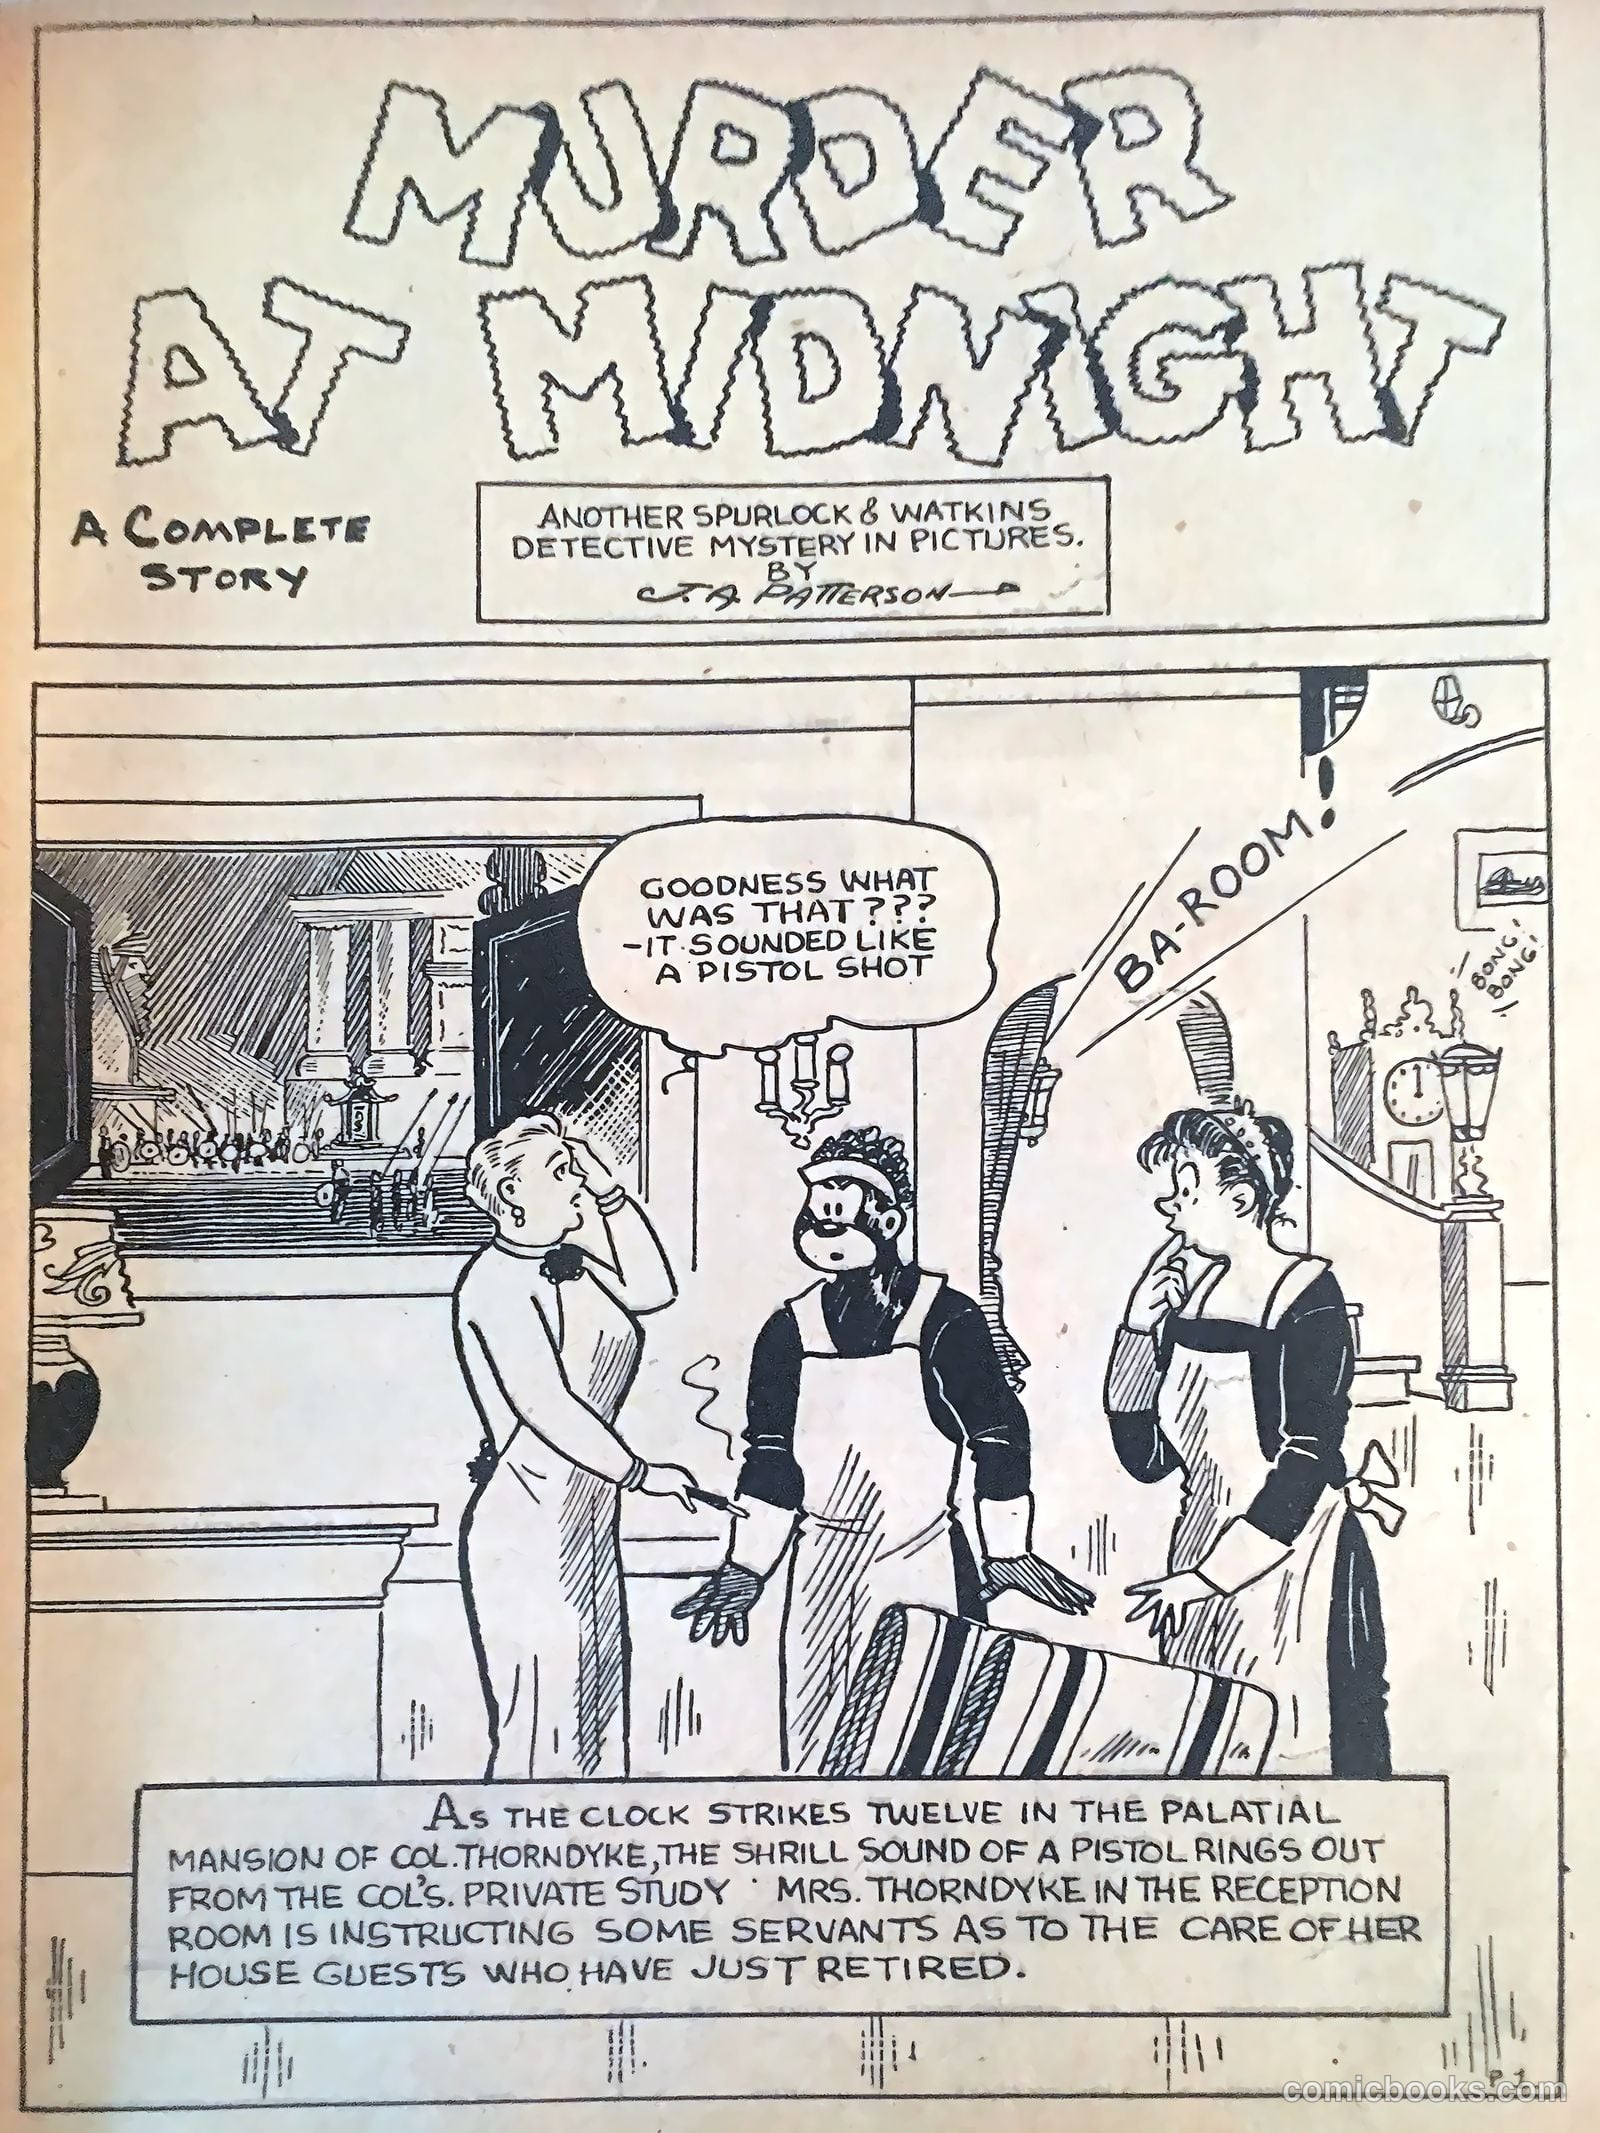
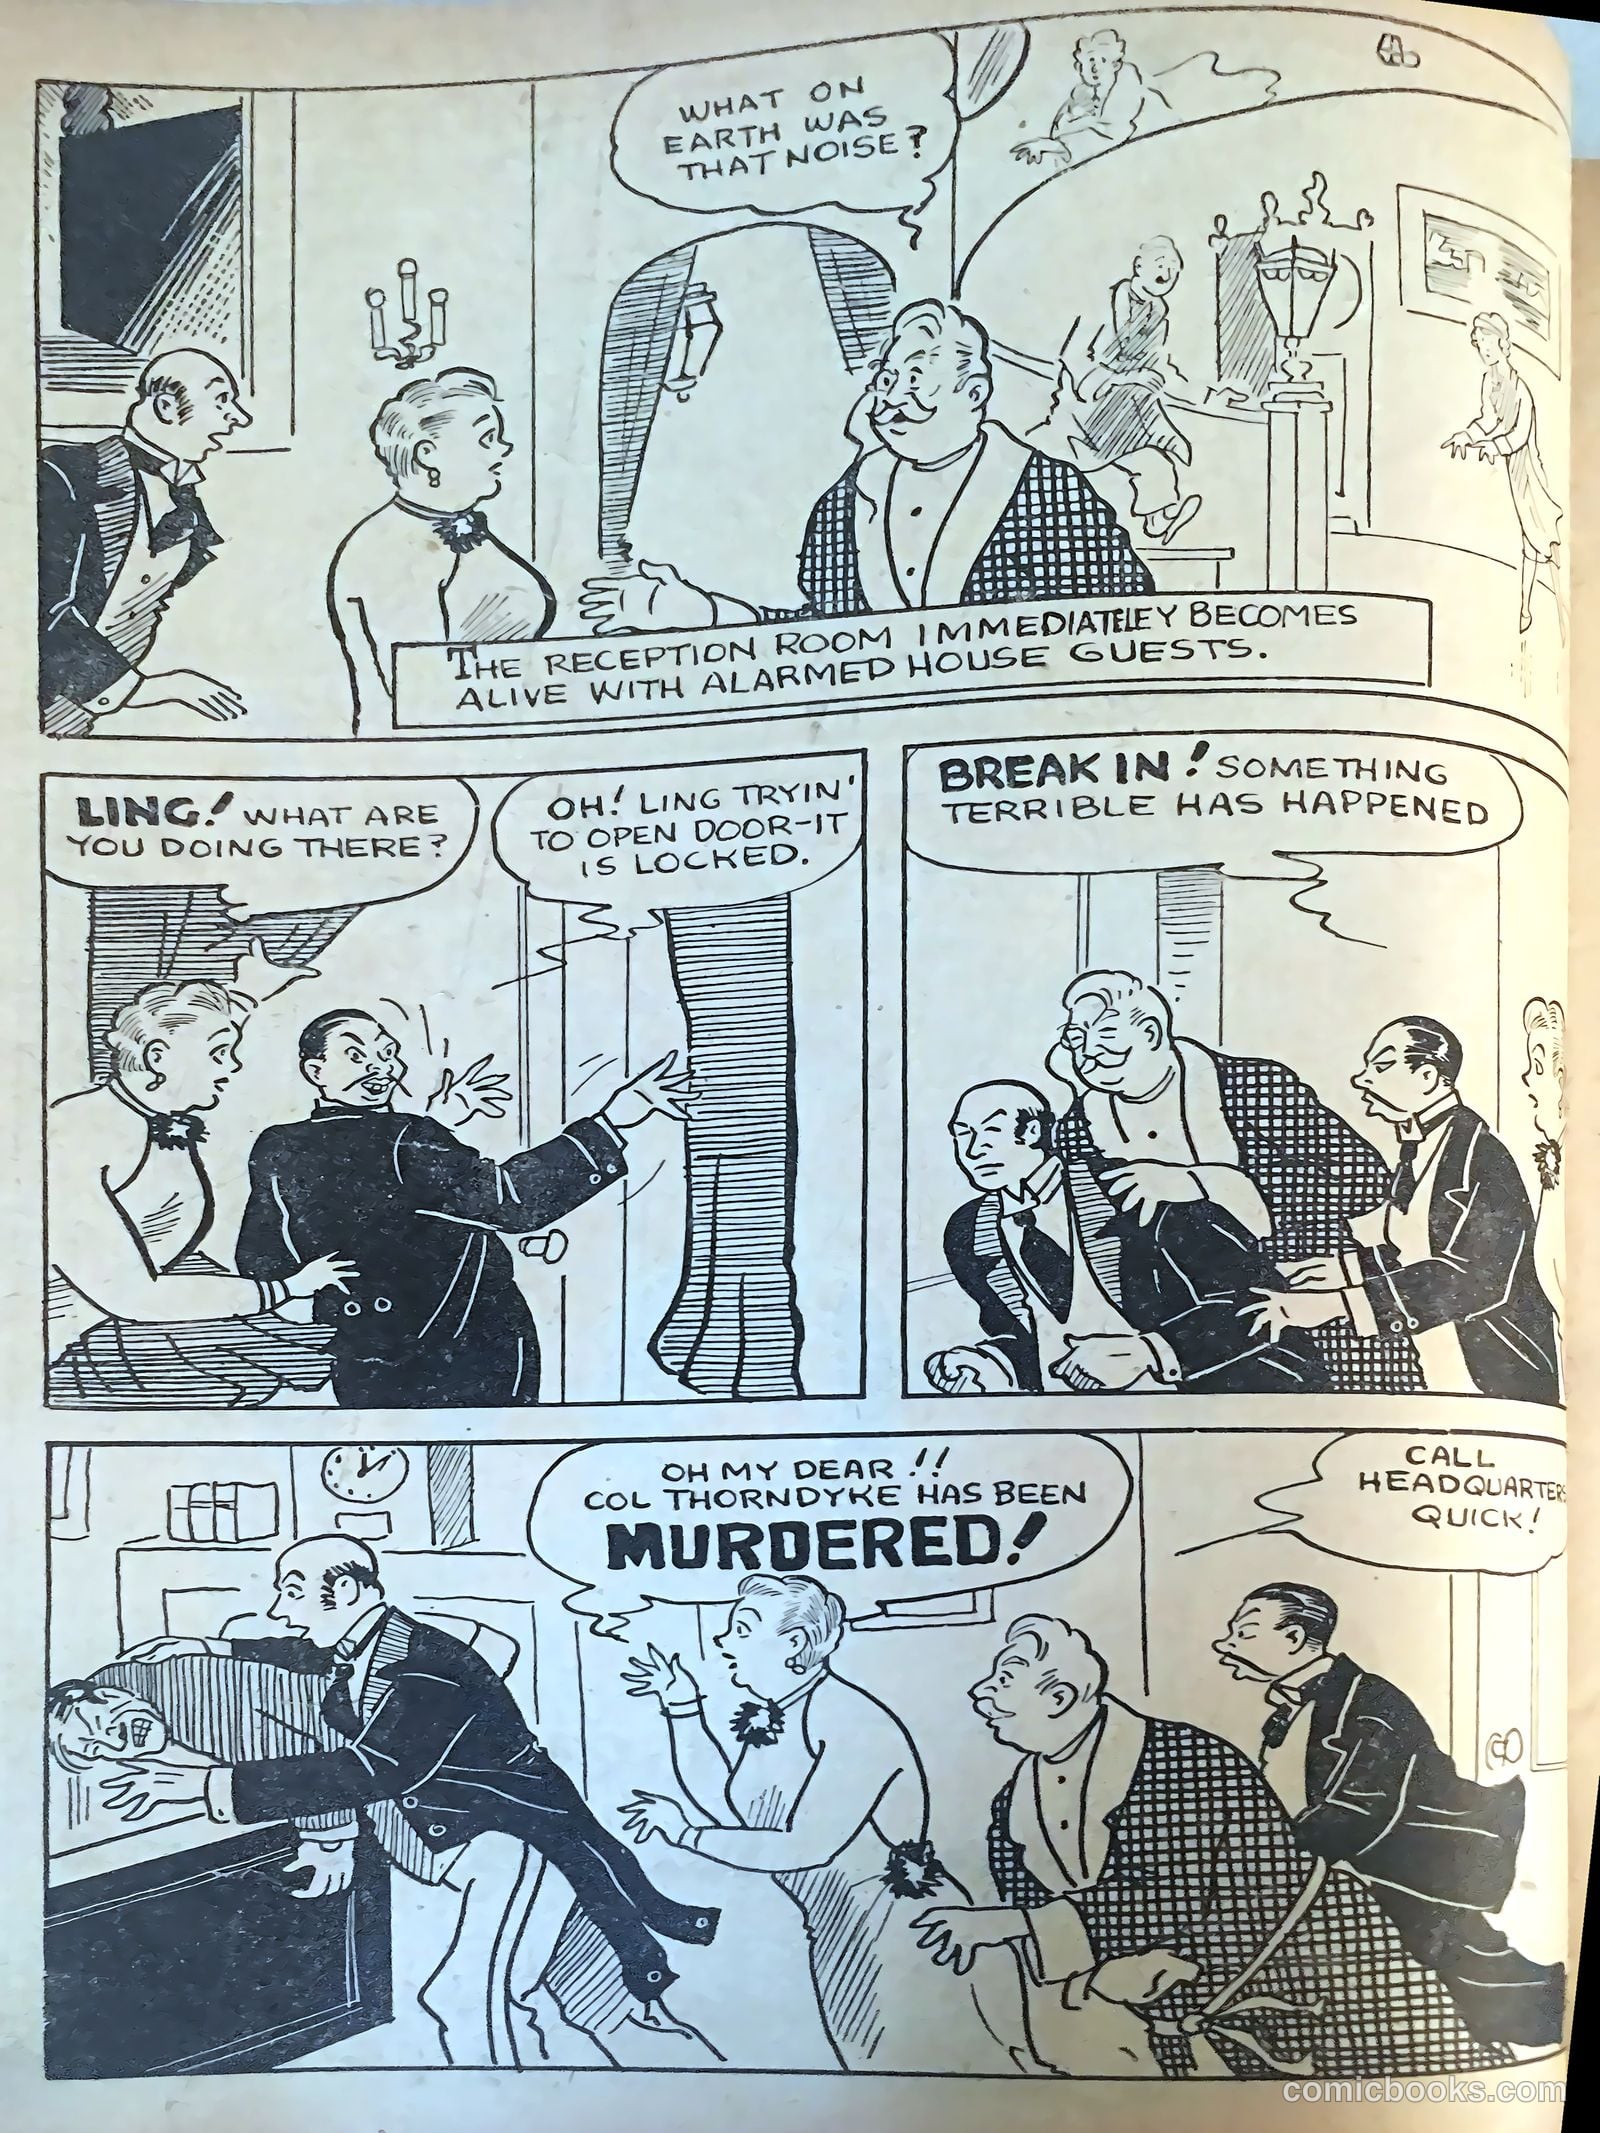
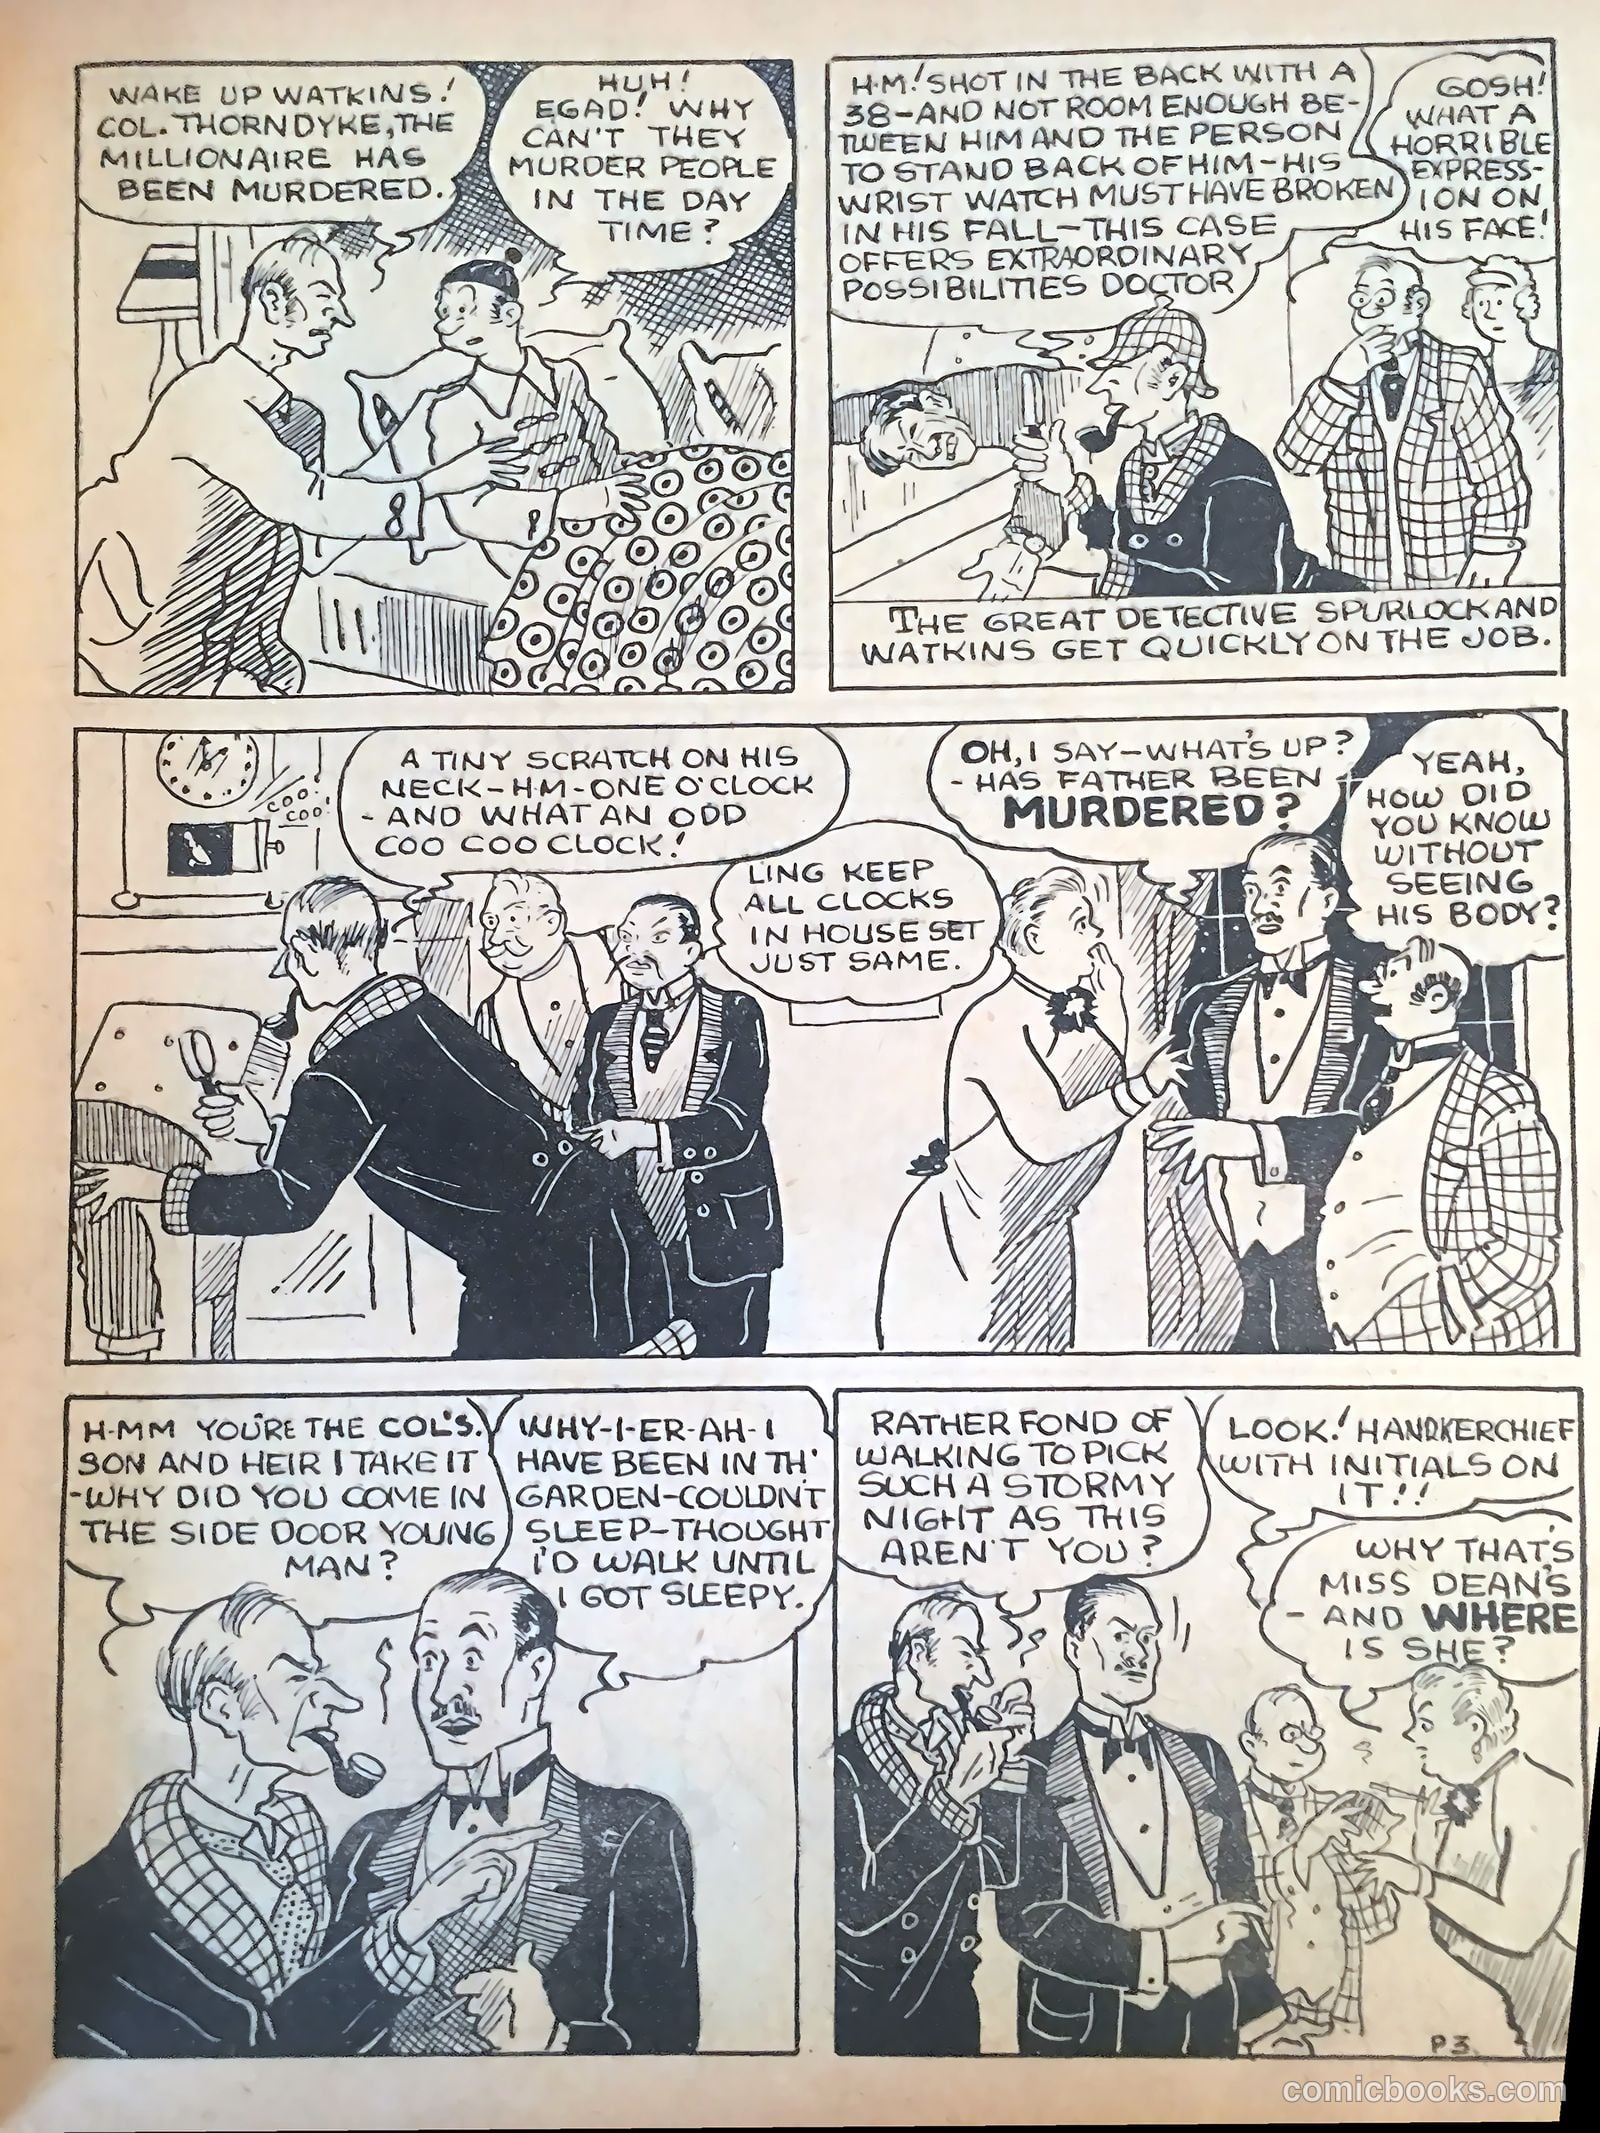
Murder at Midnight
7 pp · humor; detective-mystery
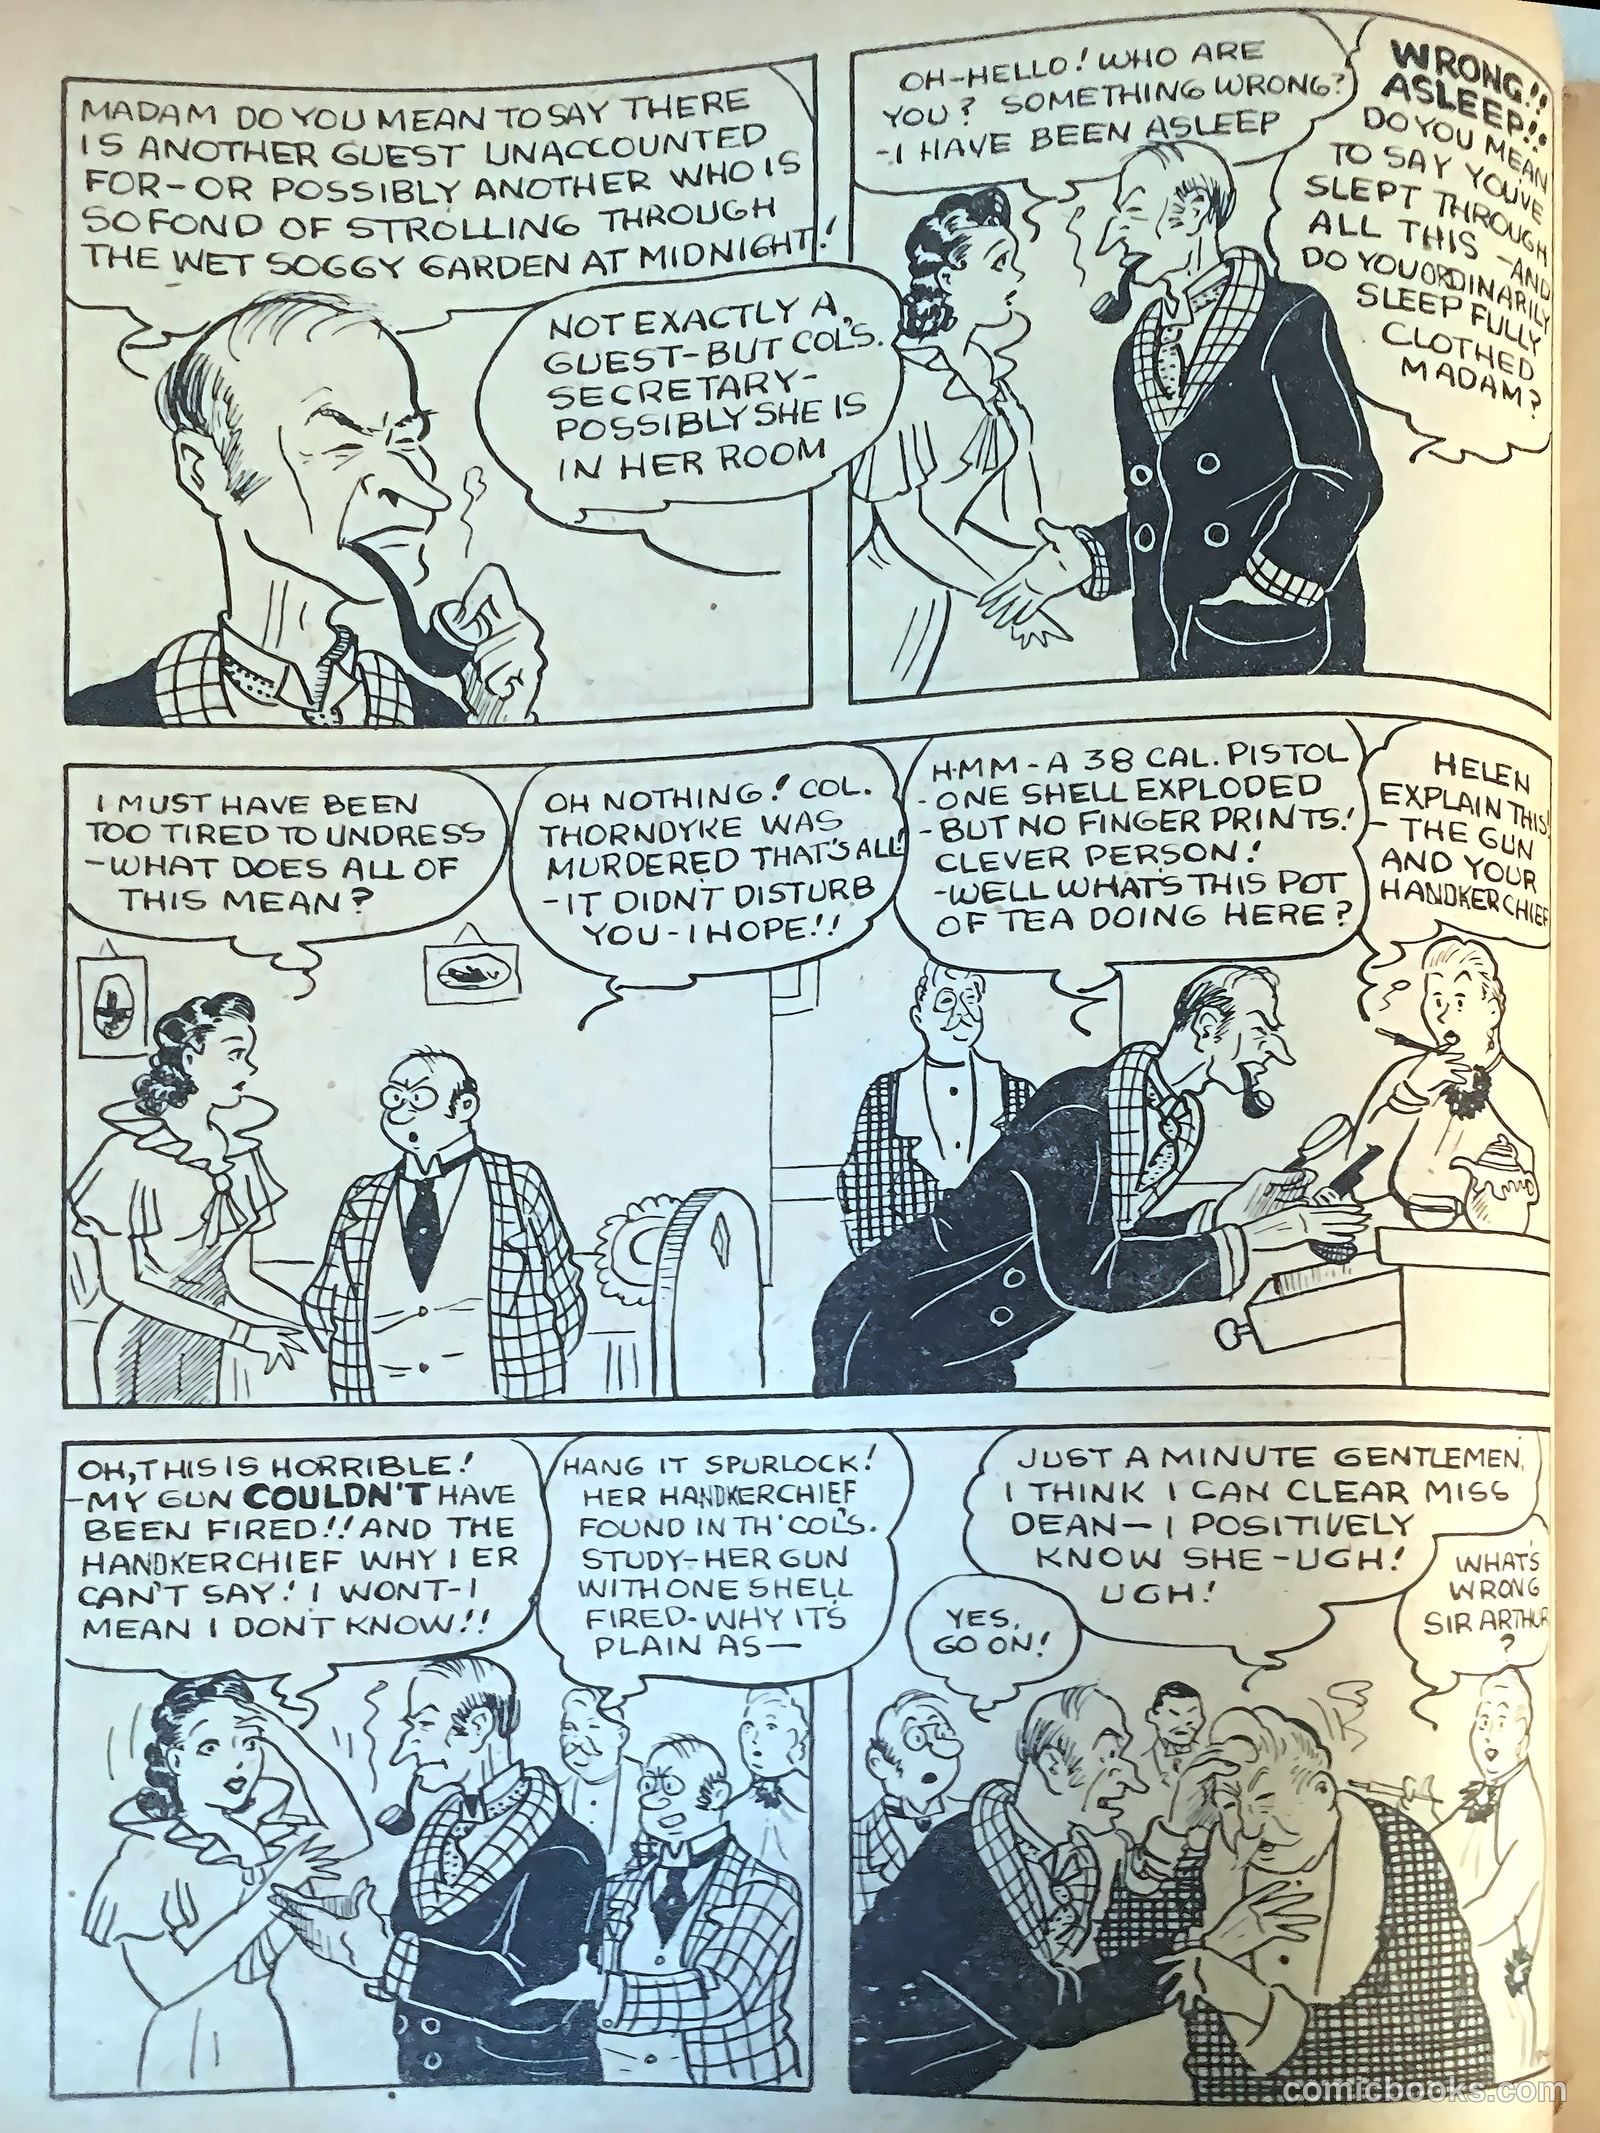
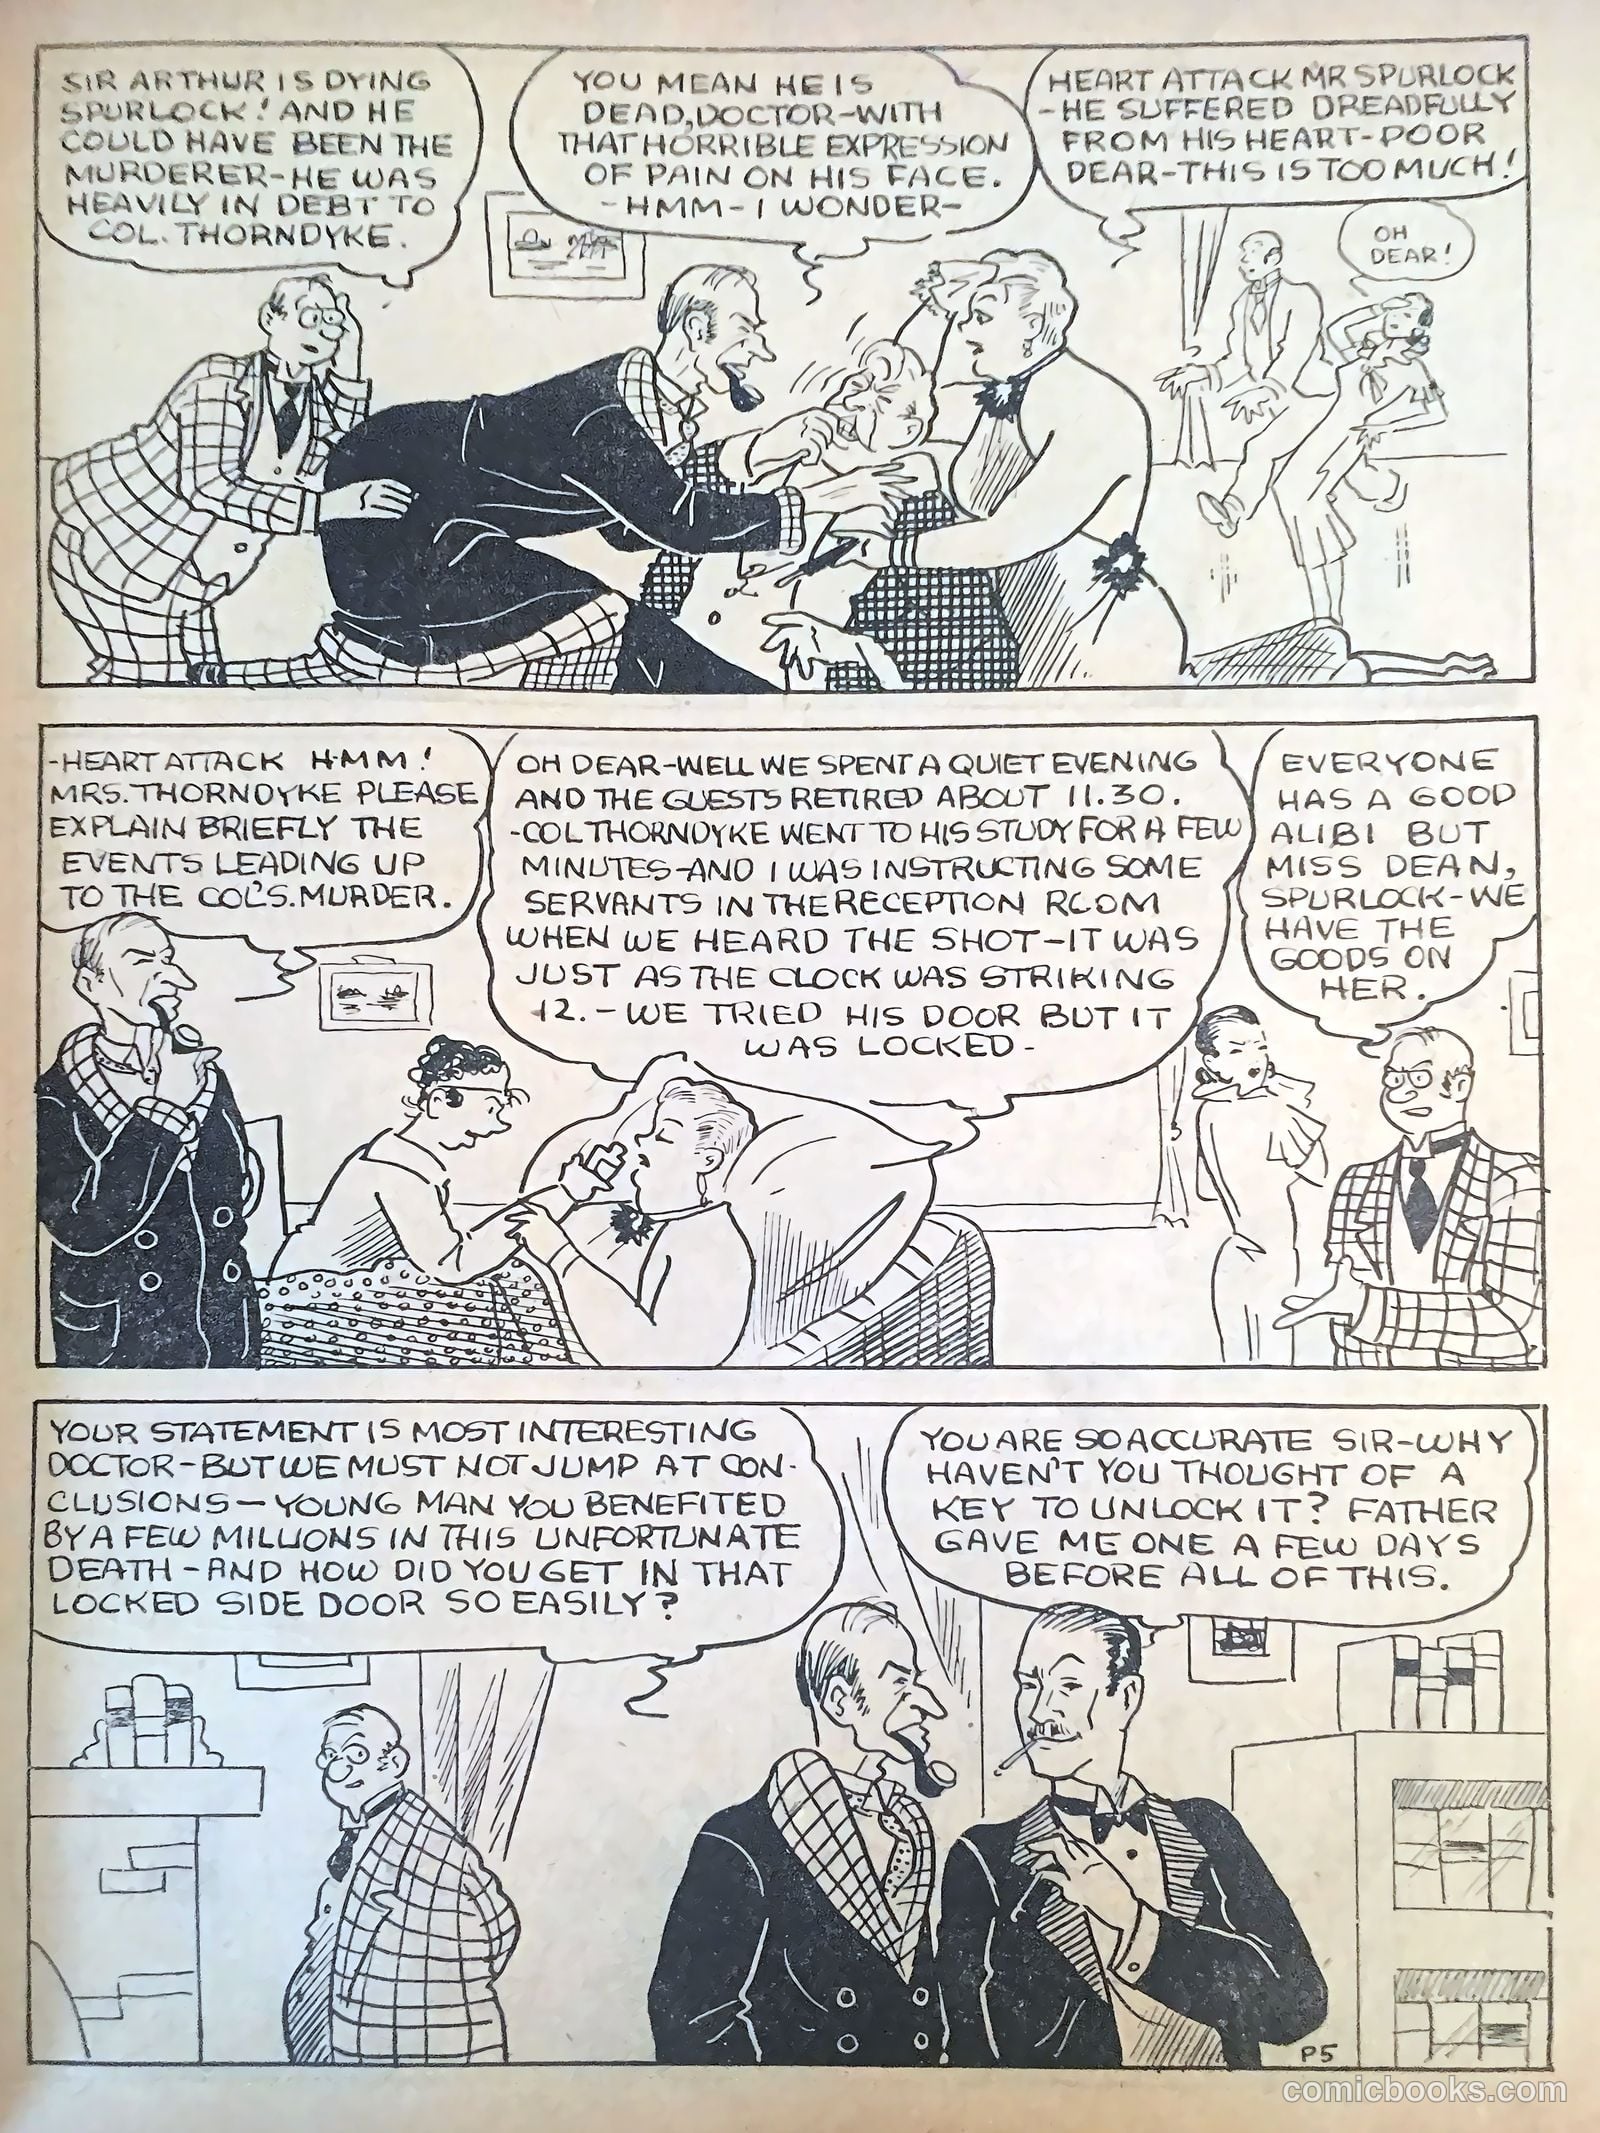
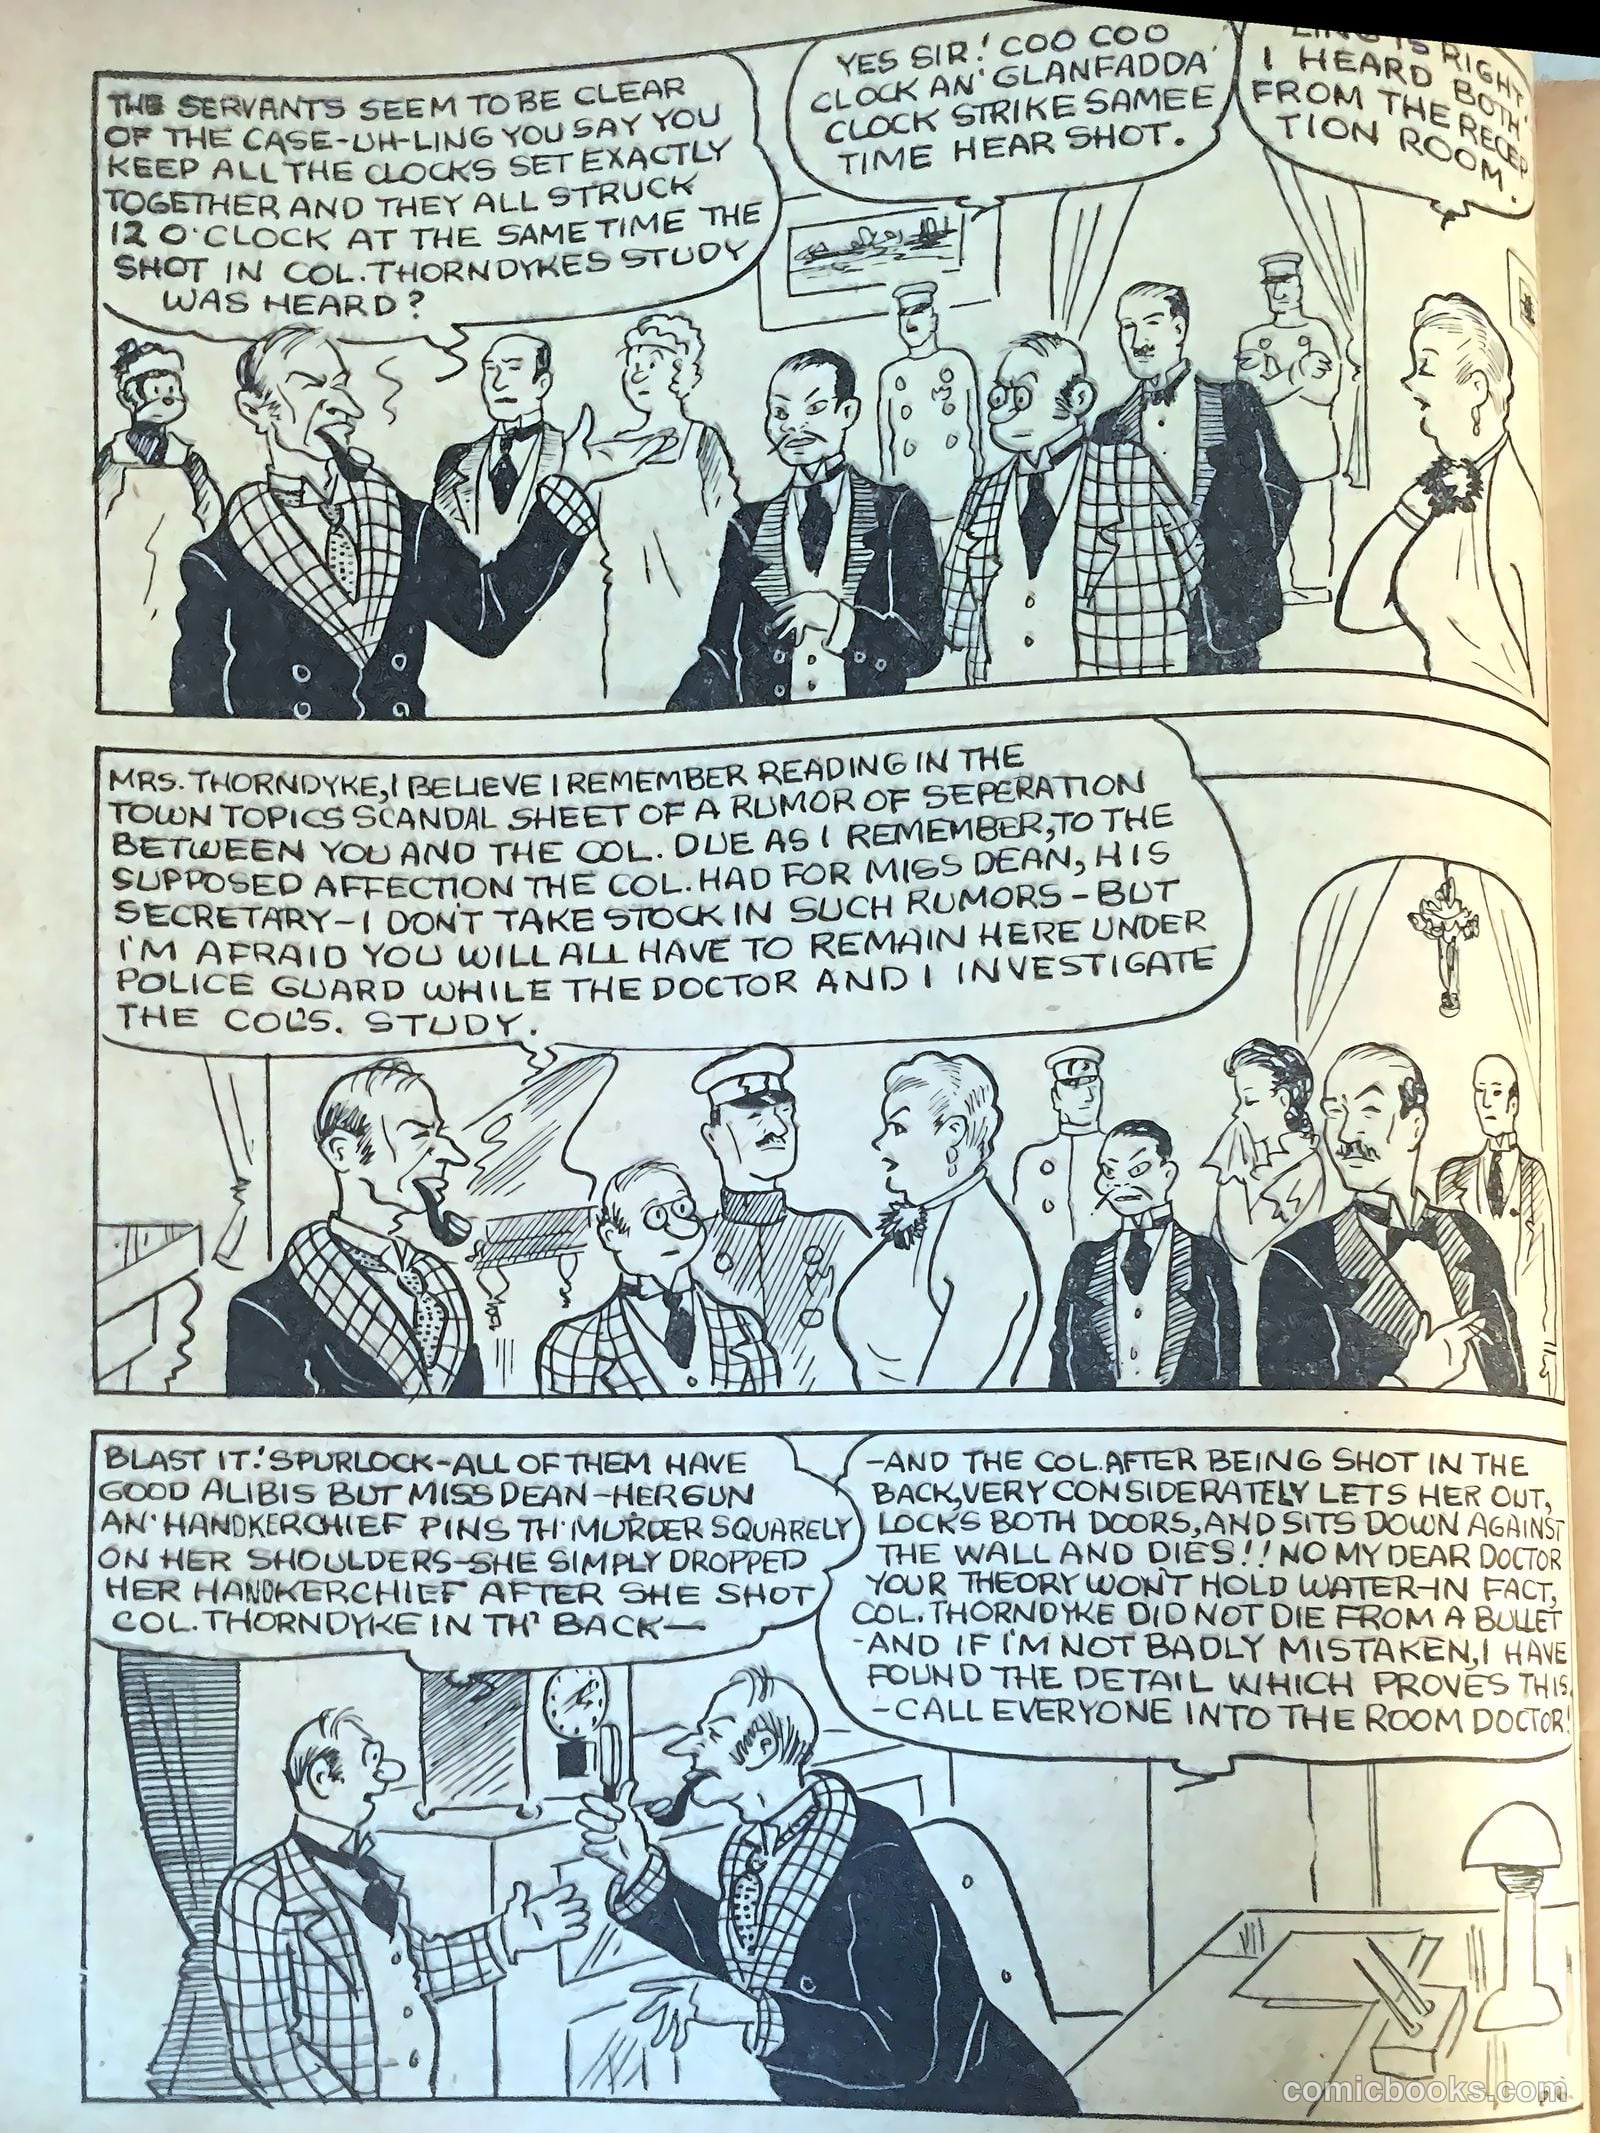
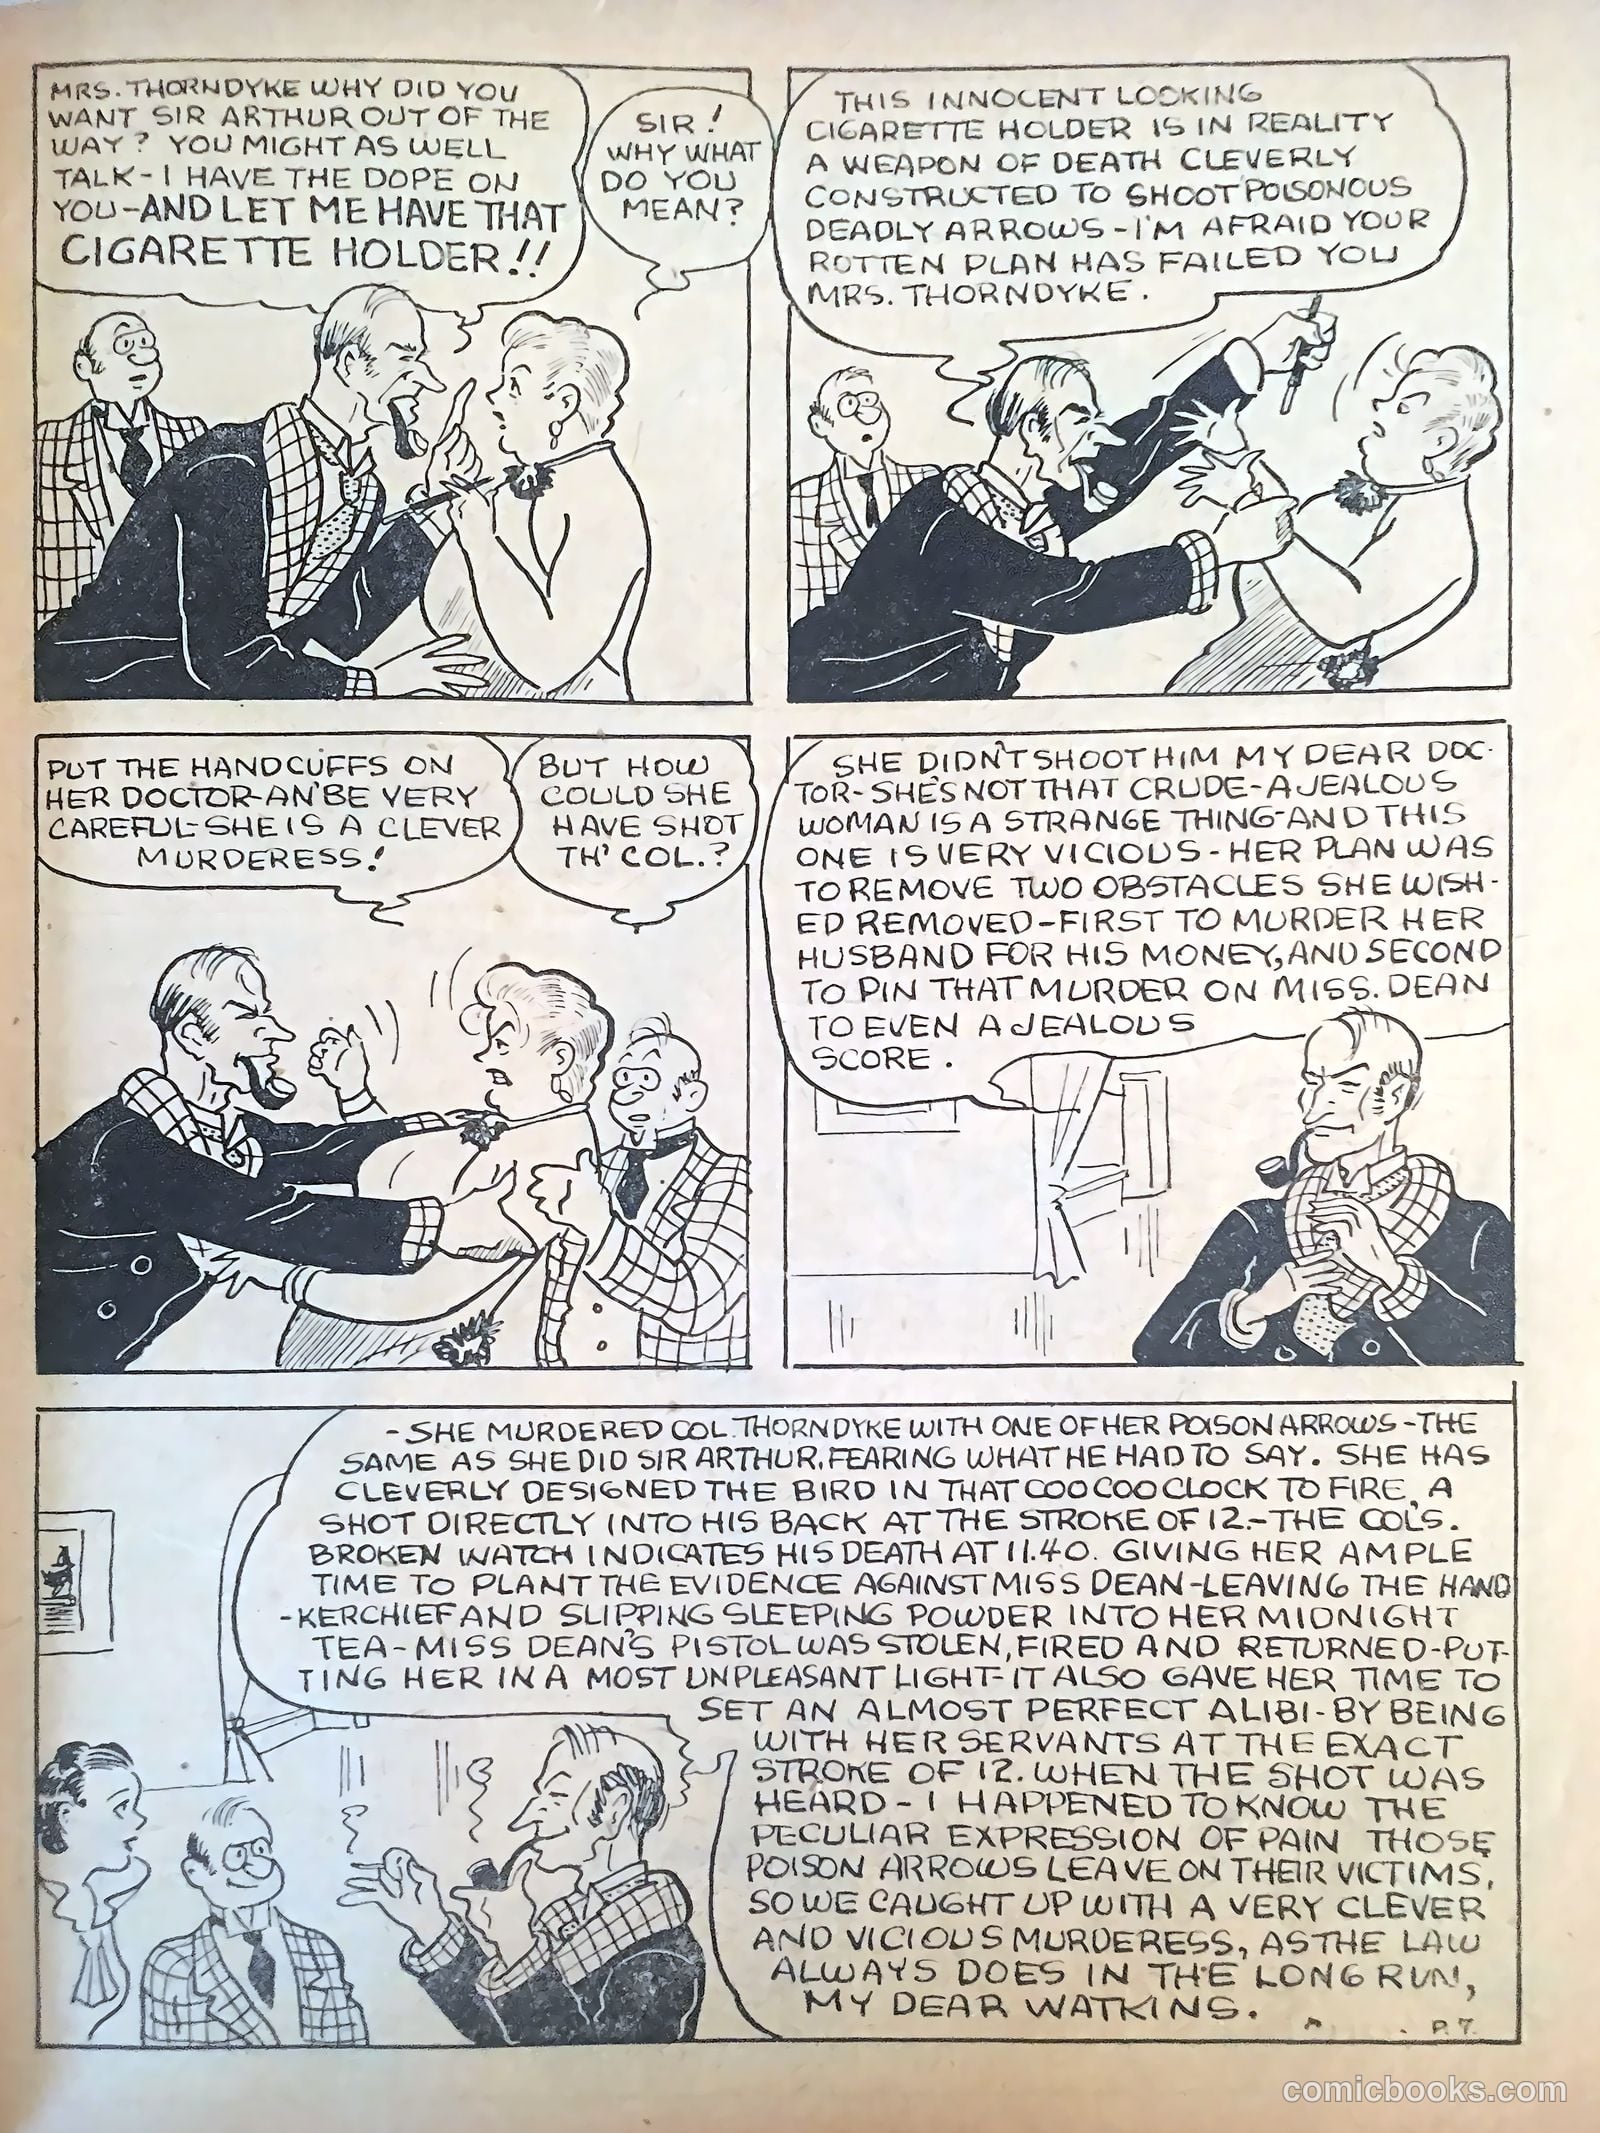
SpurlockWatkinsColonel ThorndykeMrs. ThorndykeLing

When a gunshot rings out at midnight in Colonel Thorndyke's locked study, detective Spurlock and his partner Watkins arrive to find the millionaire dead—and suspicion quickly falls on Miss Dean, the Colonel's secretary, whose handkerchief and pistol are discovered at the scene. As the investigators sift through alibis and clues, they must uncover the true culprit before a jealous scheme claims another victim.

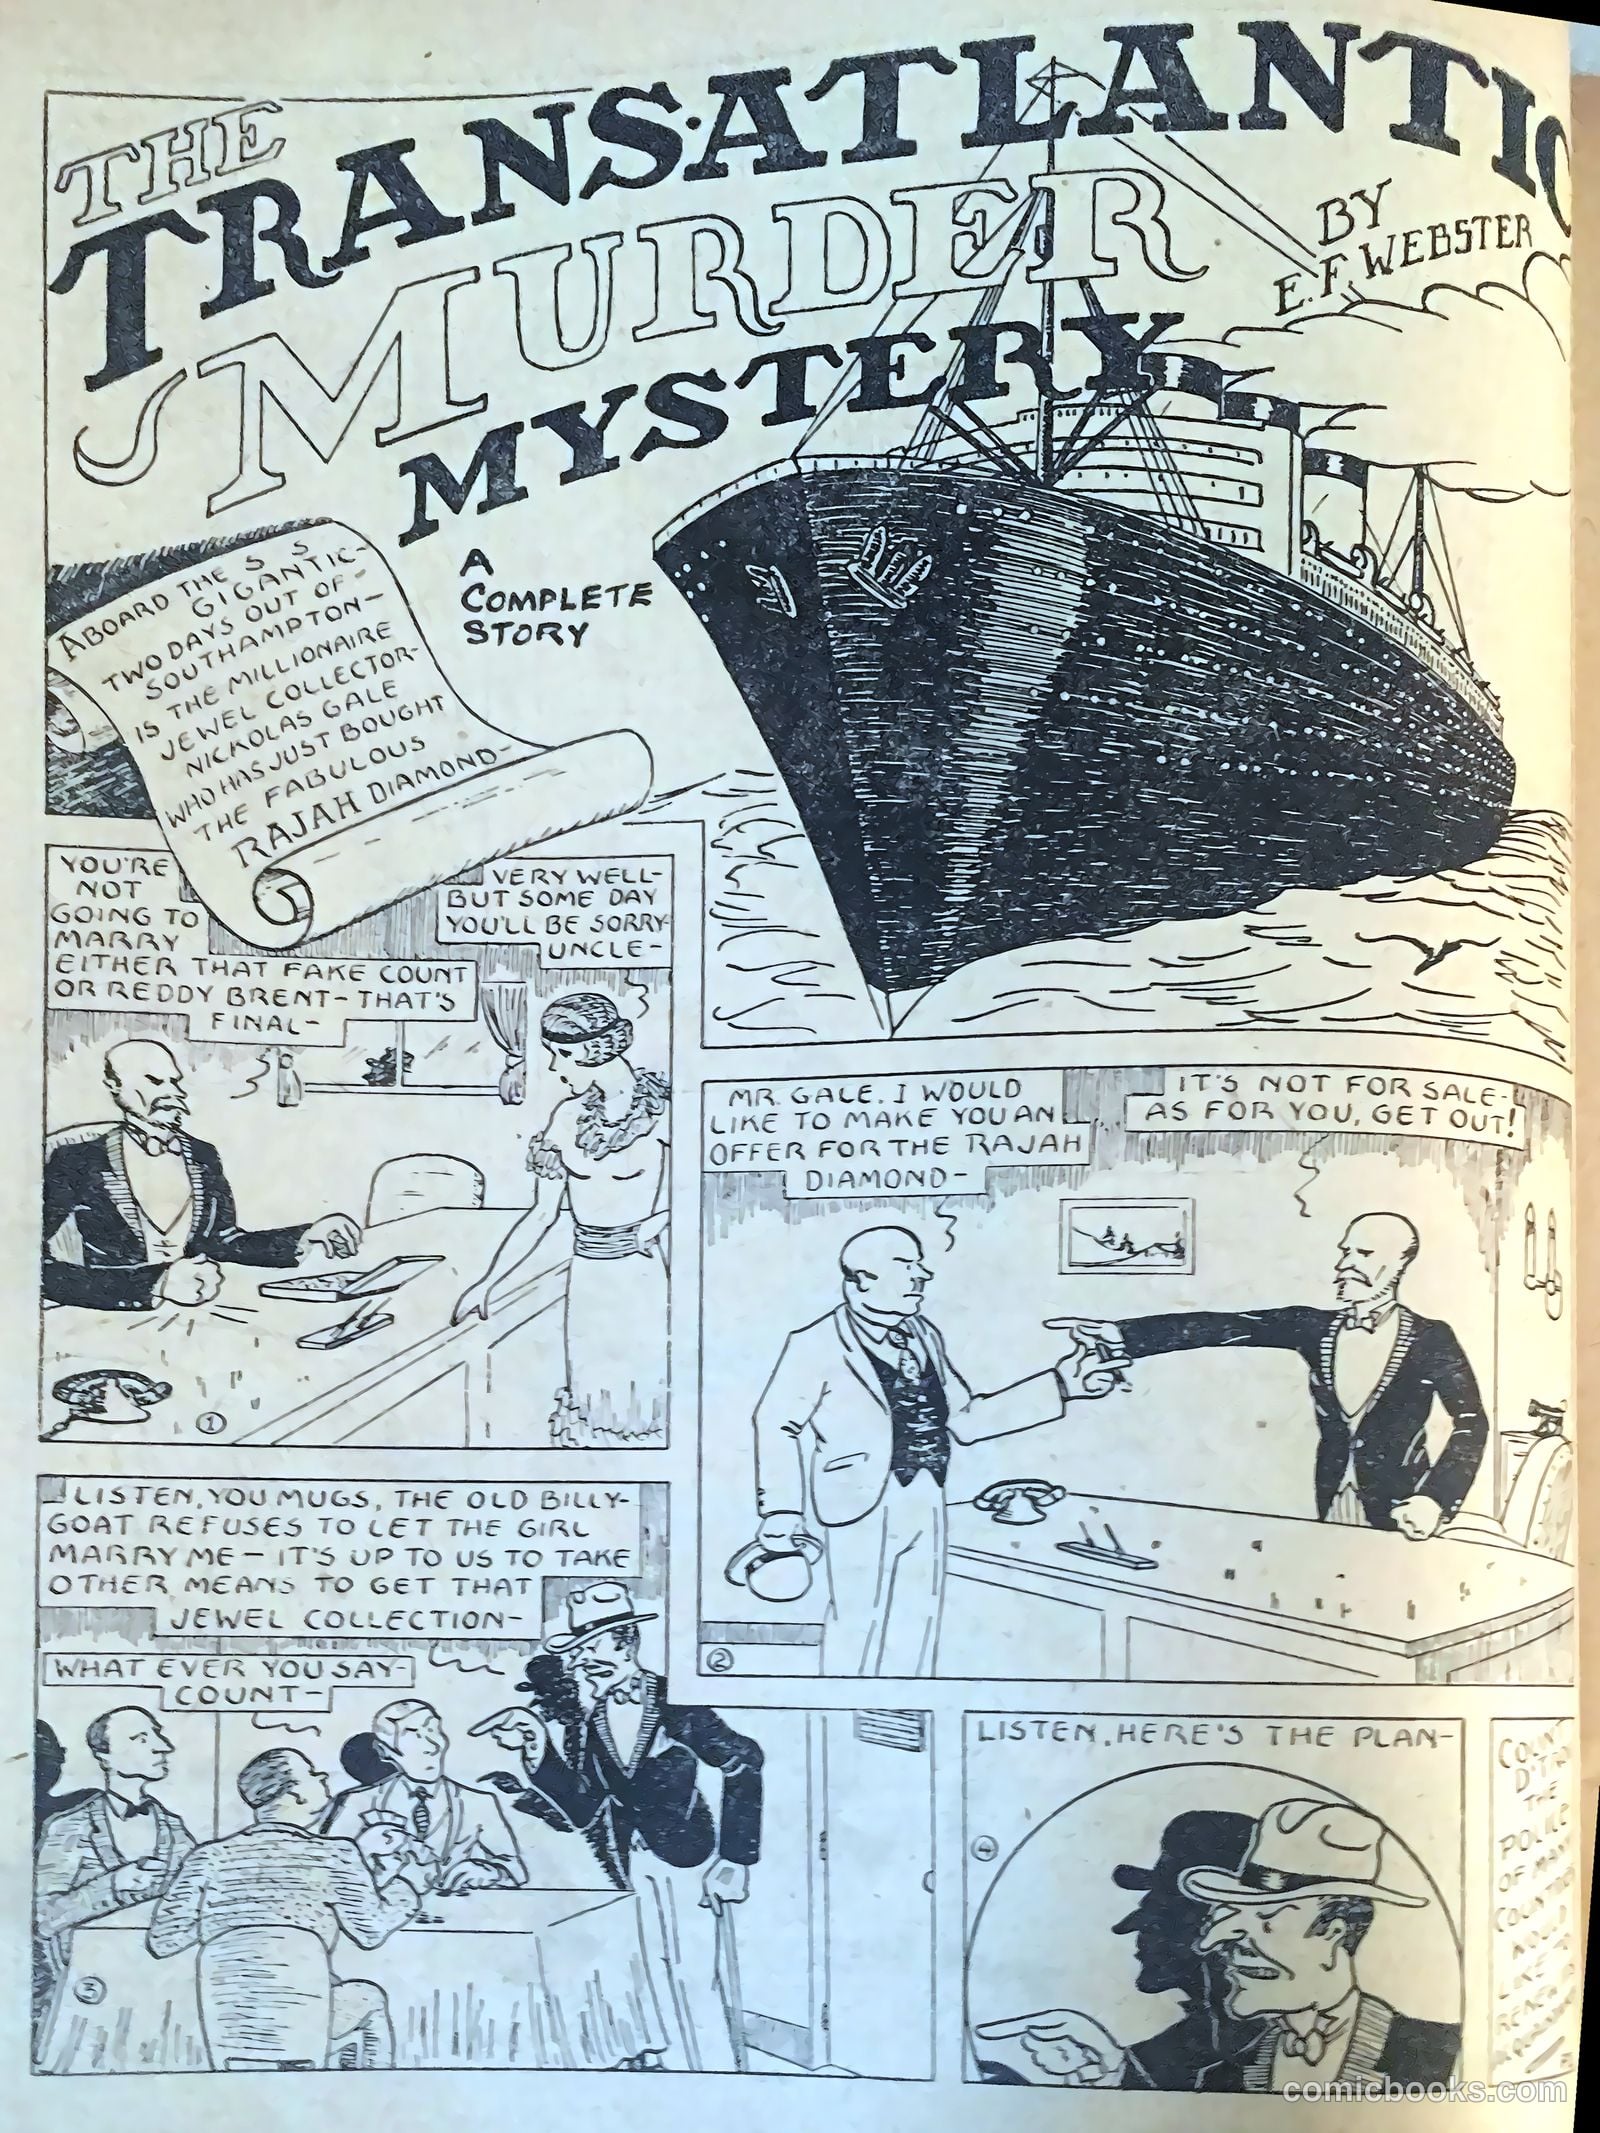
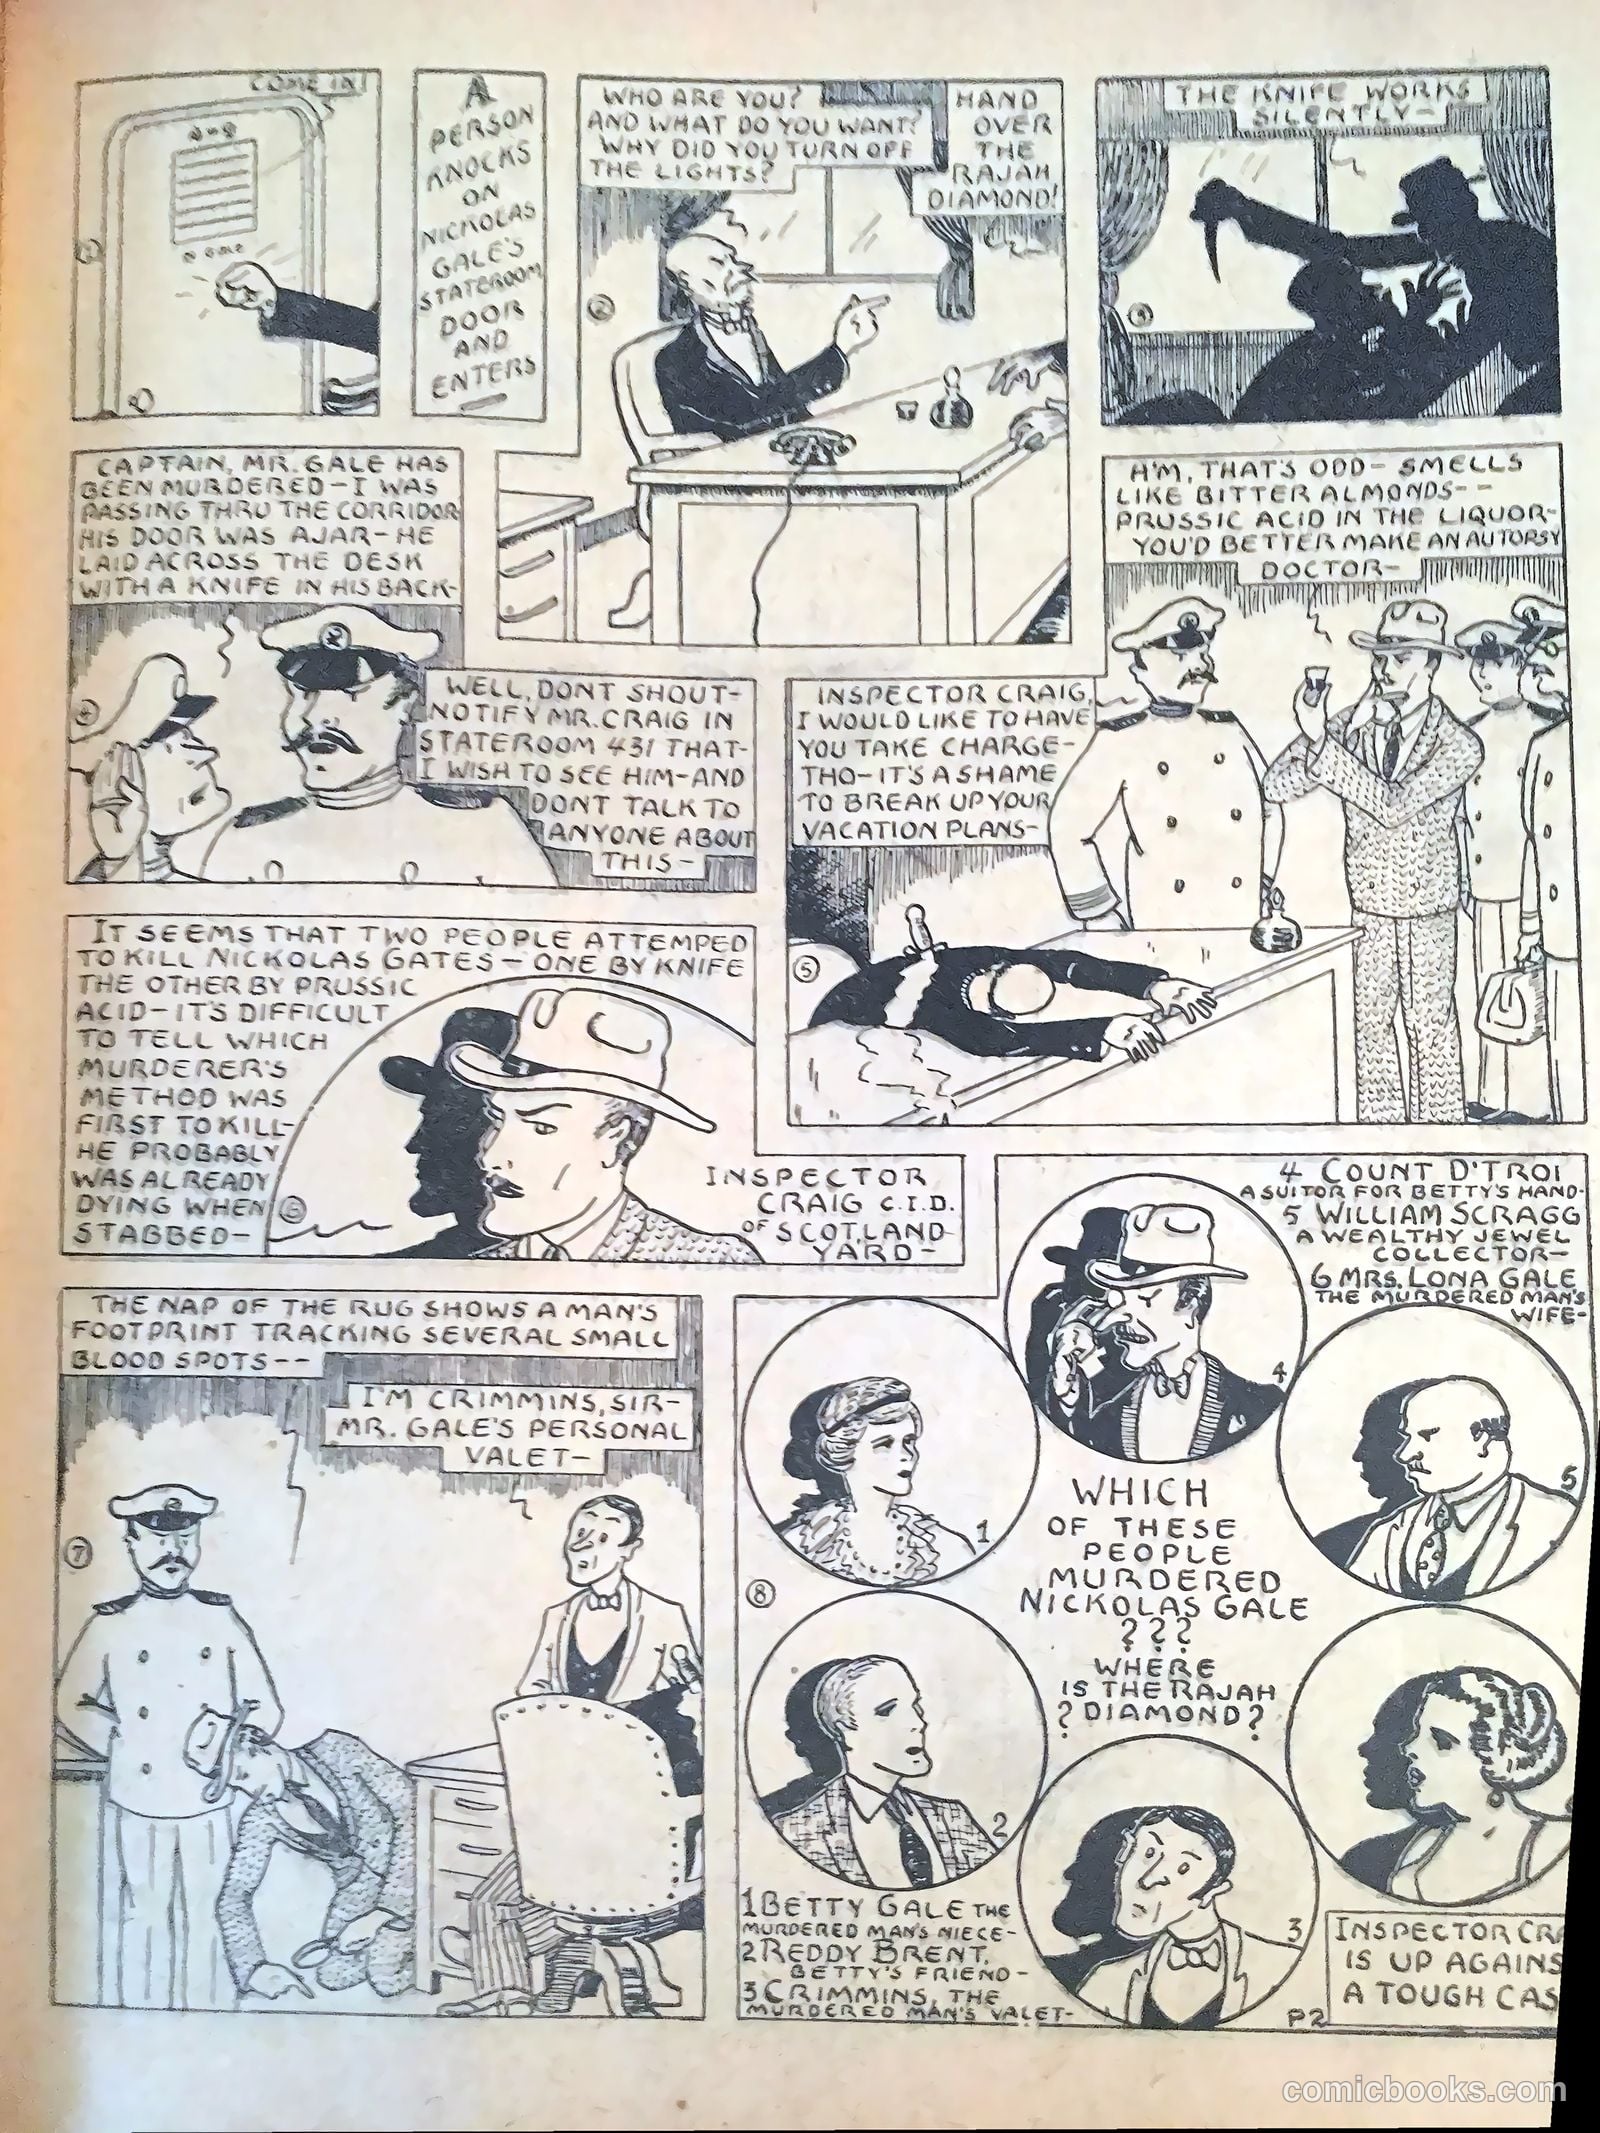
The Trans-Atlantic Murder Mystery
7 pp · detective-mystery
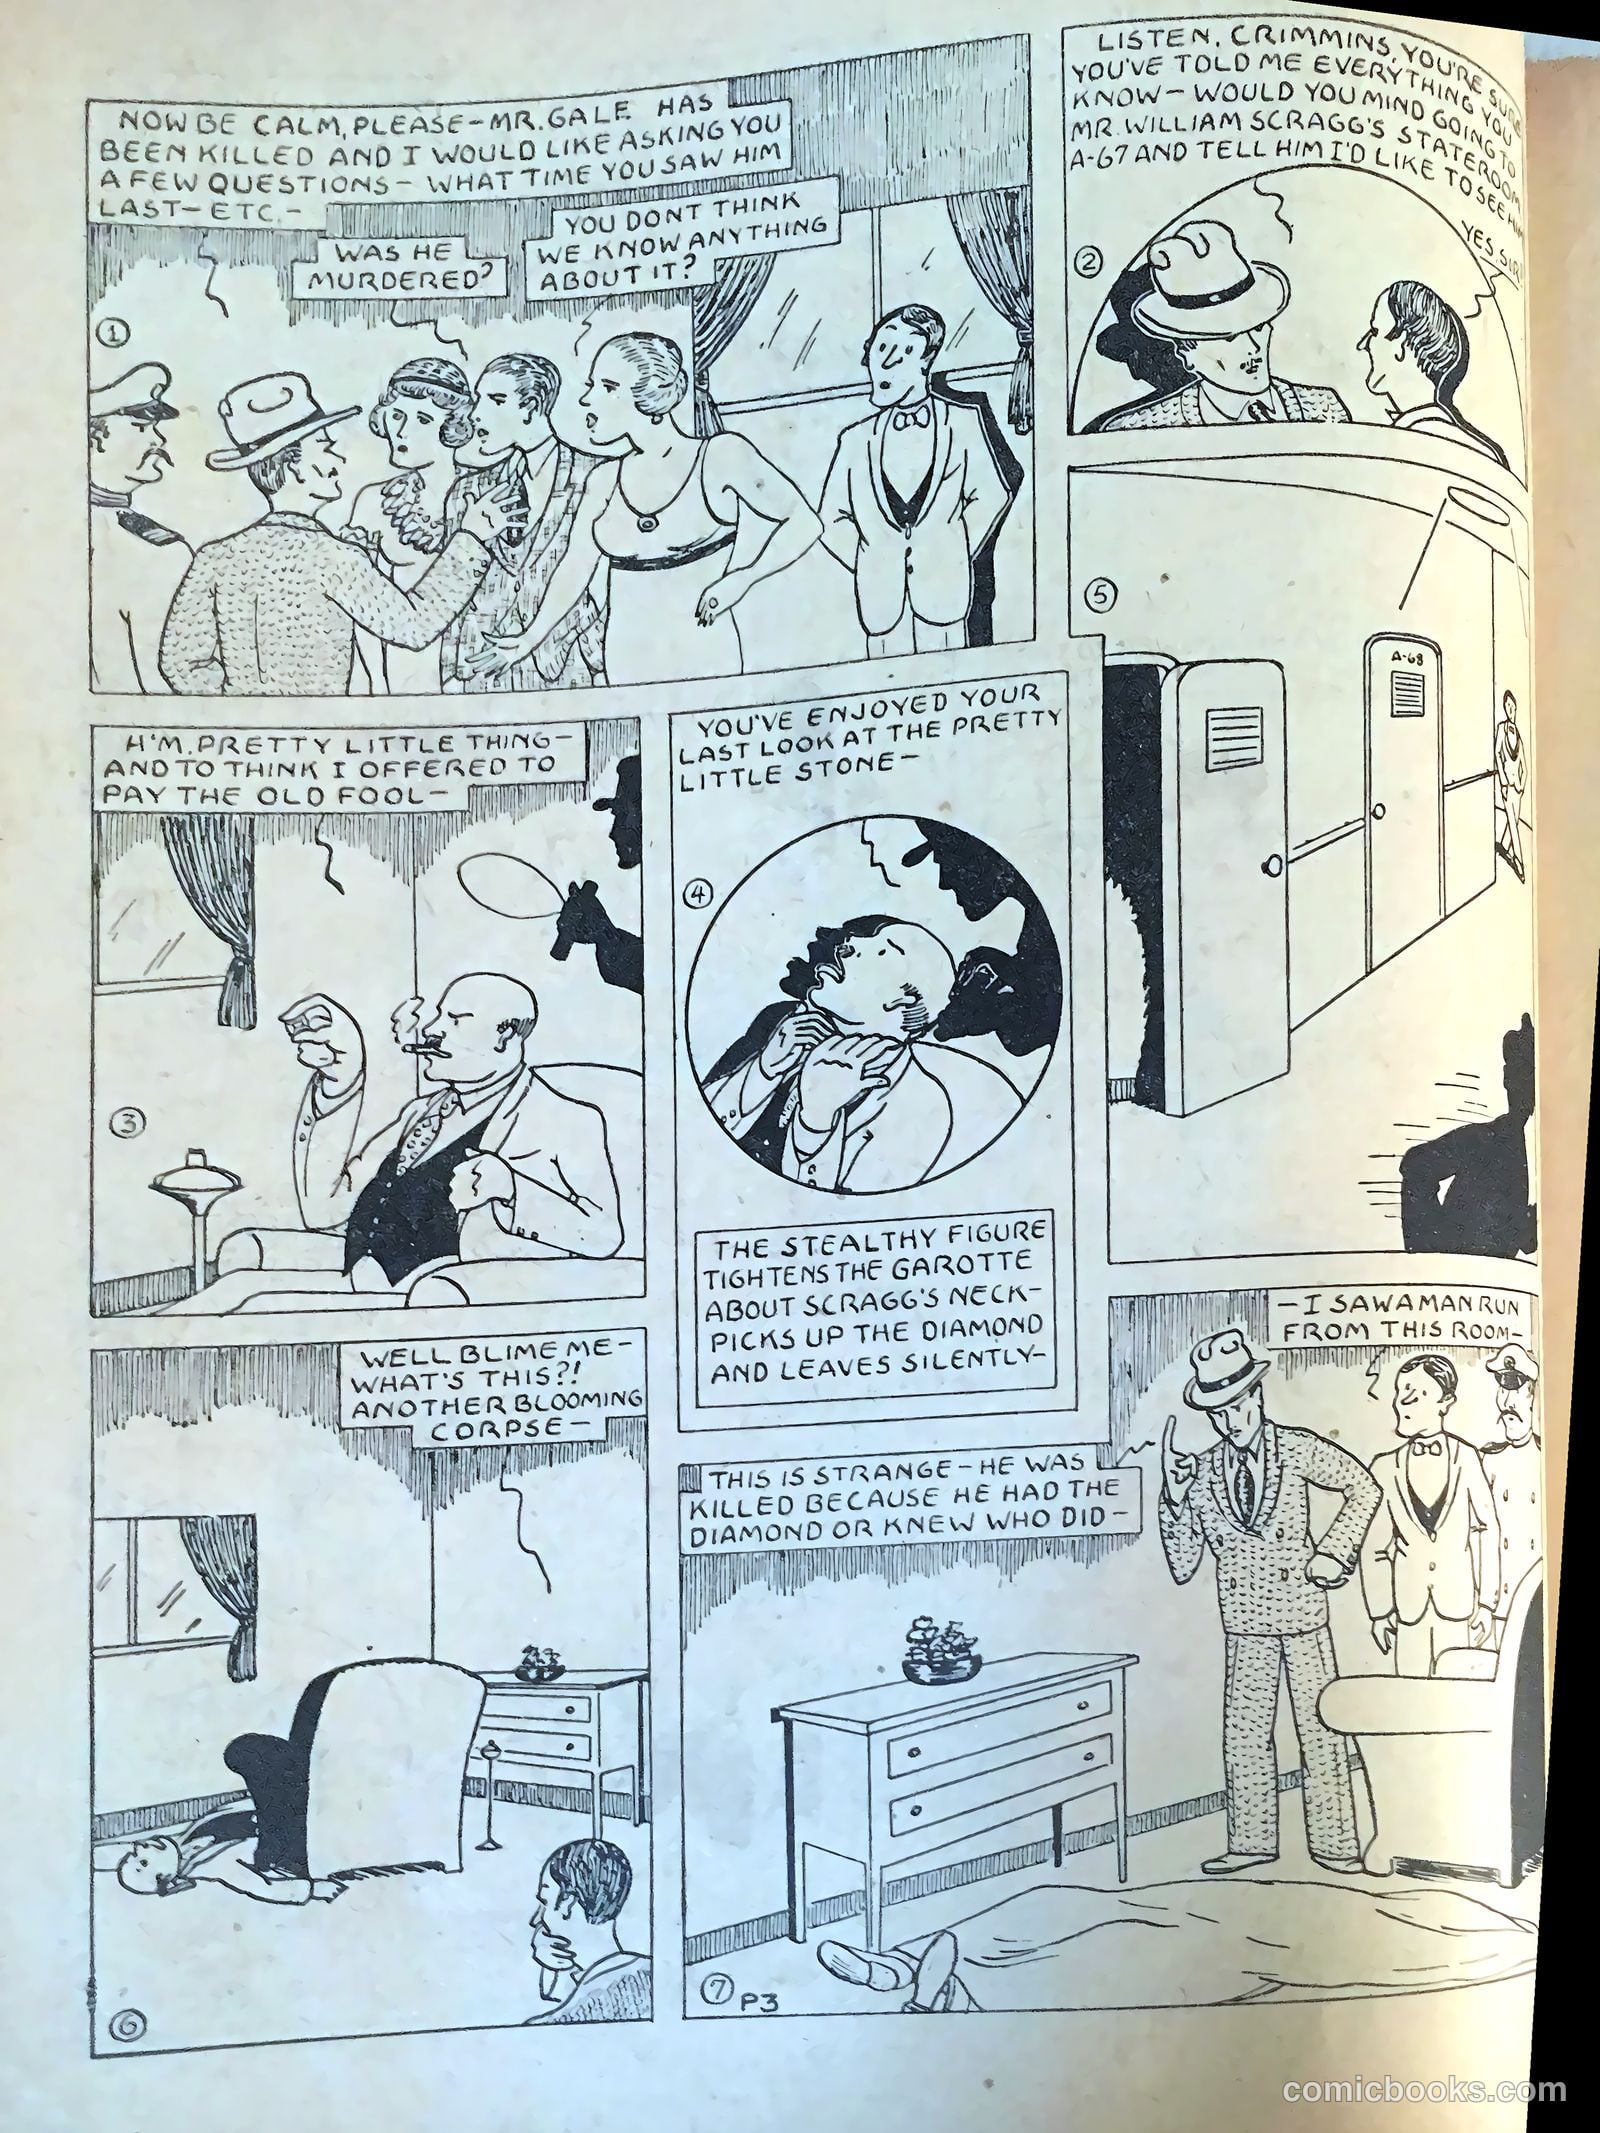
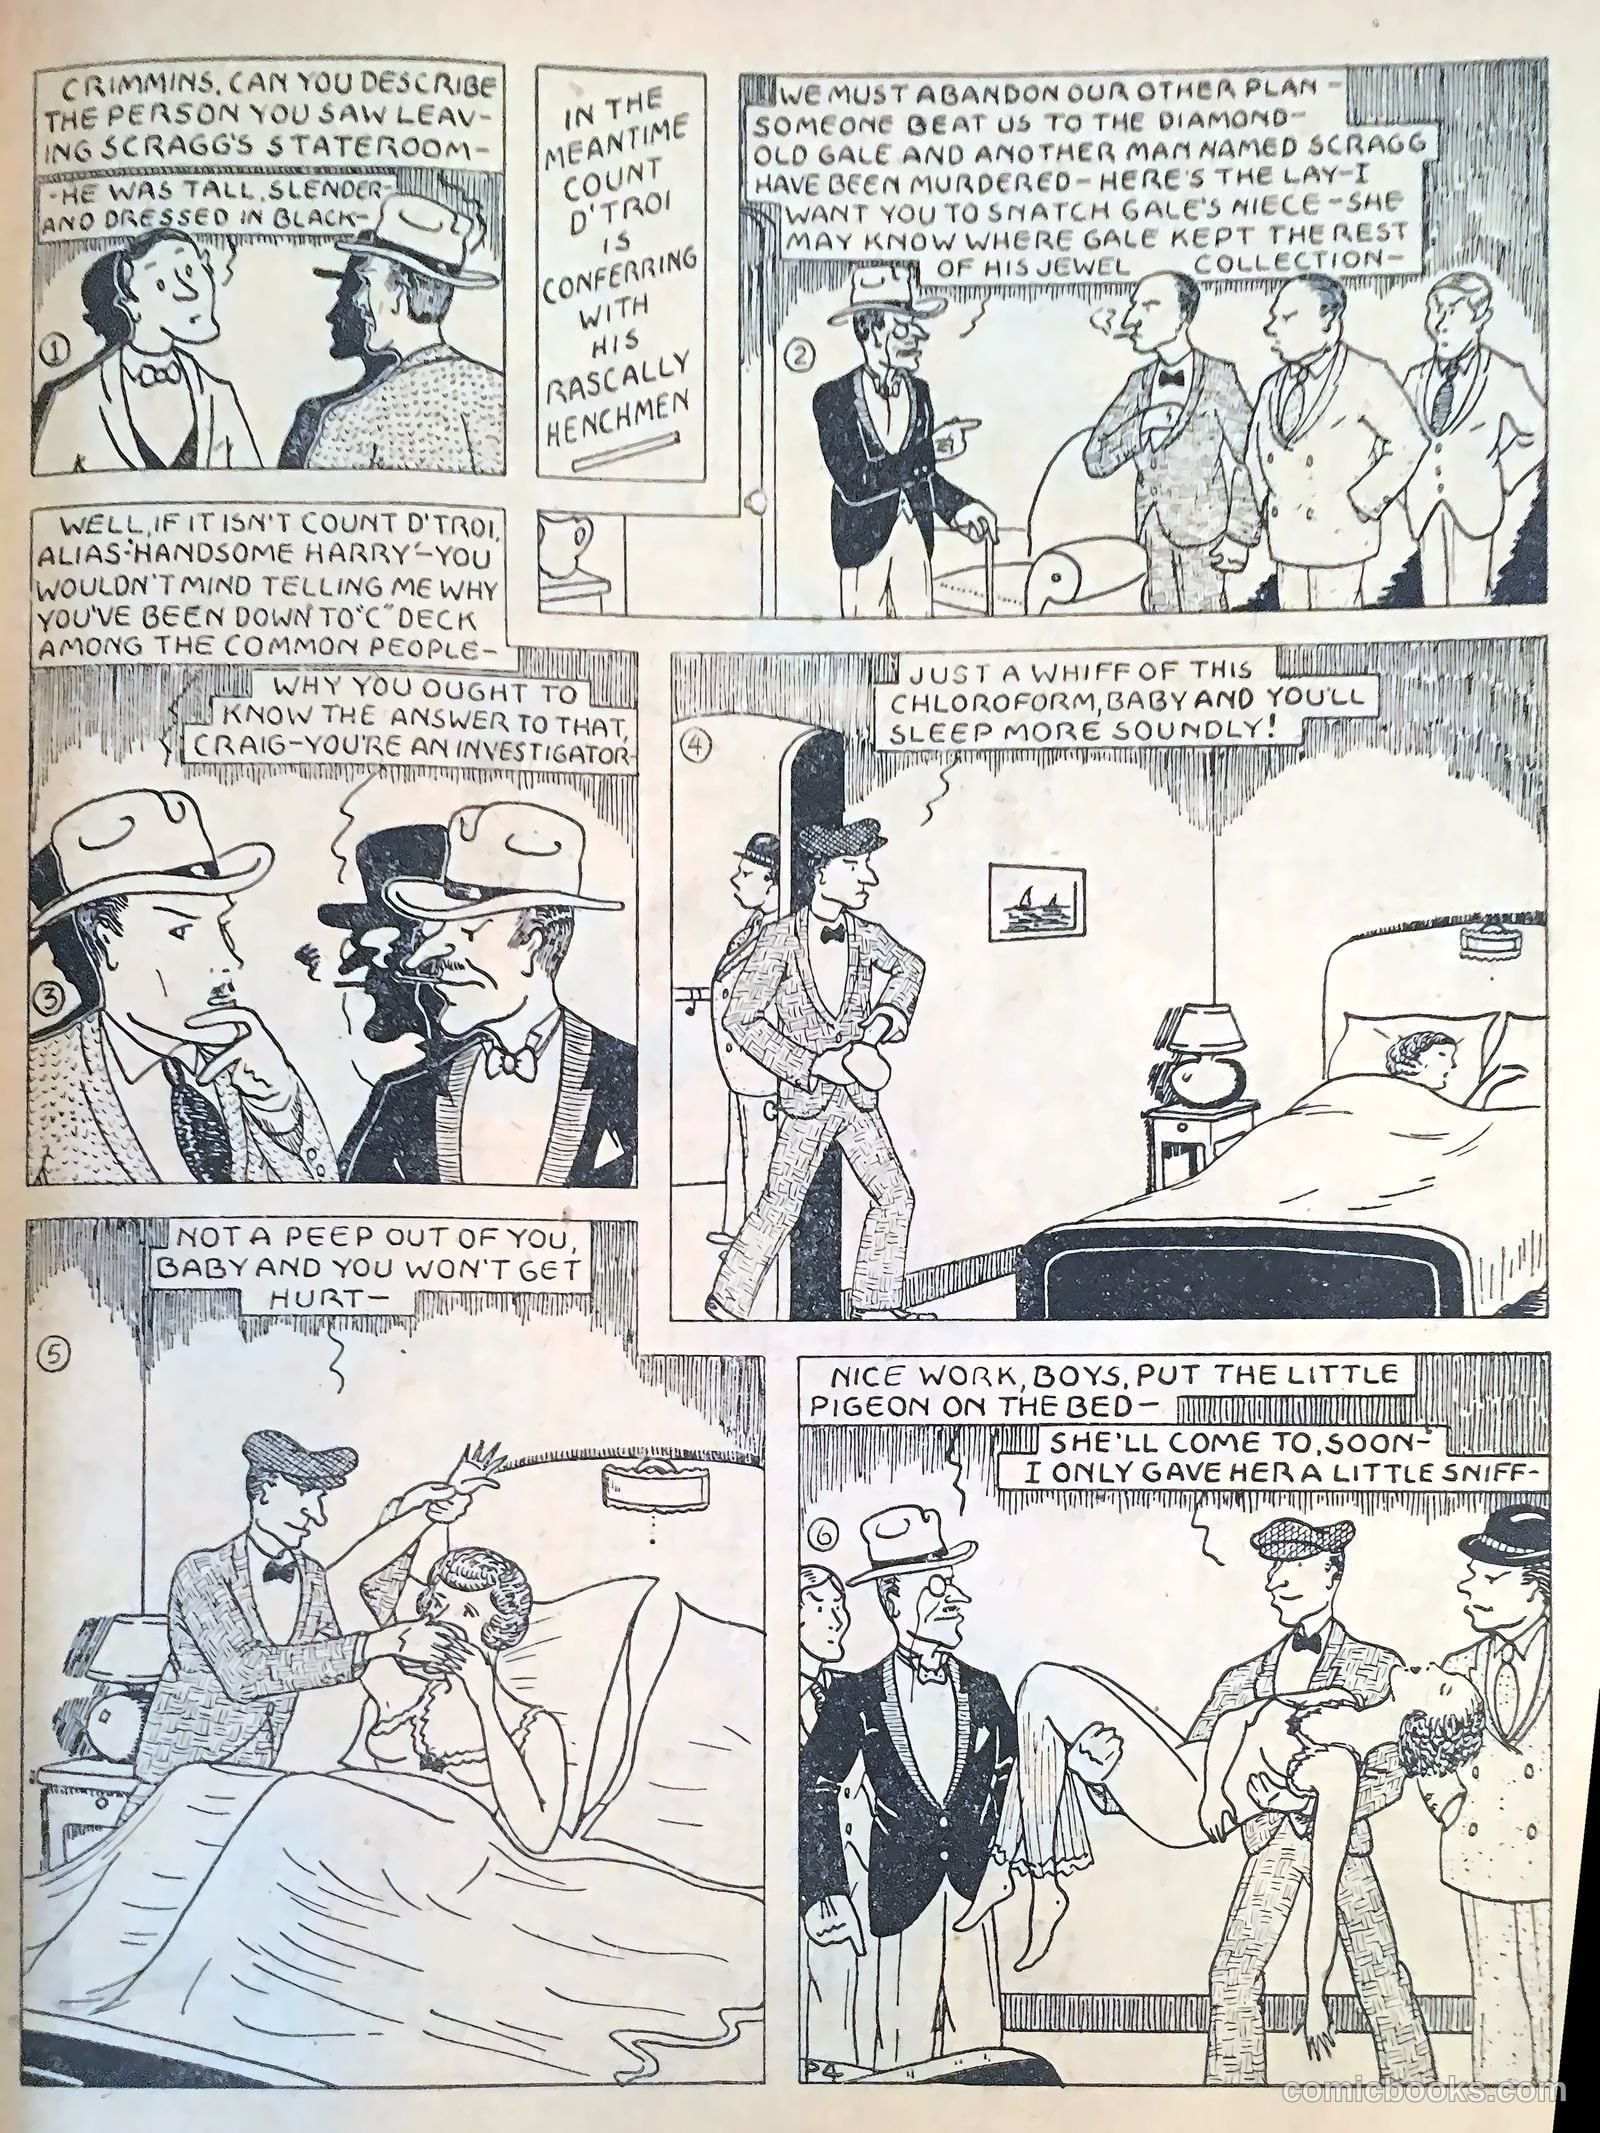
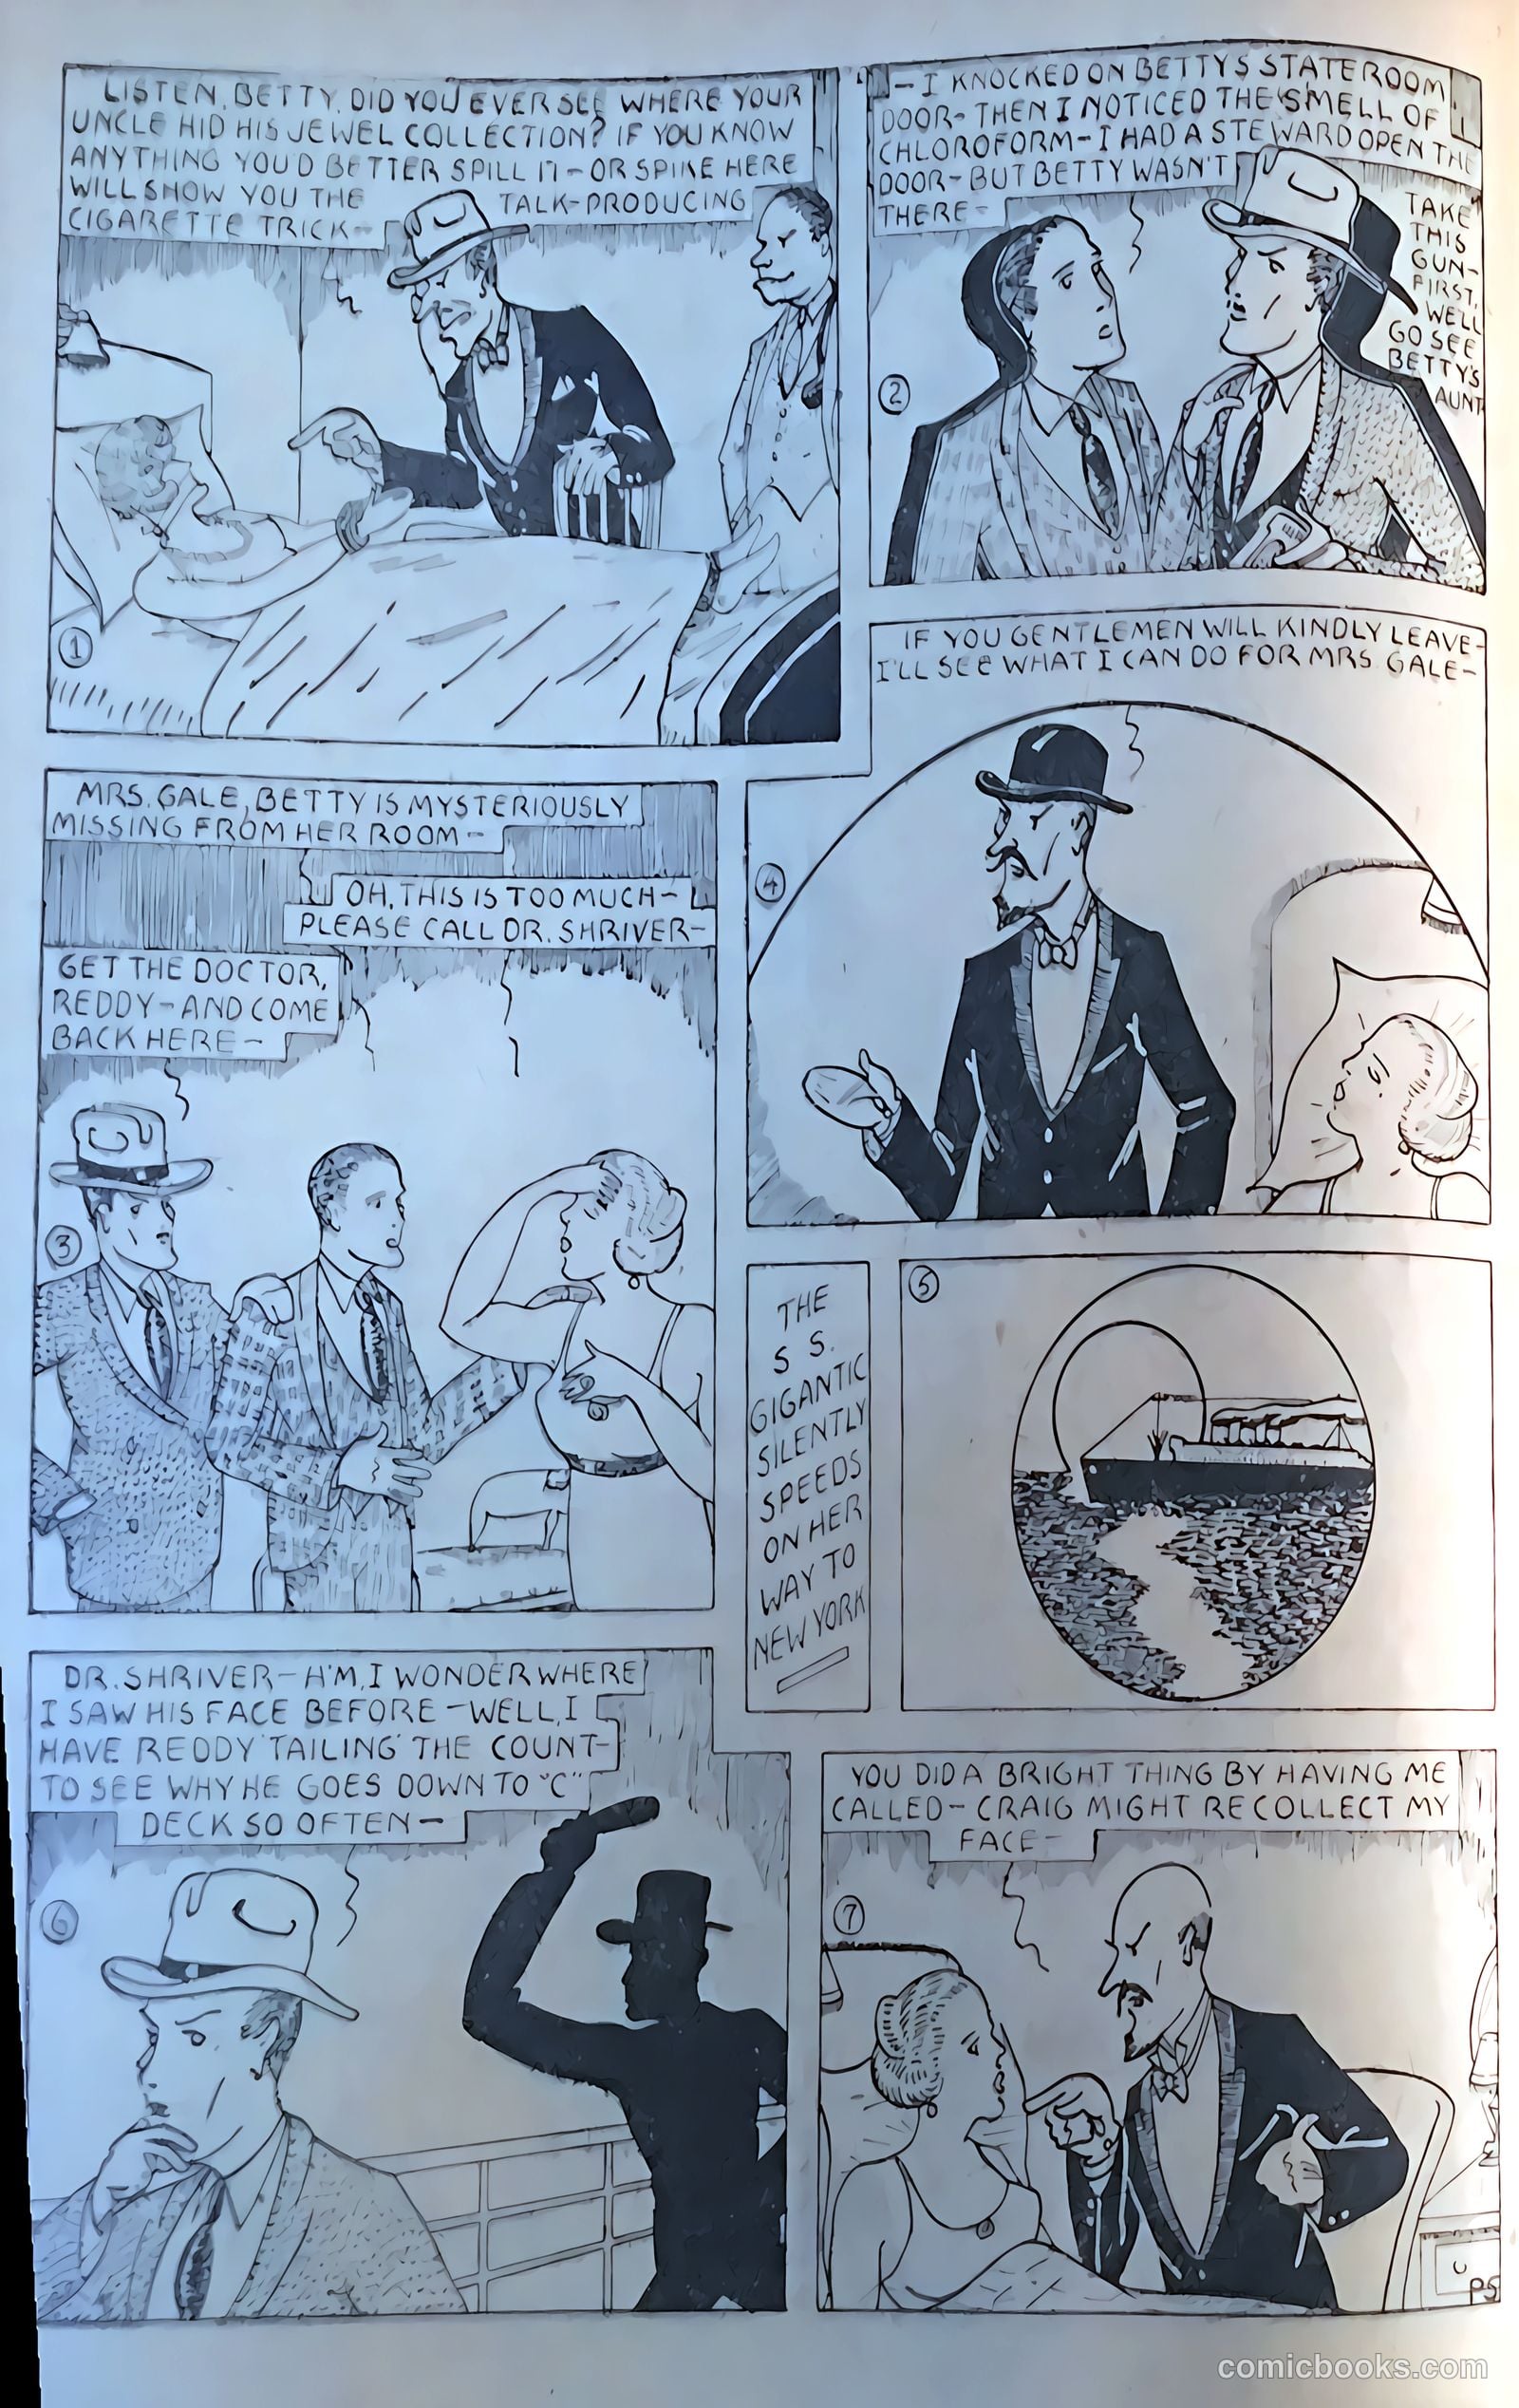
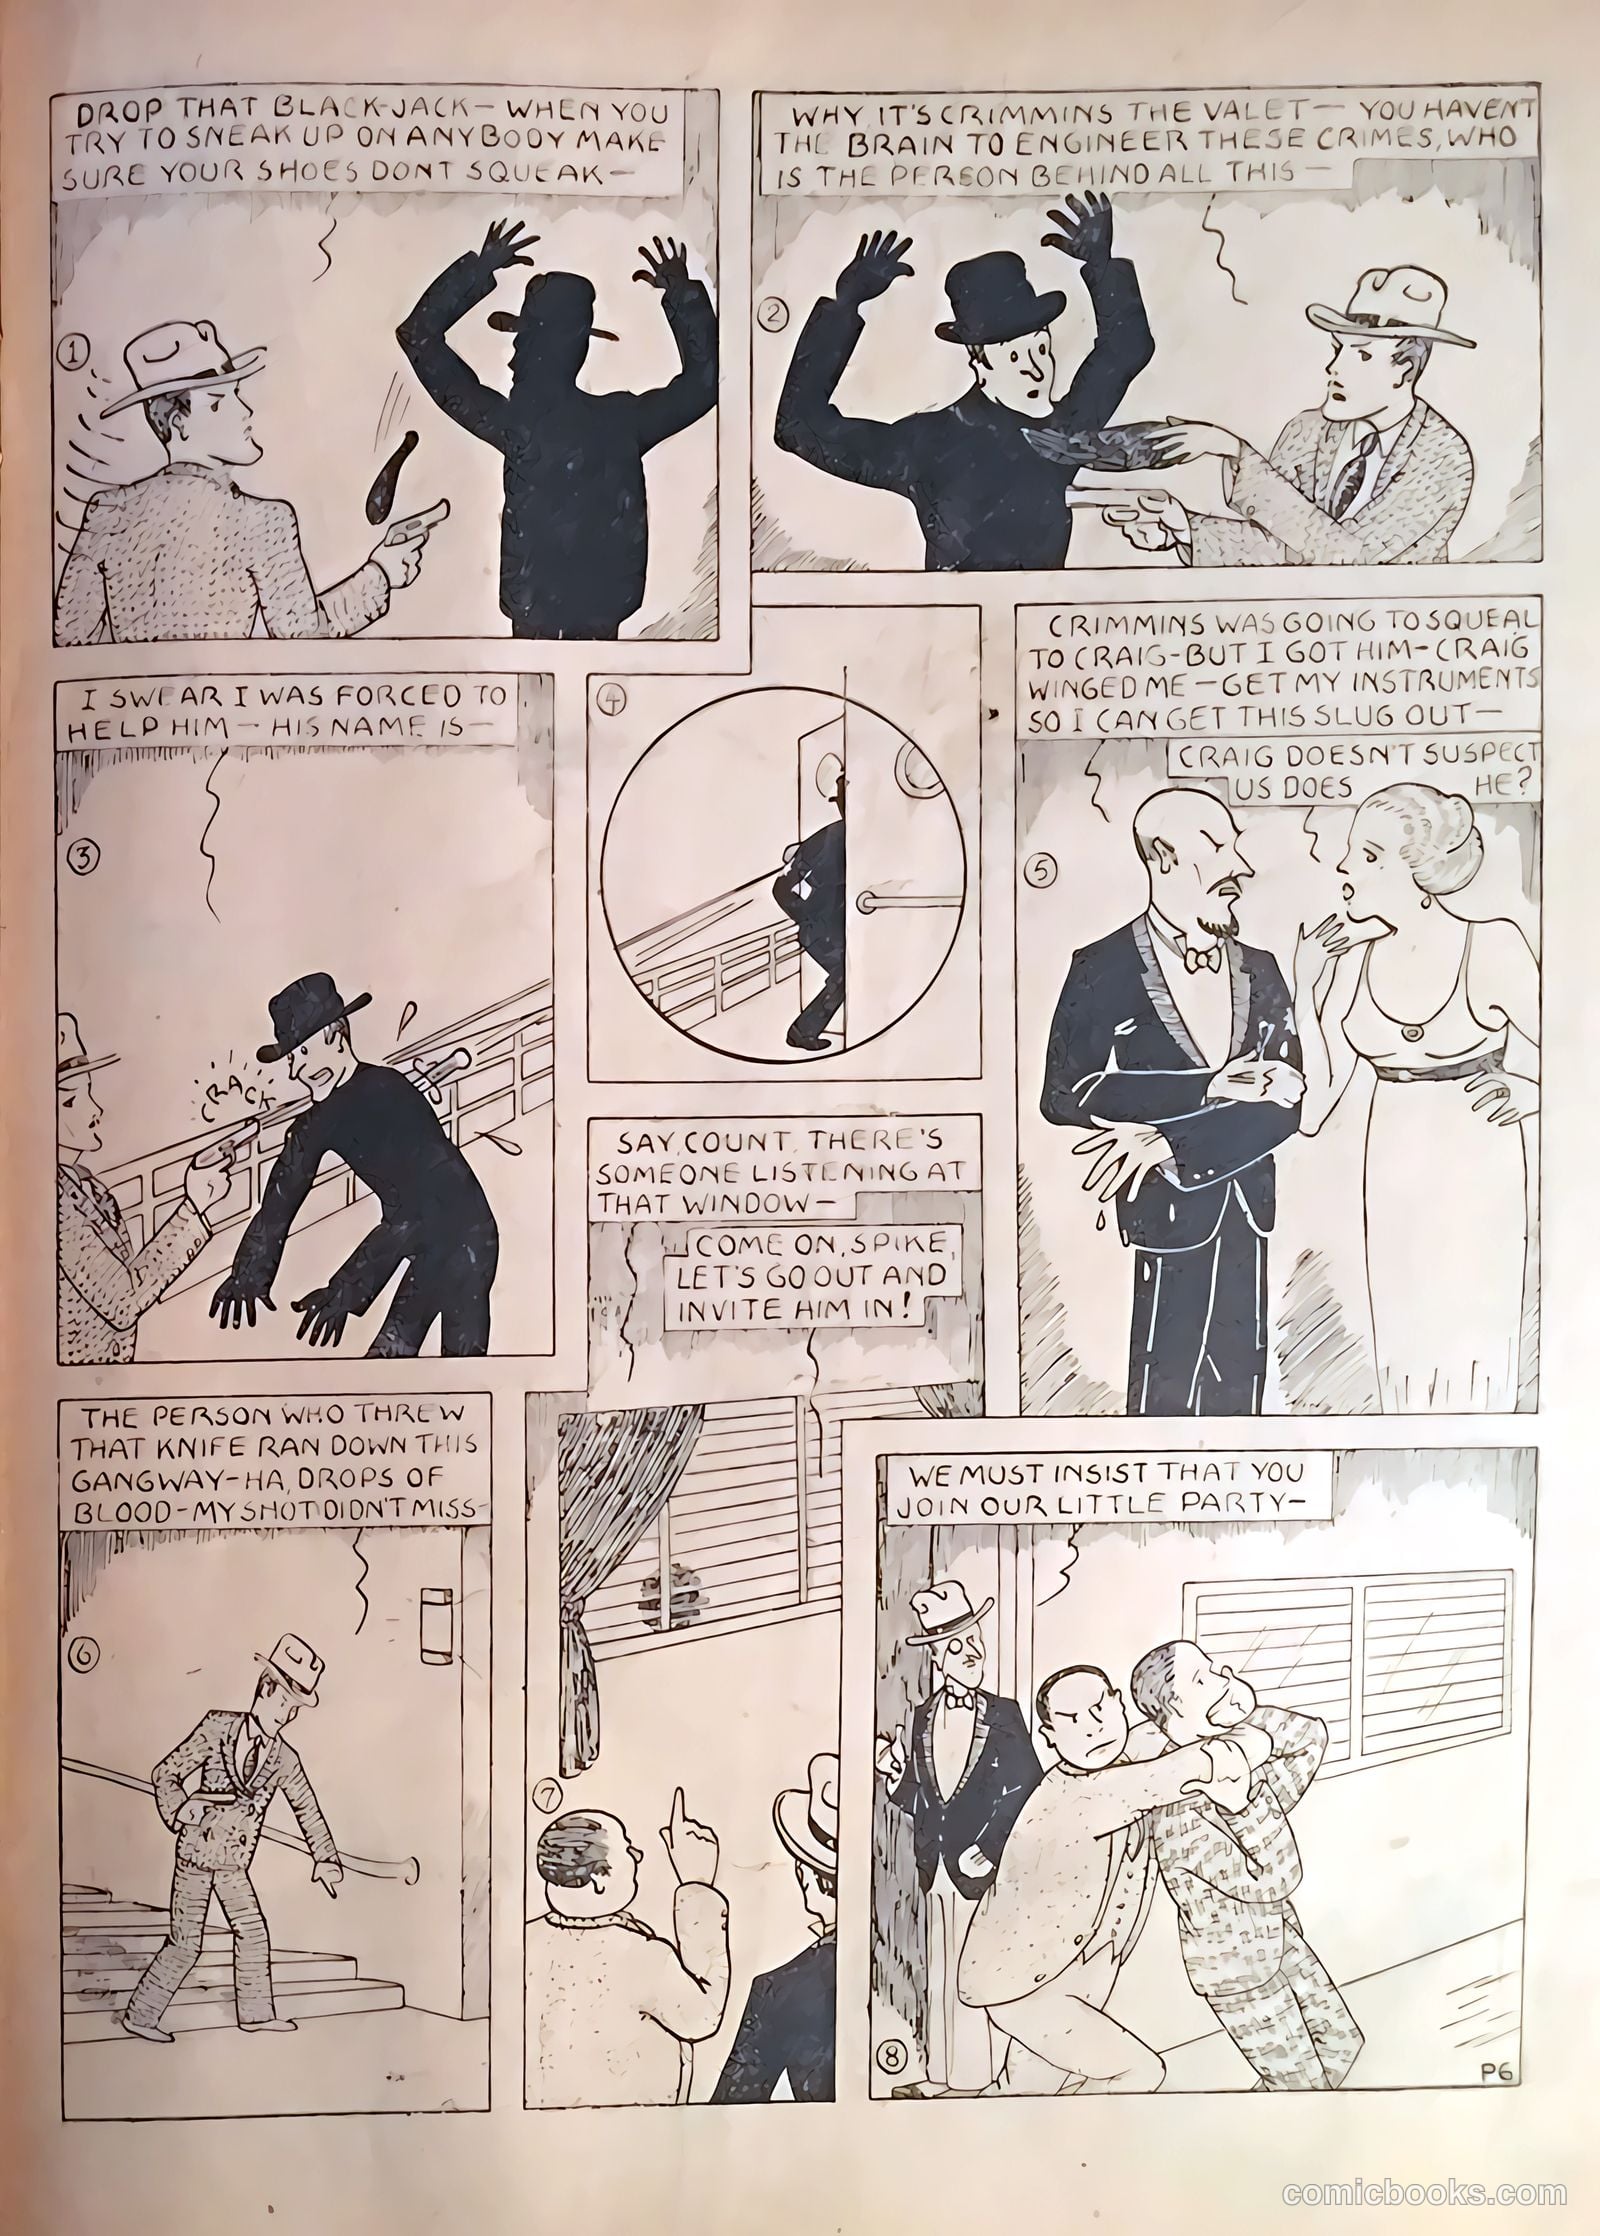
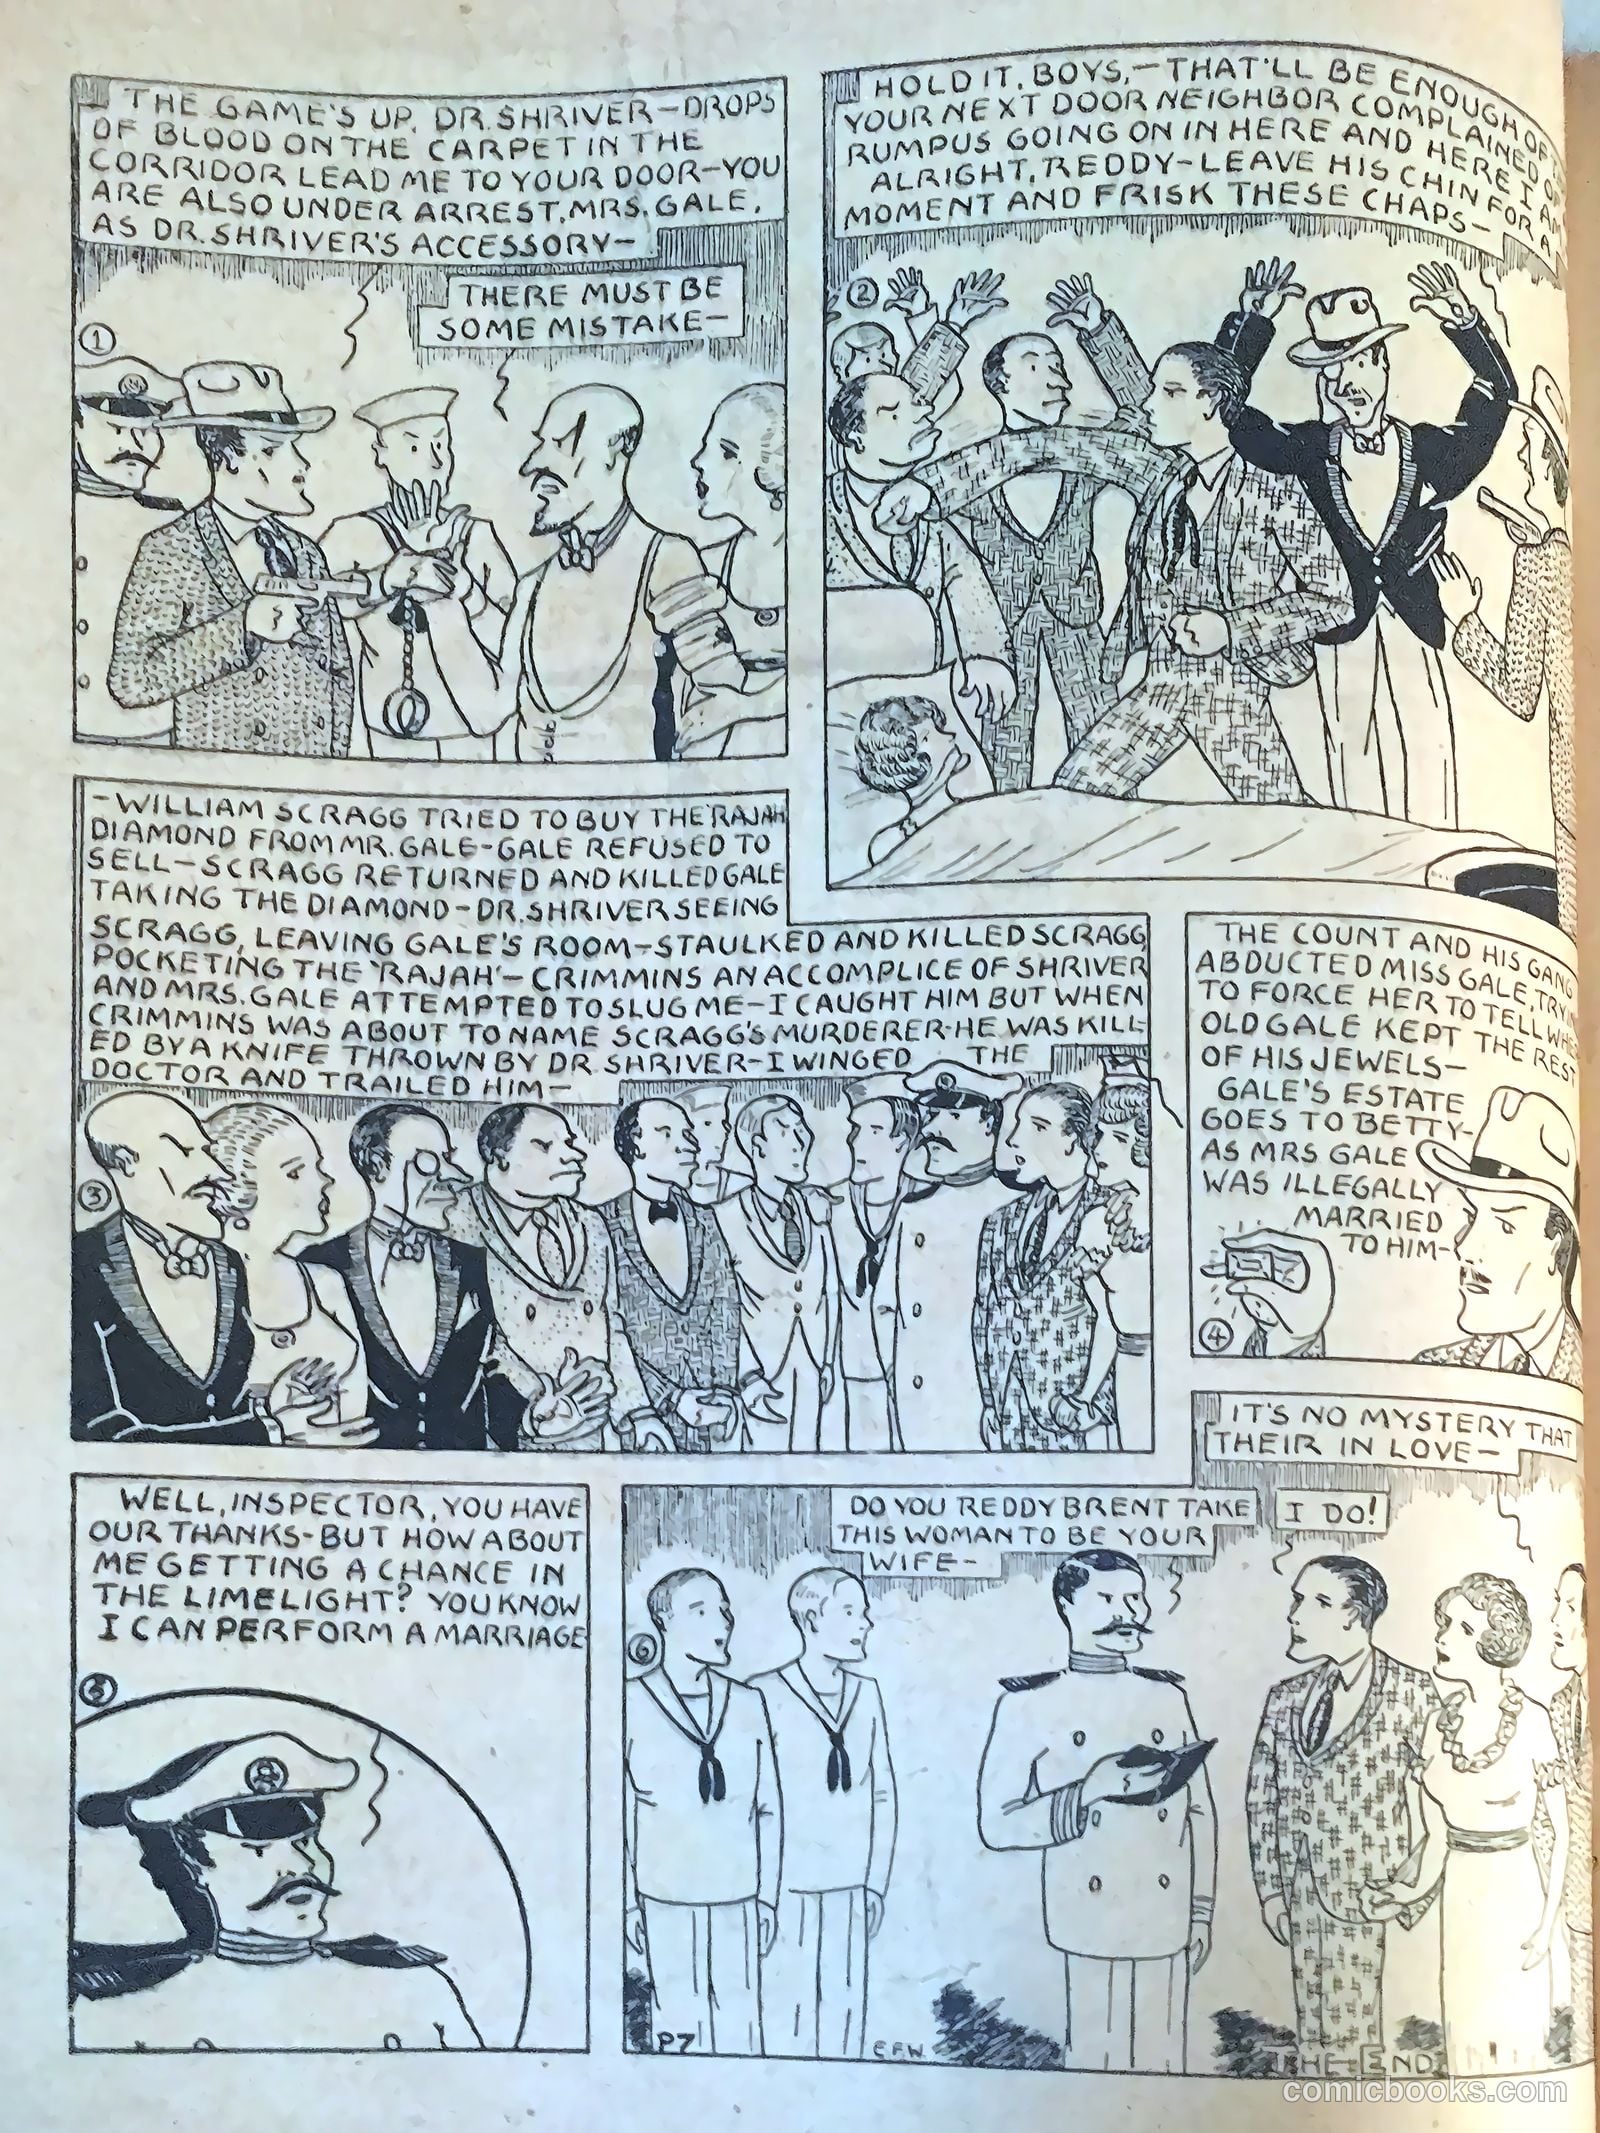
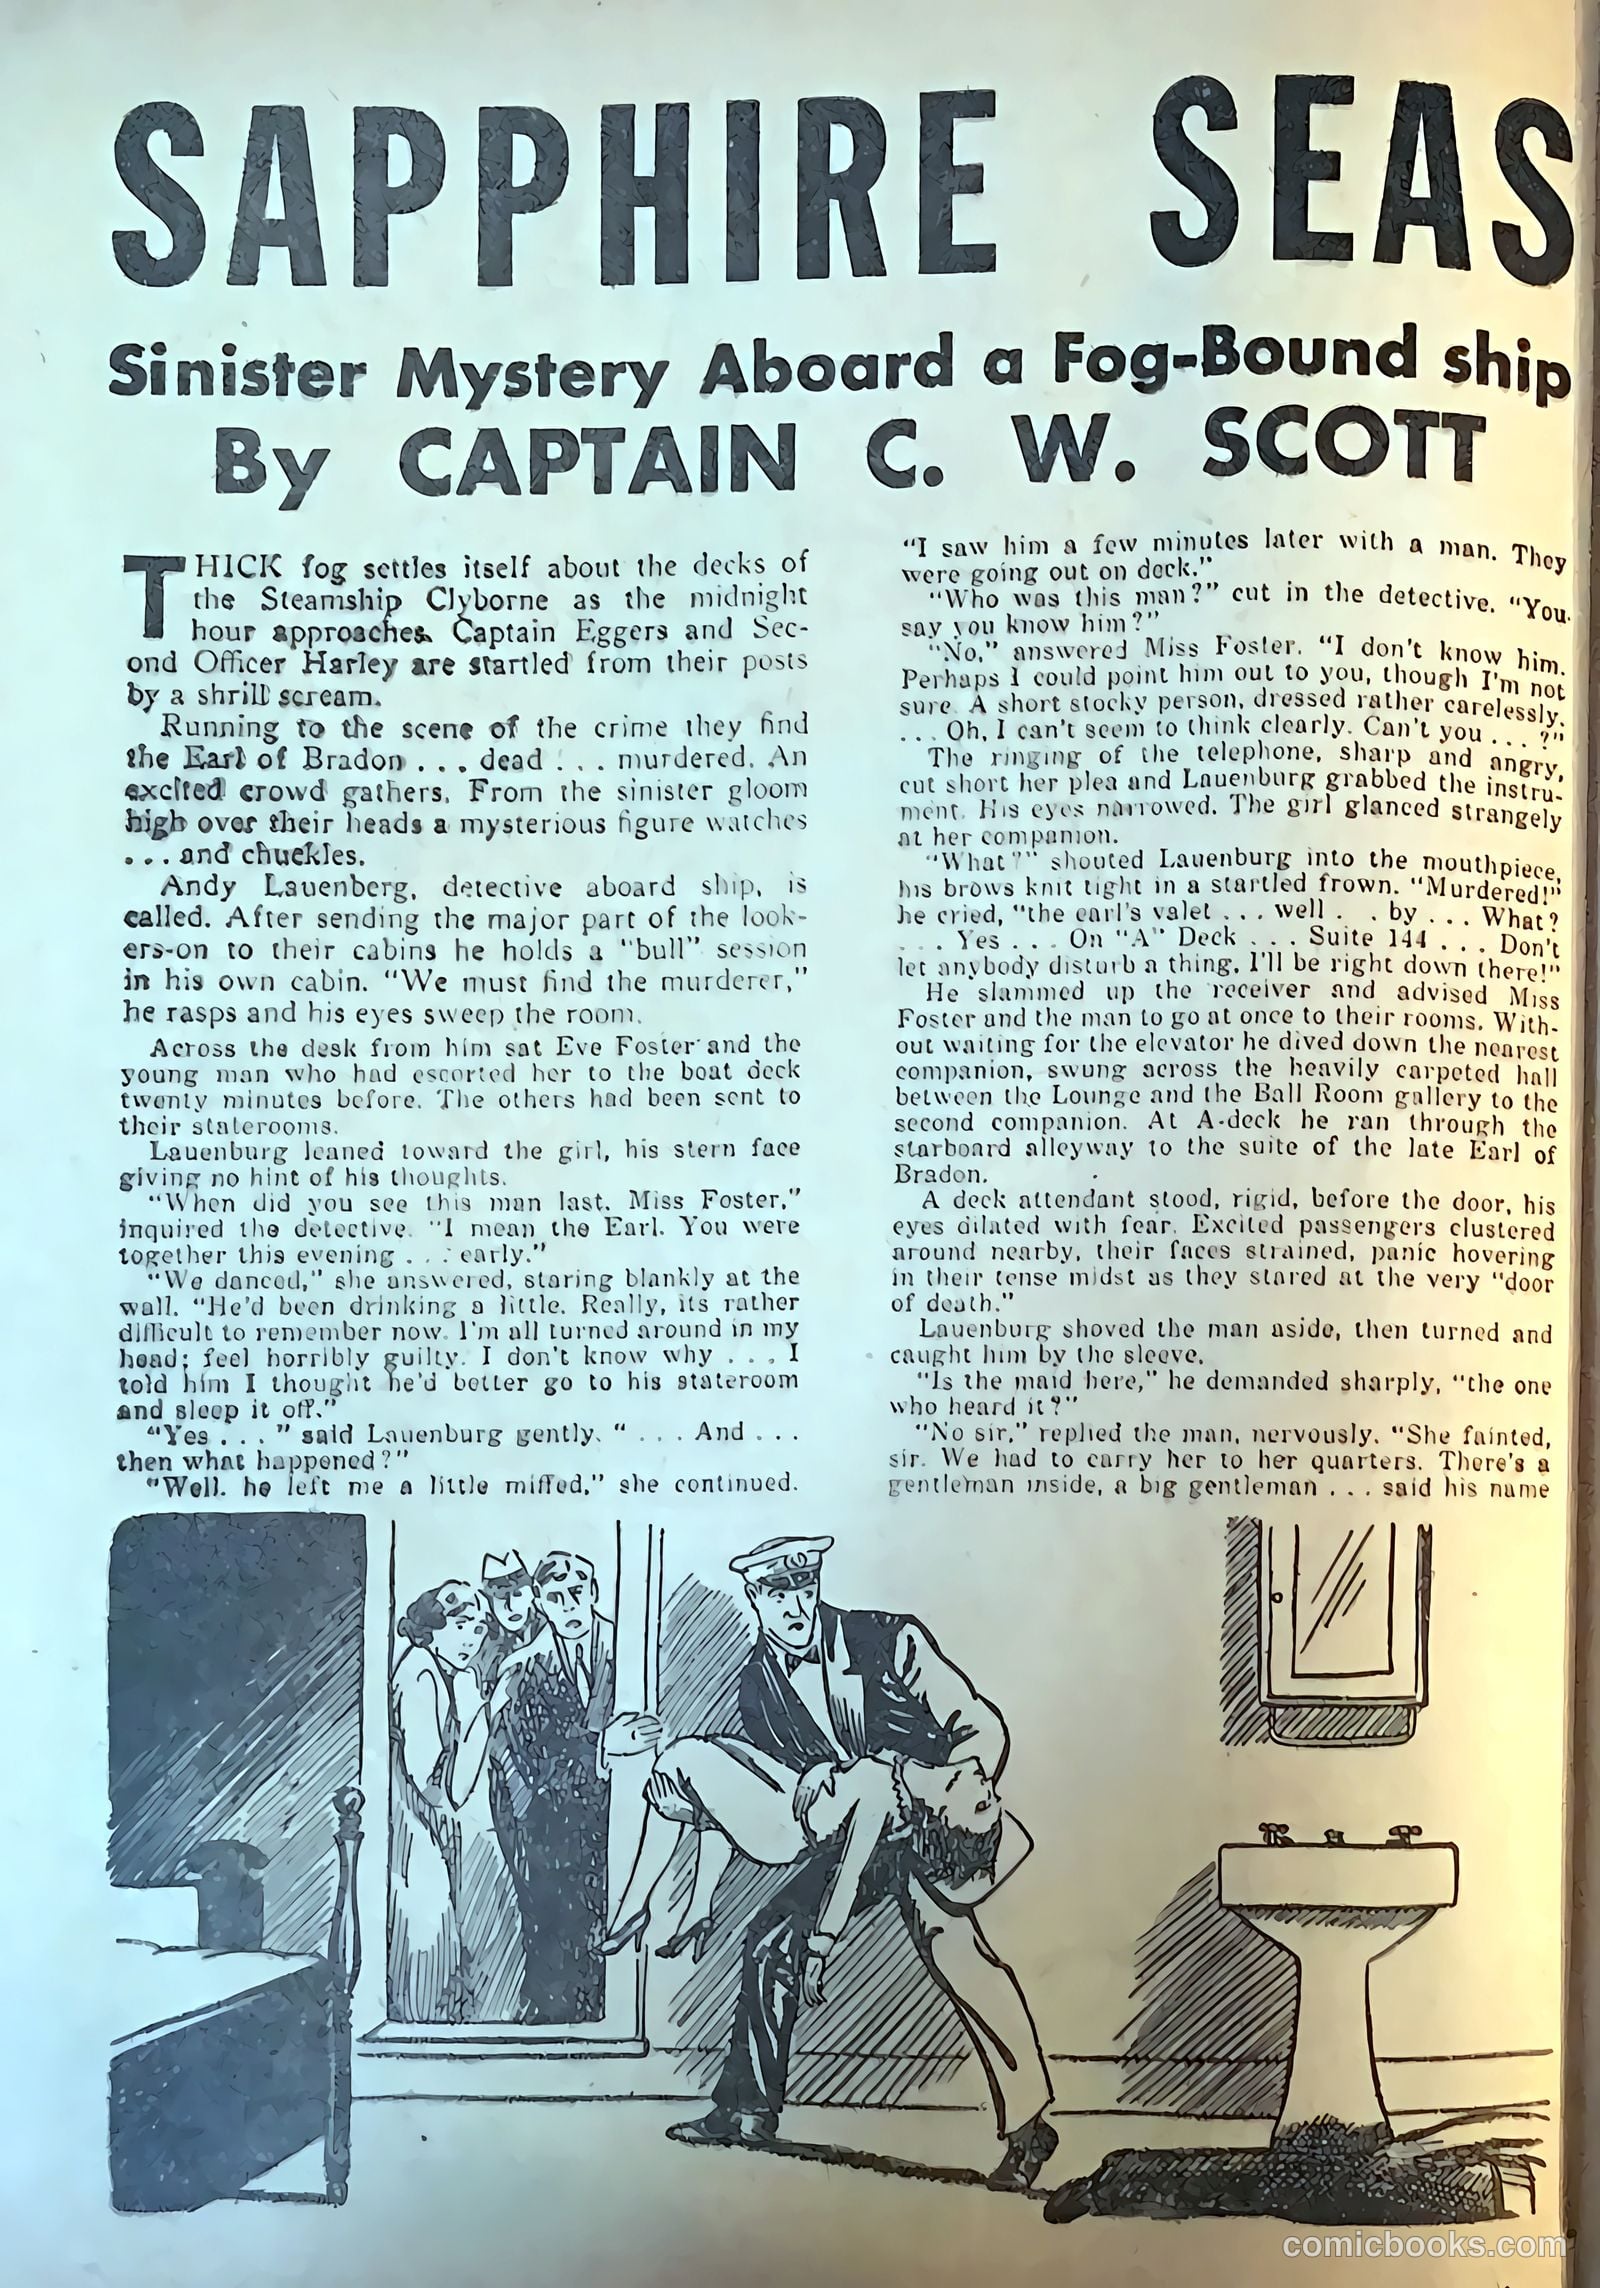
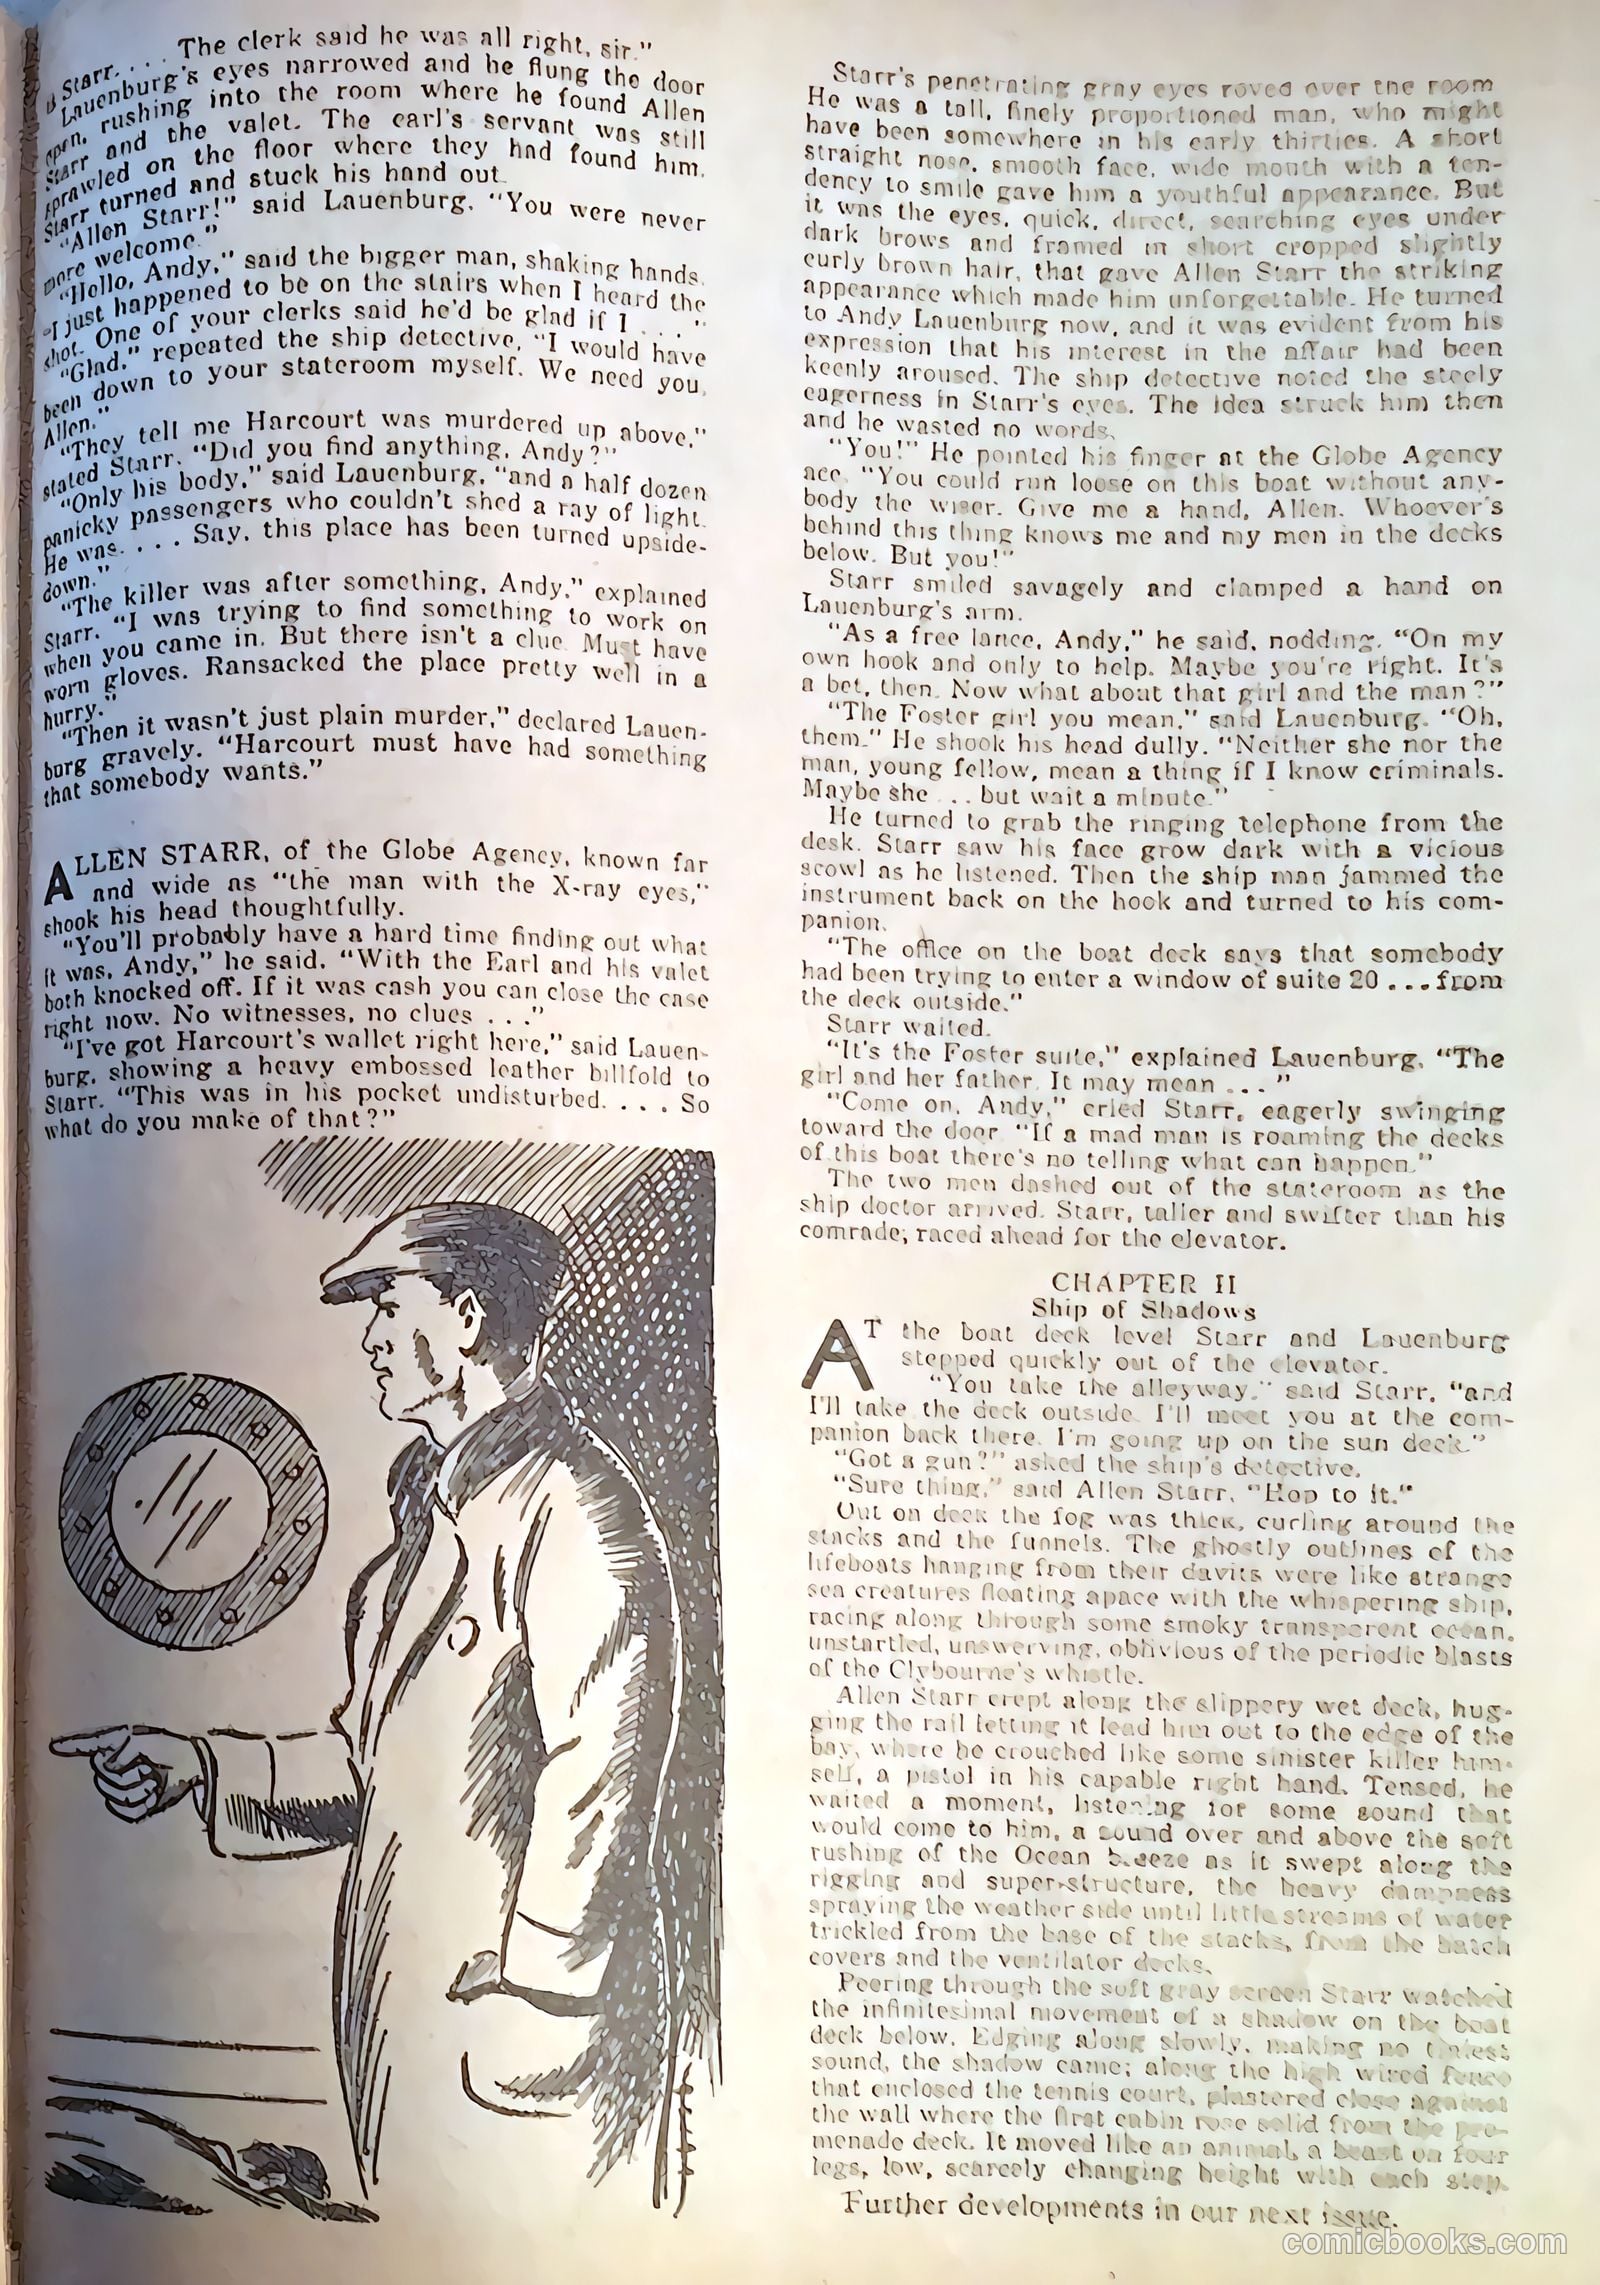
Nikolas GaleInspector Craigthe CaptainCrimmins

When wealthy Nikolas Gale is murdered aboard the S.S. Gigantic two days out from Southampton and the famed Rajah Diamond vanishes, Inspector Craig—on vacation and far from his usual beat—steps in to unravel the mystery. With the ship a floating island of suspects and secrets, the detective must piece together clues before the killer strikes again.

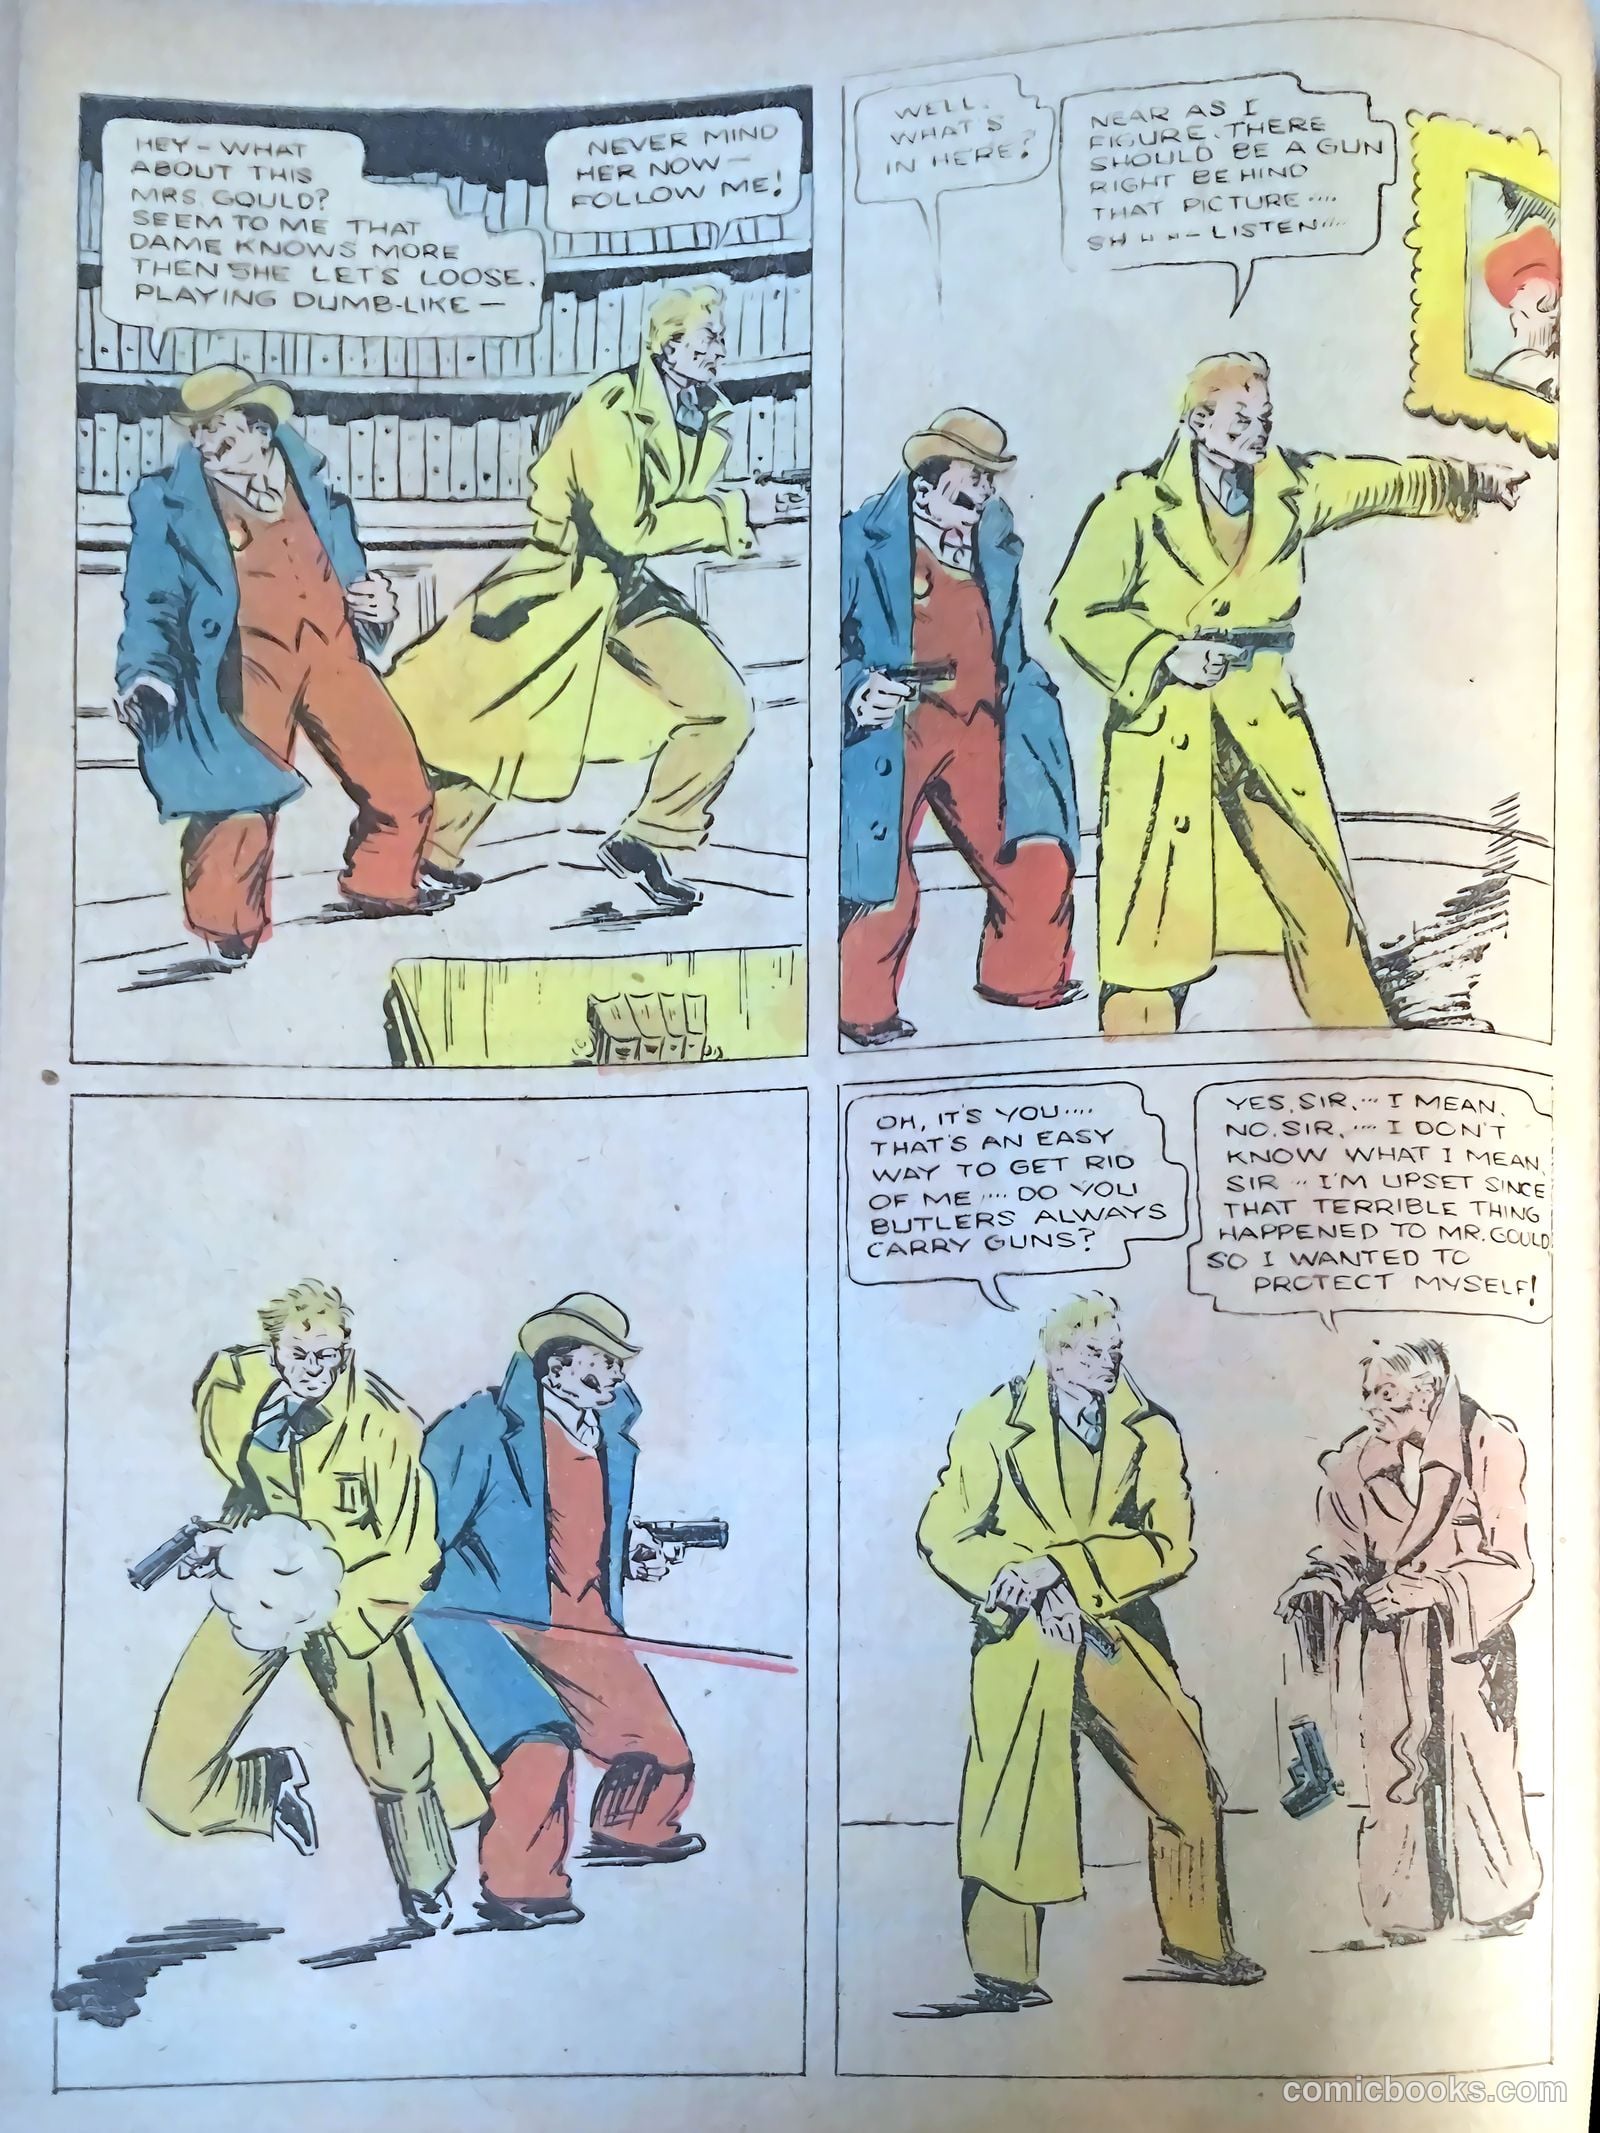
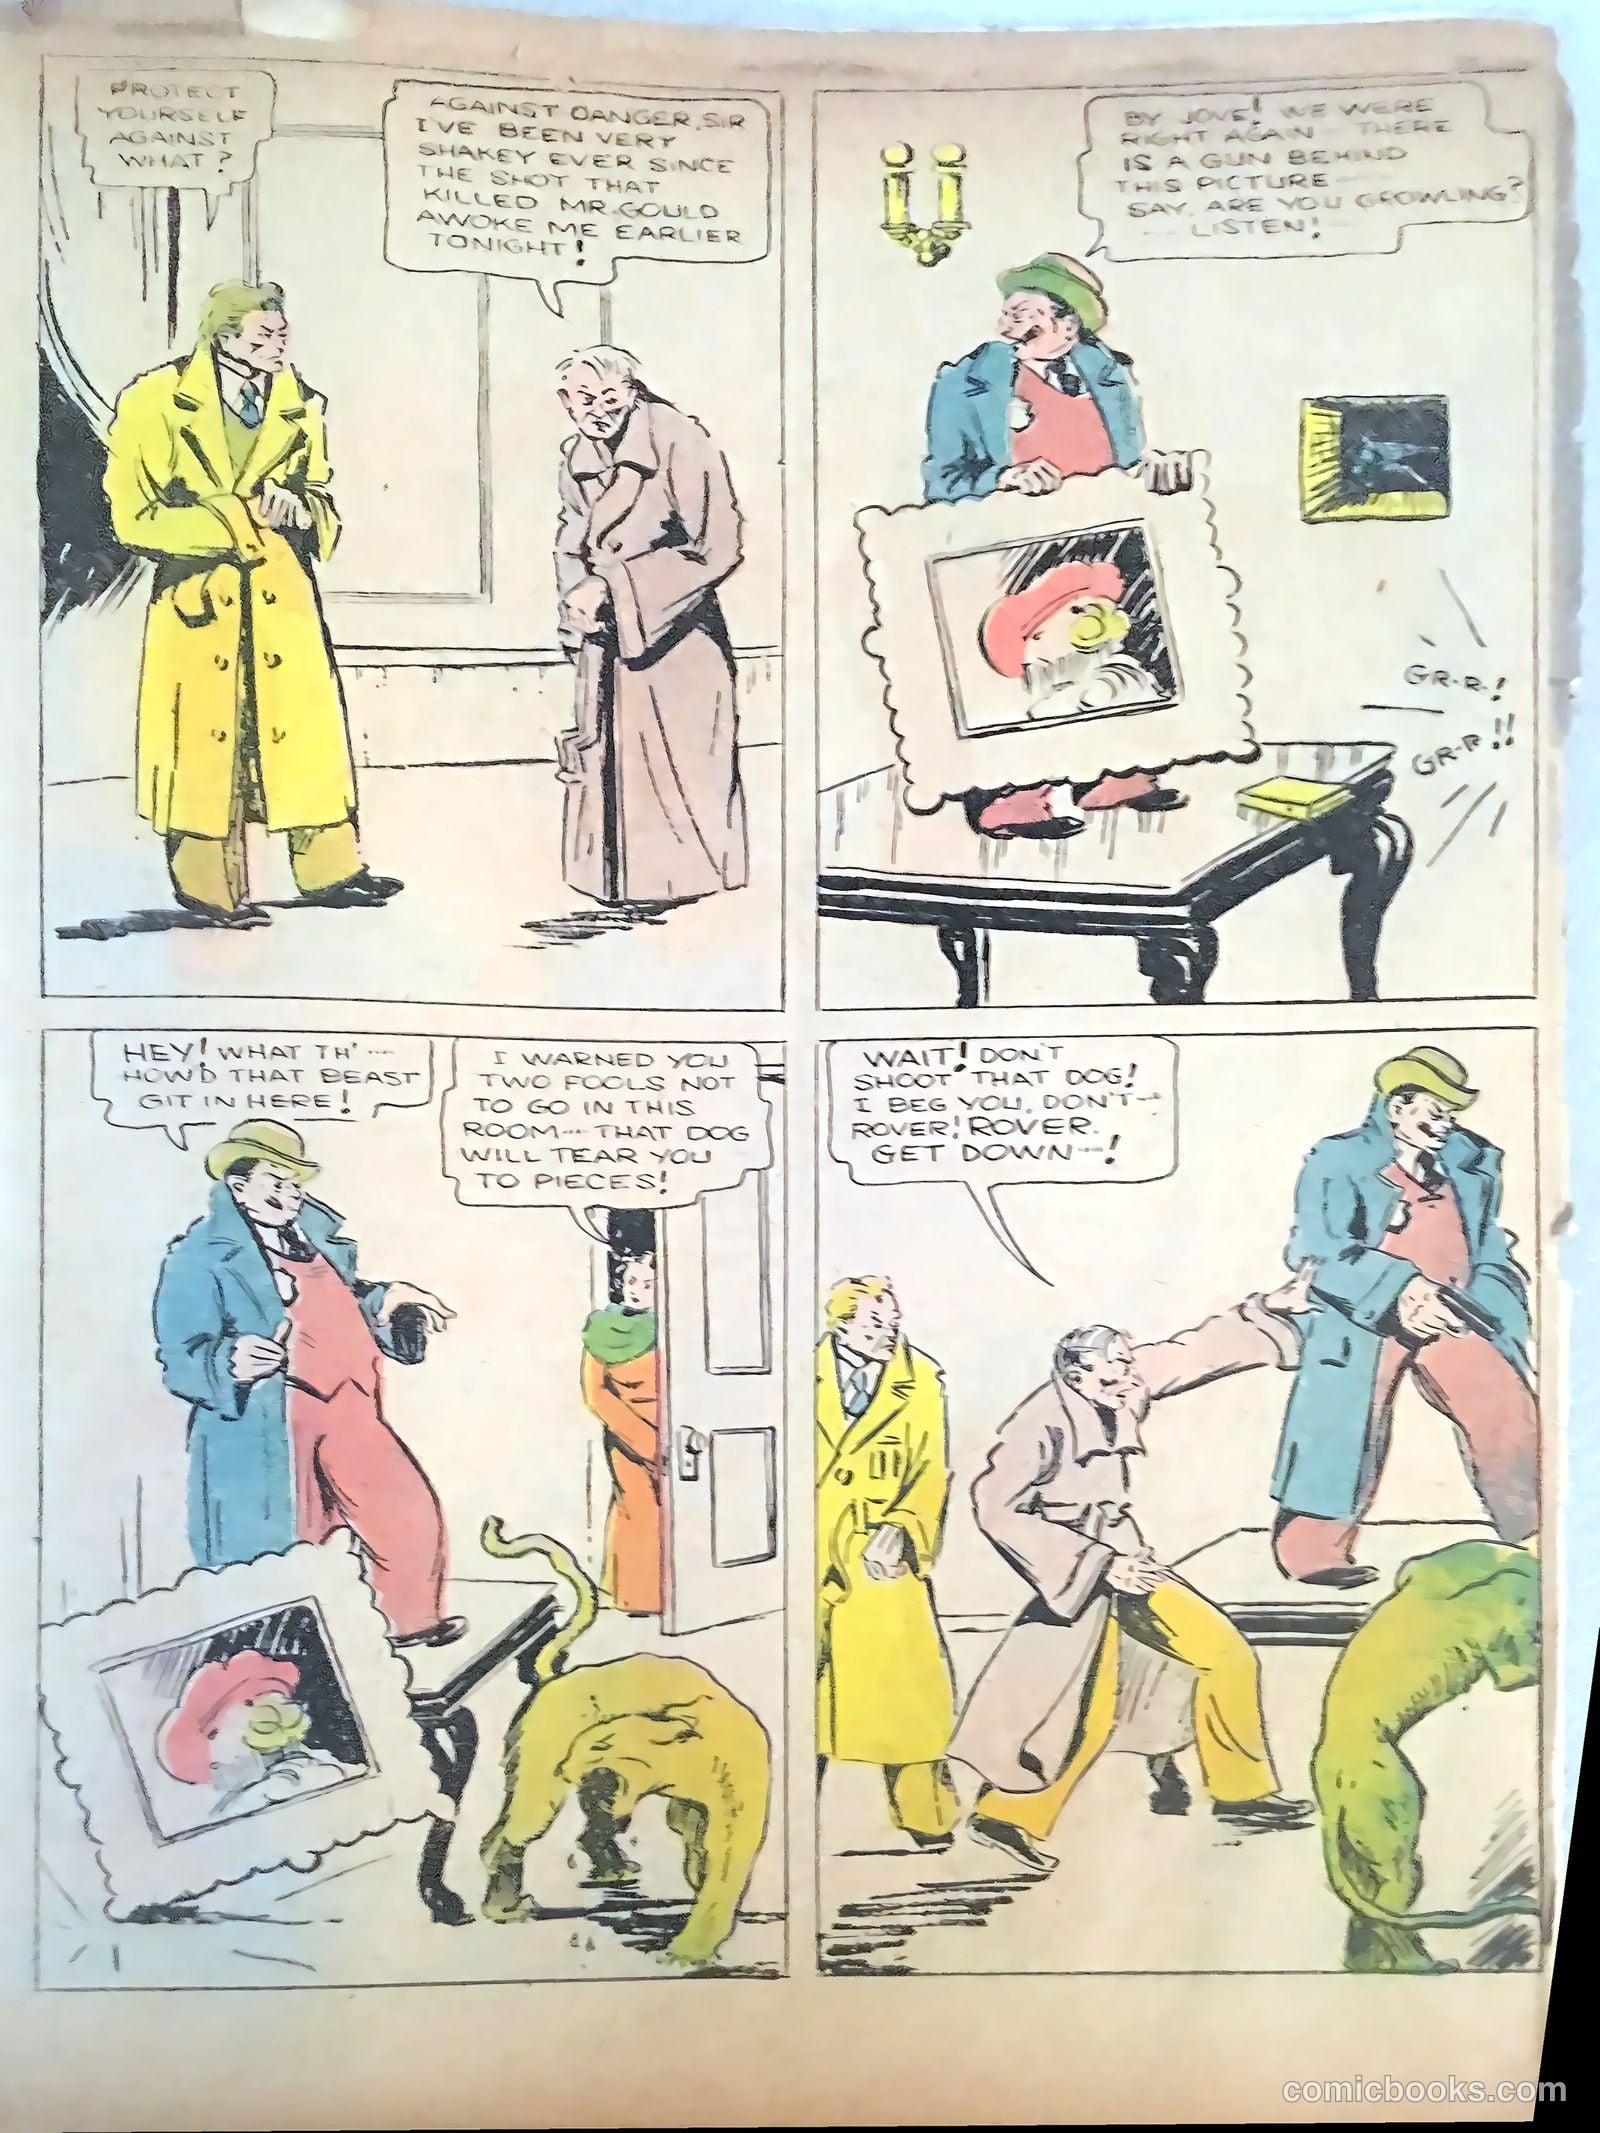
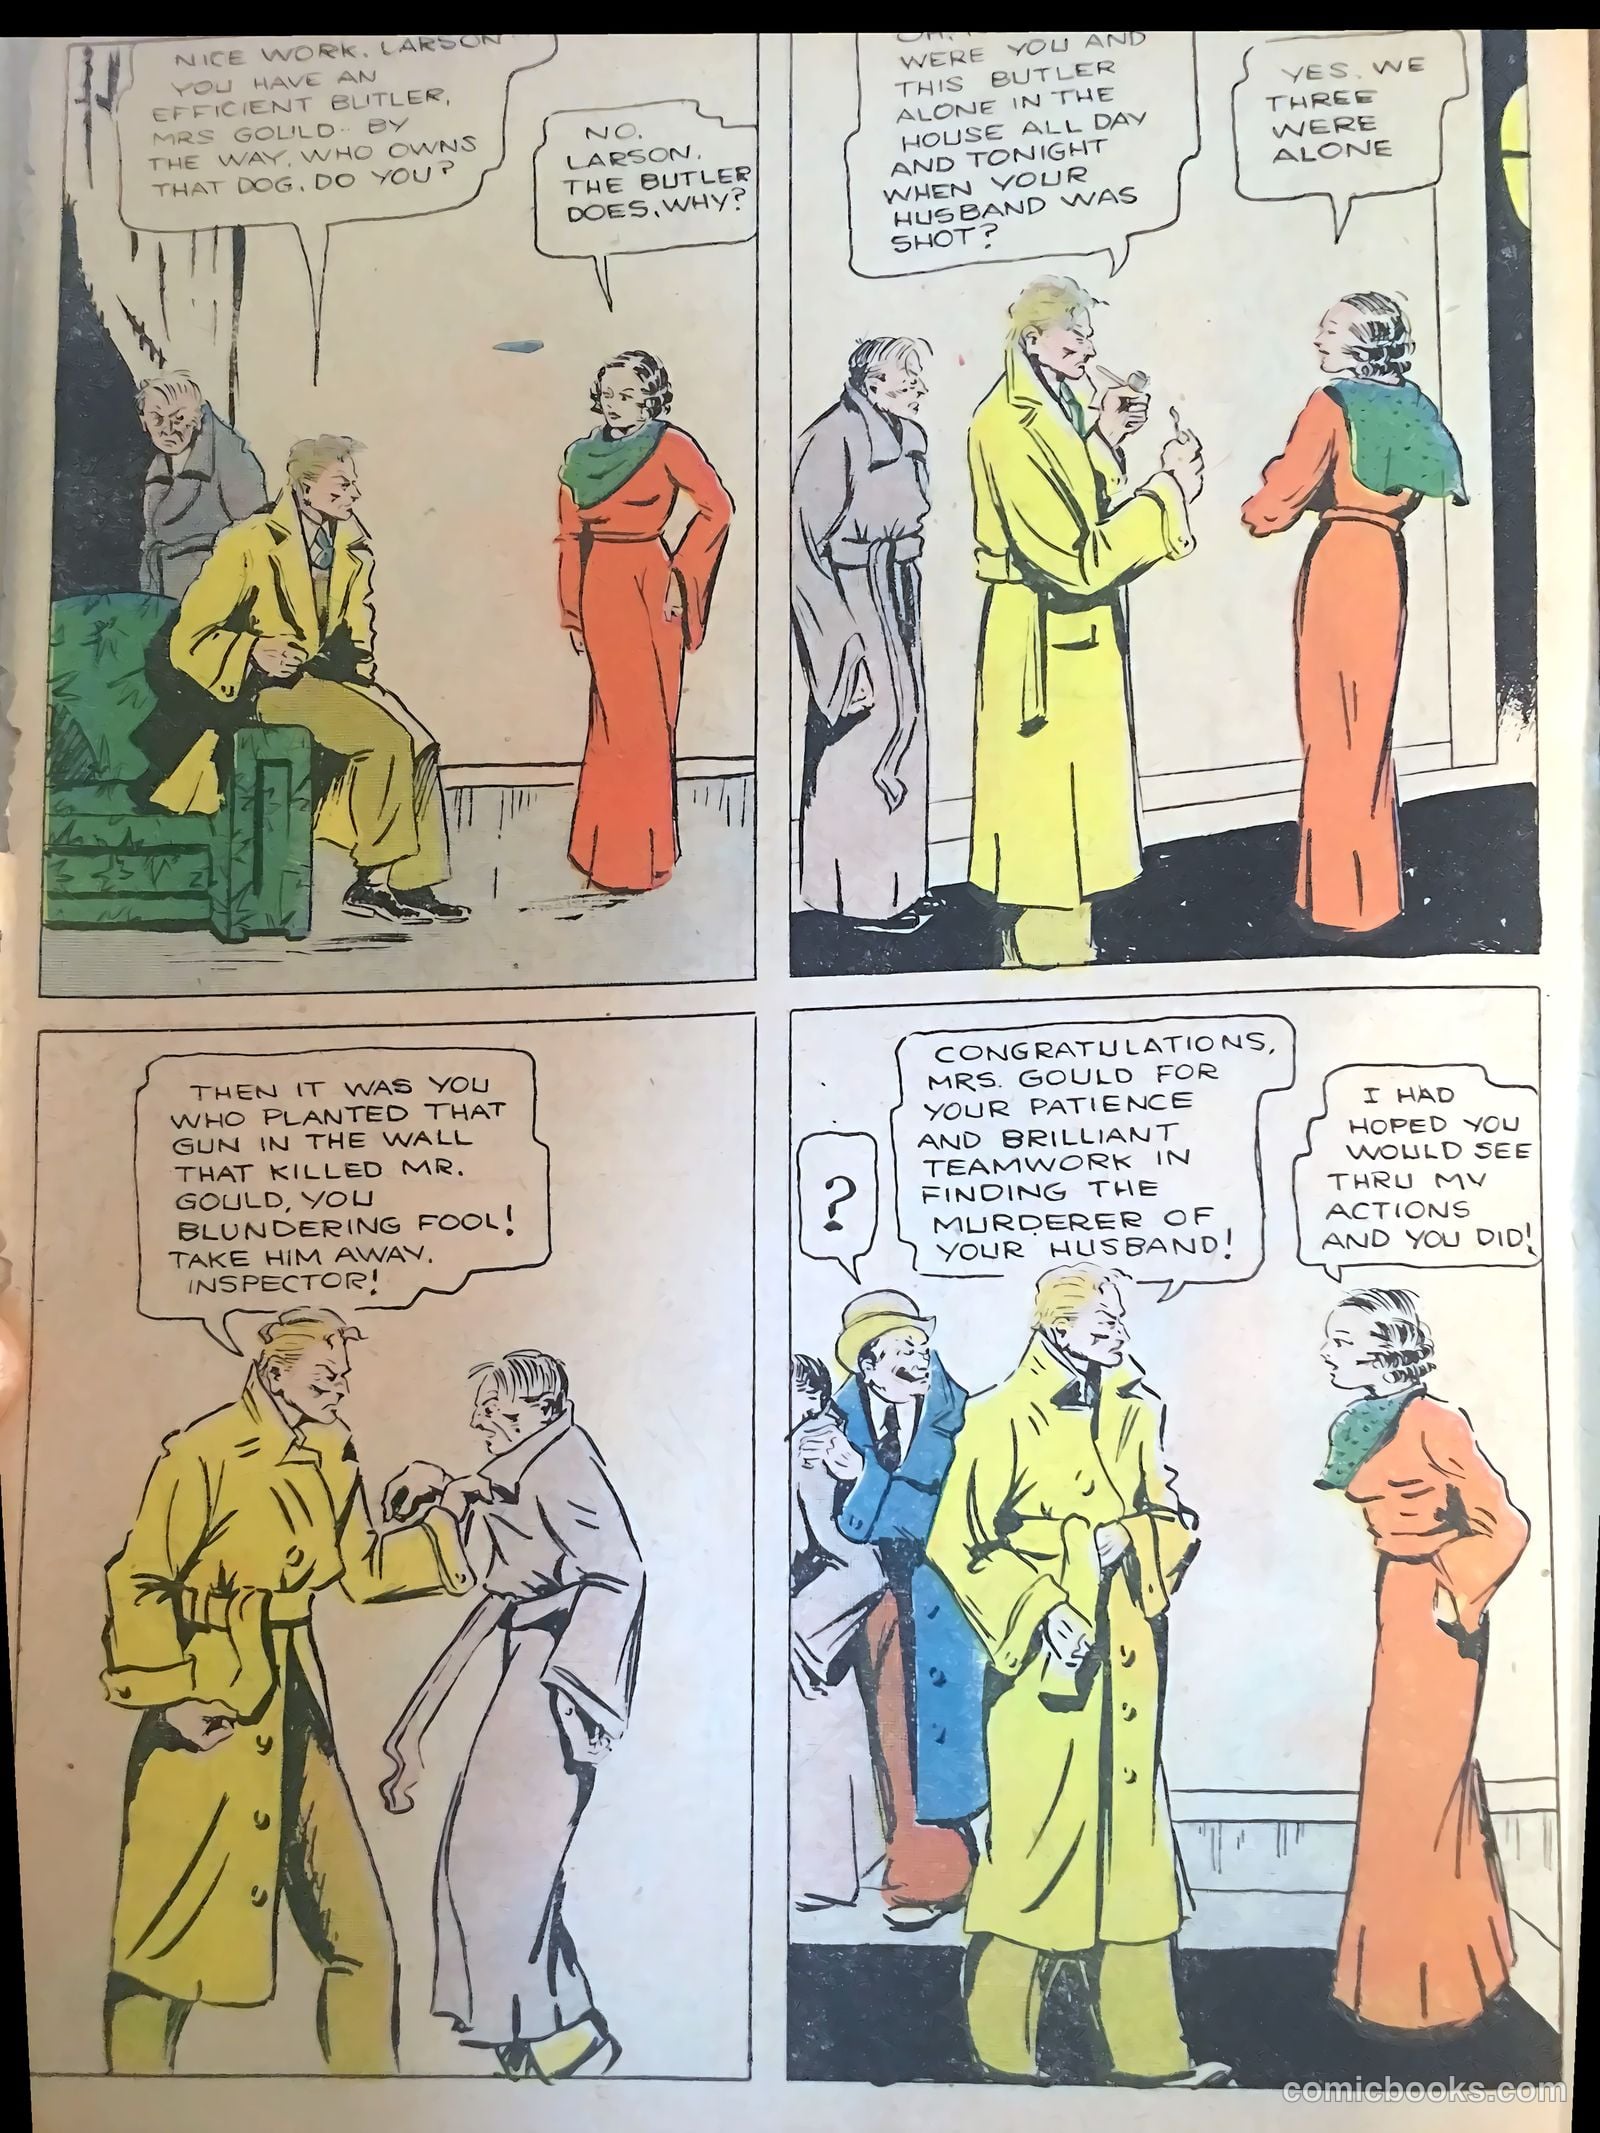
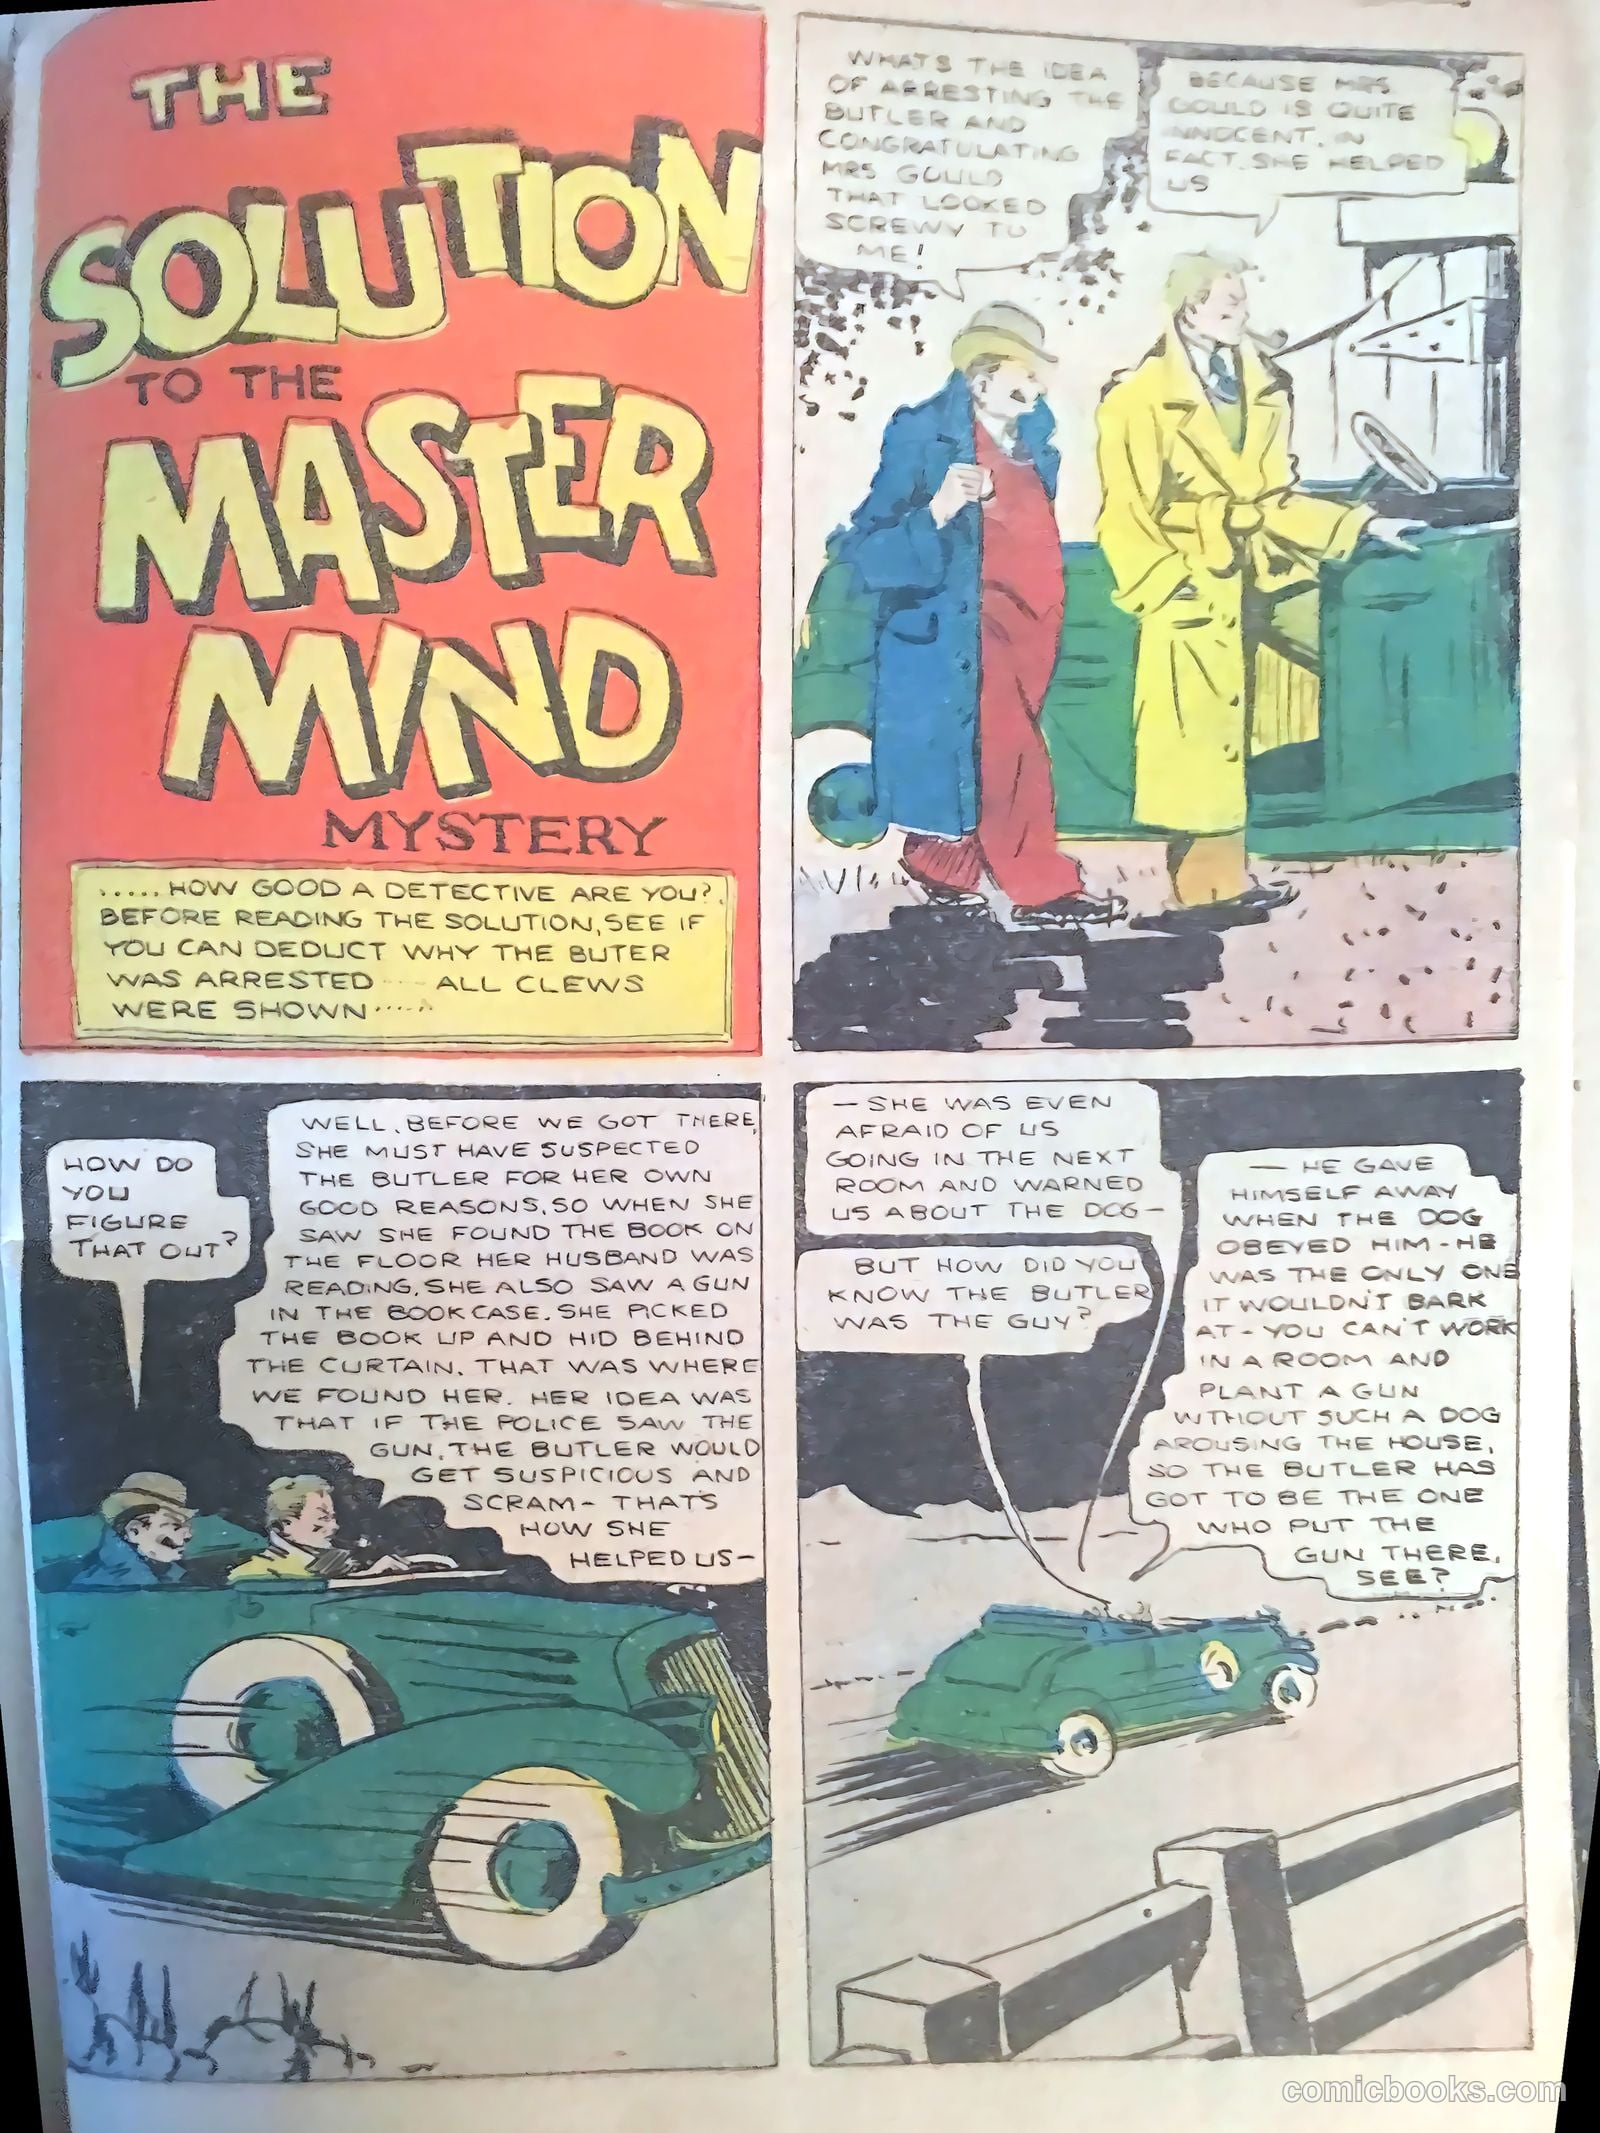
The Master Mind
7 pp · detective-mystery
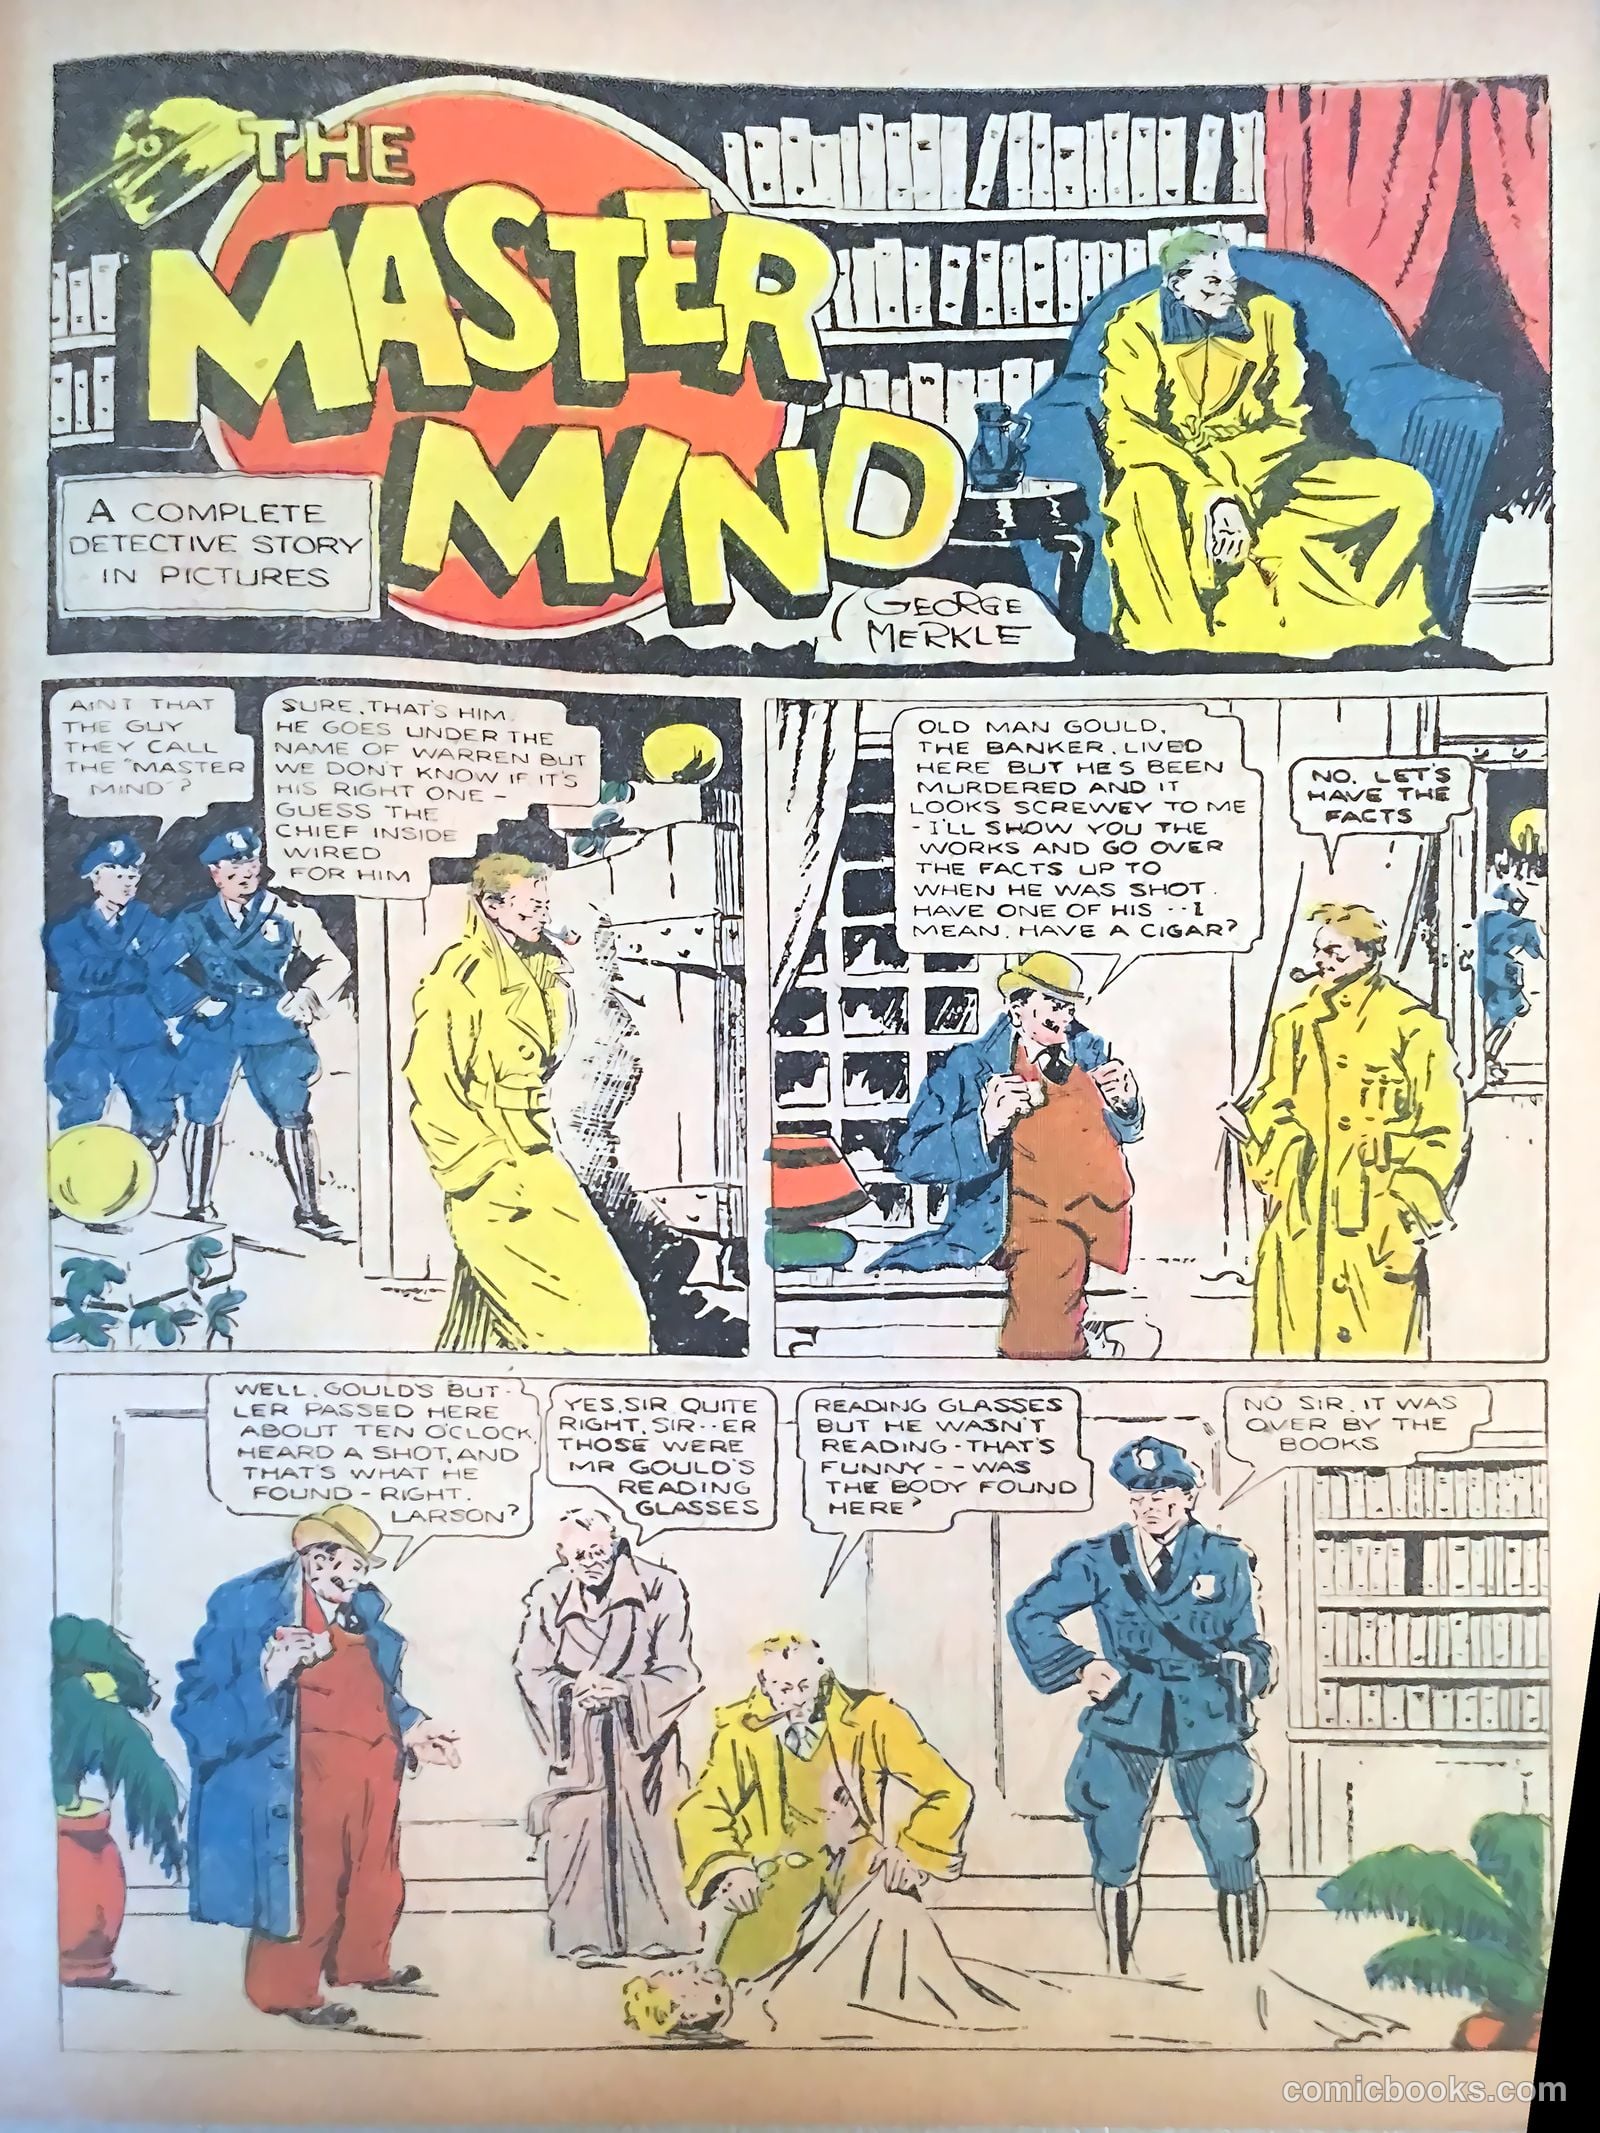
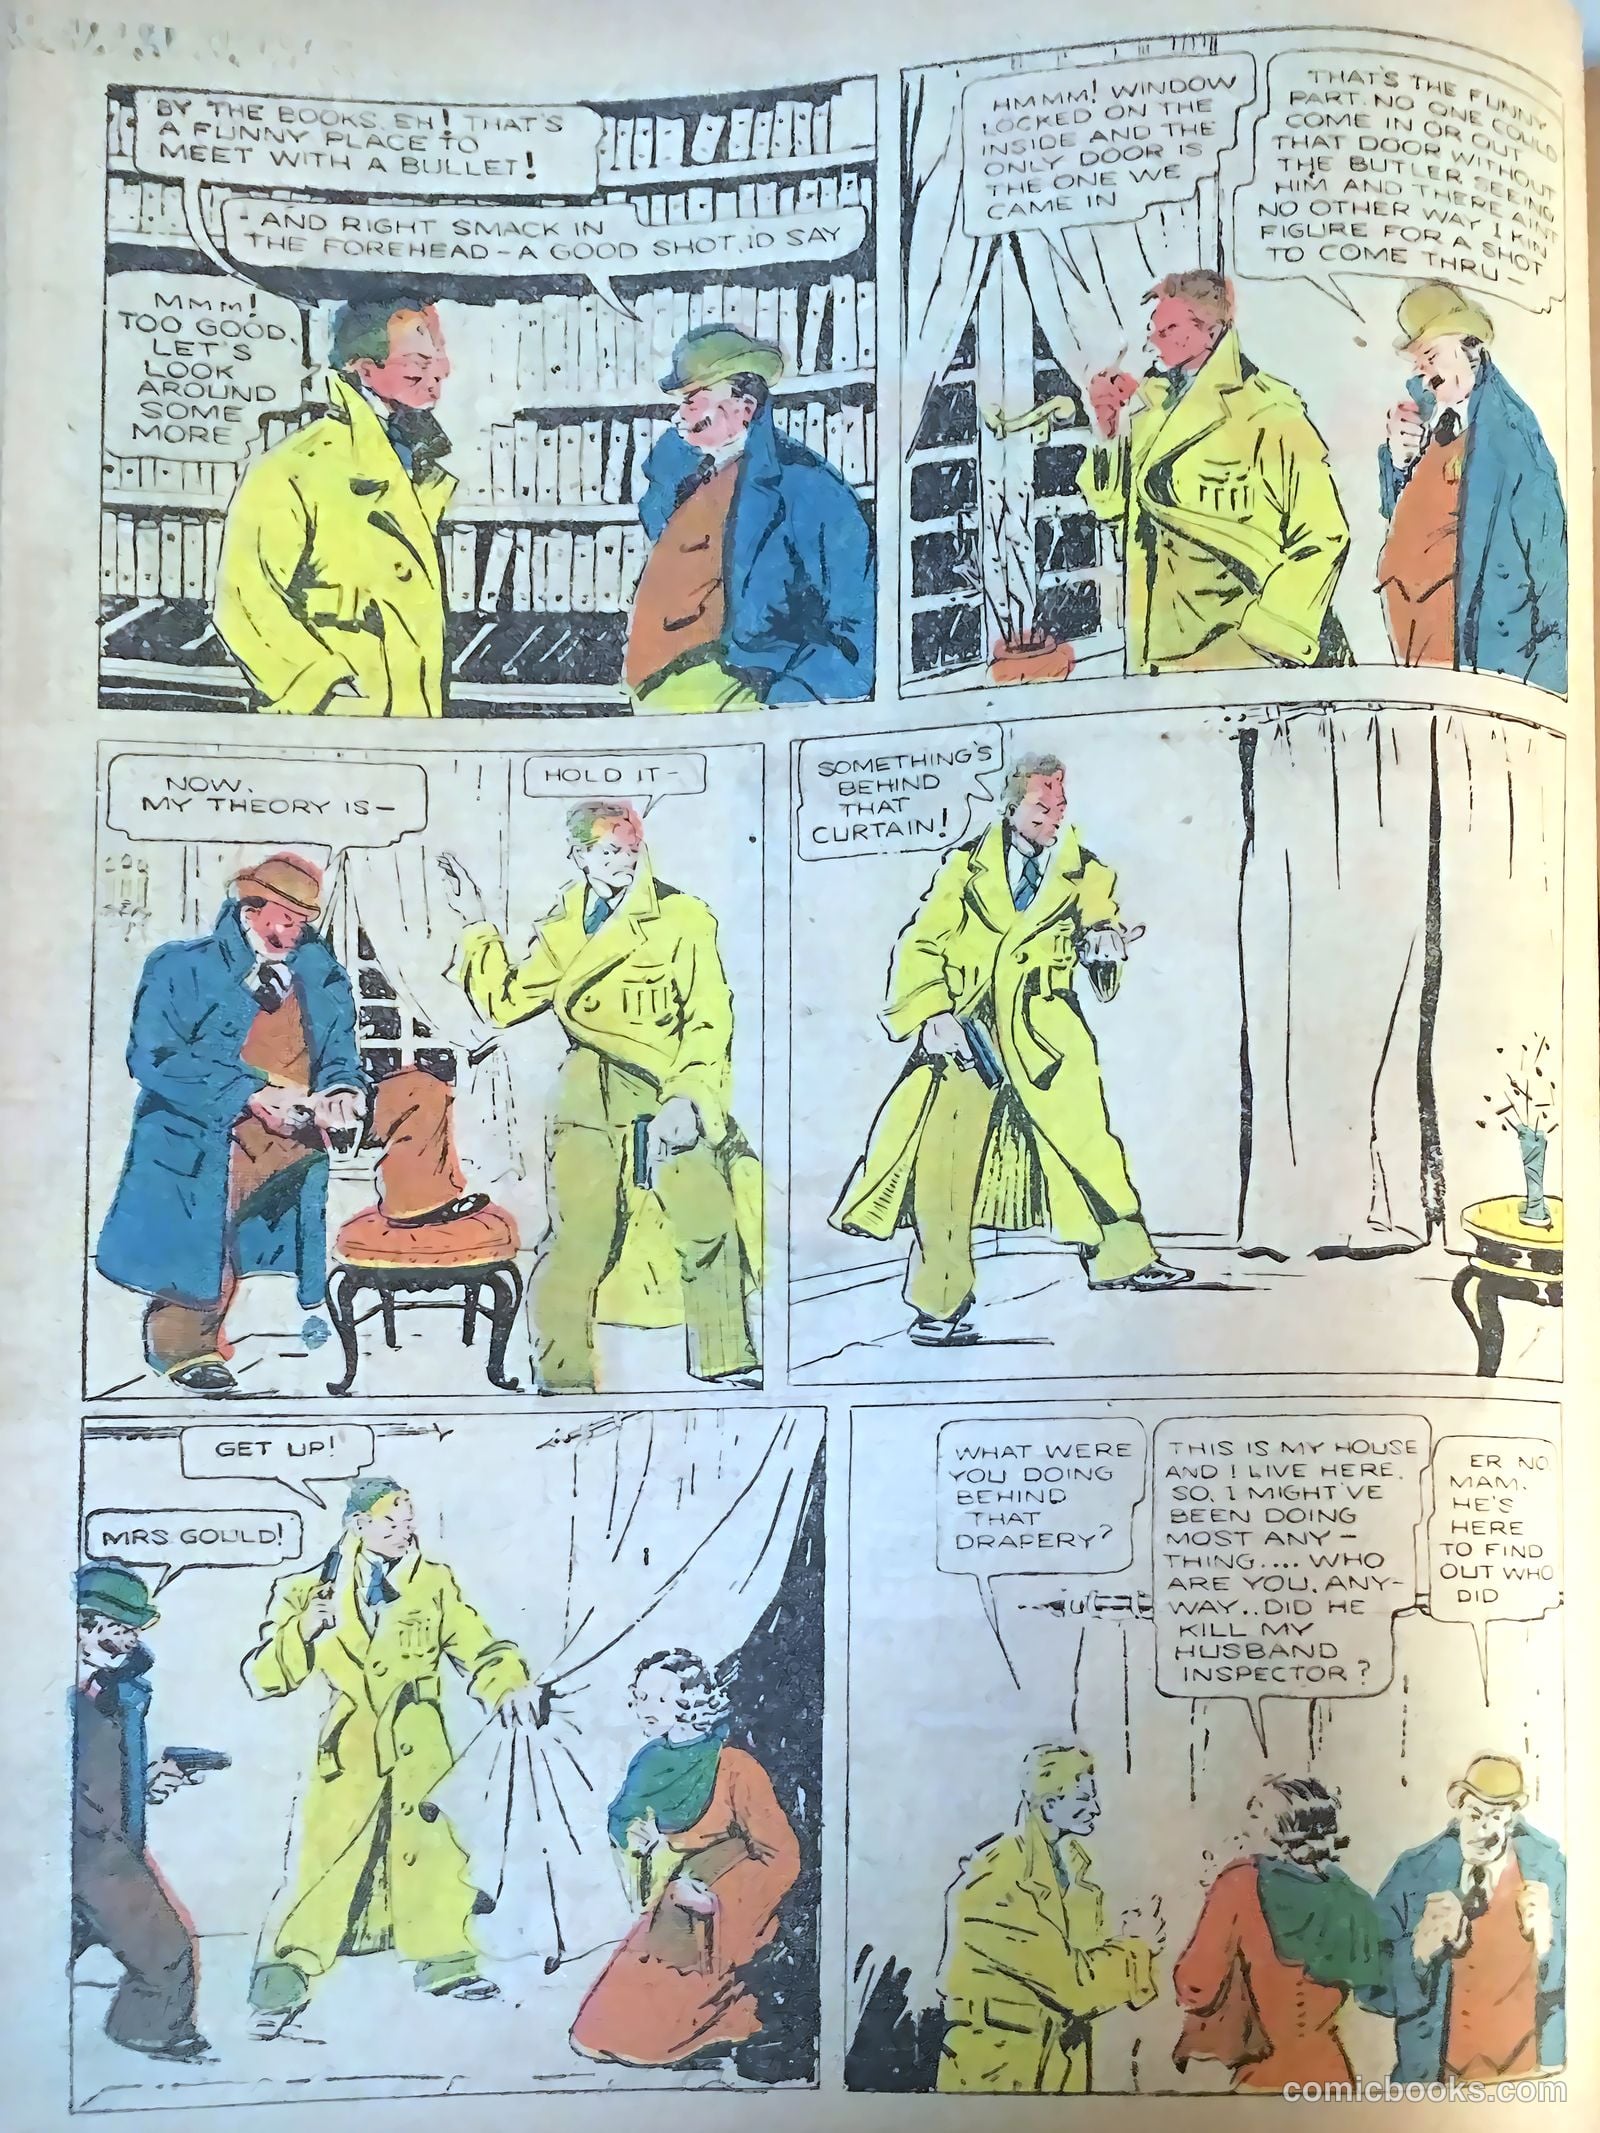
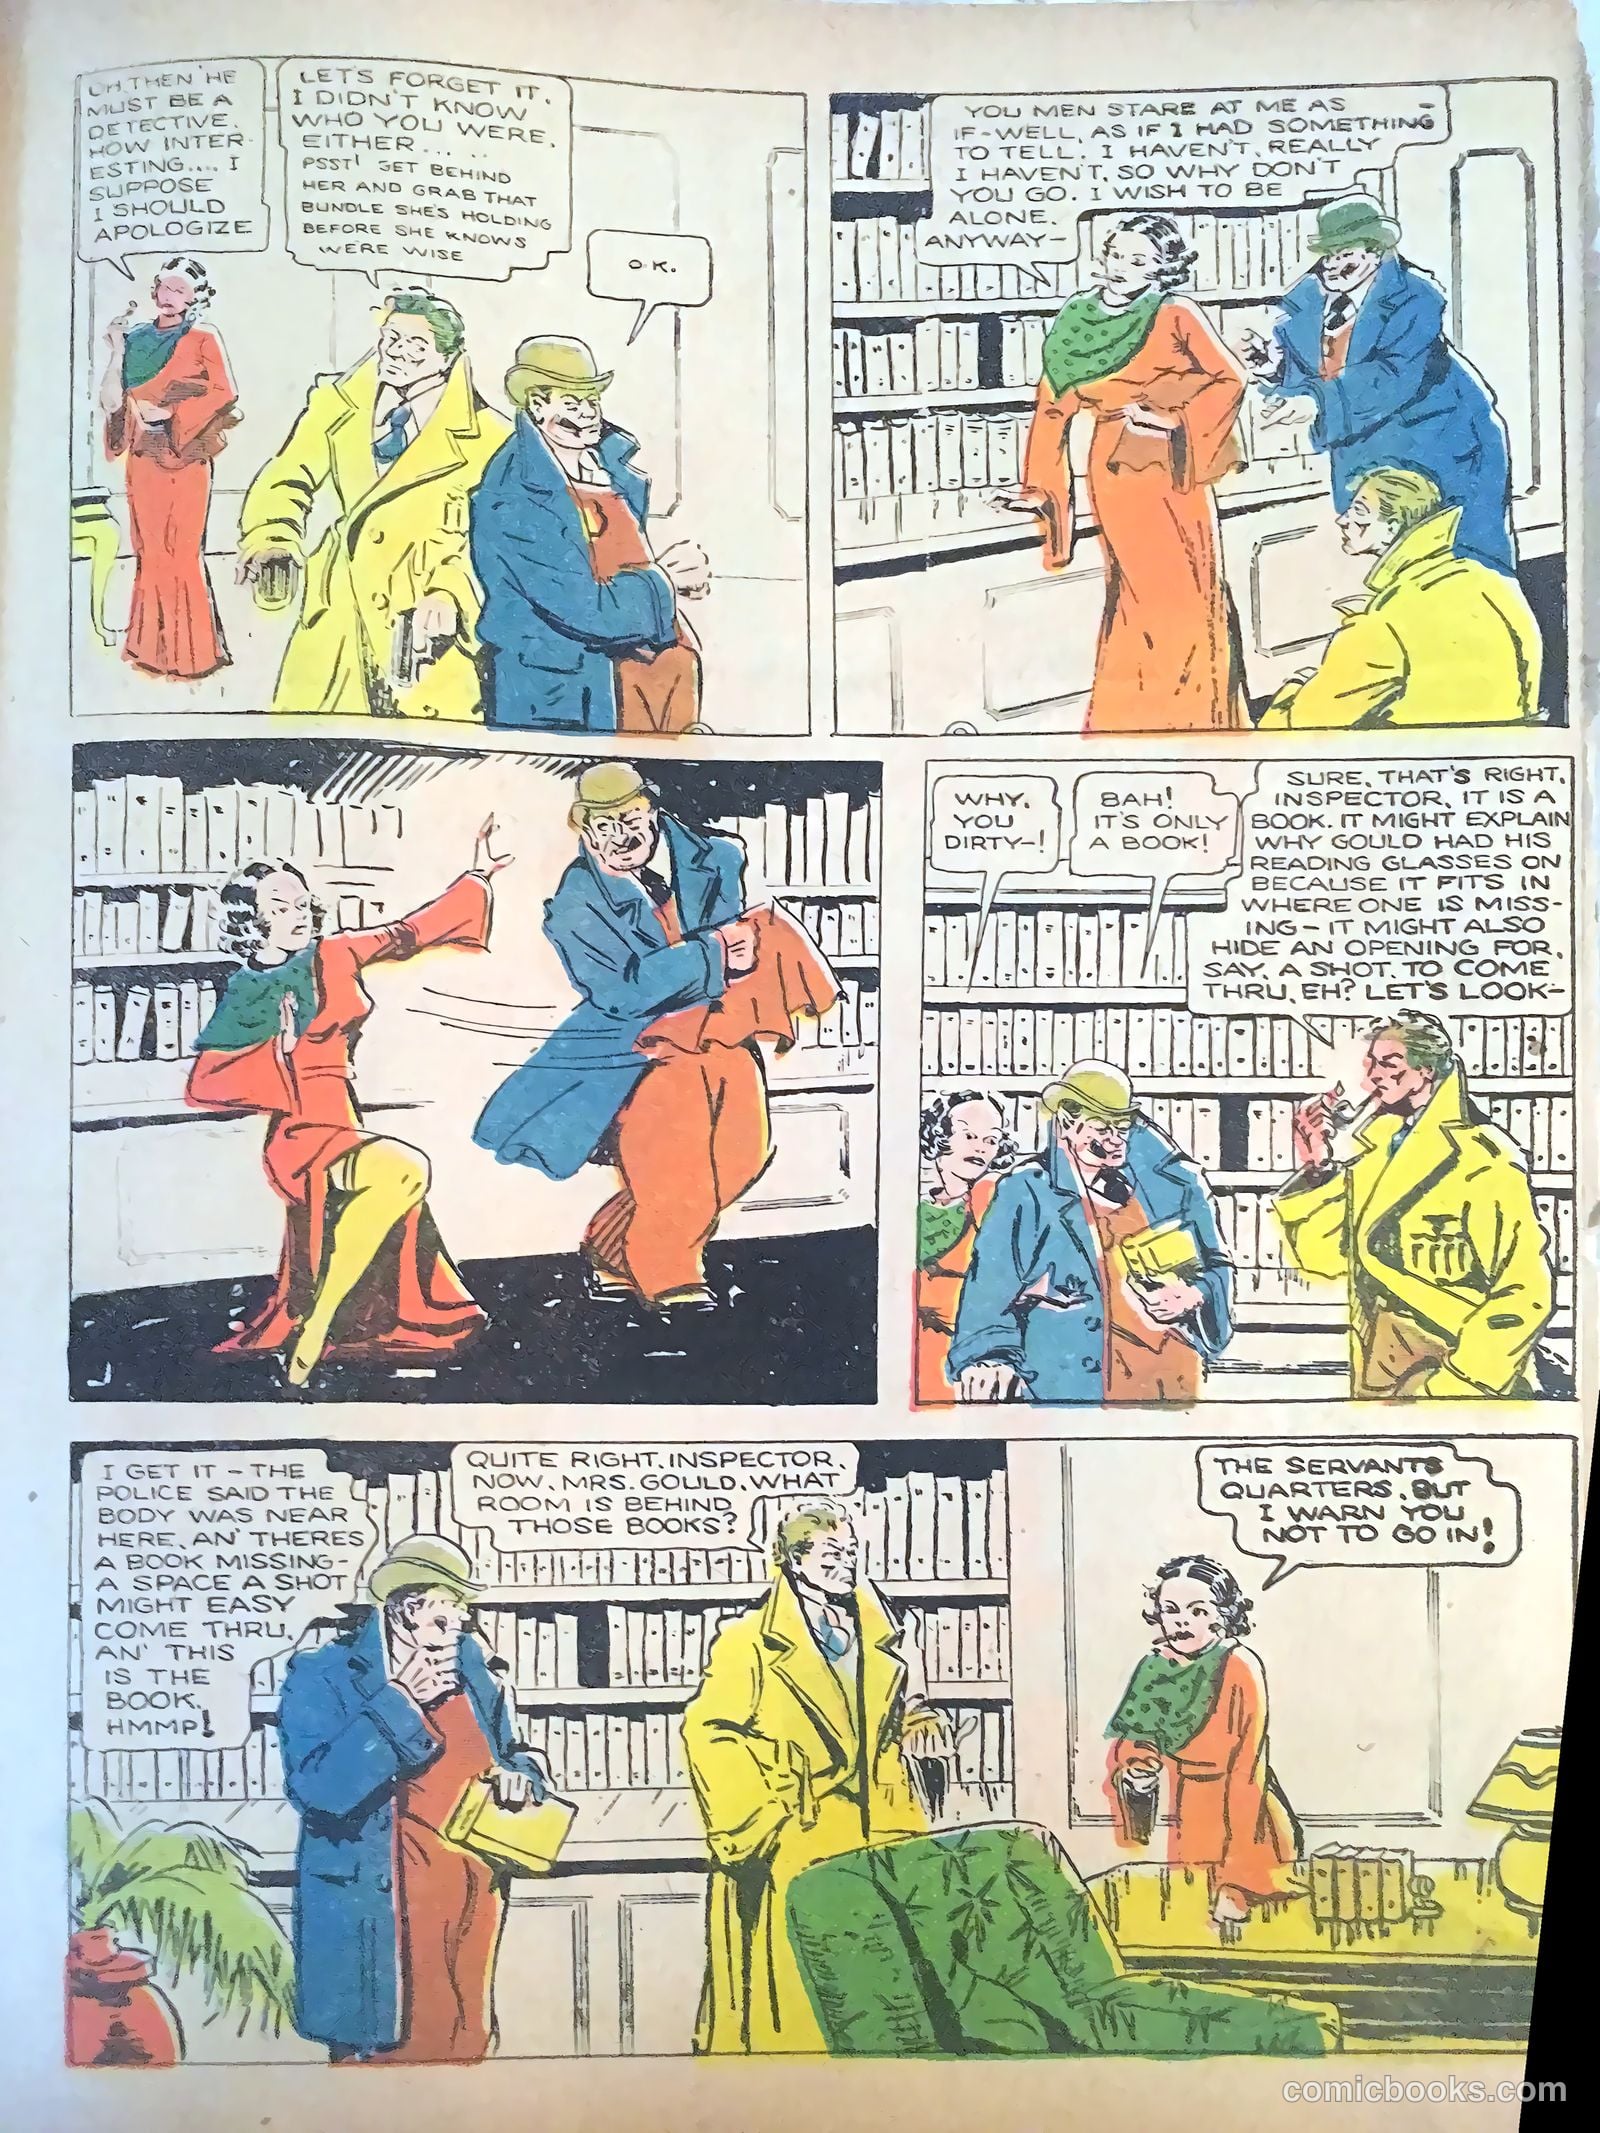
Warren [The Master Mind]Mrs. GouldLarson the butler

Warren, the mysterious detective known as "The Master Mind," arrives at a banker's locked-room murder to investigate the death of Mr. Gould—shot in the forehead with no apparent way for the killer to enter or escape. As Warren methodically examines the crime scene with the local inspector, he uncovers a hidden passage, a concealed gun, and discovers that Mrs. Gould has been secretly helping the investigation, her suspicious behavior masking a crucial clue. The solution hinges on a single detail that reveals who truly pulled the trigger.

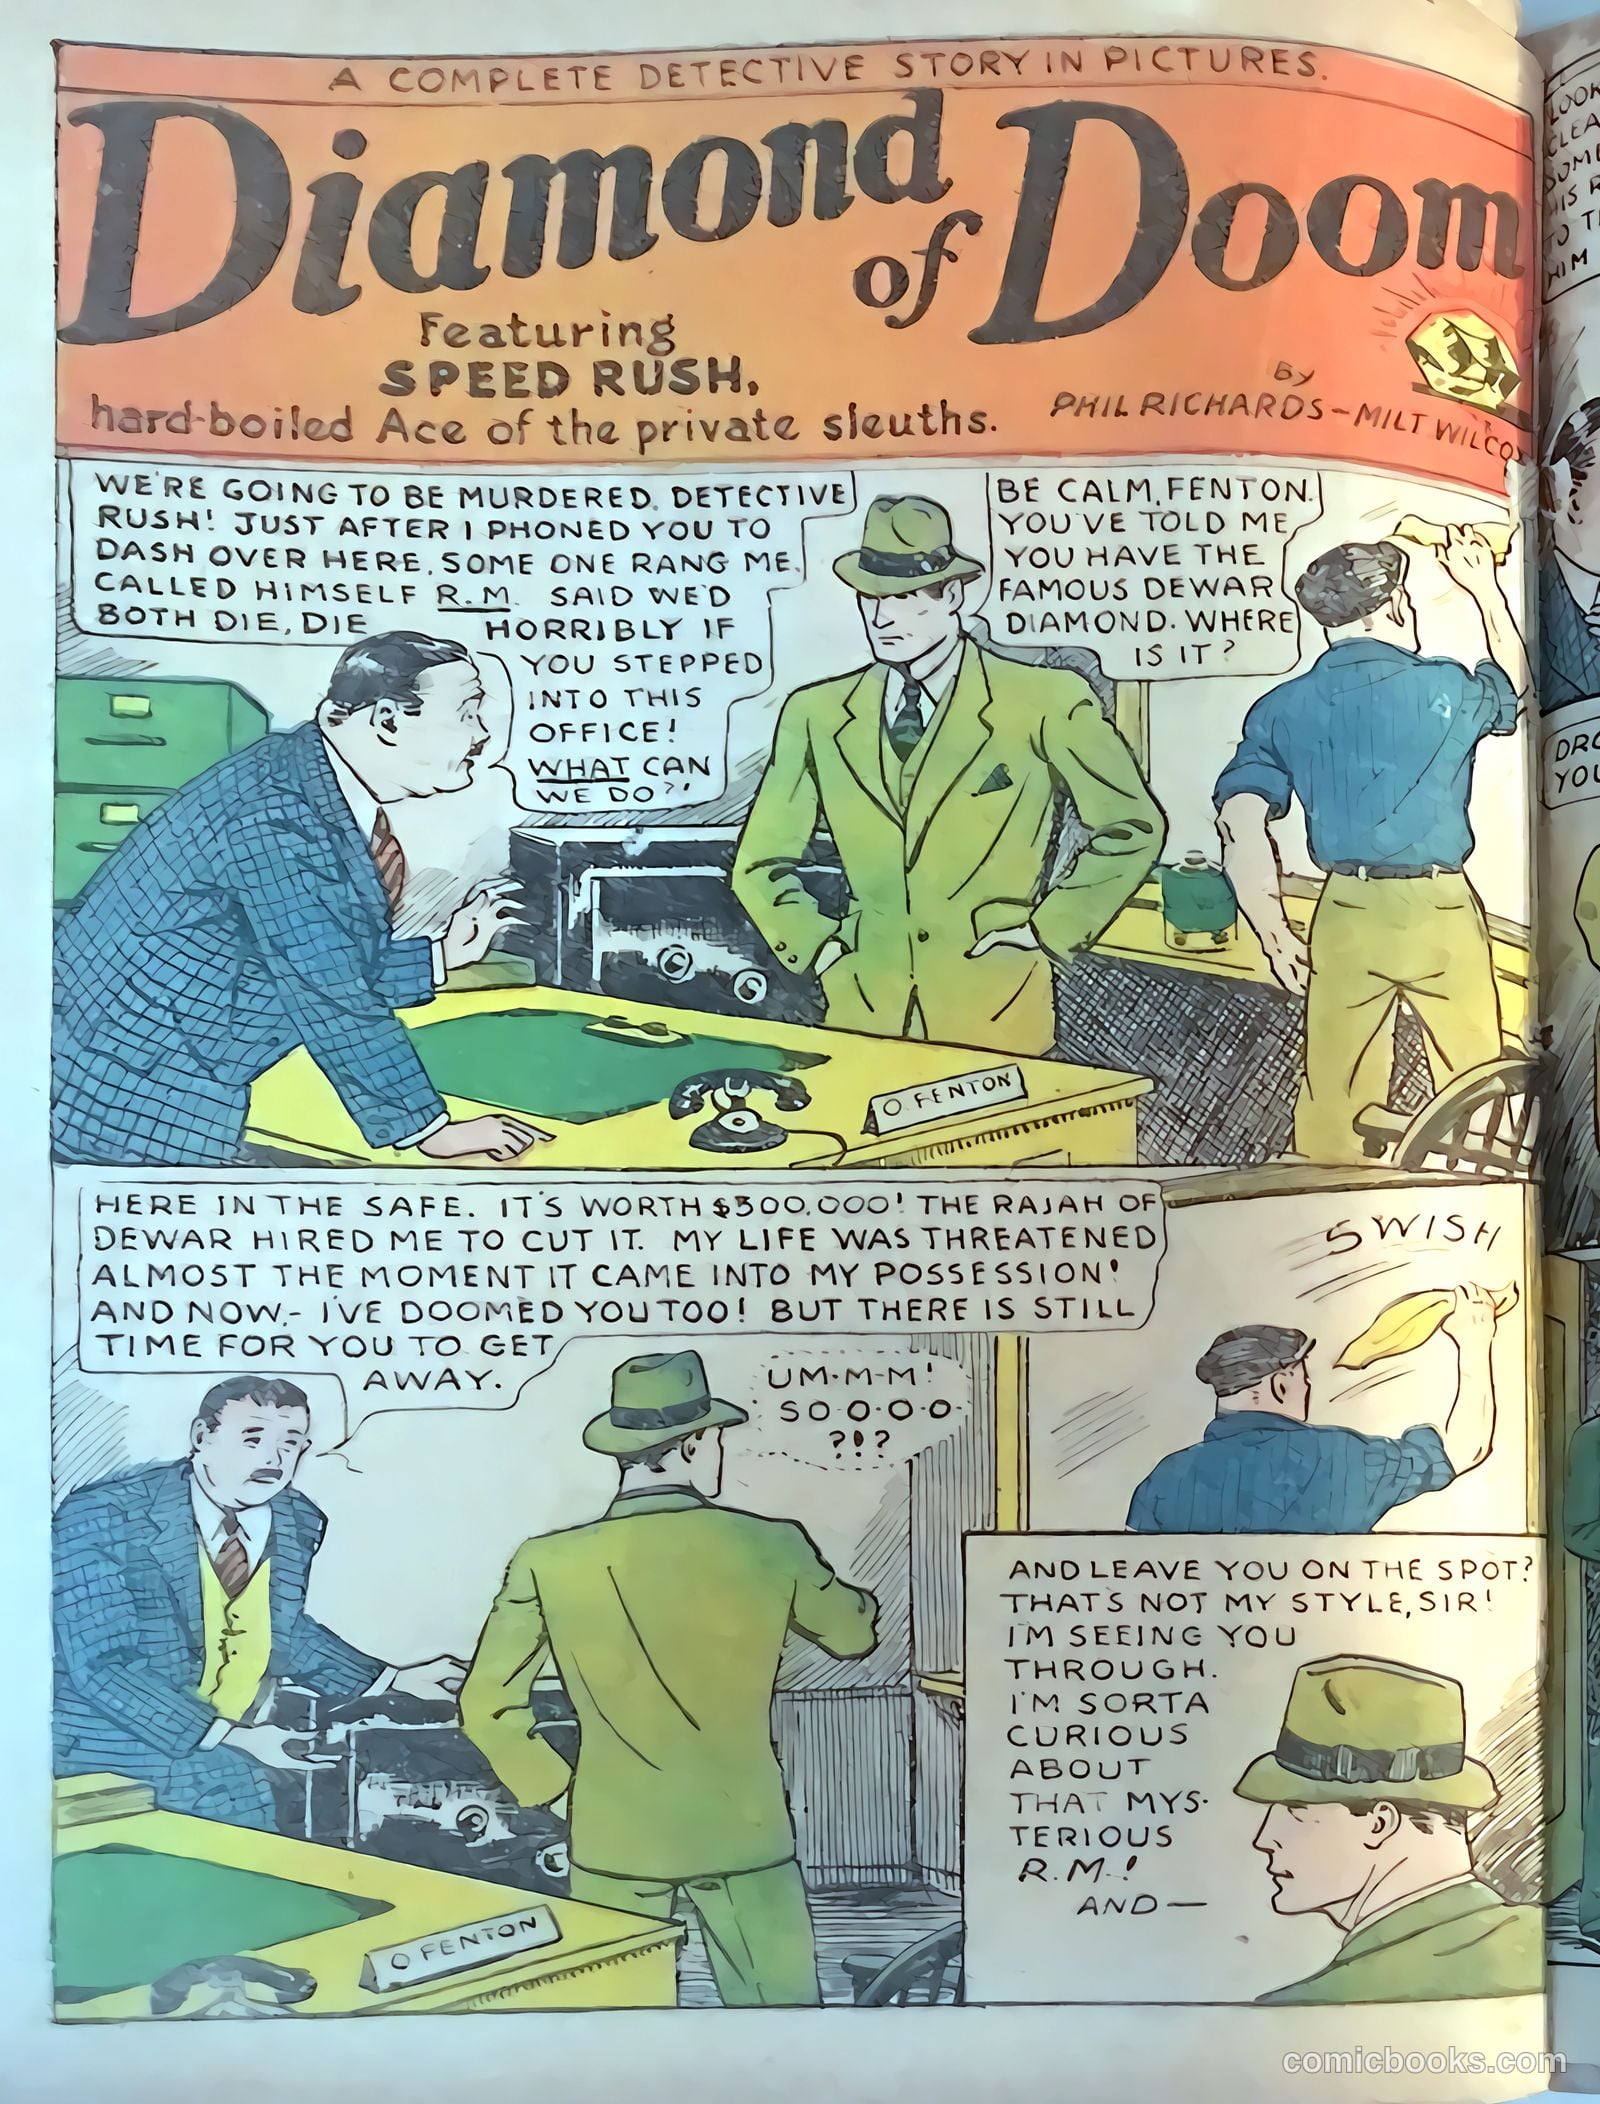
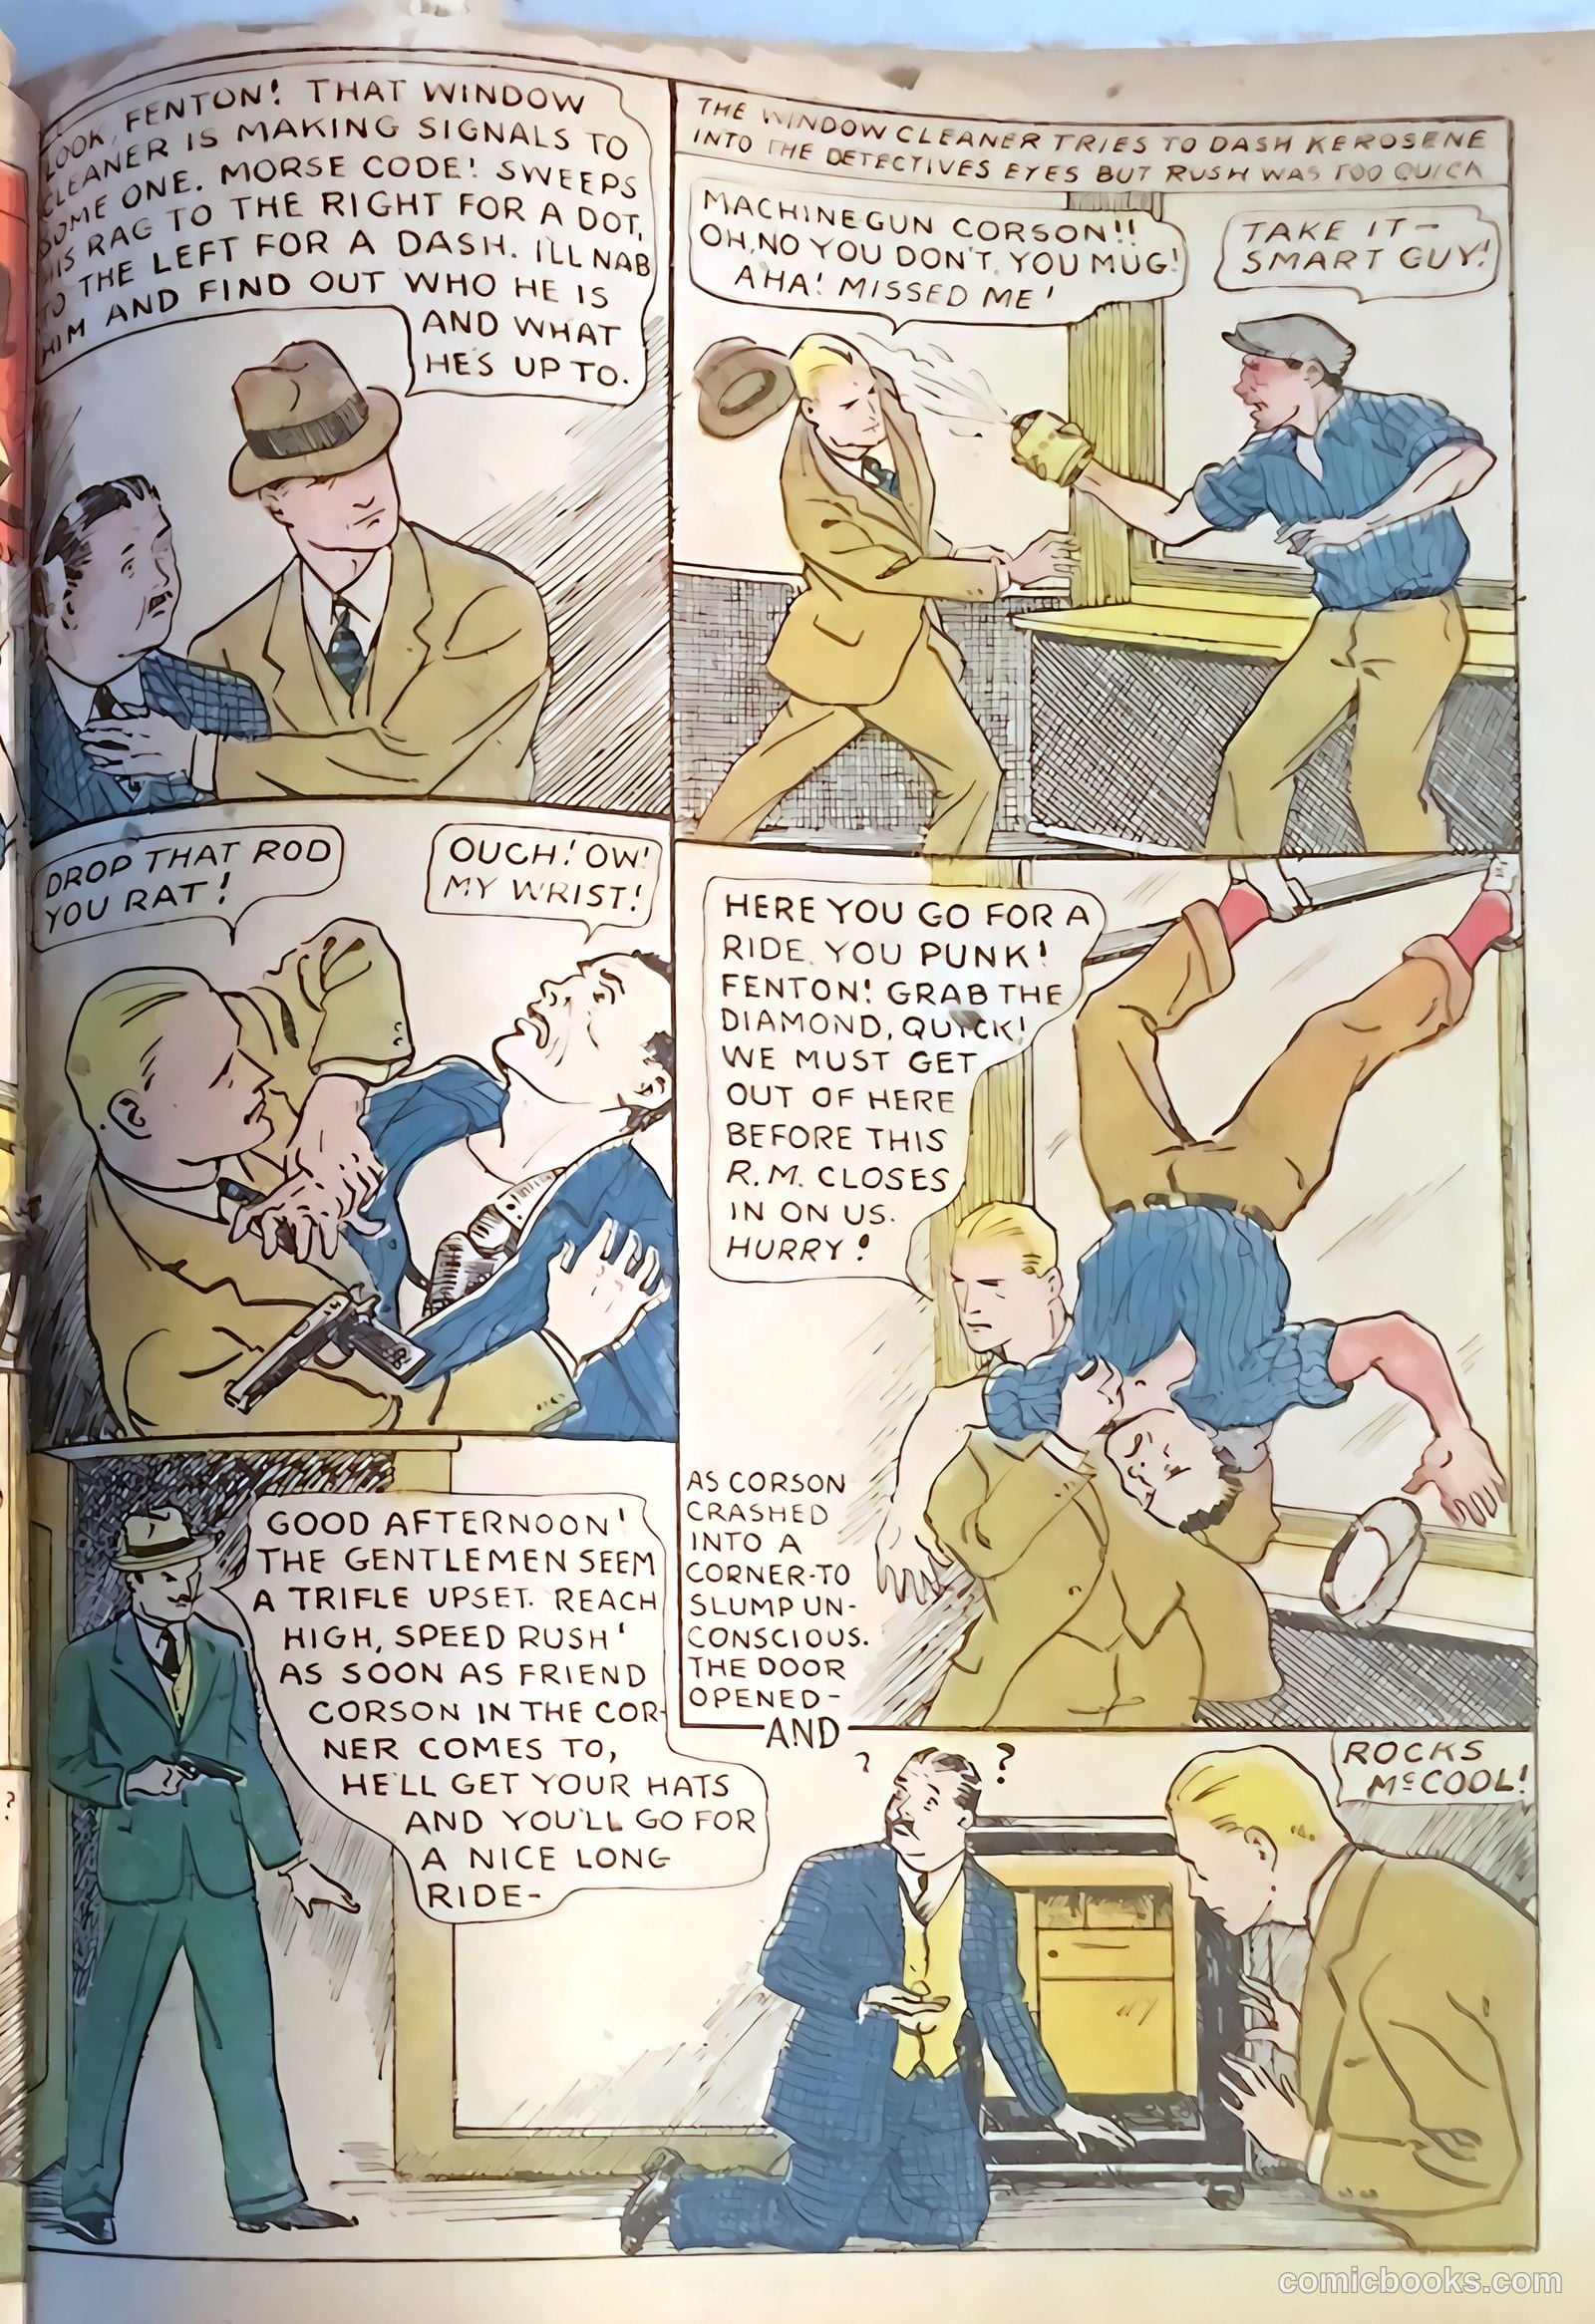
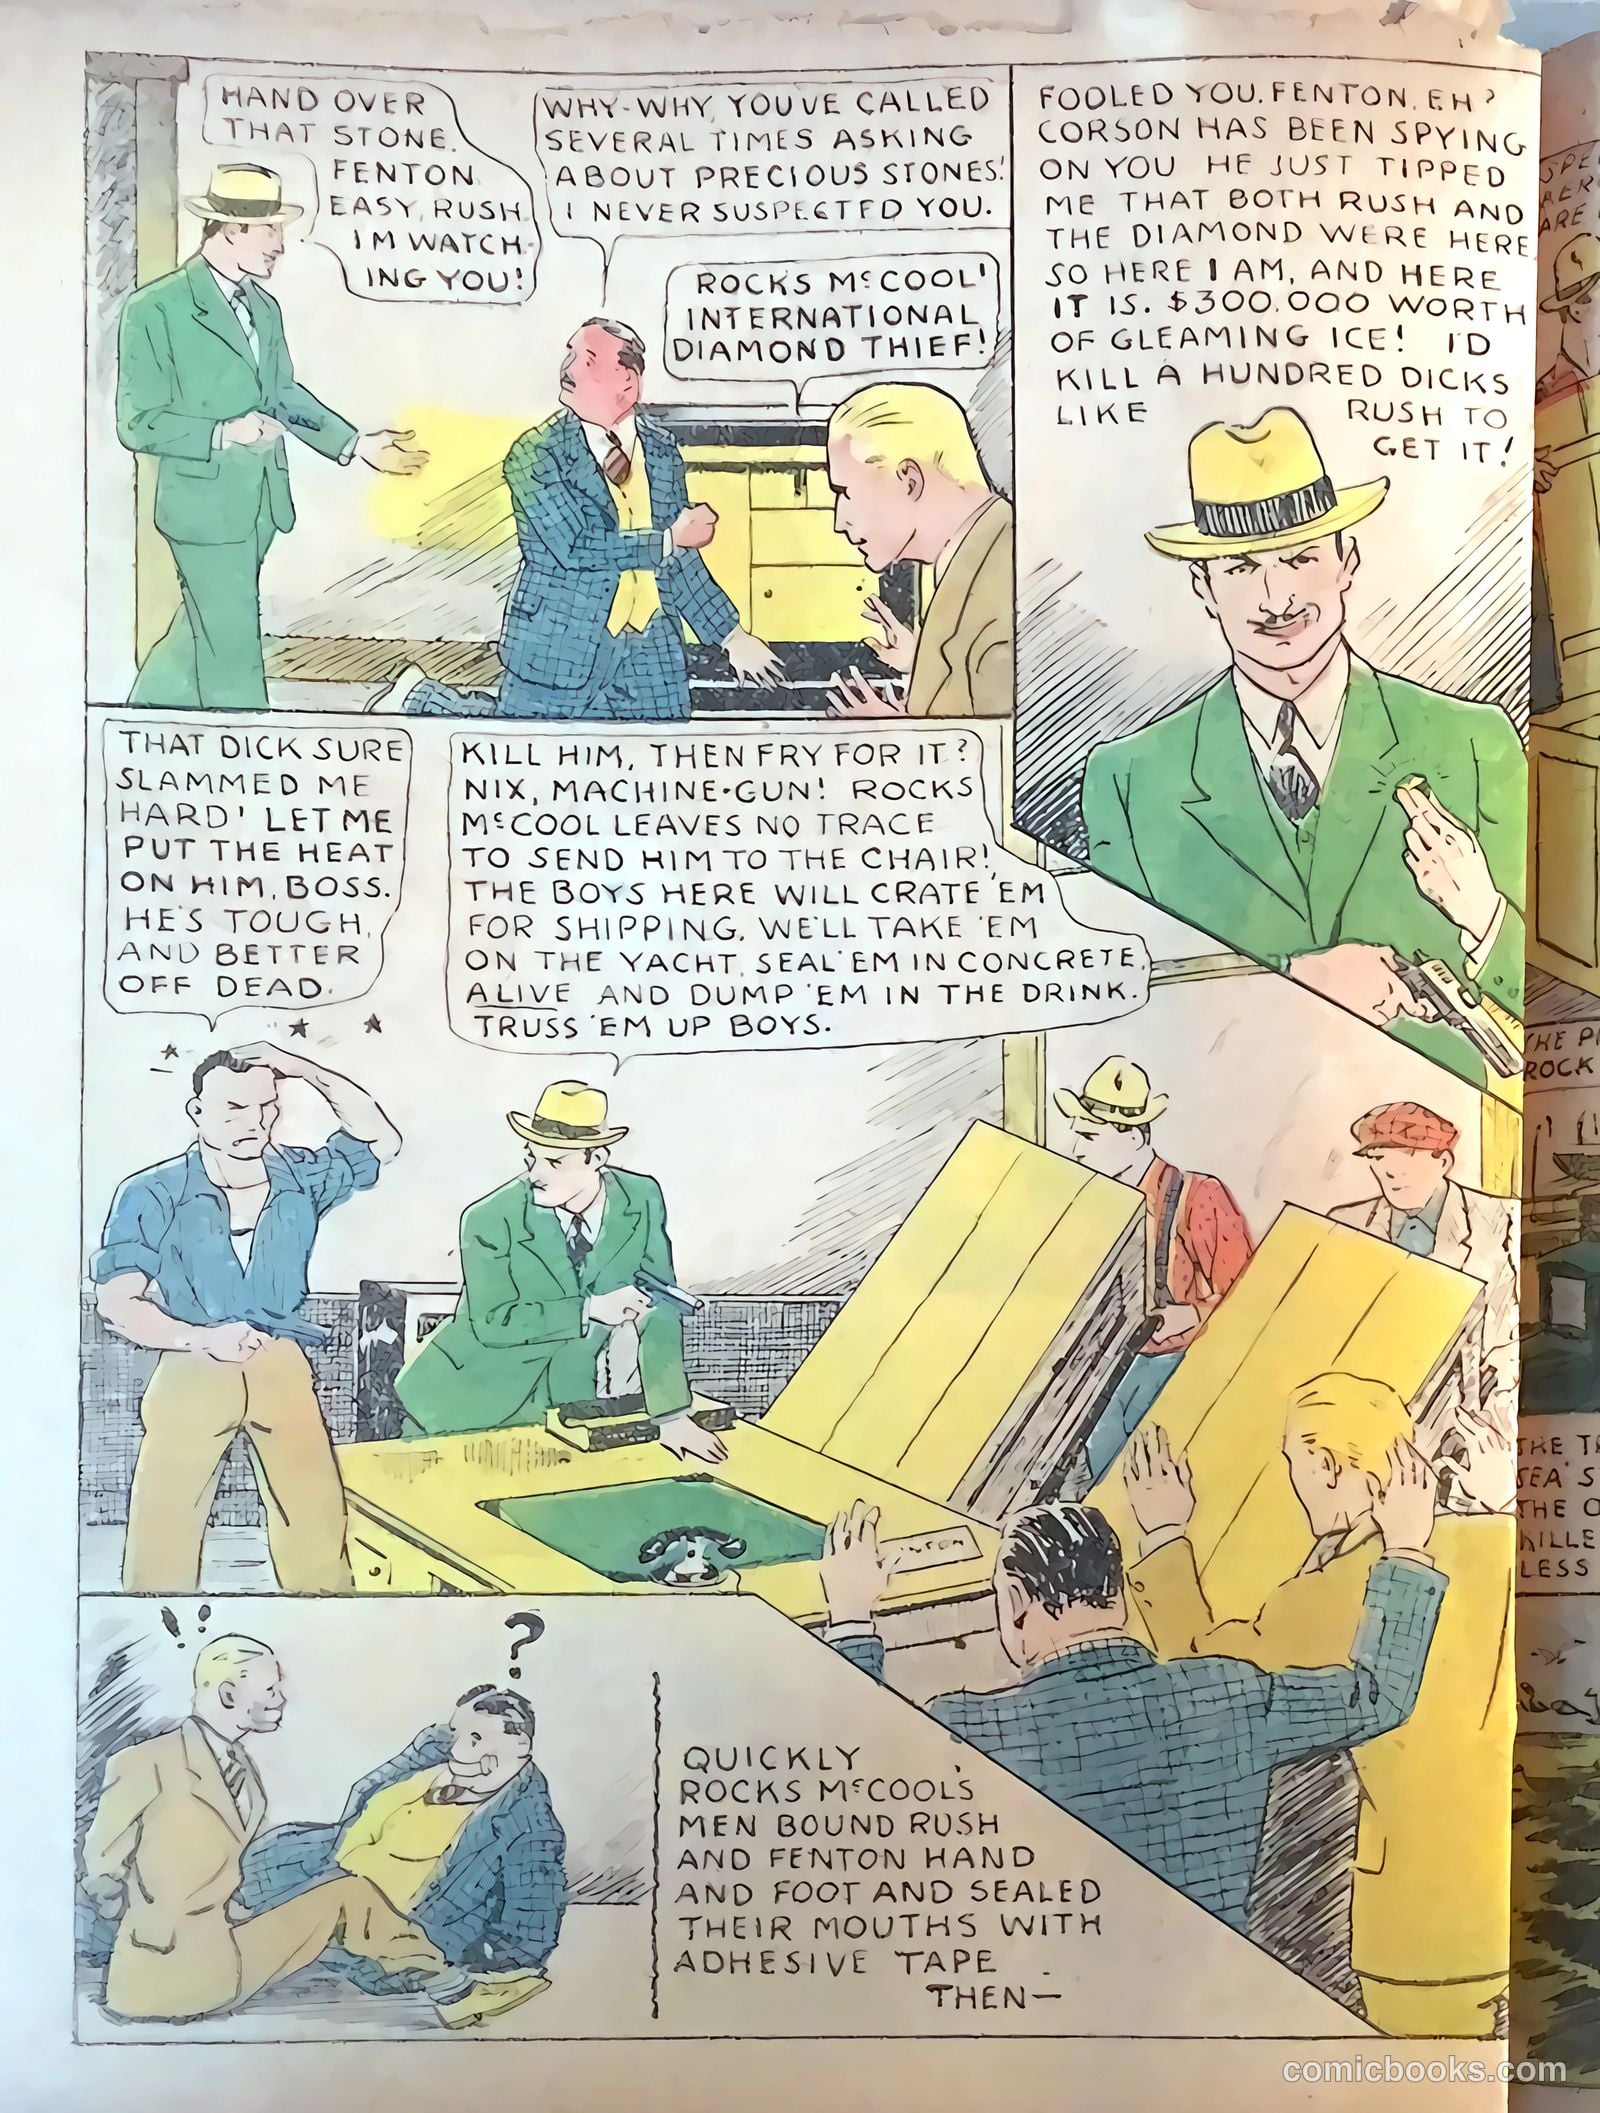
Diamond of Doom
7 pp · detective-mystery
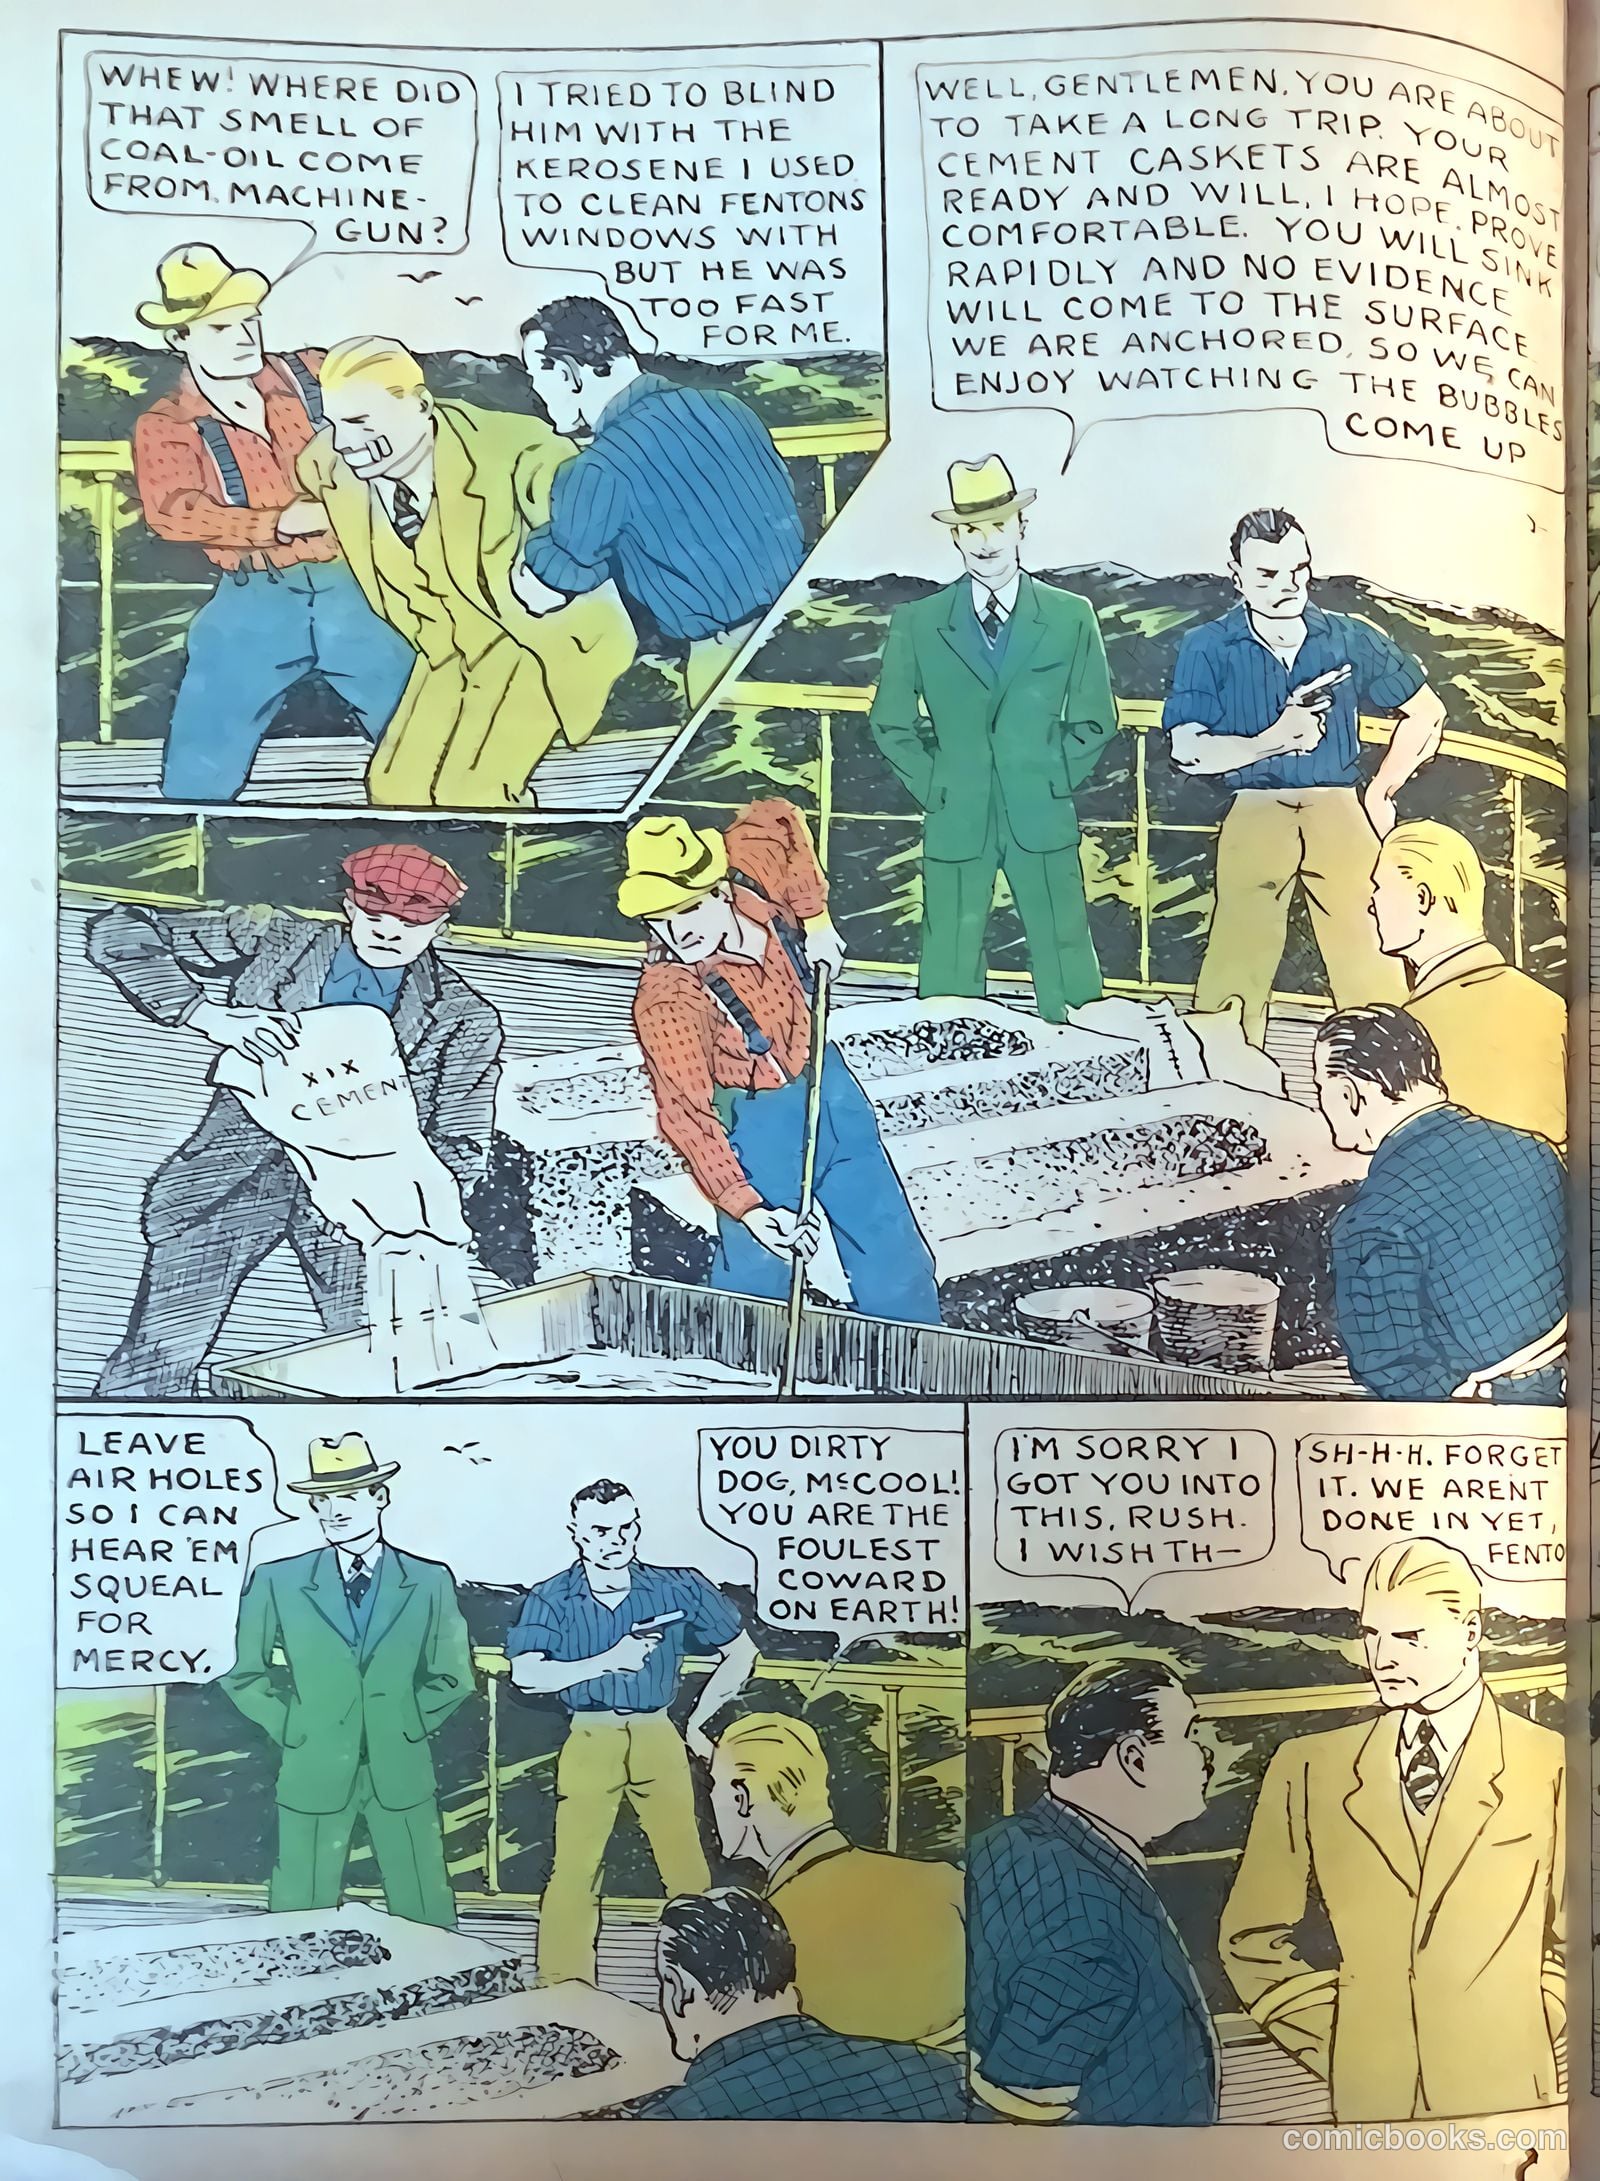
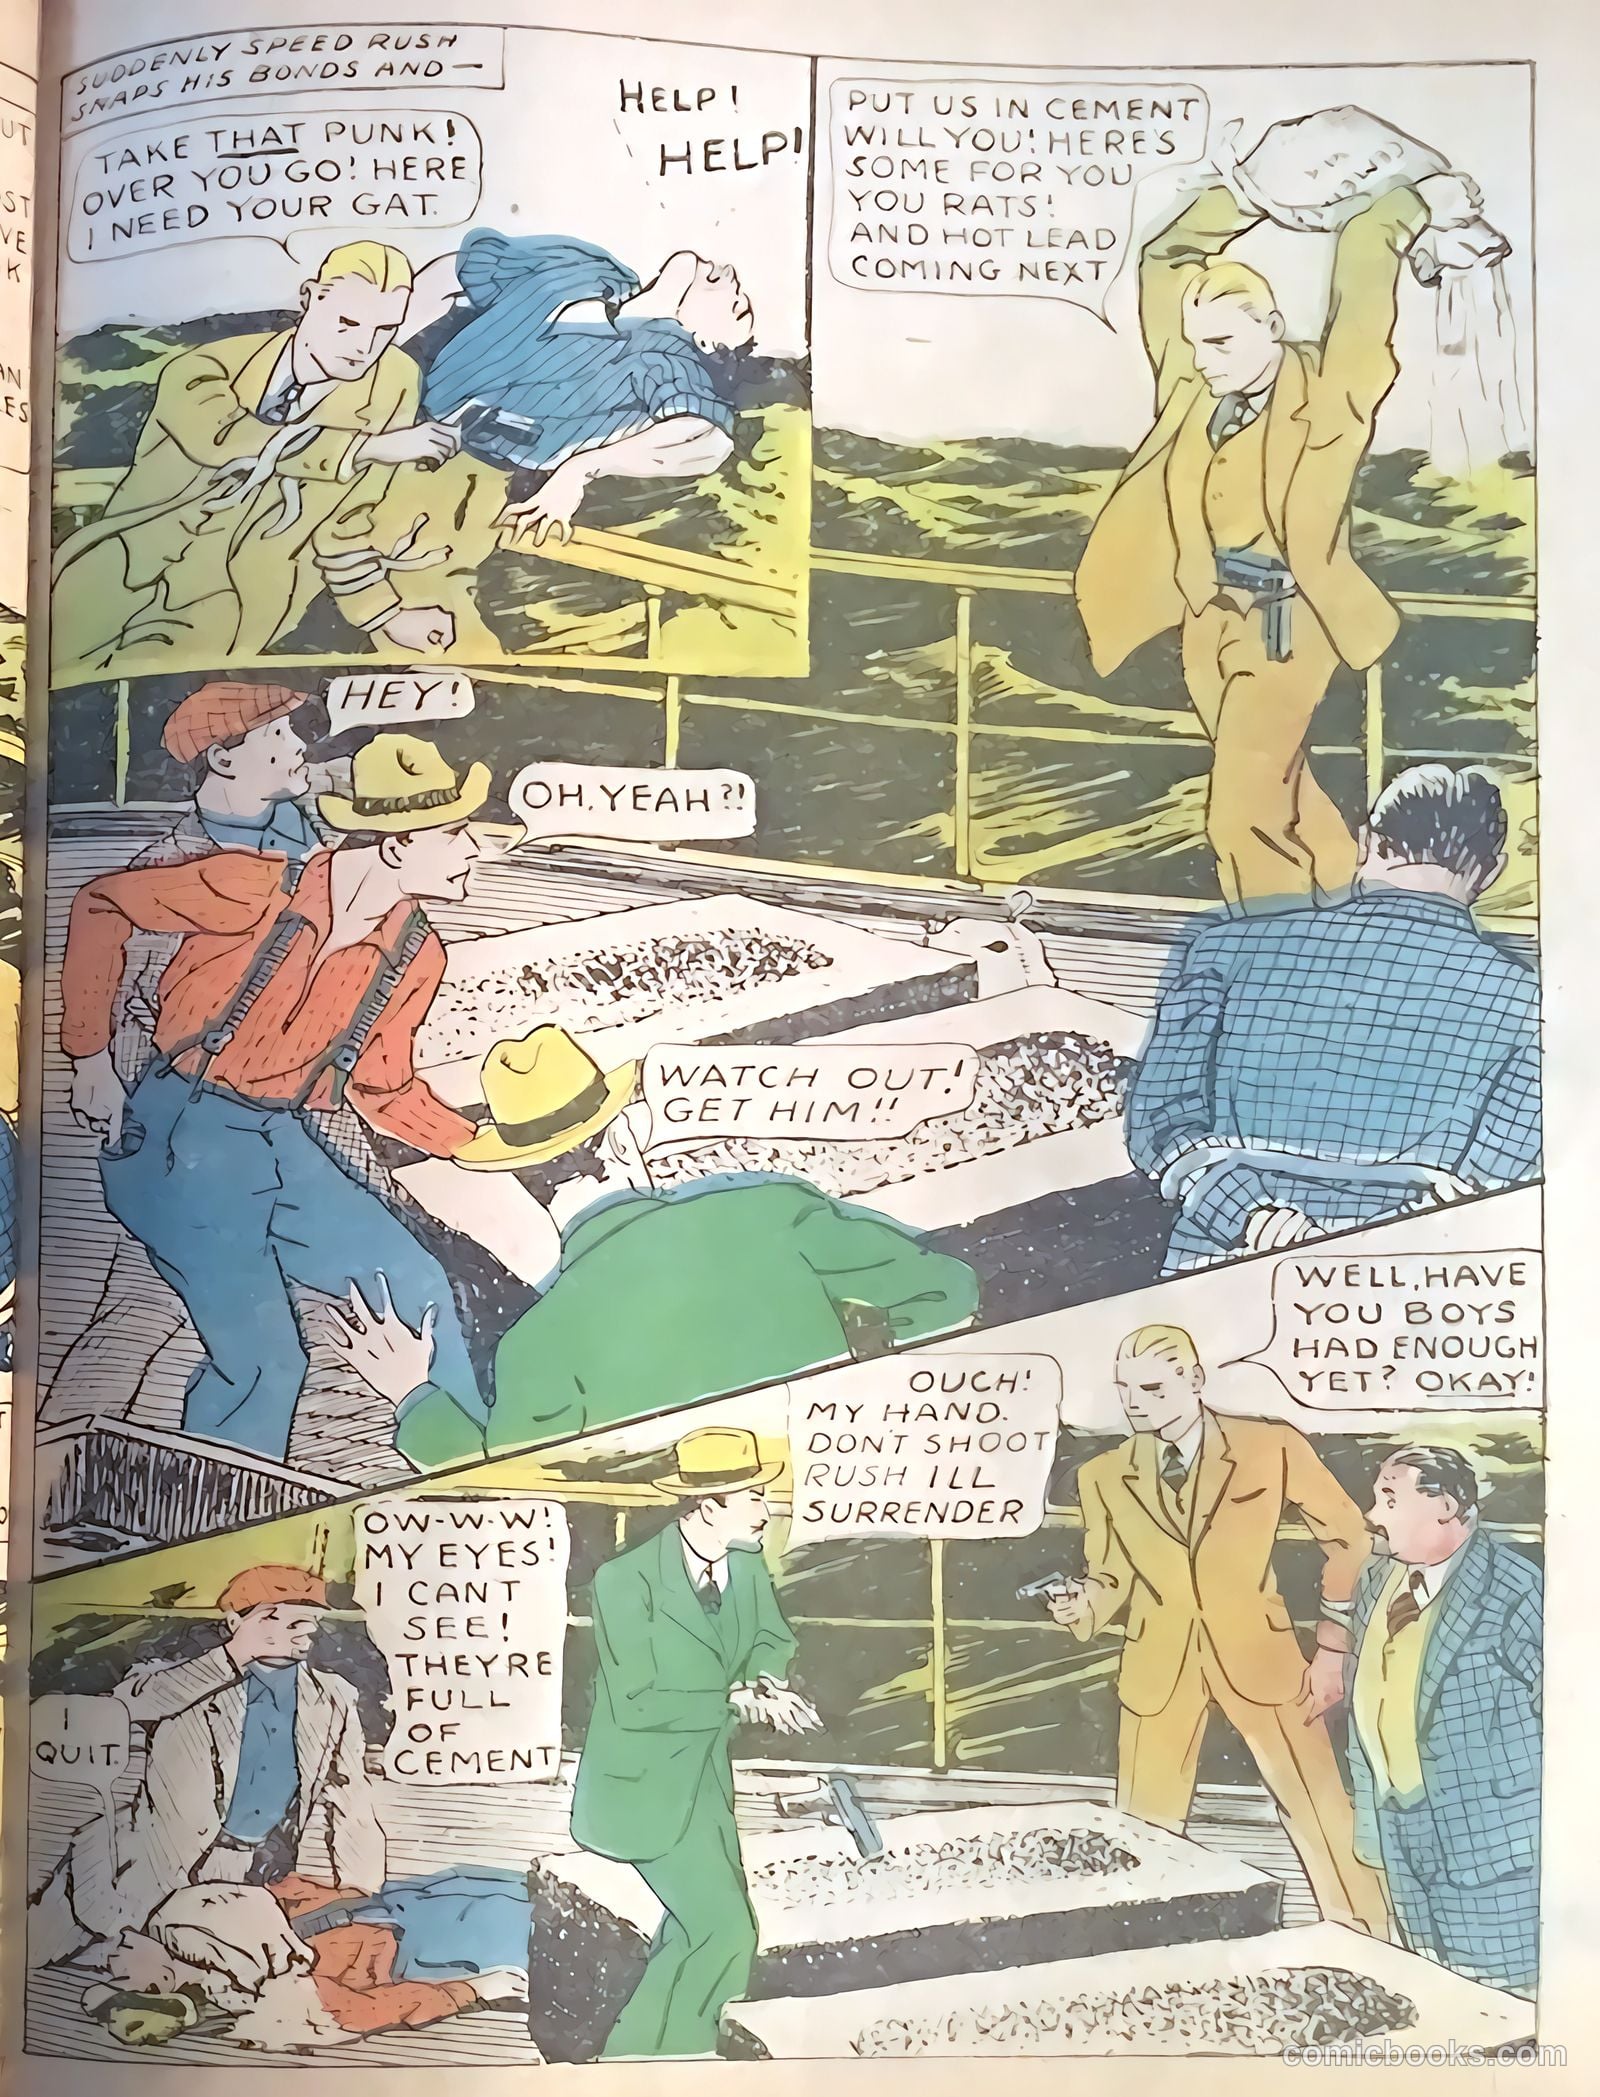
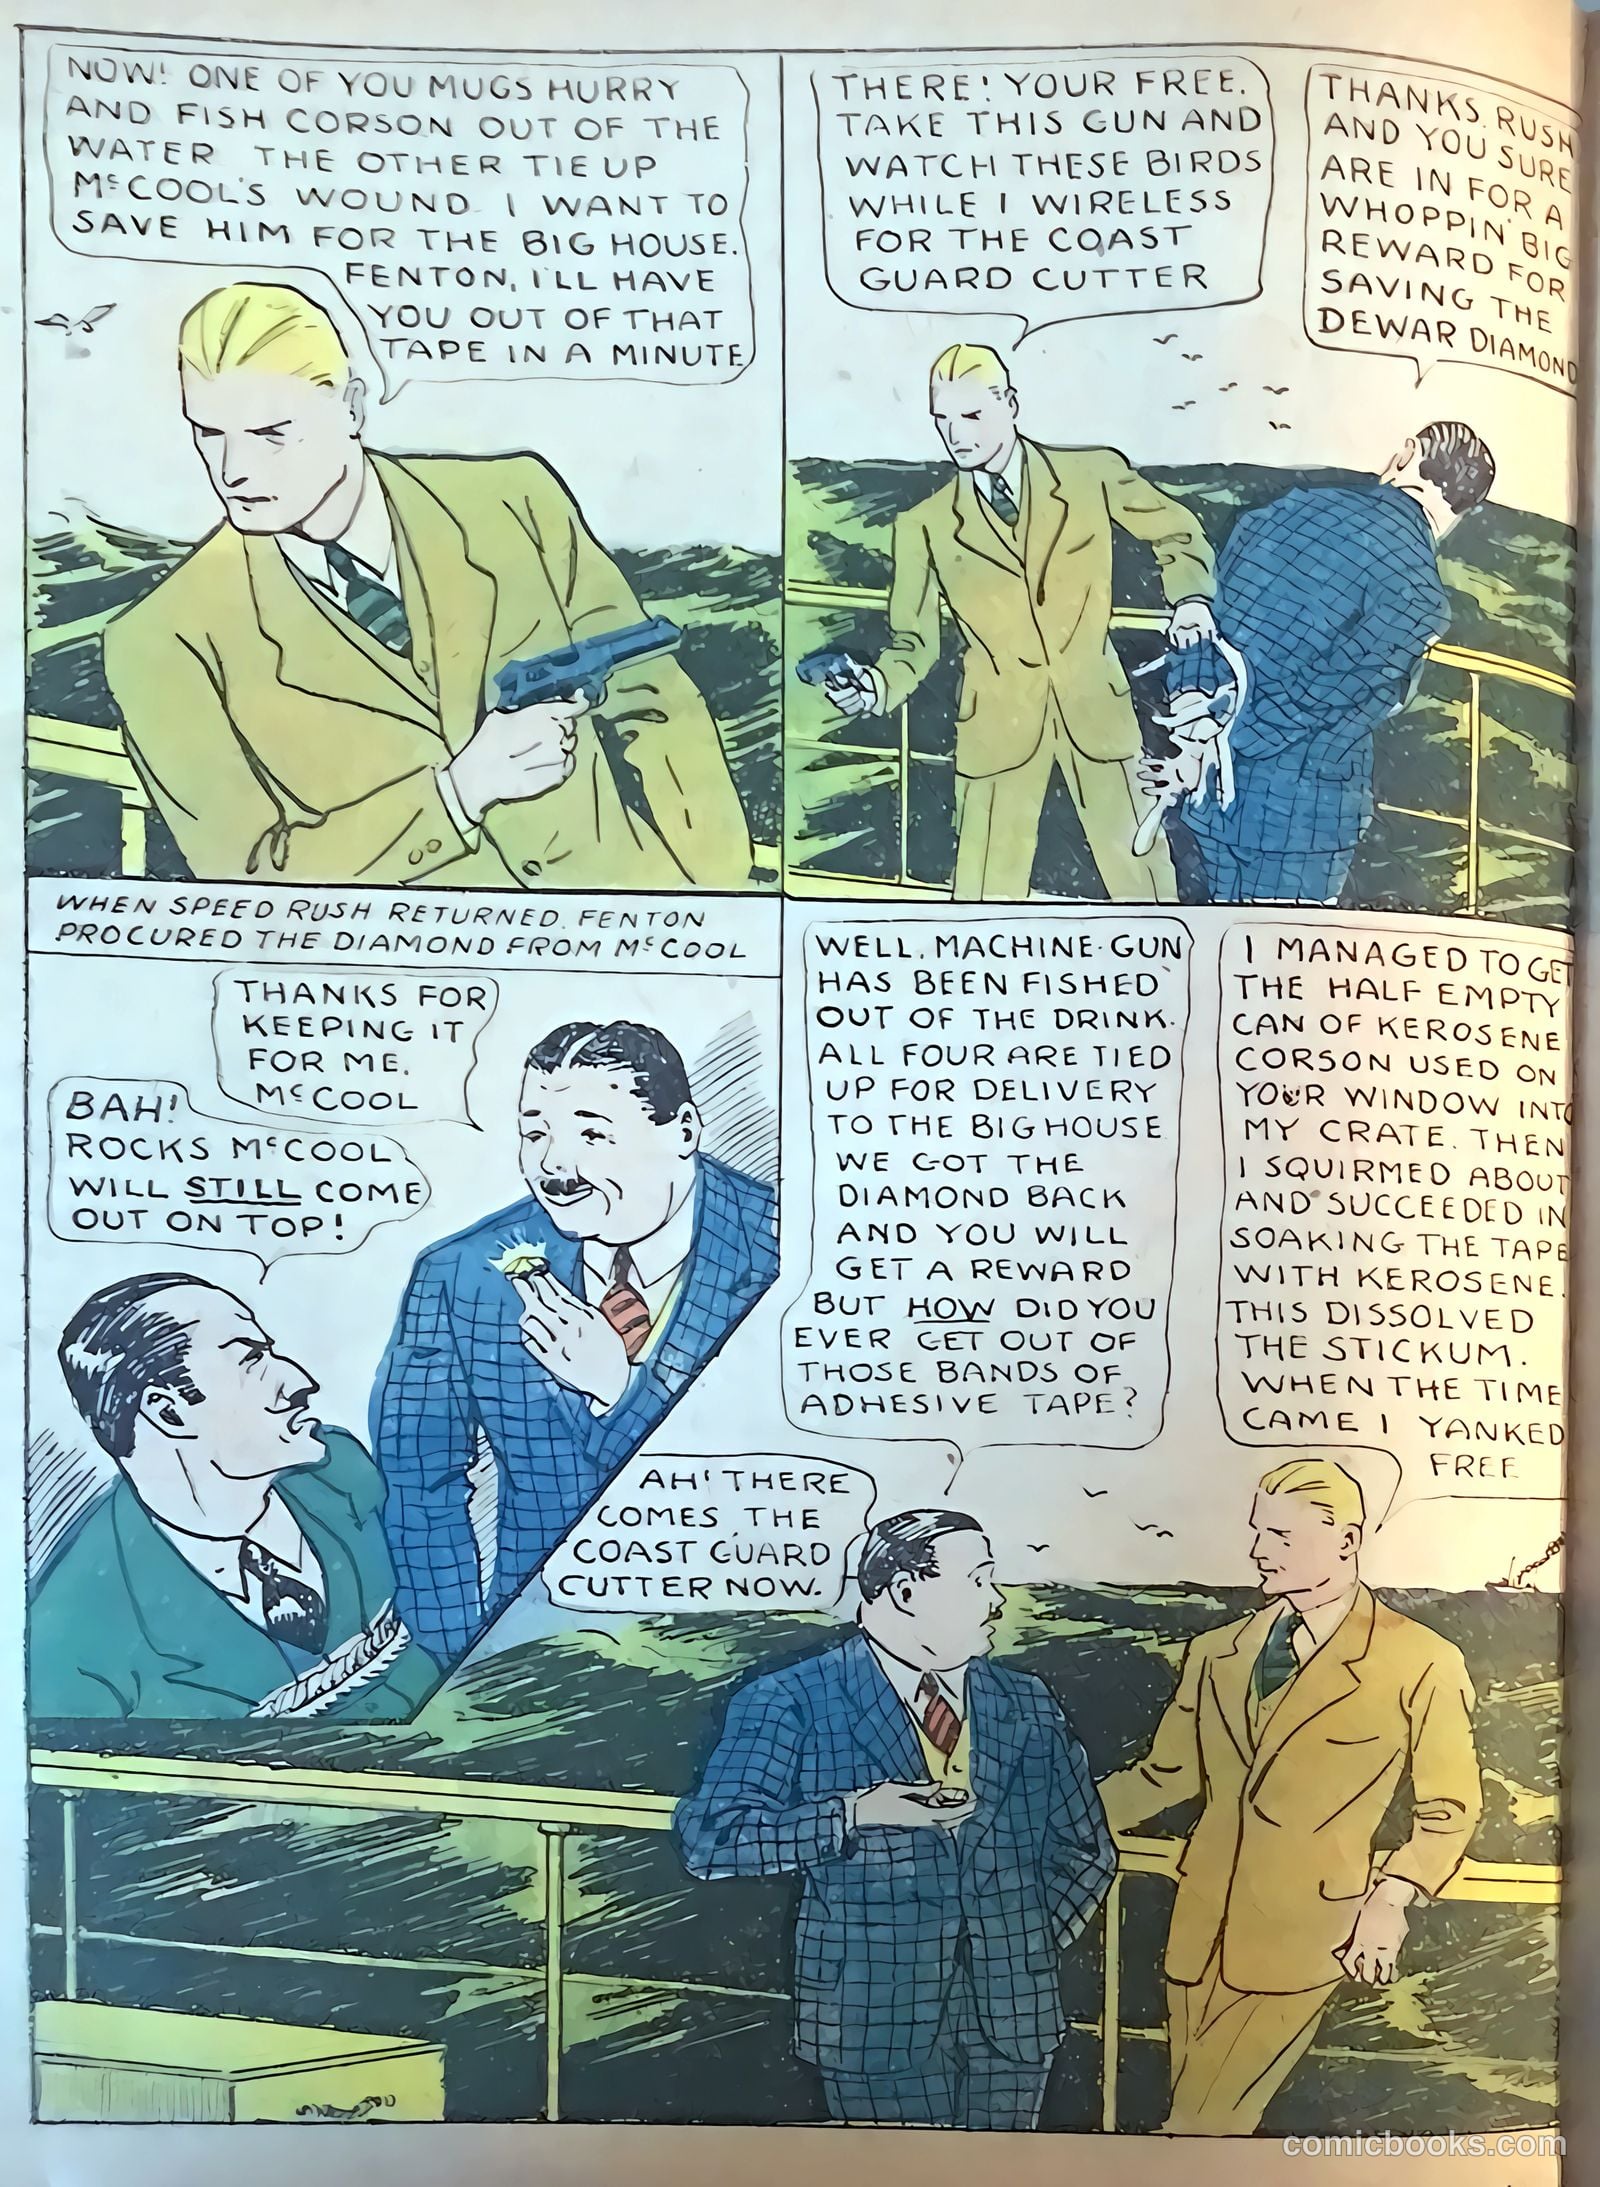
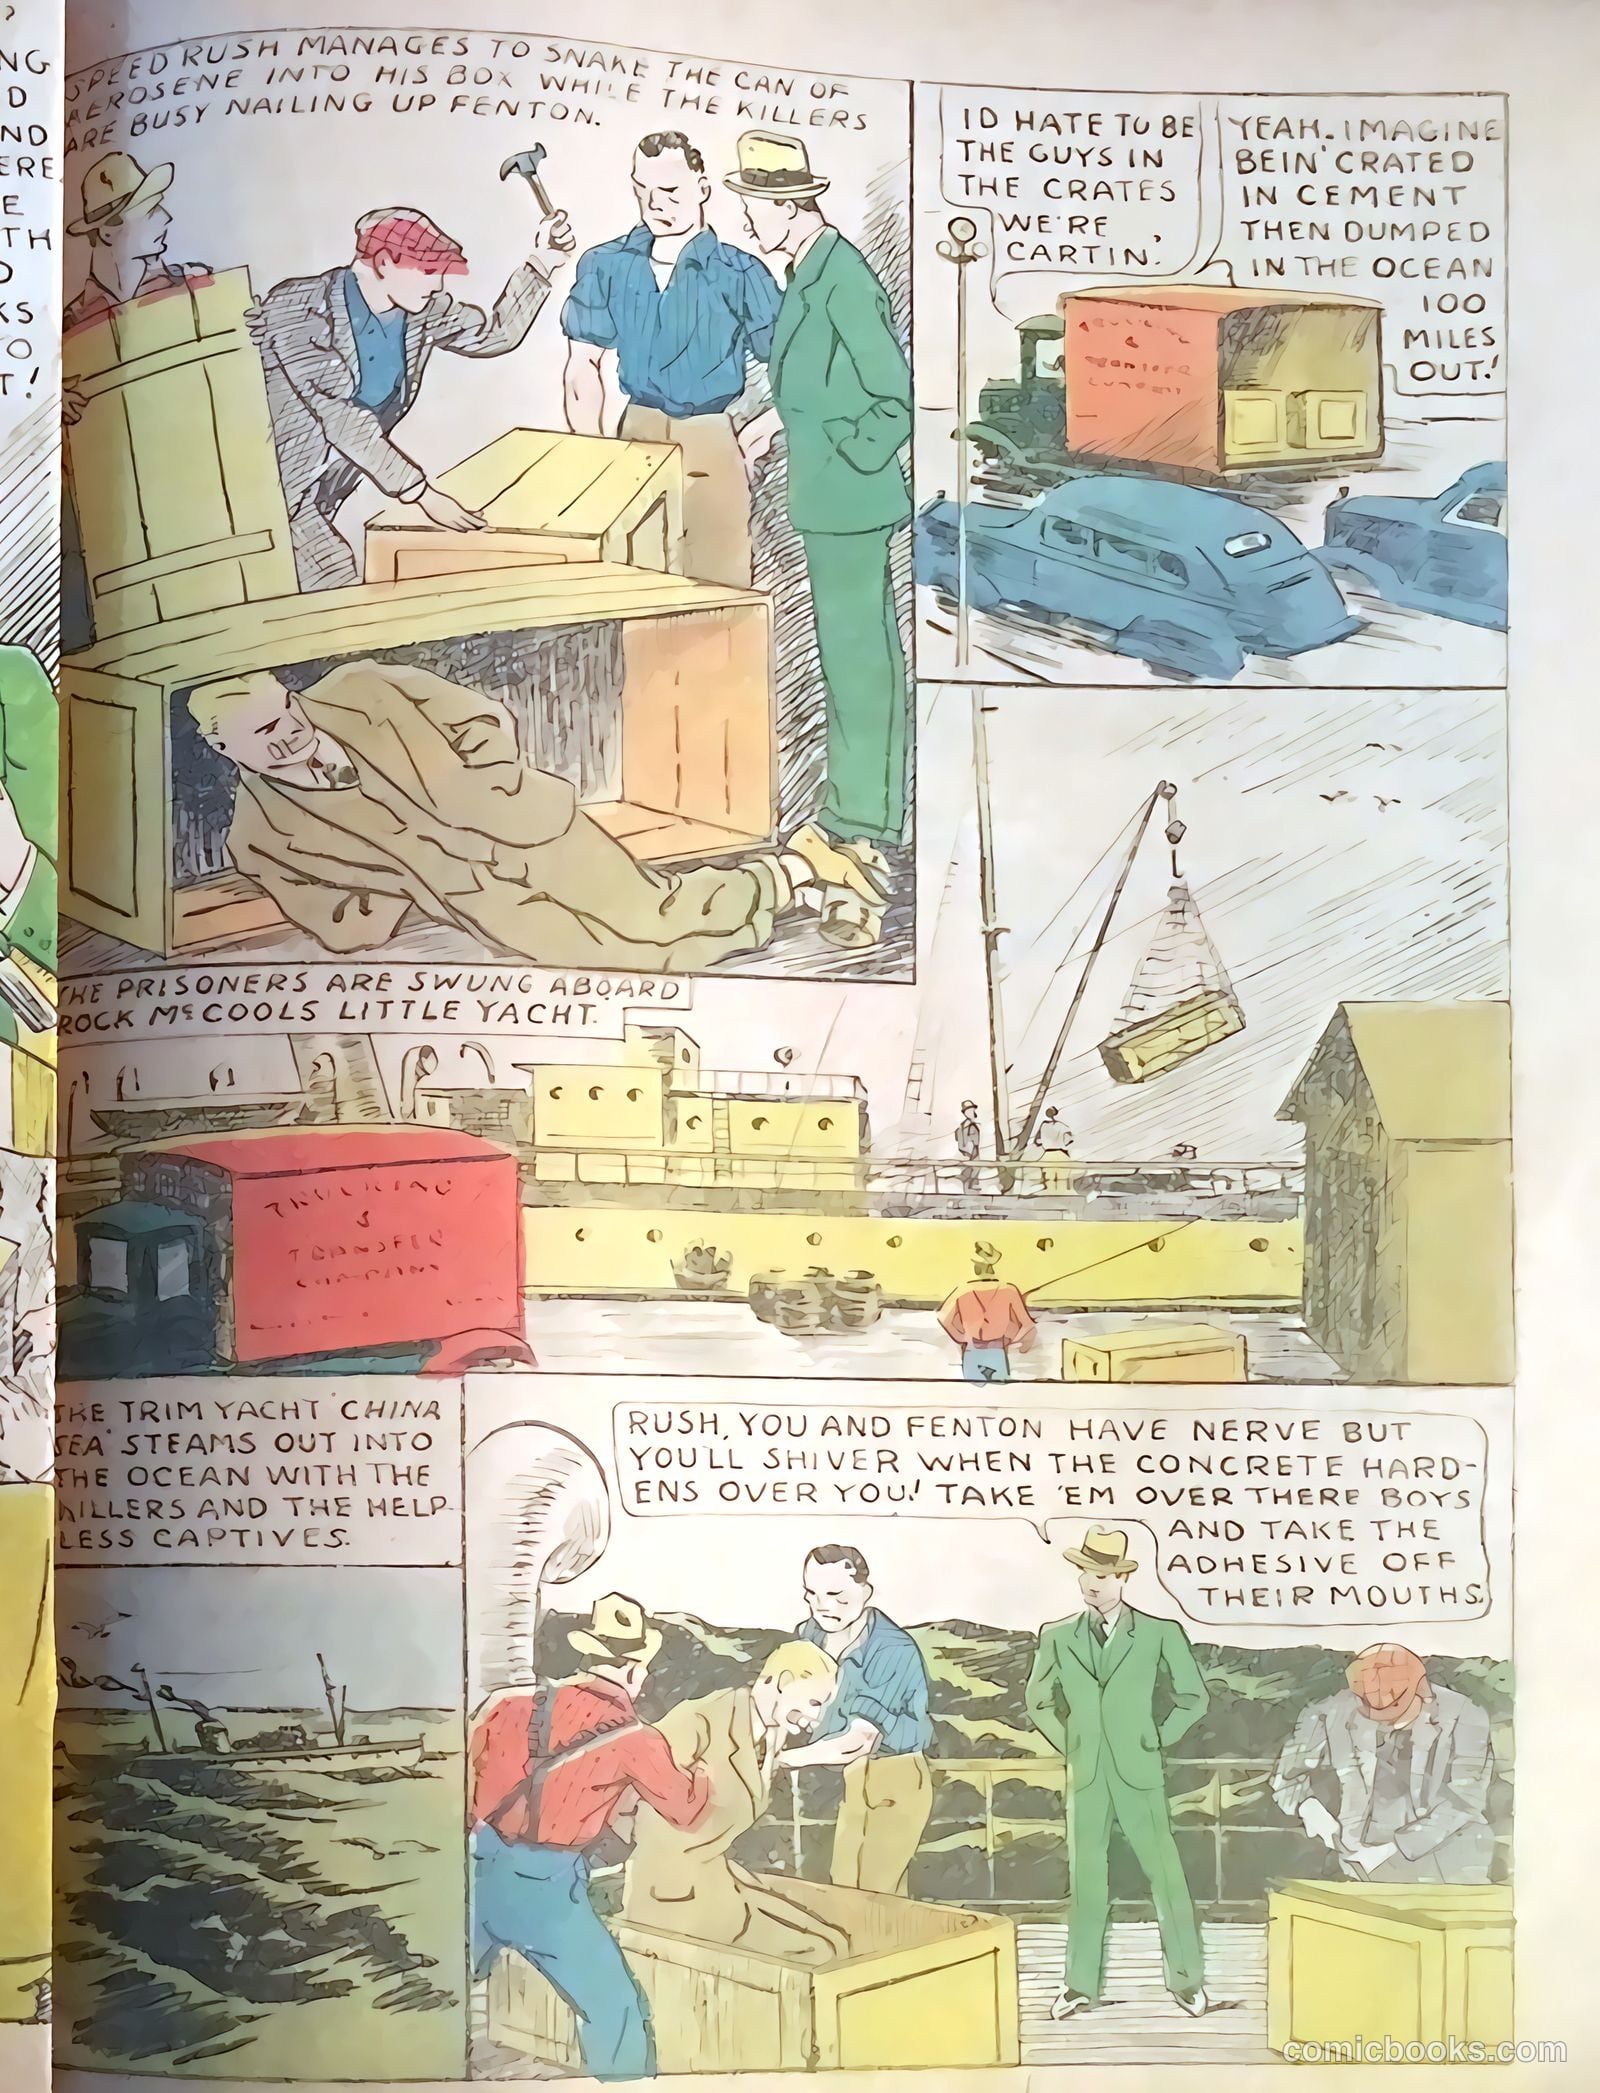
Speed RushO. FentonMachine Gun Corson (crook)Rocks McCool (crook)

In "Diamond of Doom," hard-boiled private detective Speed Rush is pulled into a high-stakes mystery when client Fenton brings him a dangerous task: cutting the legendary Dewar Diamond, valued at half a million dollars. When international thief Rocks McCool hijacks the gem at gunpoint and traps Rush and Fenton aboard a ship with a deadly plan, the detective must think fast to survive.

The Case of The-Lizard
7 pp · detective-mystery
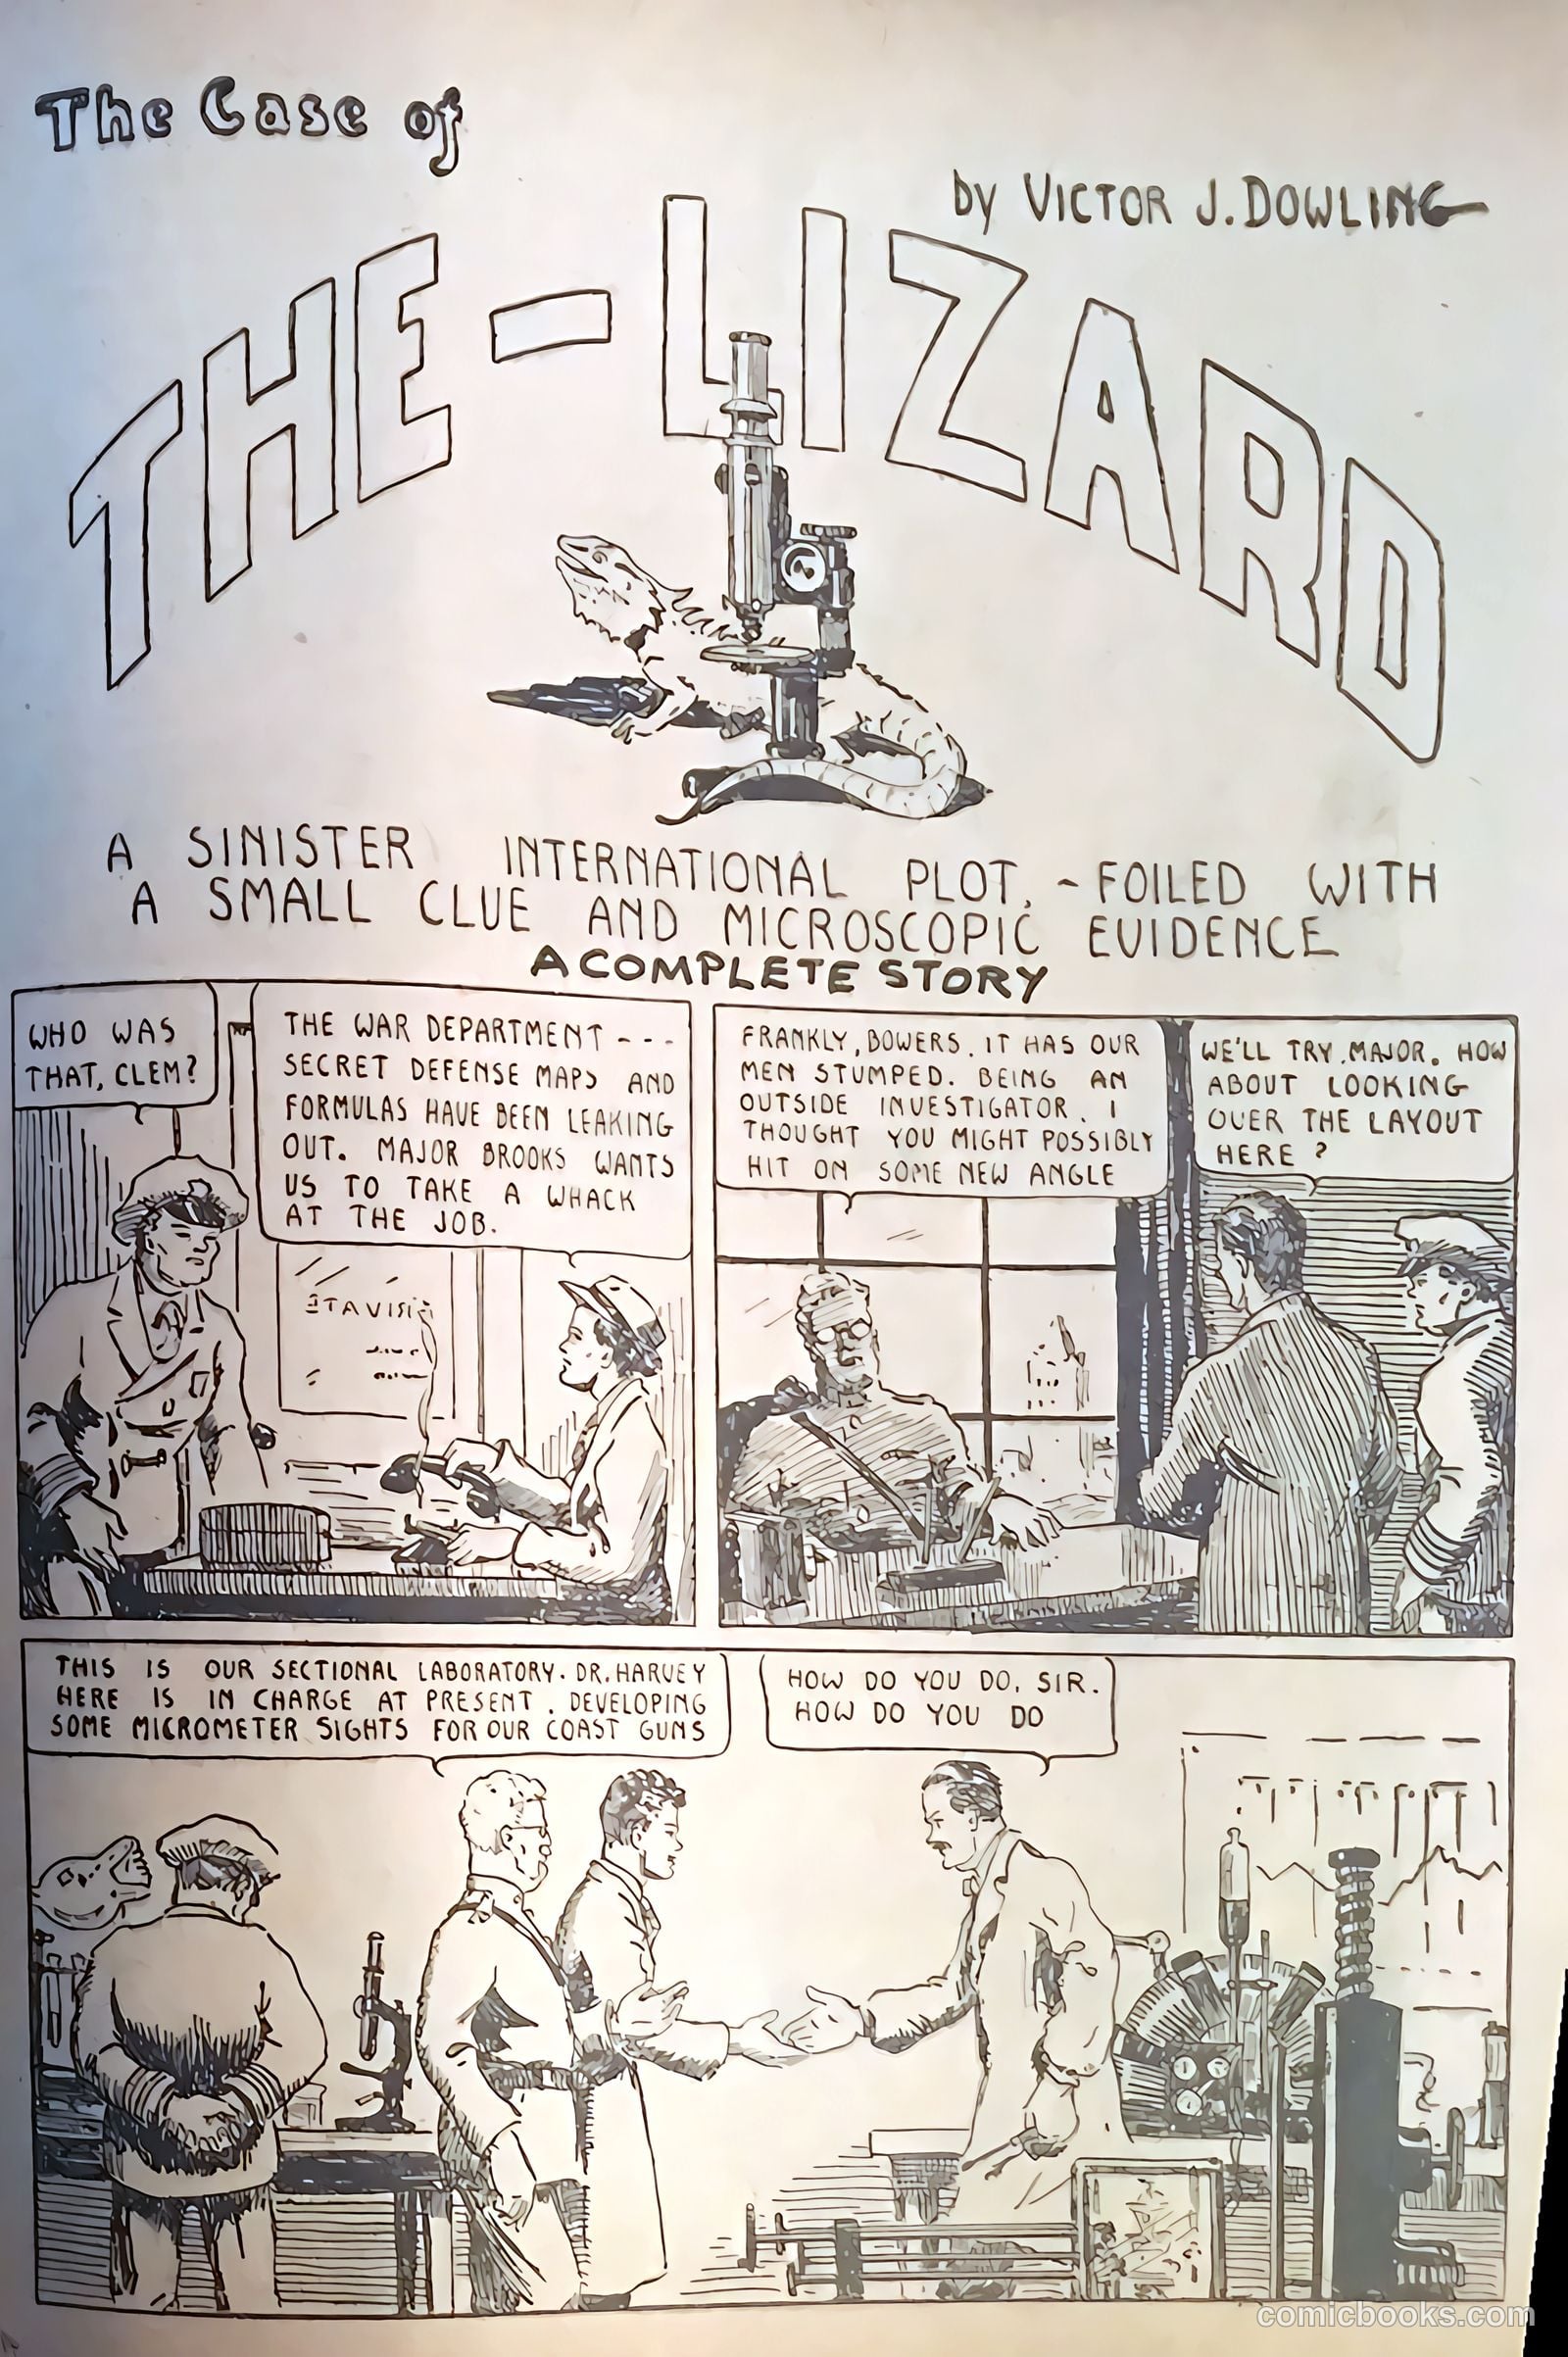
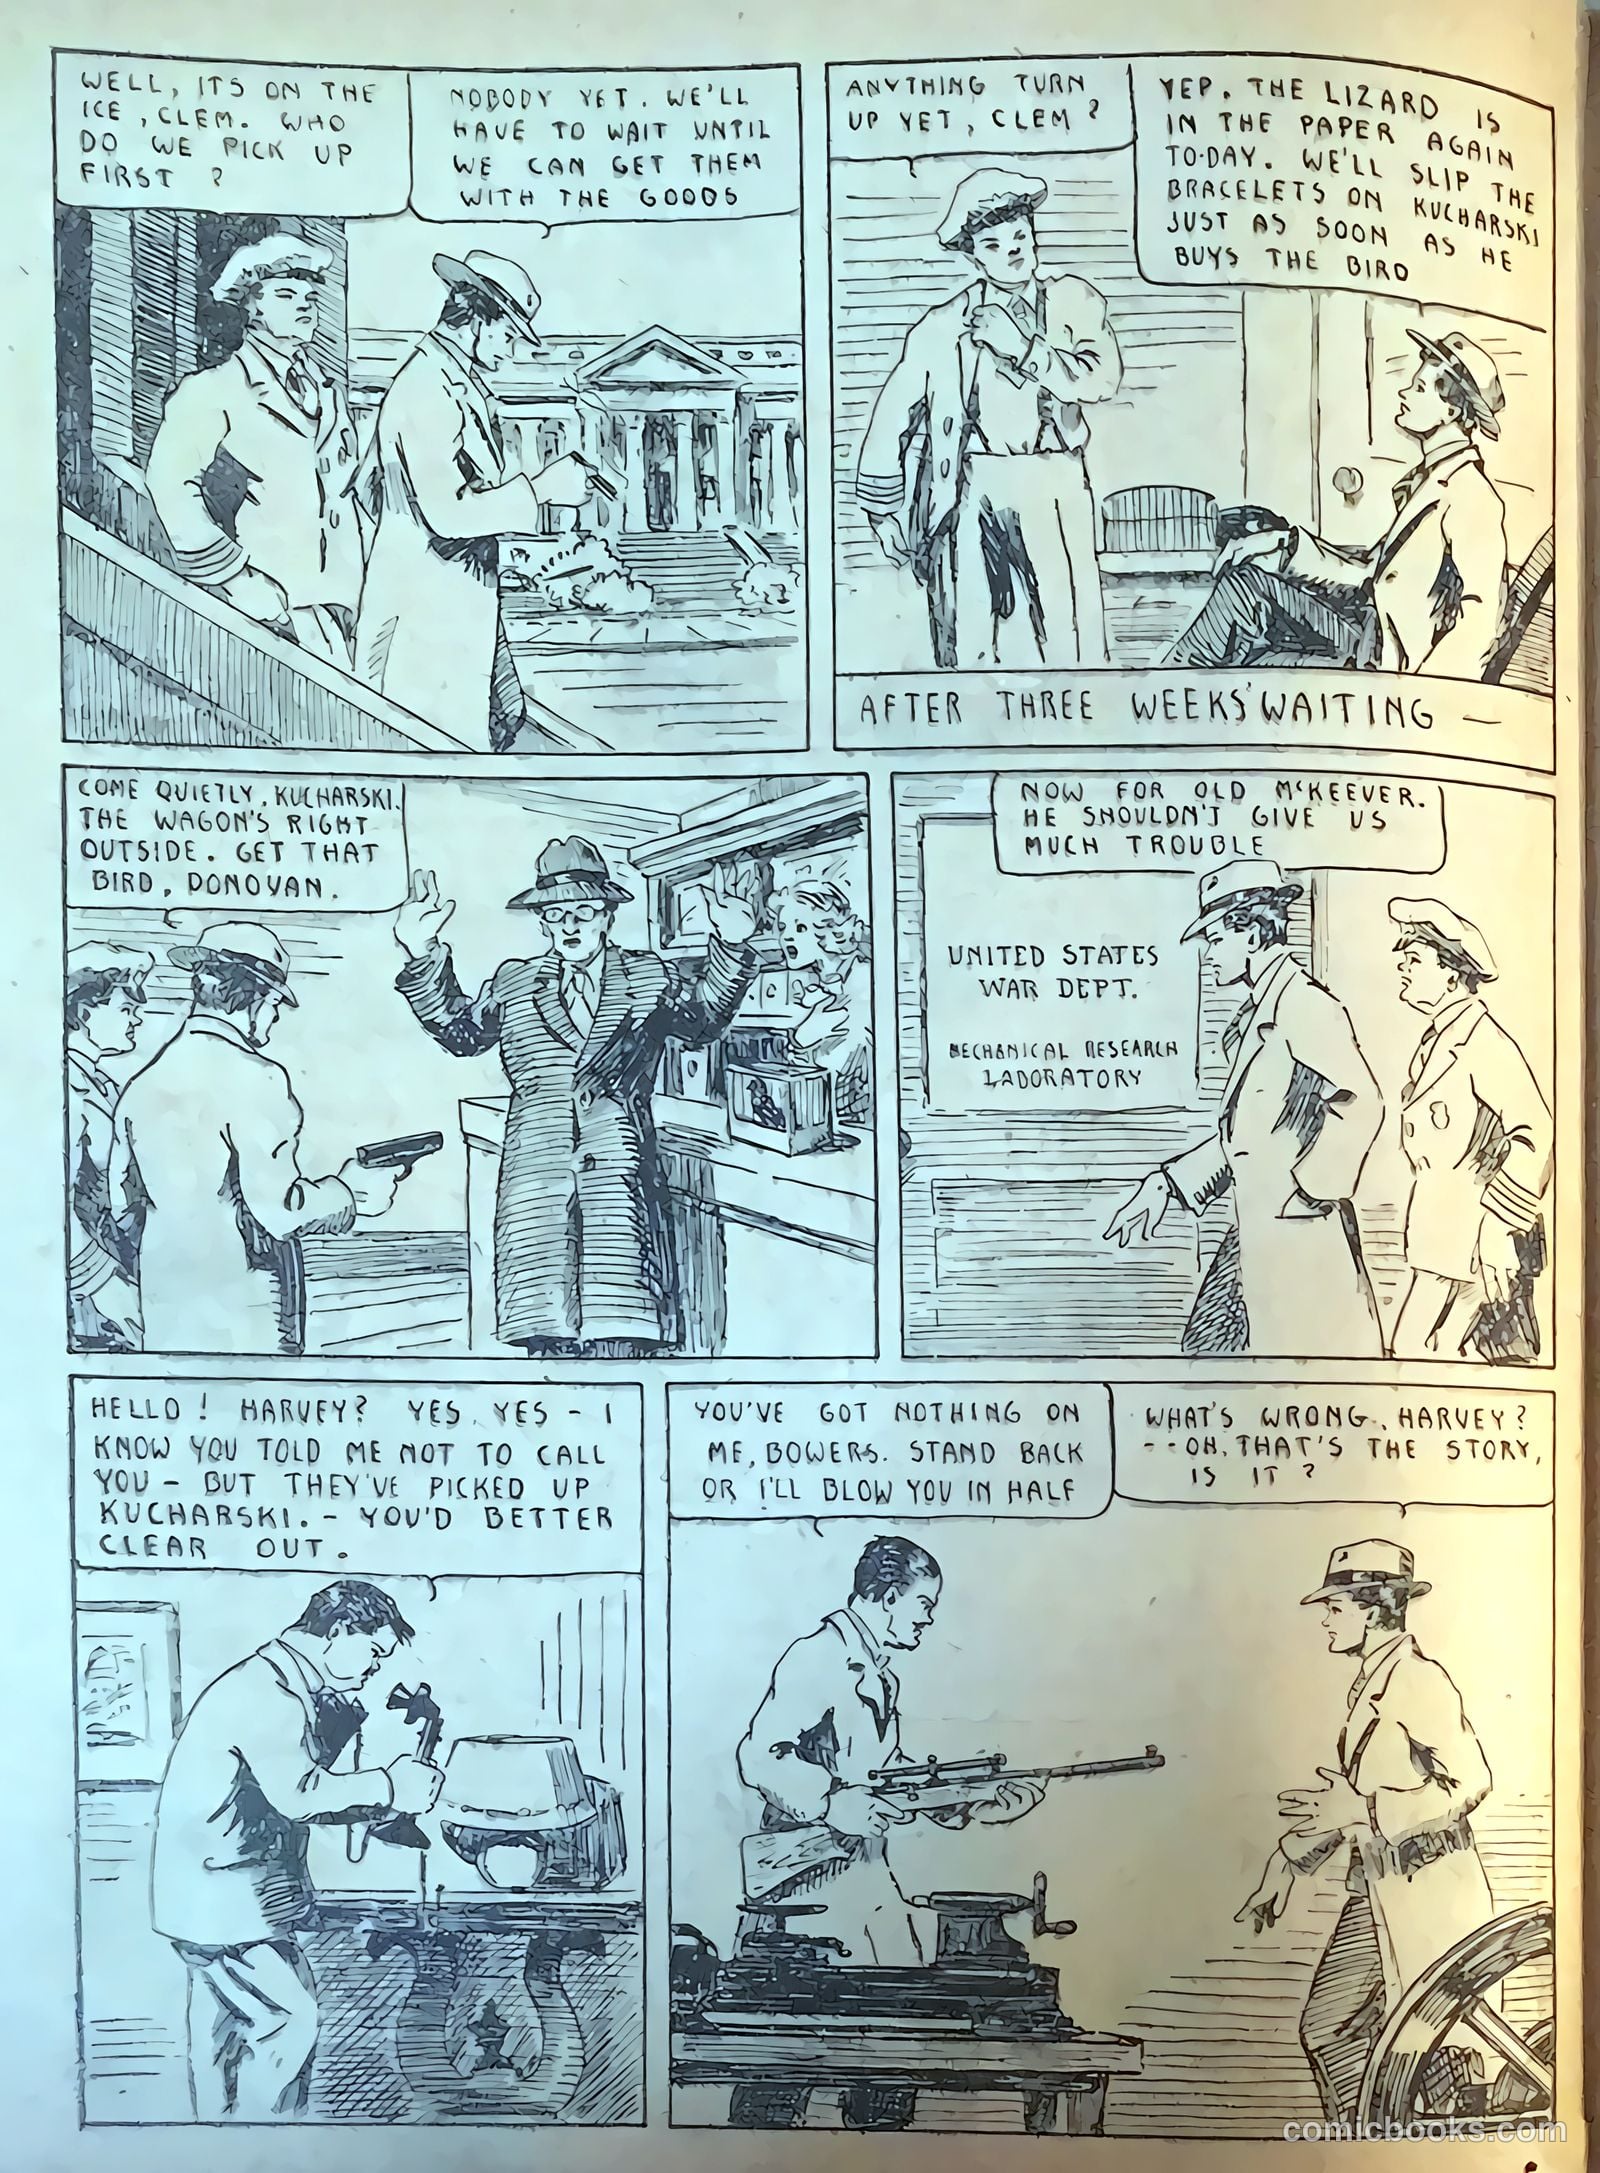
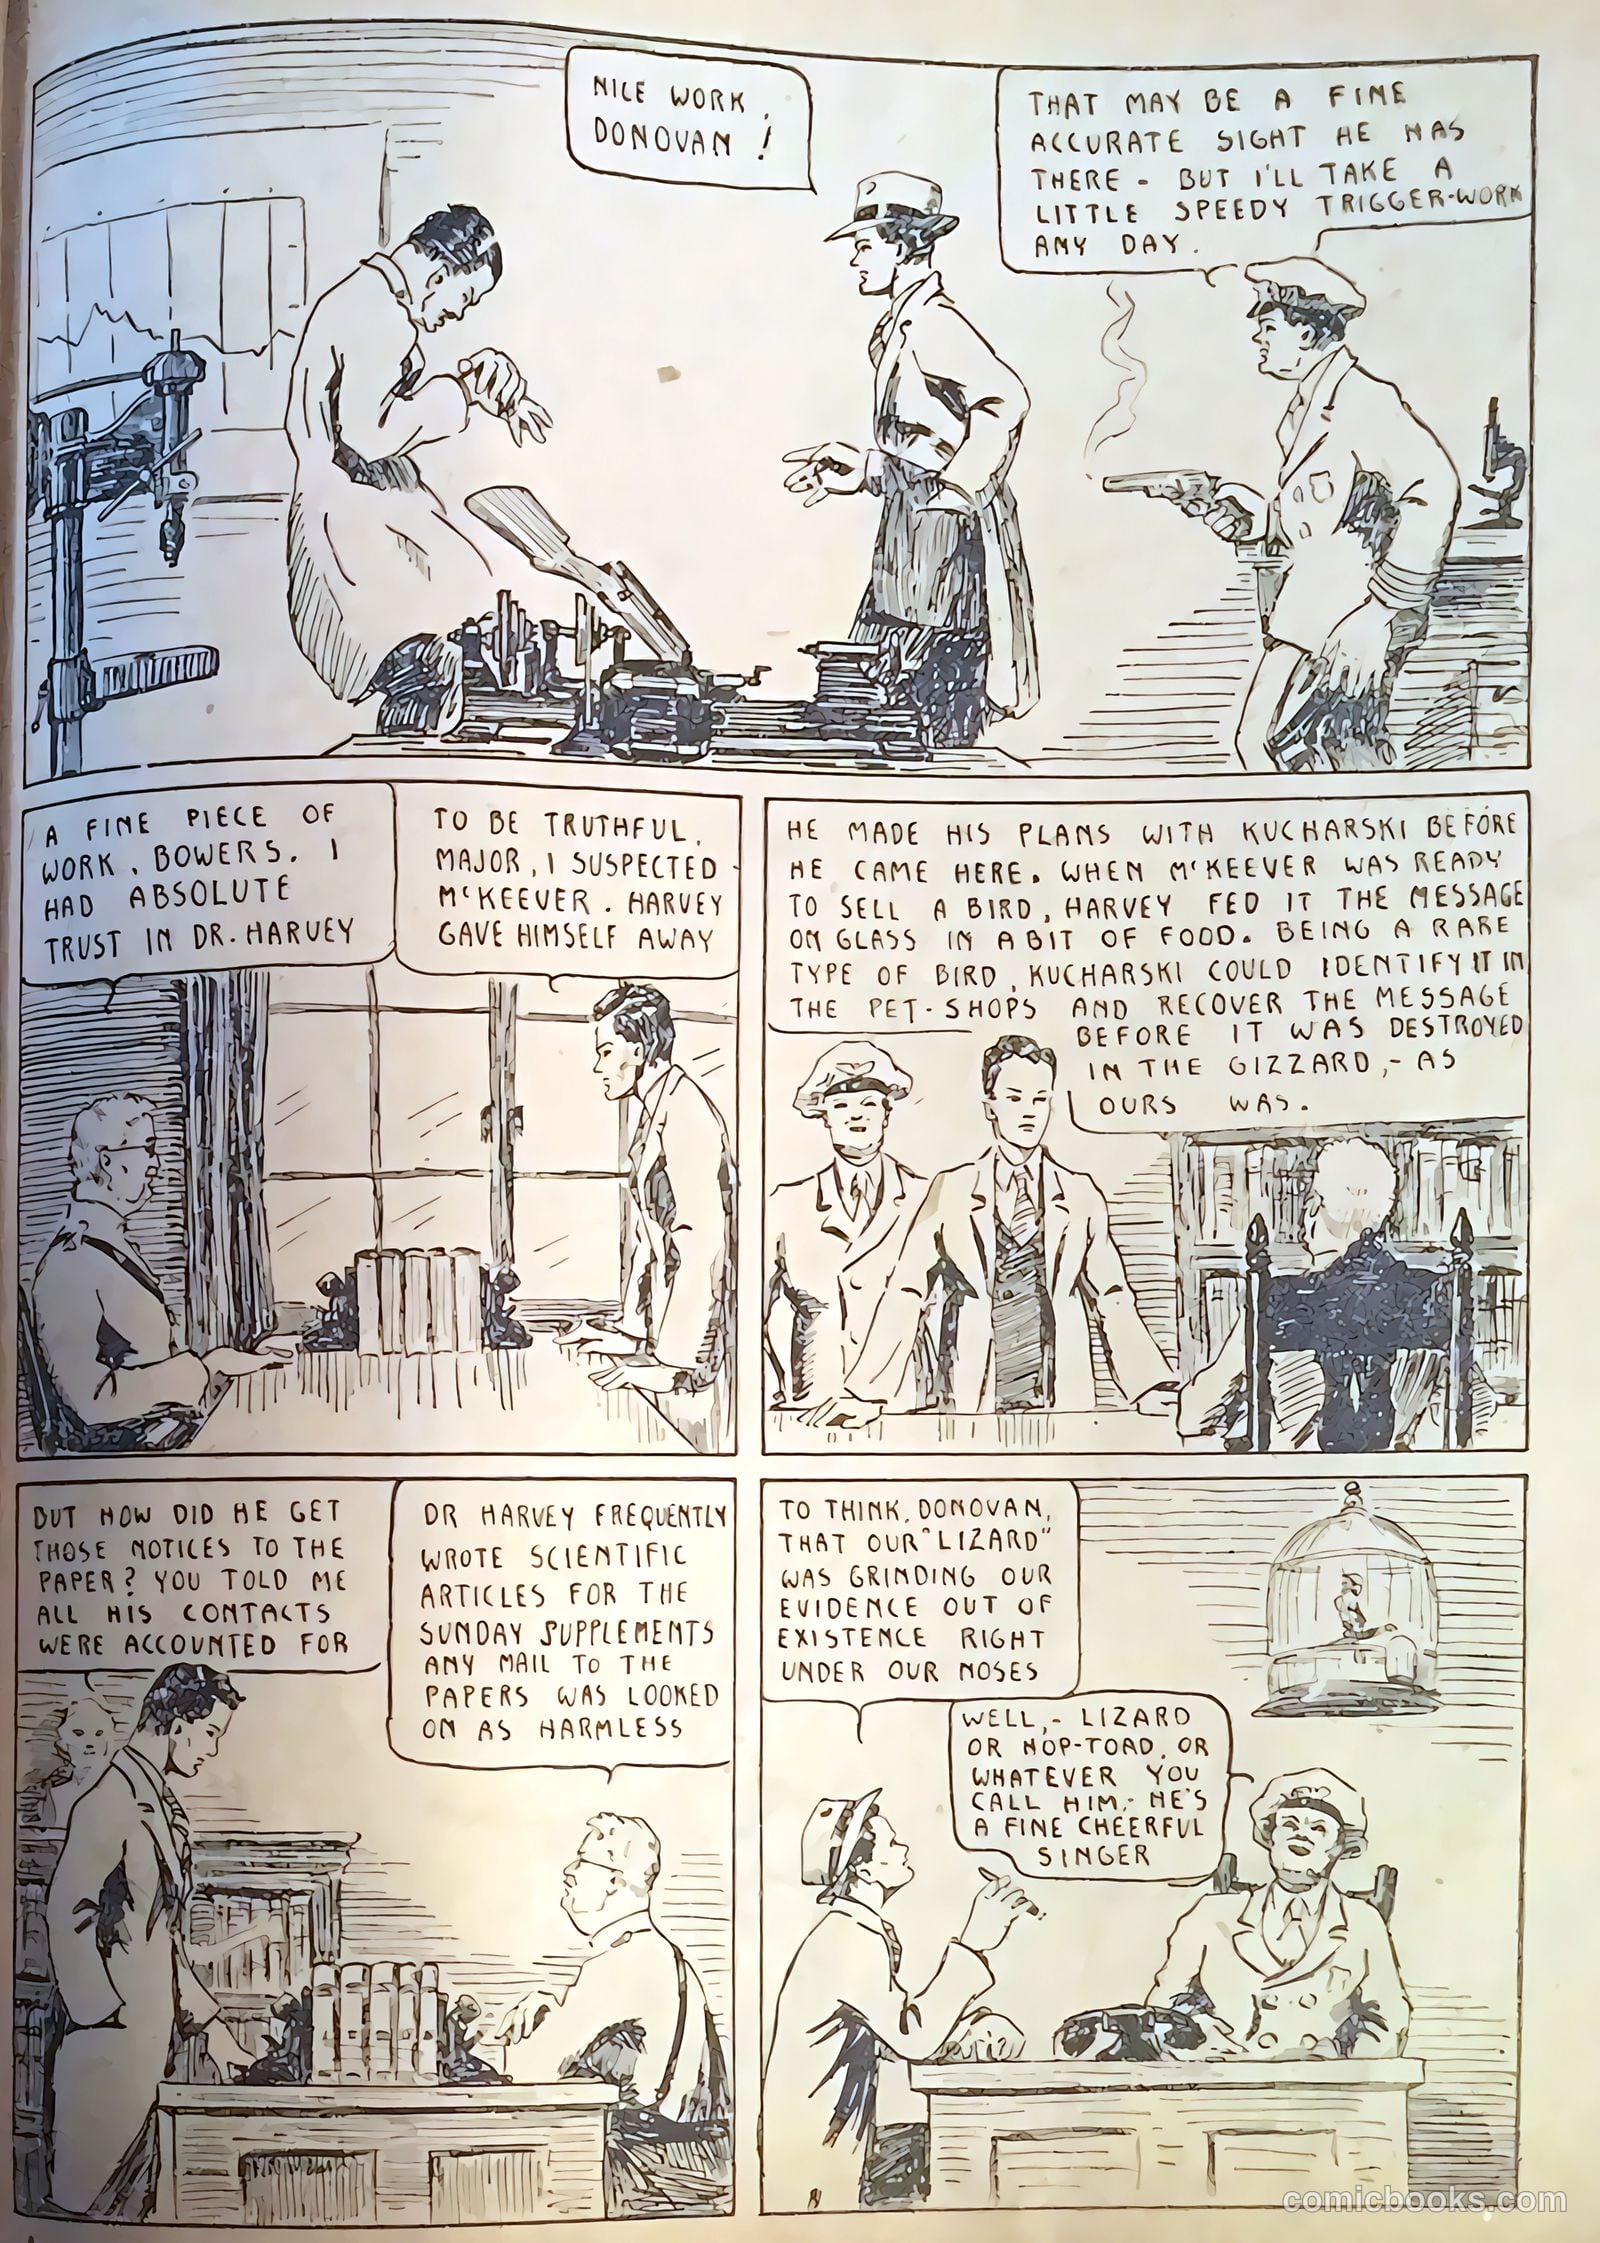
Clem BowersDr. HarveyAngus McKeeverDonovanKucharski

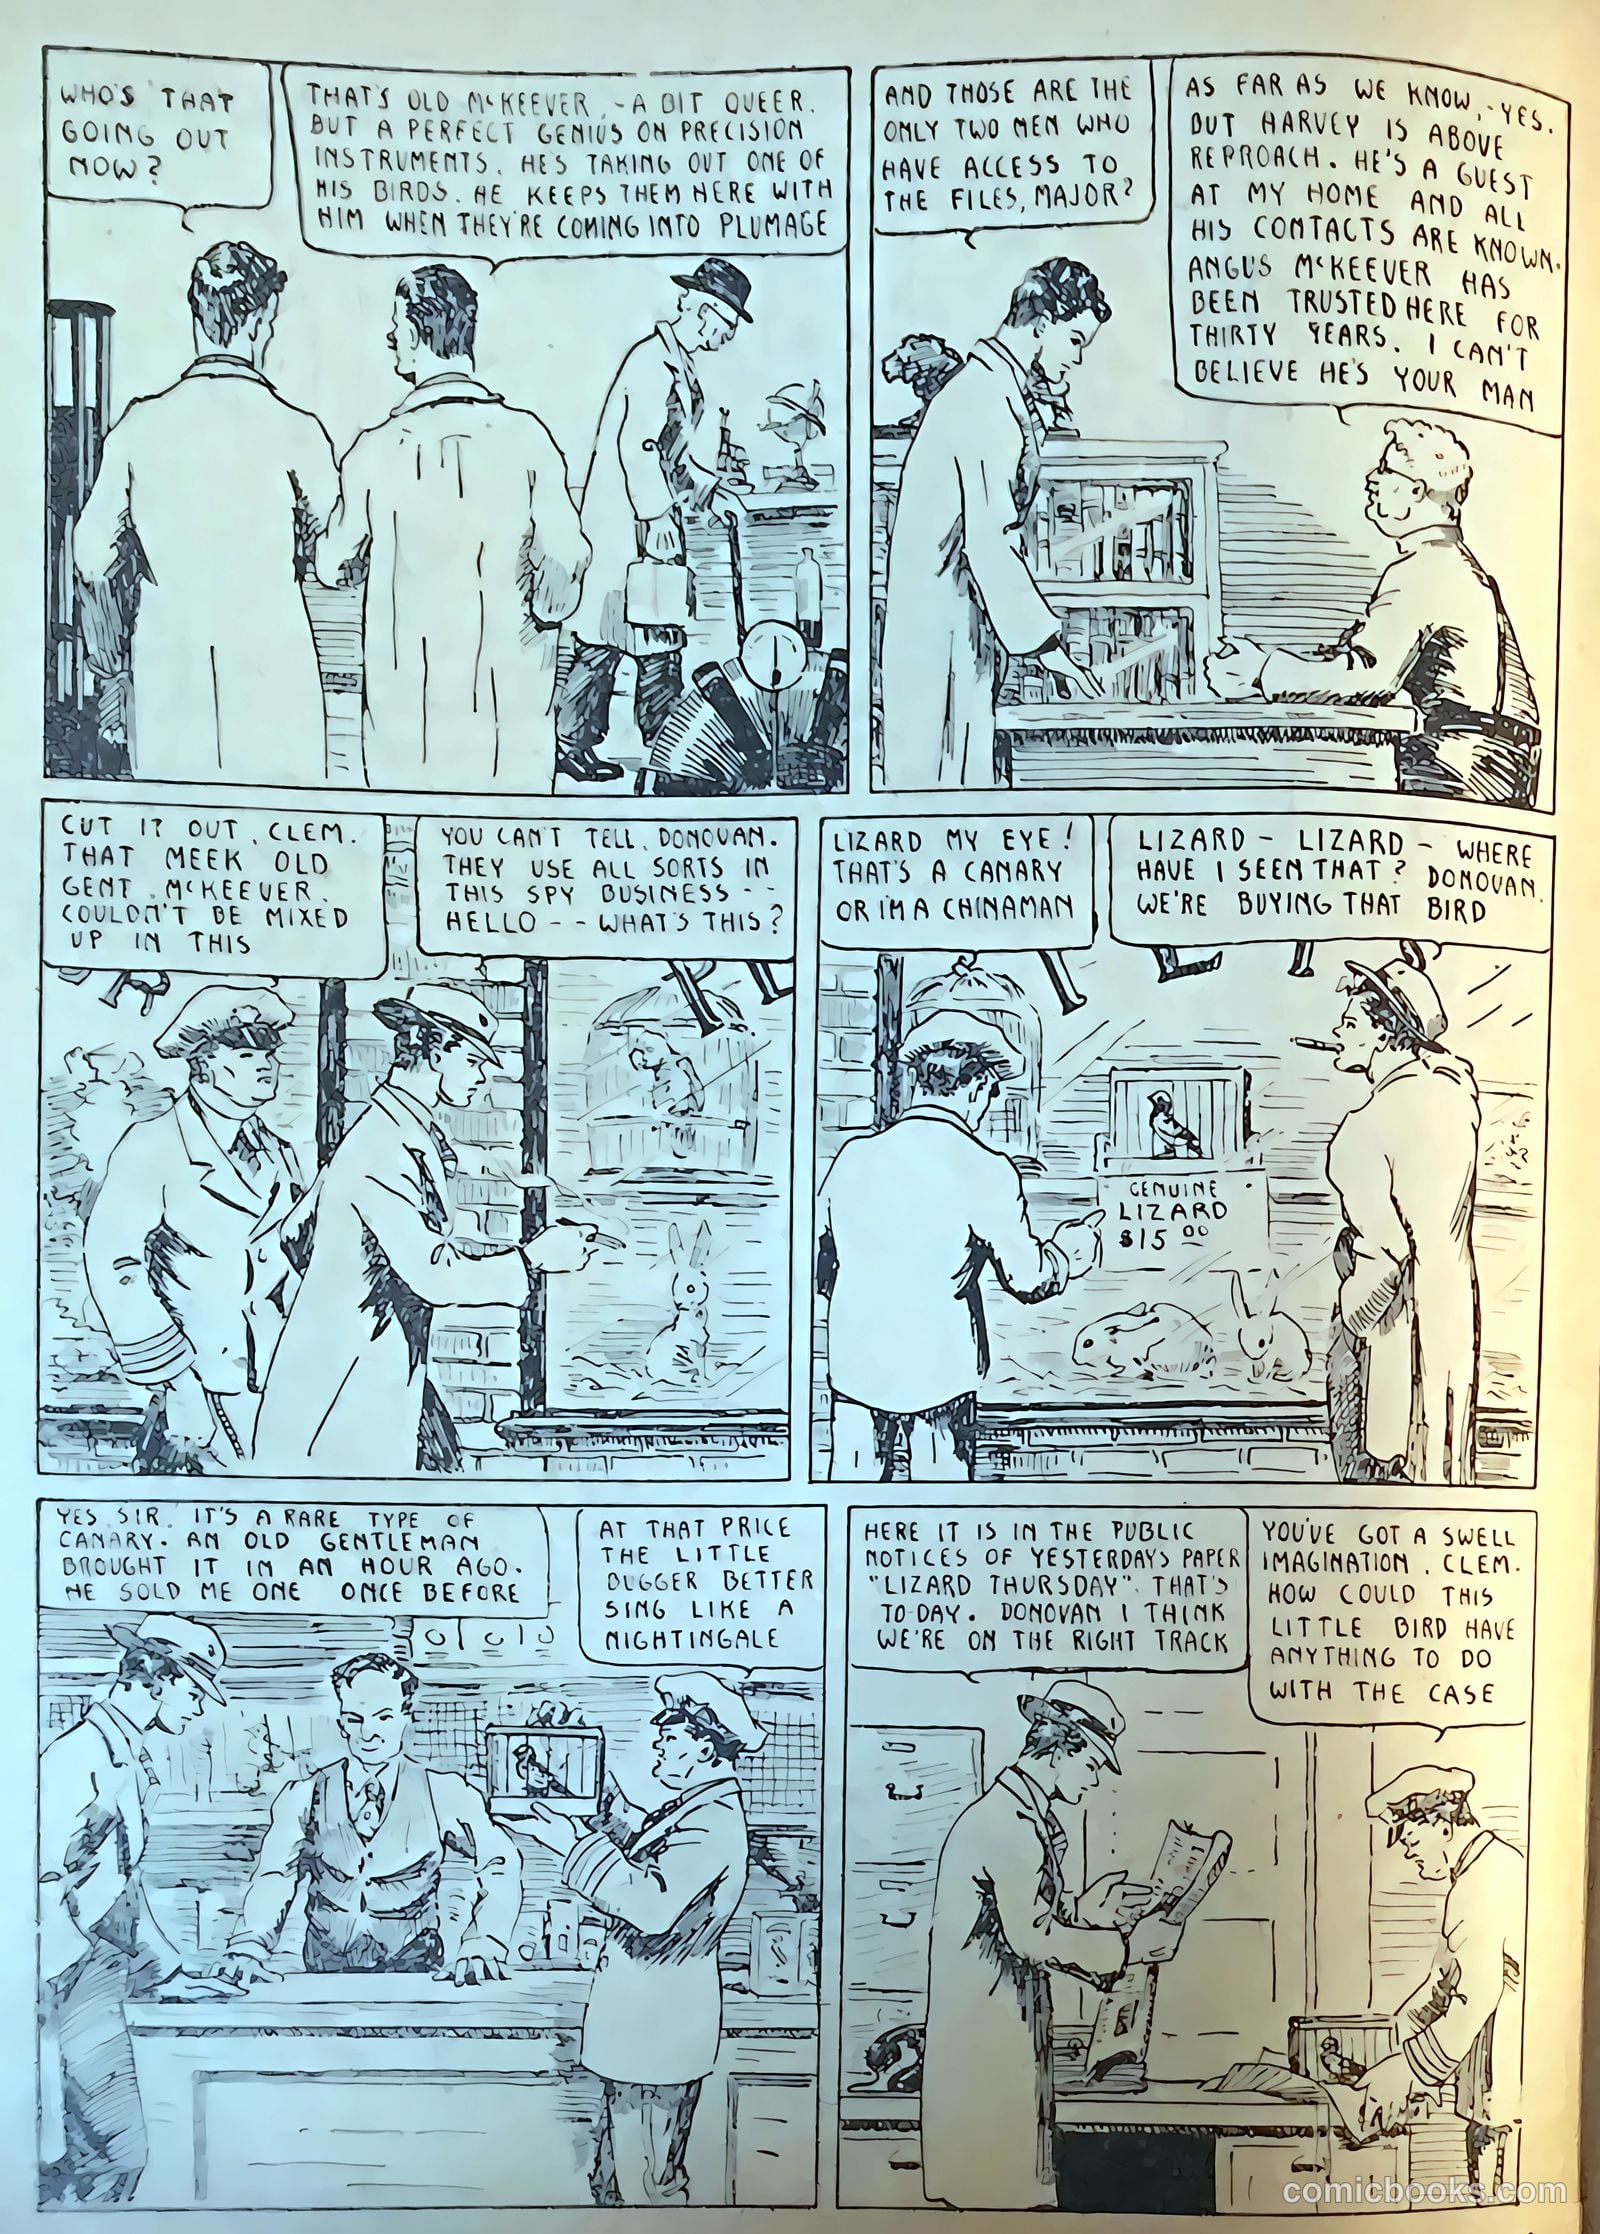
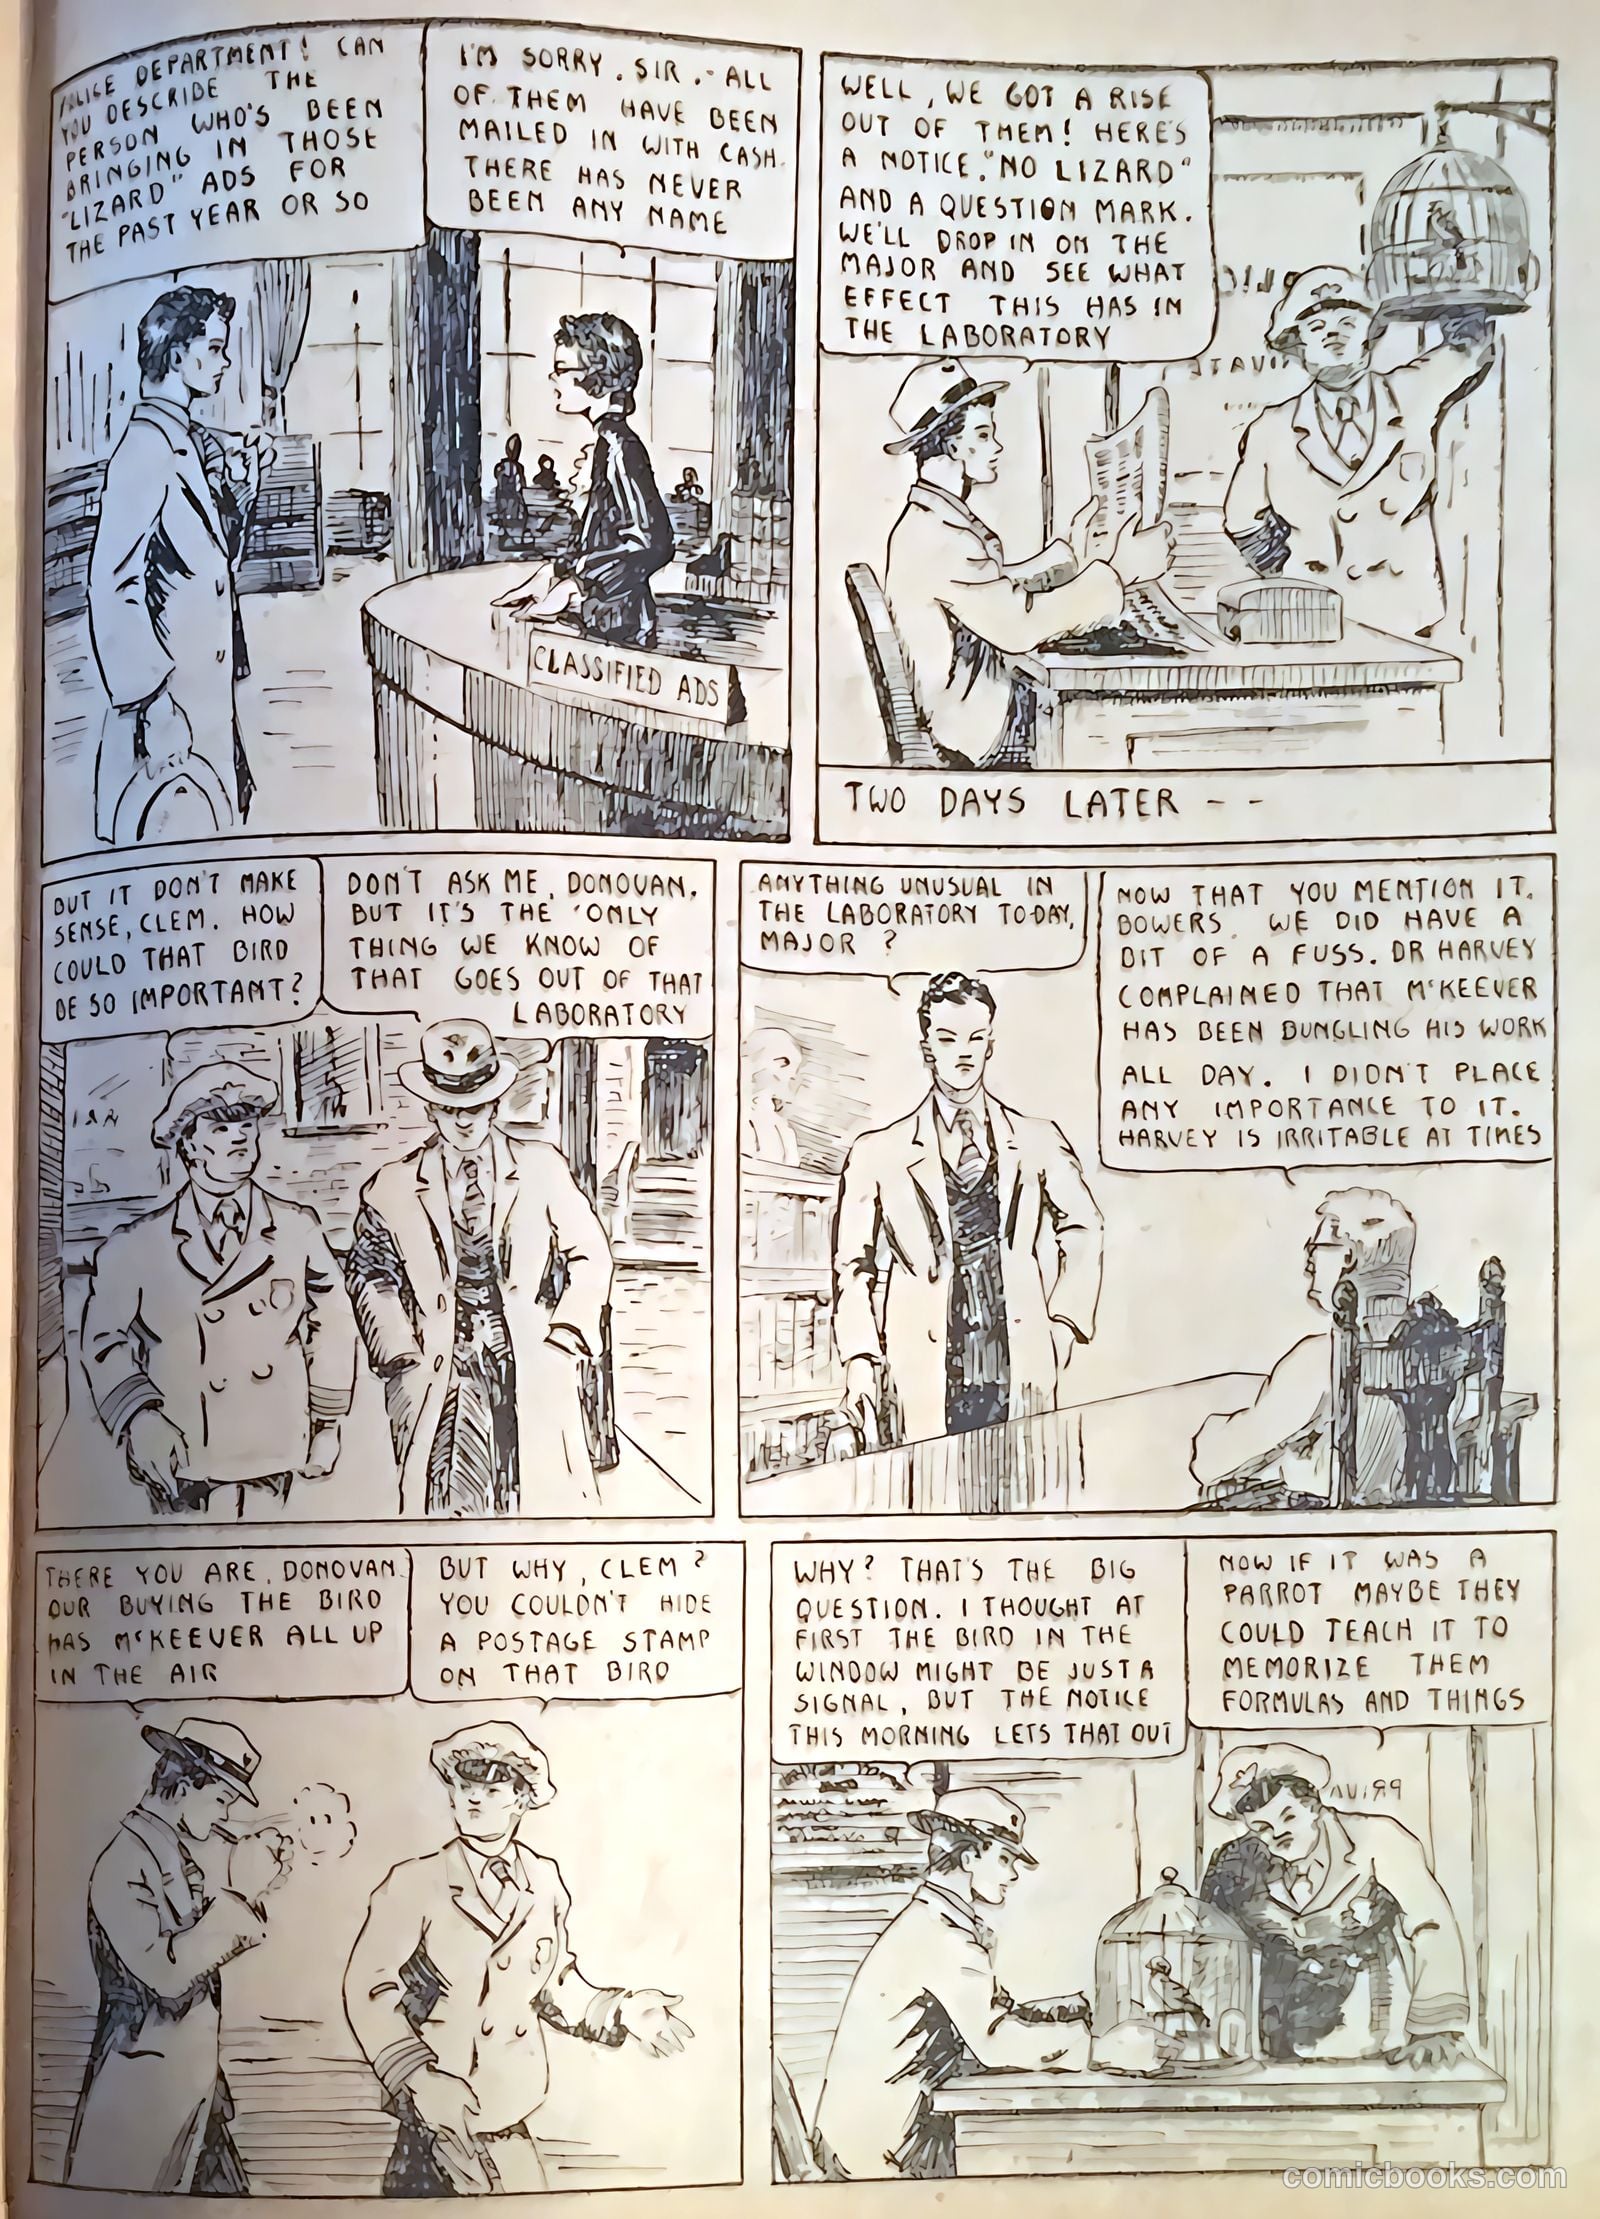
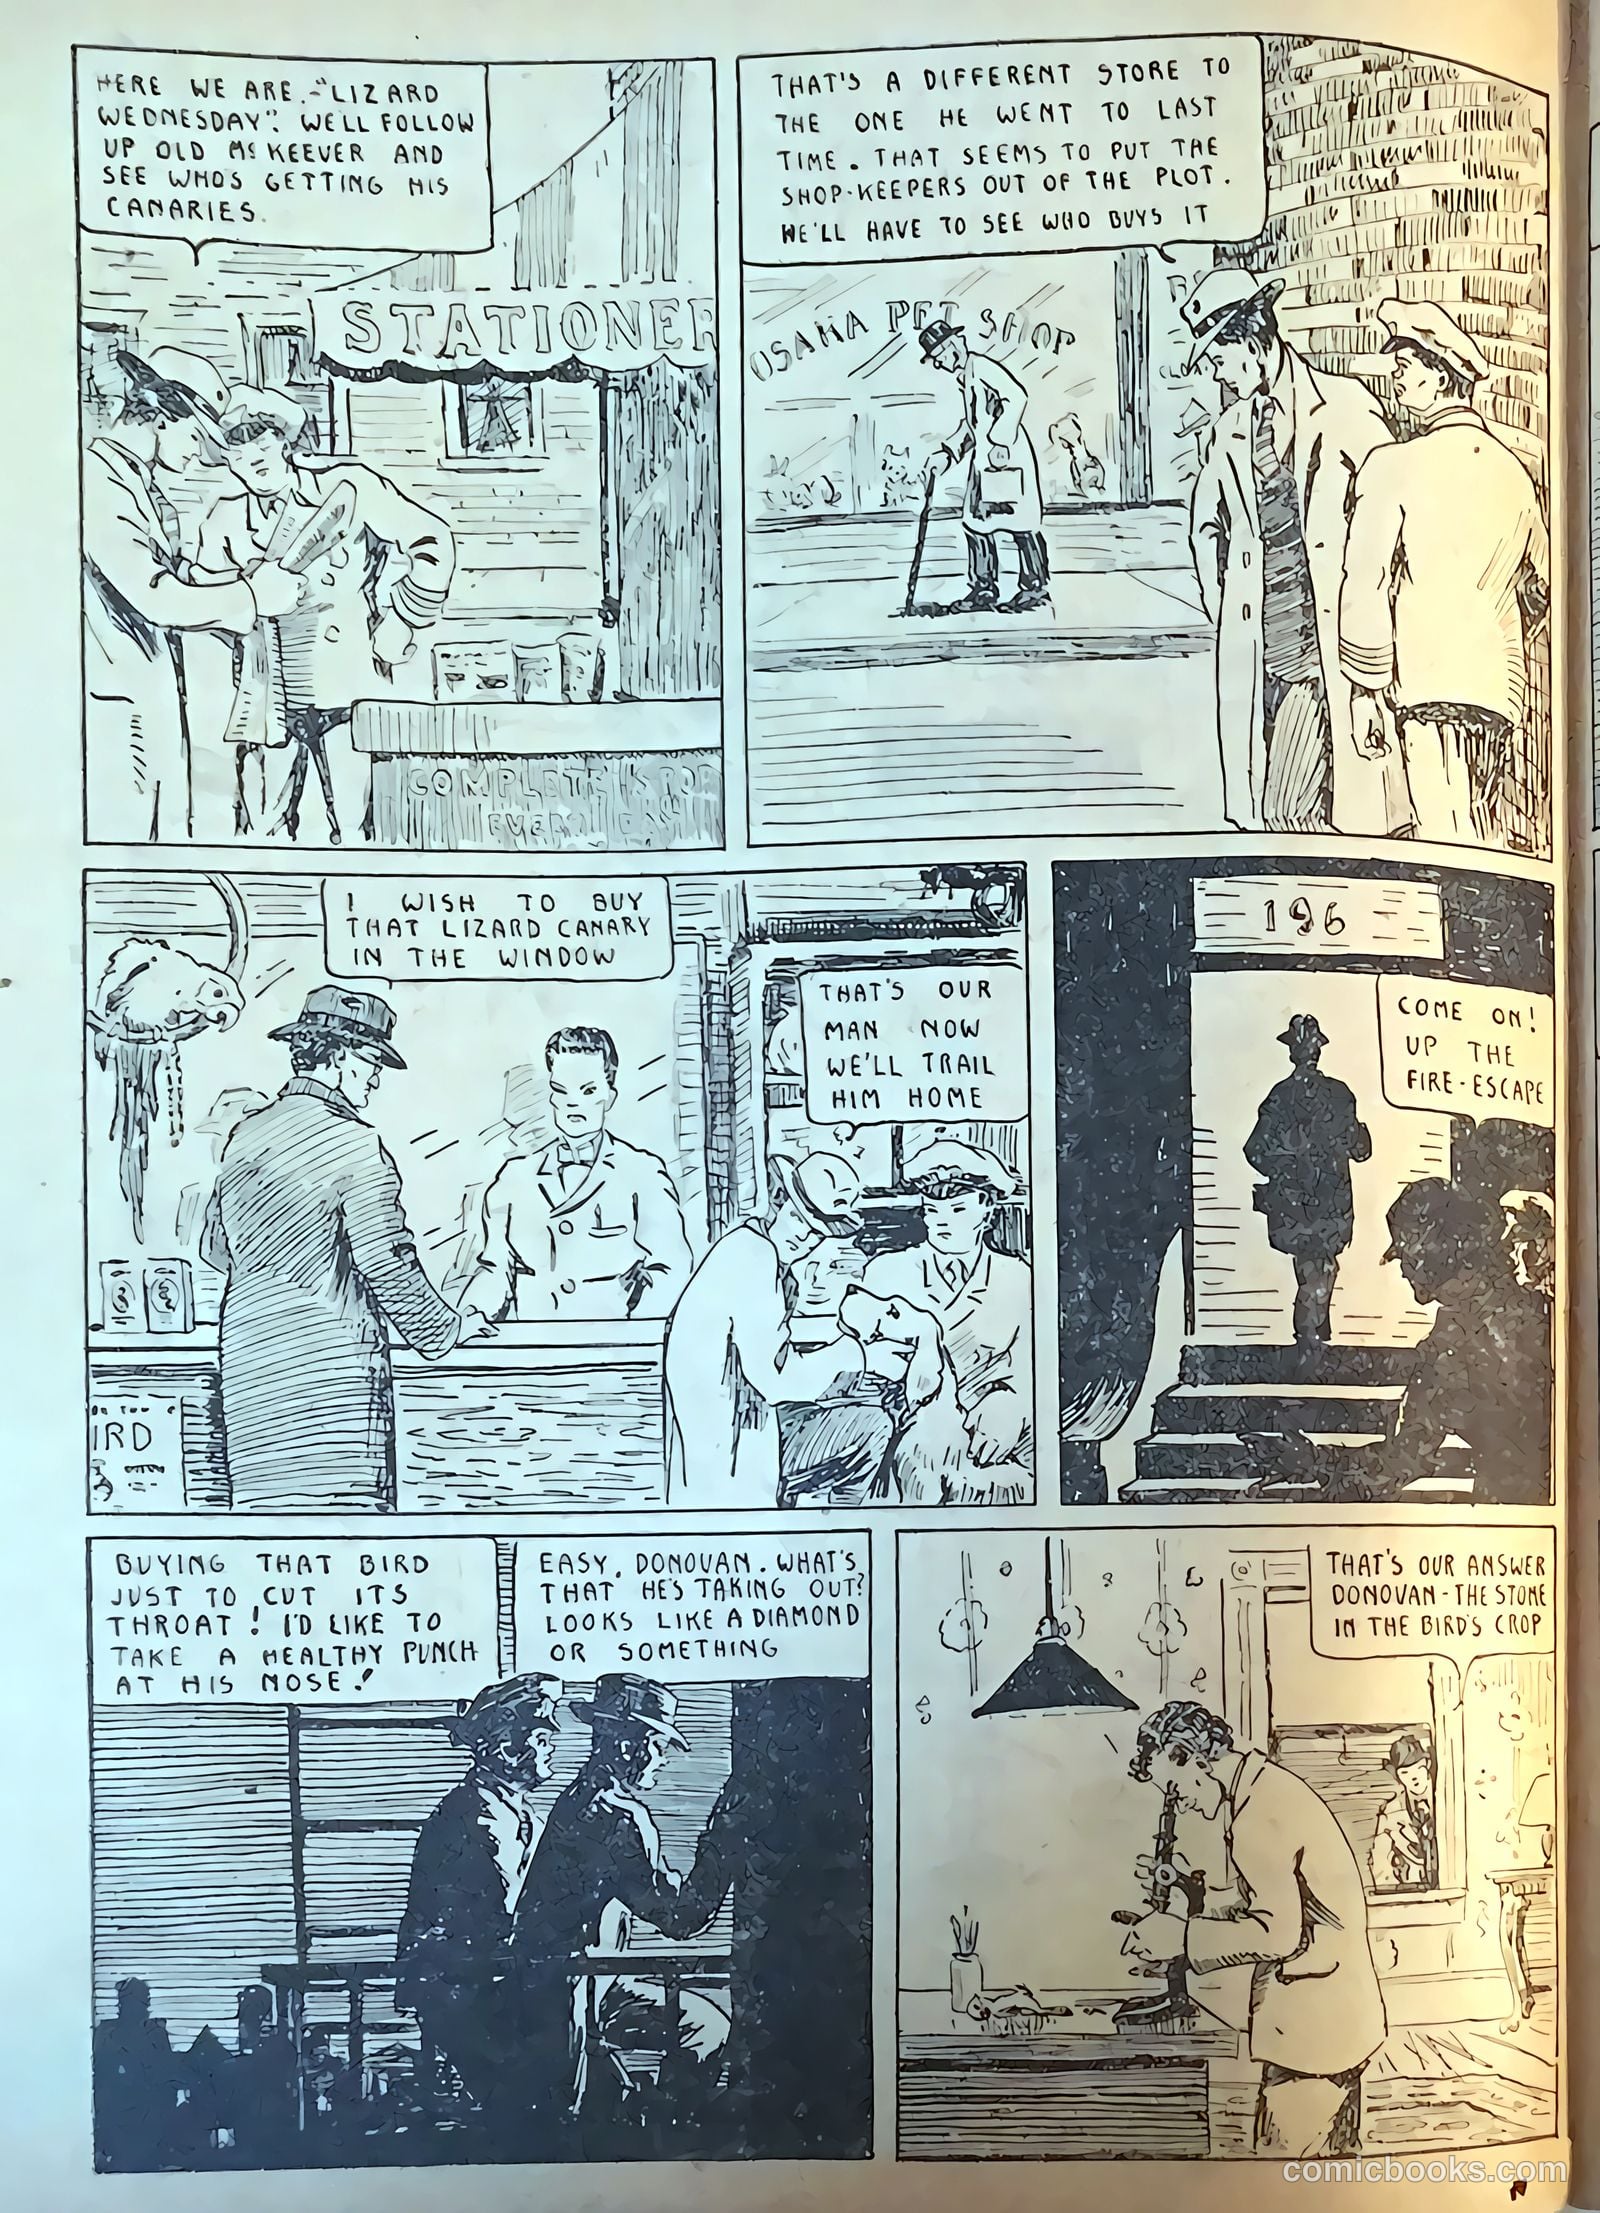
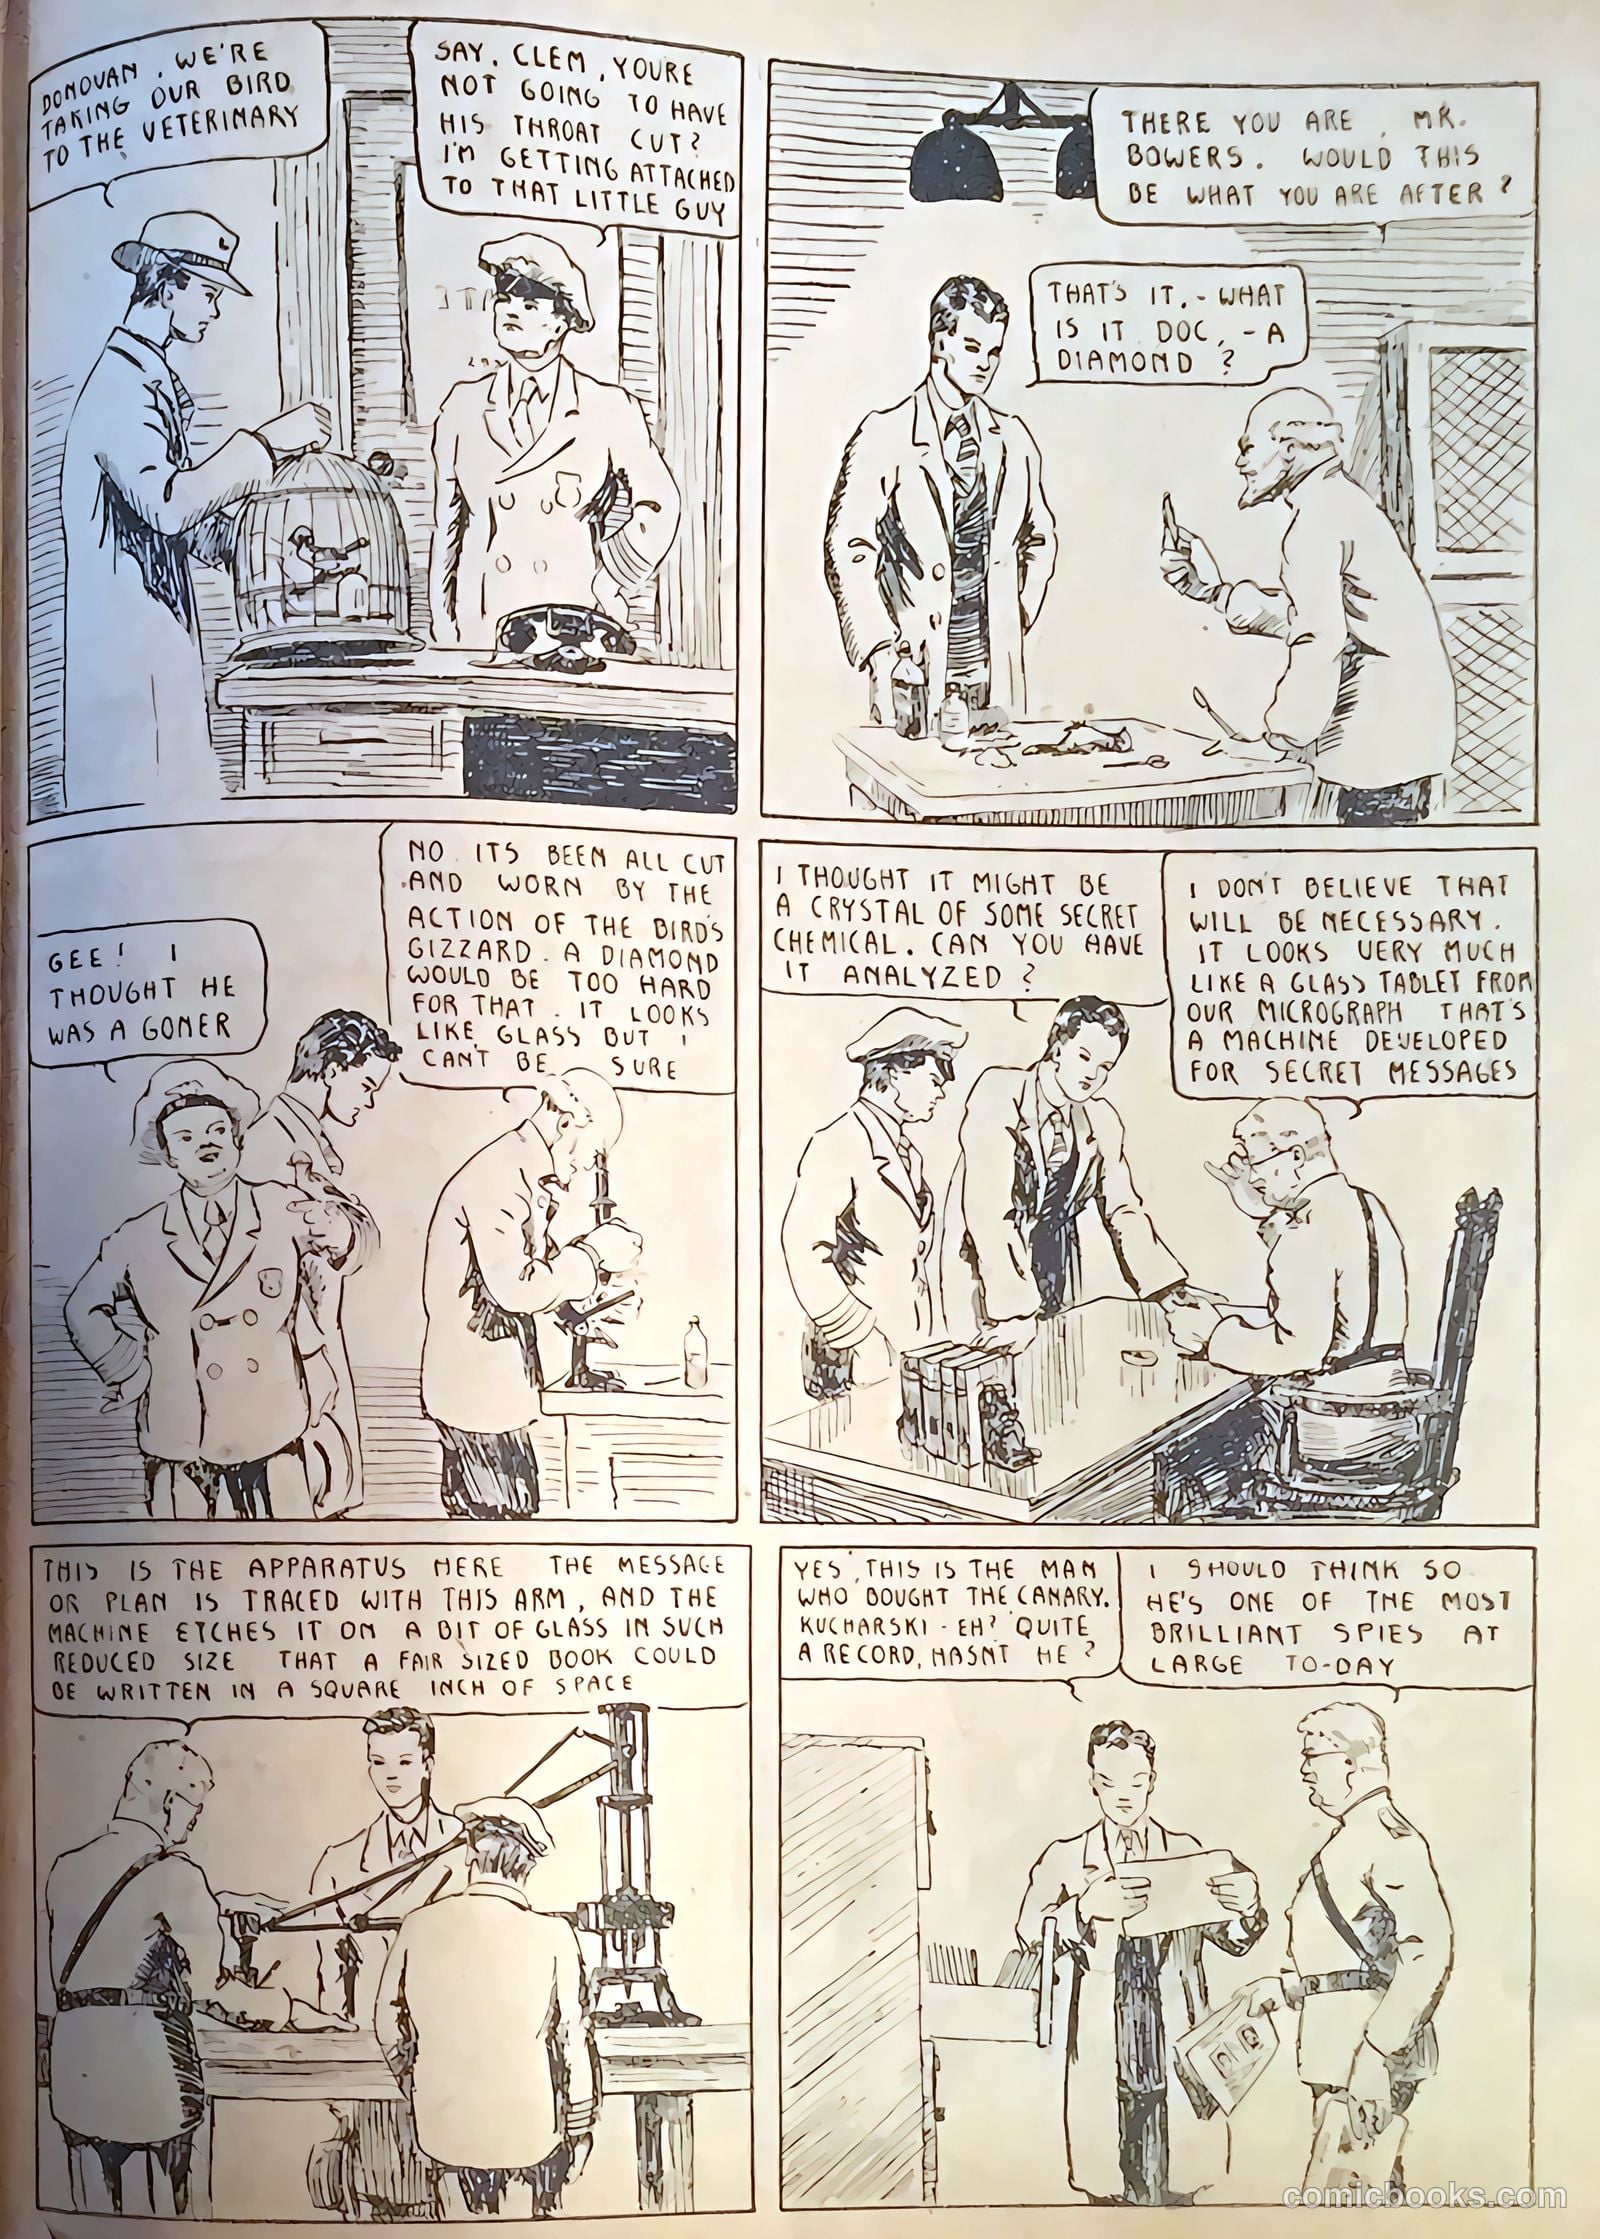
In "The Case of The-Lizard," detective Bowers is drawn into a bizarre mystery when military secrets are discovered etched on glass and hidden inside the gizzards of lizards—leading him down a trail of espionage that’s as strange as it is urgent. The story unfolds with a sharp, old-school detective flair, blending pulp intrigue with a touch of the uncanny.

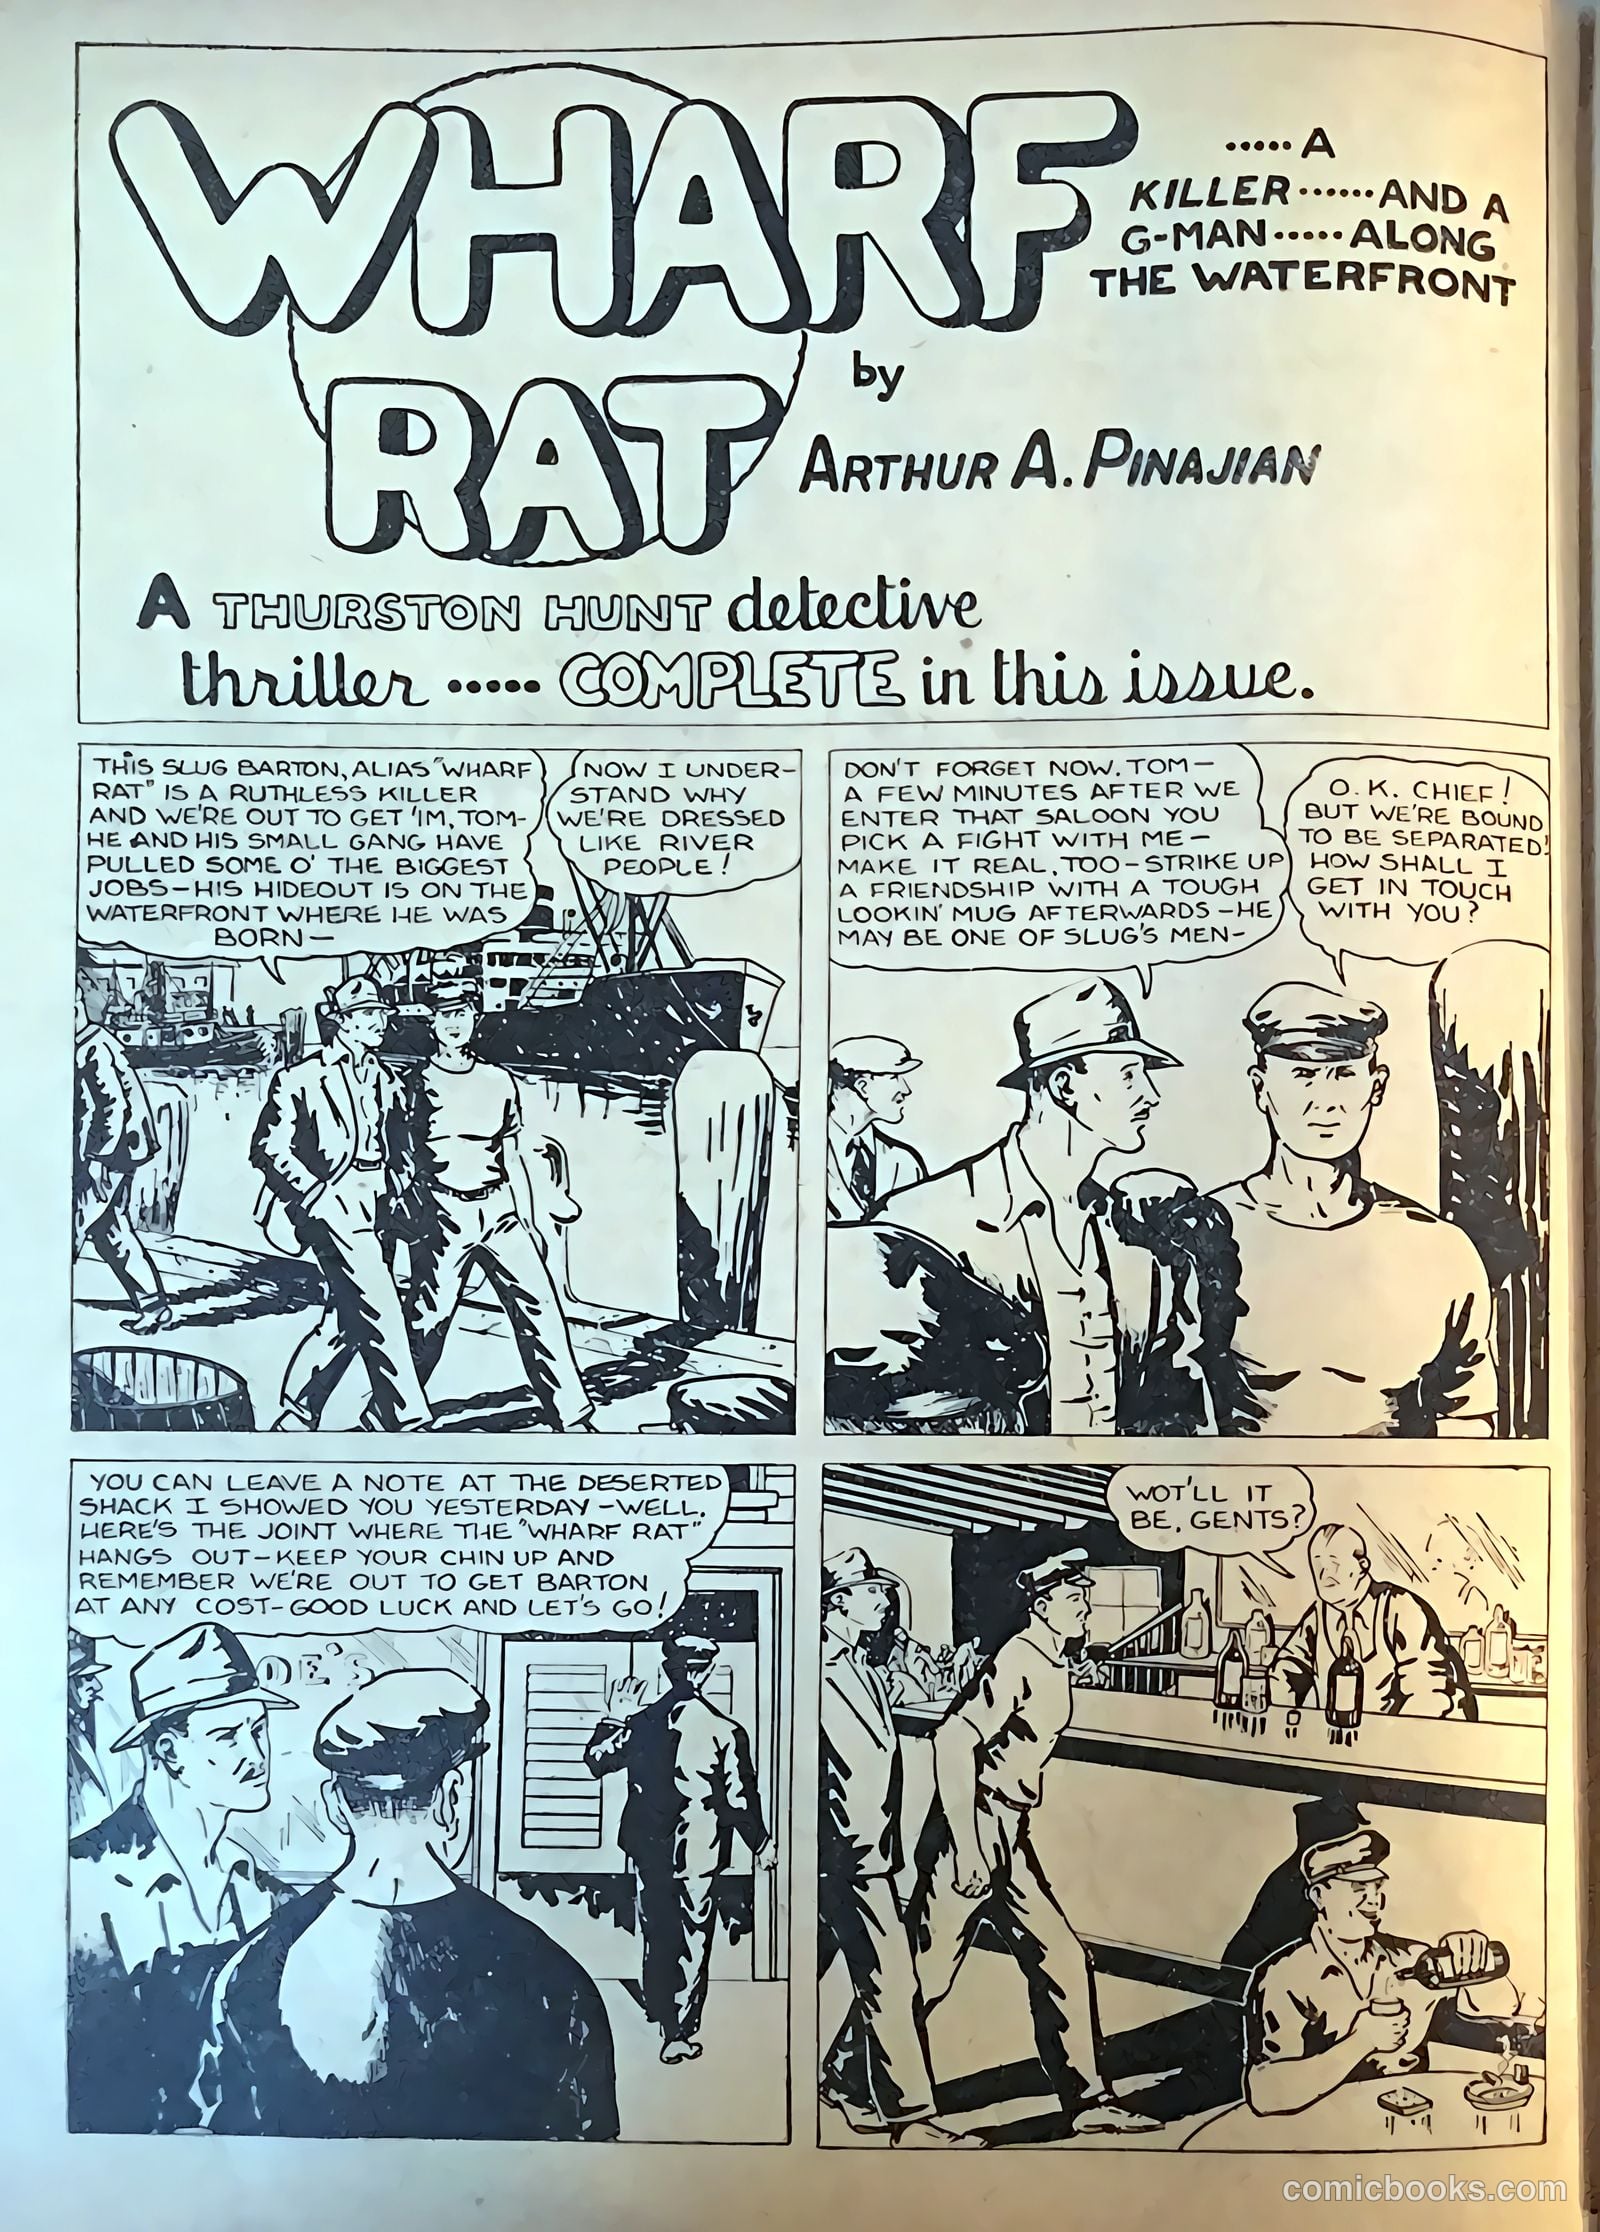
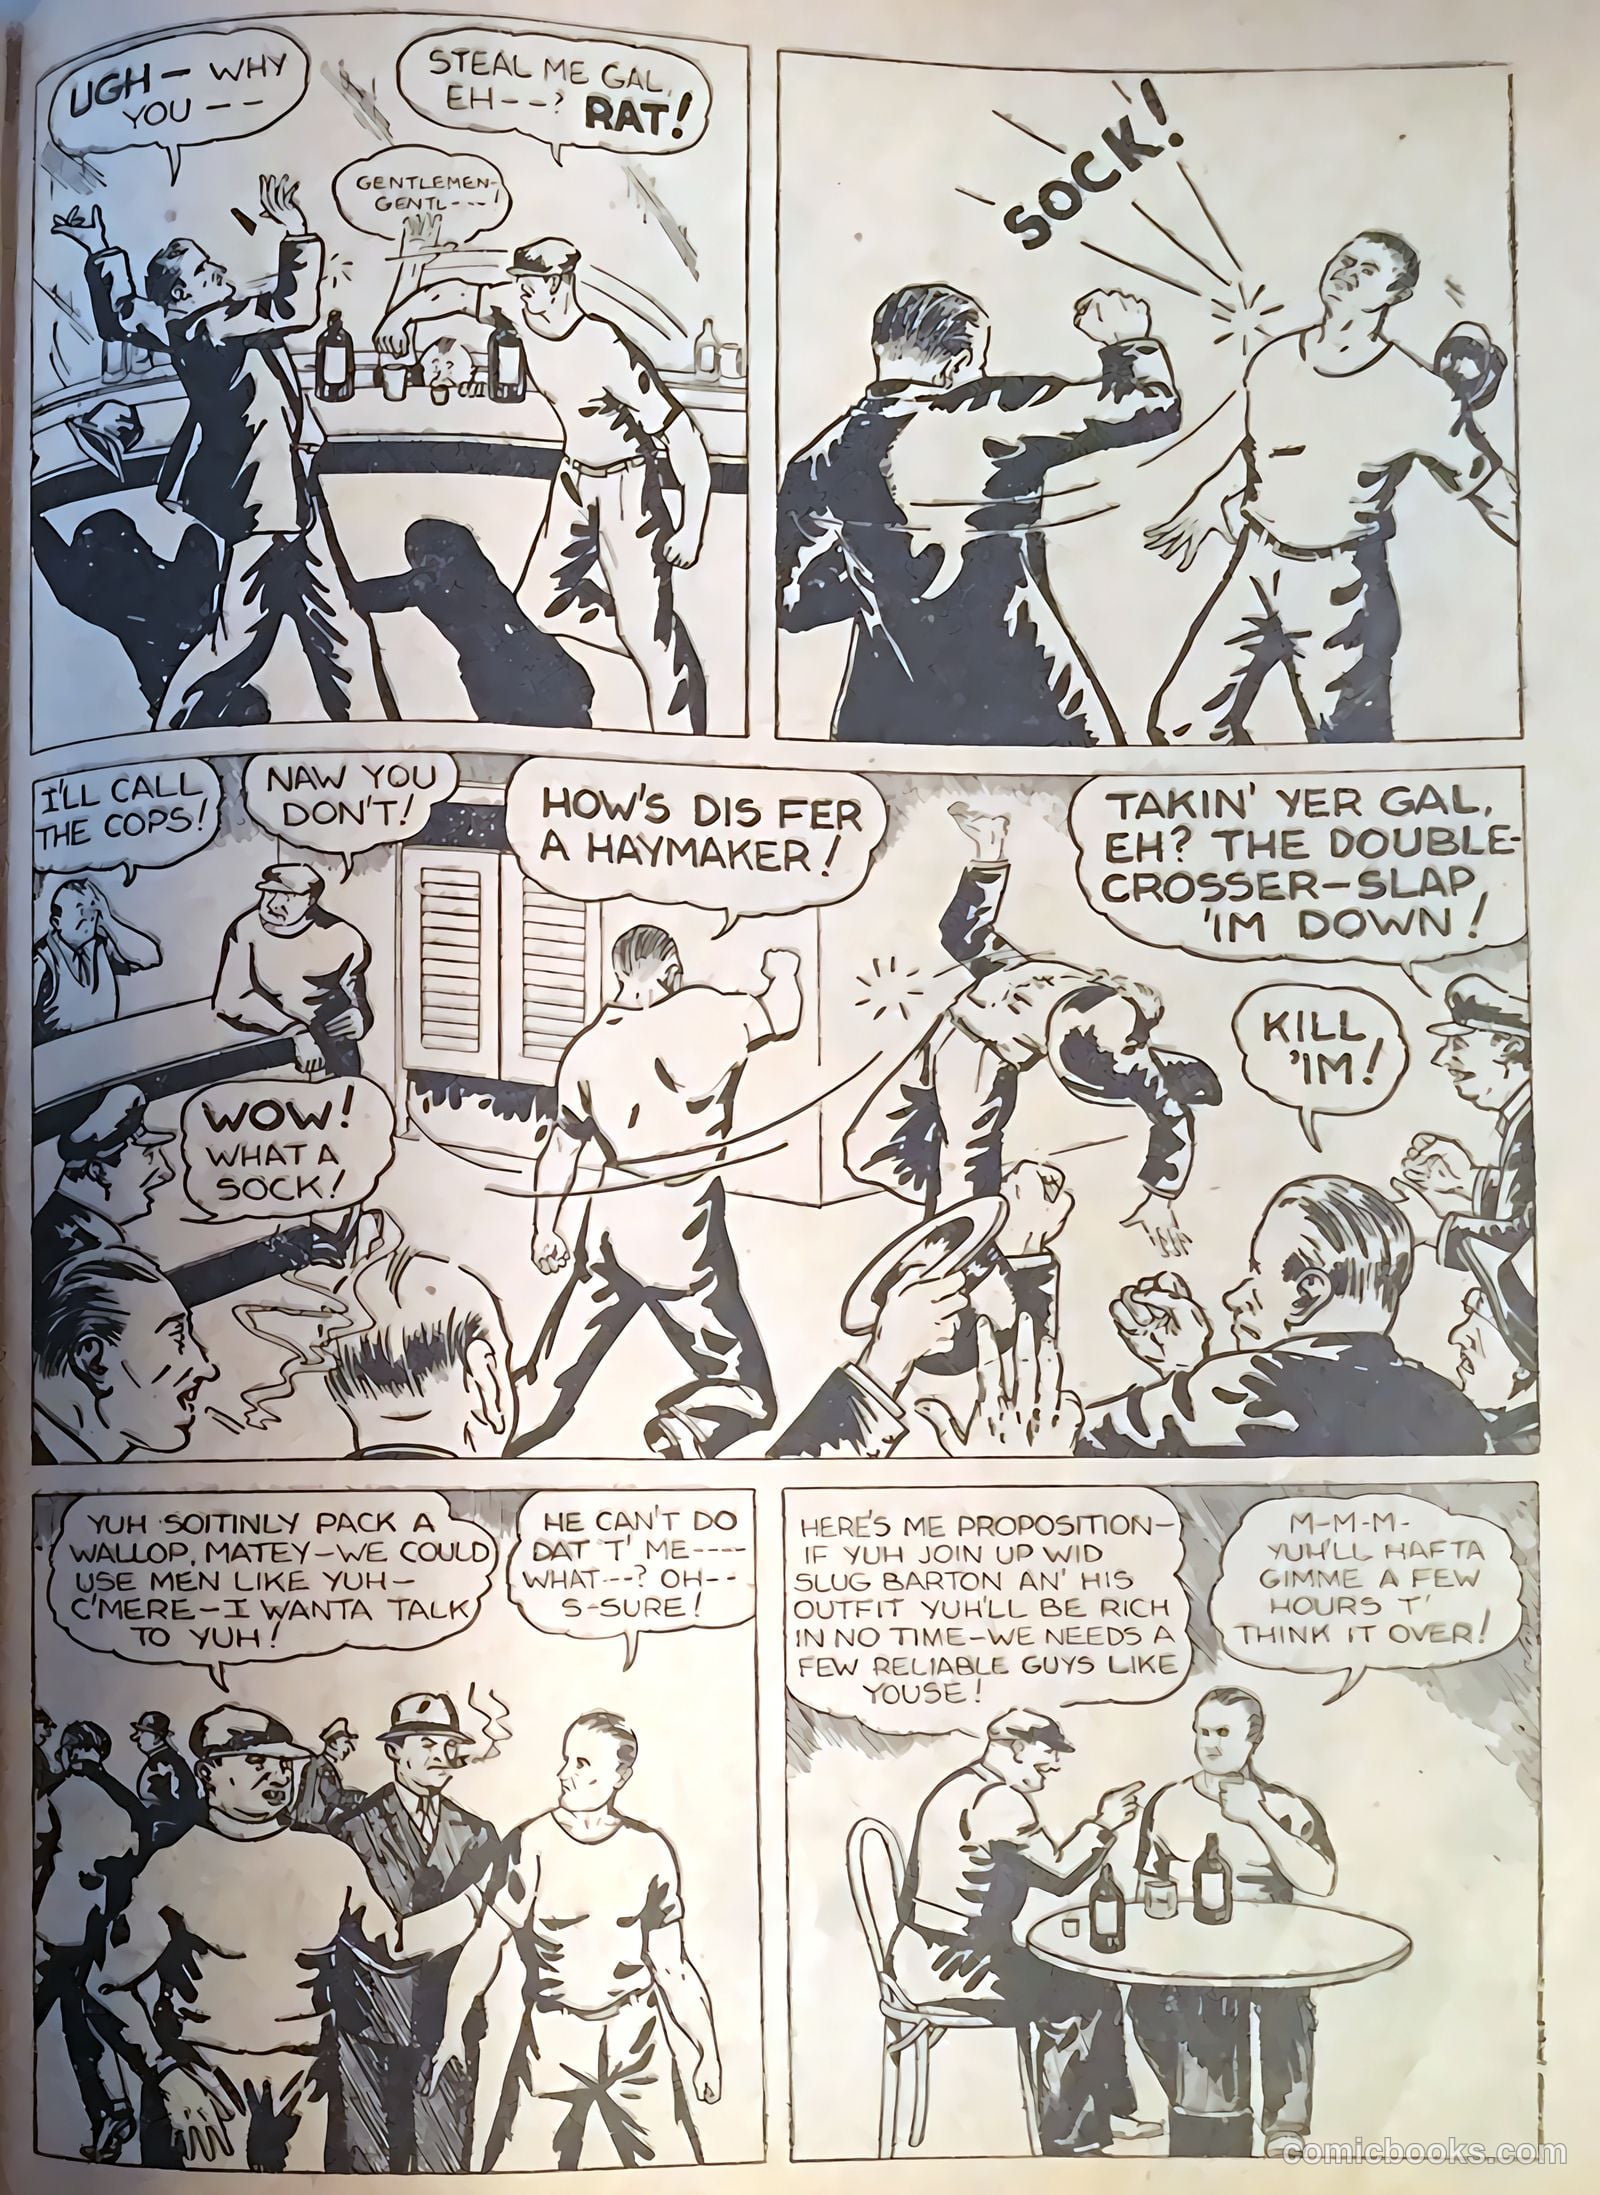
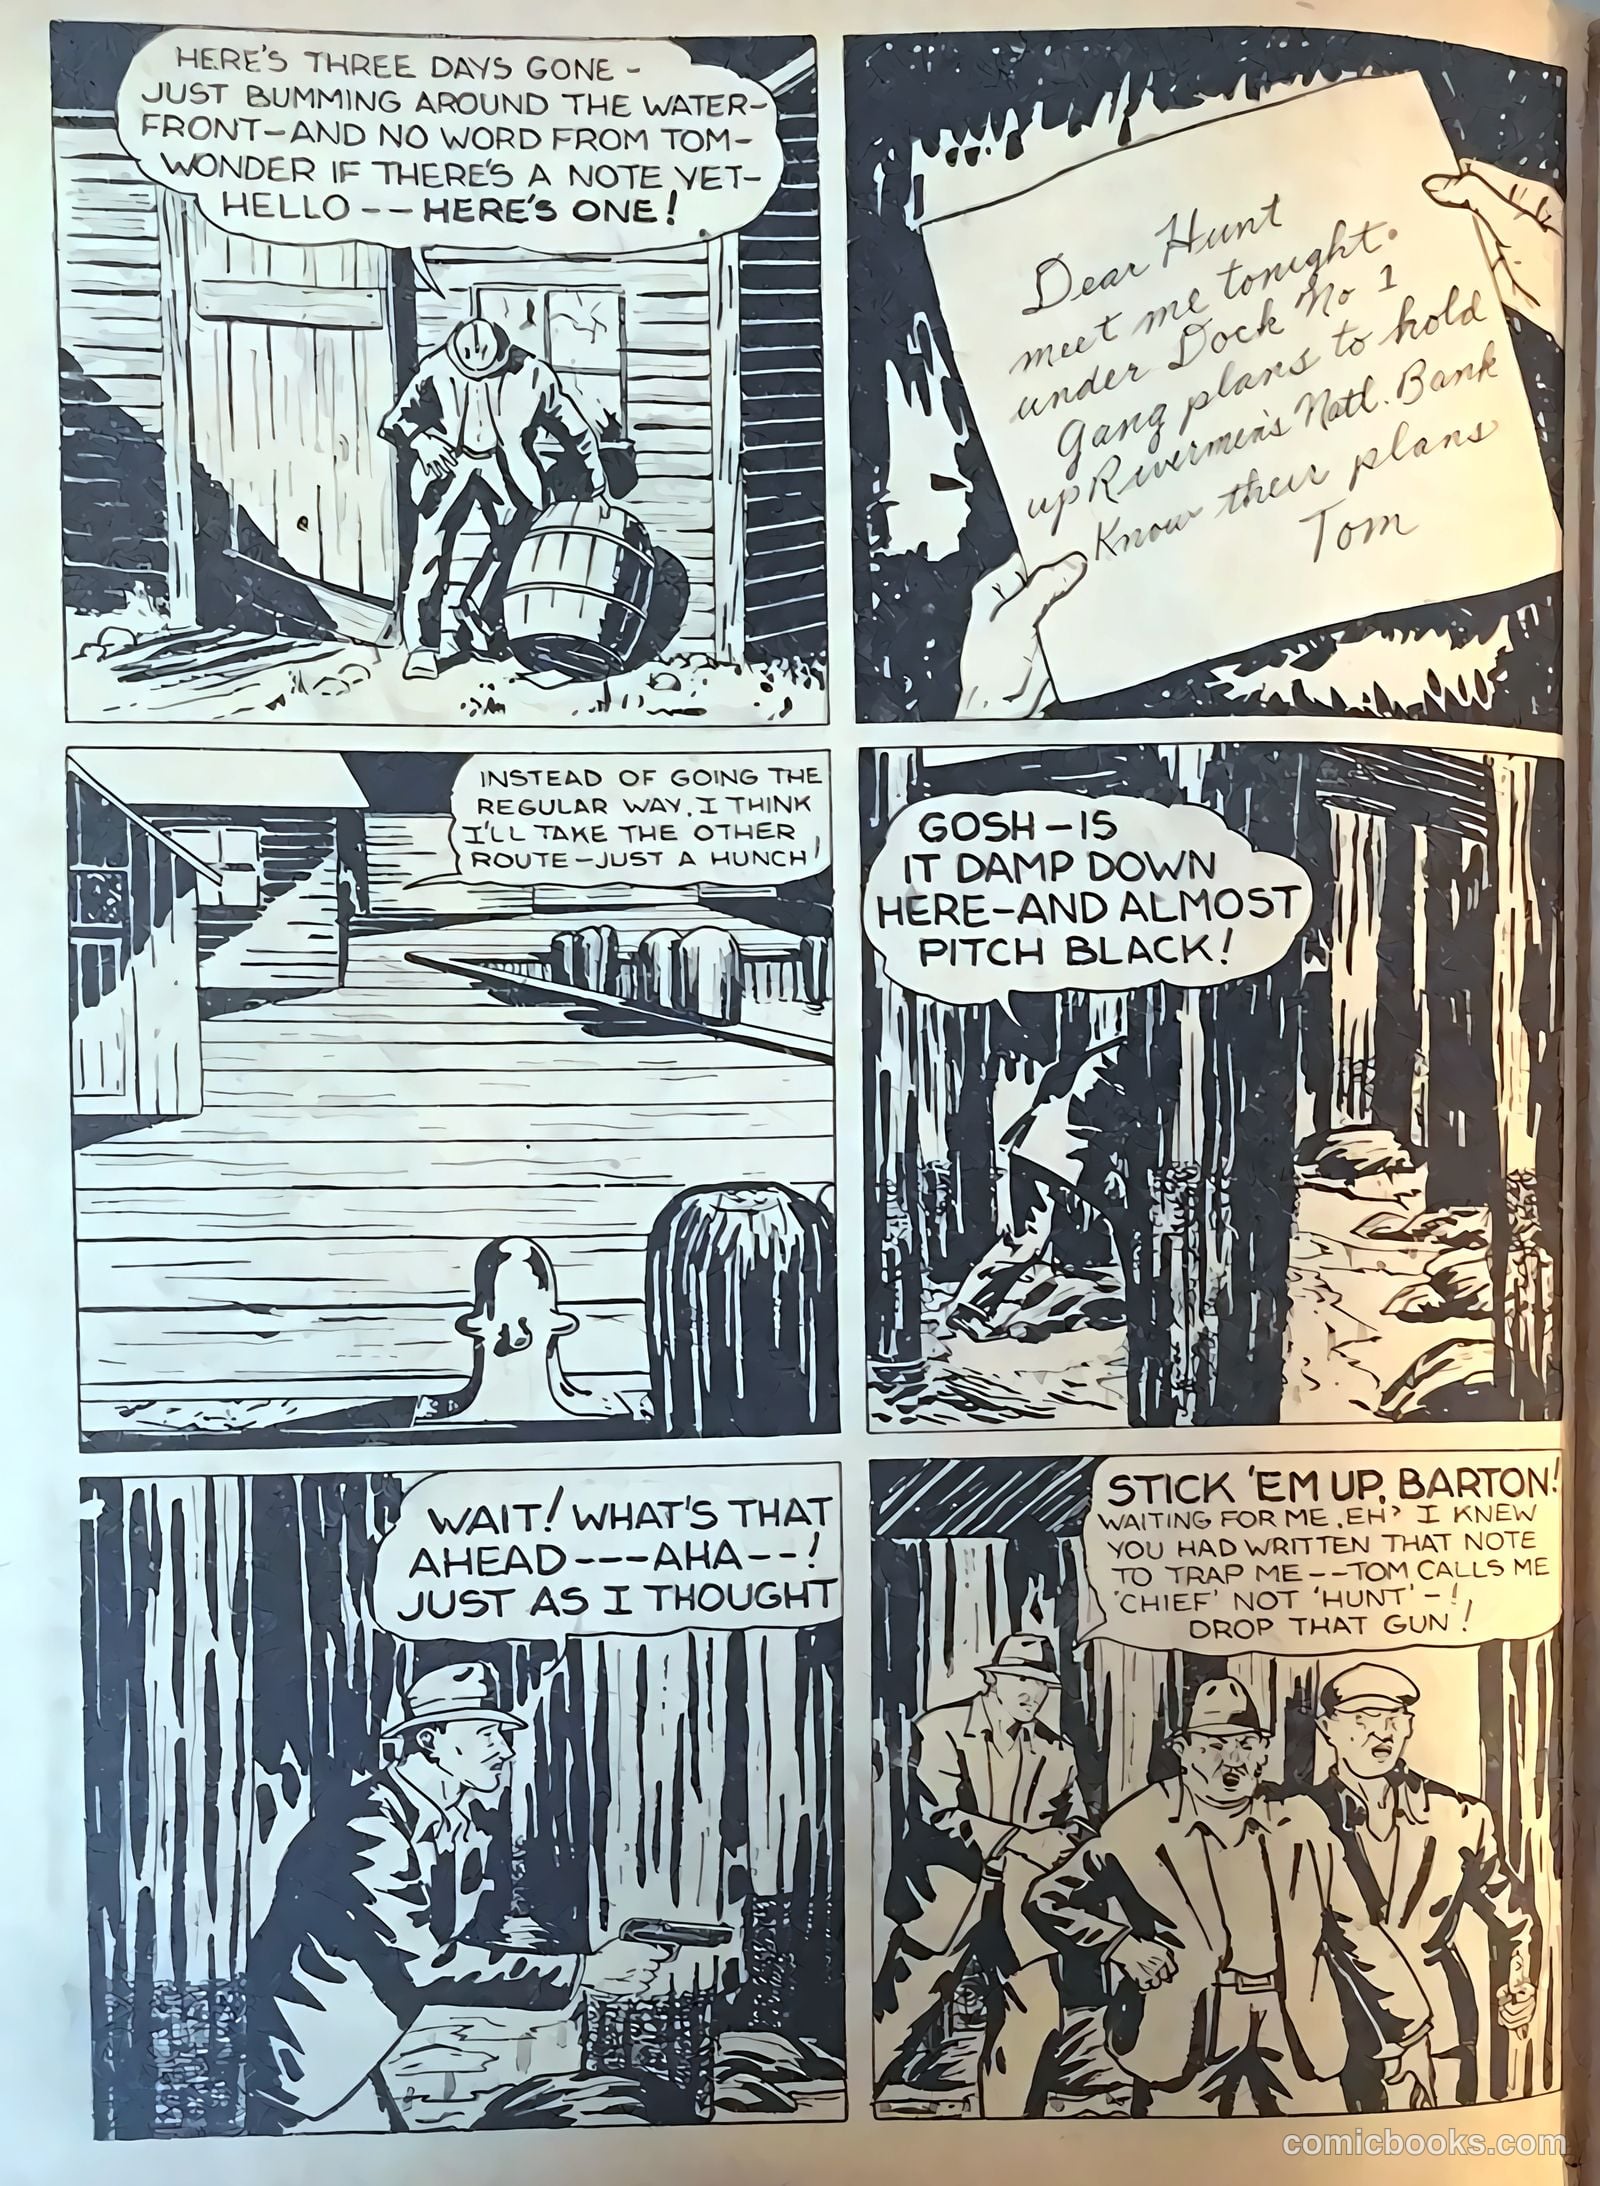
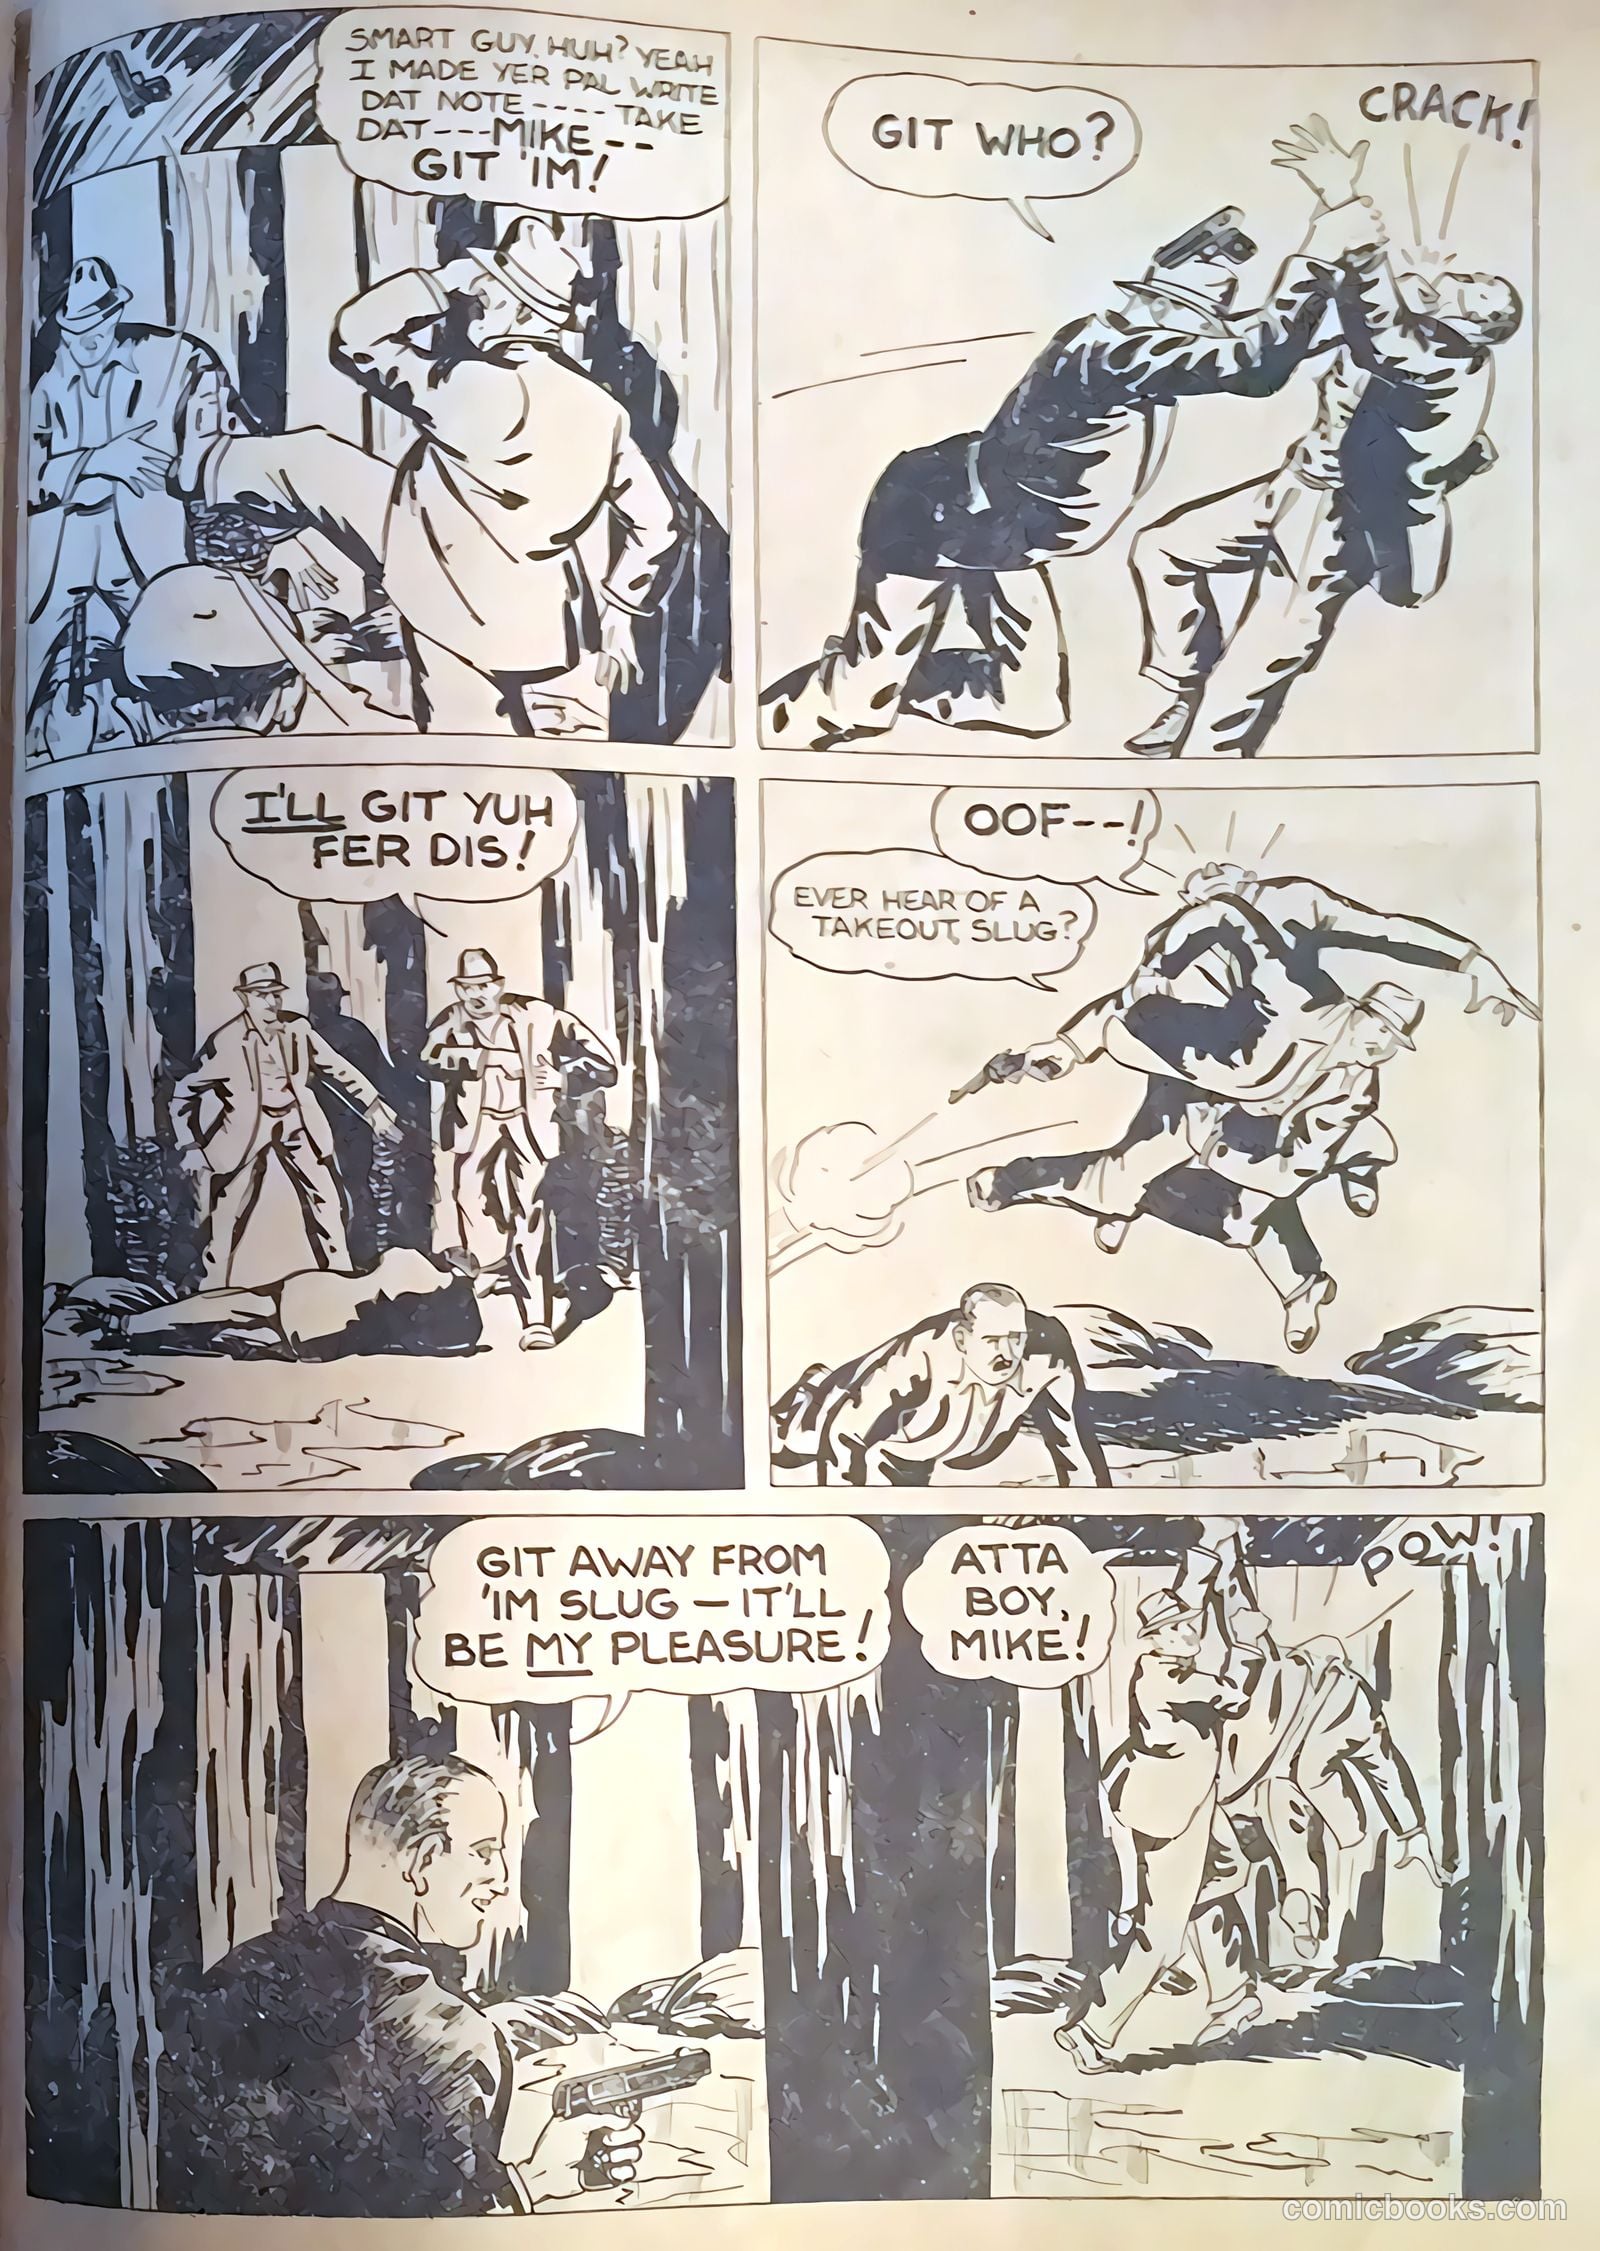
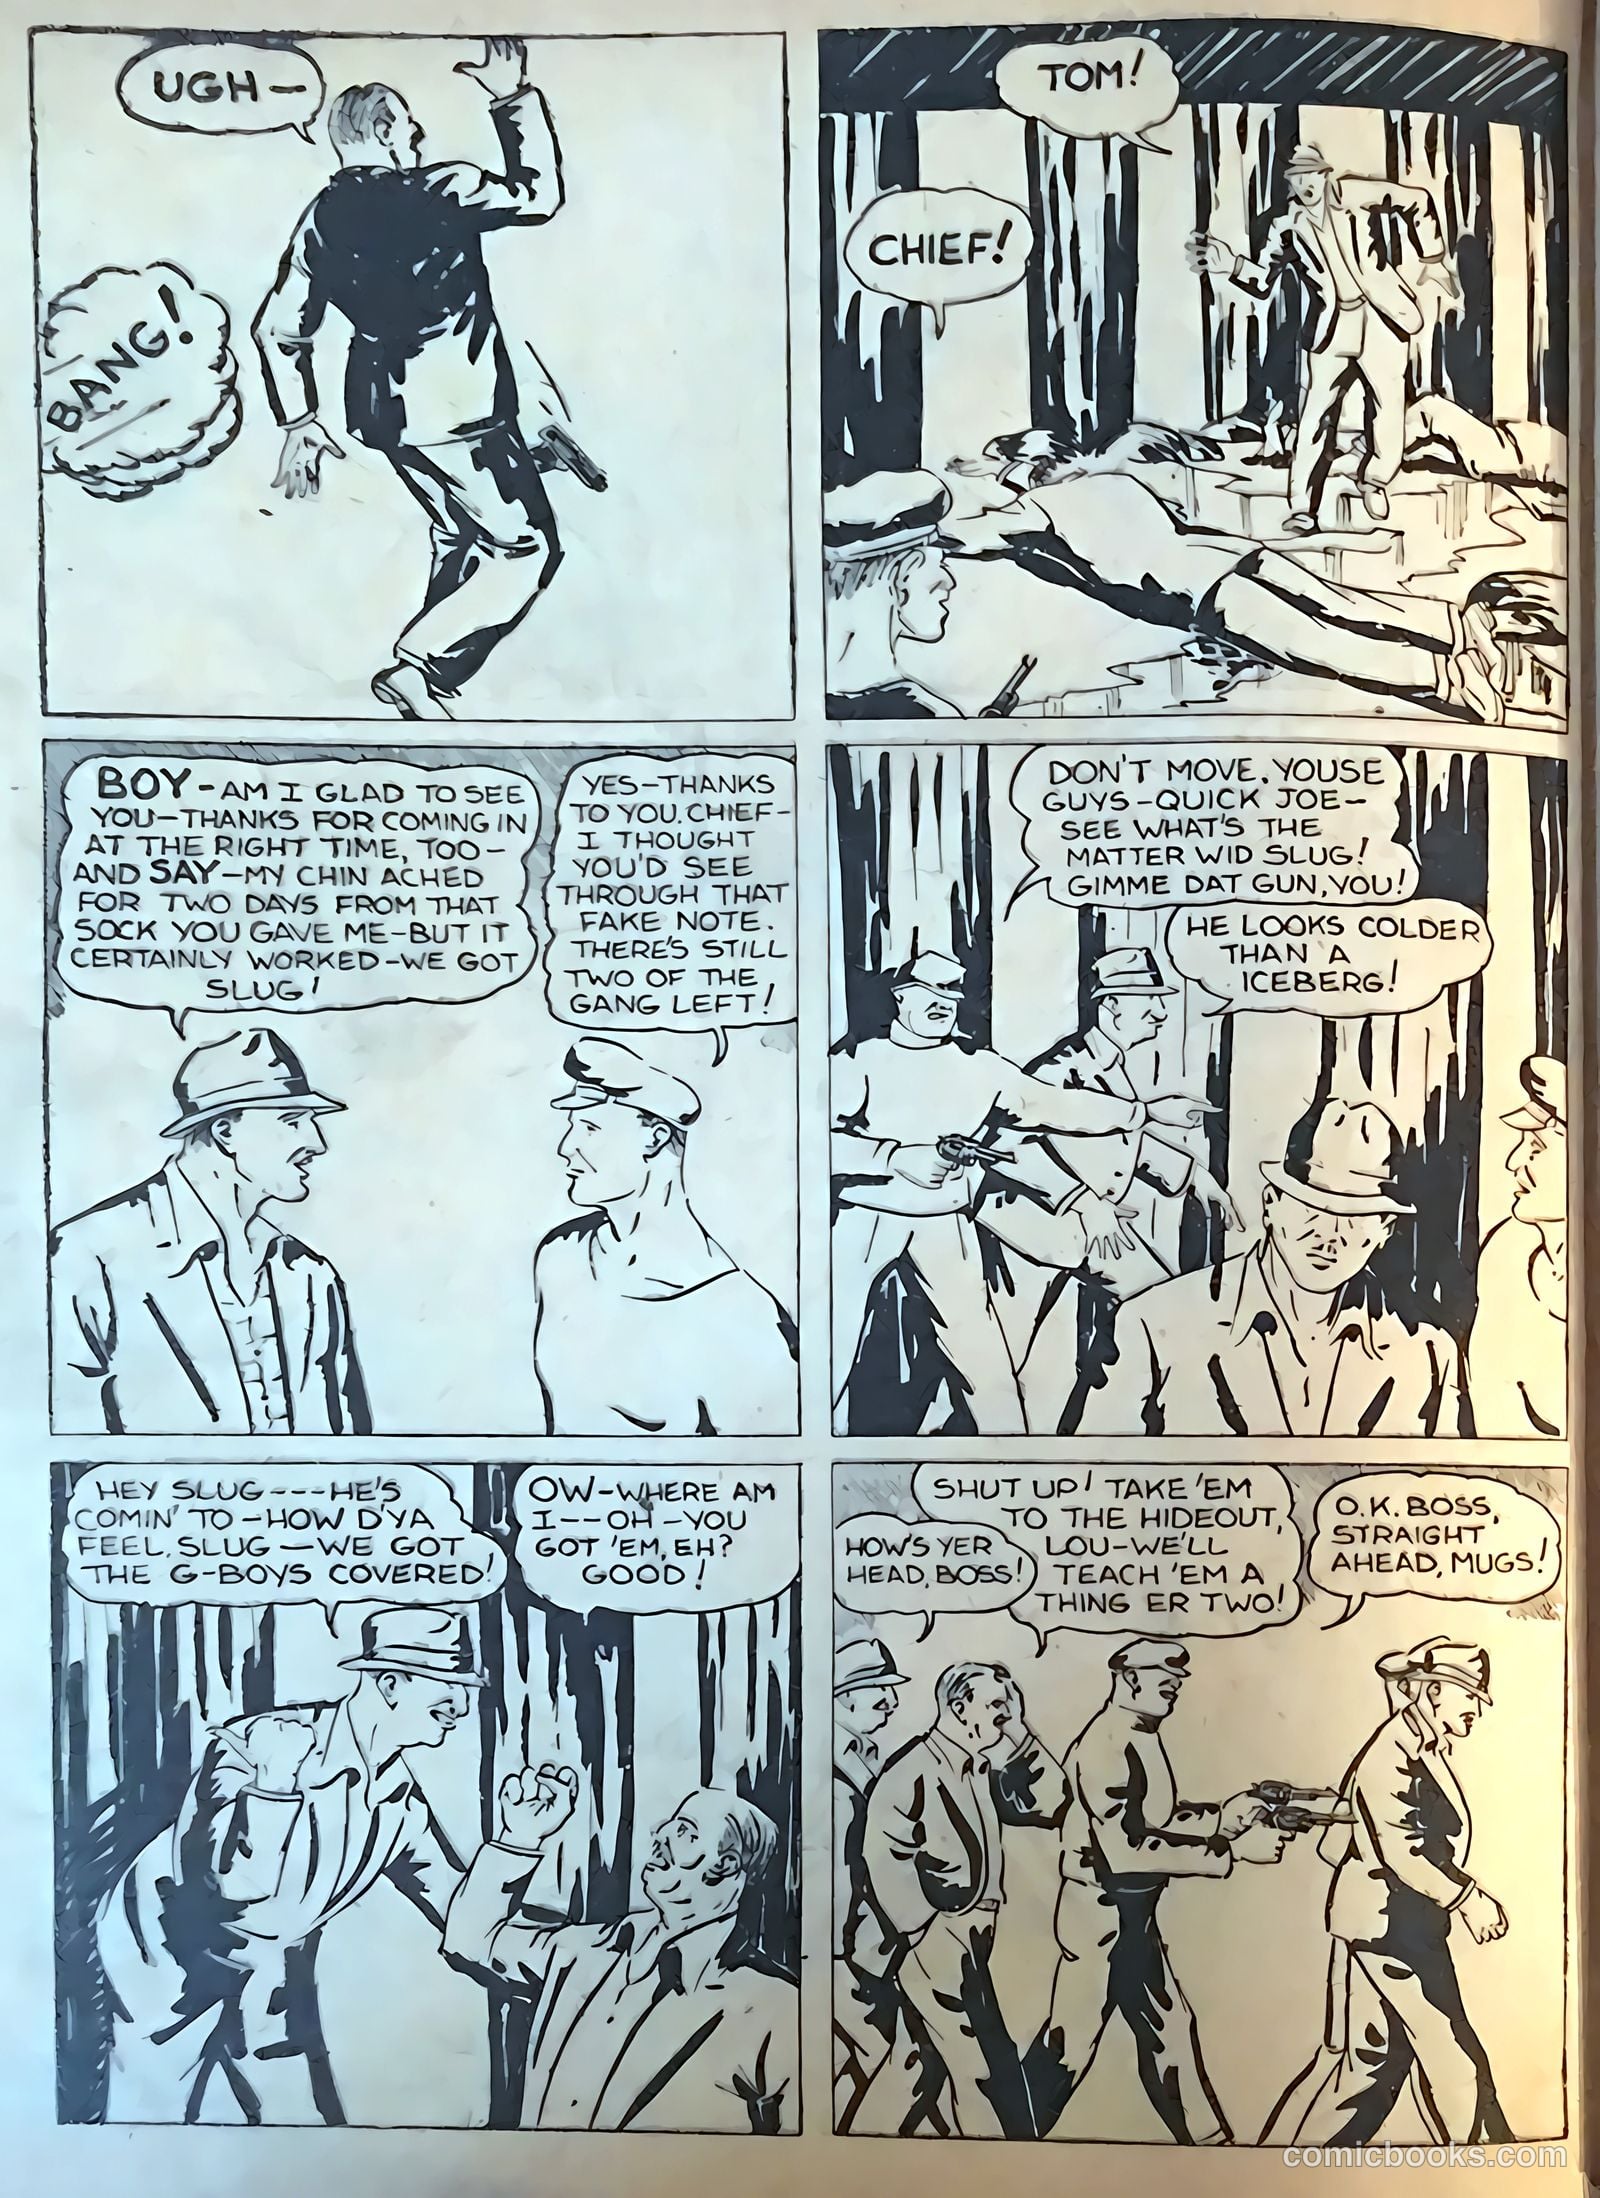
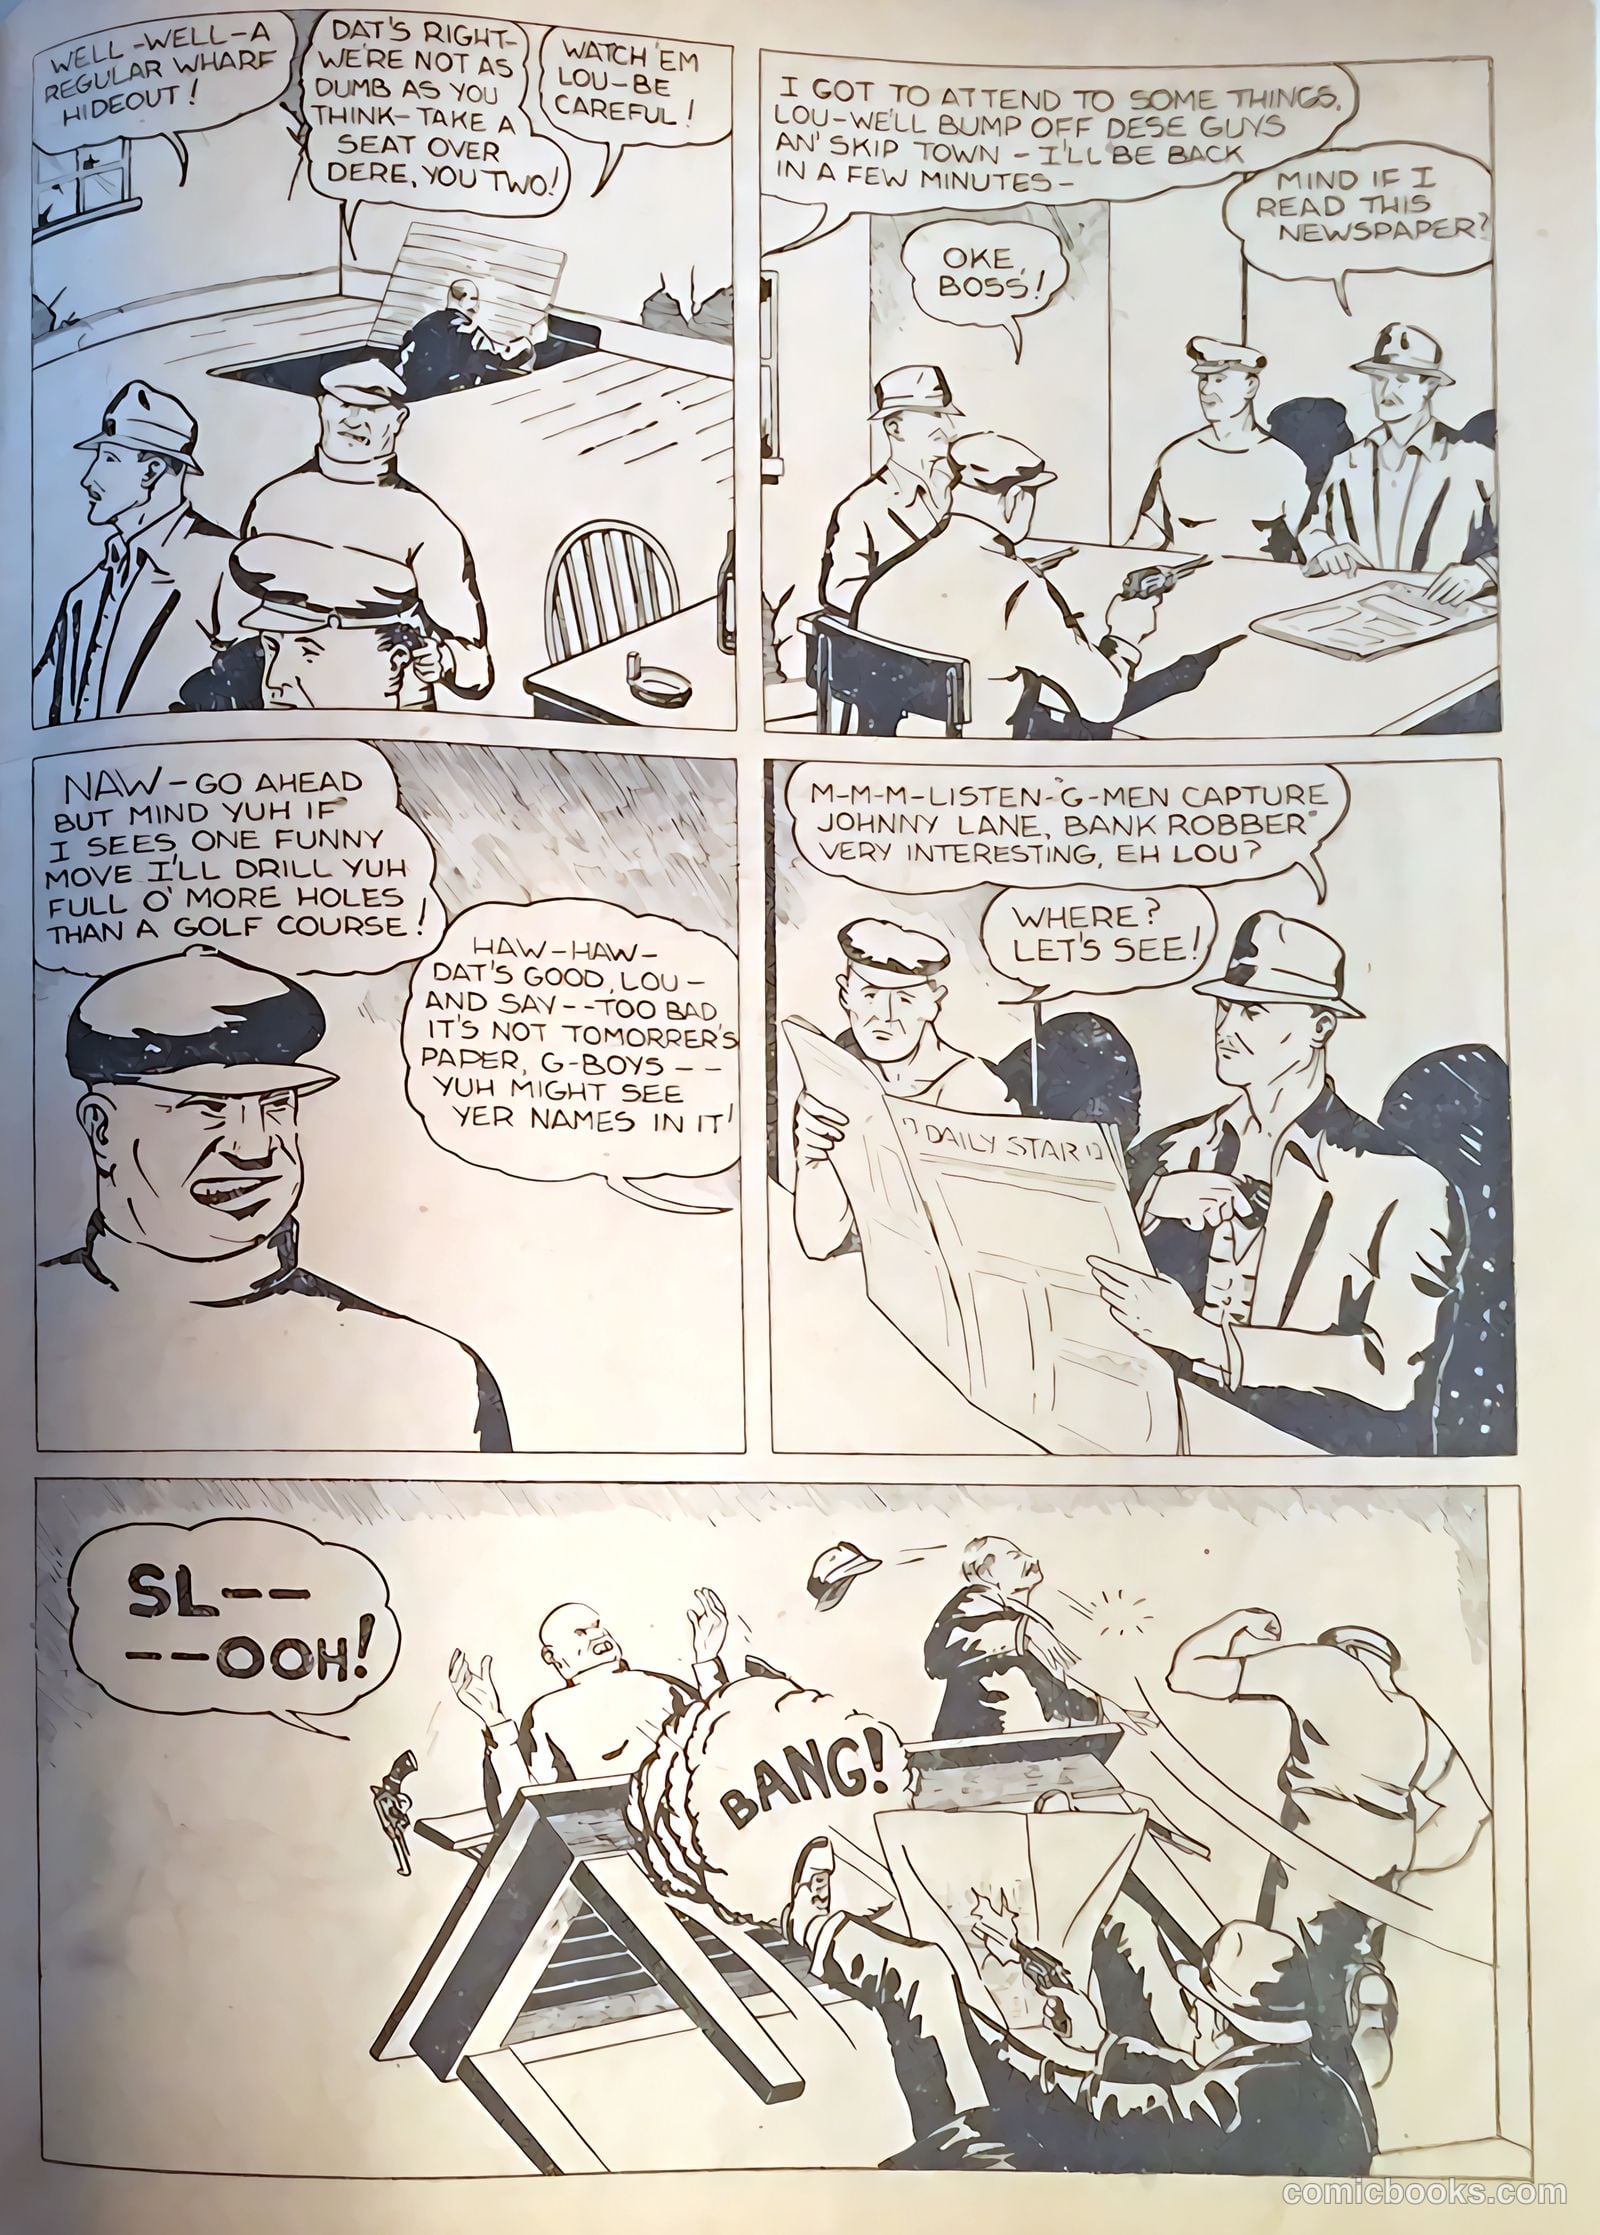
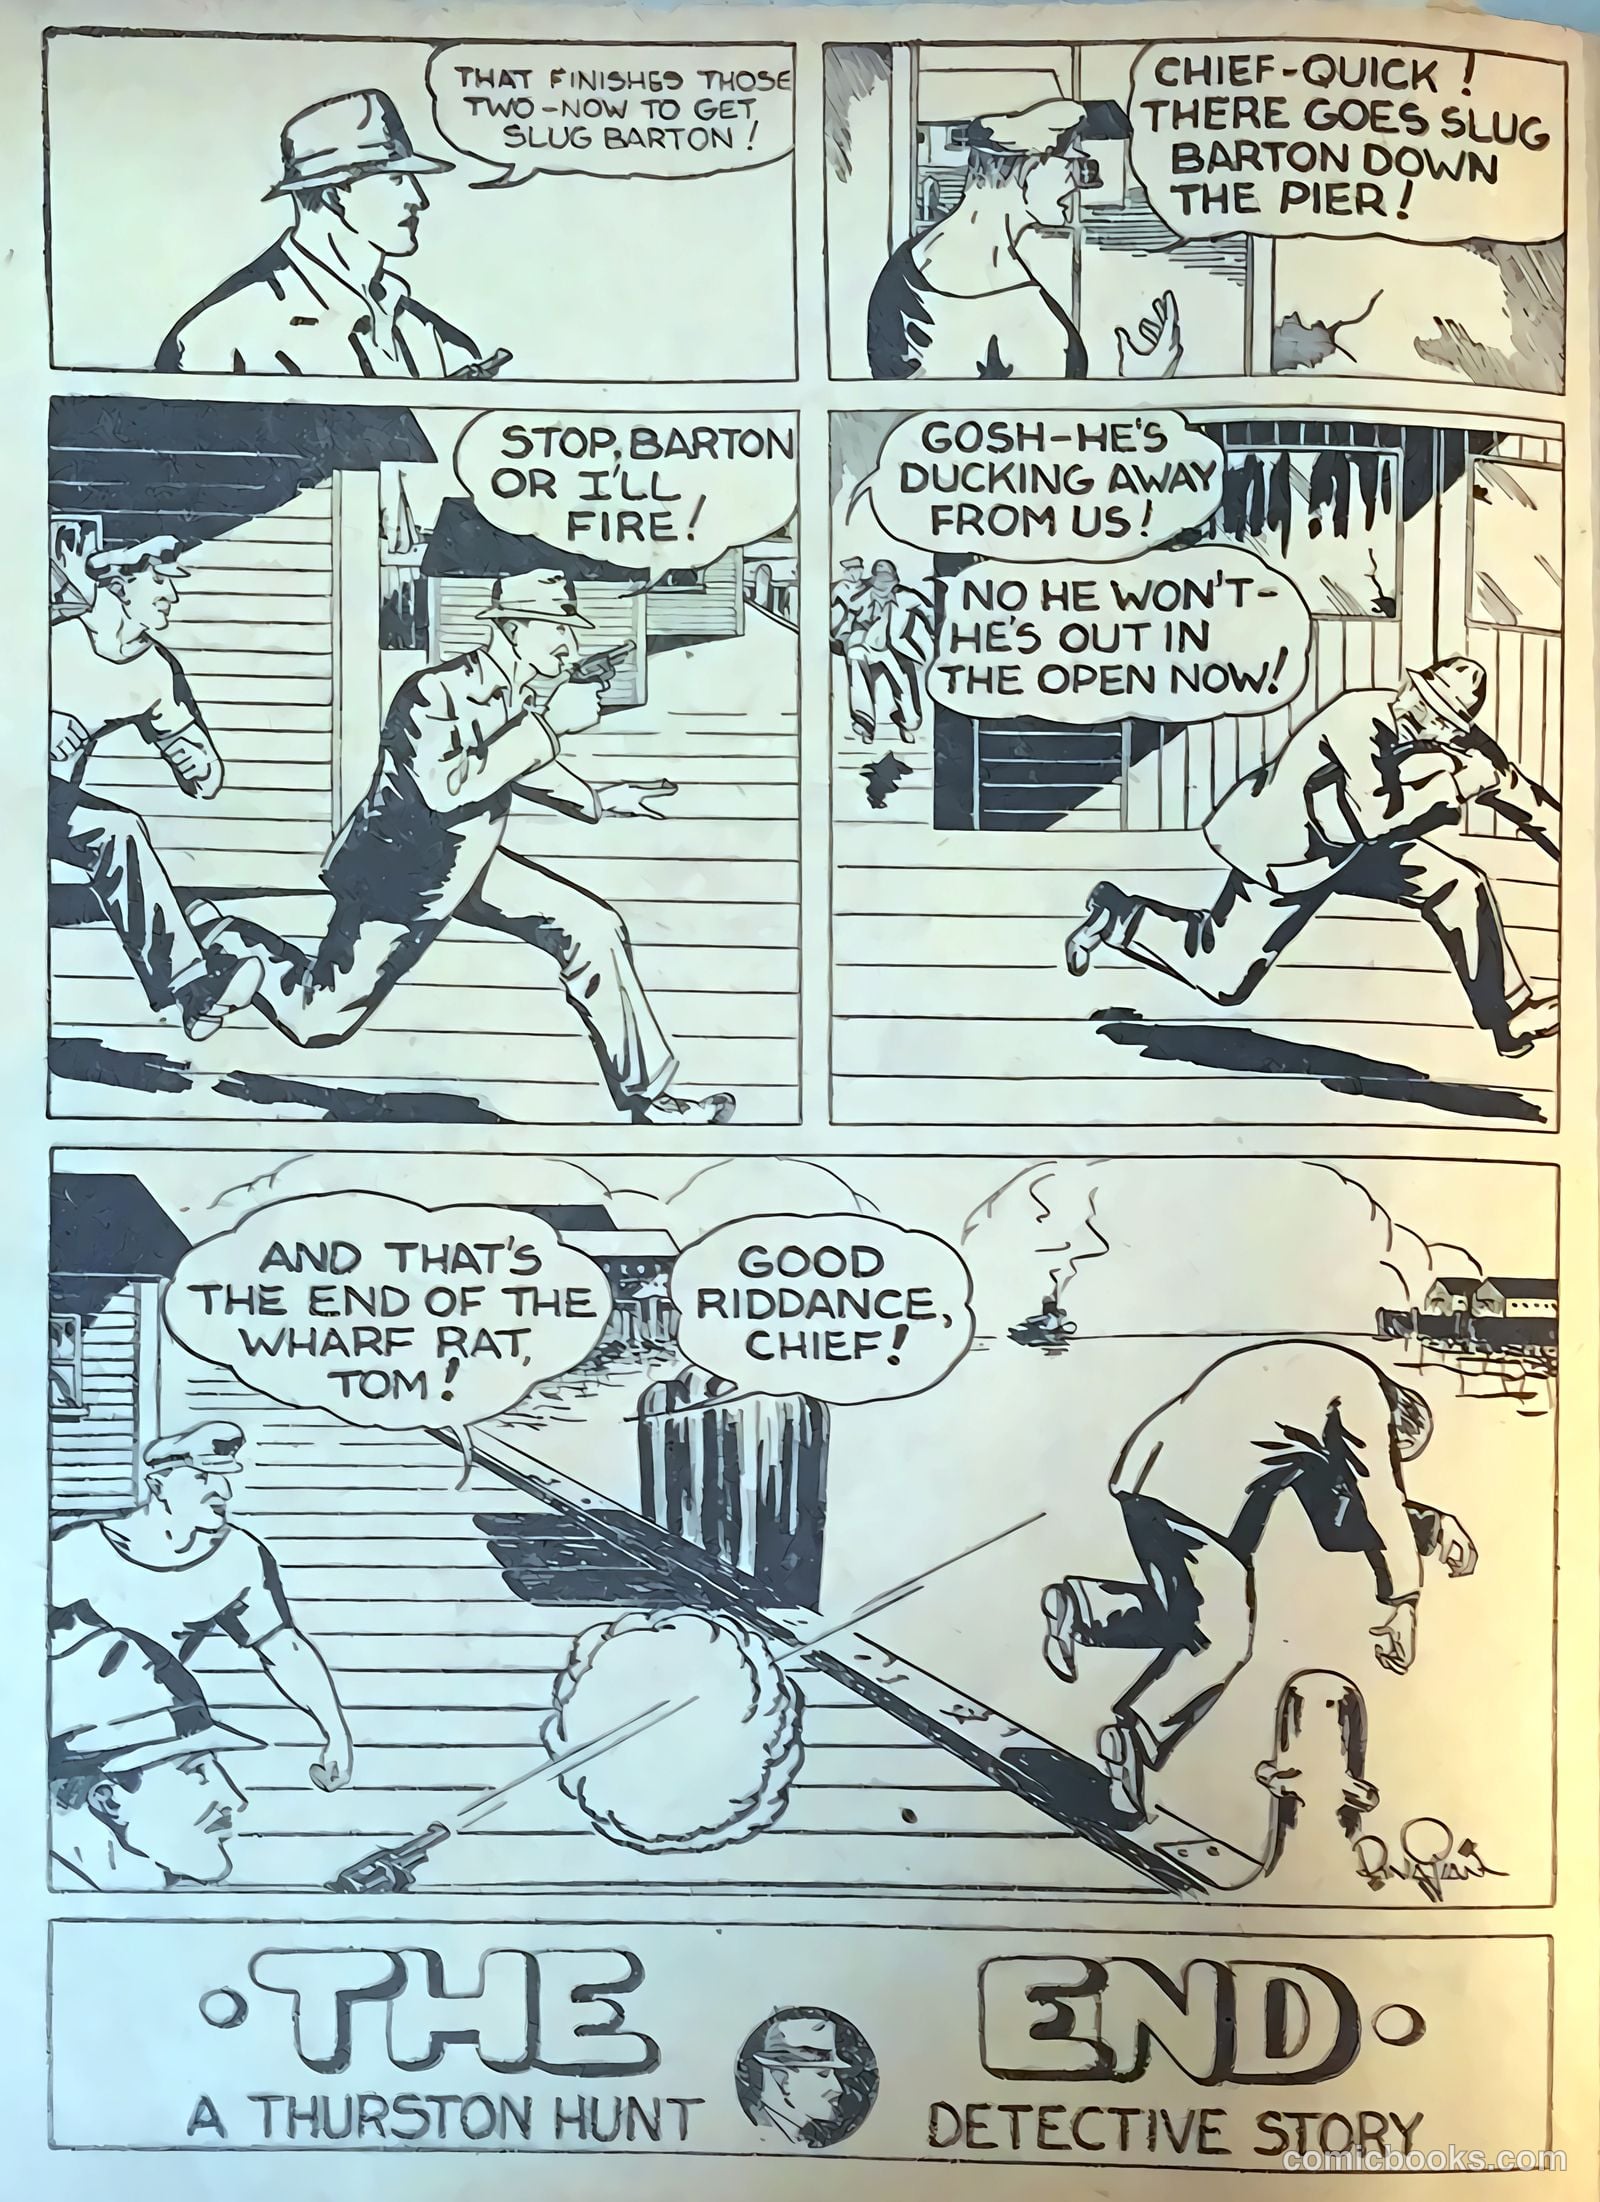
Wharf Rat
7 pp · detective-mystery
Thurston HuntTomSlug Barton (crook)Mike (crook)

In "Wharf Rat," Hunt and Tom track down the elusive thief Slug Barton and his gang on the fog-drenched waterfront, only to be captured themselves. With quick thinking and nerves of steel, they escape and give chase, leading to a tense showdown where Hunt finally takes aim.

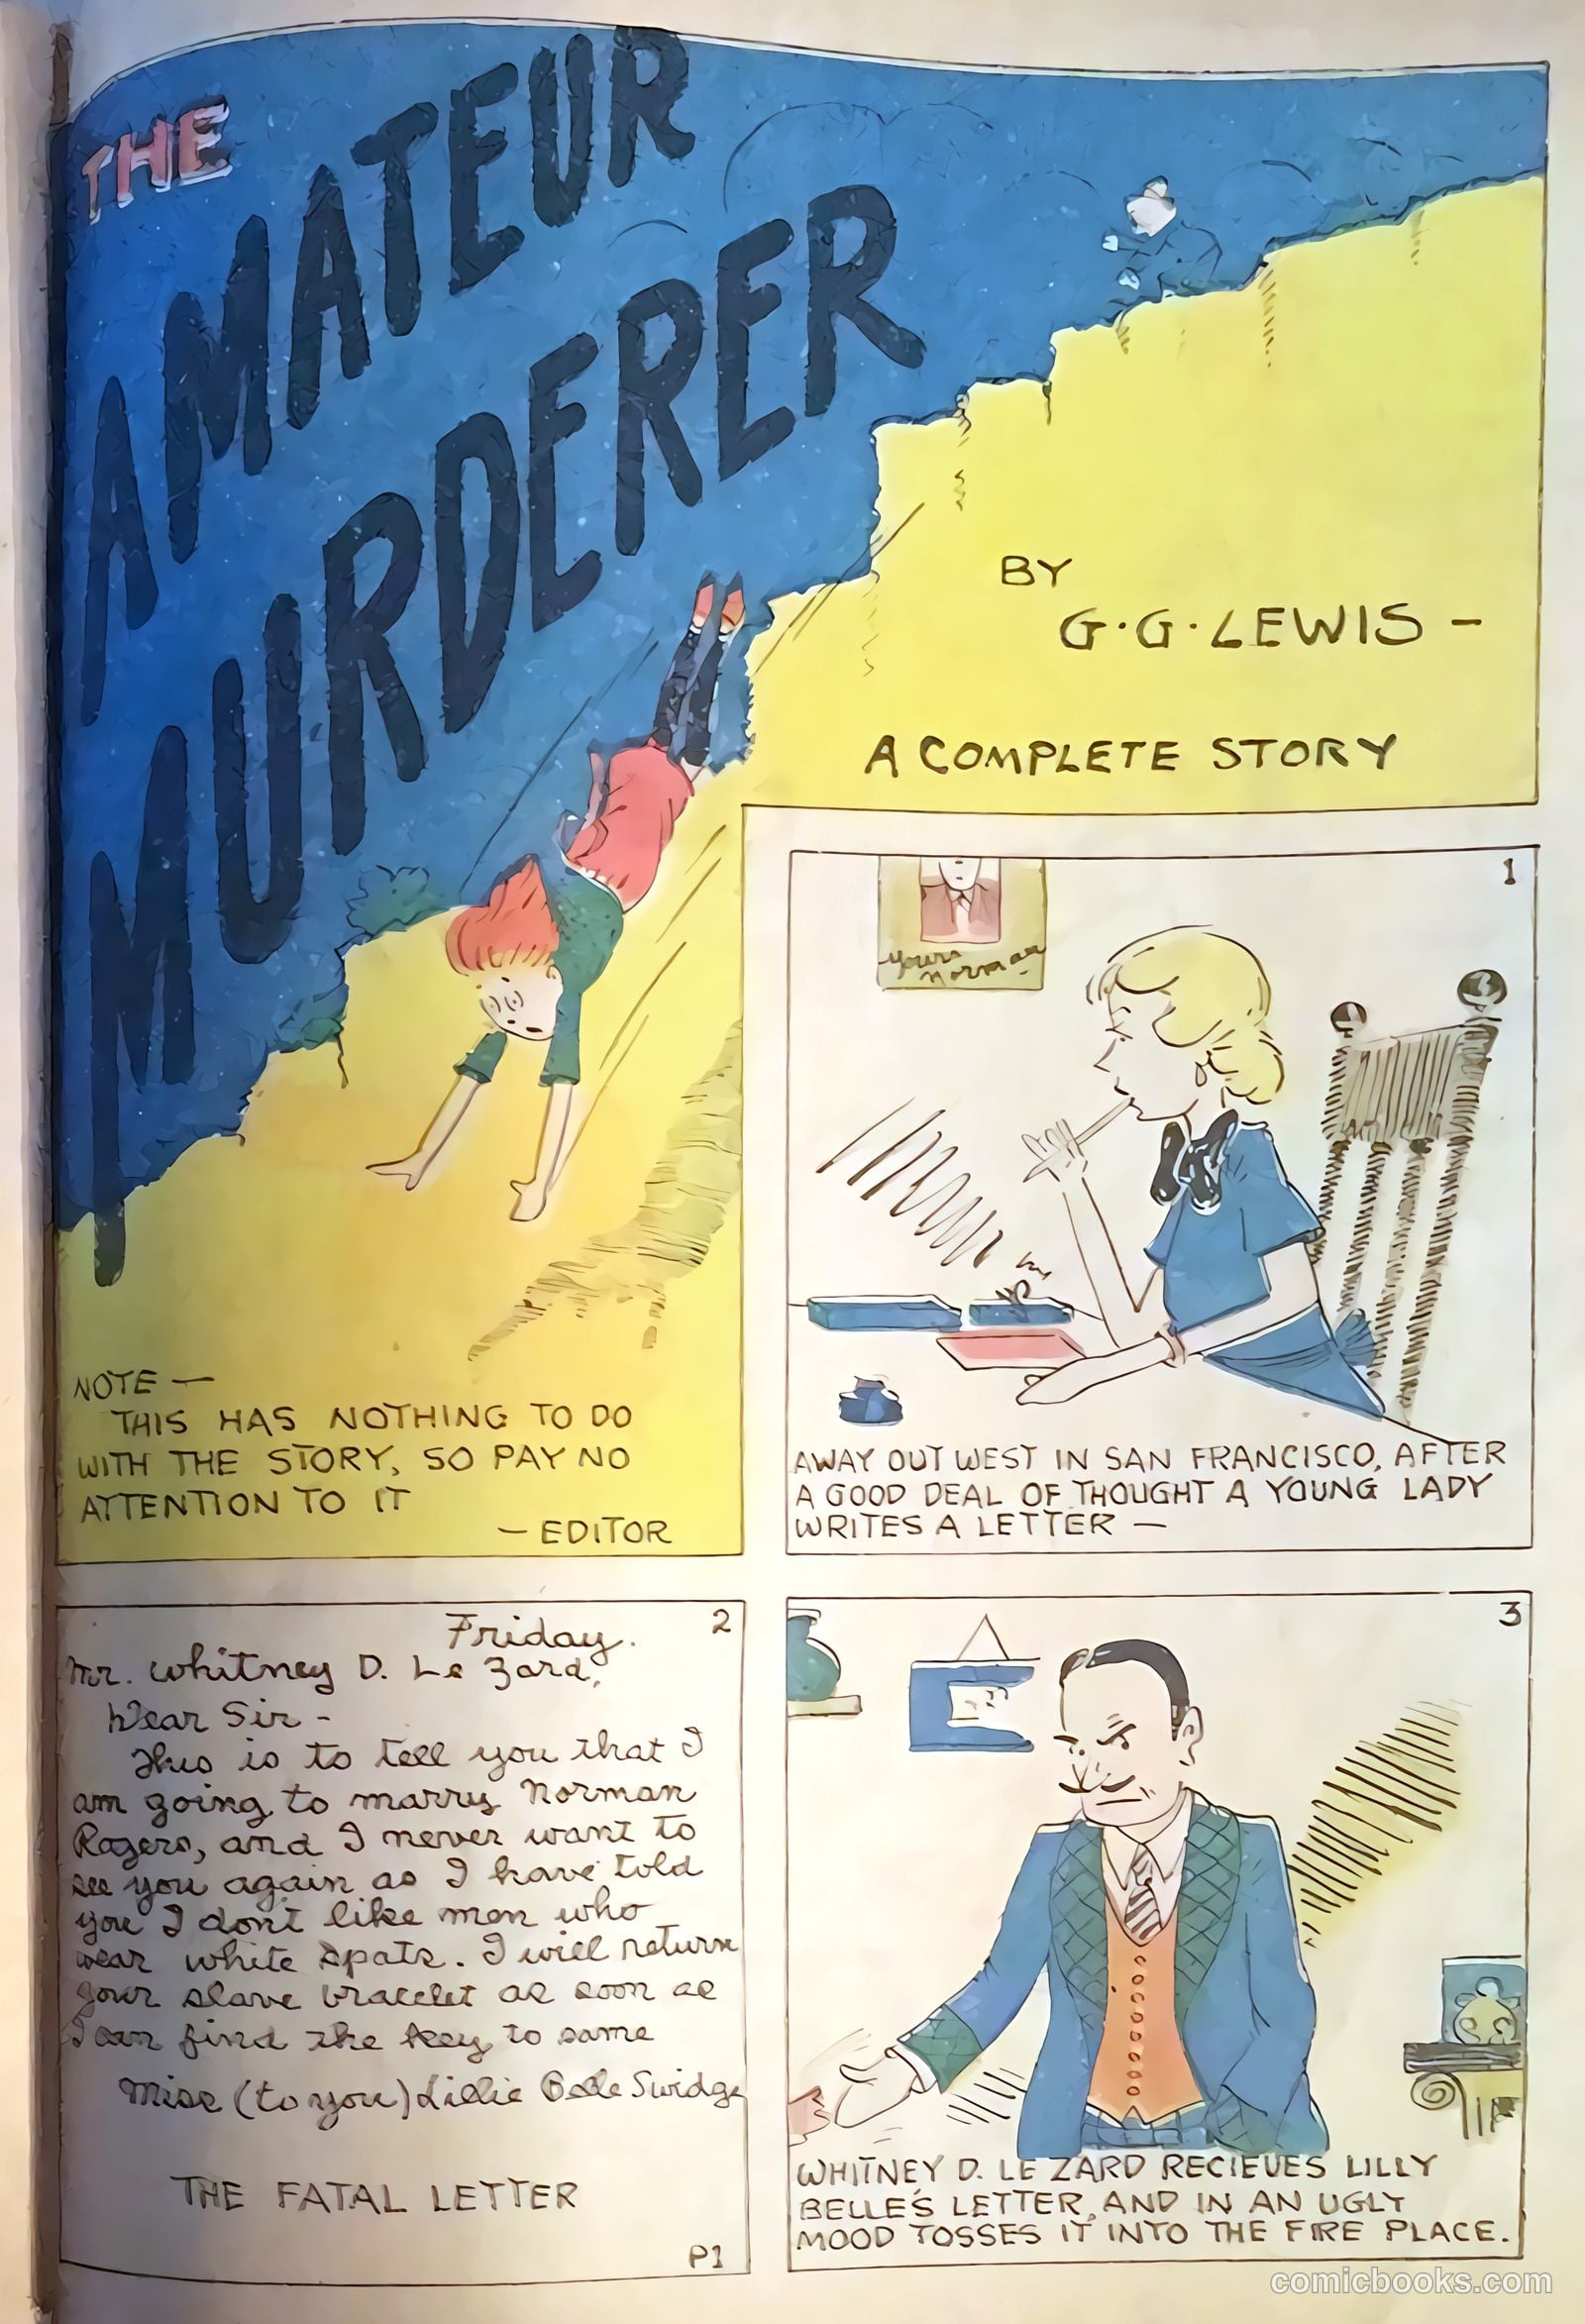
The Amateur Murder
7 pp · humor; detective-mystery
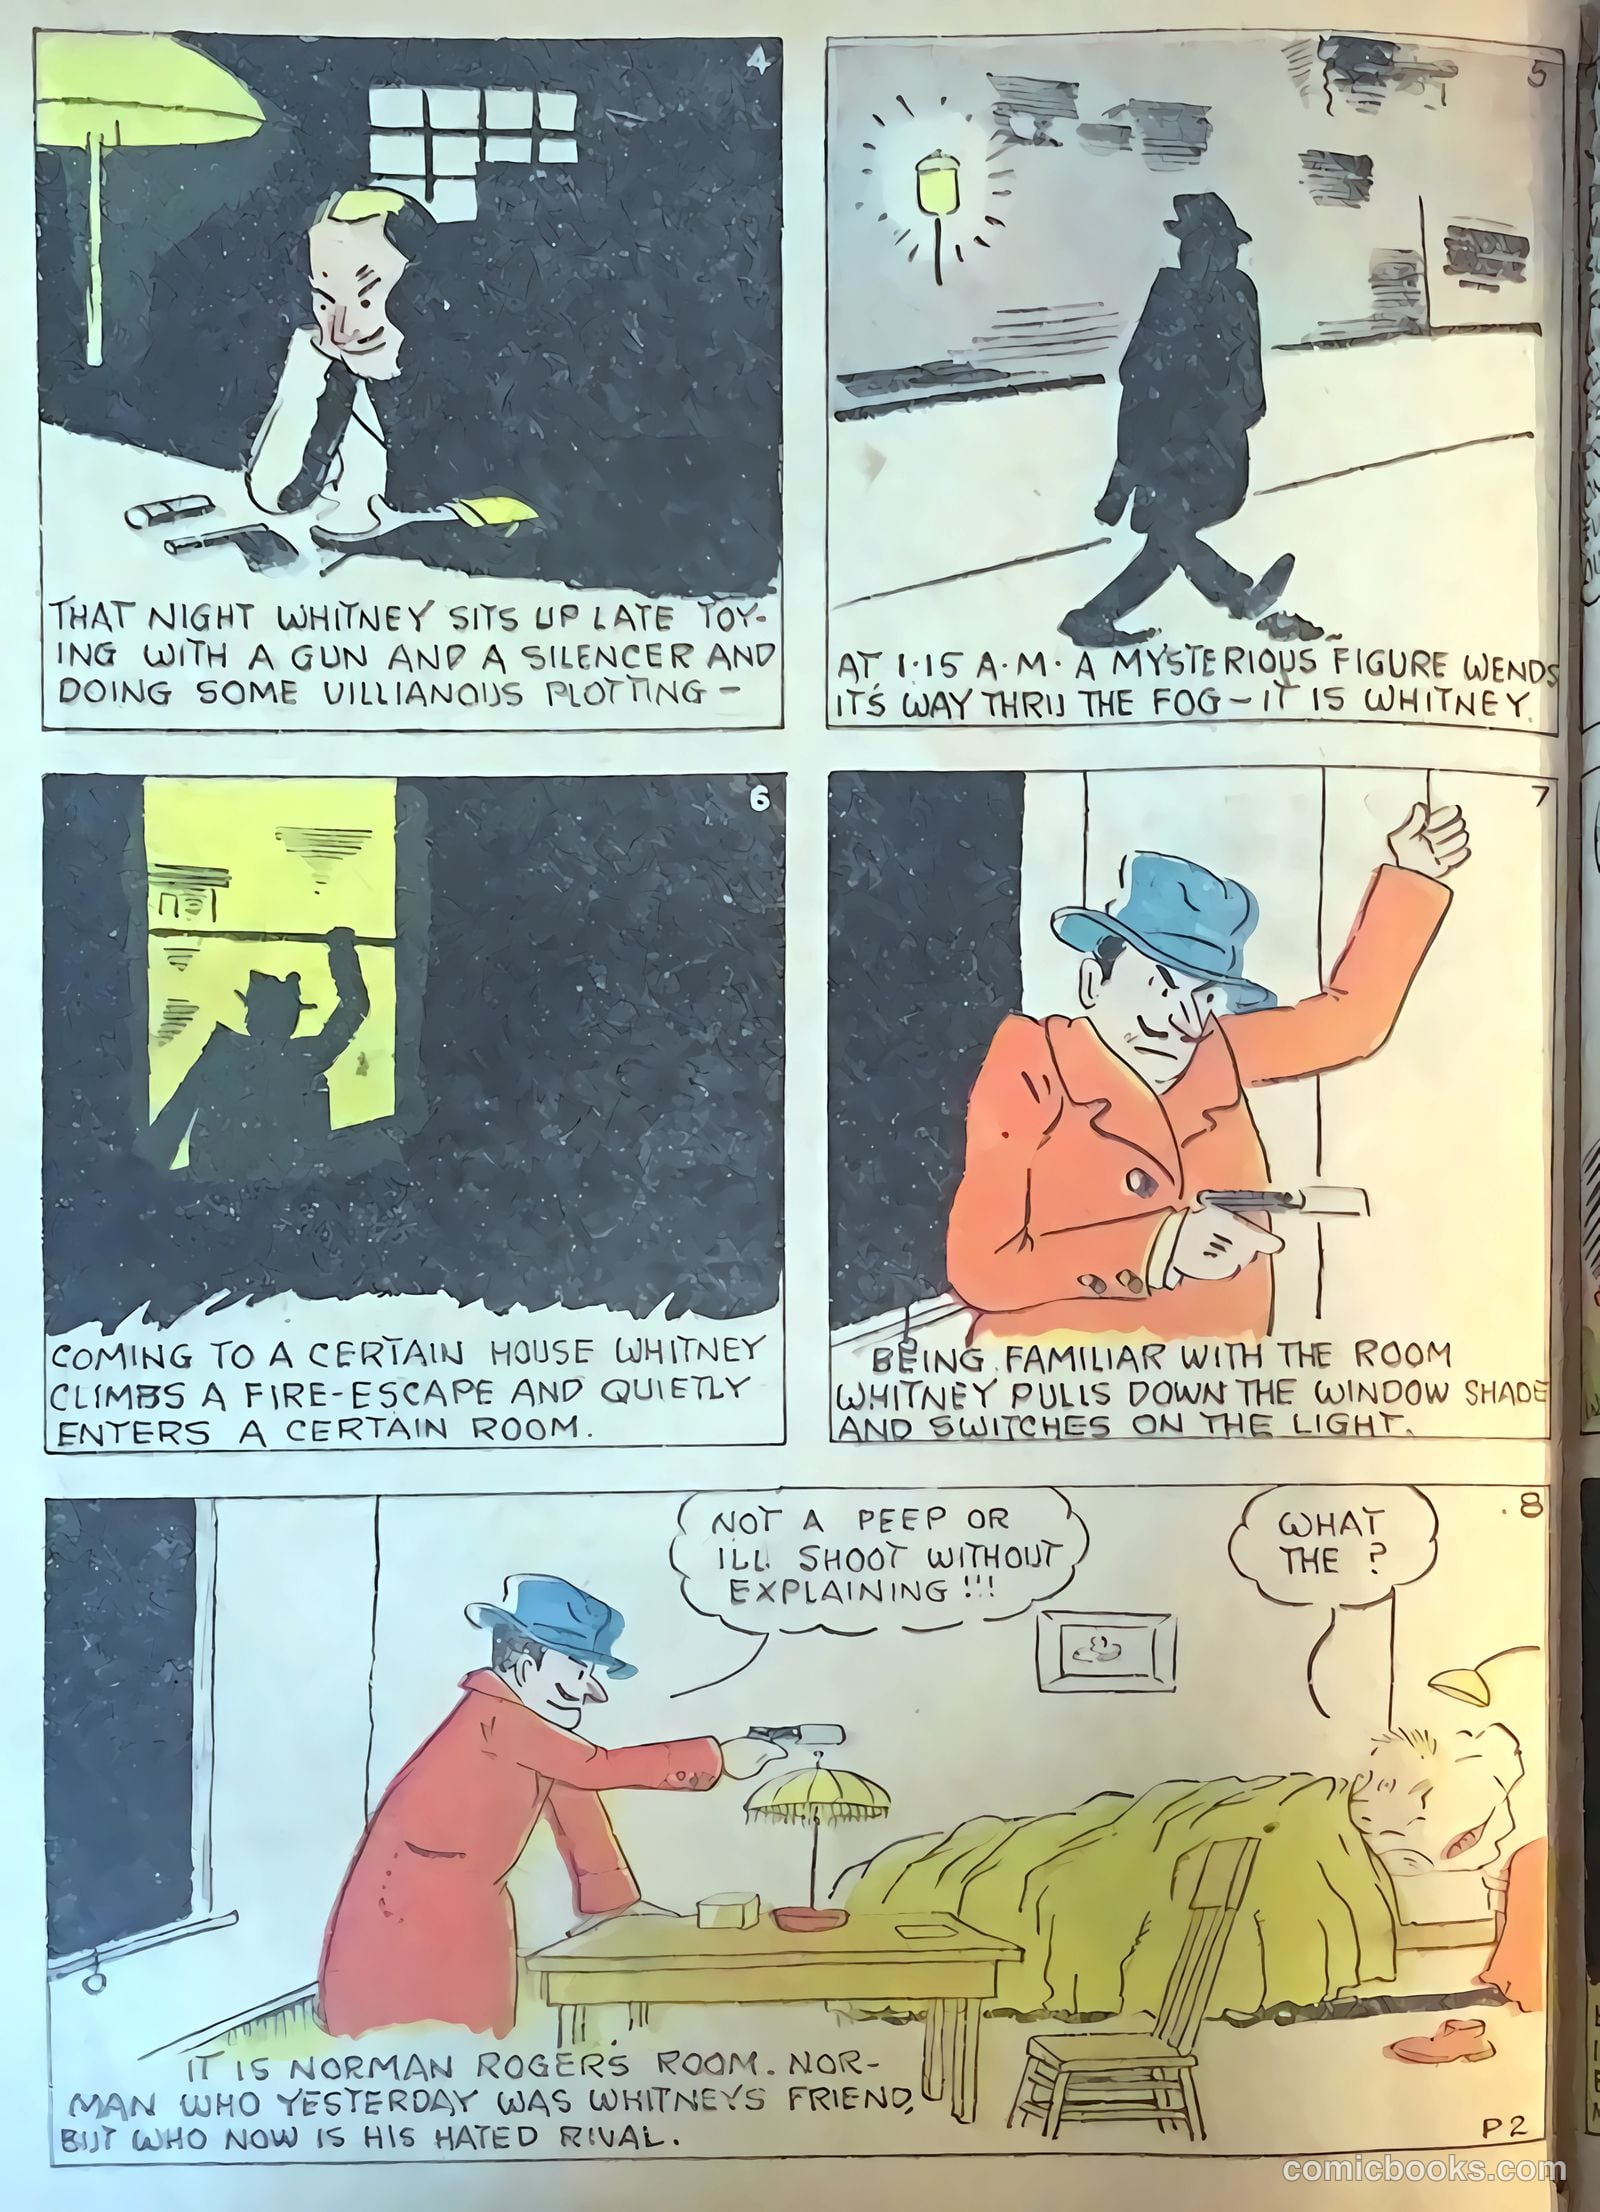
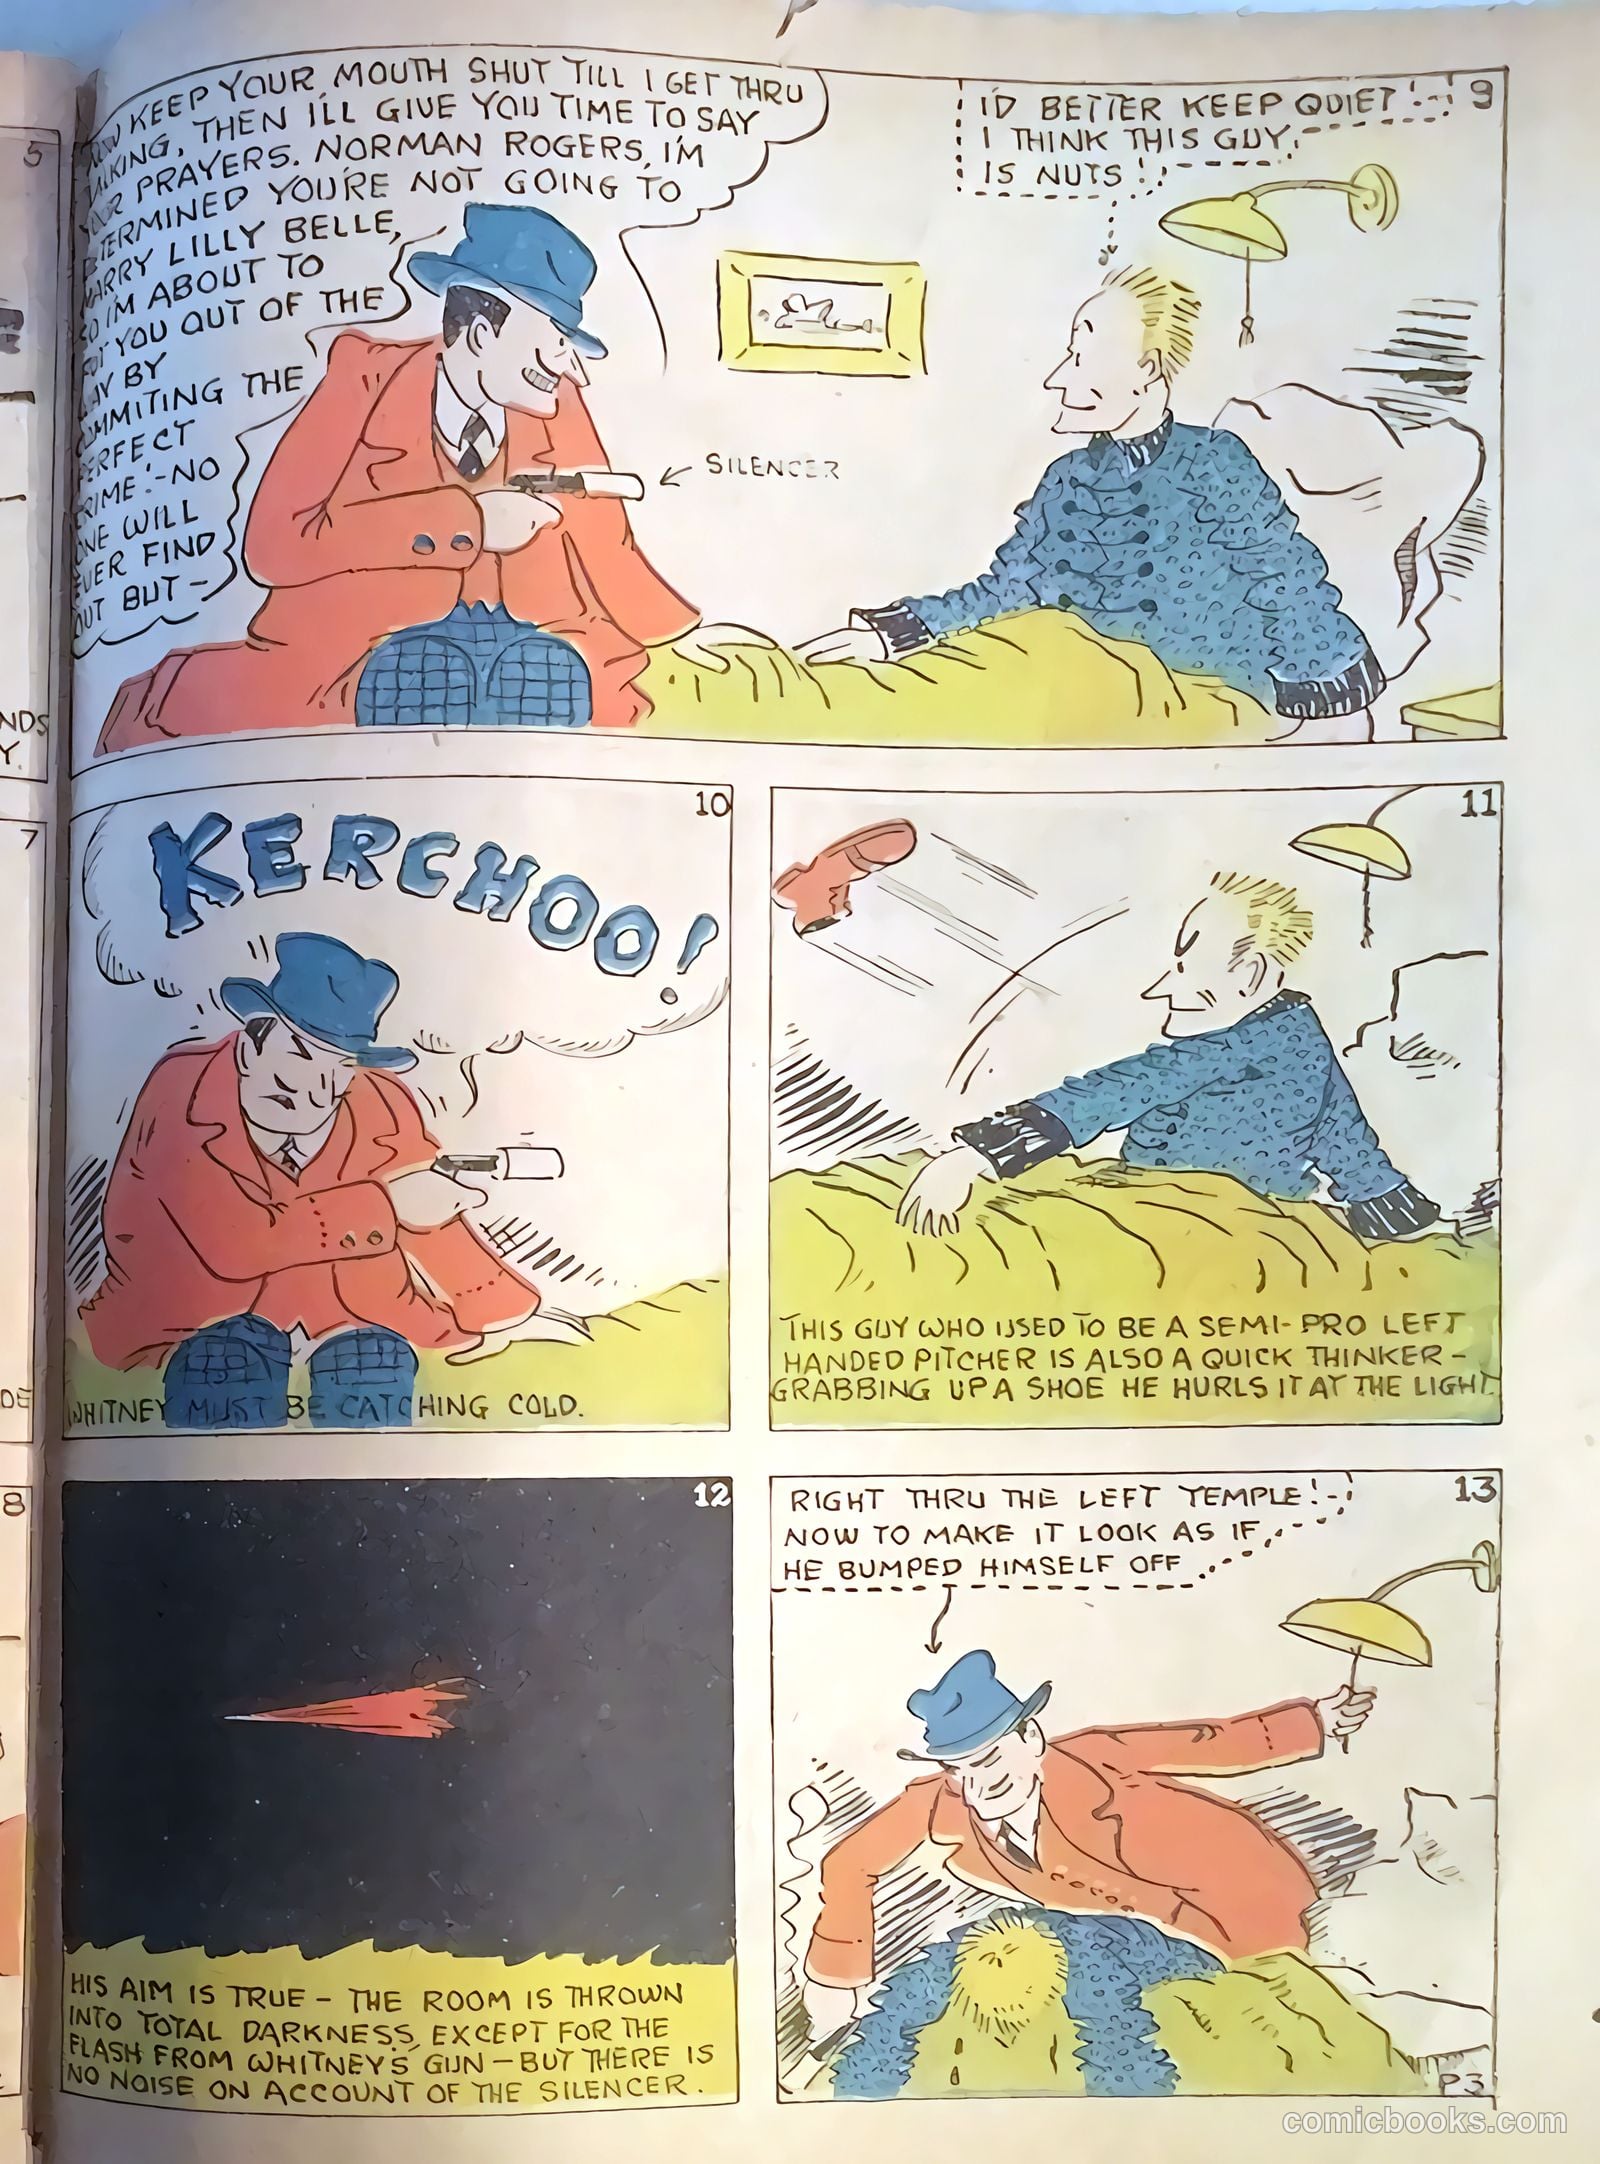
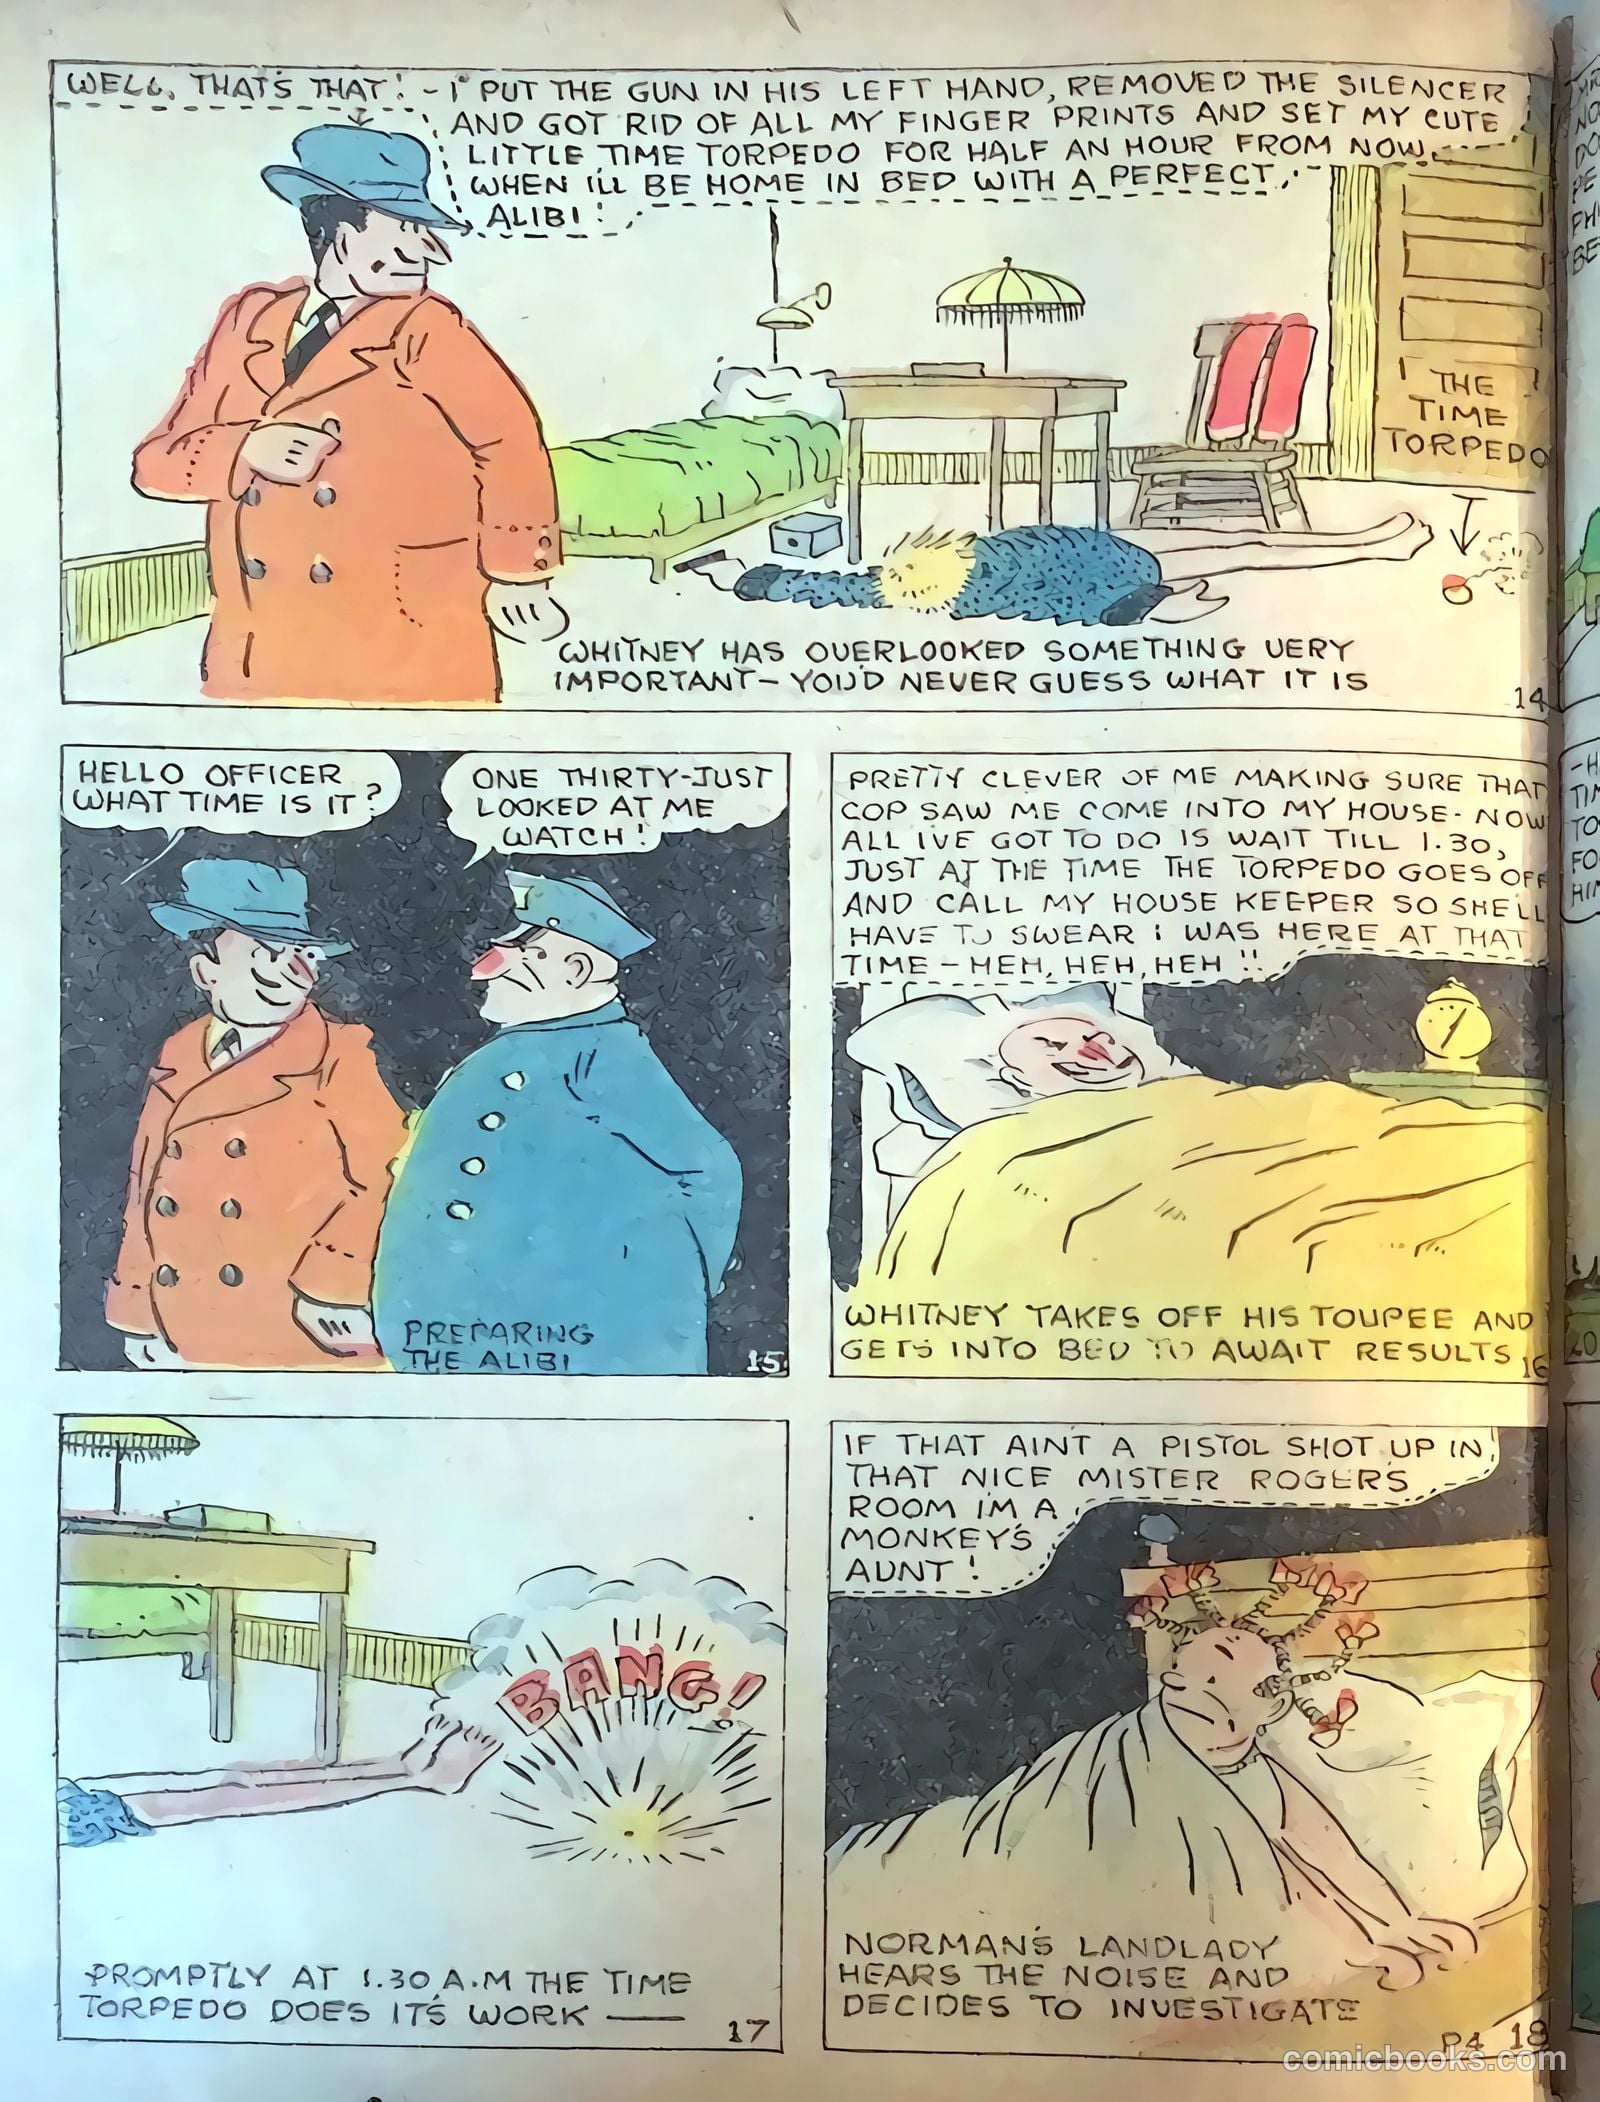
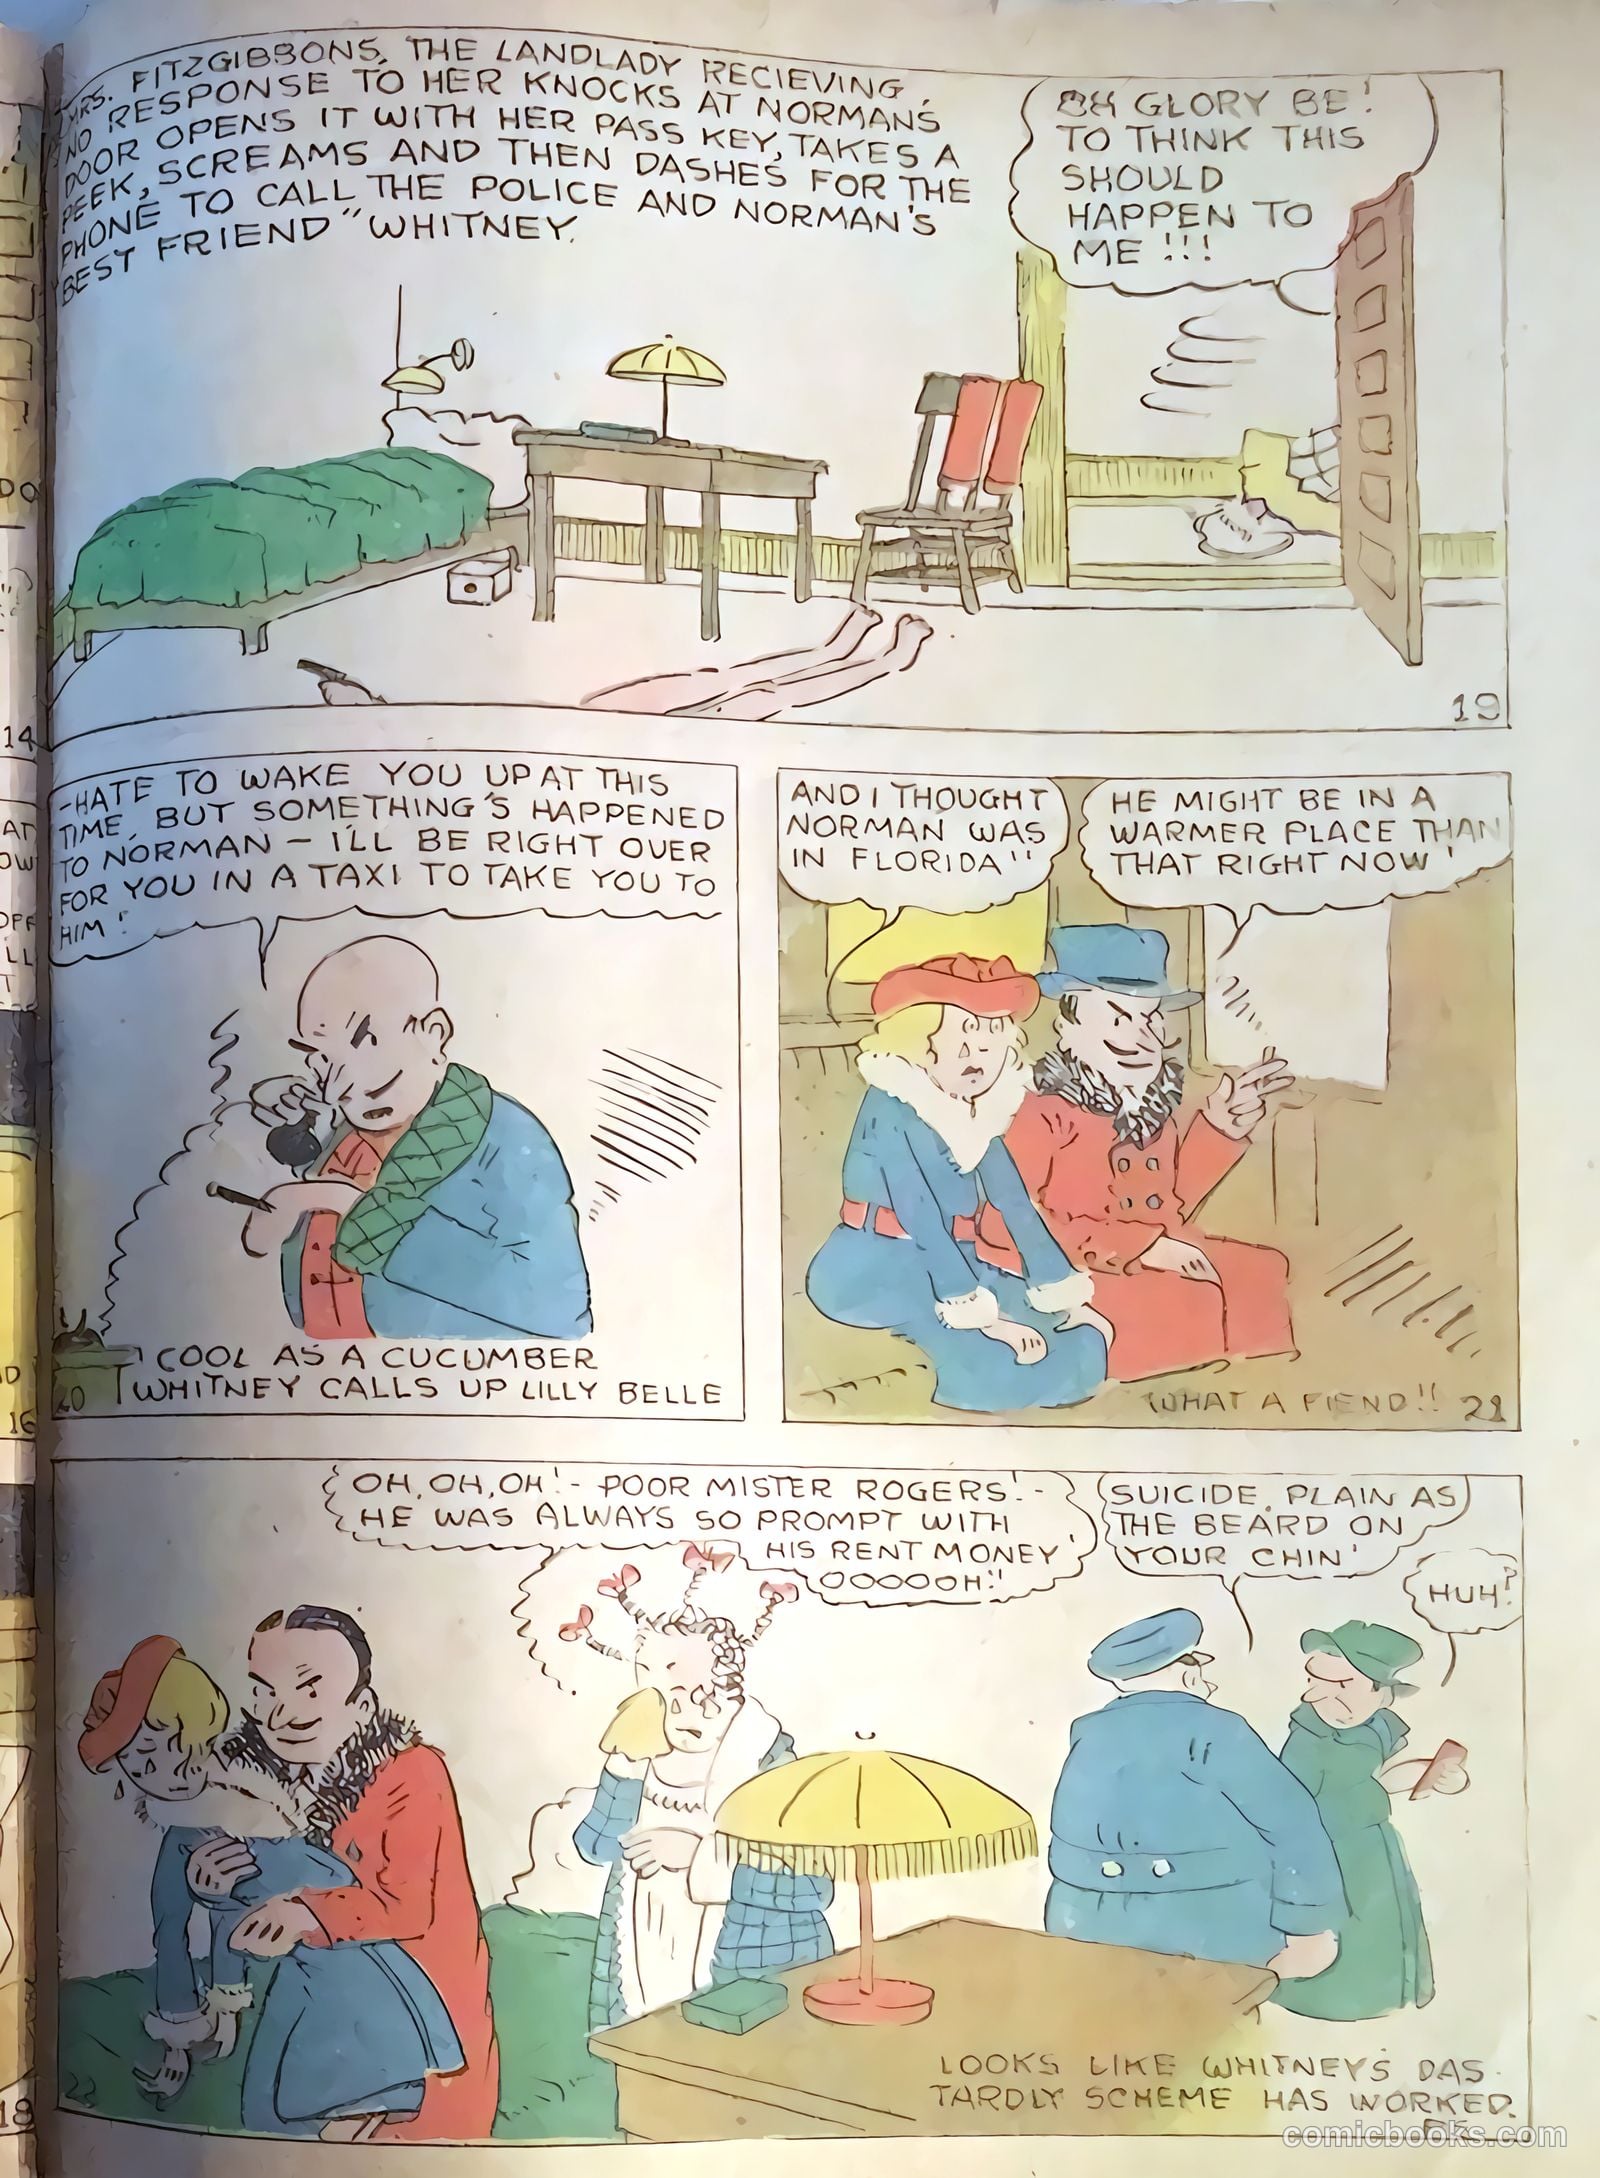
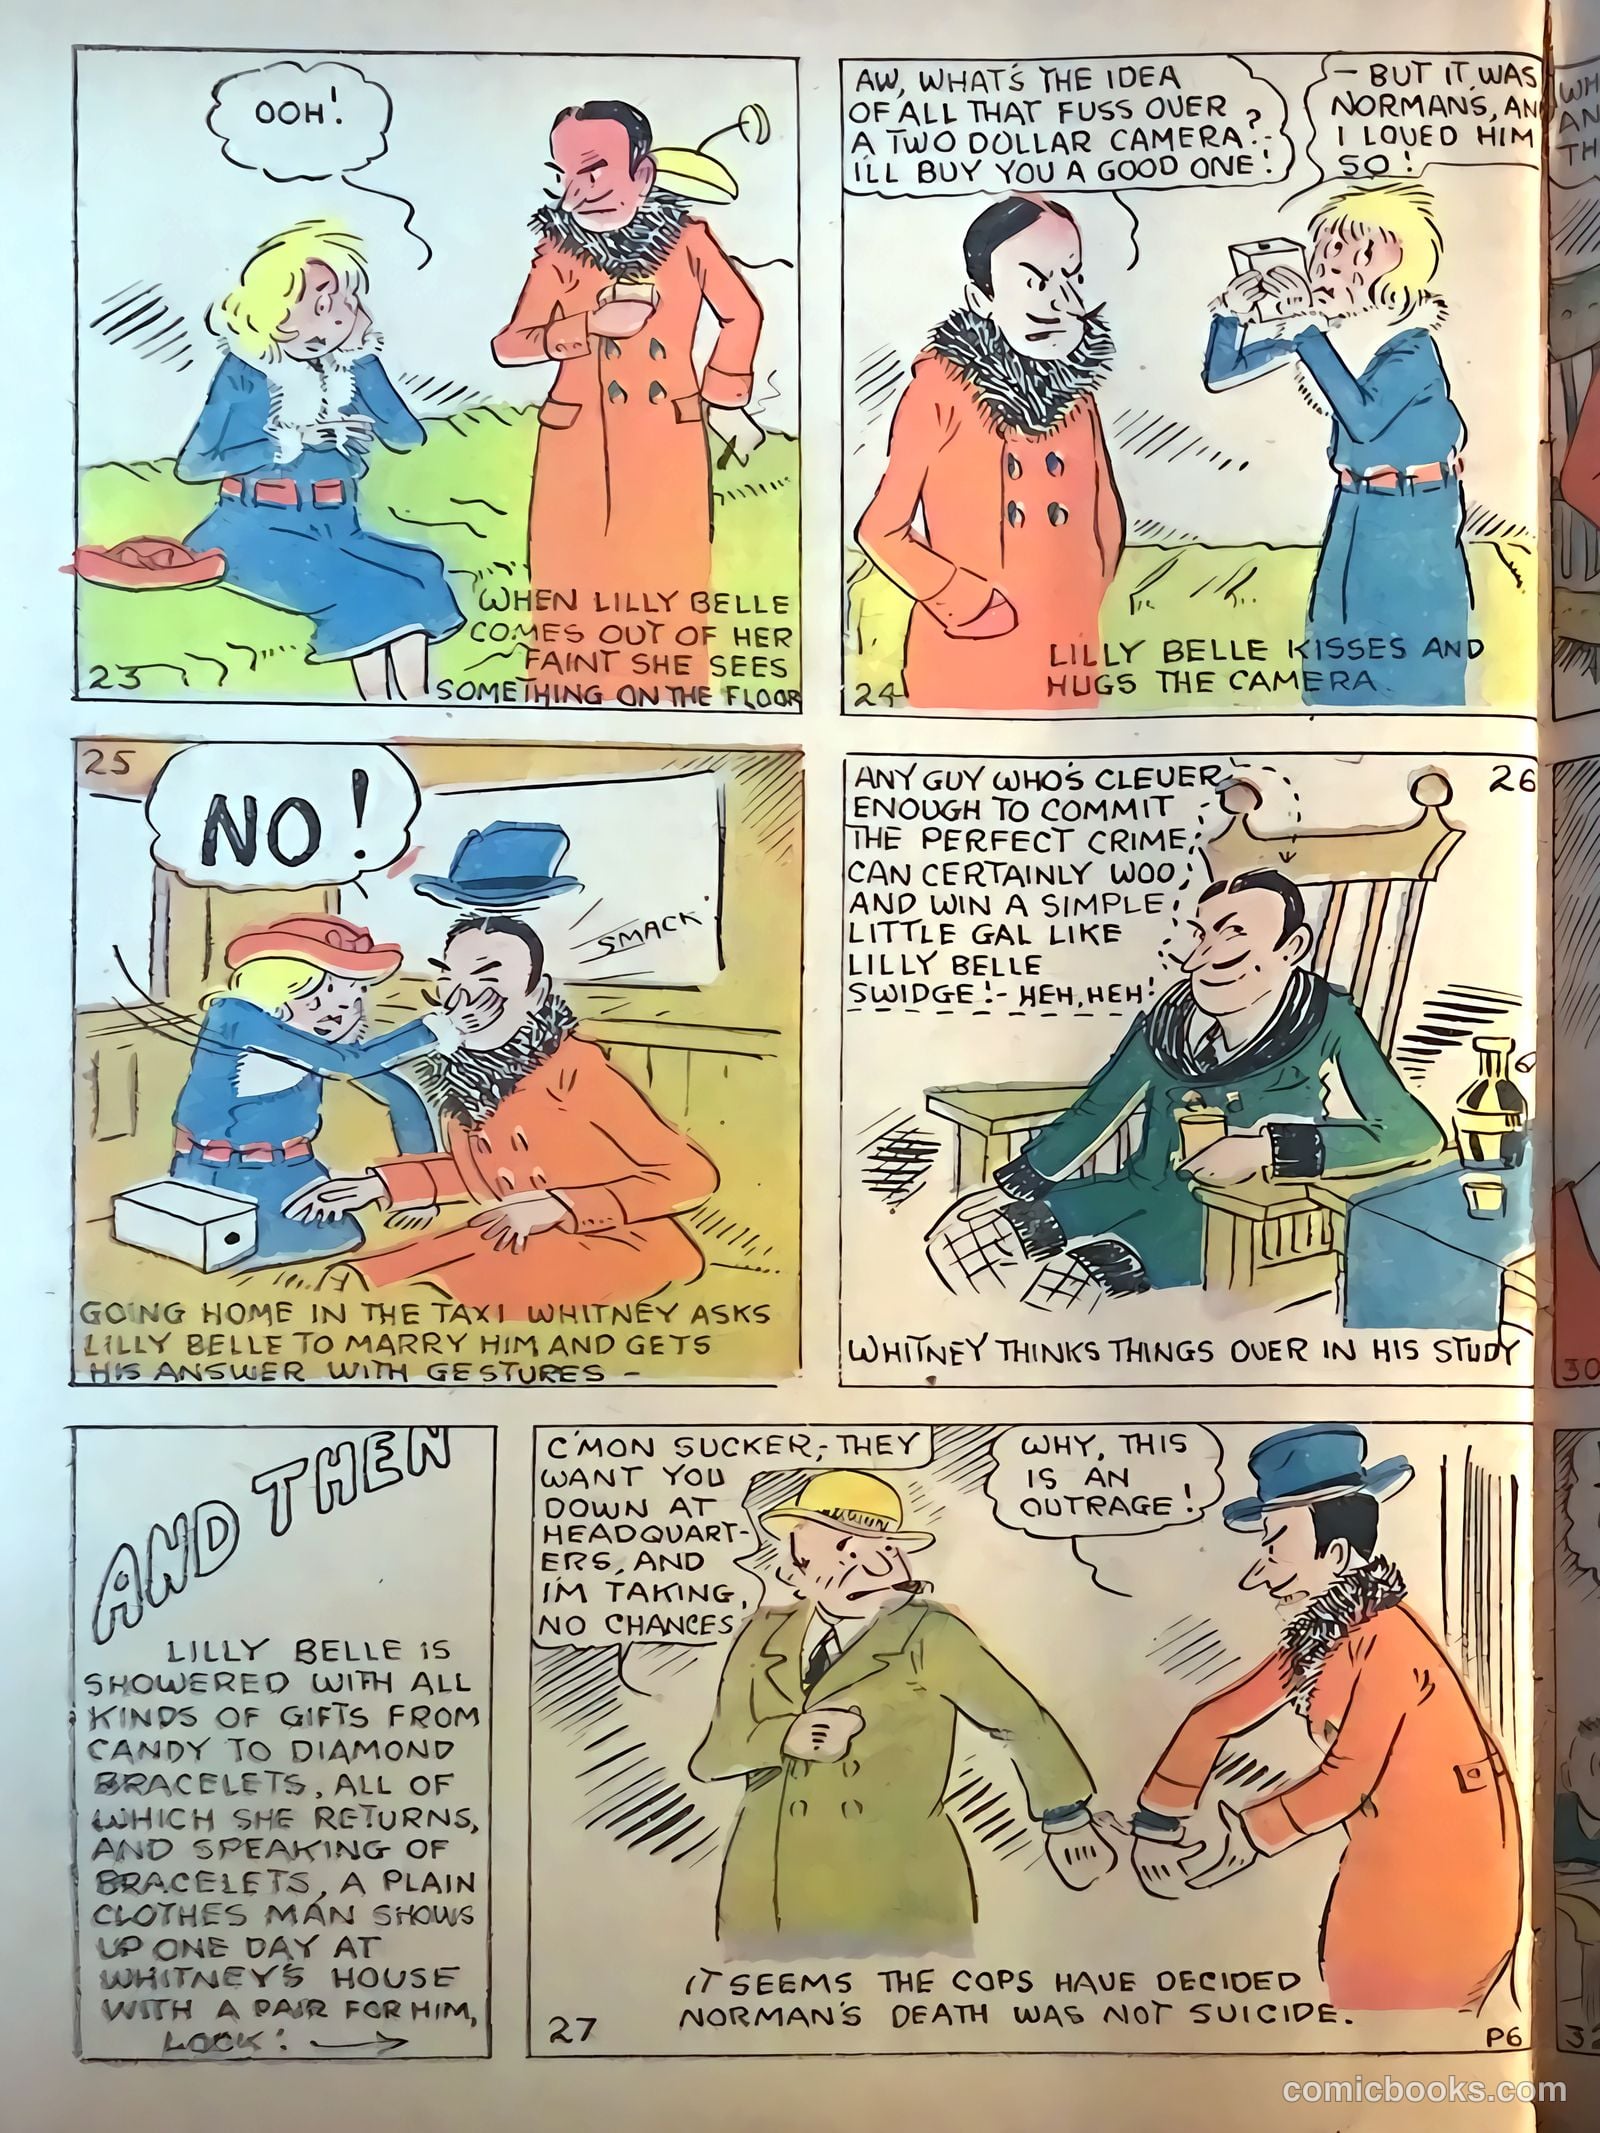
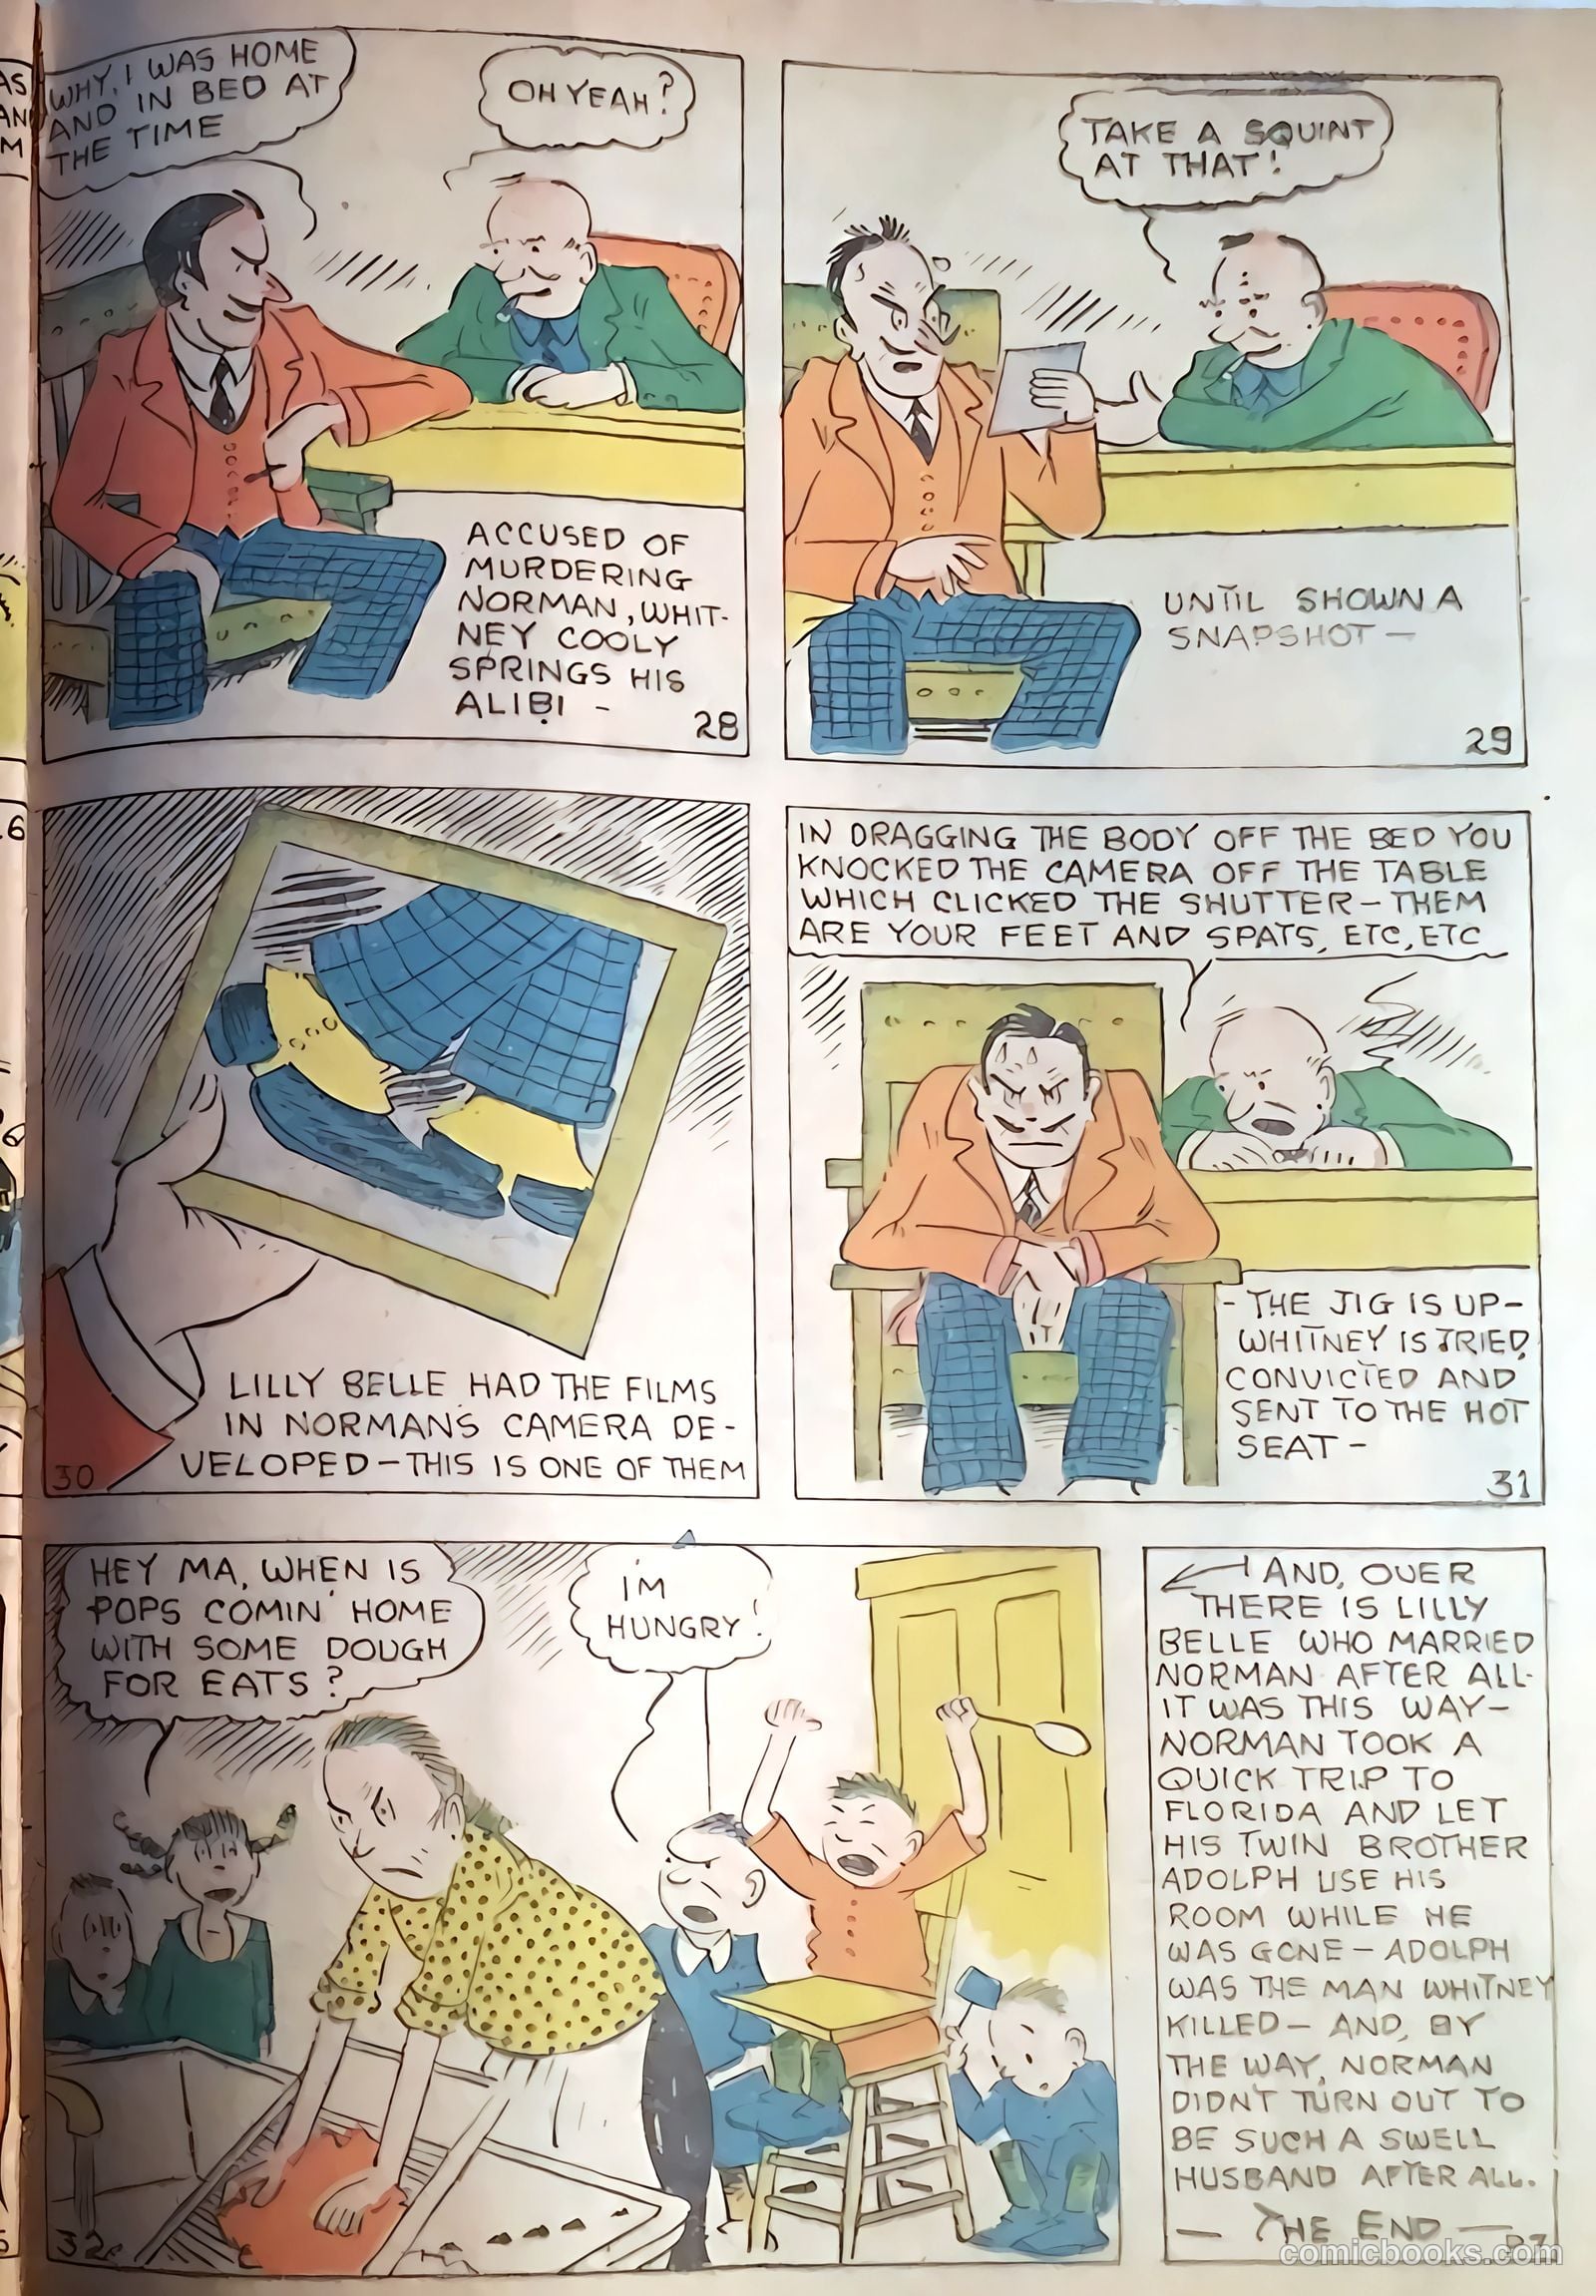
Lilly Belle SwidgeWhitney D. Le ZardNorman Rogers

In "The Amateur Murder," Le Zard’s romantic obsession with Lilly Belle drives him to a deadly scheme when she chooses Norman Rogers over him. After staging Rogers’ death as a suicide, Le Zard finds his plan unraveling as the truth slowly surfaces. The story unfolds with sharp, classic detective flair, where every clue brings the killer one step closer to justice.

Restored edition © comicbooks.com. Our digitization, remastering, and presentation are our own work.

See something wrong with this issue? Report it.