comicbooks.com Join Free

★ comicbooks.com Reading Room

Picture Romance Library 23 - Her Forgotten Husband #1

Pearson · 68 pages

Free to read · restored edition by comicbooks.com · Issue details →

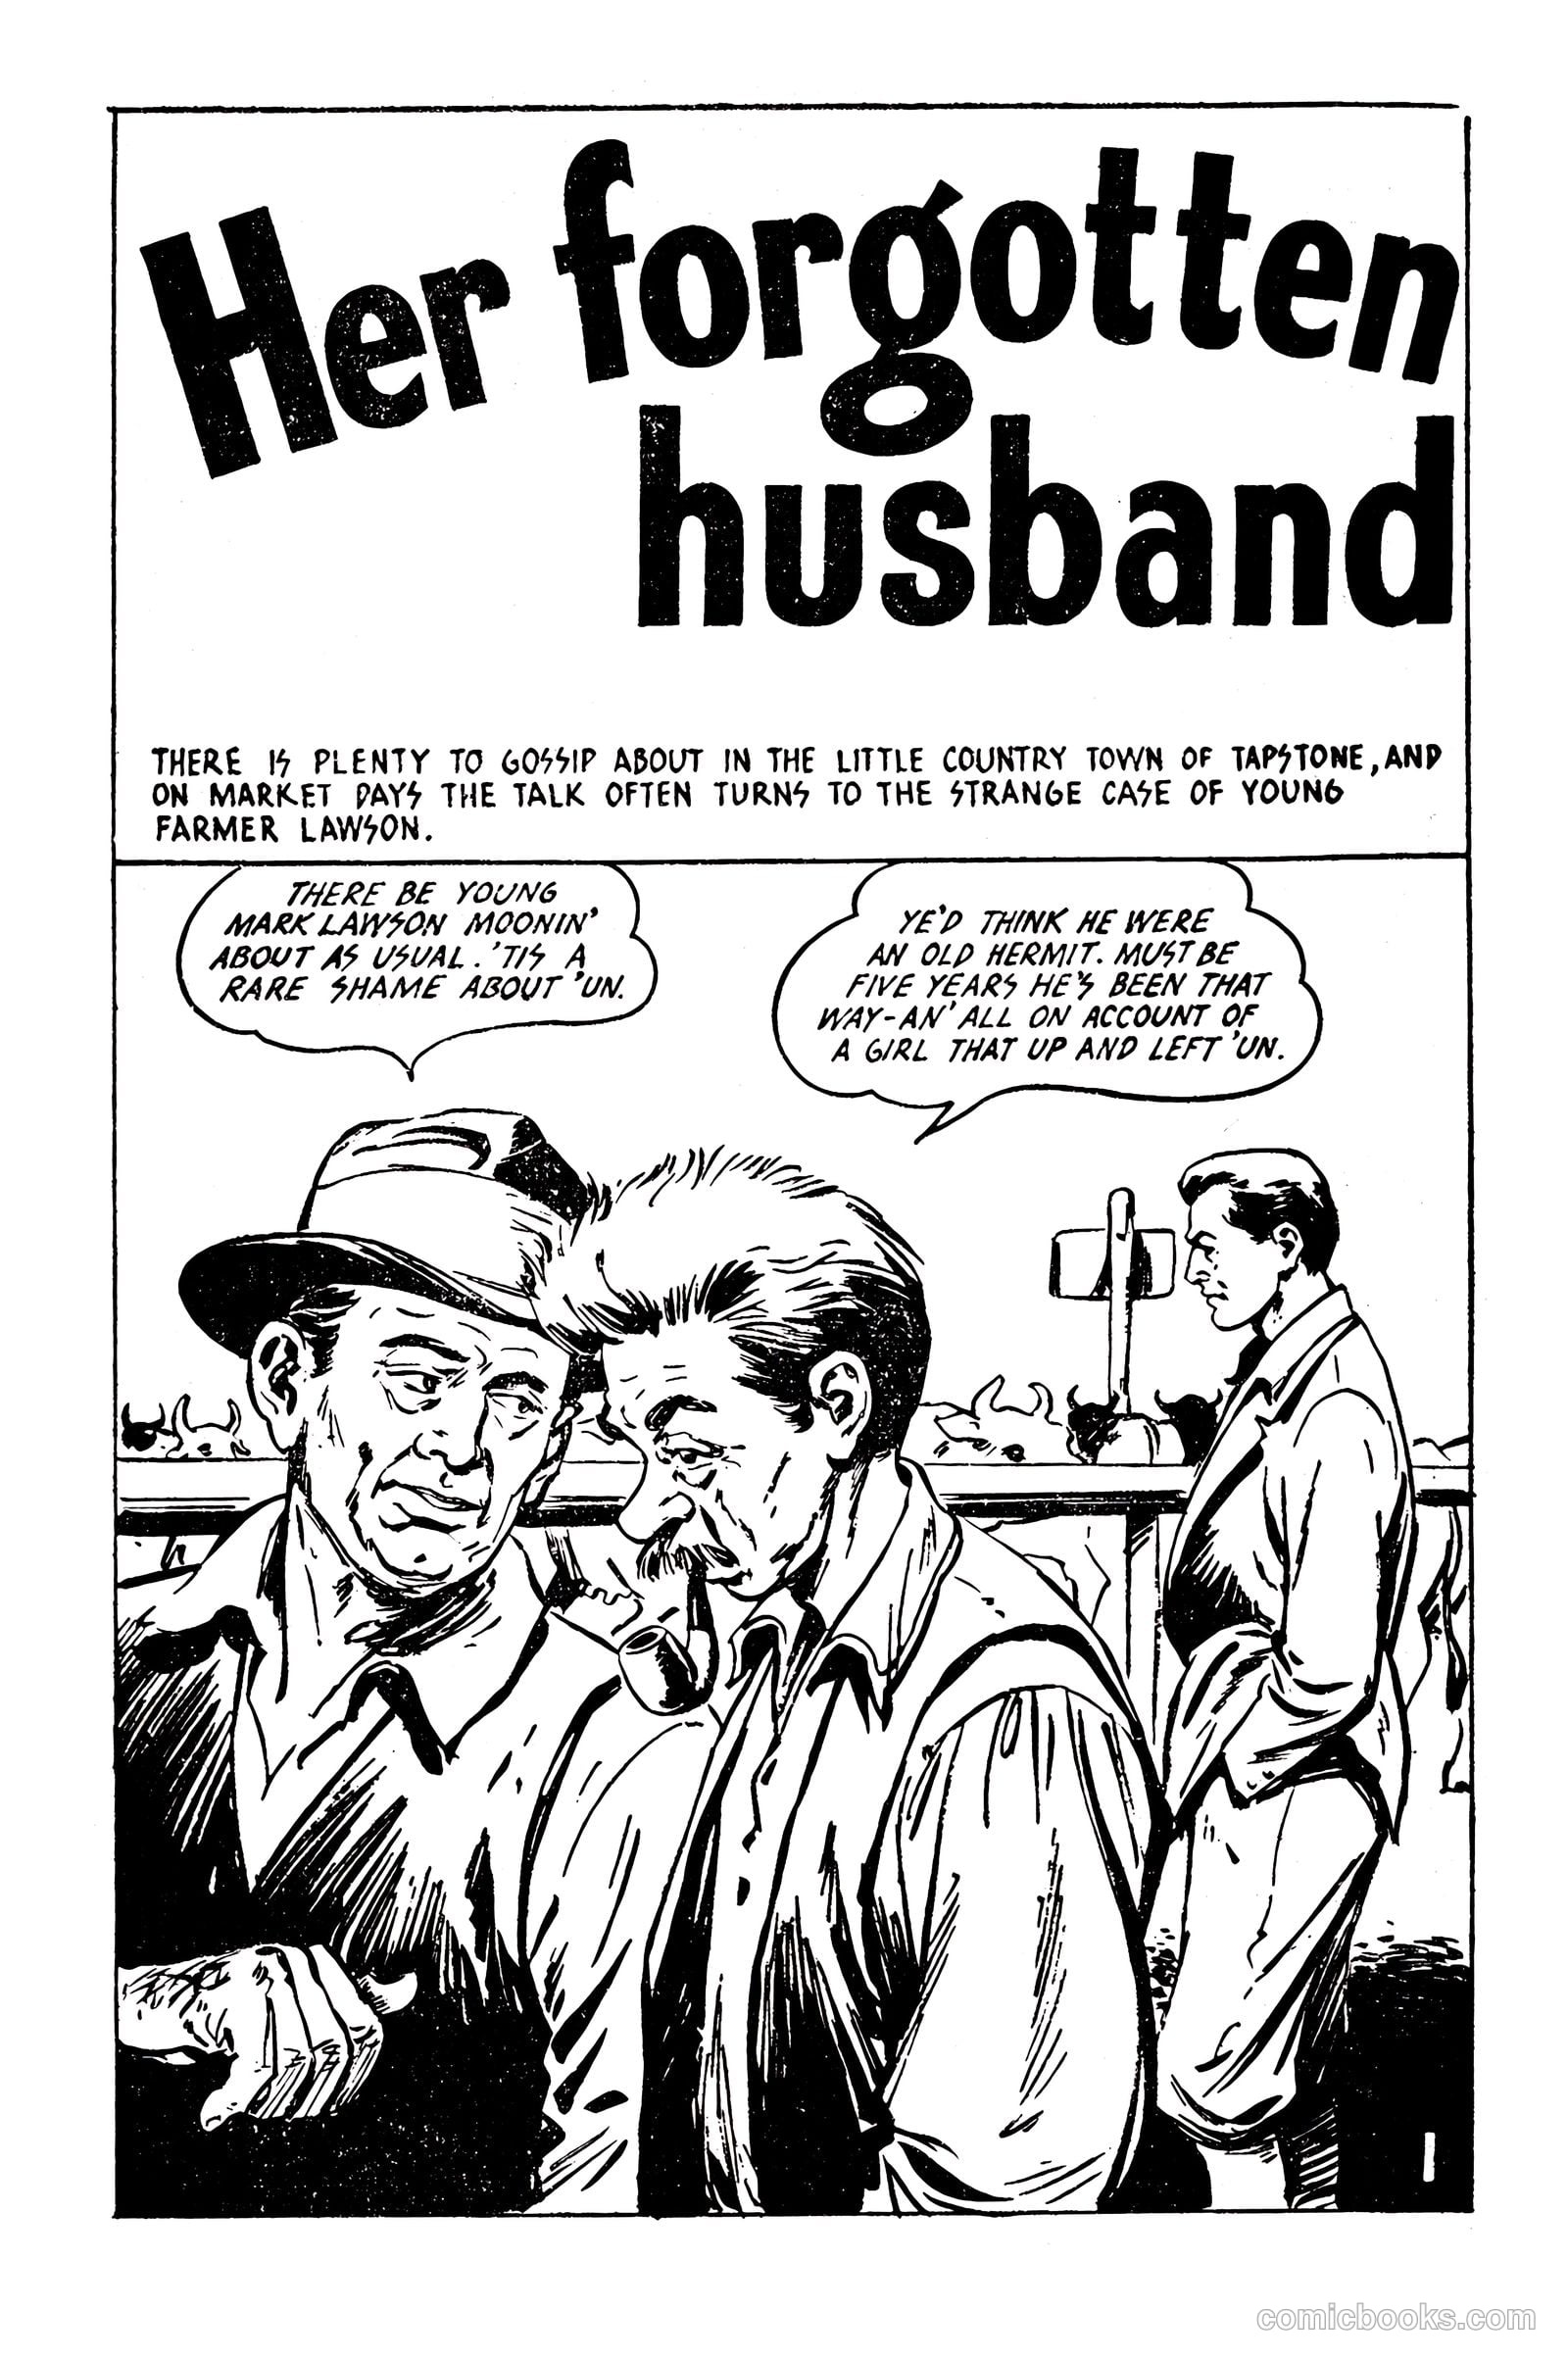
Picture Romance Library 23 - Her Forgotten Husband #1 — page 1 of 68
1 / 68
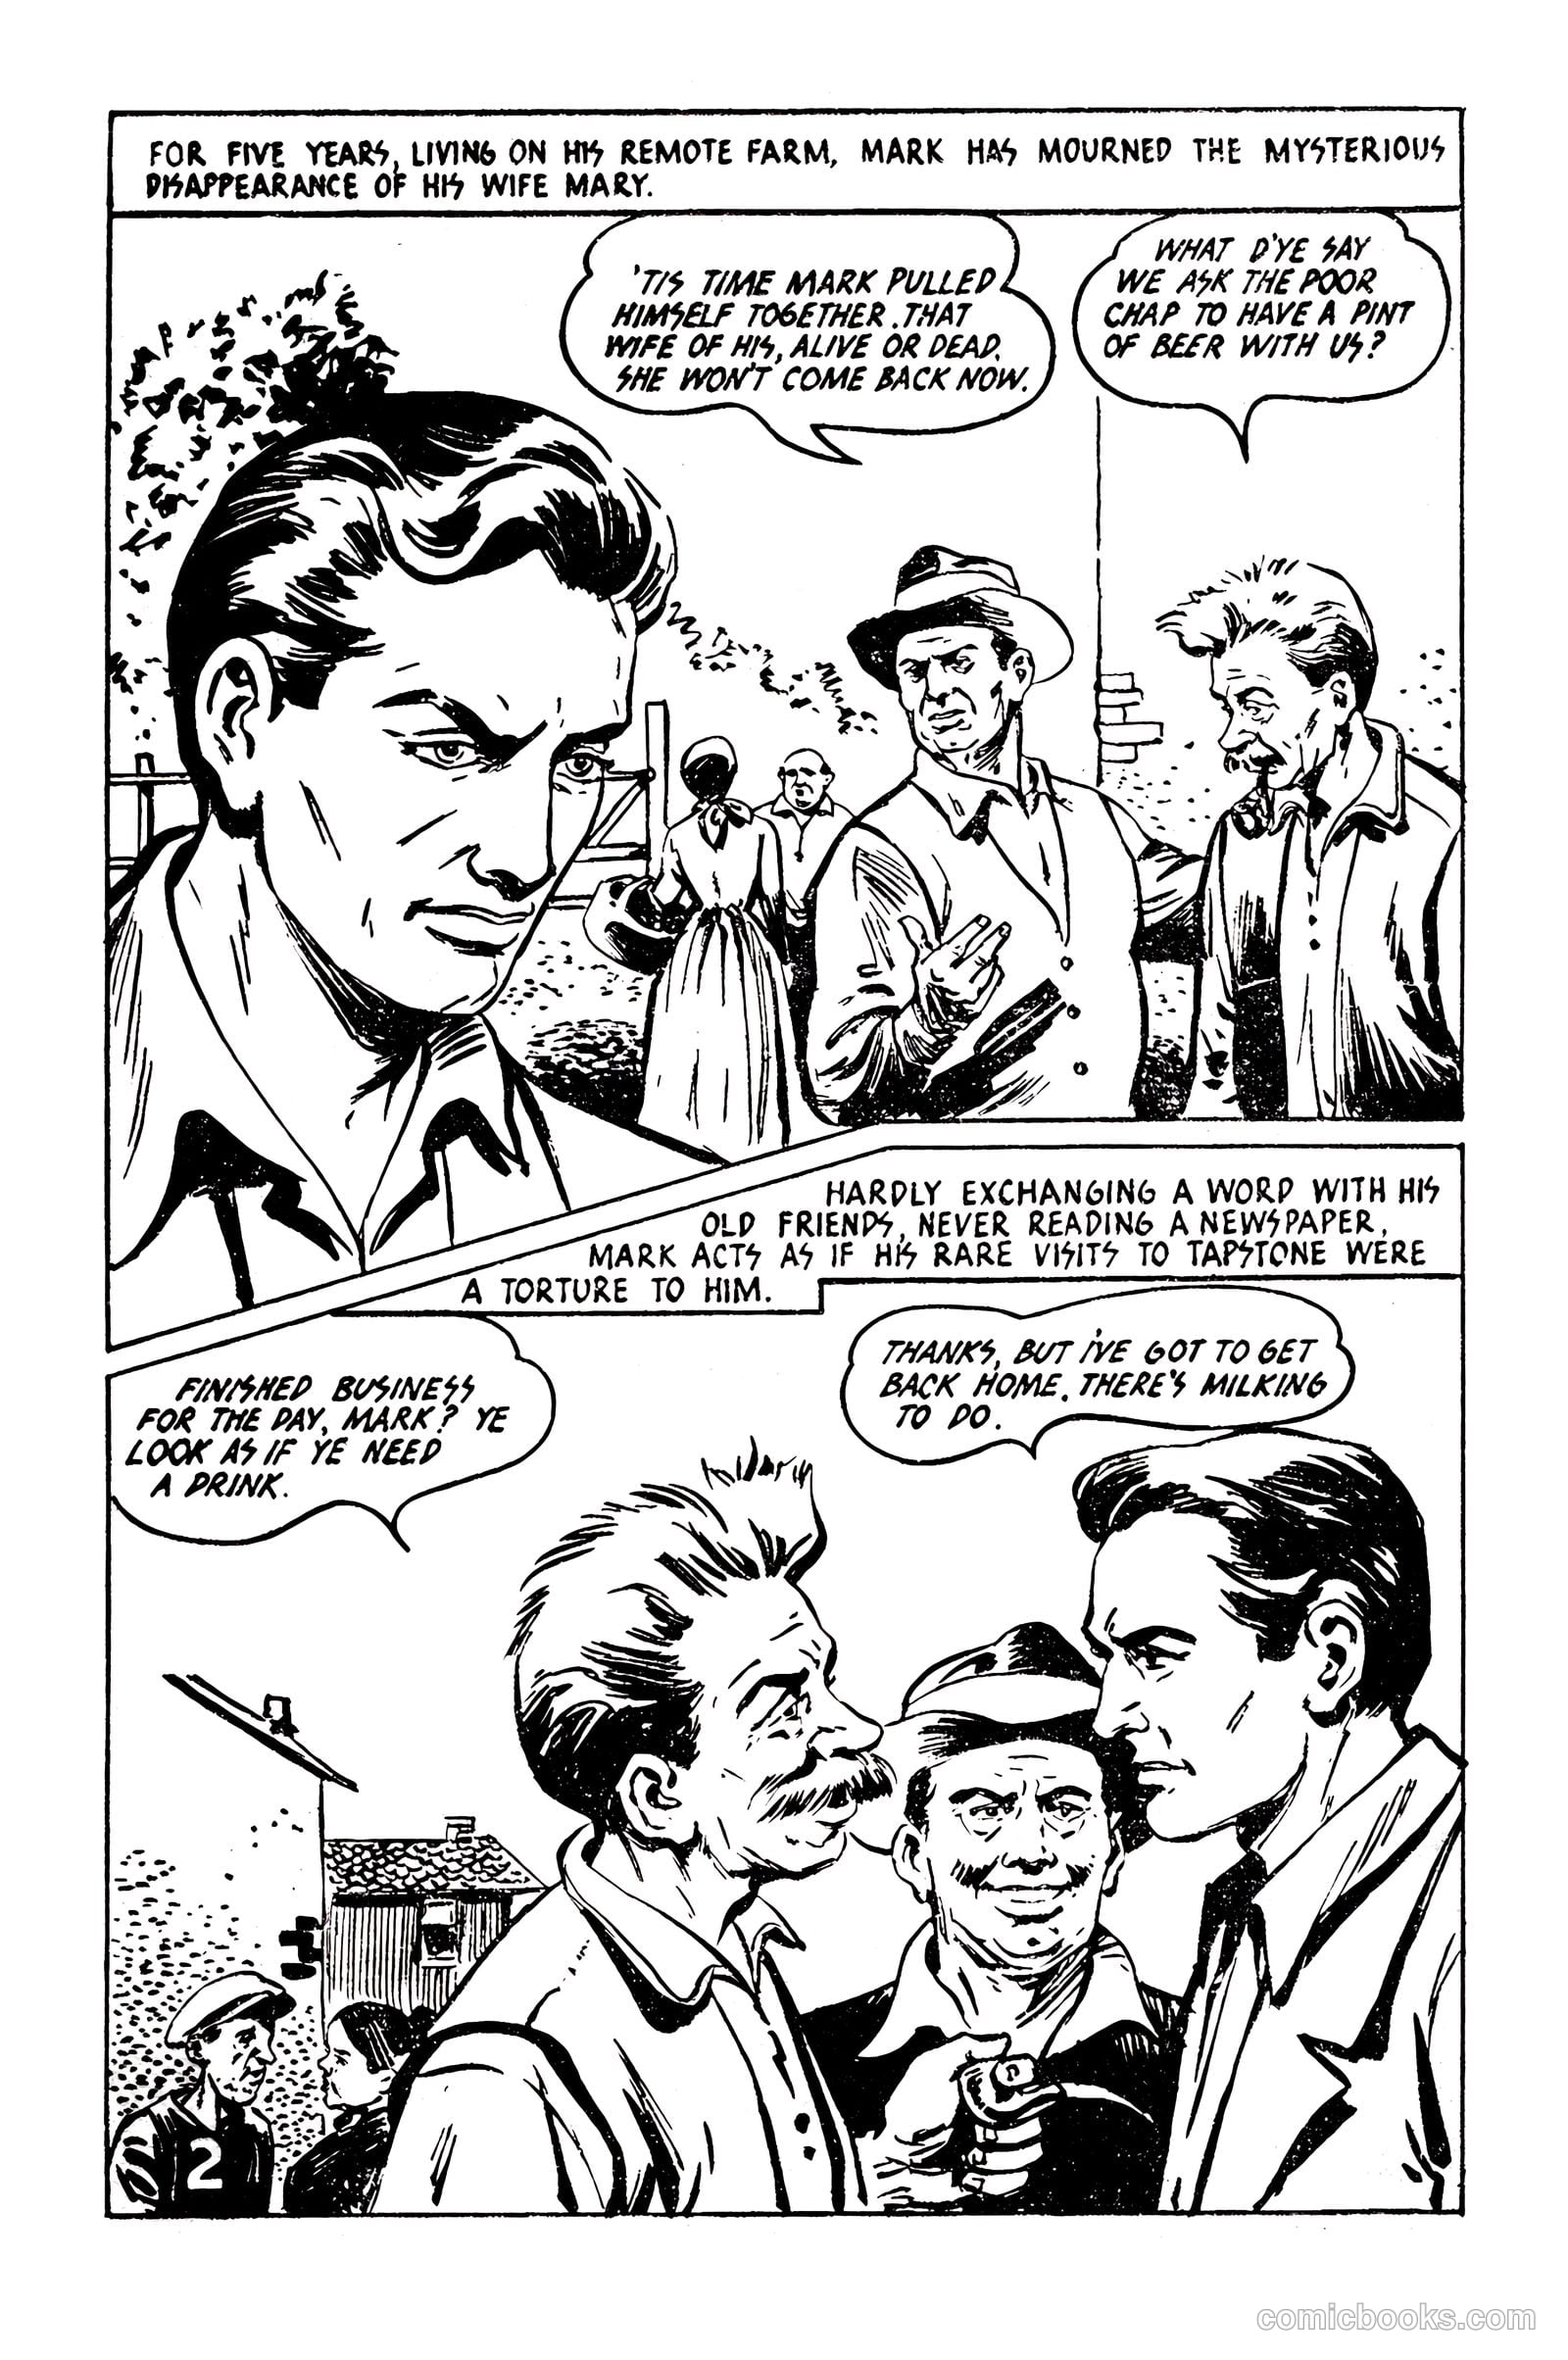
Picture Romance Library 23 - Her Forgotten Husband #1 — page 2 of 68
2 / 68
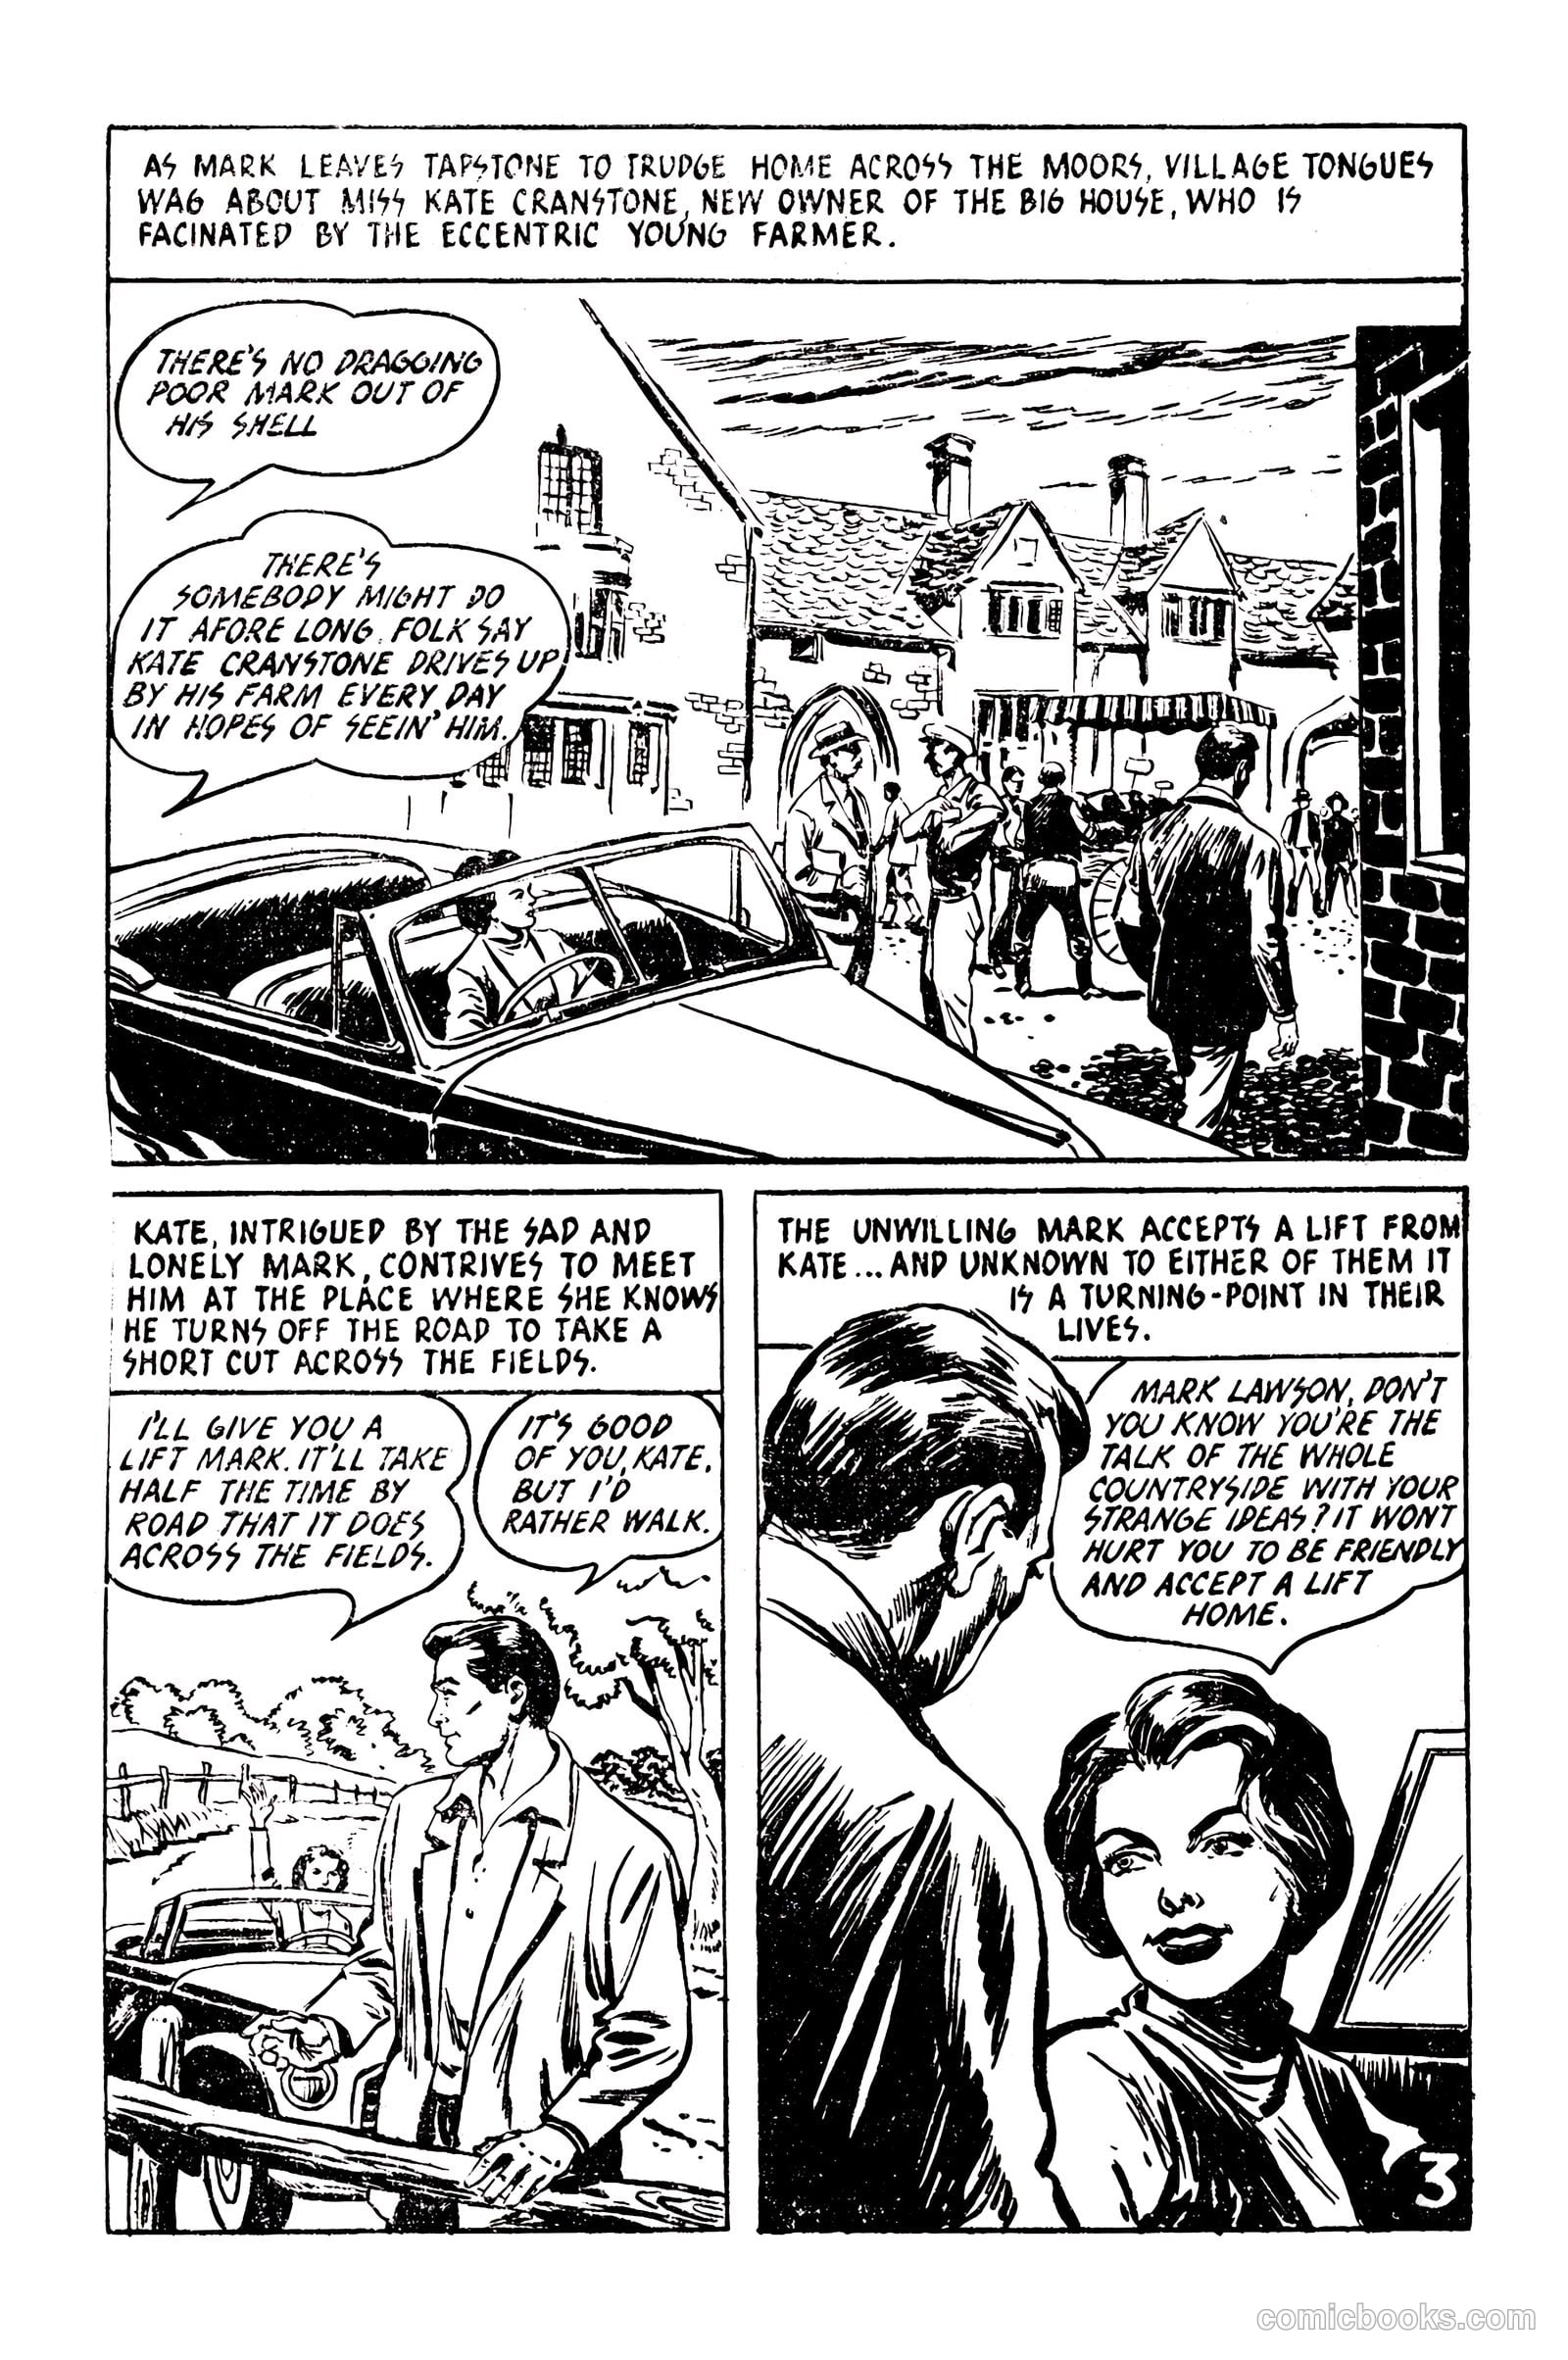
Picture Romance Library 23 - Her Forgotten Husband #1 — page 3 of 68
3 / 68
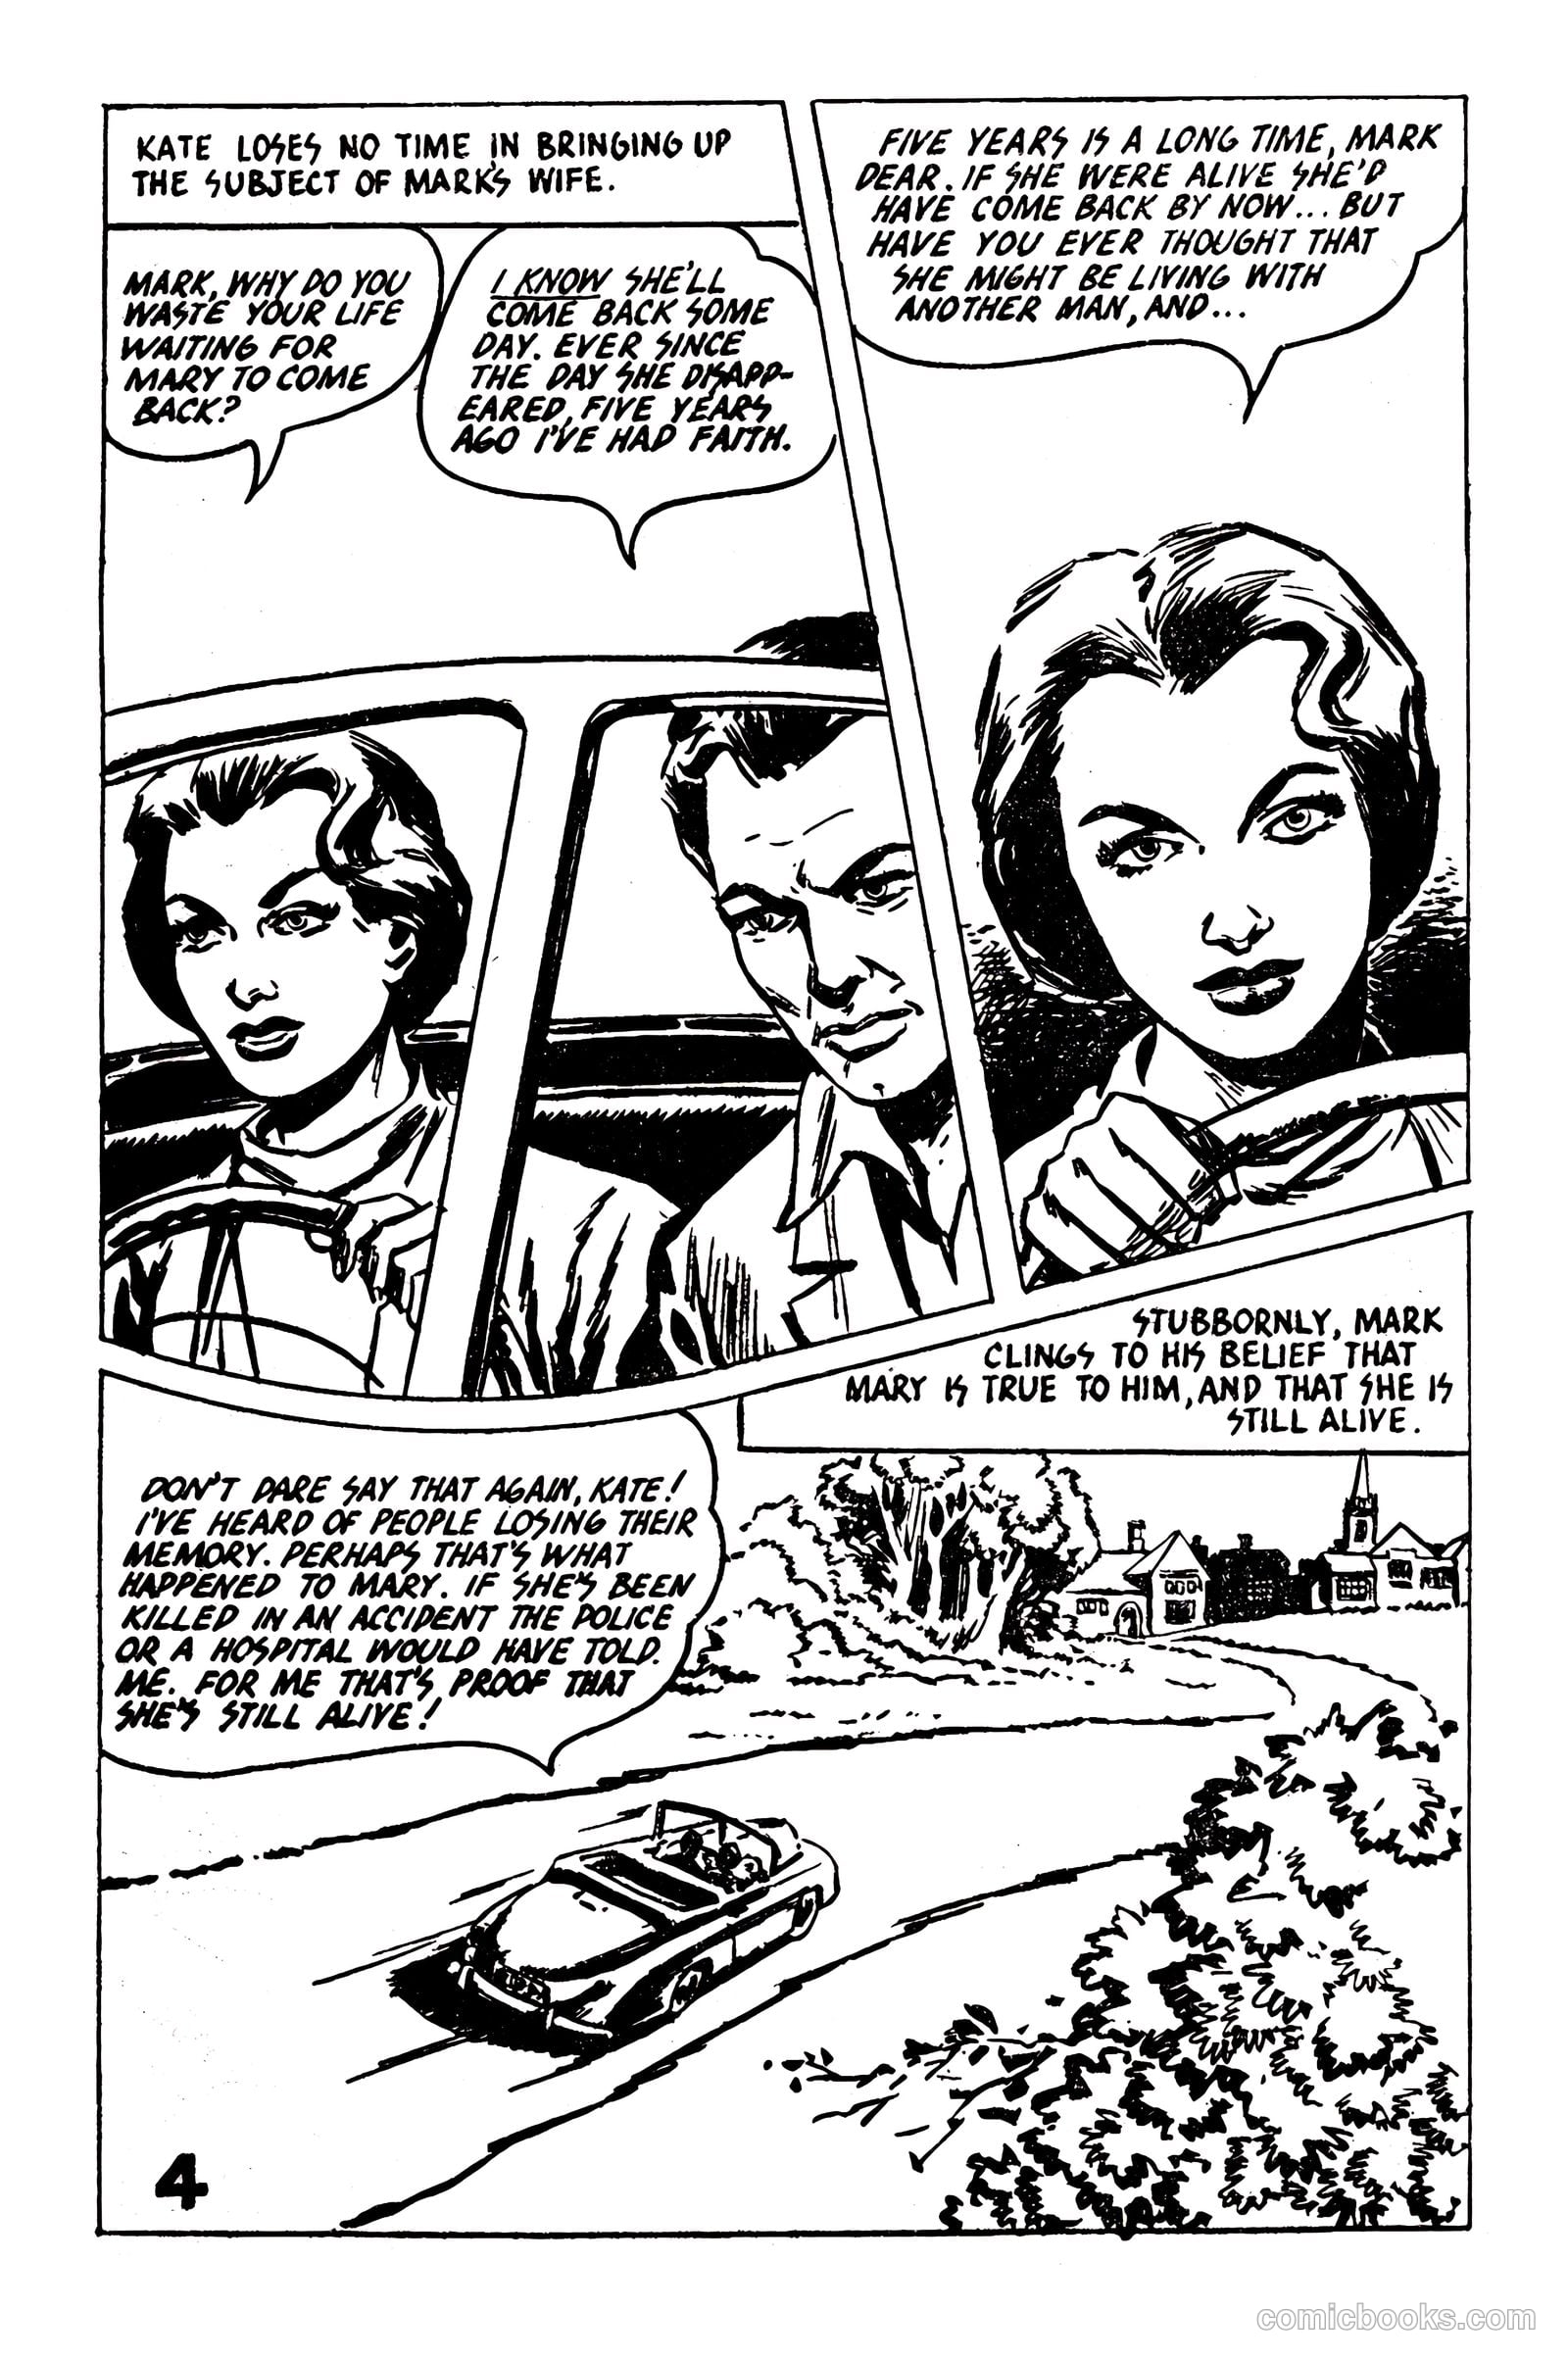
Picture Romance Library 23 - Her Forgotten Husband #1 — page 4 of 68
4 / 68
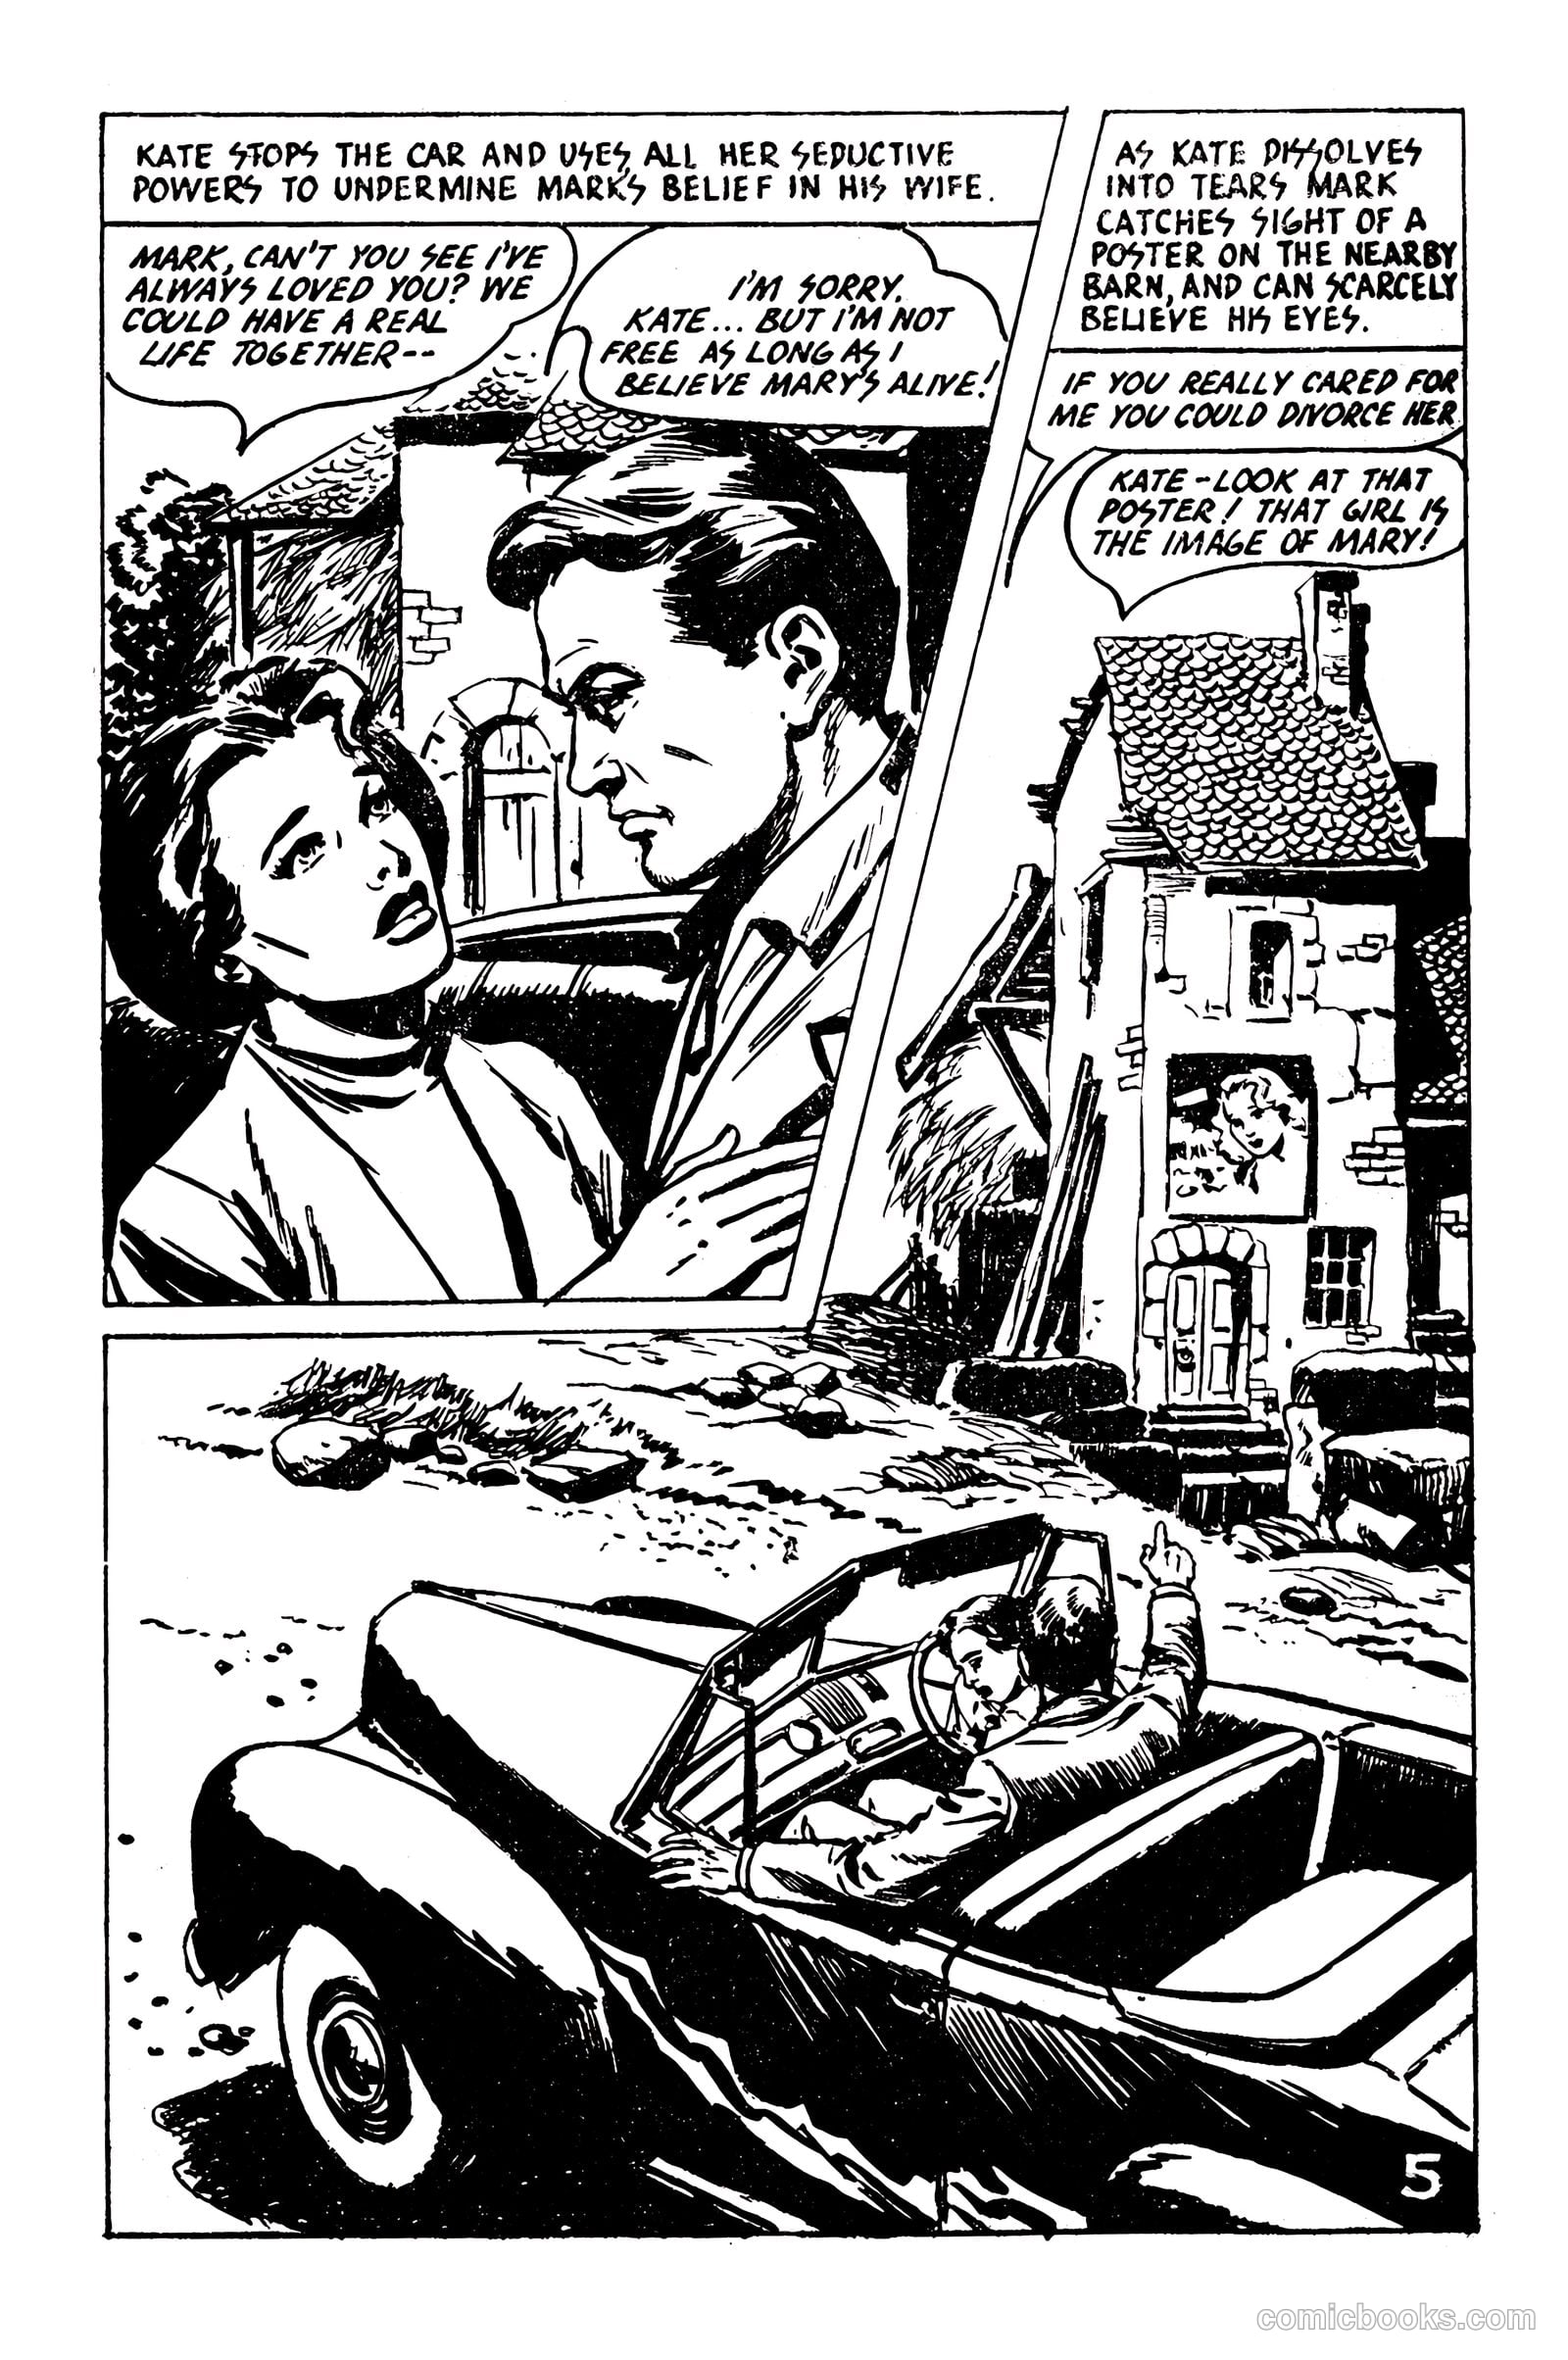
Picture Romance Library 23 - Her Forgotten Husband #1 — page 5 of 68
5 / 68
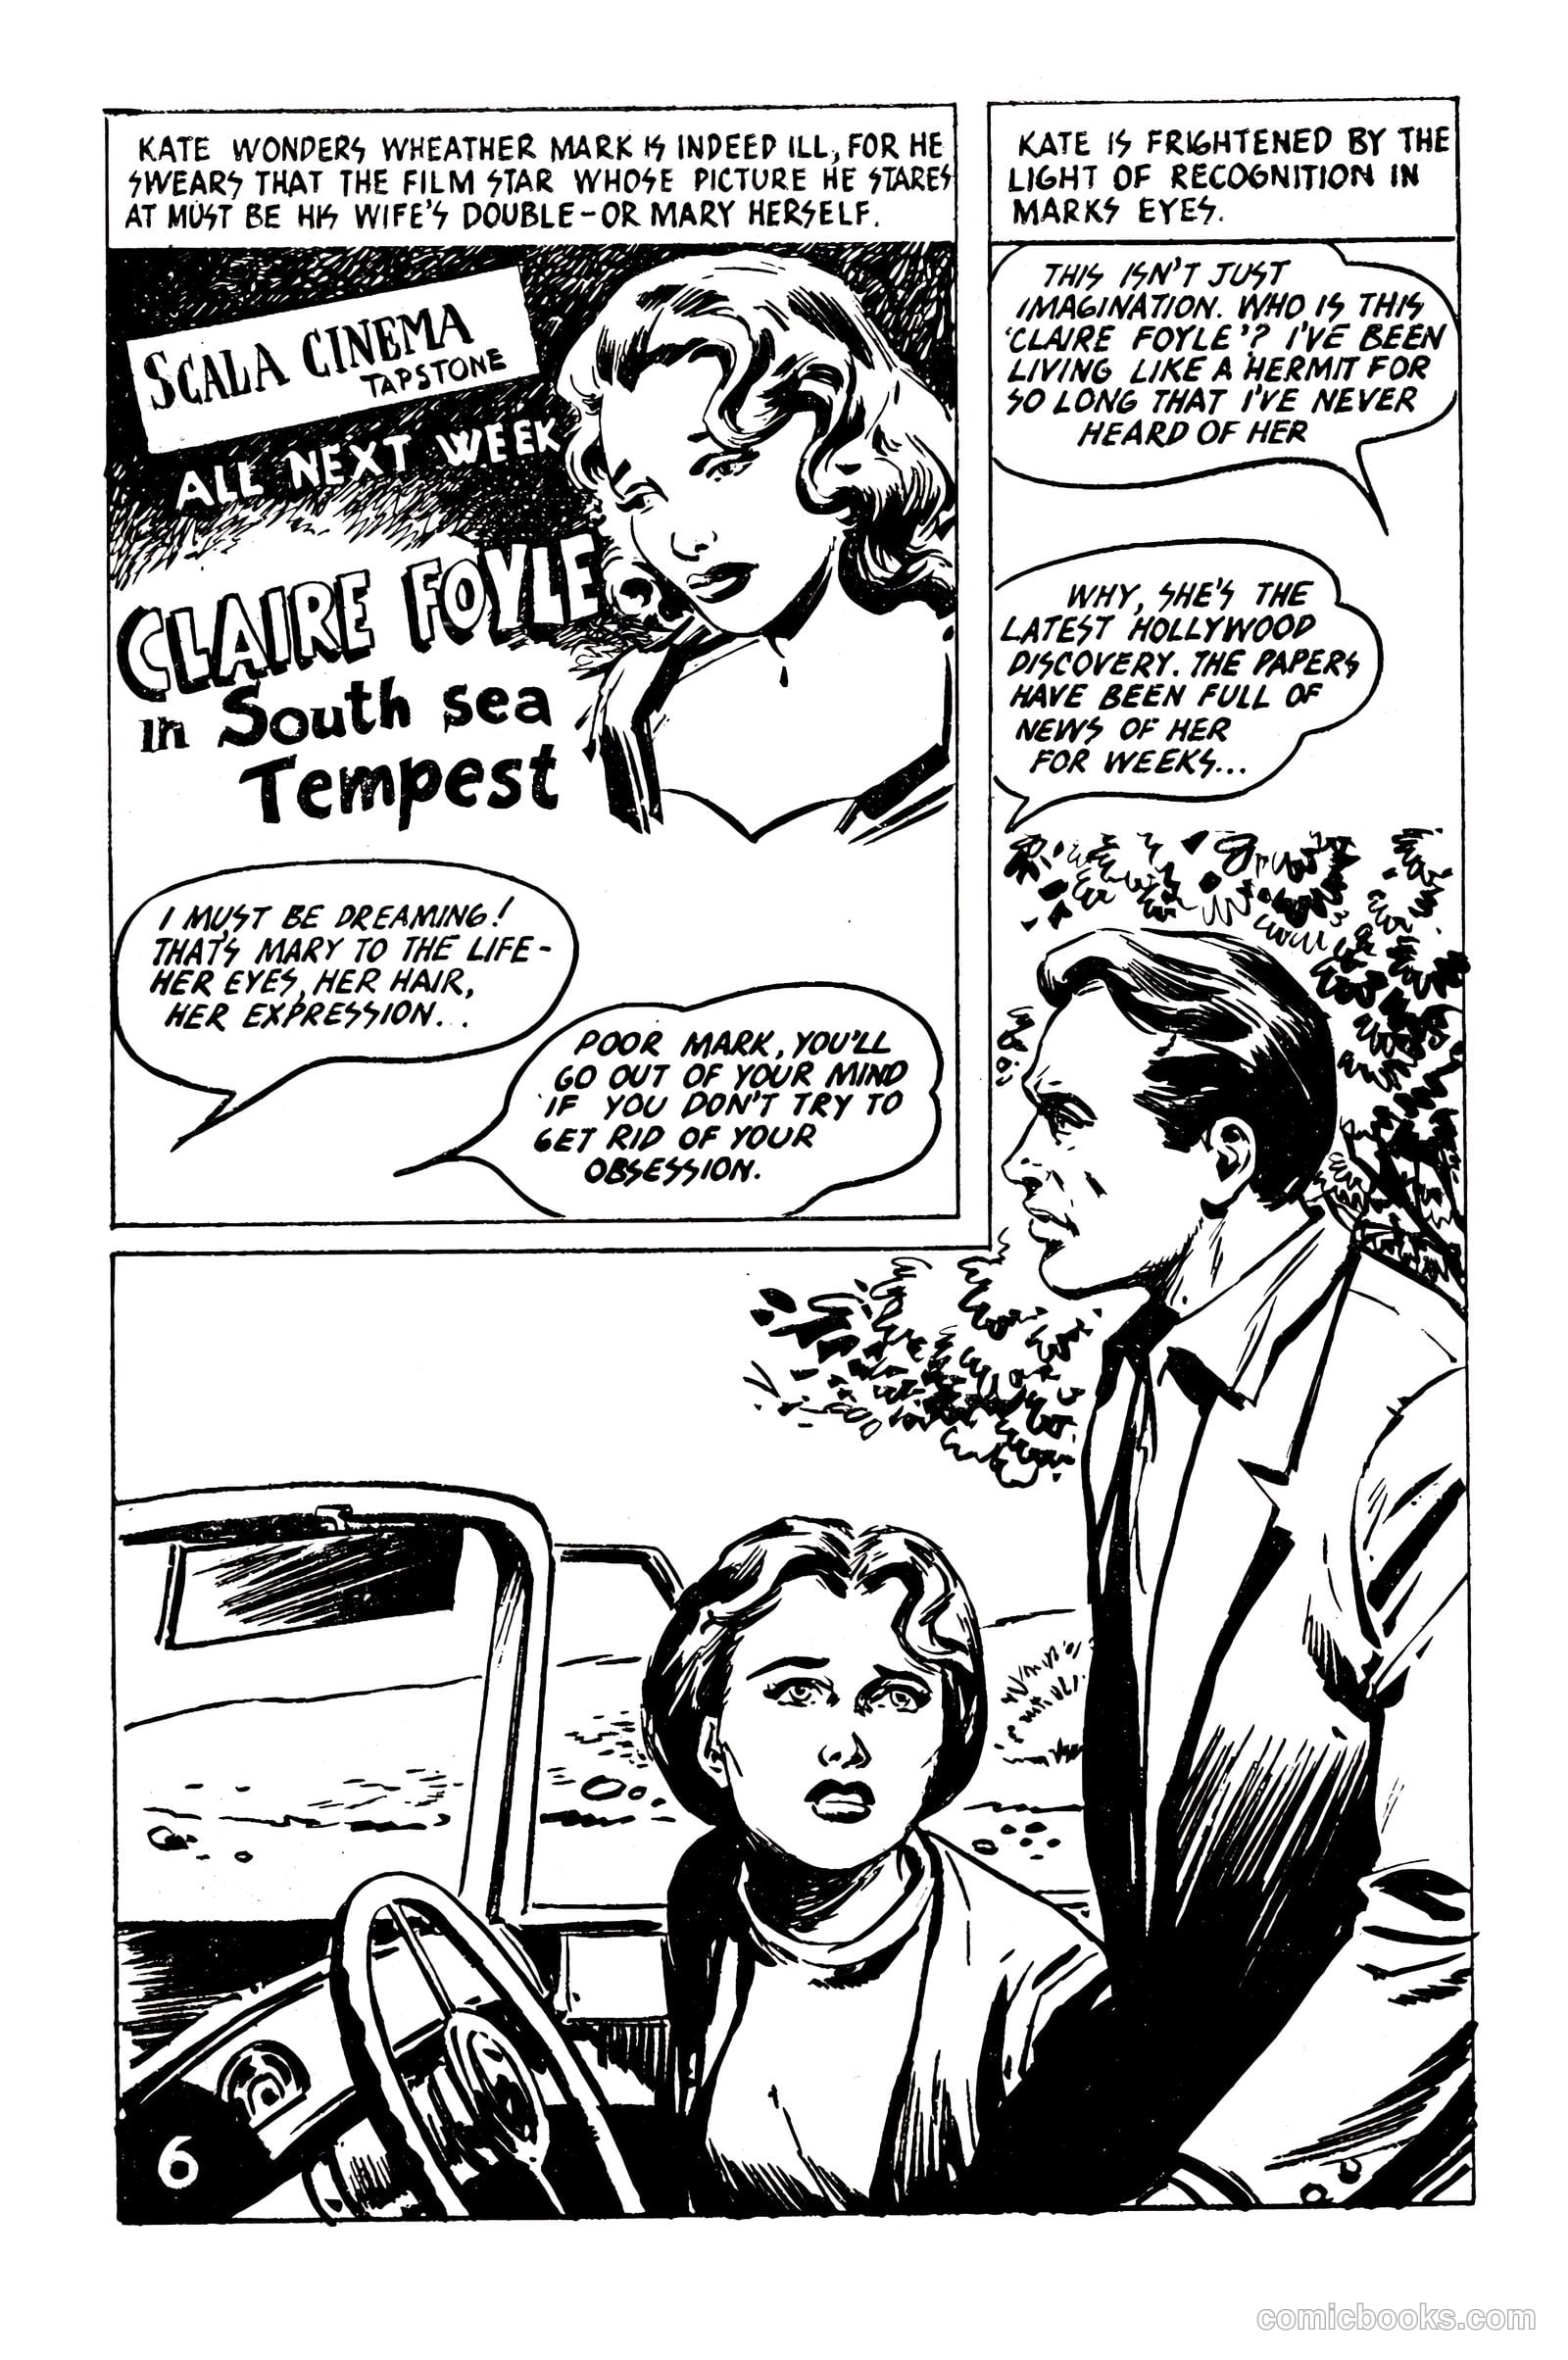
Picture Romance Library 23 - Her Forgotten Husband #1 — page 6 of 68
6 / 68
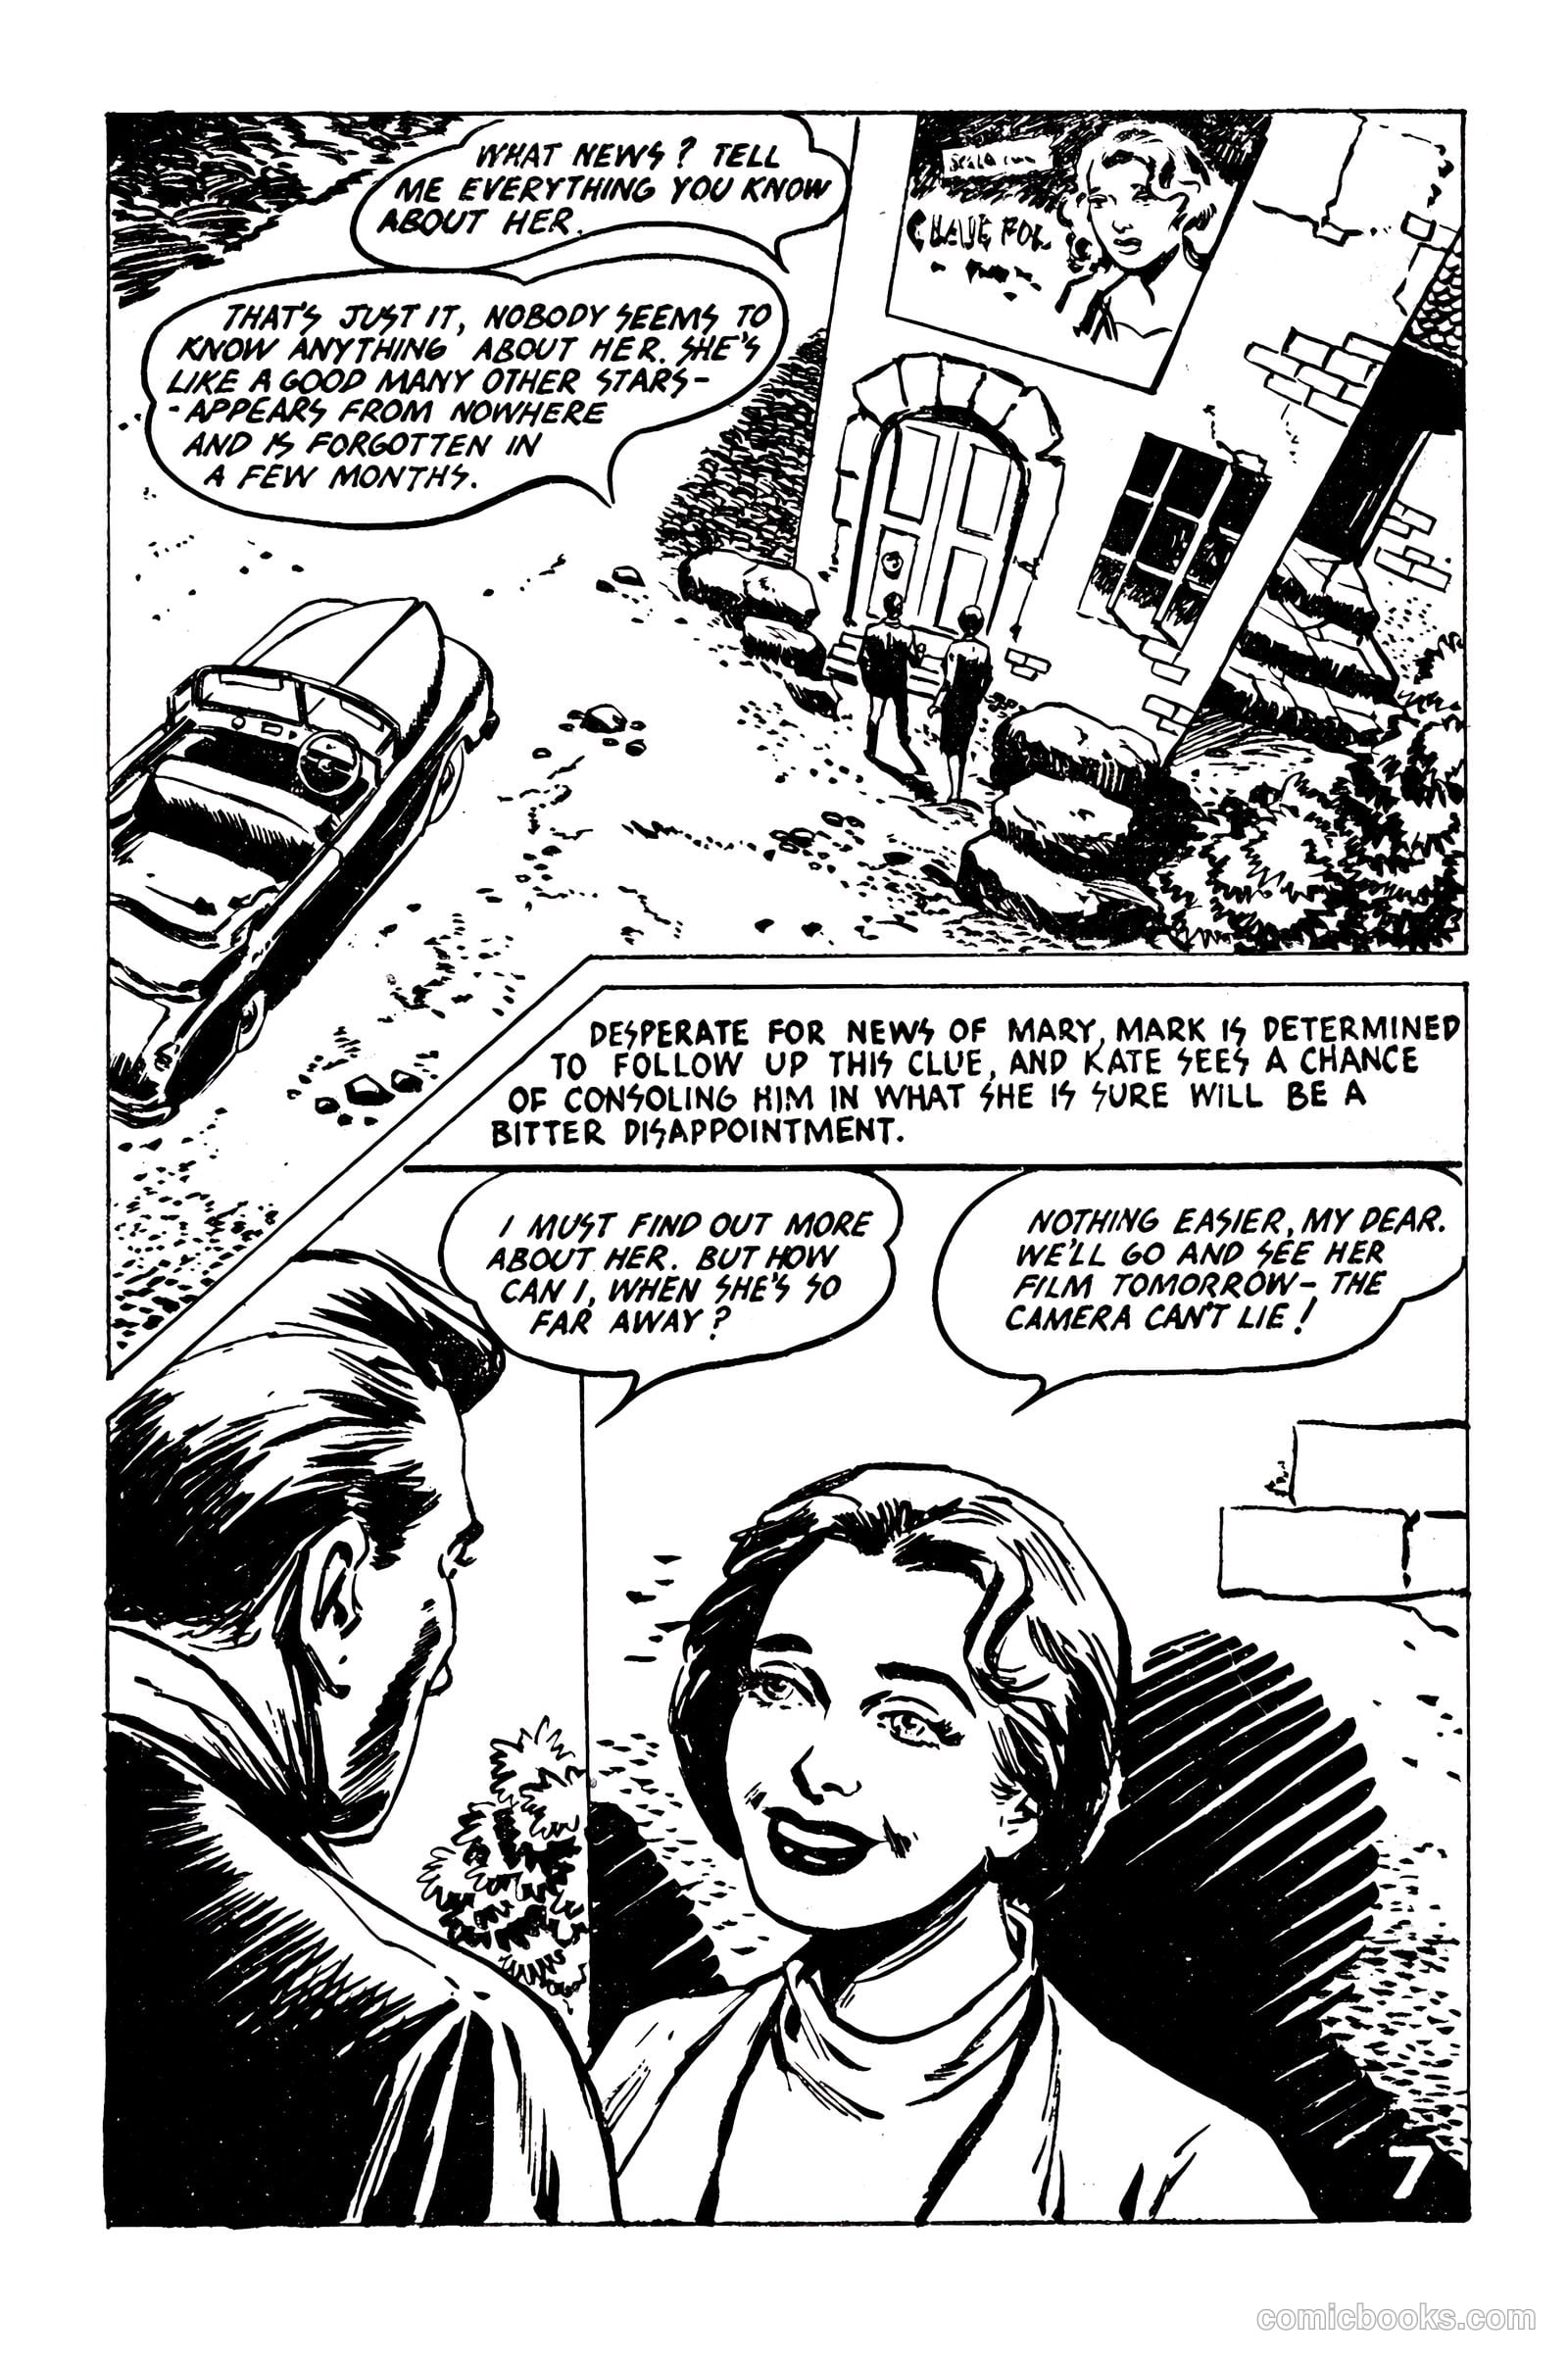
Picture Romance Library 23 - Her Forgotten Husband #1 — page 7 of 68
7 / 68
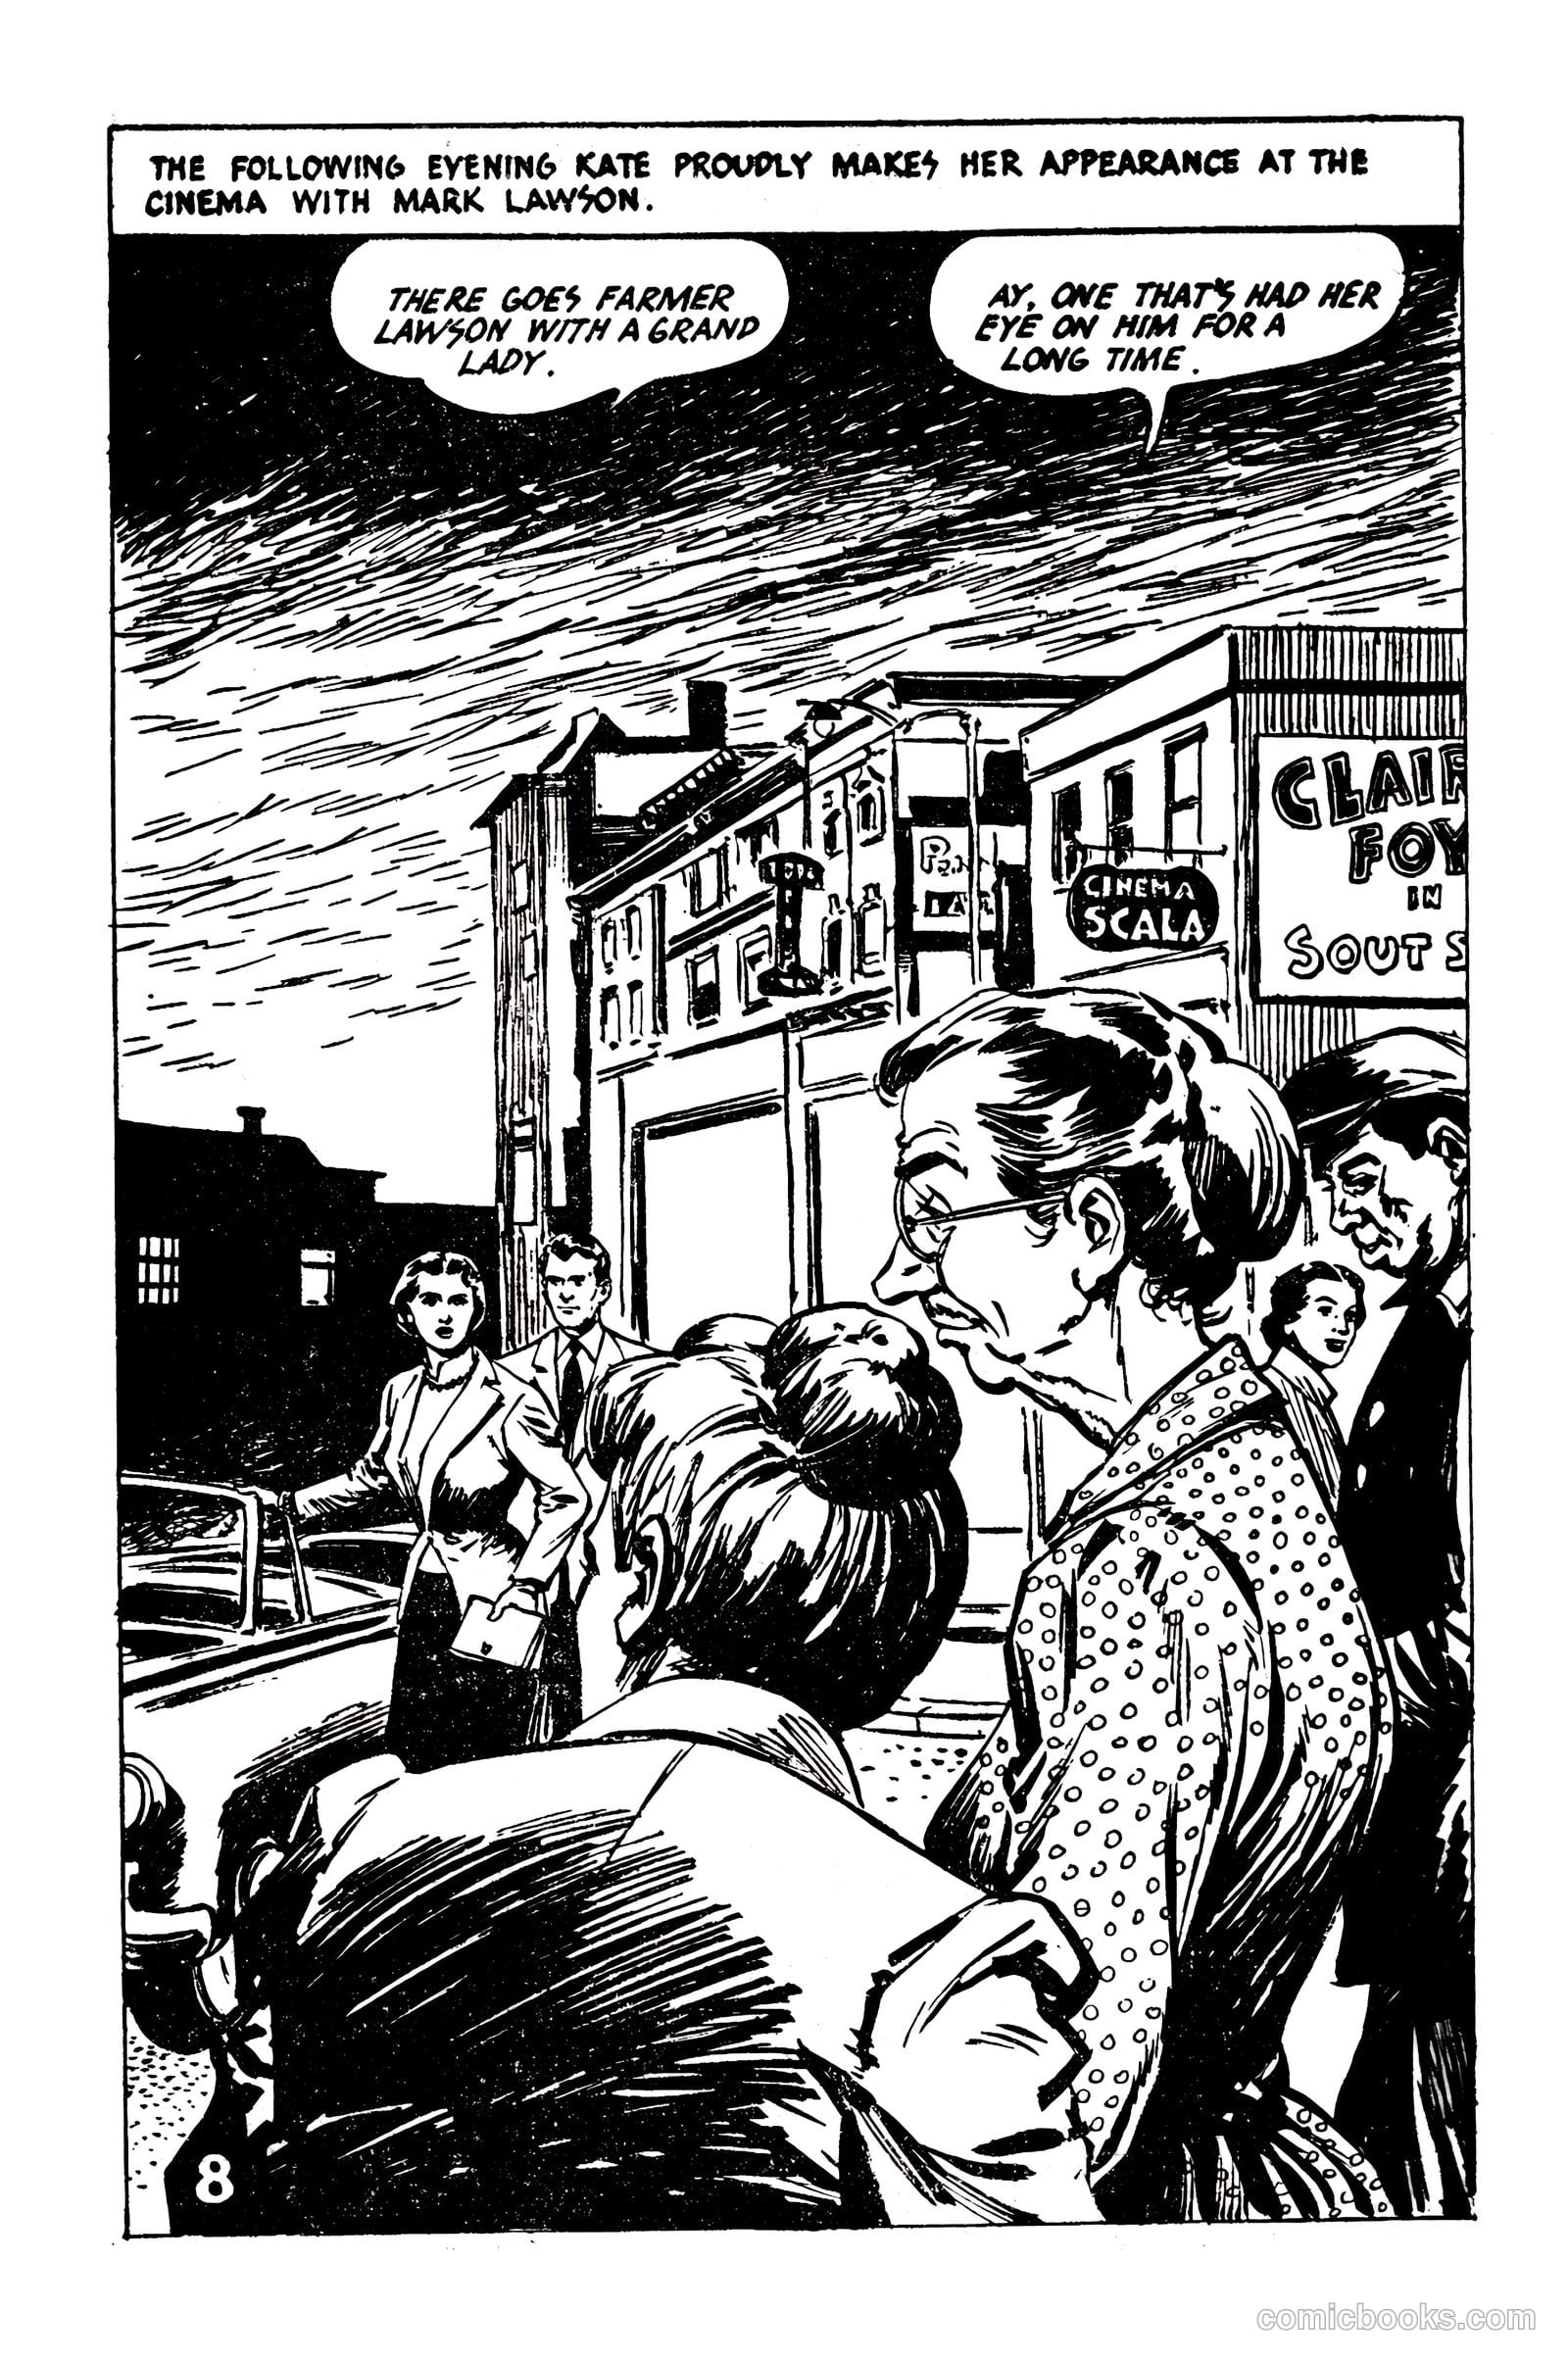
Picture Romance Library 23 - Her Forgotten Husband #1 — page 8 of 68
8 / 68
Picture Romance Library 23 - Her Forgotten Husband #1 — page 9 of 68
9 / 68
Picture Romance Library 23 - Her Forgotten Husband #1 — page 10 of 68
10 / 68
Picture Romance Library 23 - Her Forgotten Husband #1 — page 11 of 68
11 / 68
Picture Romance Library 23 - Her Forgotten Husband #1 — page 12 of 68
12 / 68
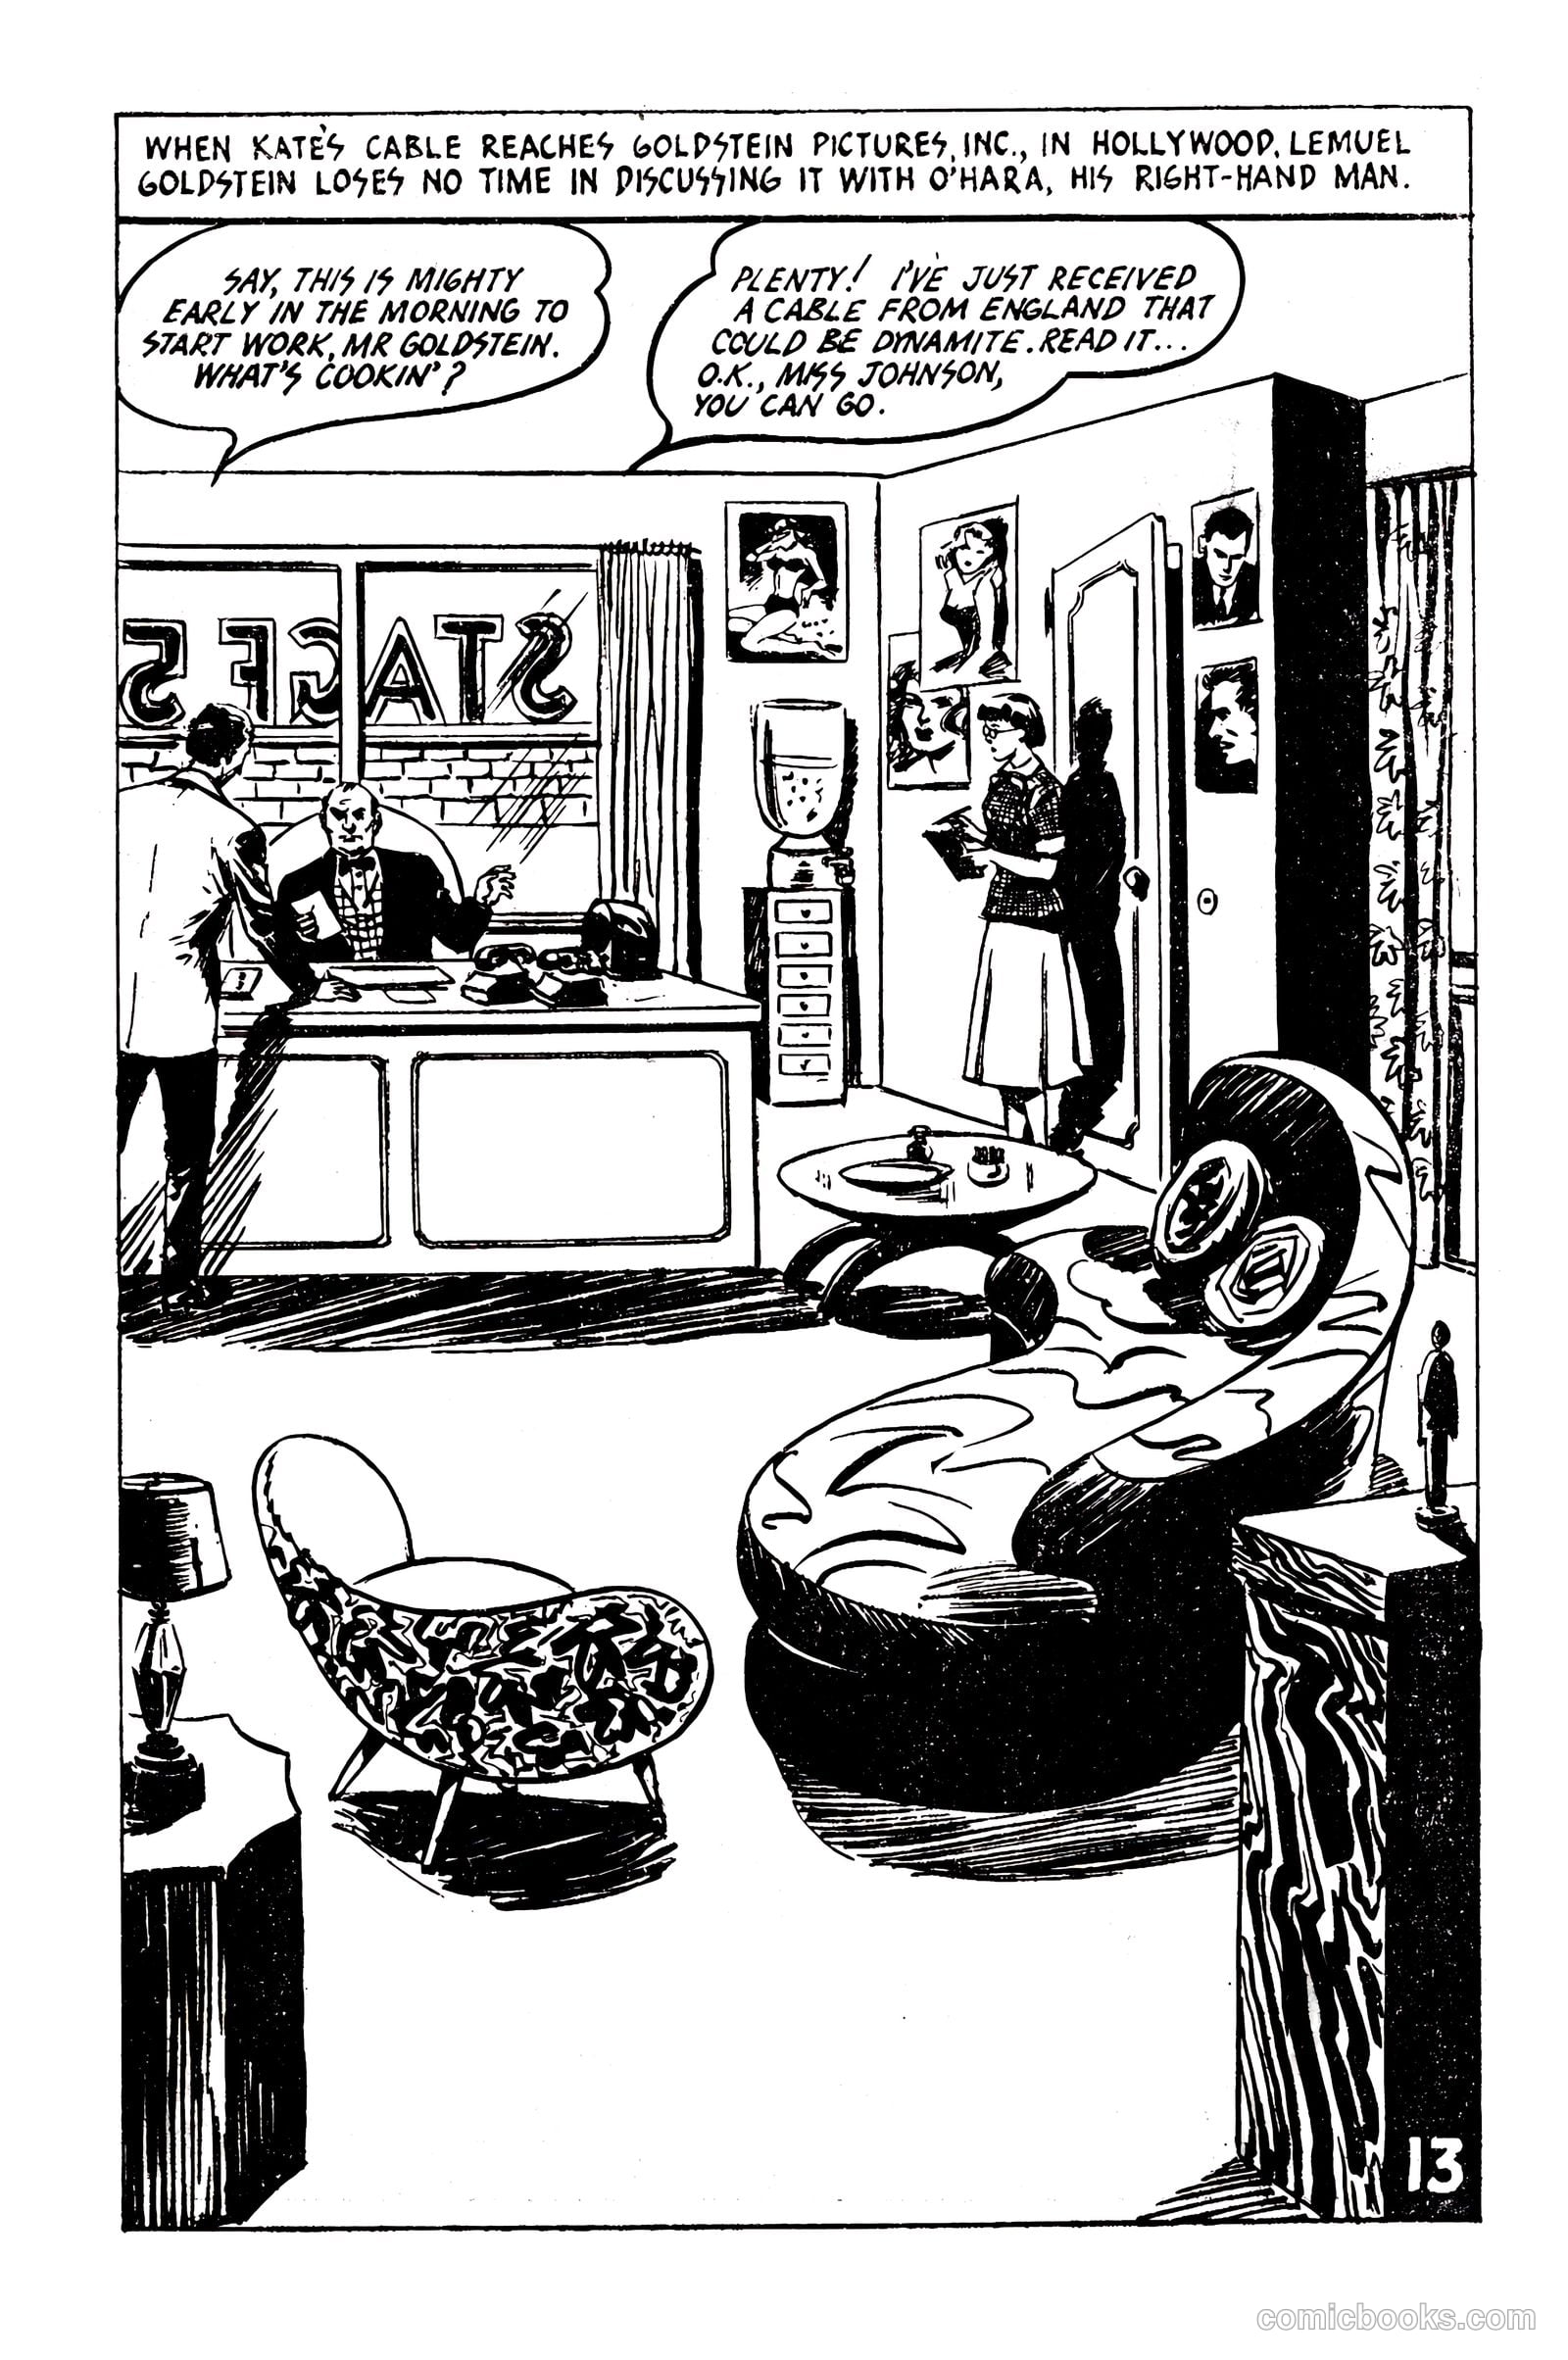
Picture Romance Library 23 - Her Forgotten Husband #1 — page 13 of 68
13 / 68
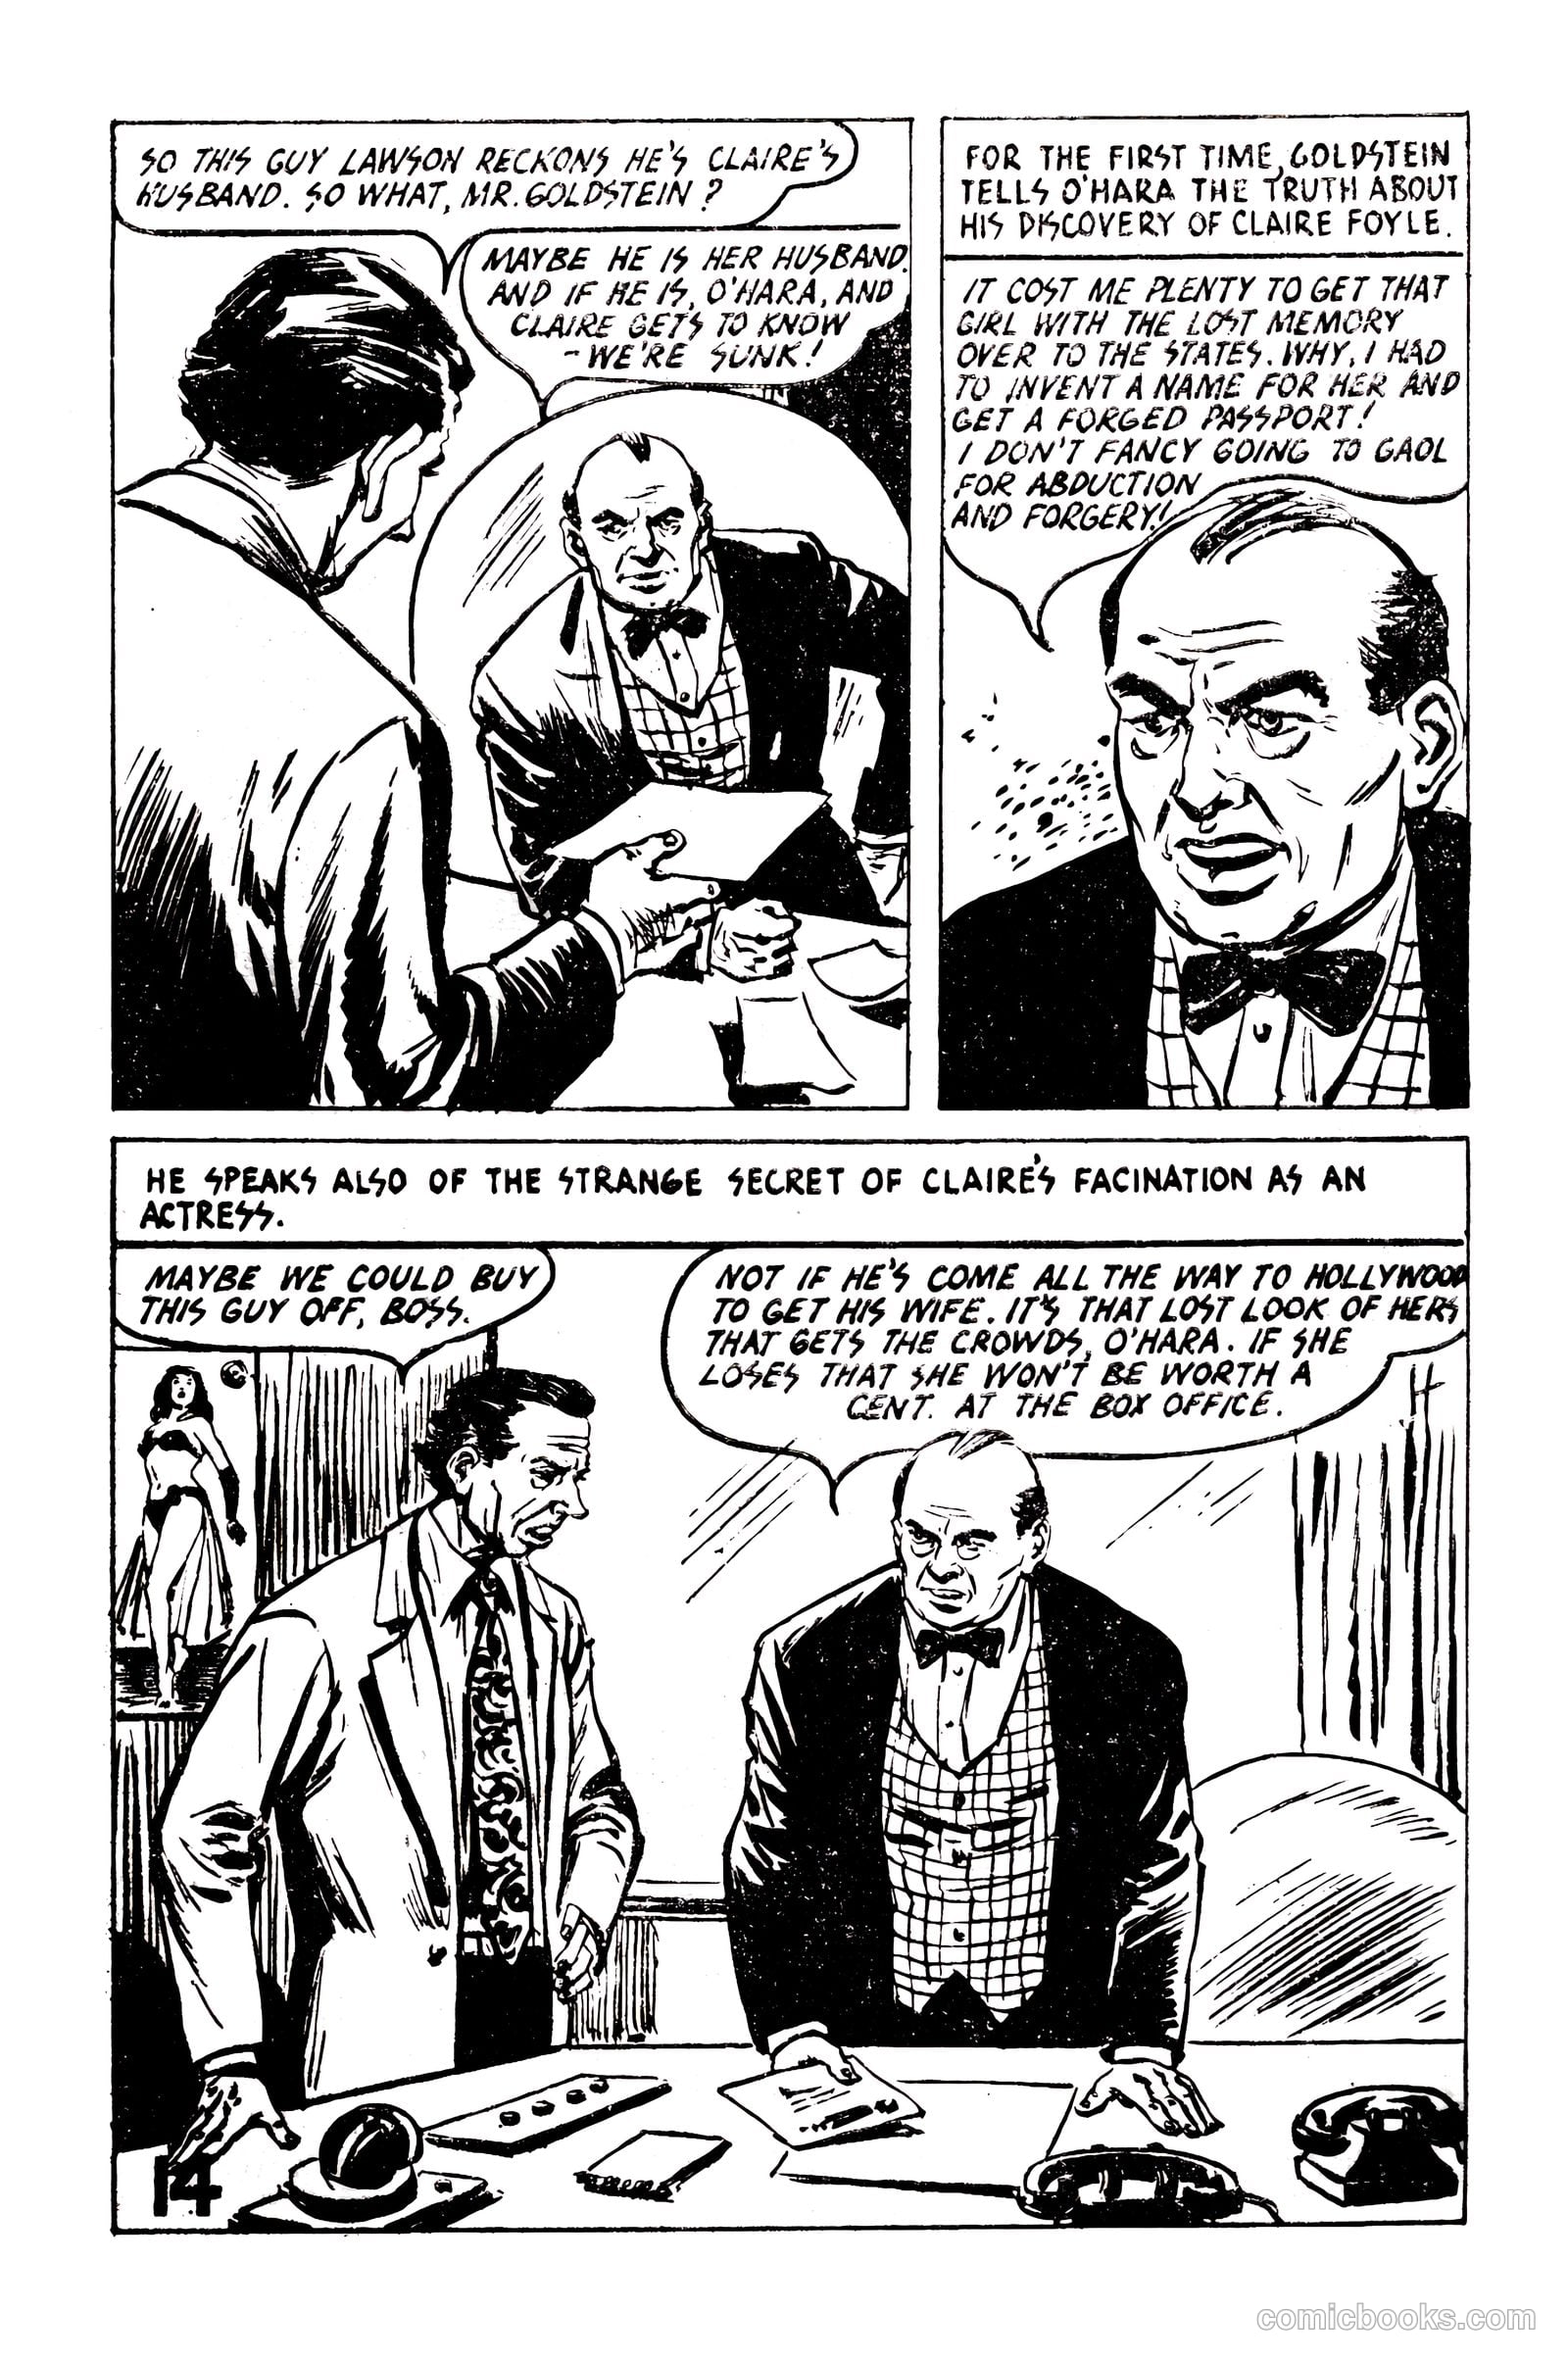
Picture Romance Library 23 - Her Forgotten Husband #1 — page 14 of 68
14 / 68
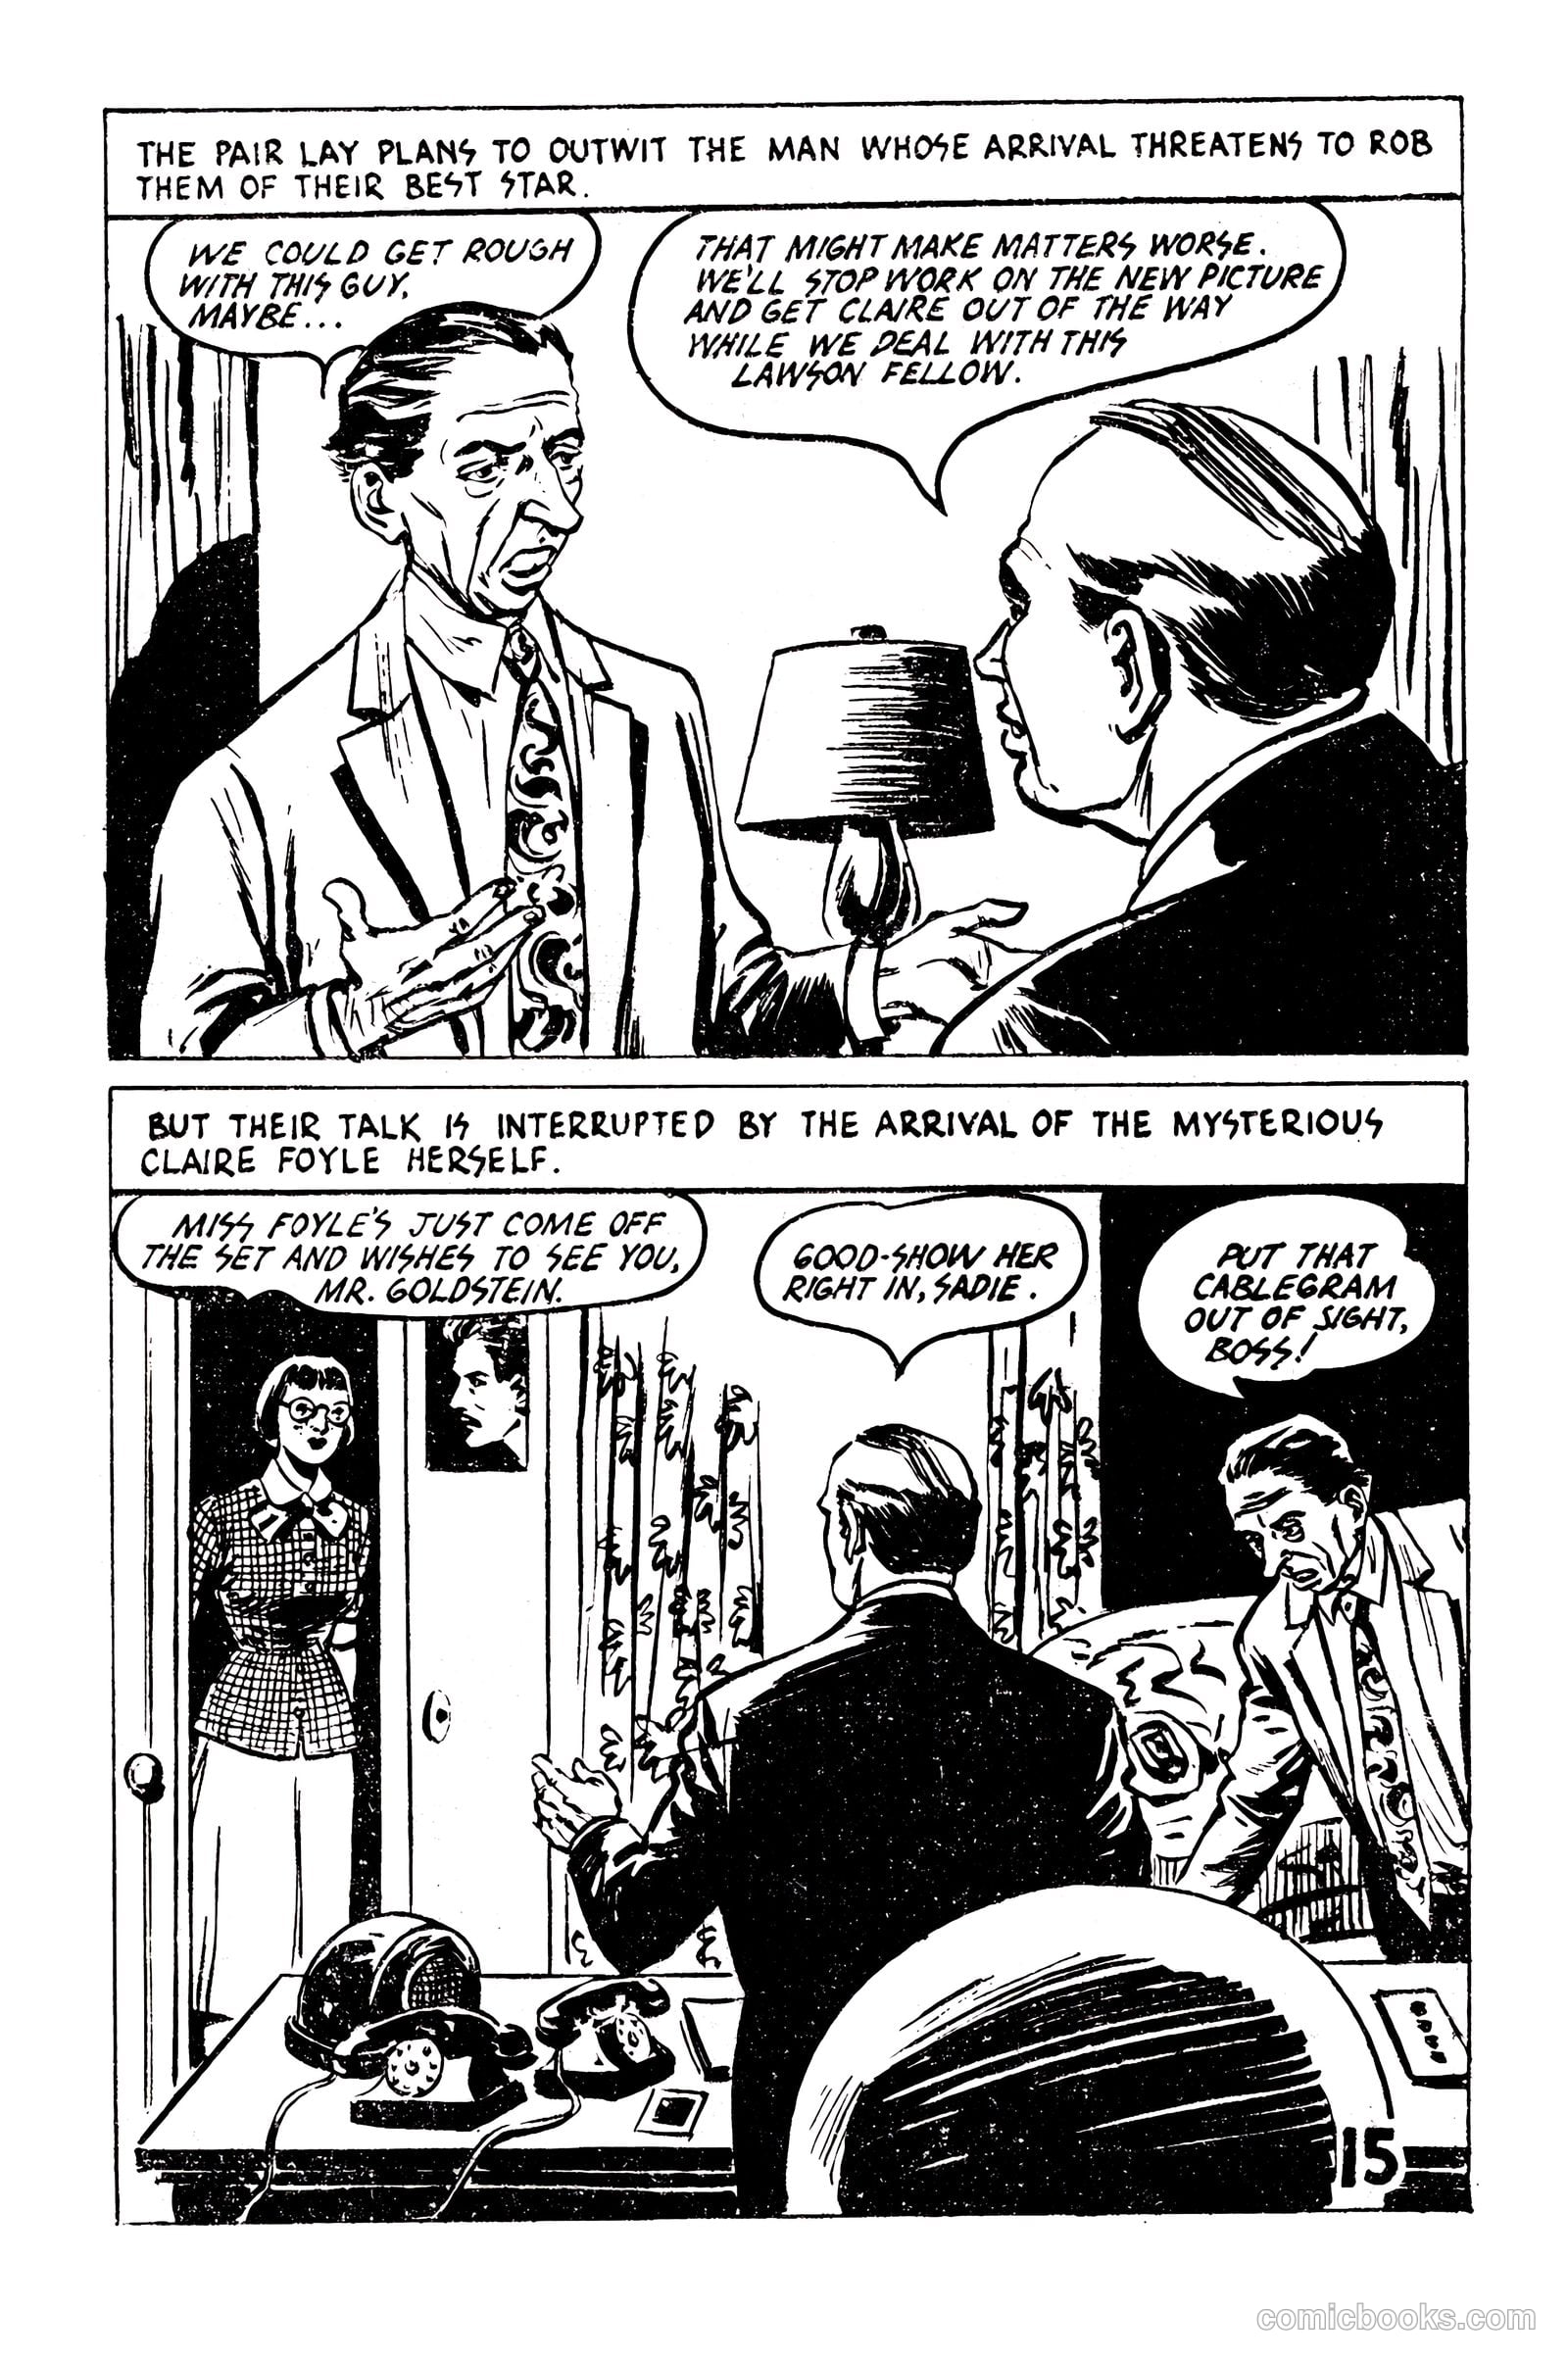
Picture Romance Library 23 - Her Forgotten Husband #1 — page 15 of 68
15 / 68
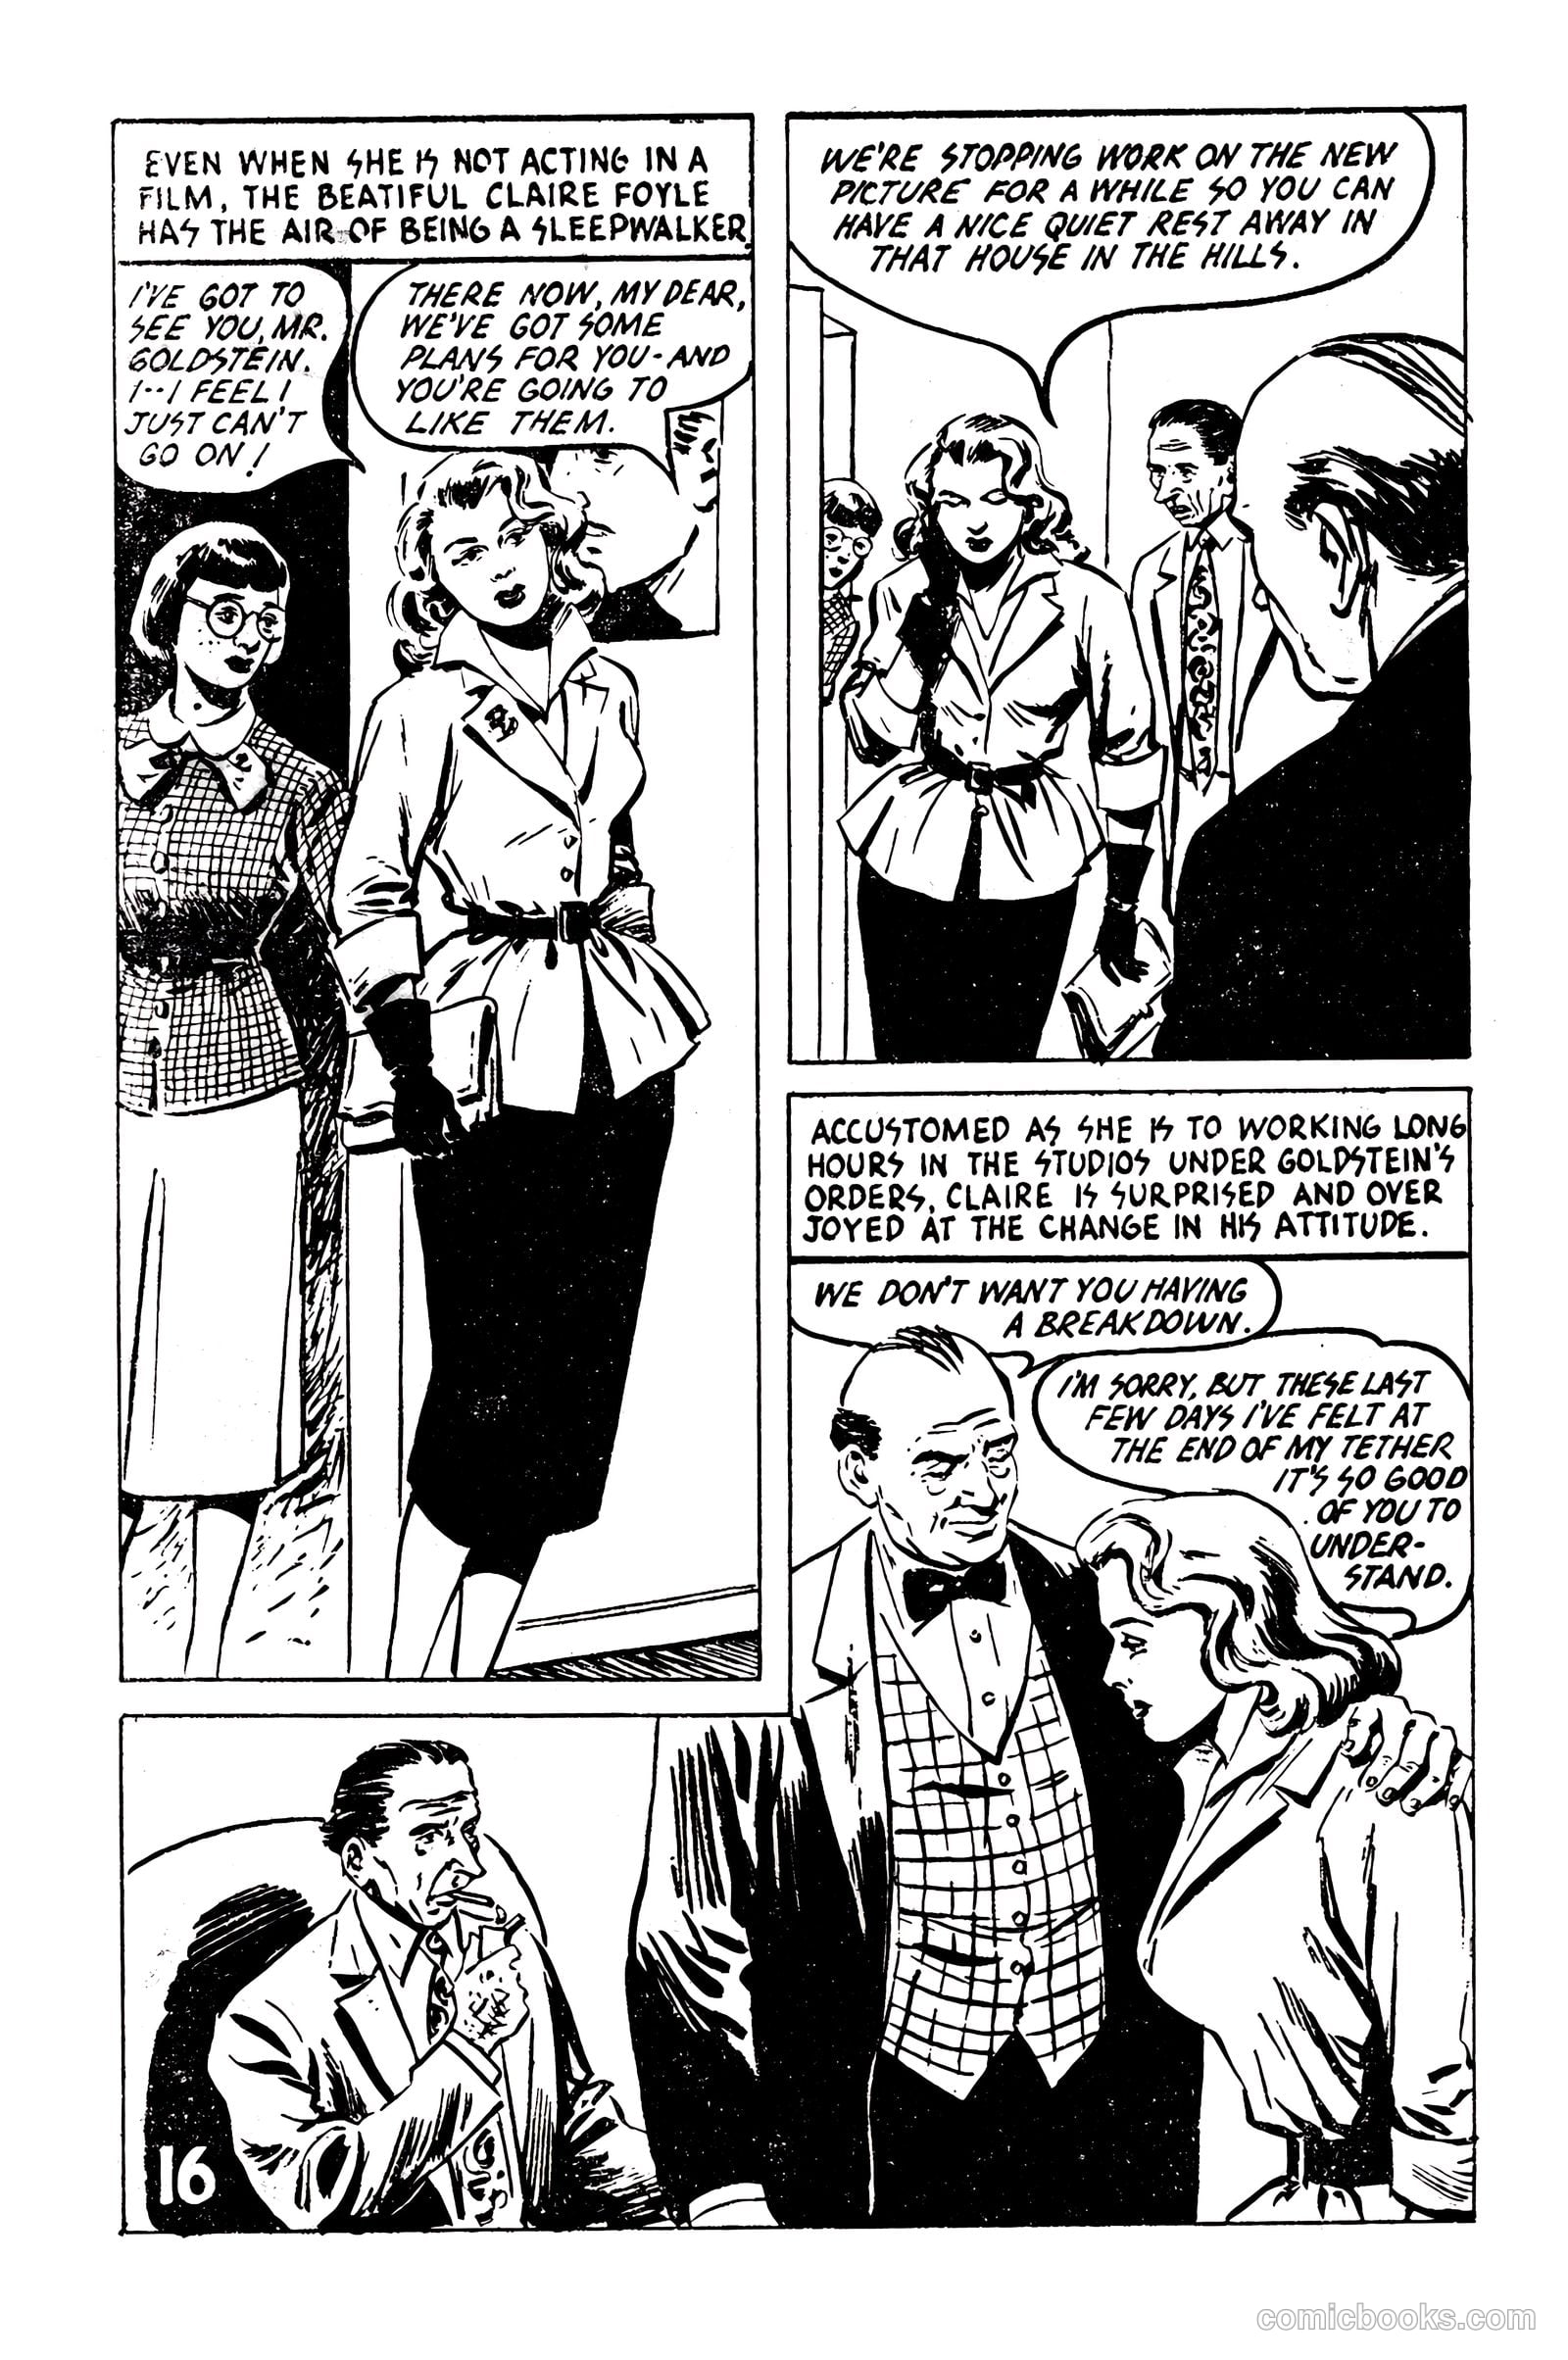
Picture Romance Library 23 - Her Forgotten Husband #1 — page 16 of 68
16 / 68
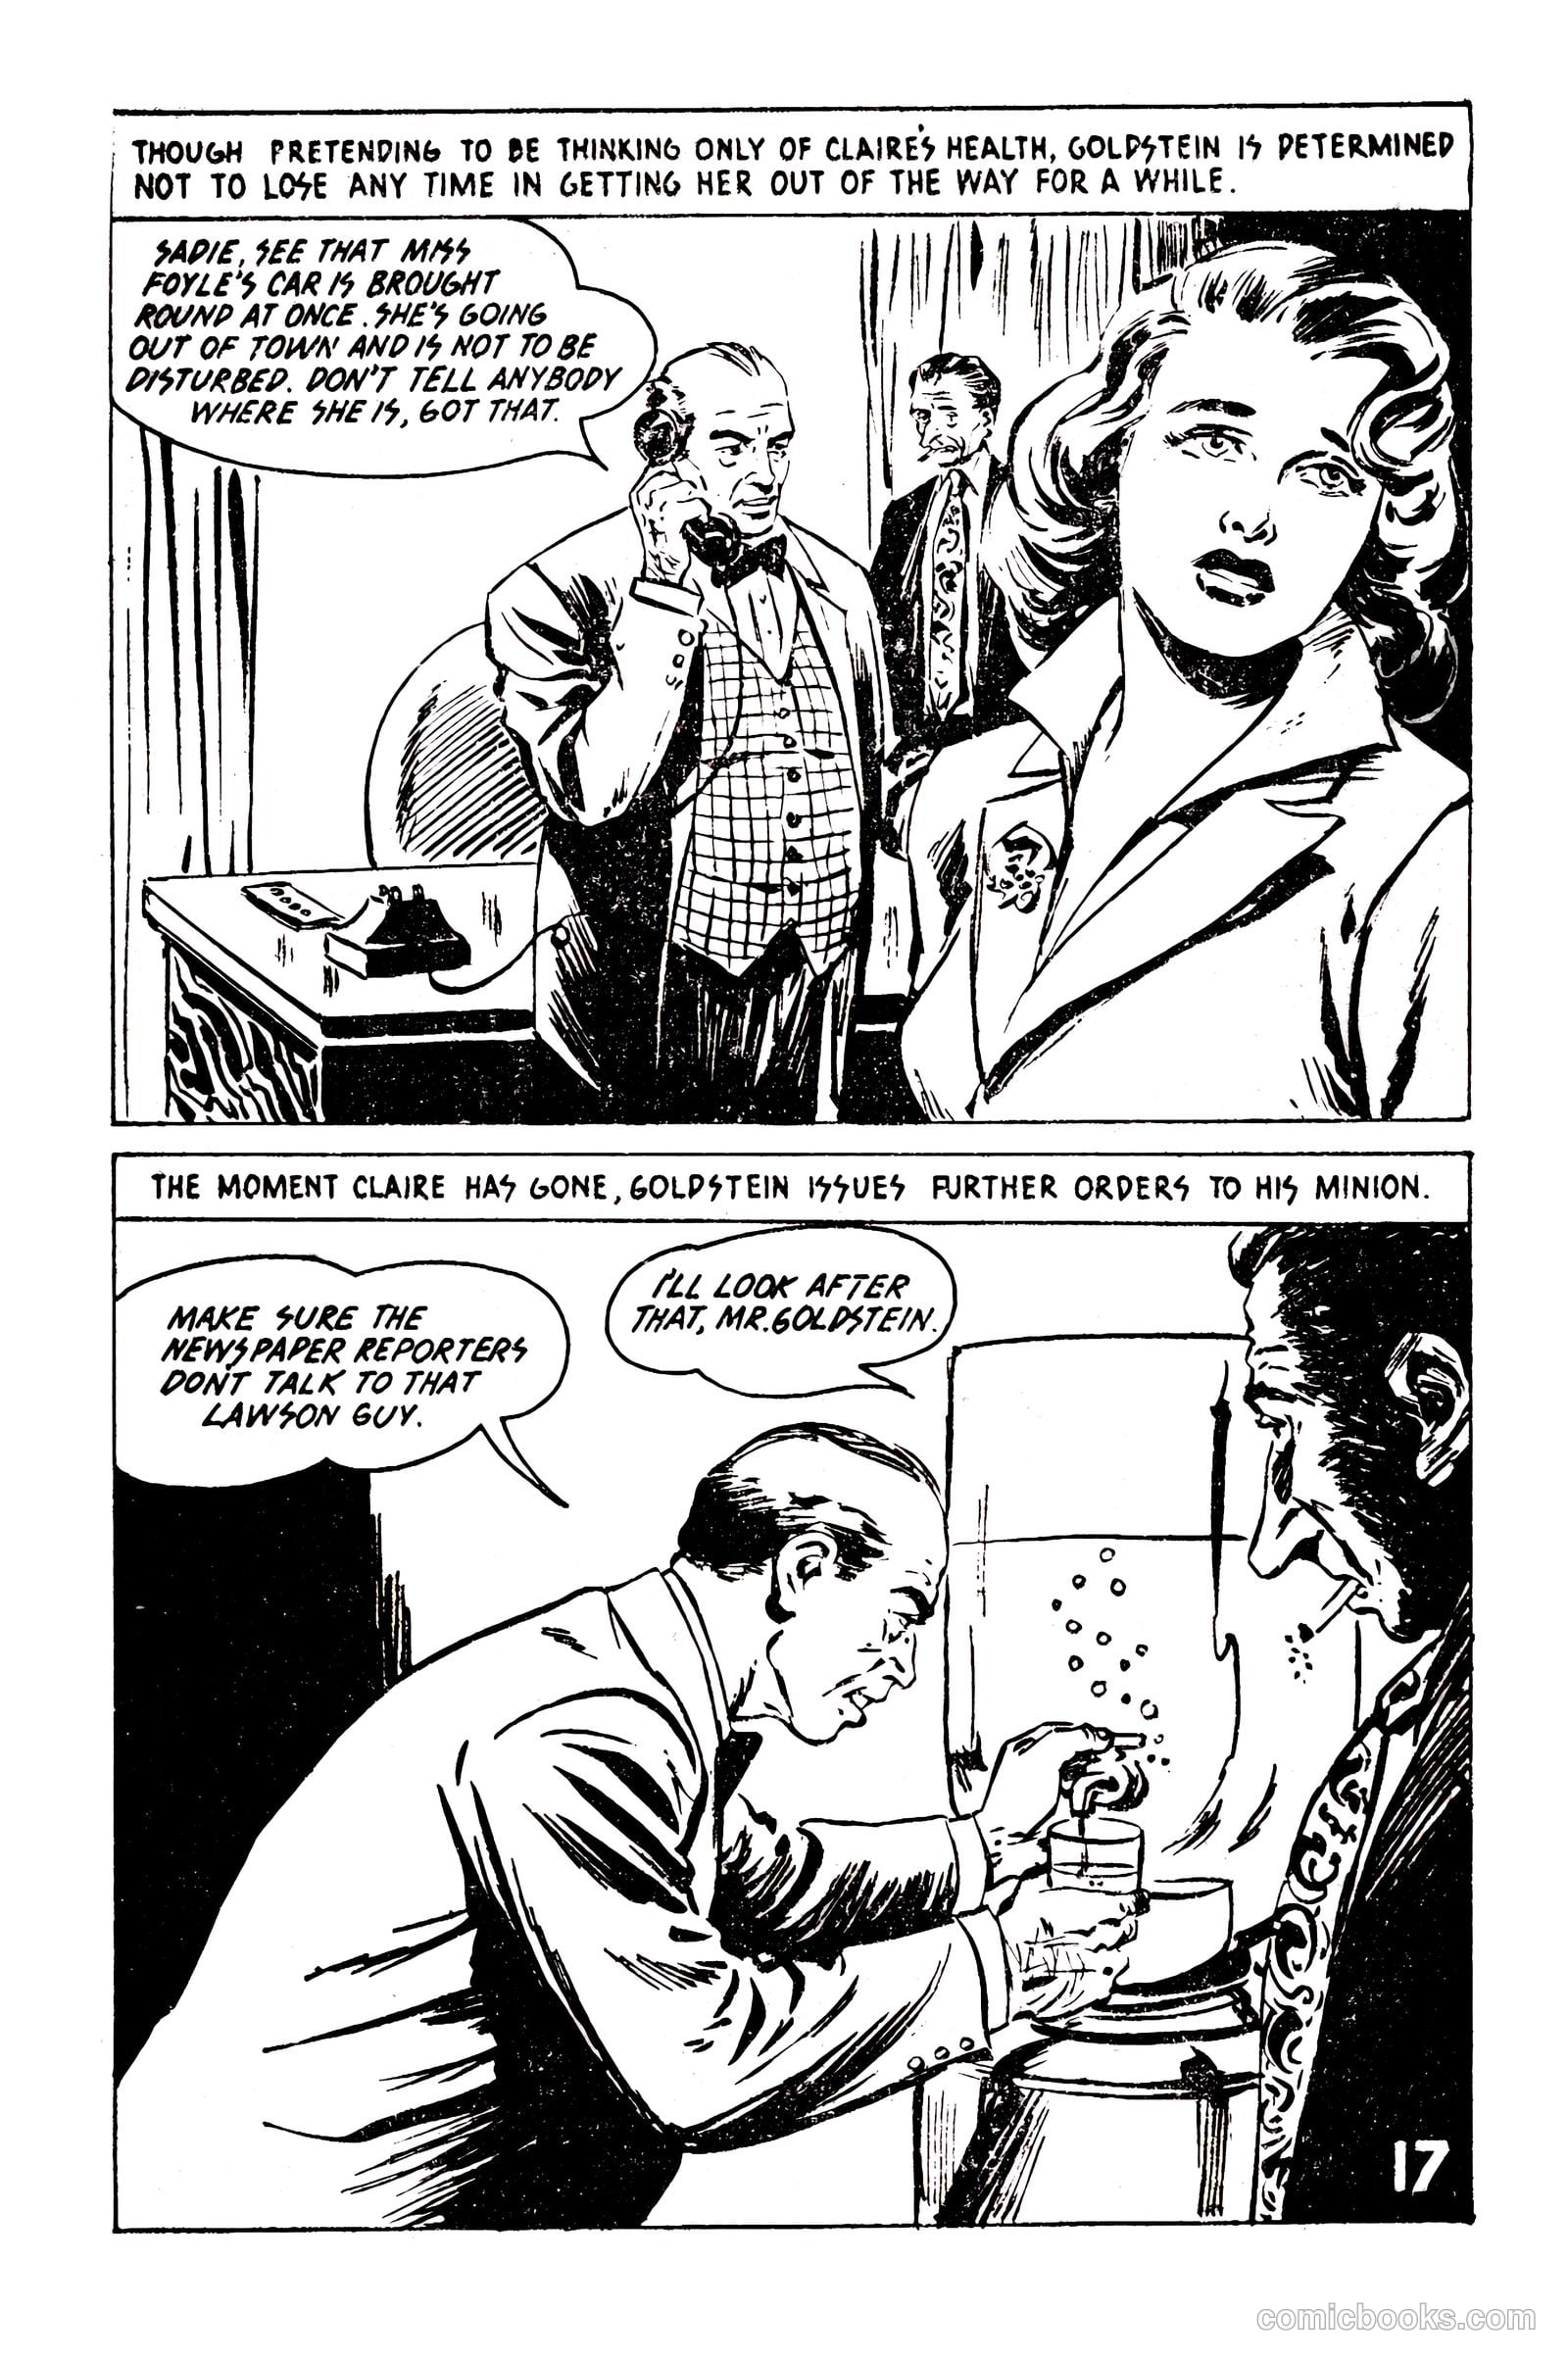
Picture Romance Library 23 - Her Forgotten Husband #1 — page 17 of 68
17 / 68
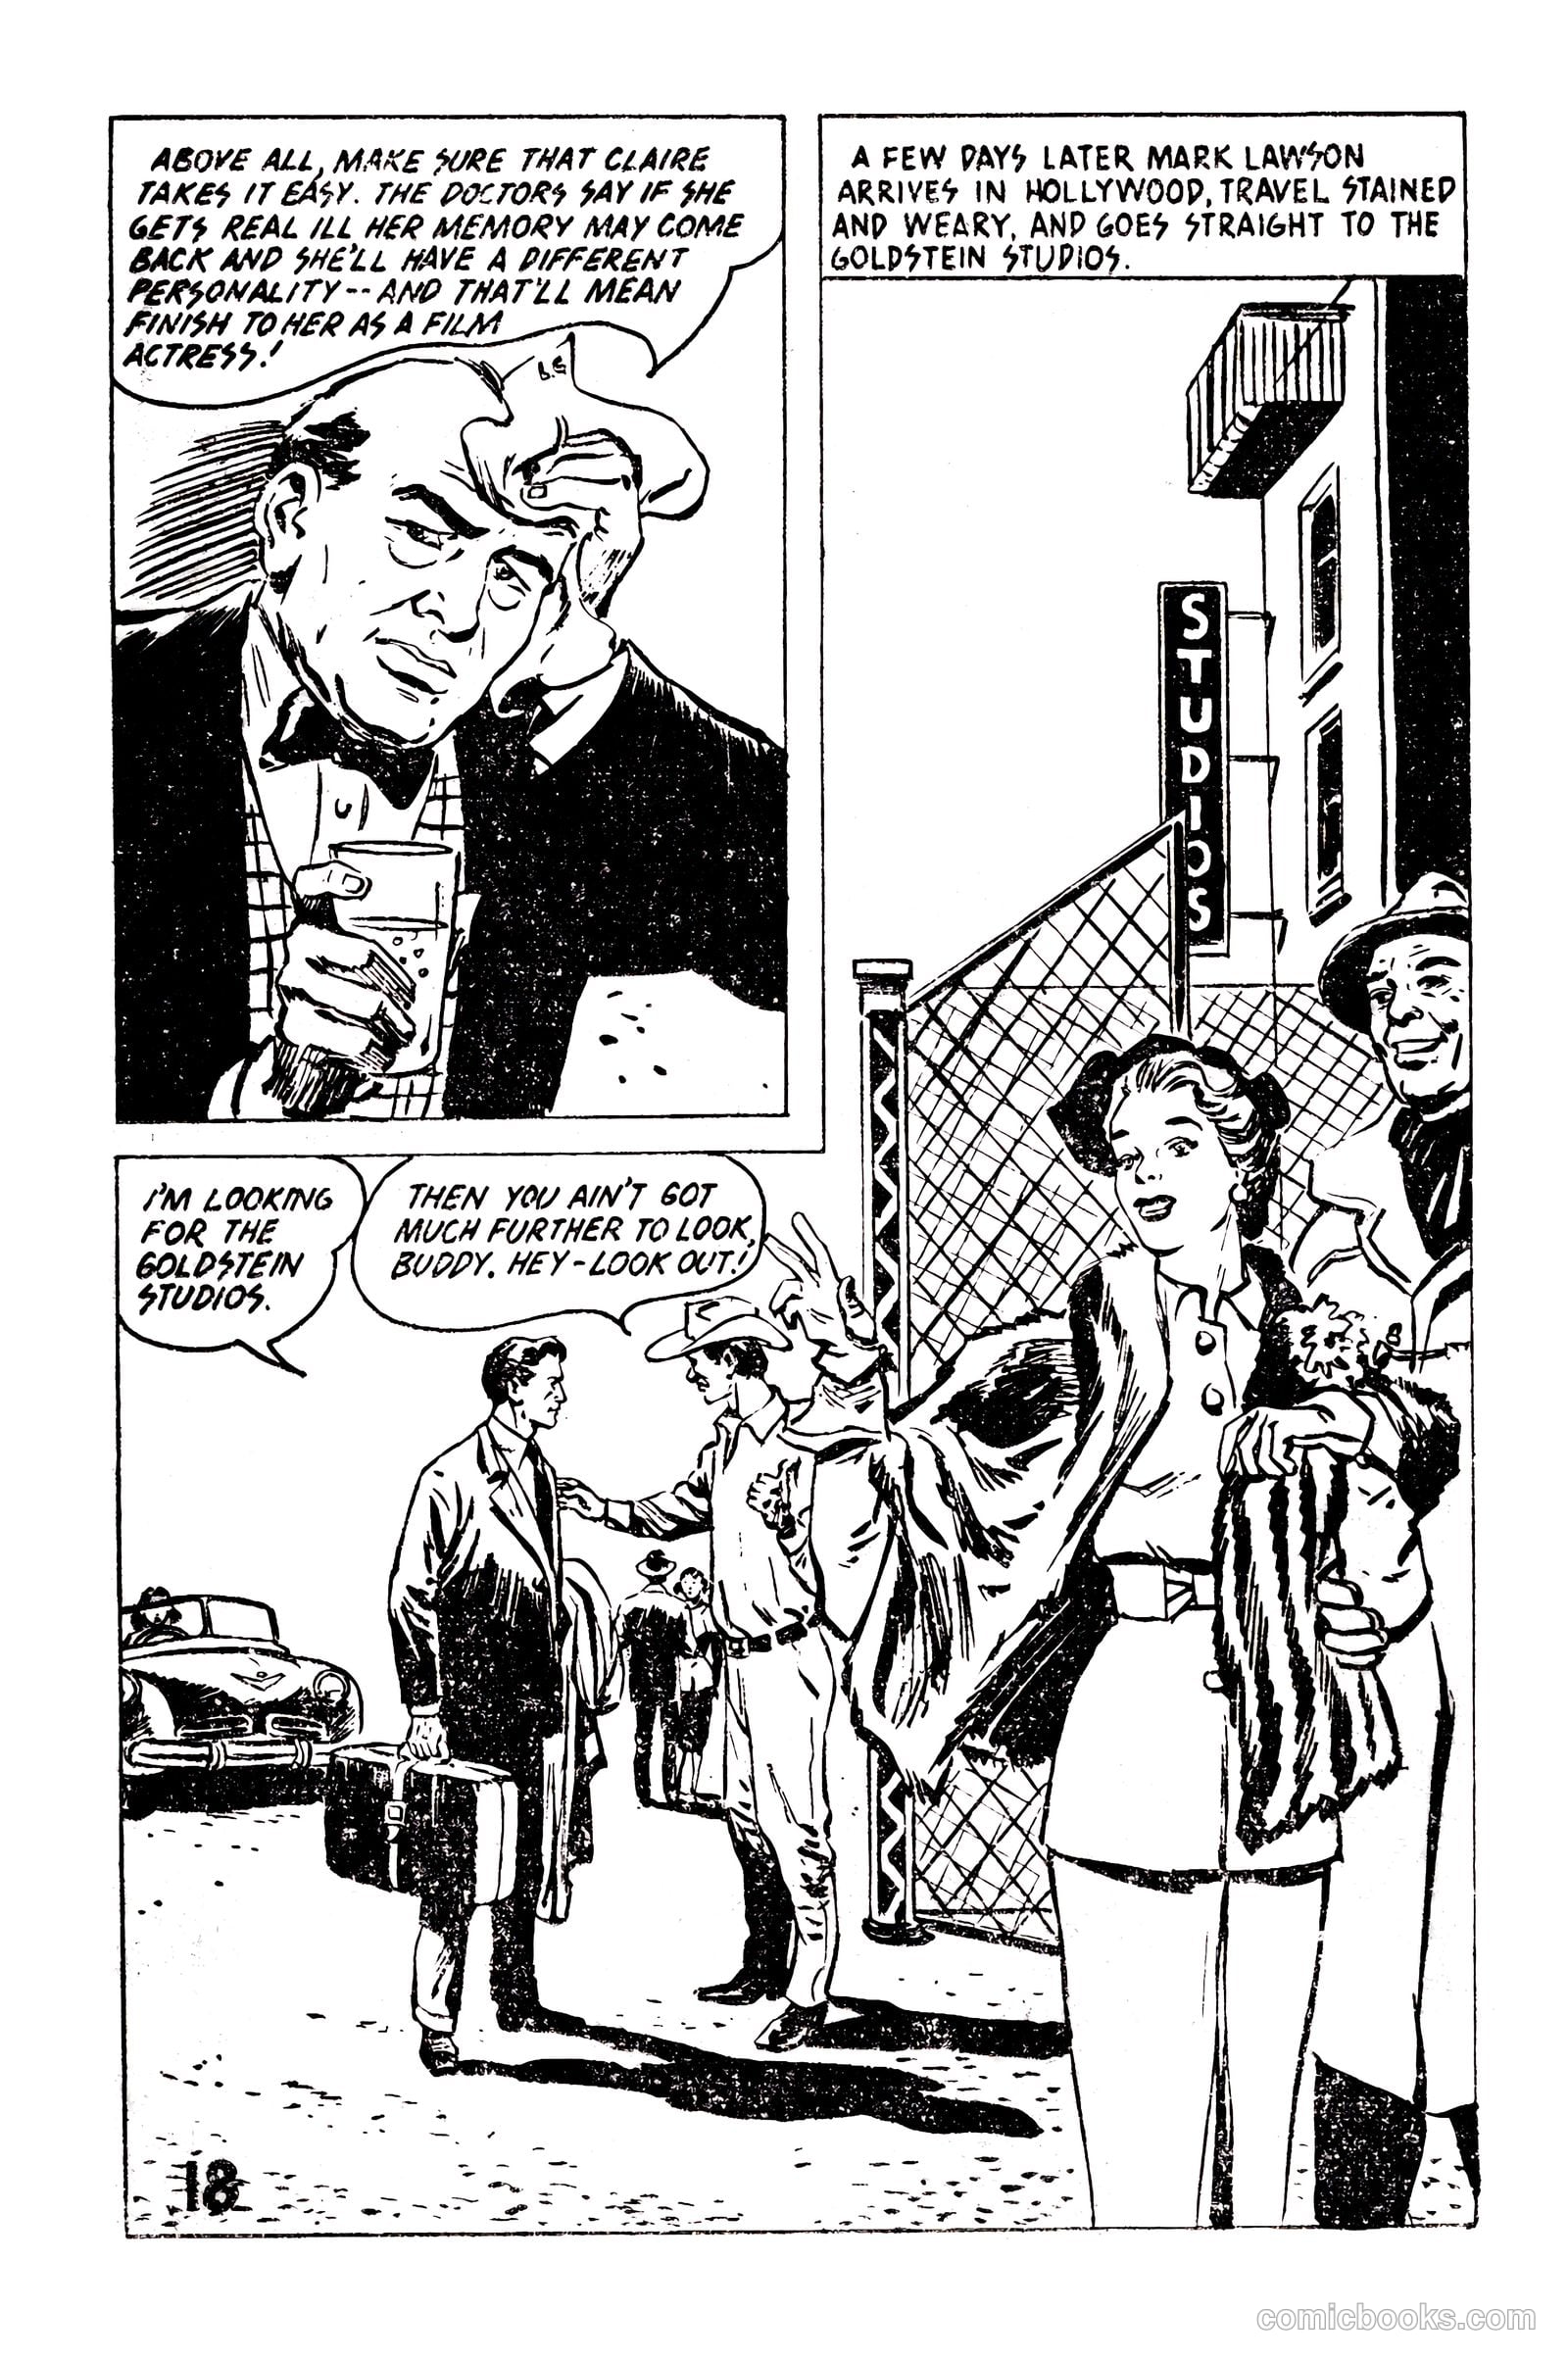
Picture Romance Library 23 - Her Forgotten Husband #1 — page 18 of 68
18 / 68
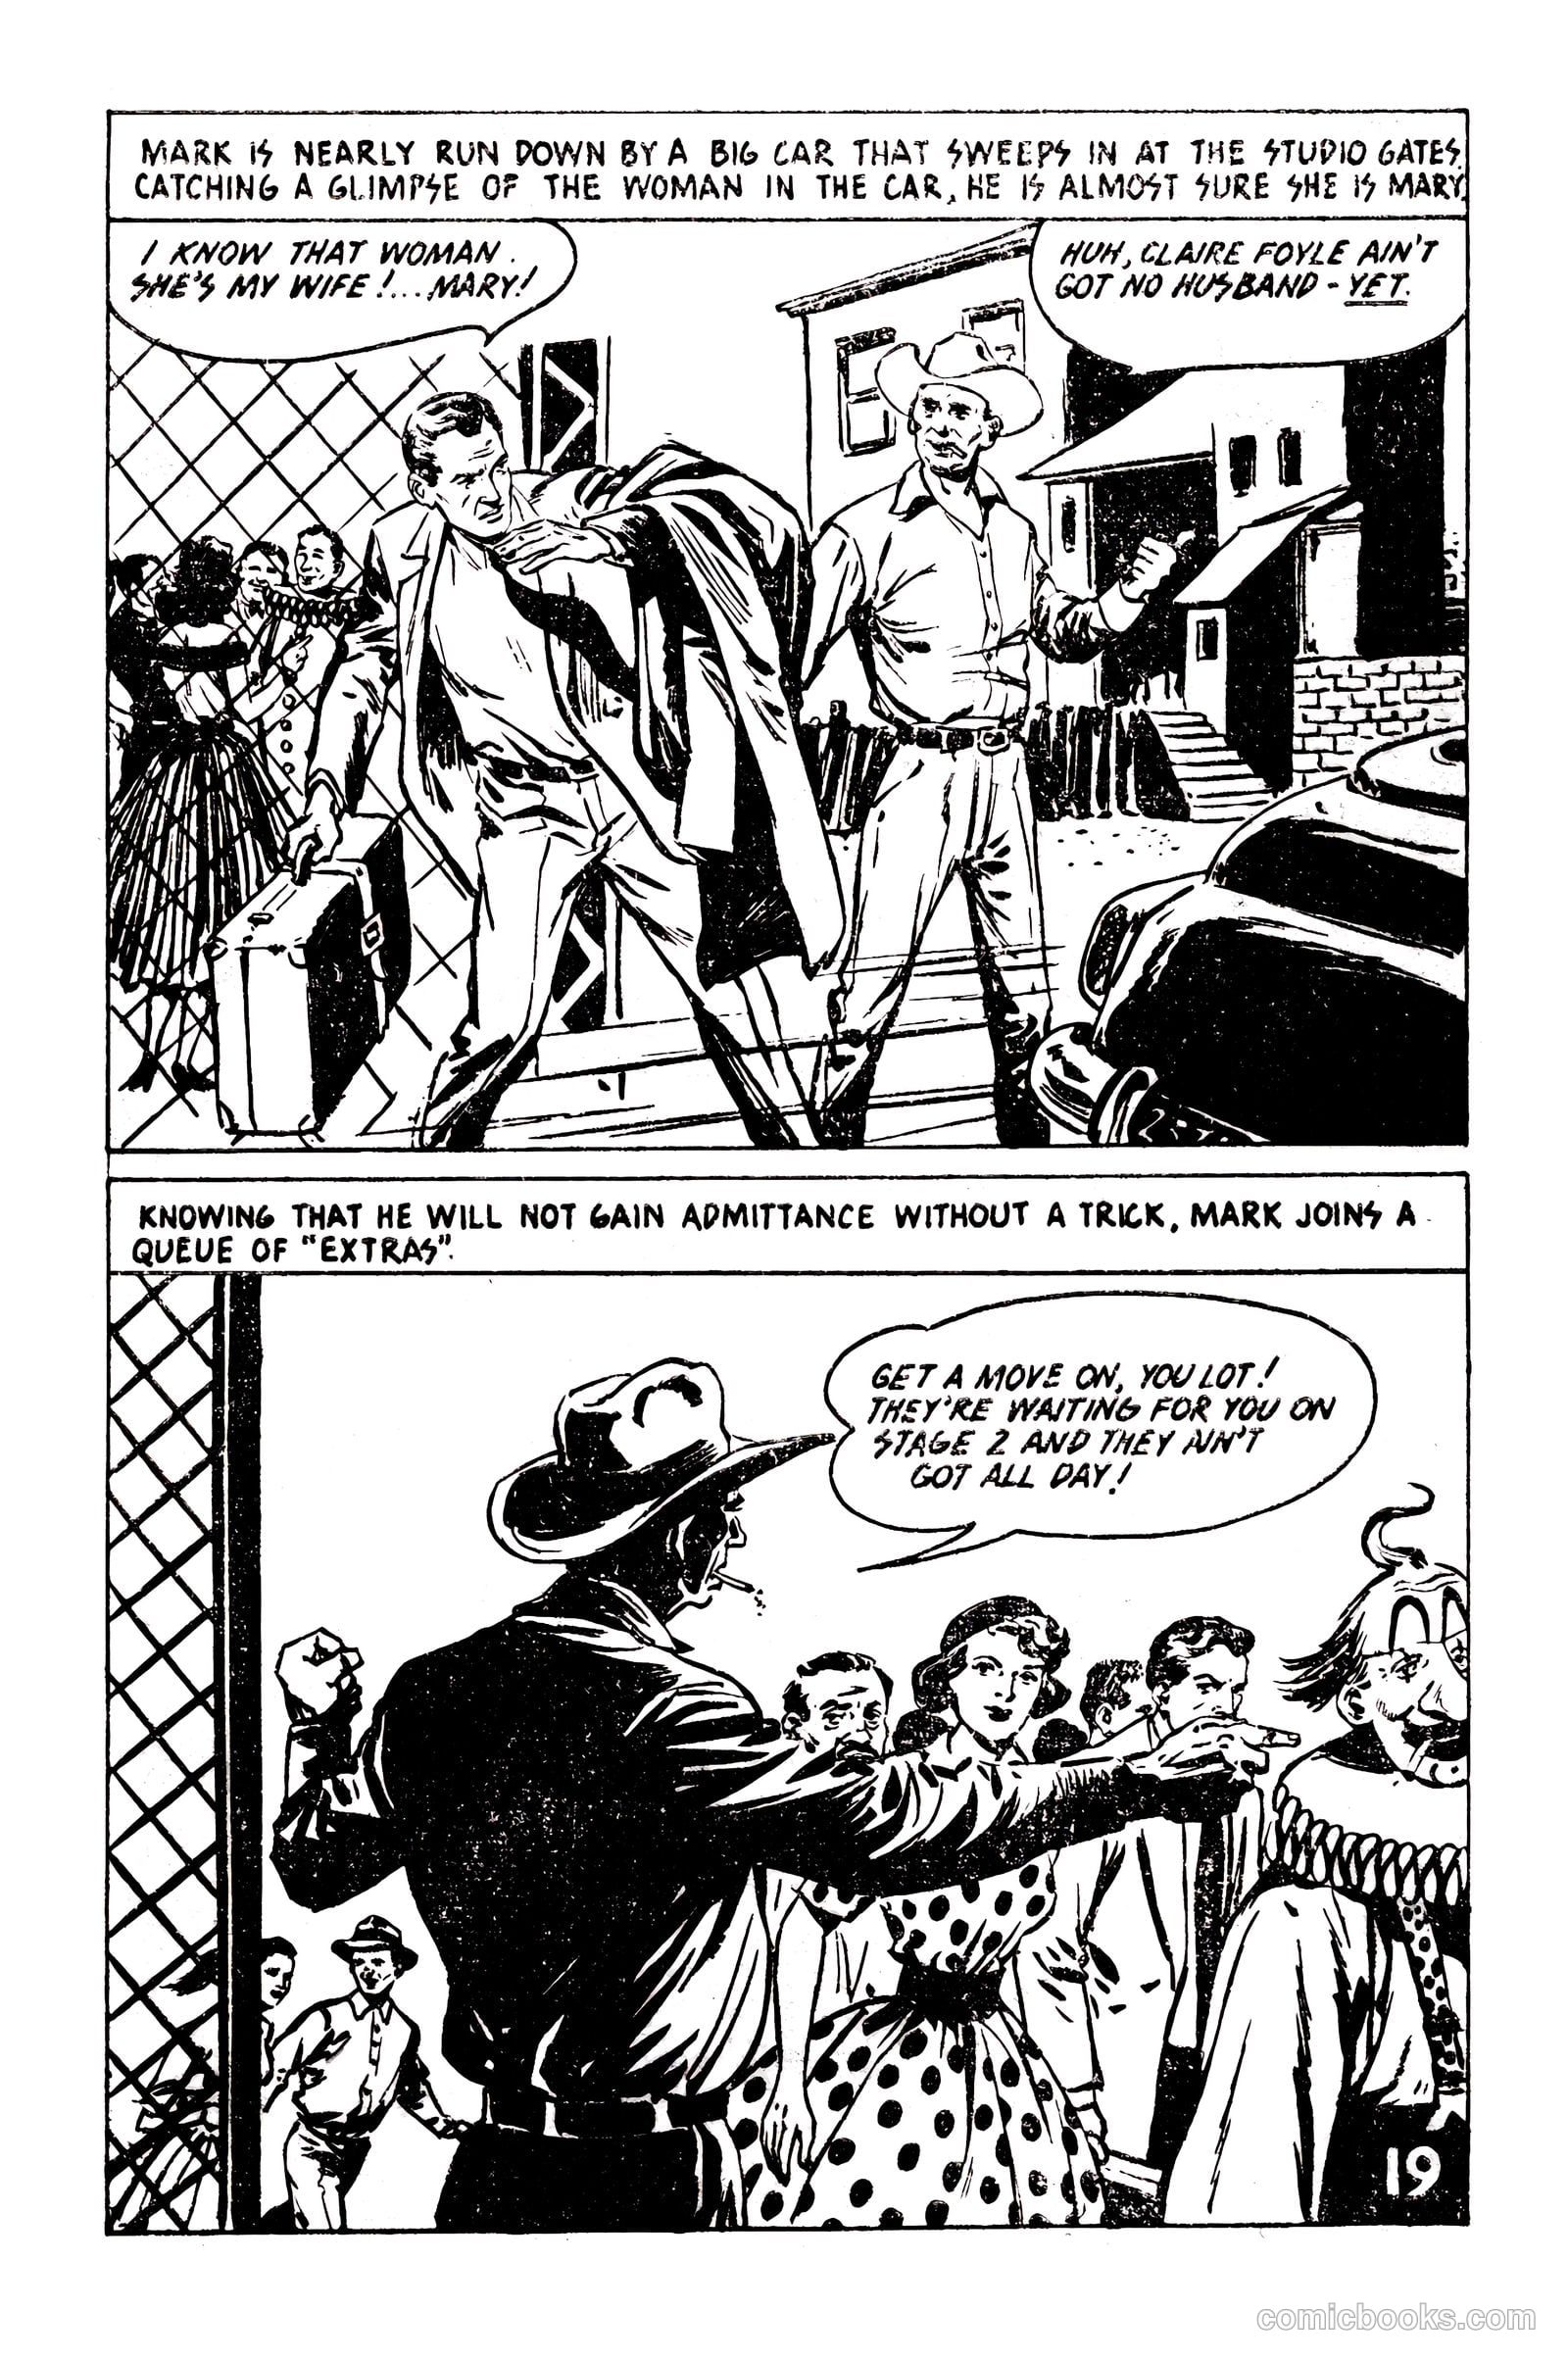
Picture Romance Library 23 - Her Forgotten Husband #1 — page 19 of 68
19 / 68
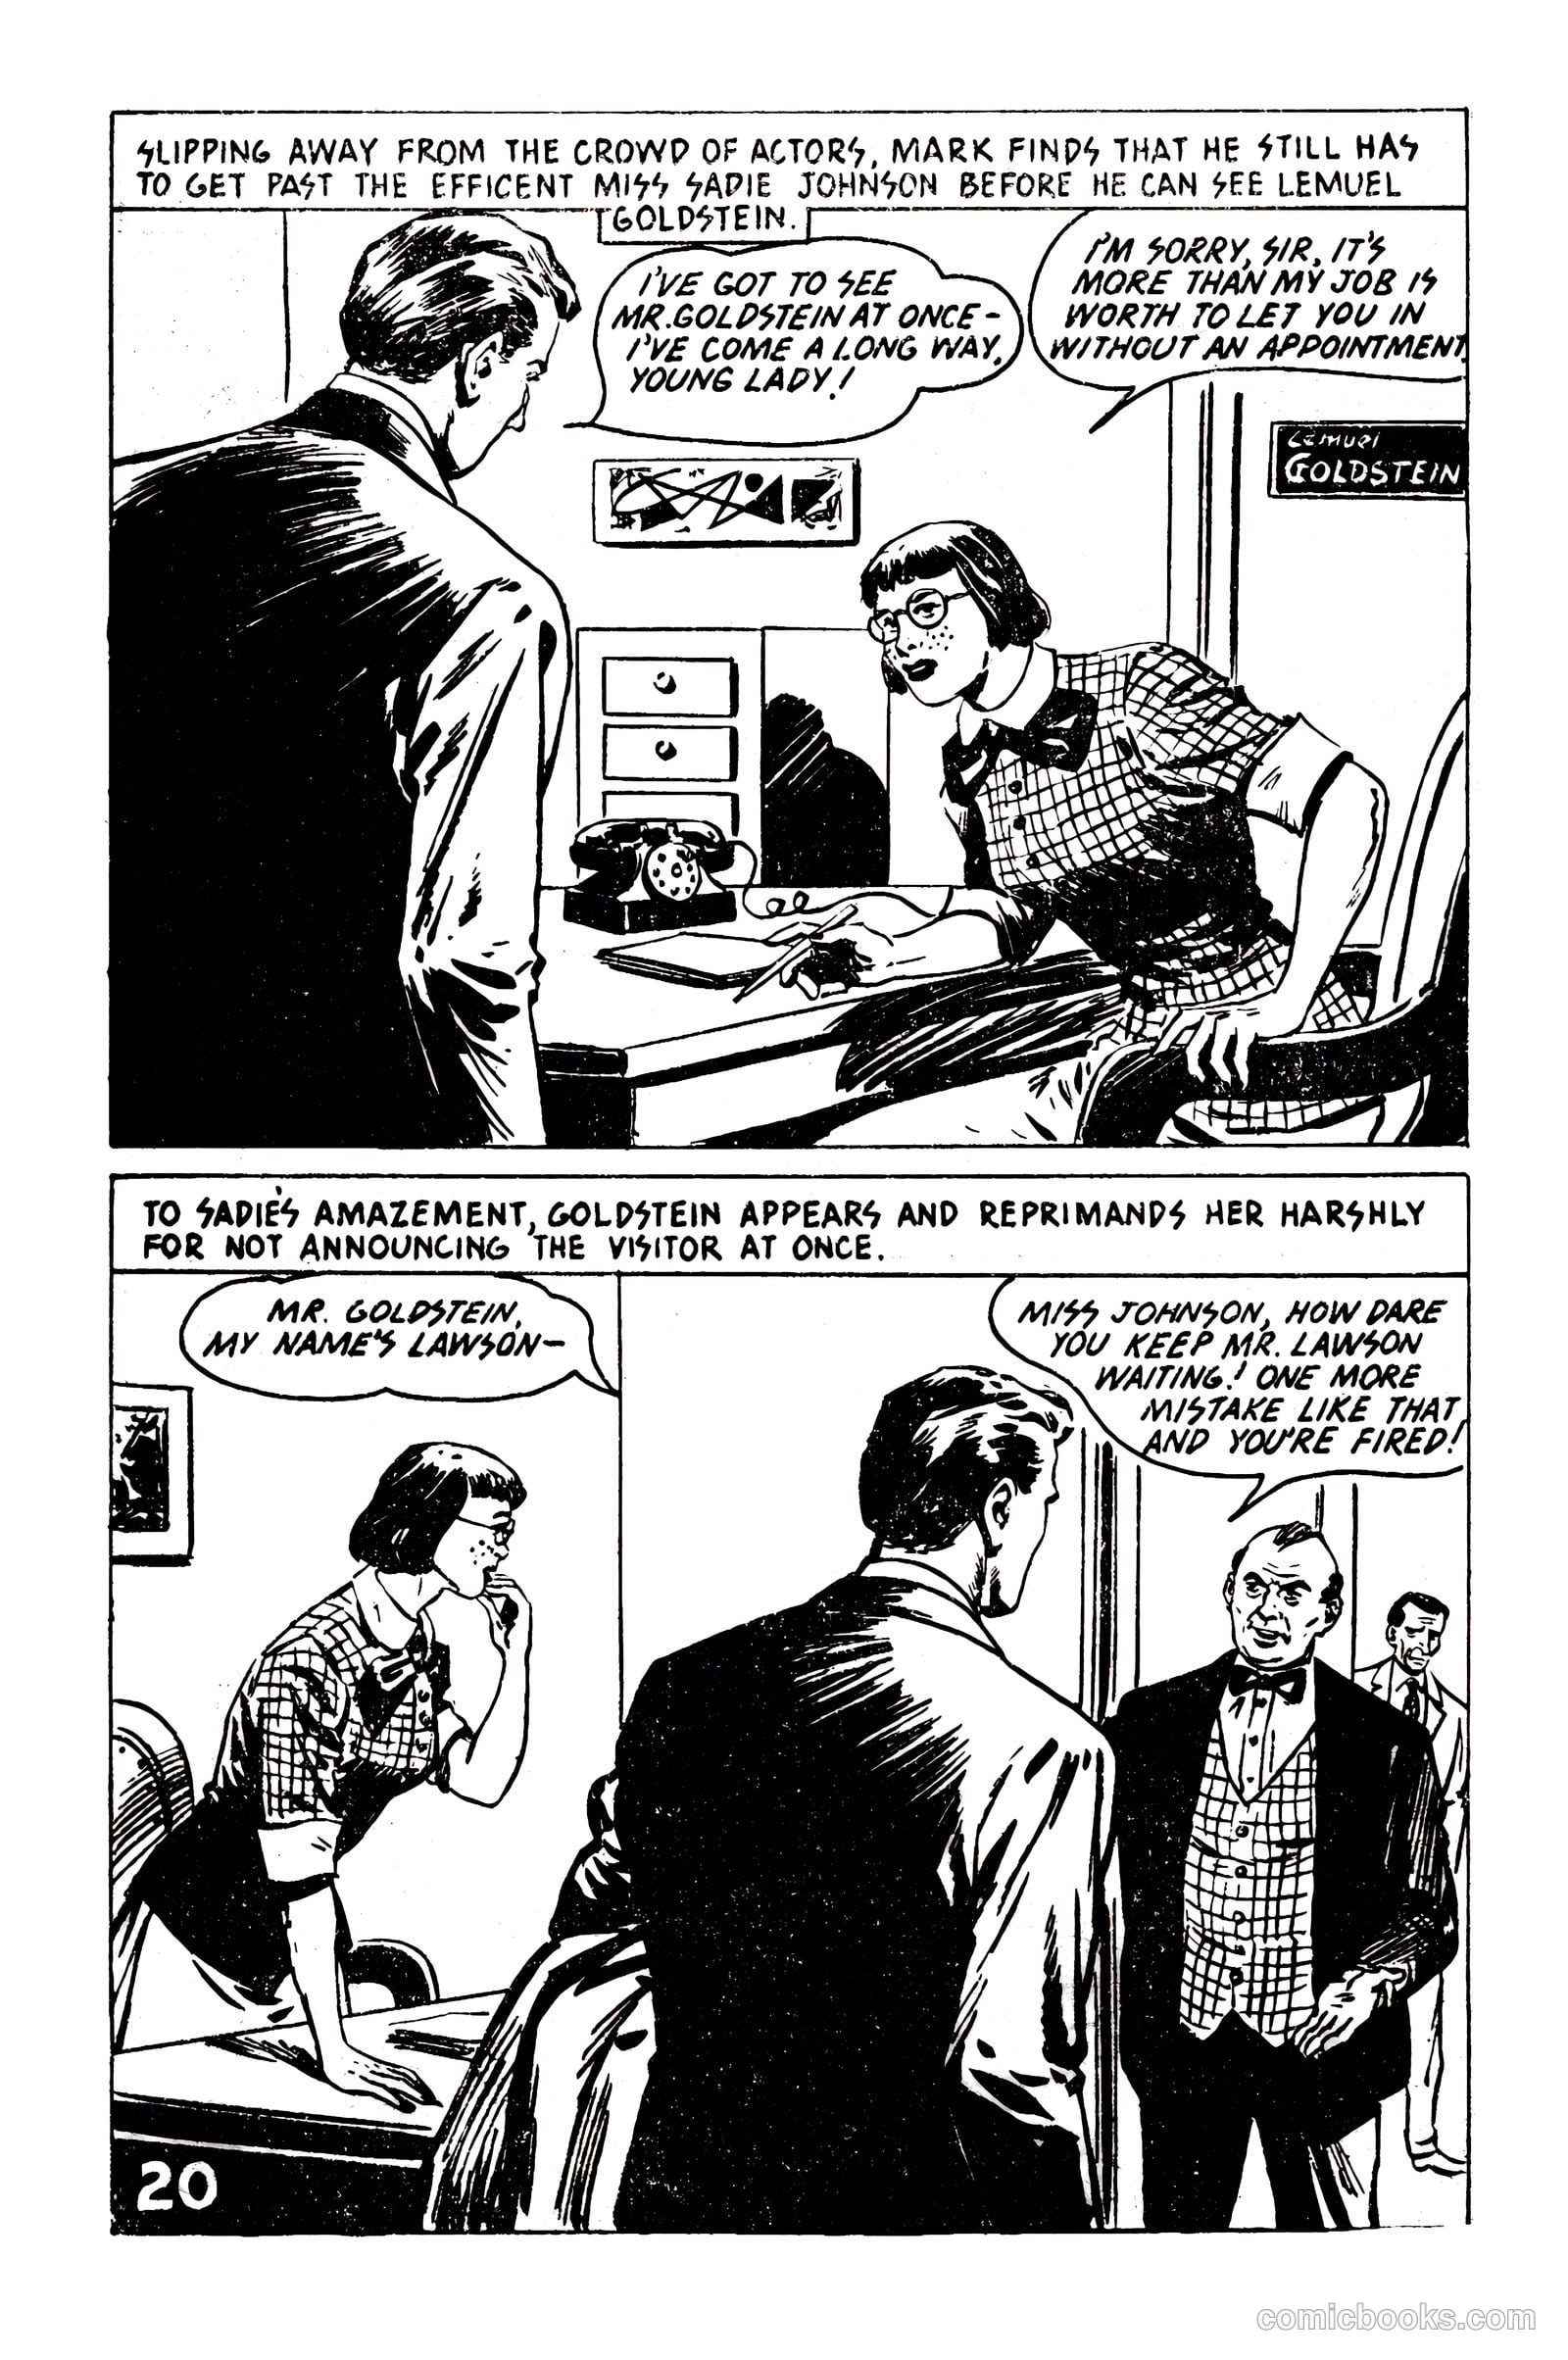
Picture Romance Library 23 - Her Forgotten Husband #1 — page 20 of 68
20 / 68
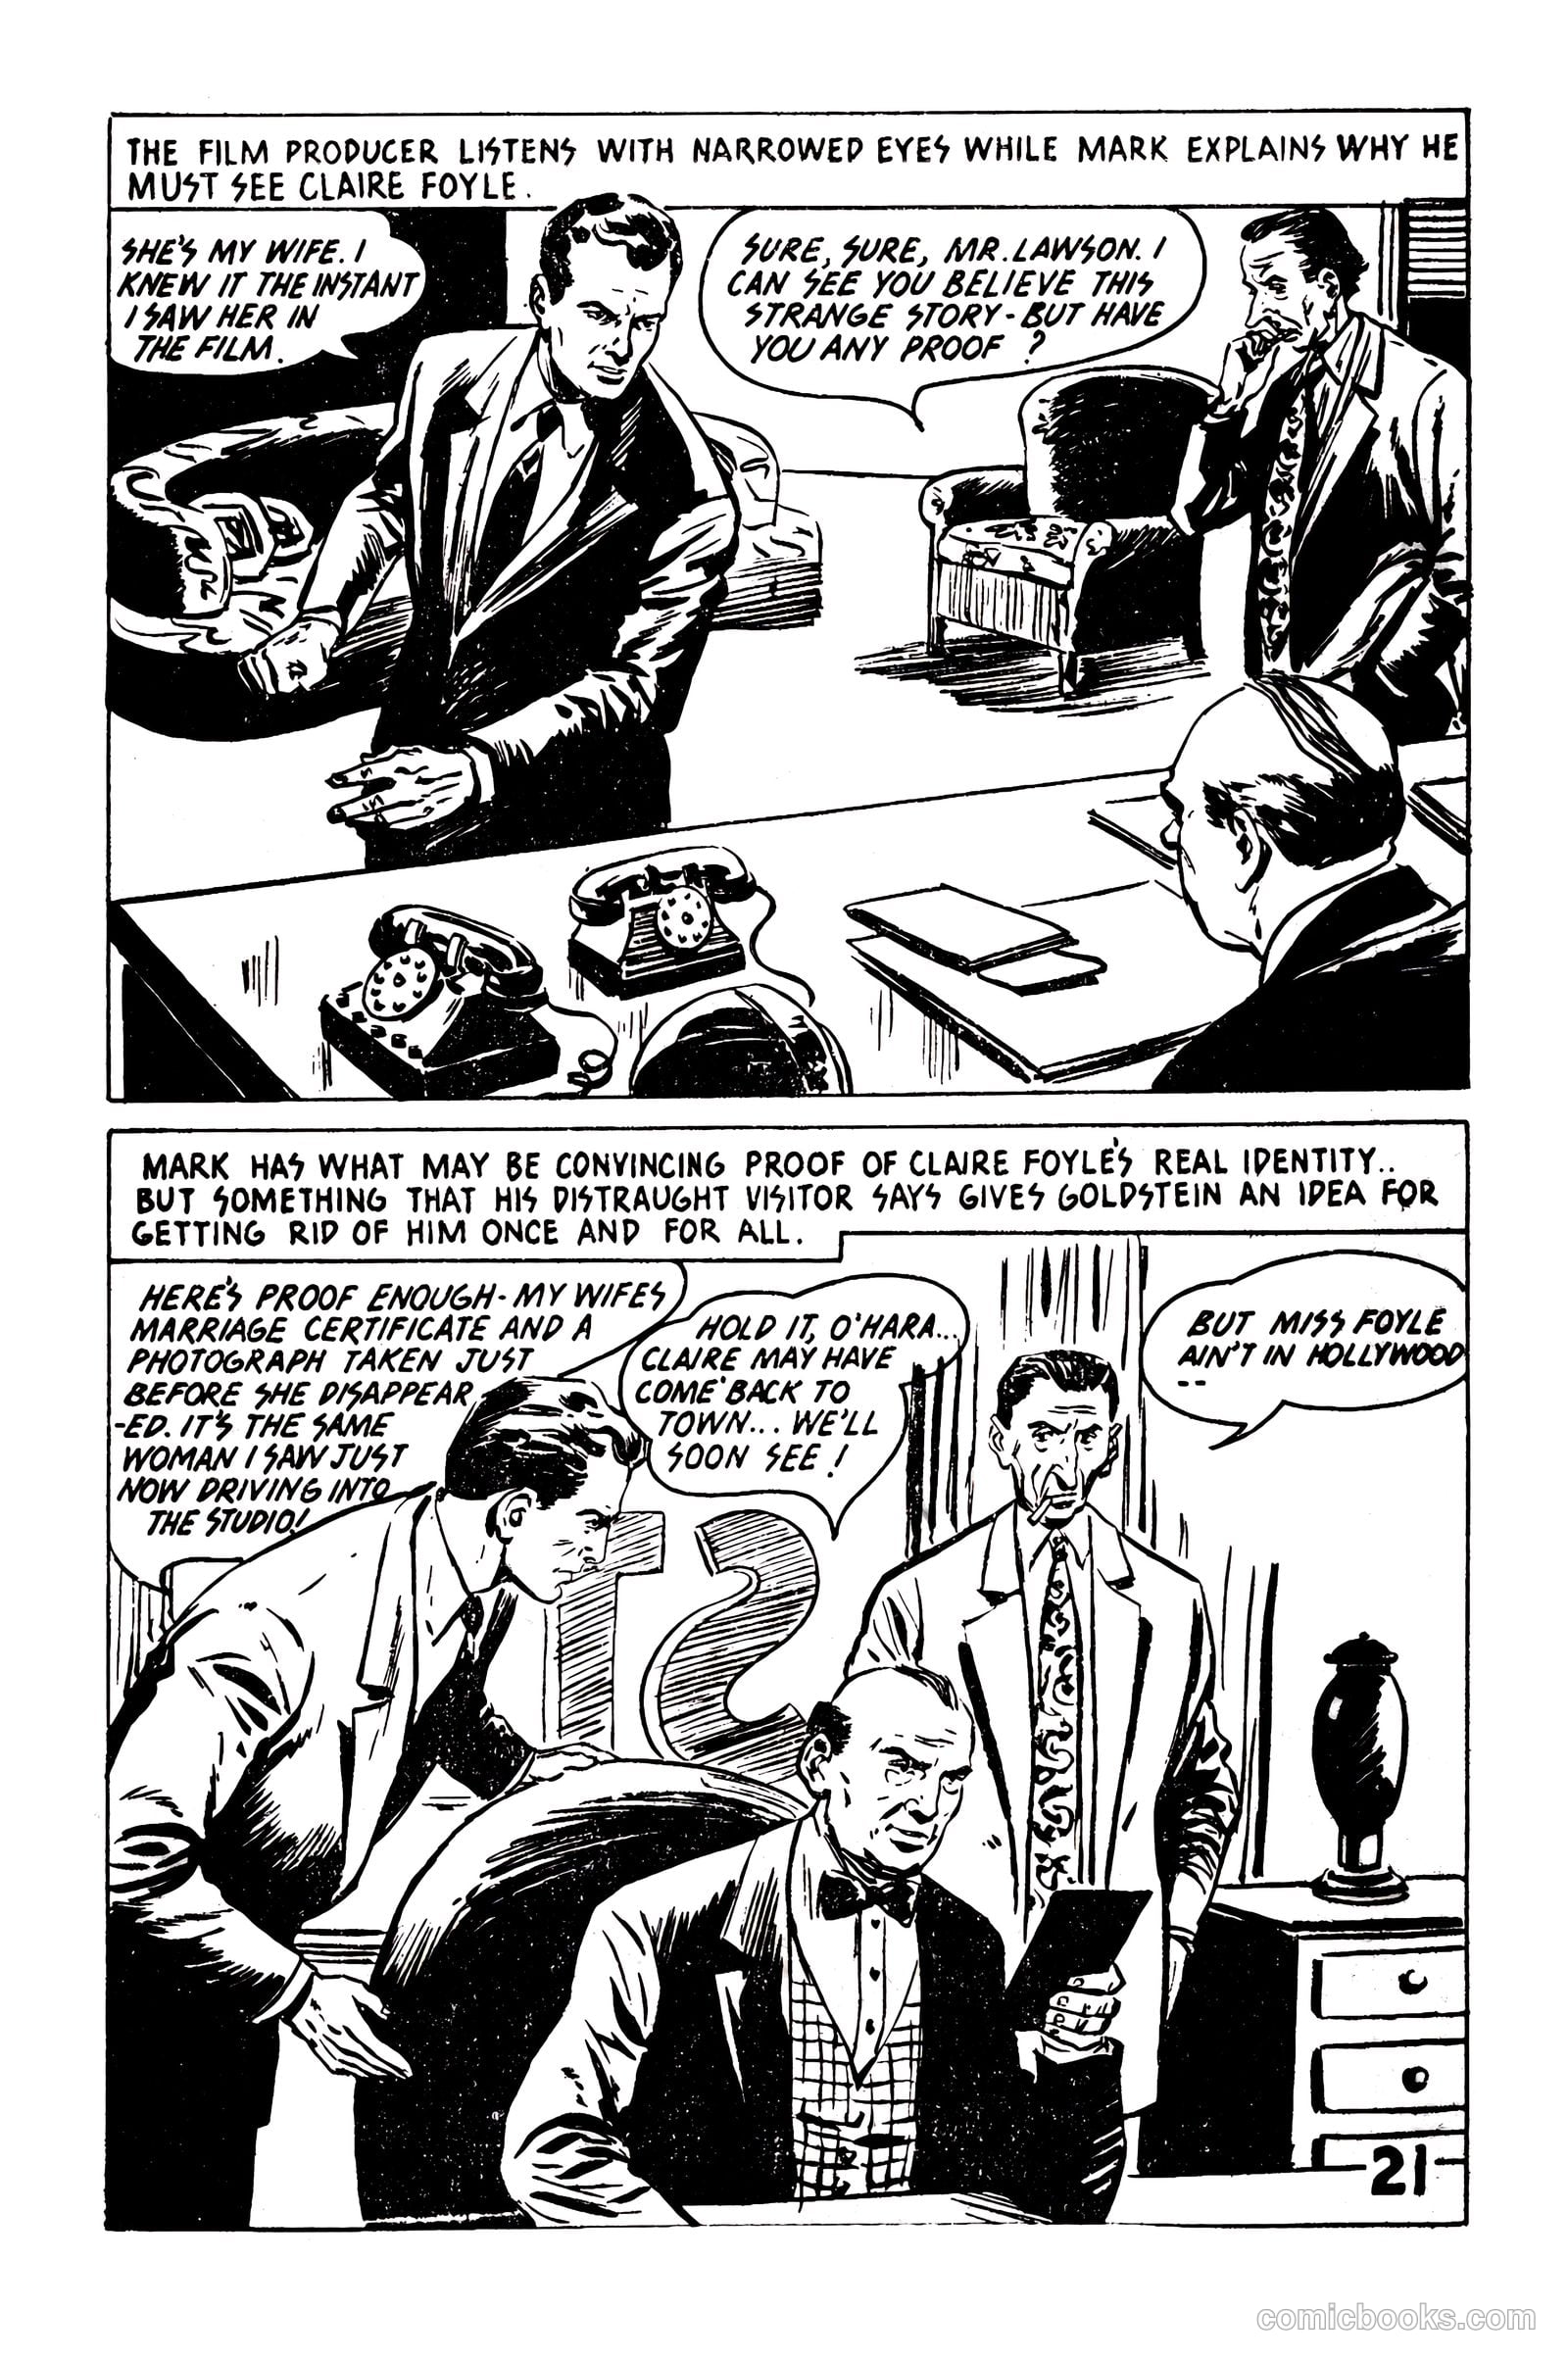
Picture Romance Library 23 - Her Forgotten Husband #1 — page 21 of 68
21 / 68
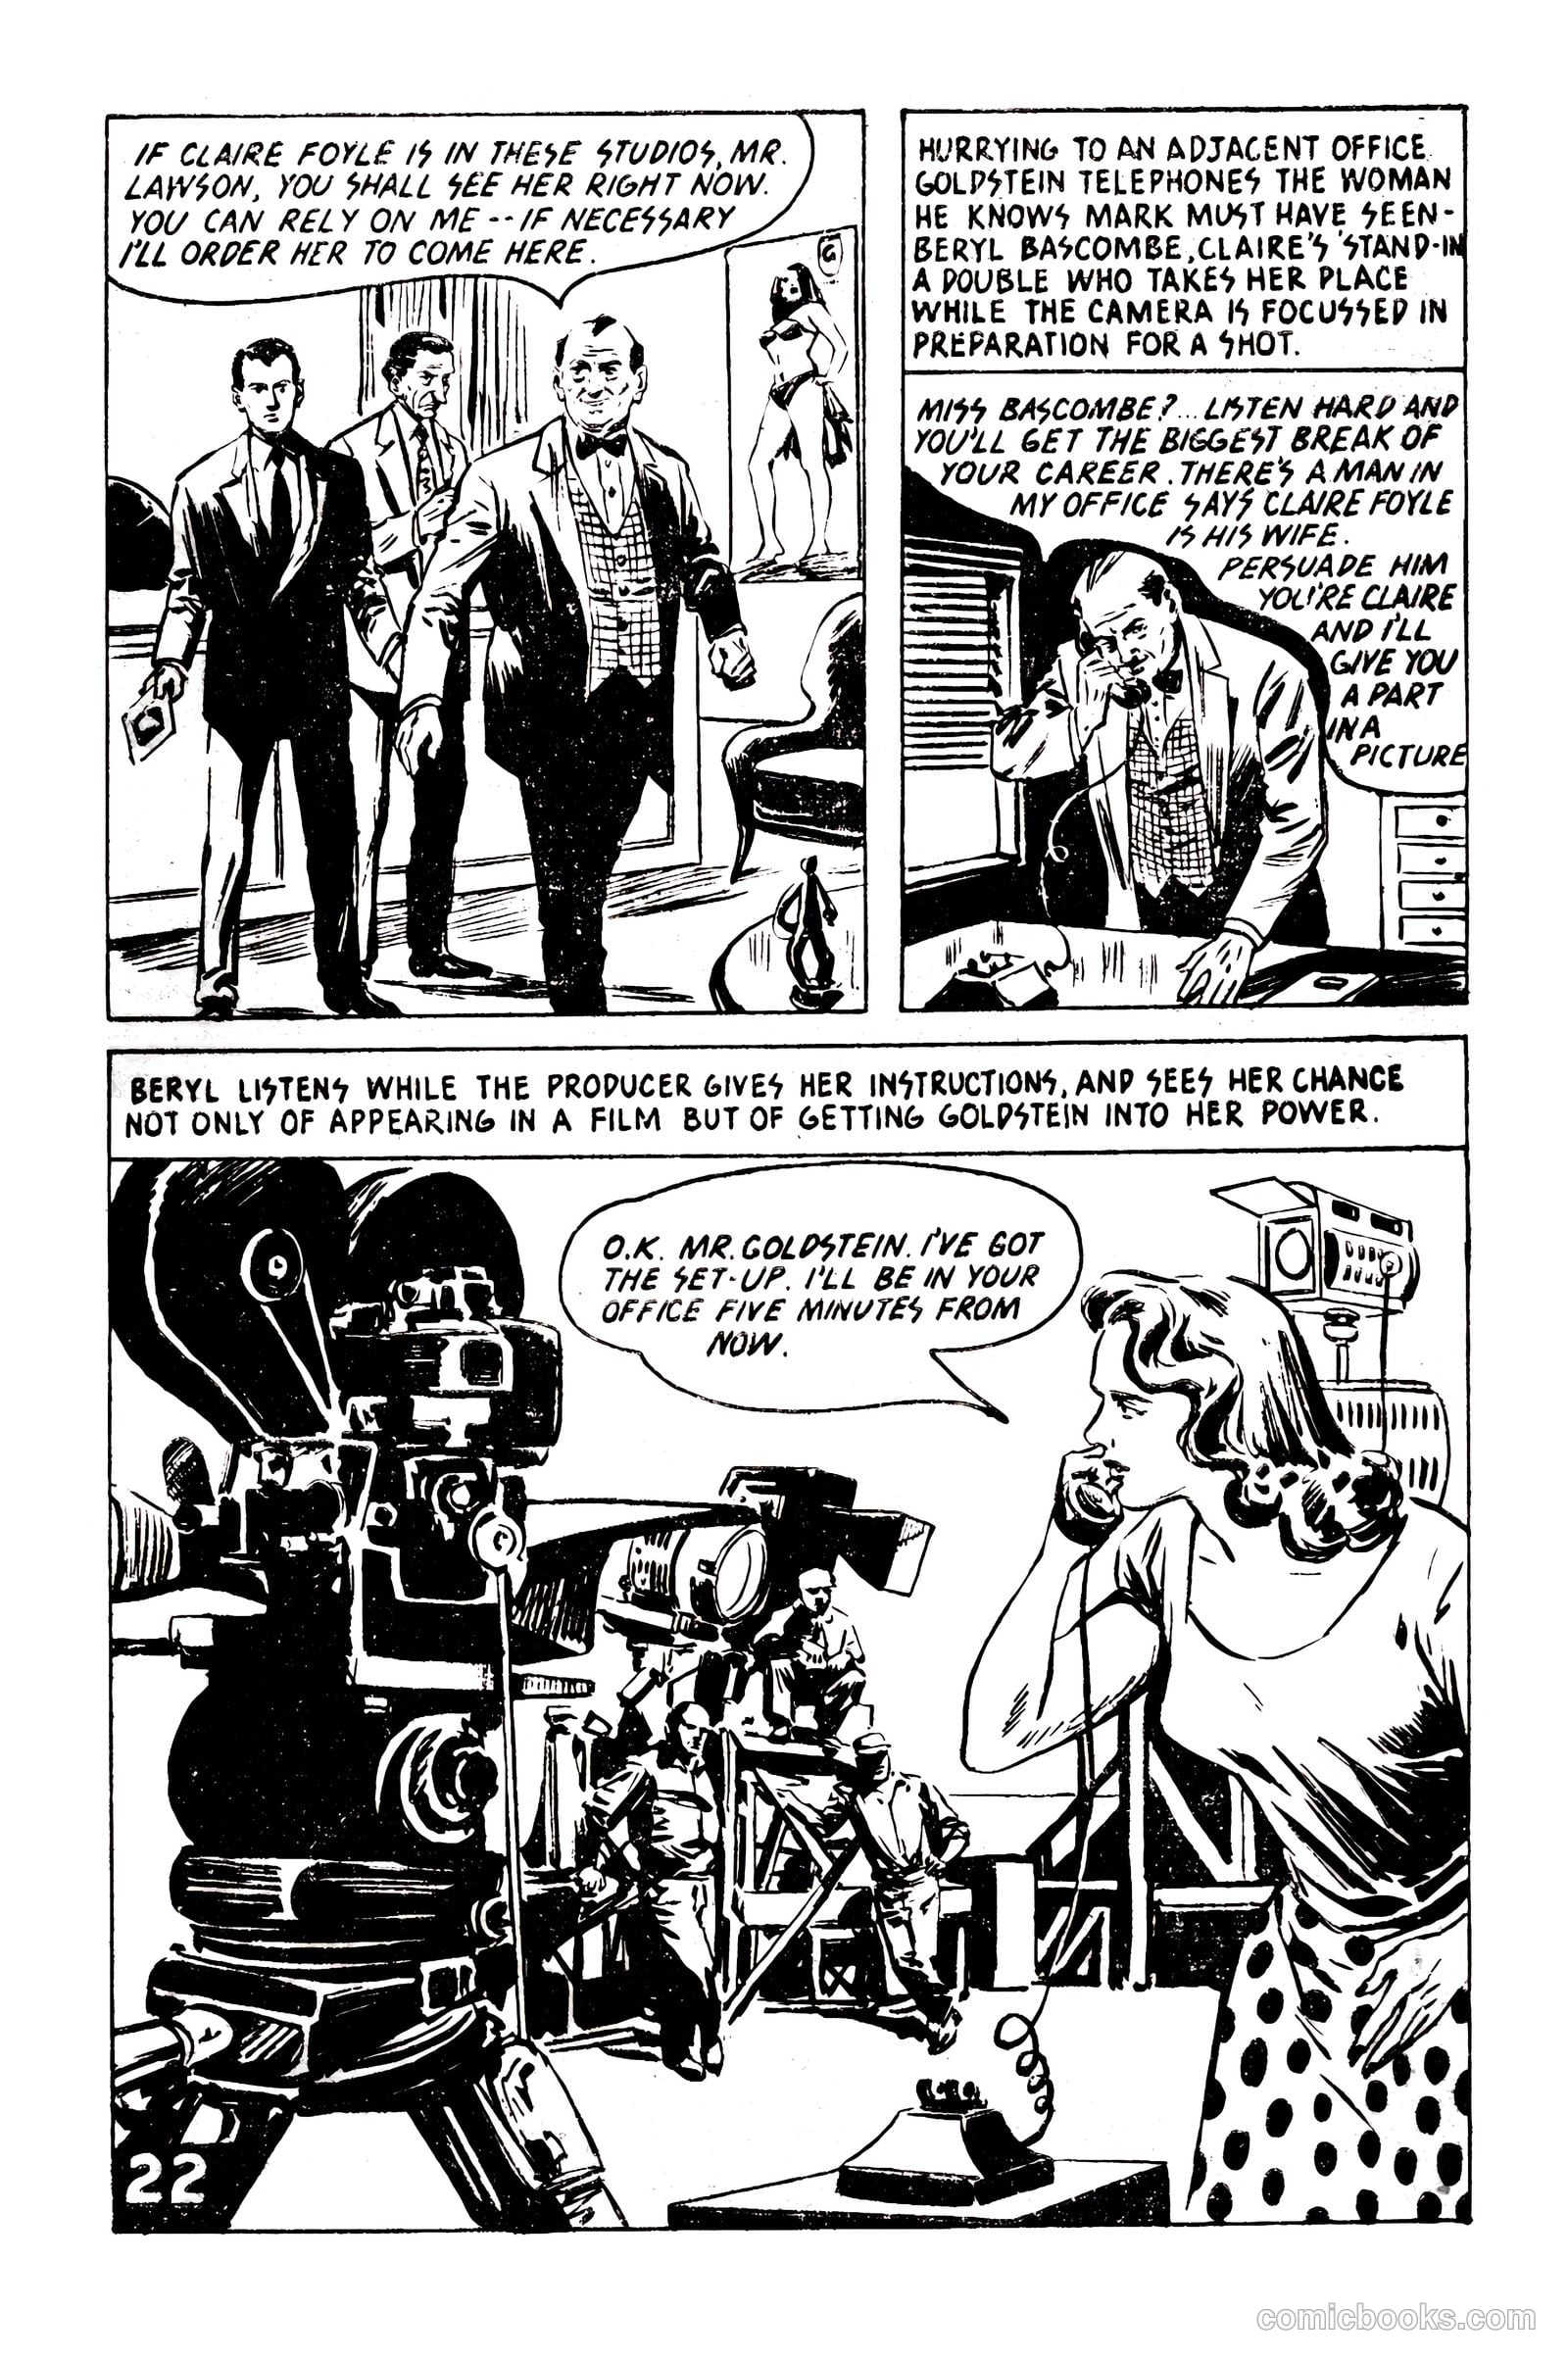
Picture Romance Library 23 - Her Forgotten Husband #1 — page 22 of 68
22 / 68
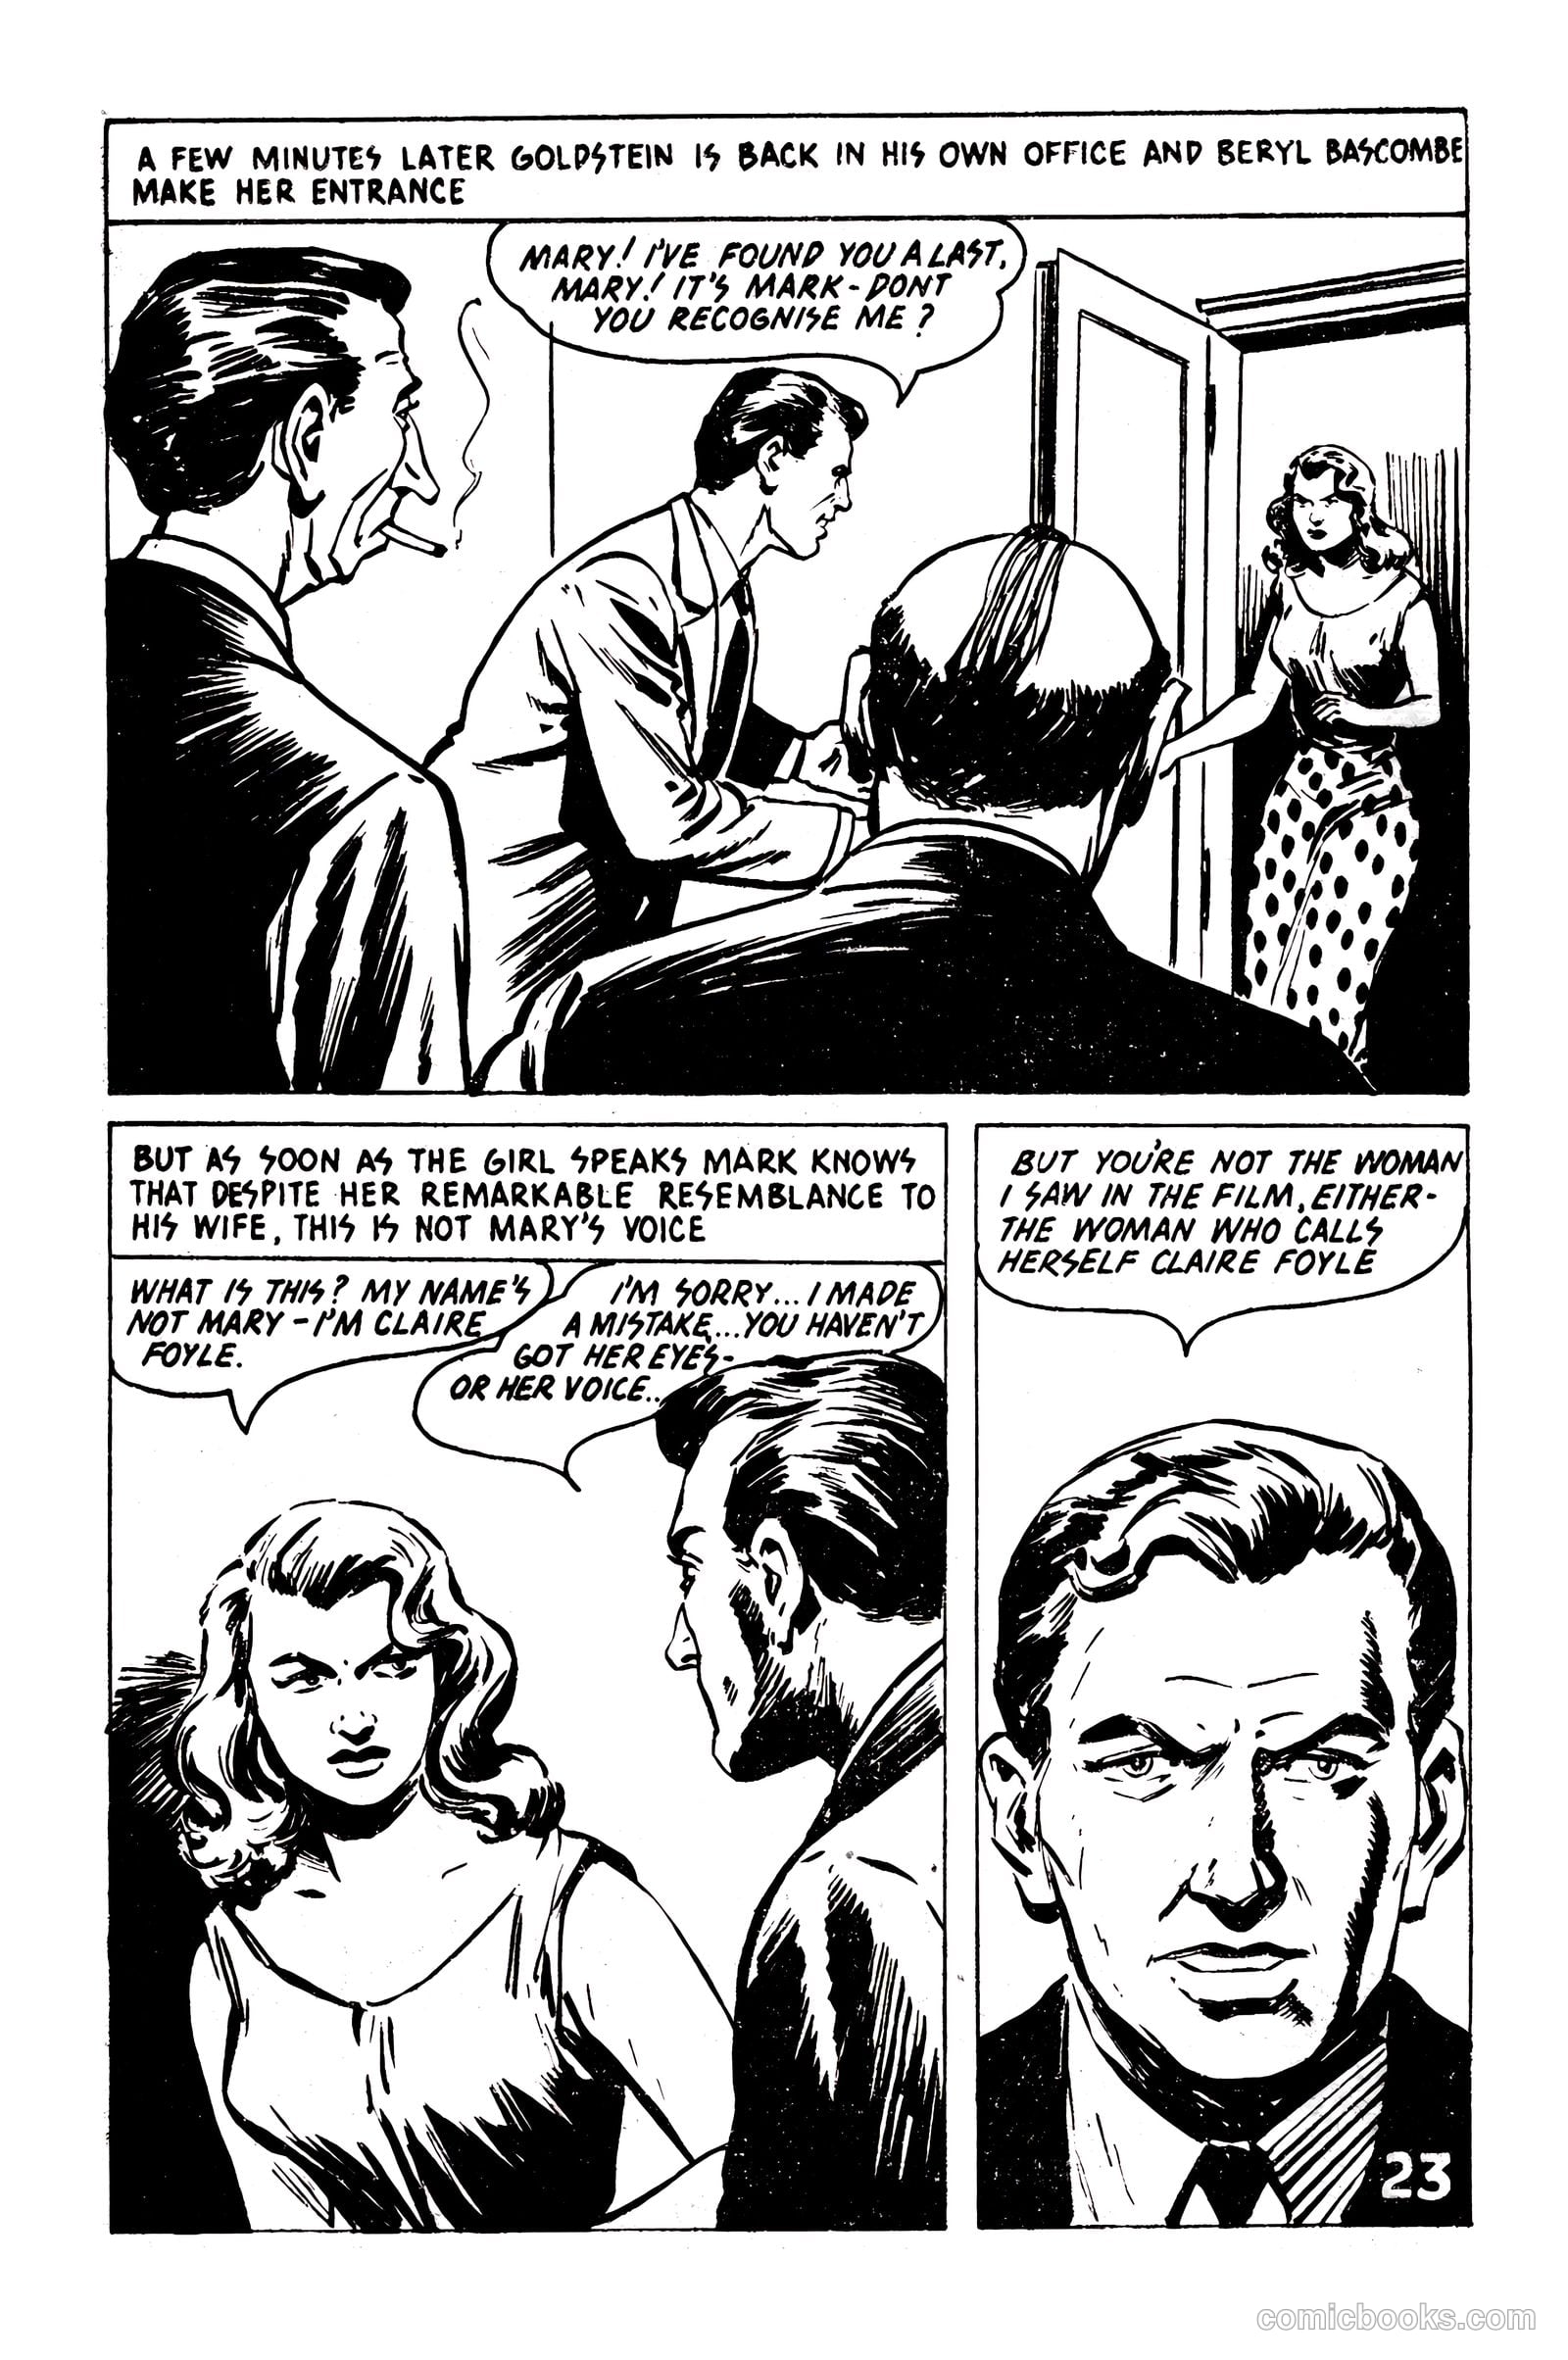
Picture Romance Library 23 - Her Forgotten Husband #1 — page 23 of 68
23 / 68
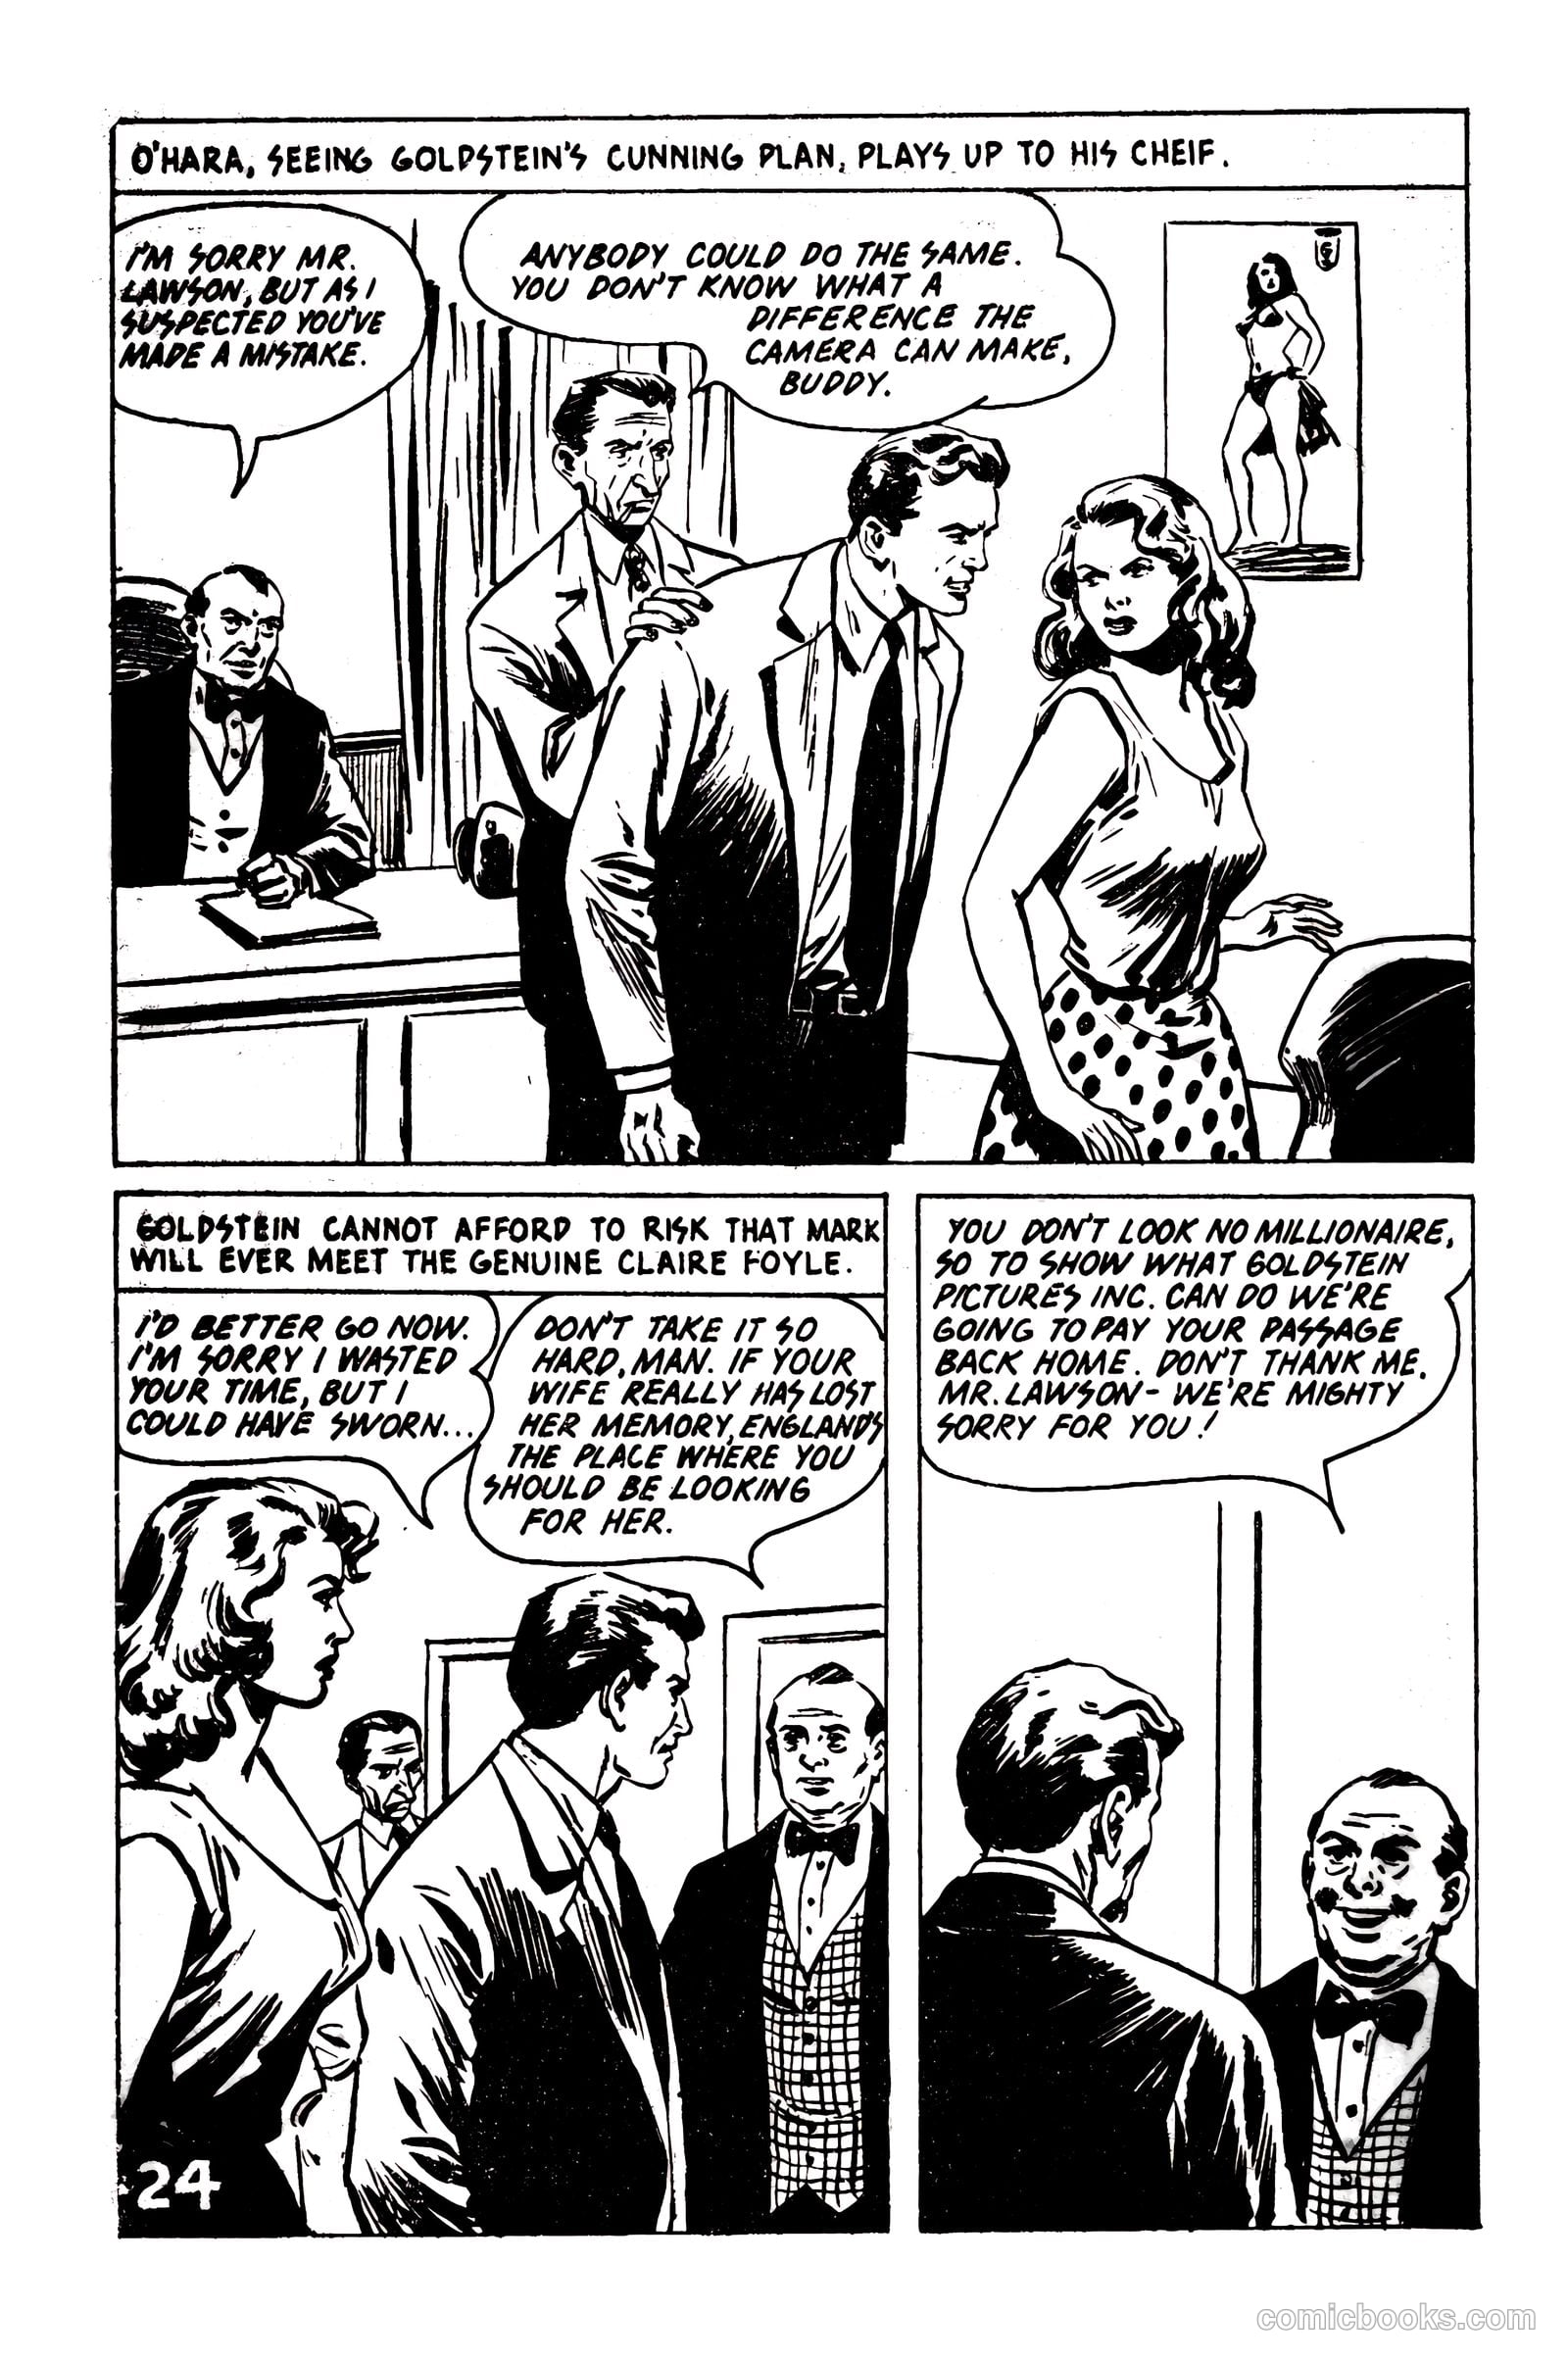
Picture Romance Library 23 - Her Forgotten Husband #1 — page 24 of 68
24 / 68
Picture Romance Library 23 - Her Forgotten Husband #1 — page 25 of 68
25 / 68
Picture Romance Library 23 - Her Forgotten Husband #1 — page 26 of 68
26 / 68
Picture Romance Library 23 - Her Forgotten Husband #1 — page 27 of 68
27 / 68
Picture Romance Library 23 - Her Forgotten Husband #1 — page 28 of 68
28 / 68
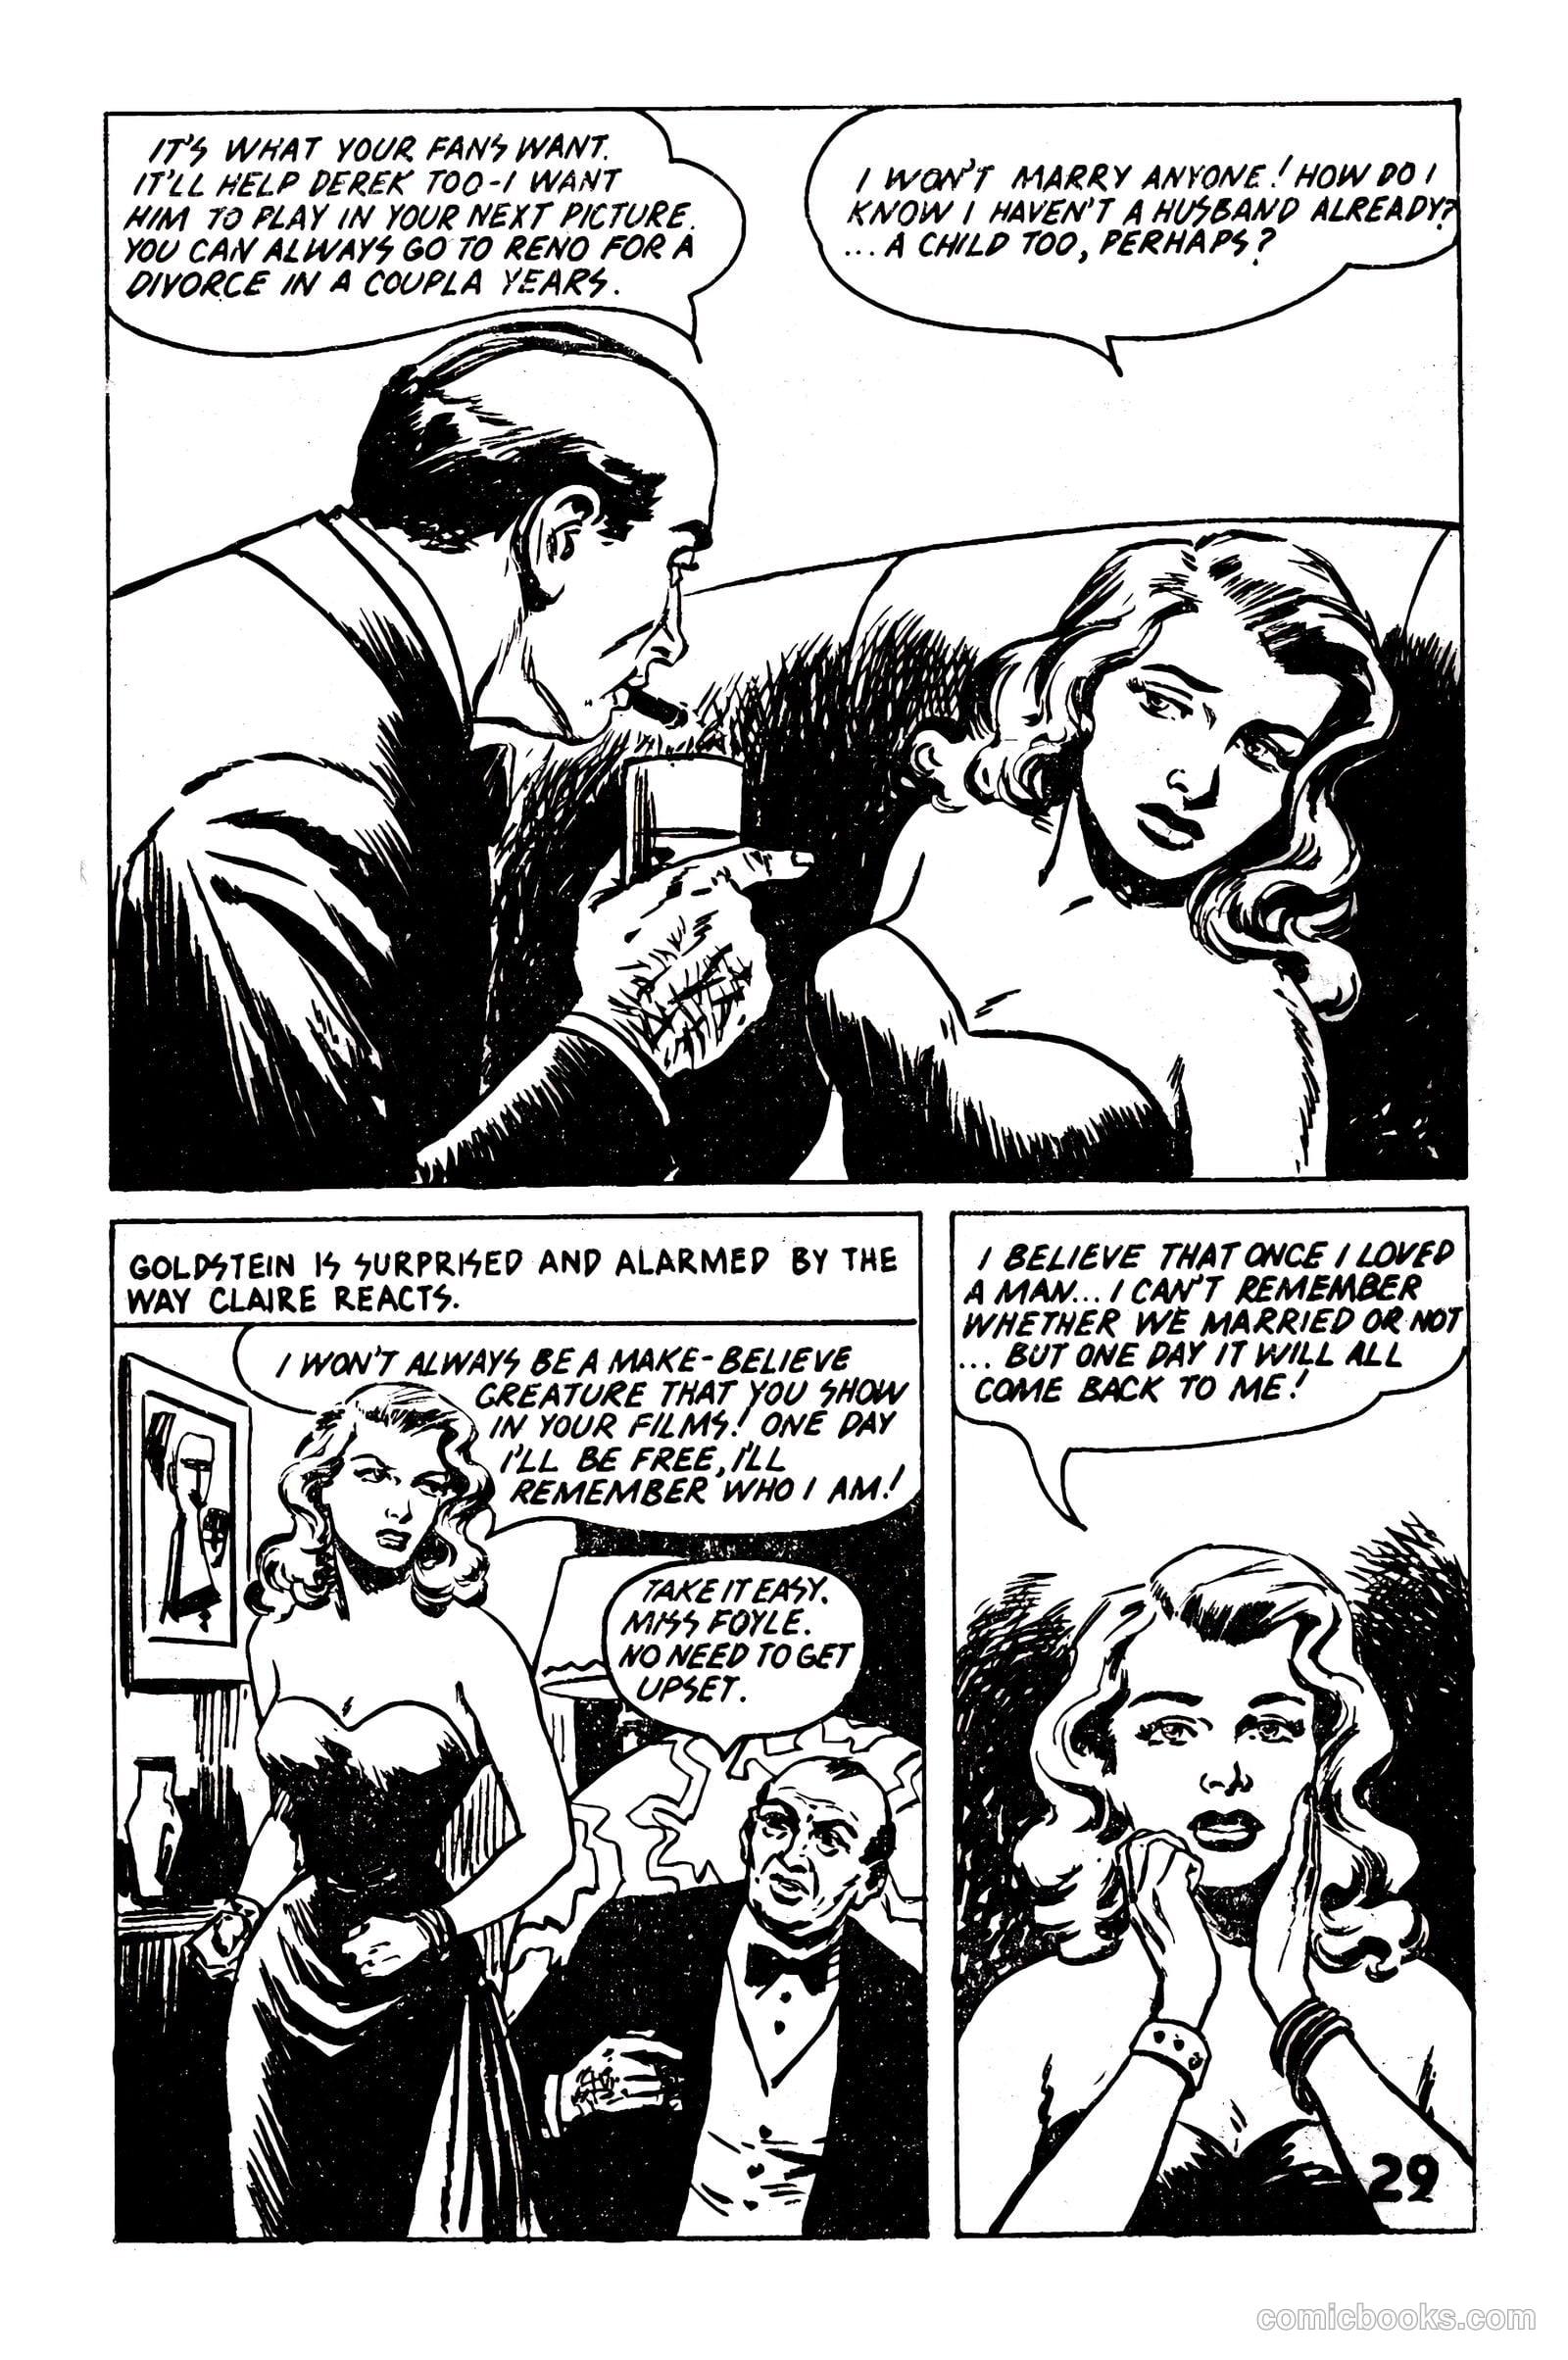
Picture Romance Library 23 - Her Forgotten Husband #1 — page 29 of 68
29 / 68
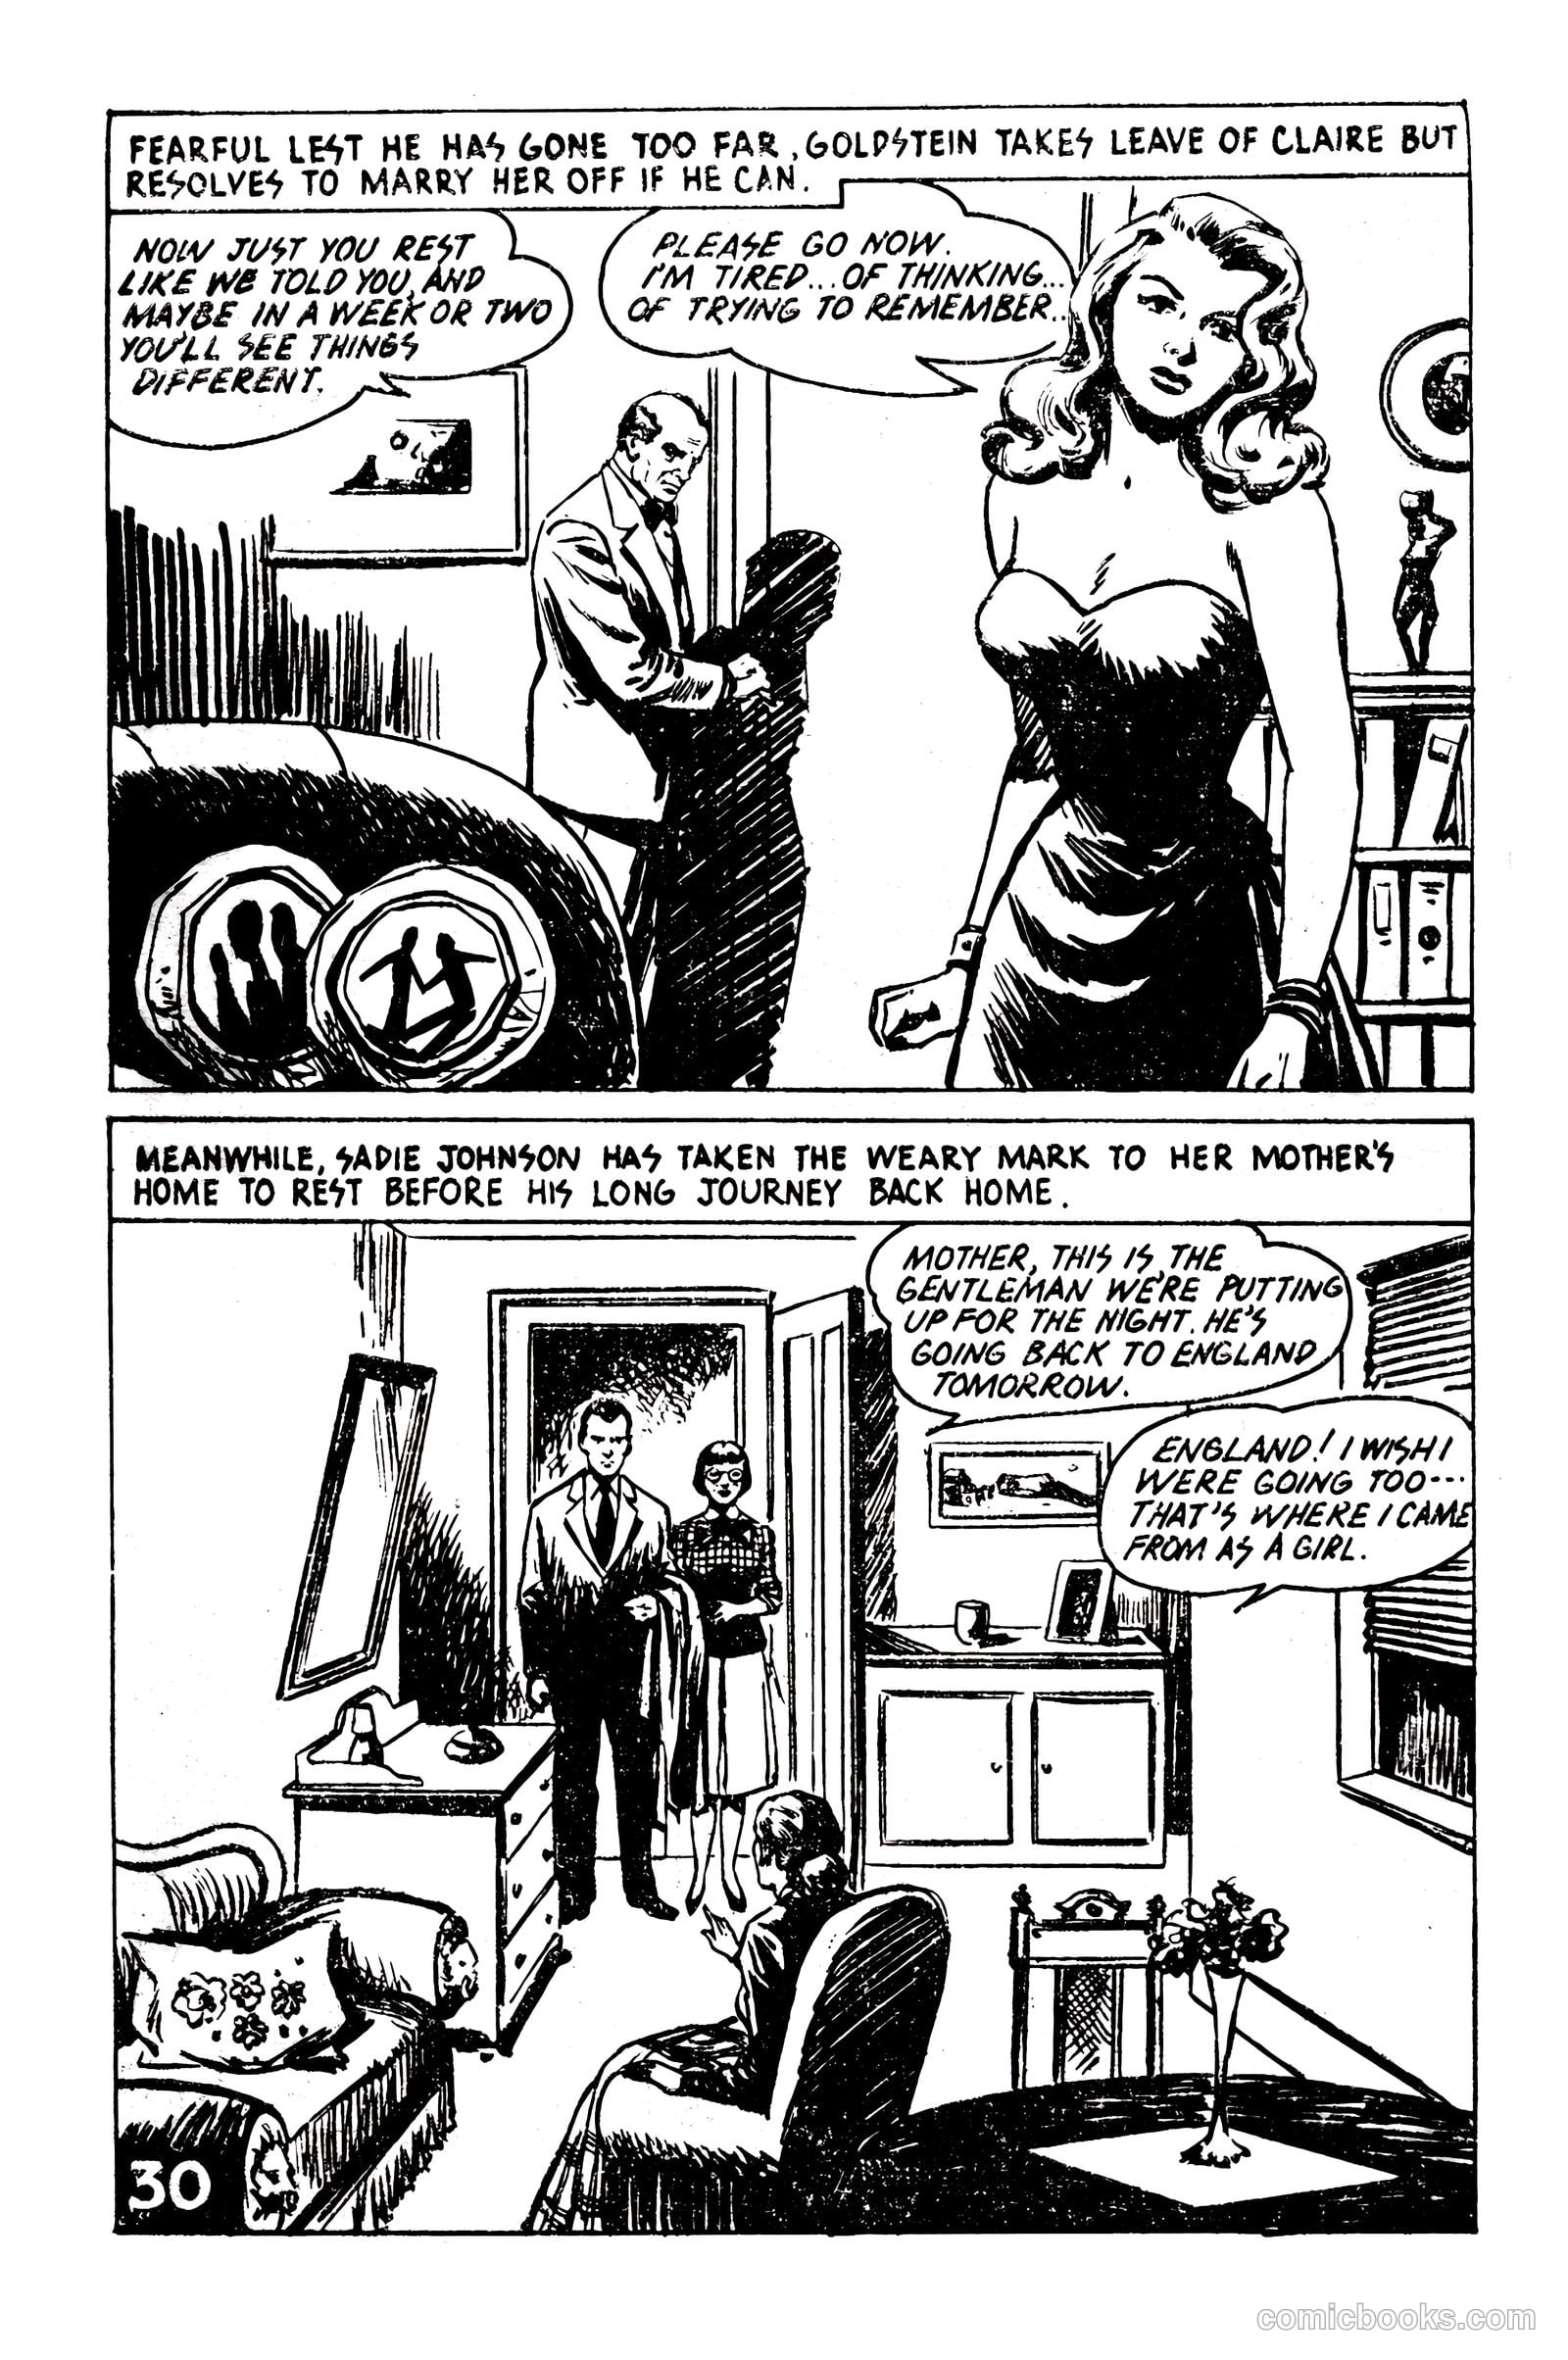
Picture Romance Library 23 - Her Forgotten Husband #1 — page 30 of 68
30 / 68
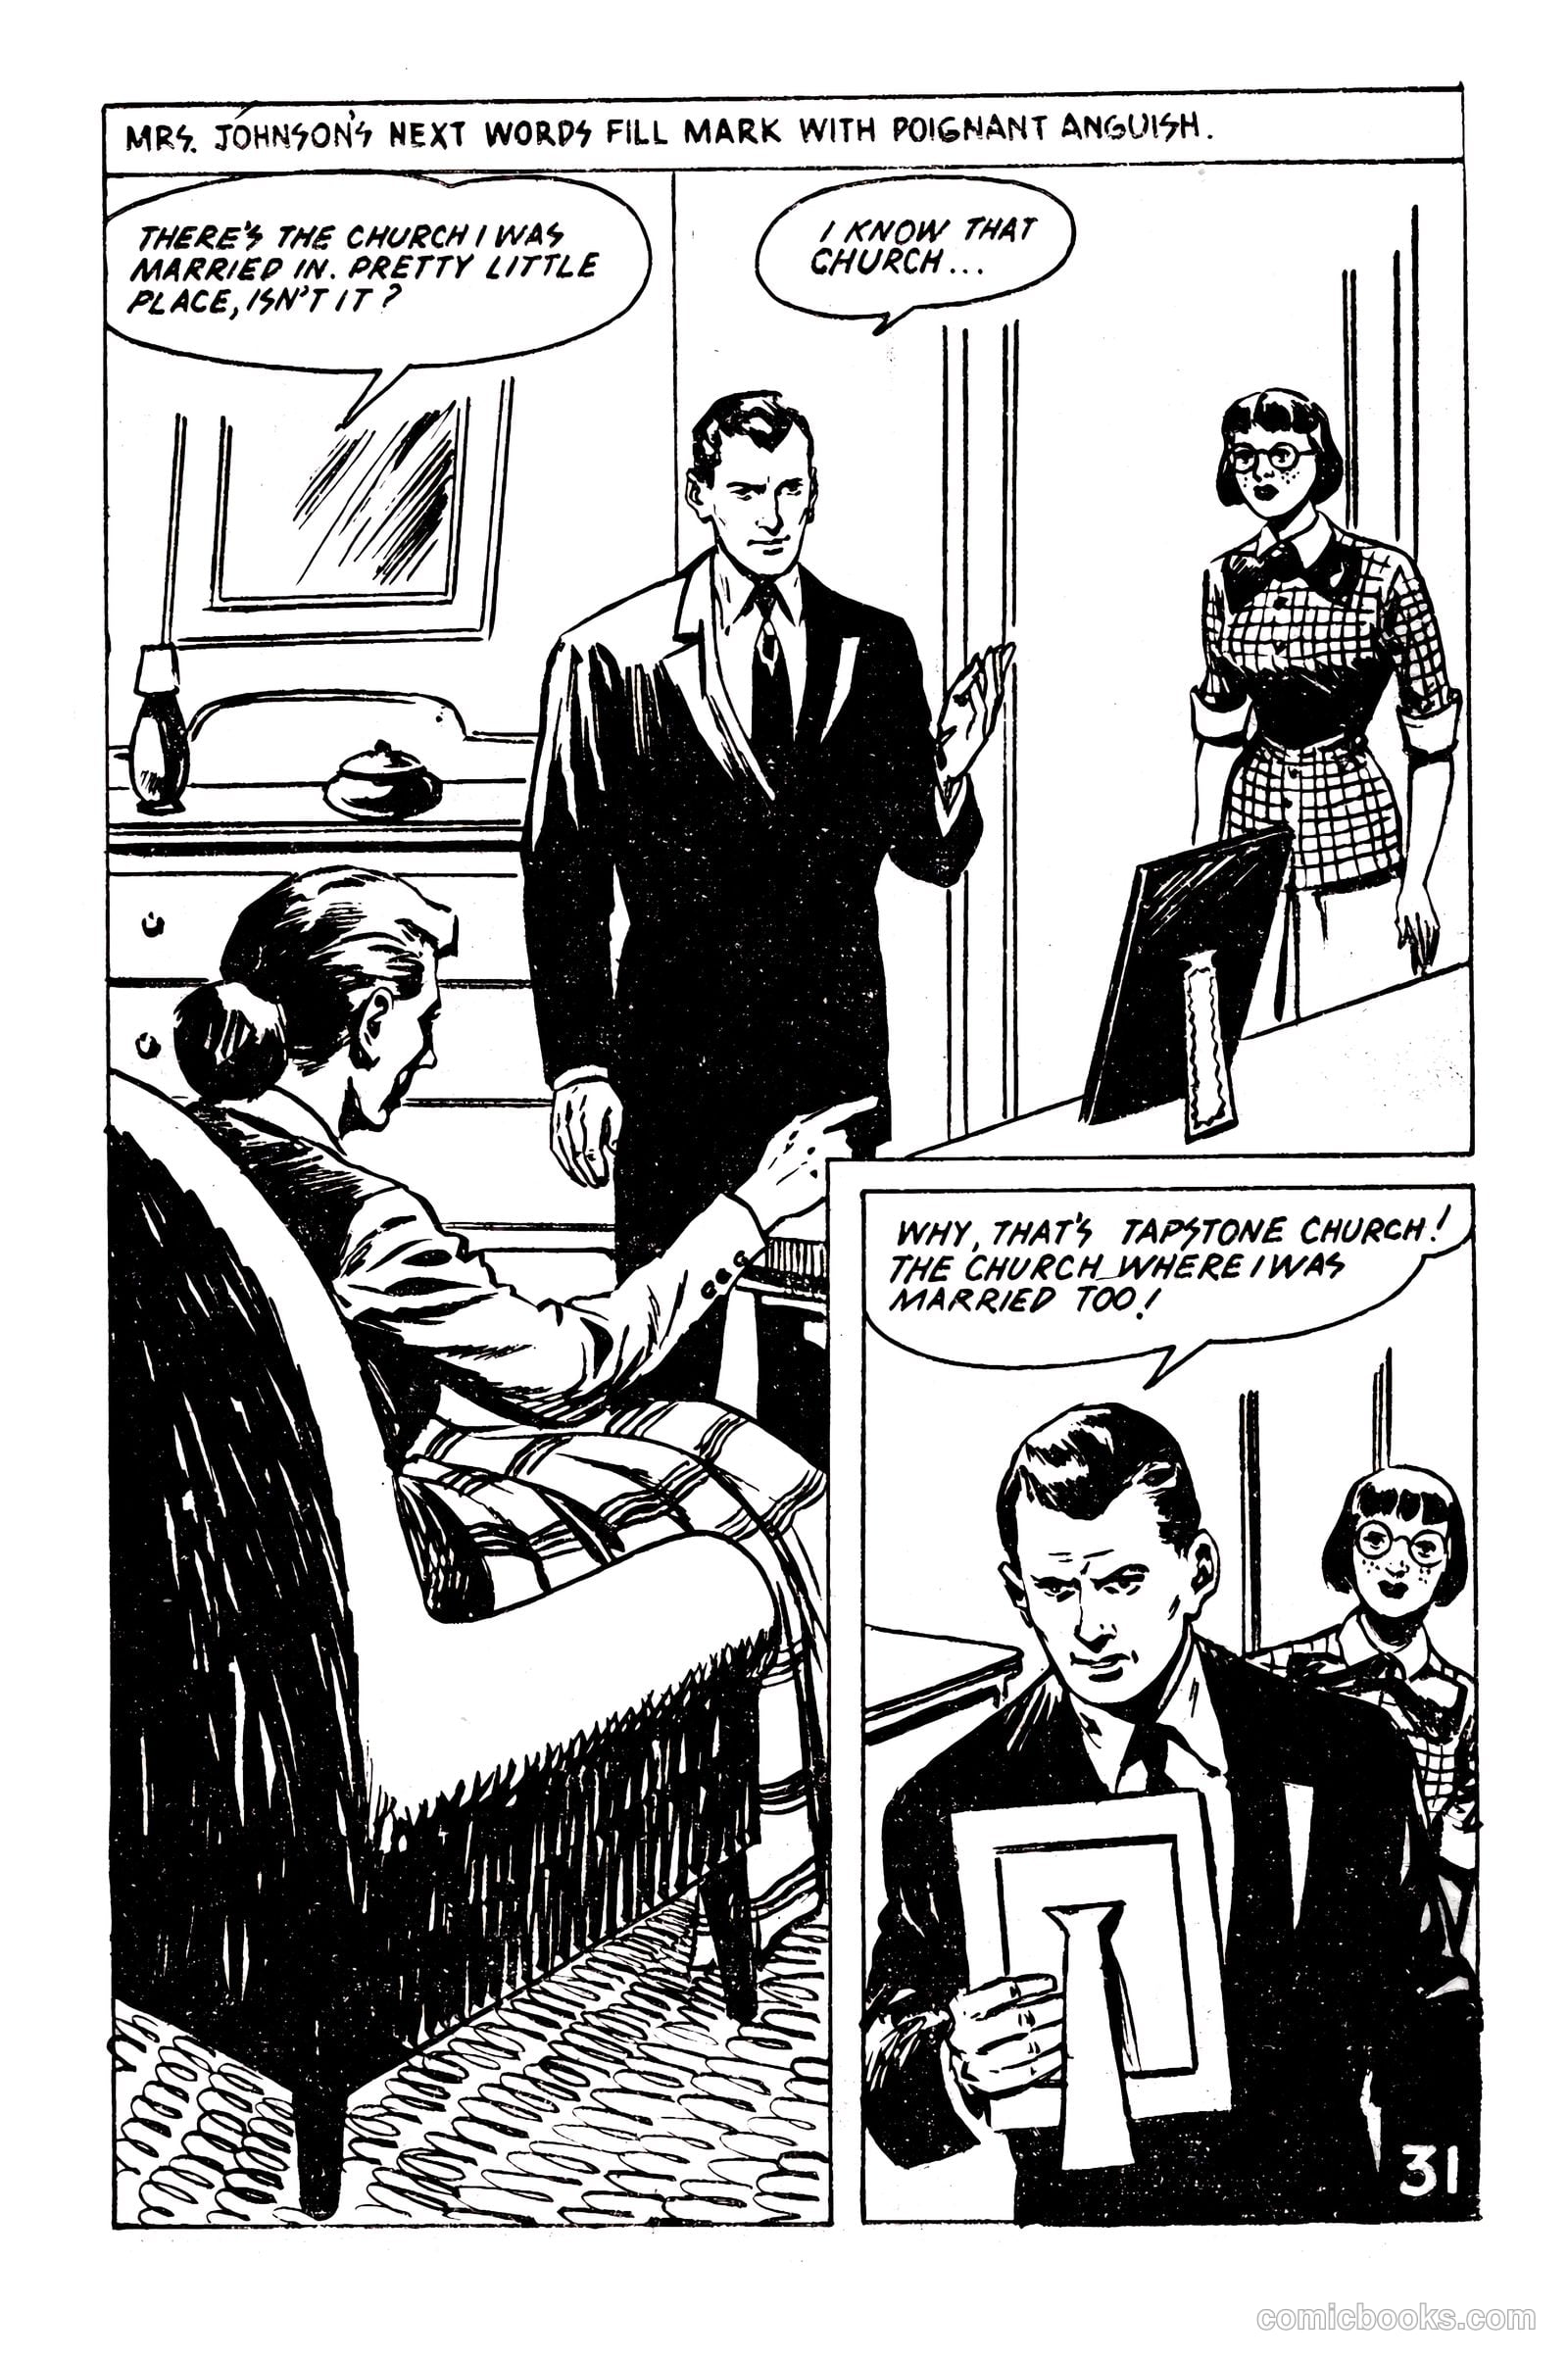
Picture Romance Library 23 - Her Forgotten Husband #1 — page 31 of 68
31 / 68
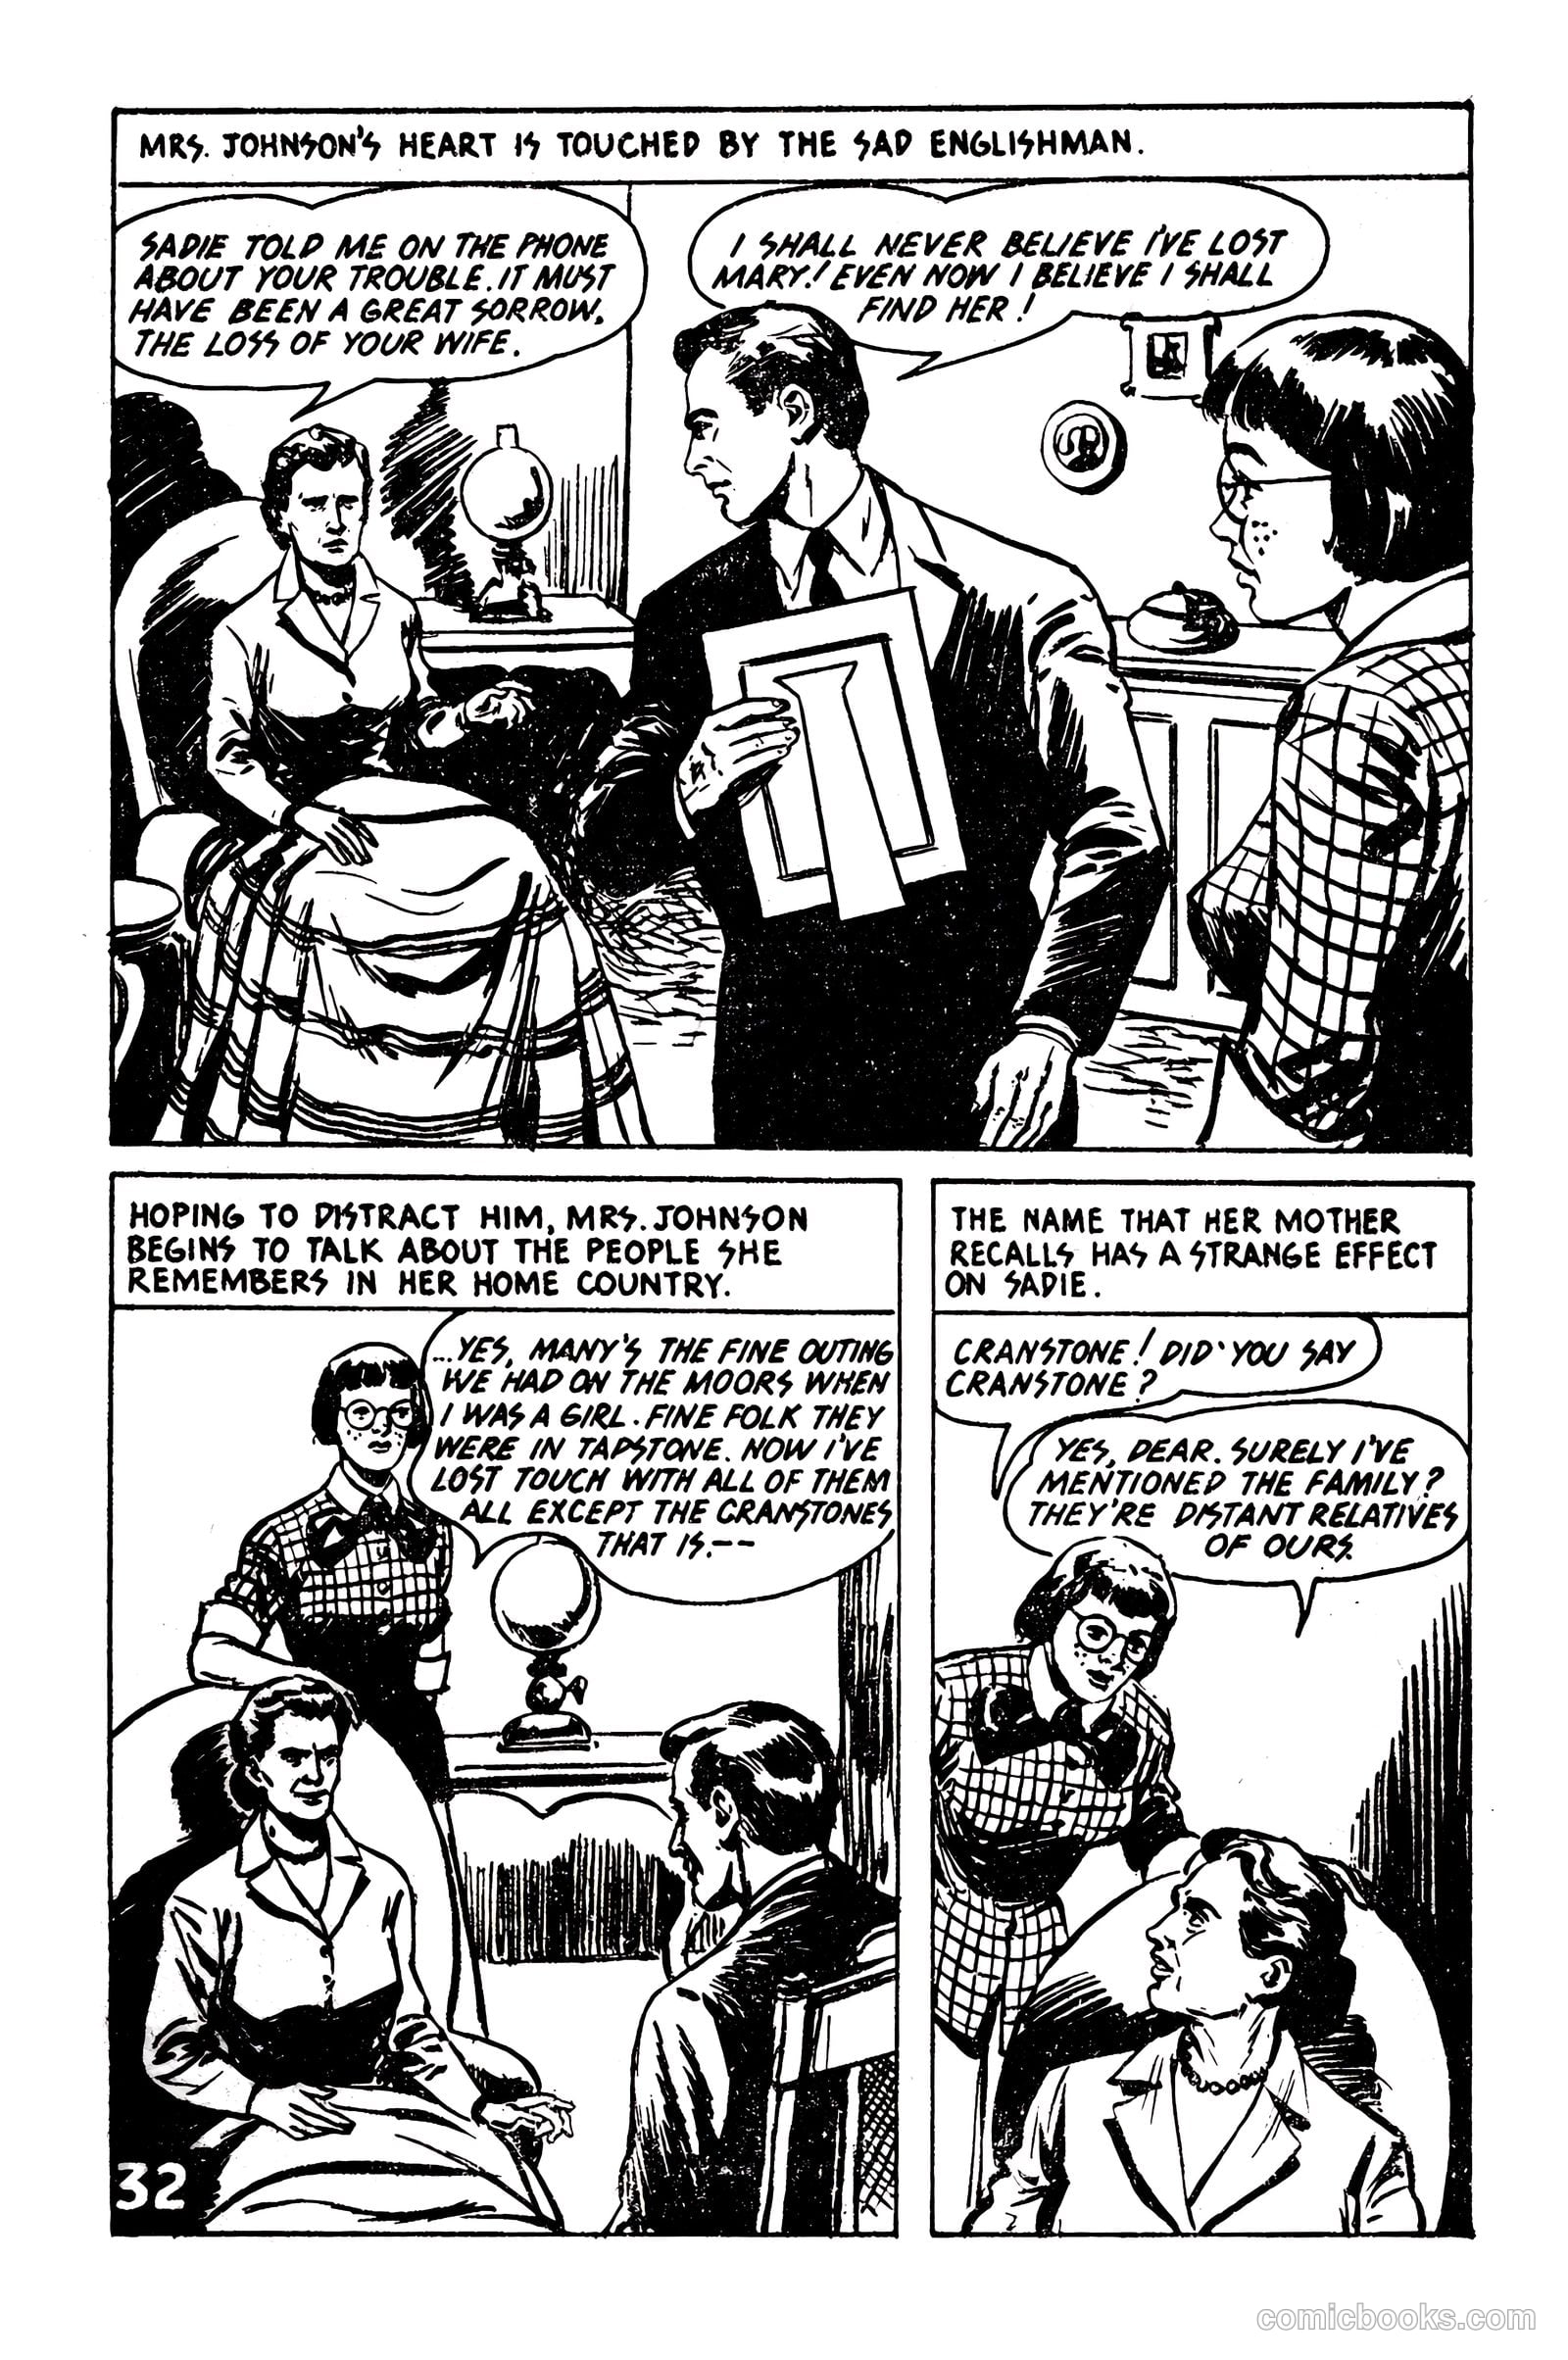
Picture Romance Library 23 - Her Forgotten Husband #1 — page 32 of 68
32 / 68
Picture Romance Library 23 - Her Forgotten Husband #1 — page 33 of 68
33 / 68
Picture Romance Library 23 - Her Forgotten Husband #1 — page 34 of 68
34 / 68
Picture Romance Library 23 - Her Forgotten Husband #1 — page 35 of 68
35 / 68
Picture Romance Library 23 - Her Forgotten Husband #1 — page 36 of 68
36 / 68
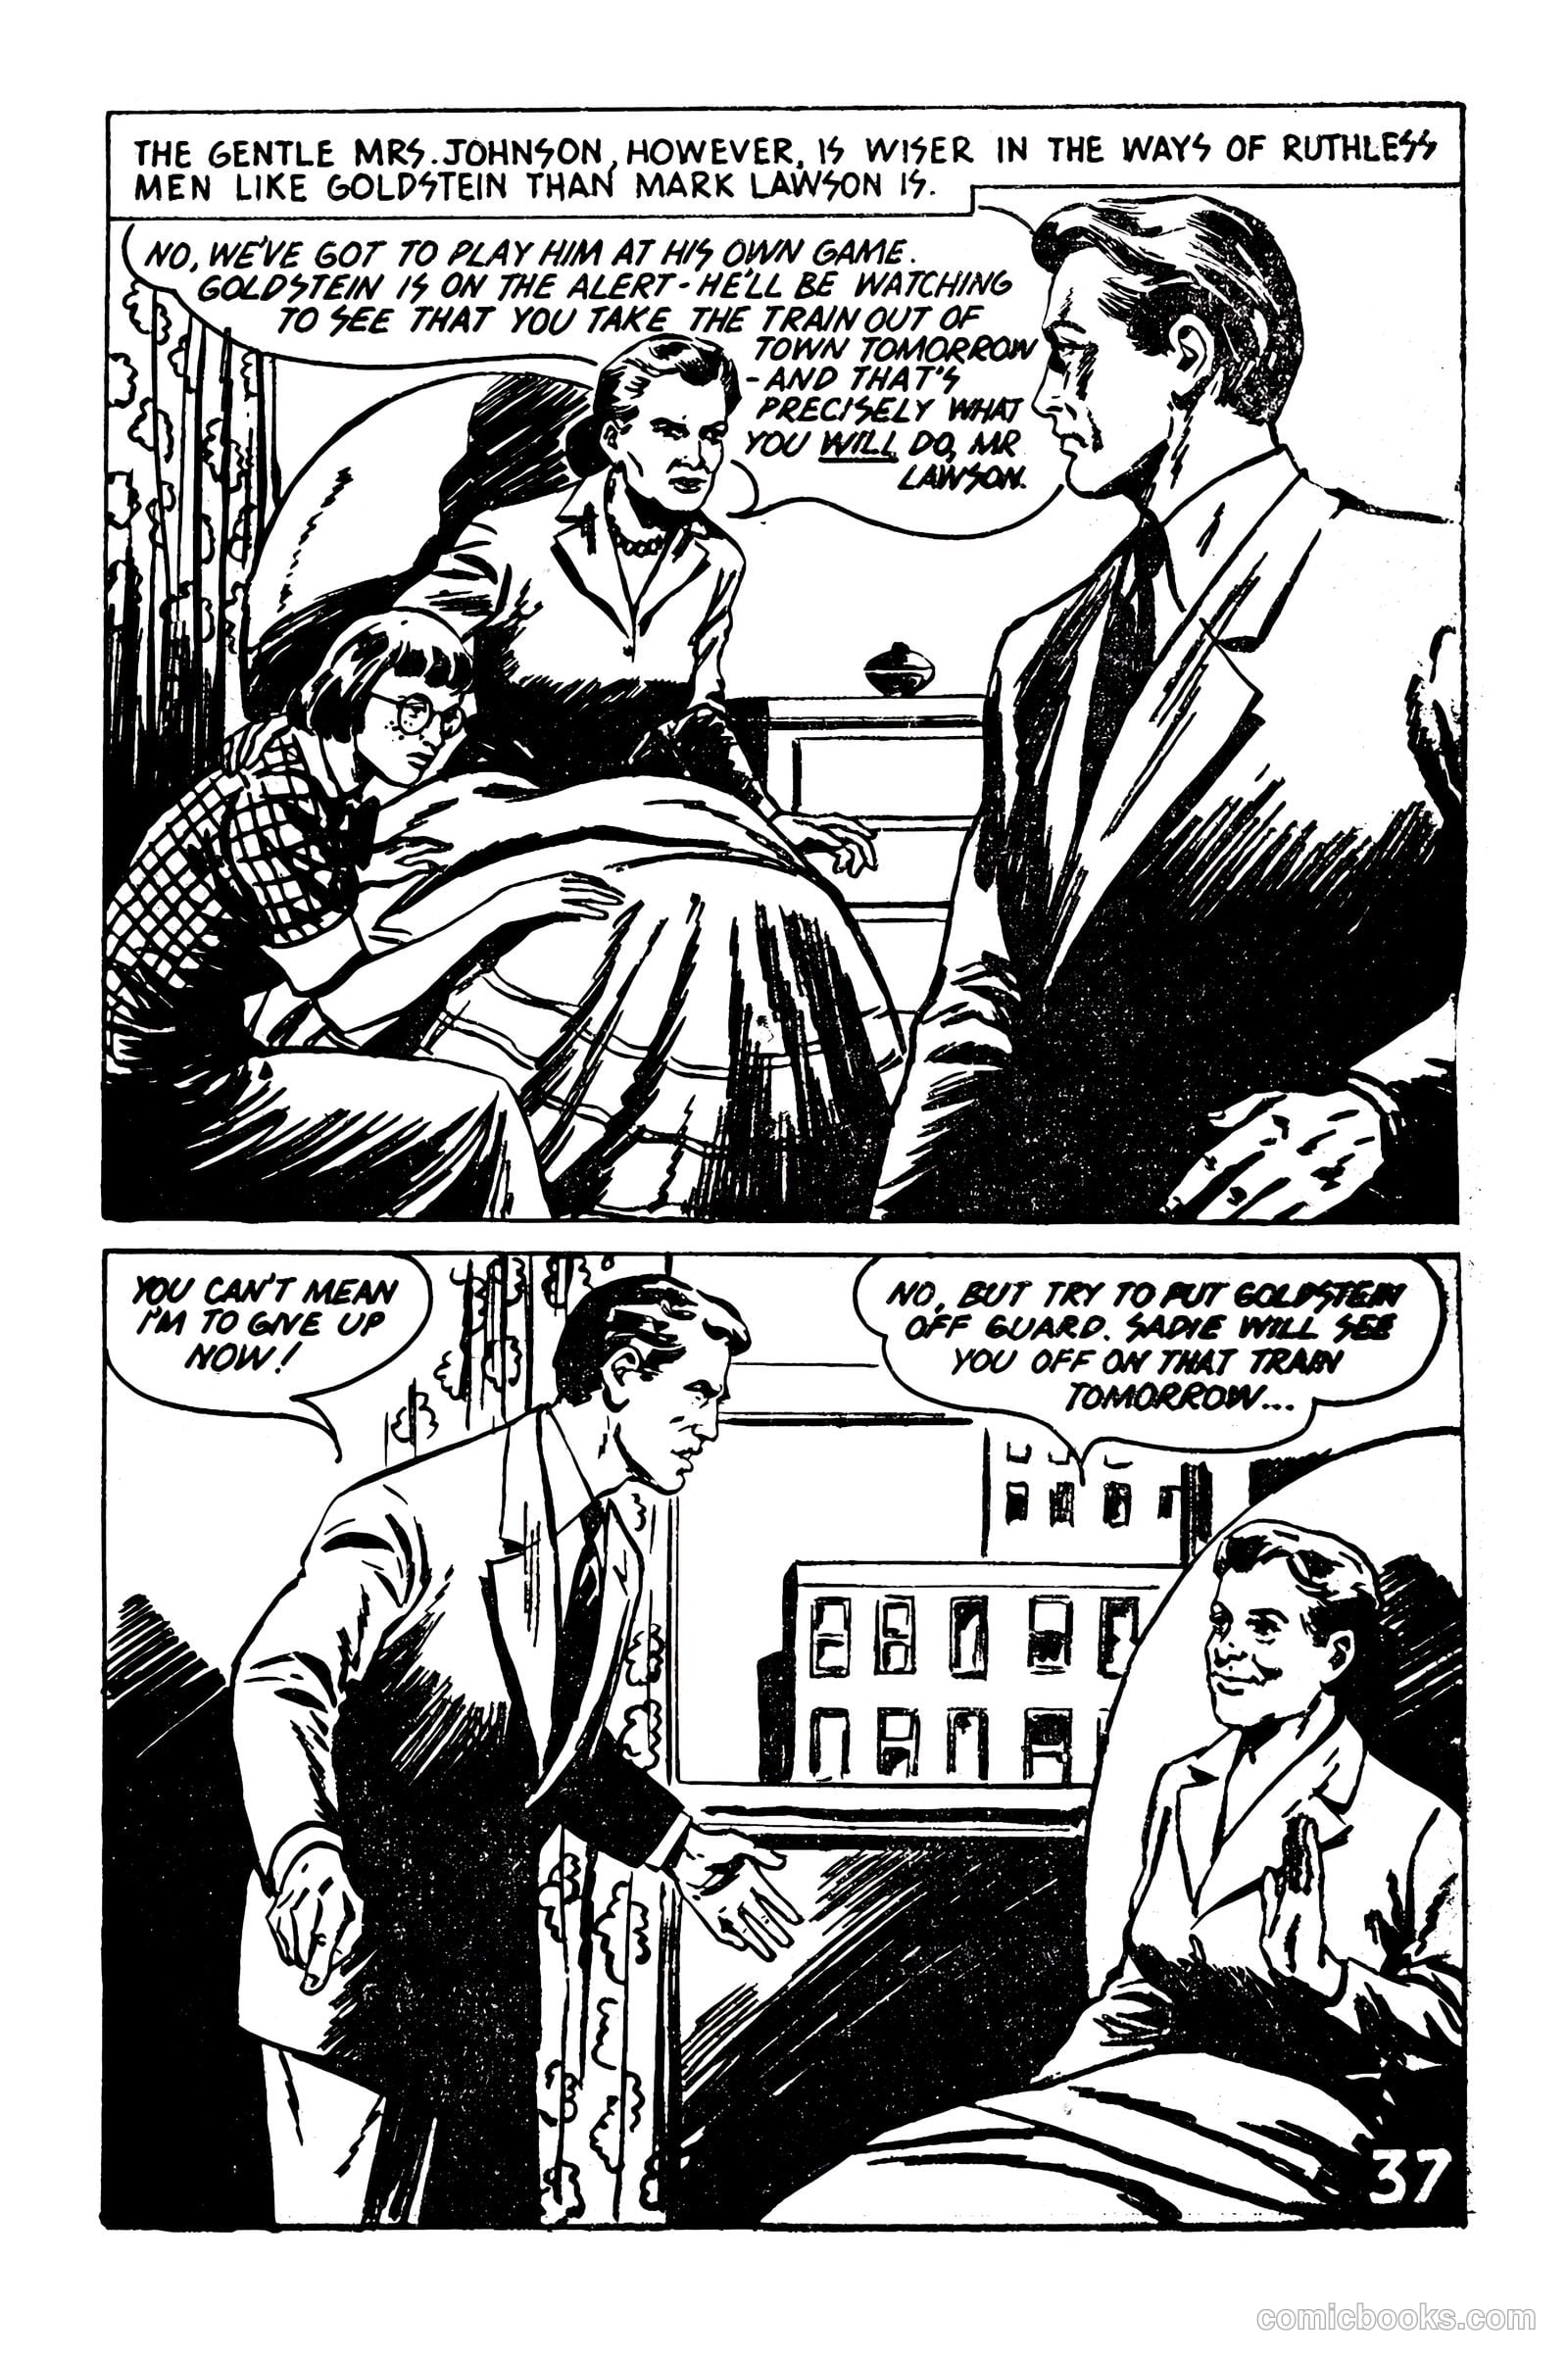
Picture Romance Library 23 - Her Forgotten Husband #1 — page 37 of 68
37 / 68
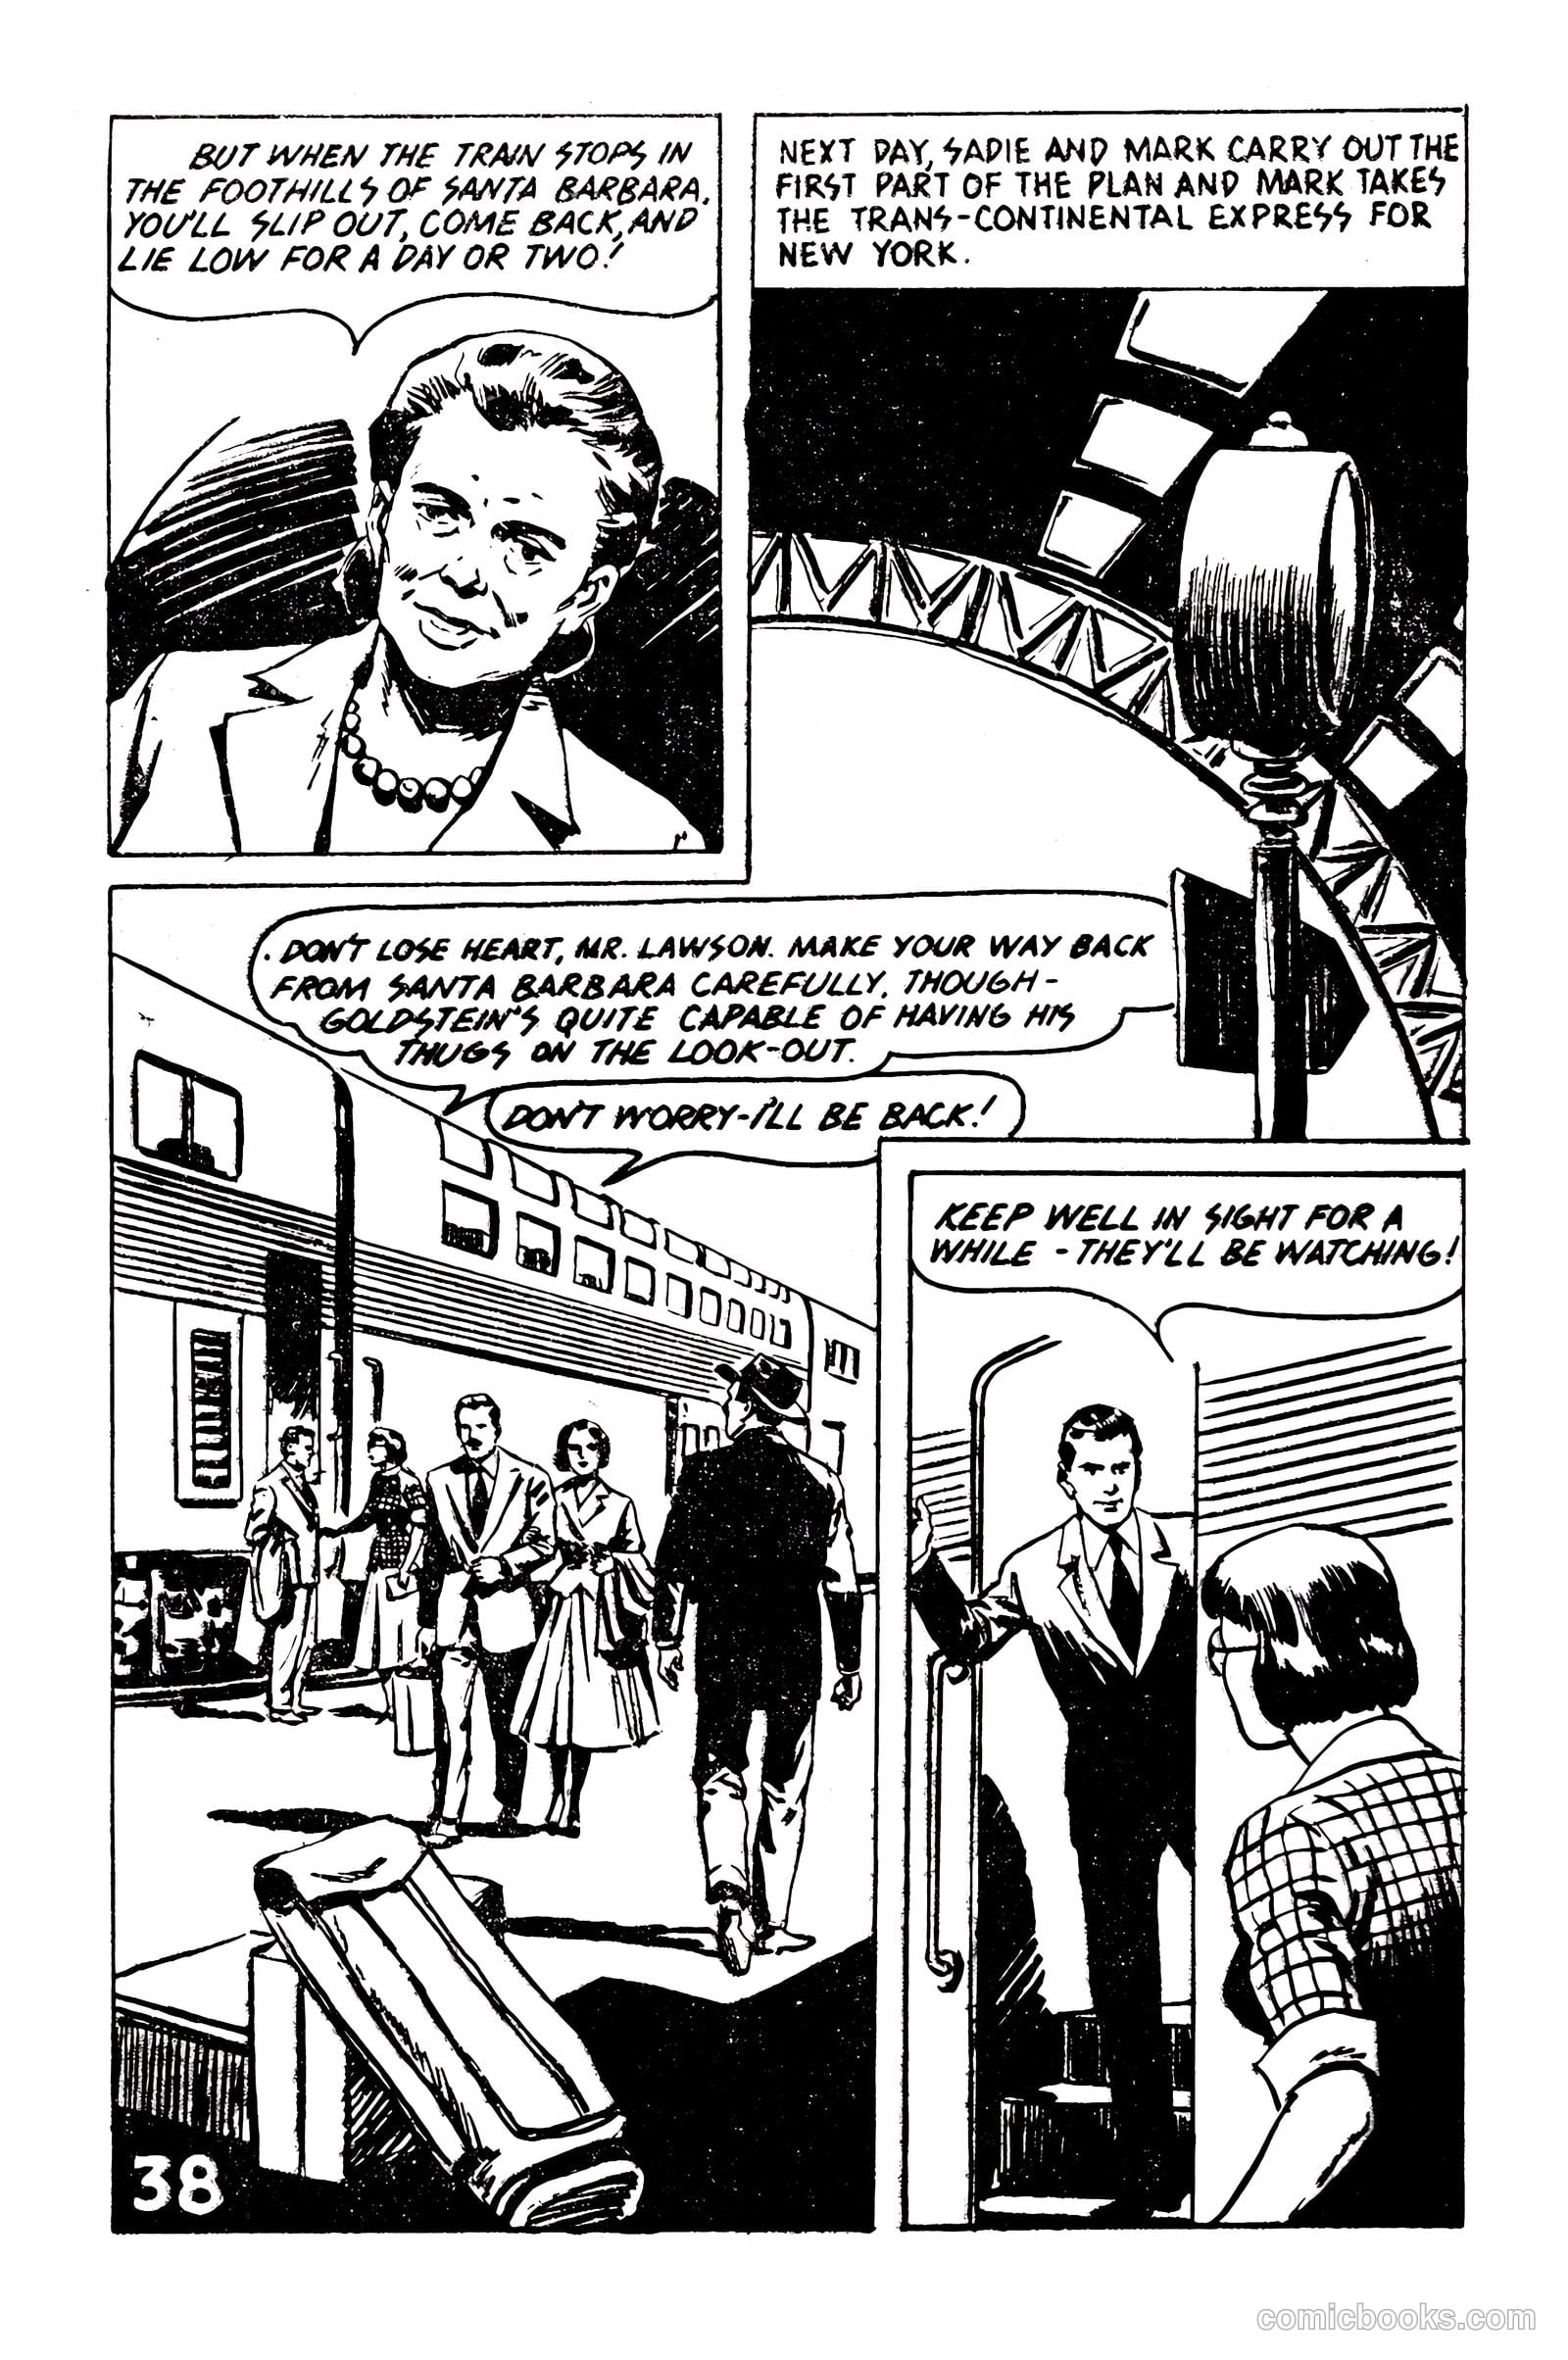
Picture Romance Library 23 - Her Forgotten Husband #1 — page 38 of 68
38 / 68
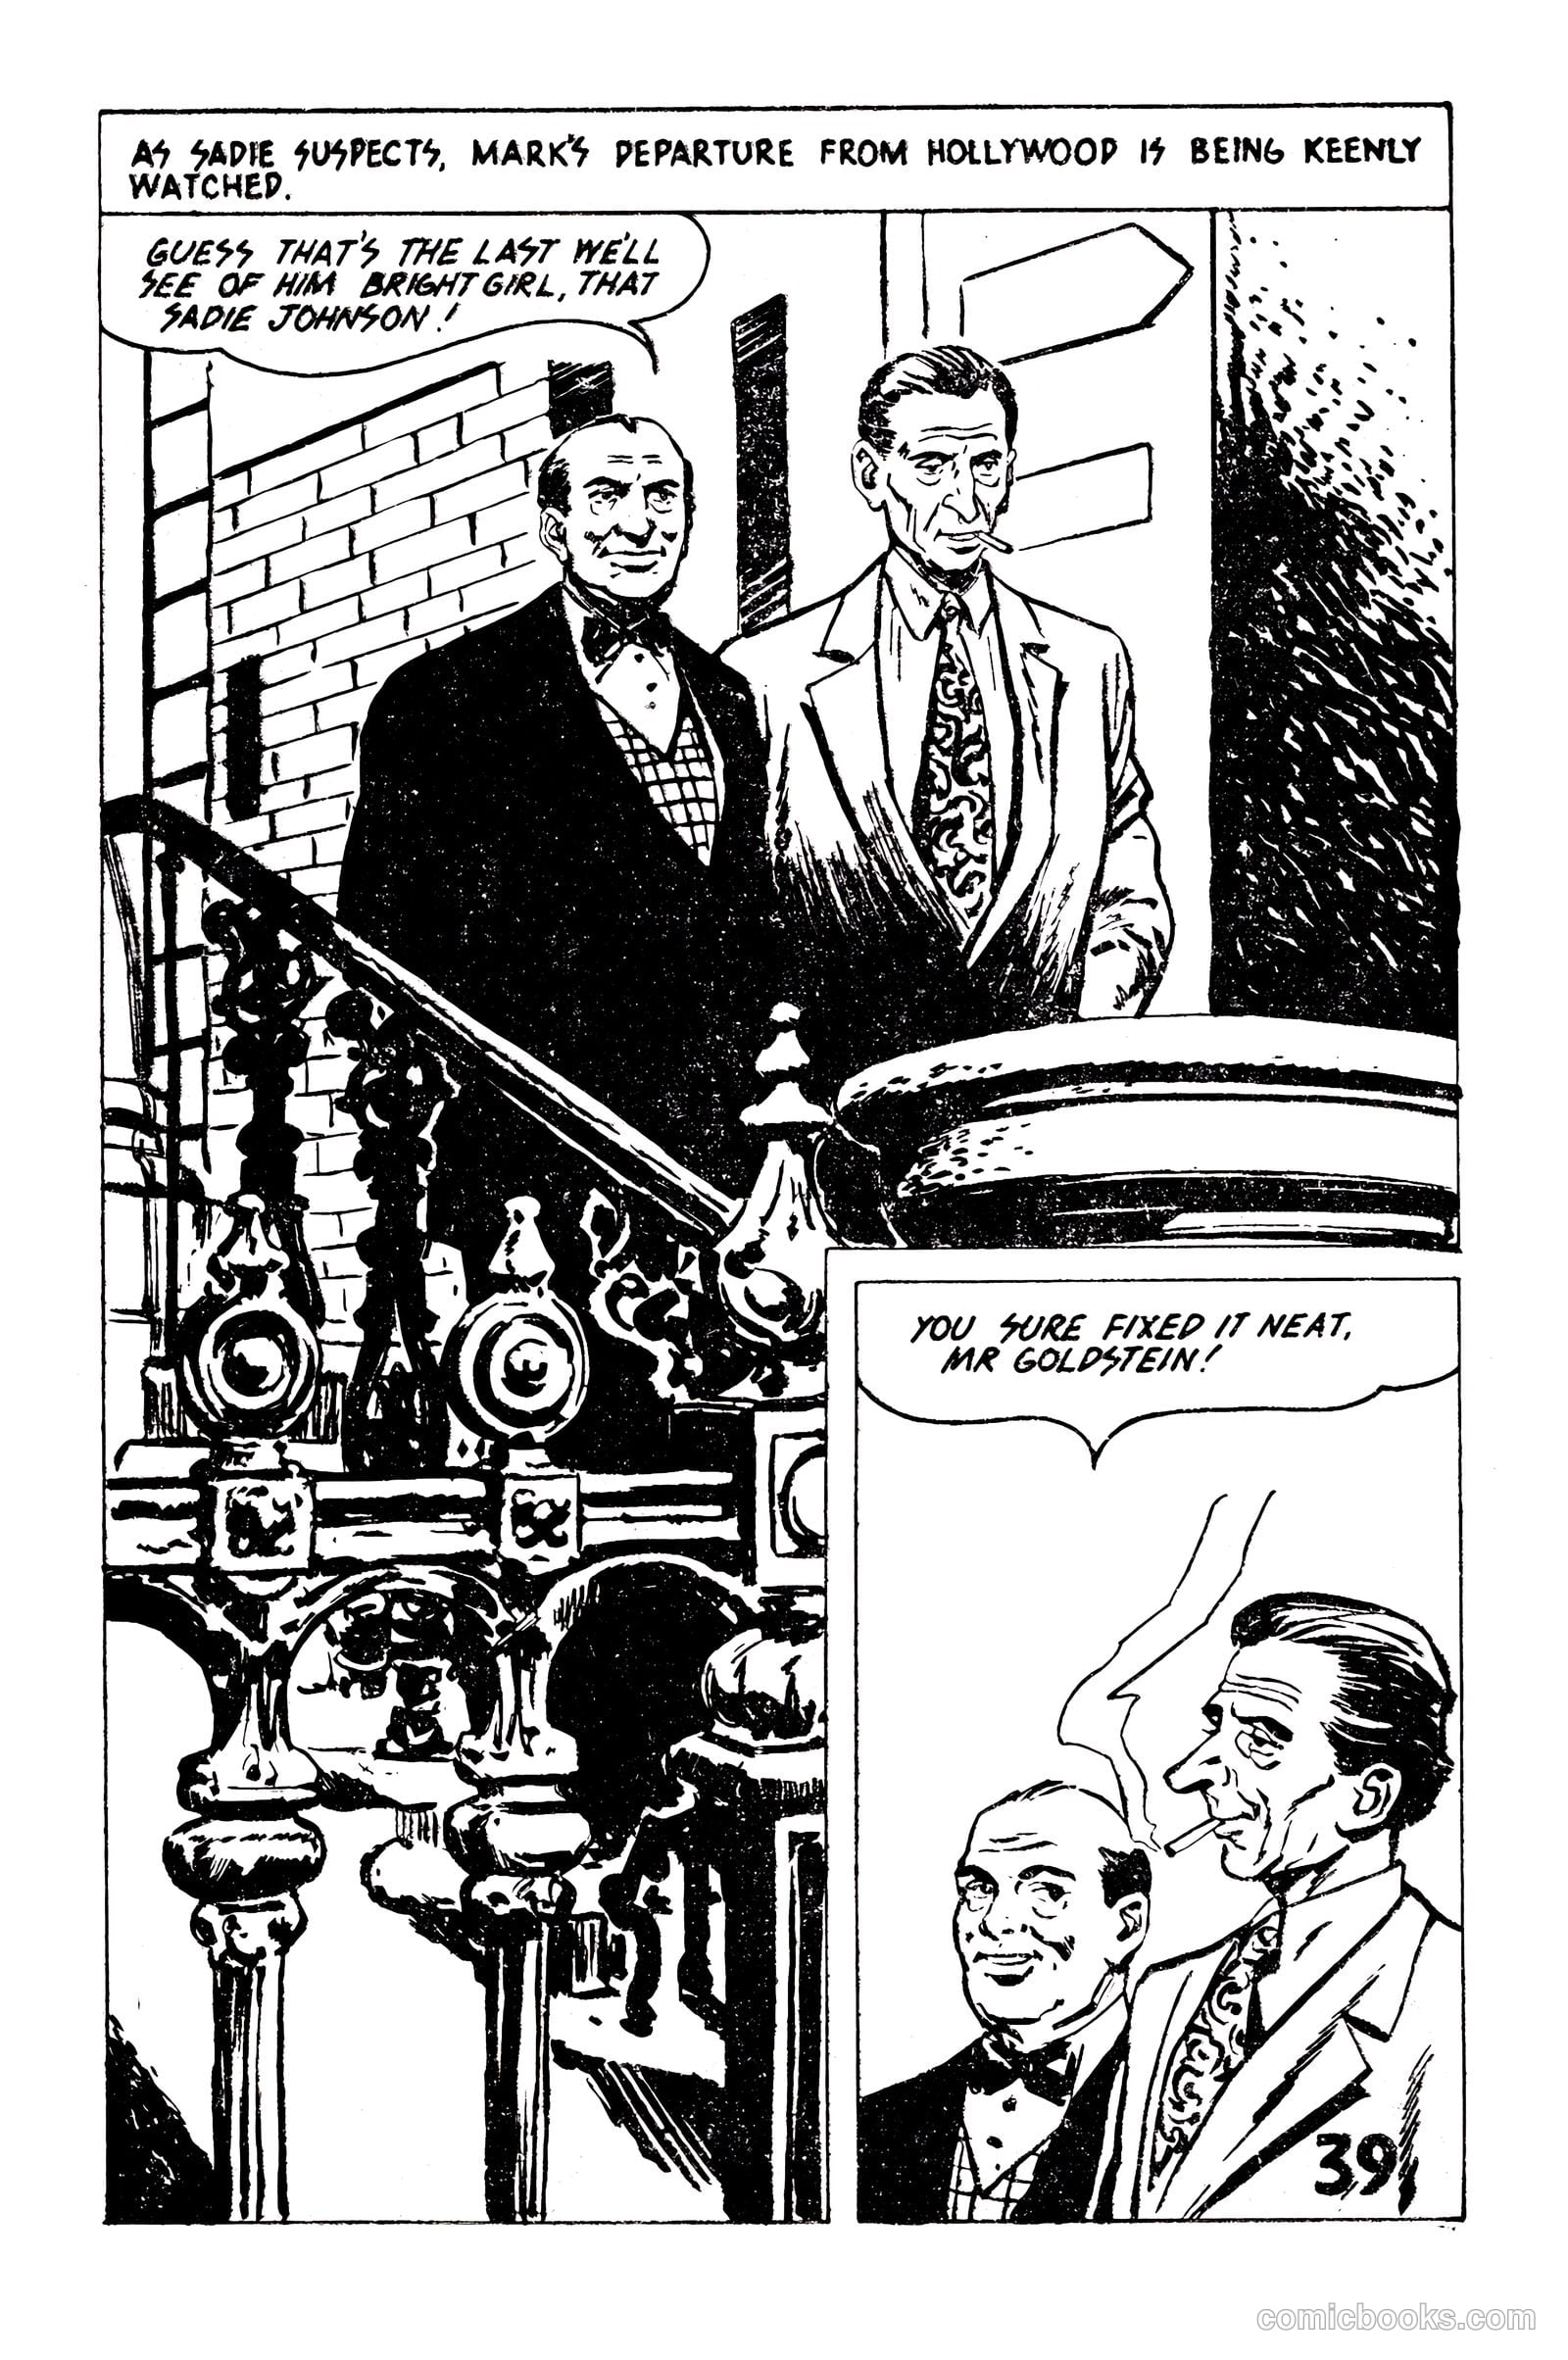
Picture Romance Library 23 - Her Forgotten Husband #1 — page 39 of 68
39 / 68
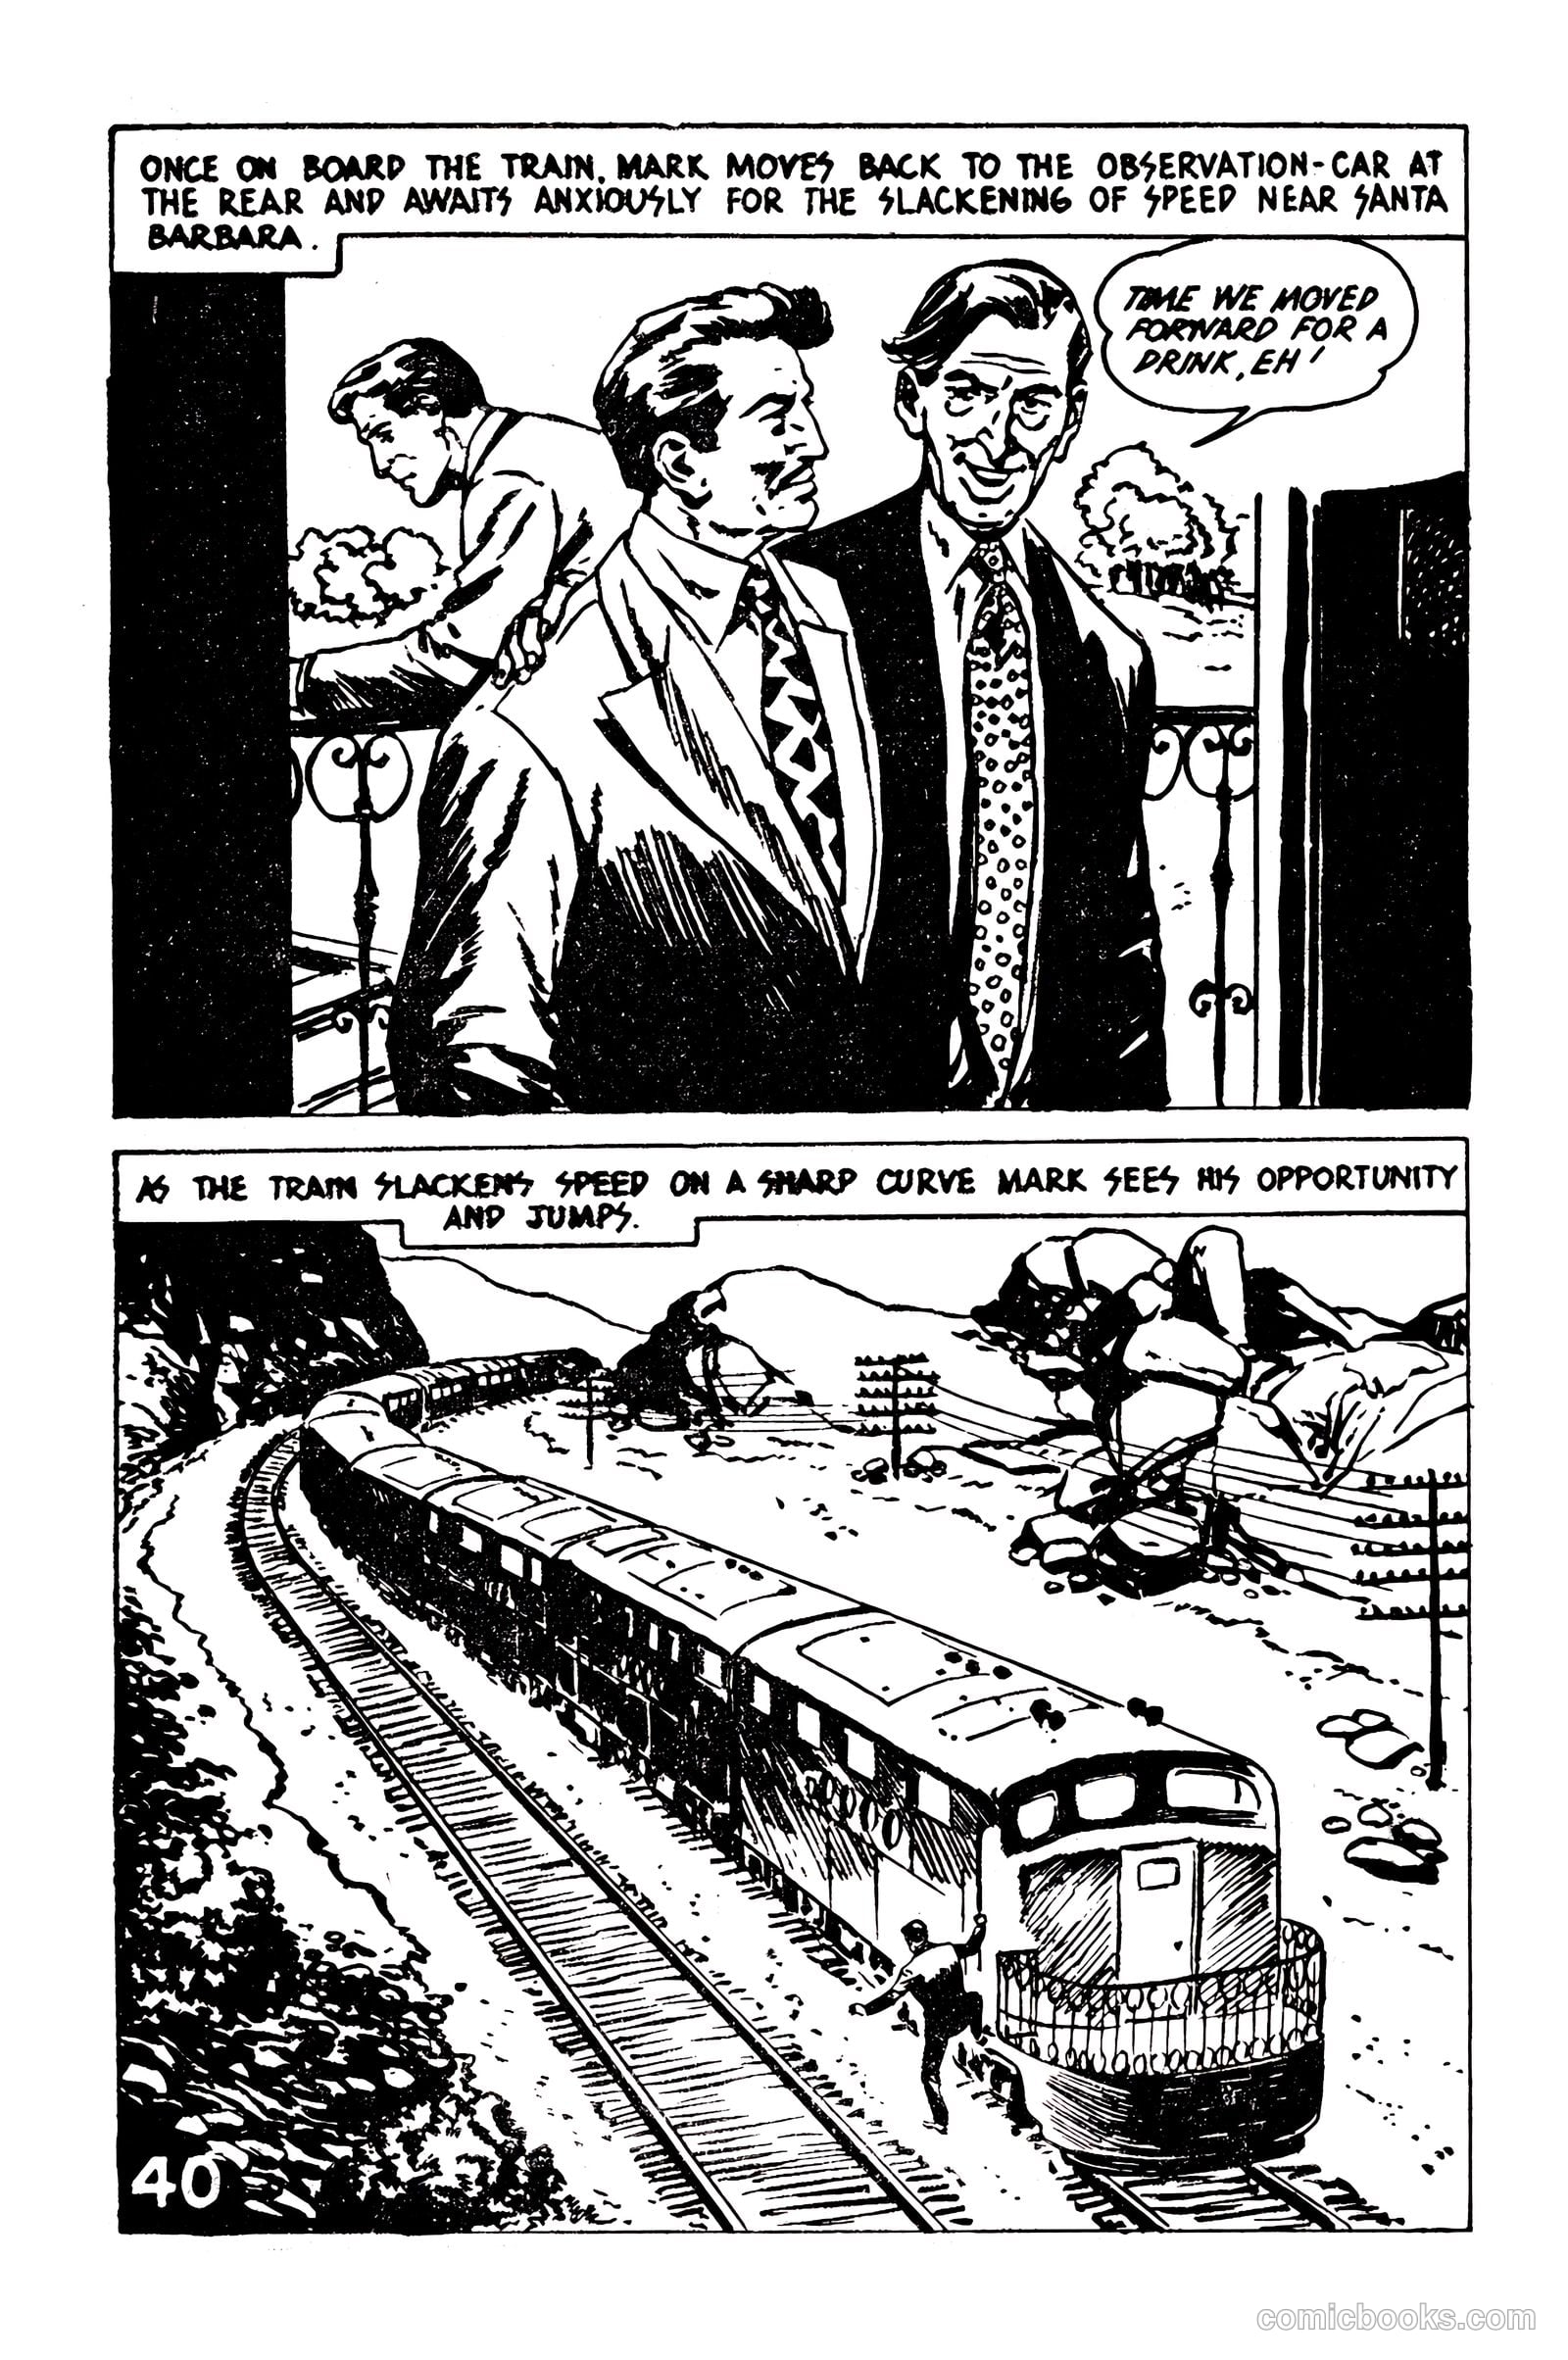
Picture Romance Library 23 - Her Forgotten Husband #1 — page 40 of 68
40 / 68
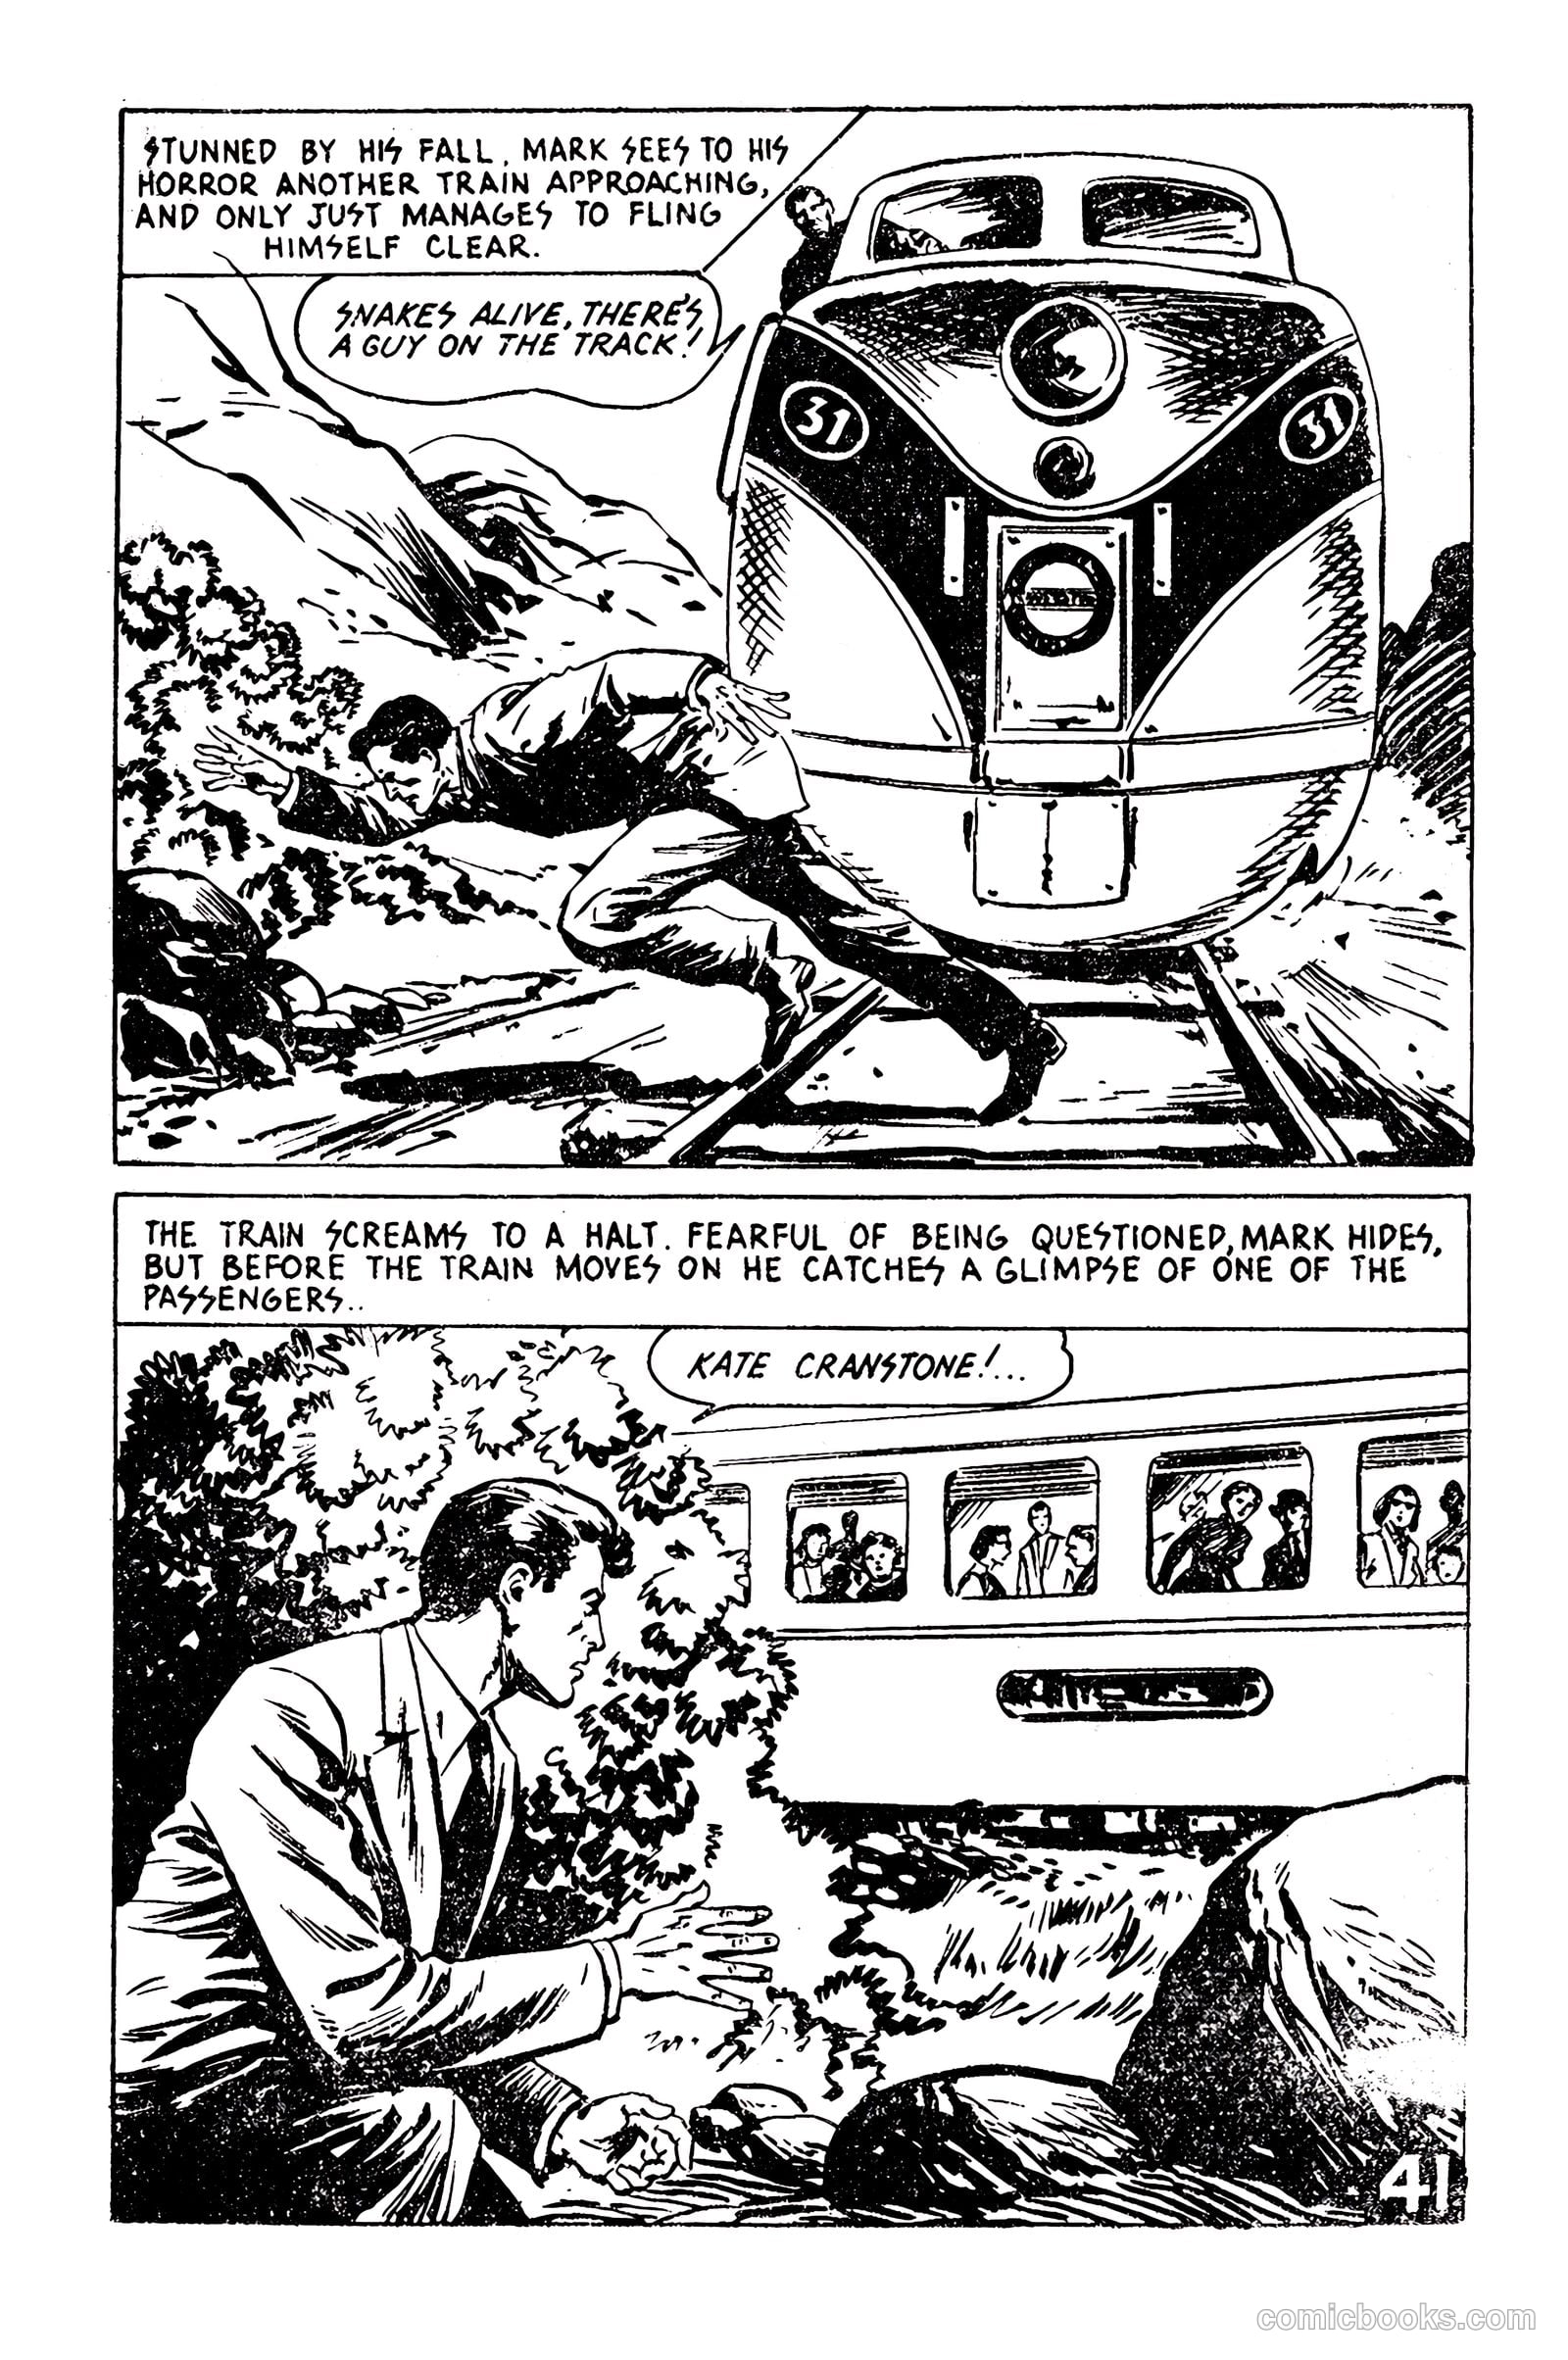
Picture Romance Library 23 - Her Forgotten Husband #1 — page 41 of 68
41 / 68
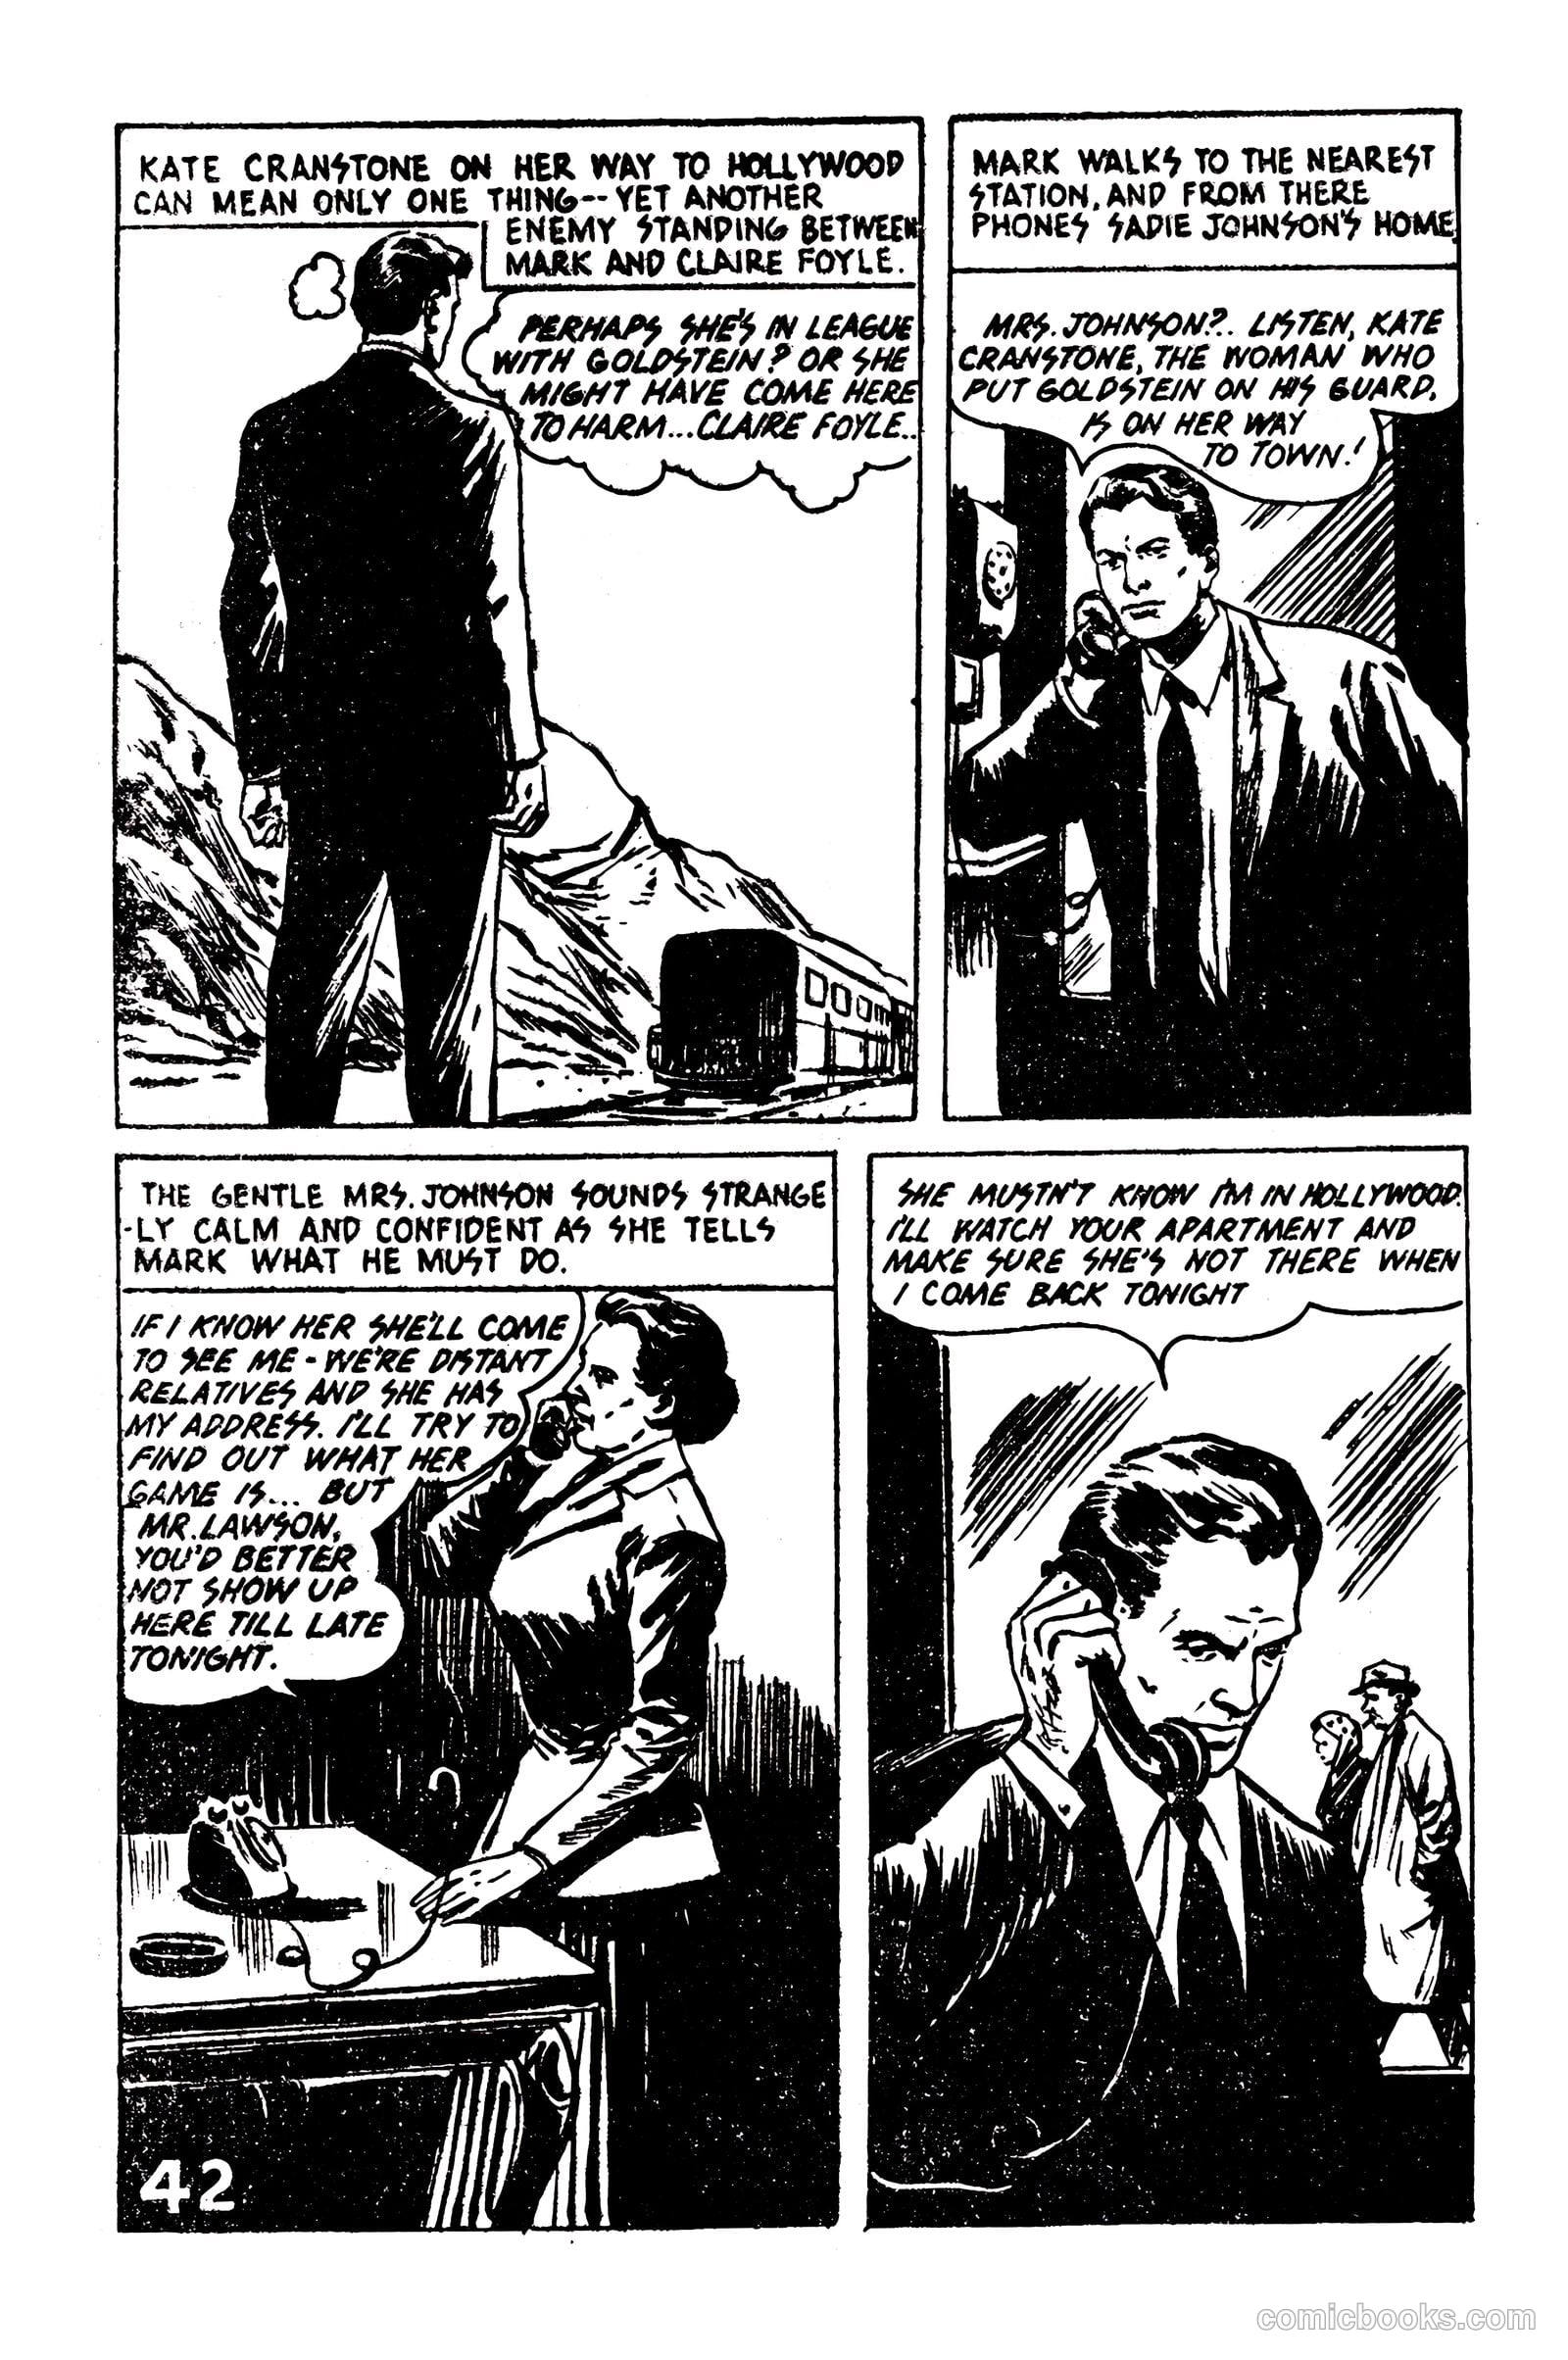
Picture Romance Library 23 - Her Forgotten Husband #1 — page 42 of 68
42 / 68
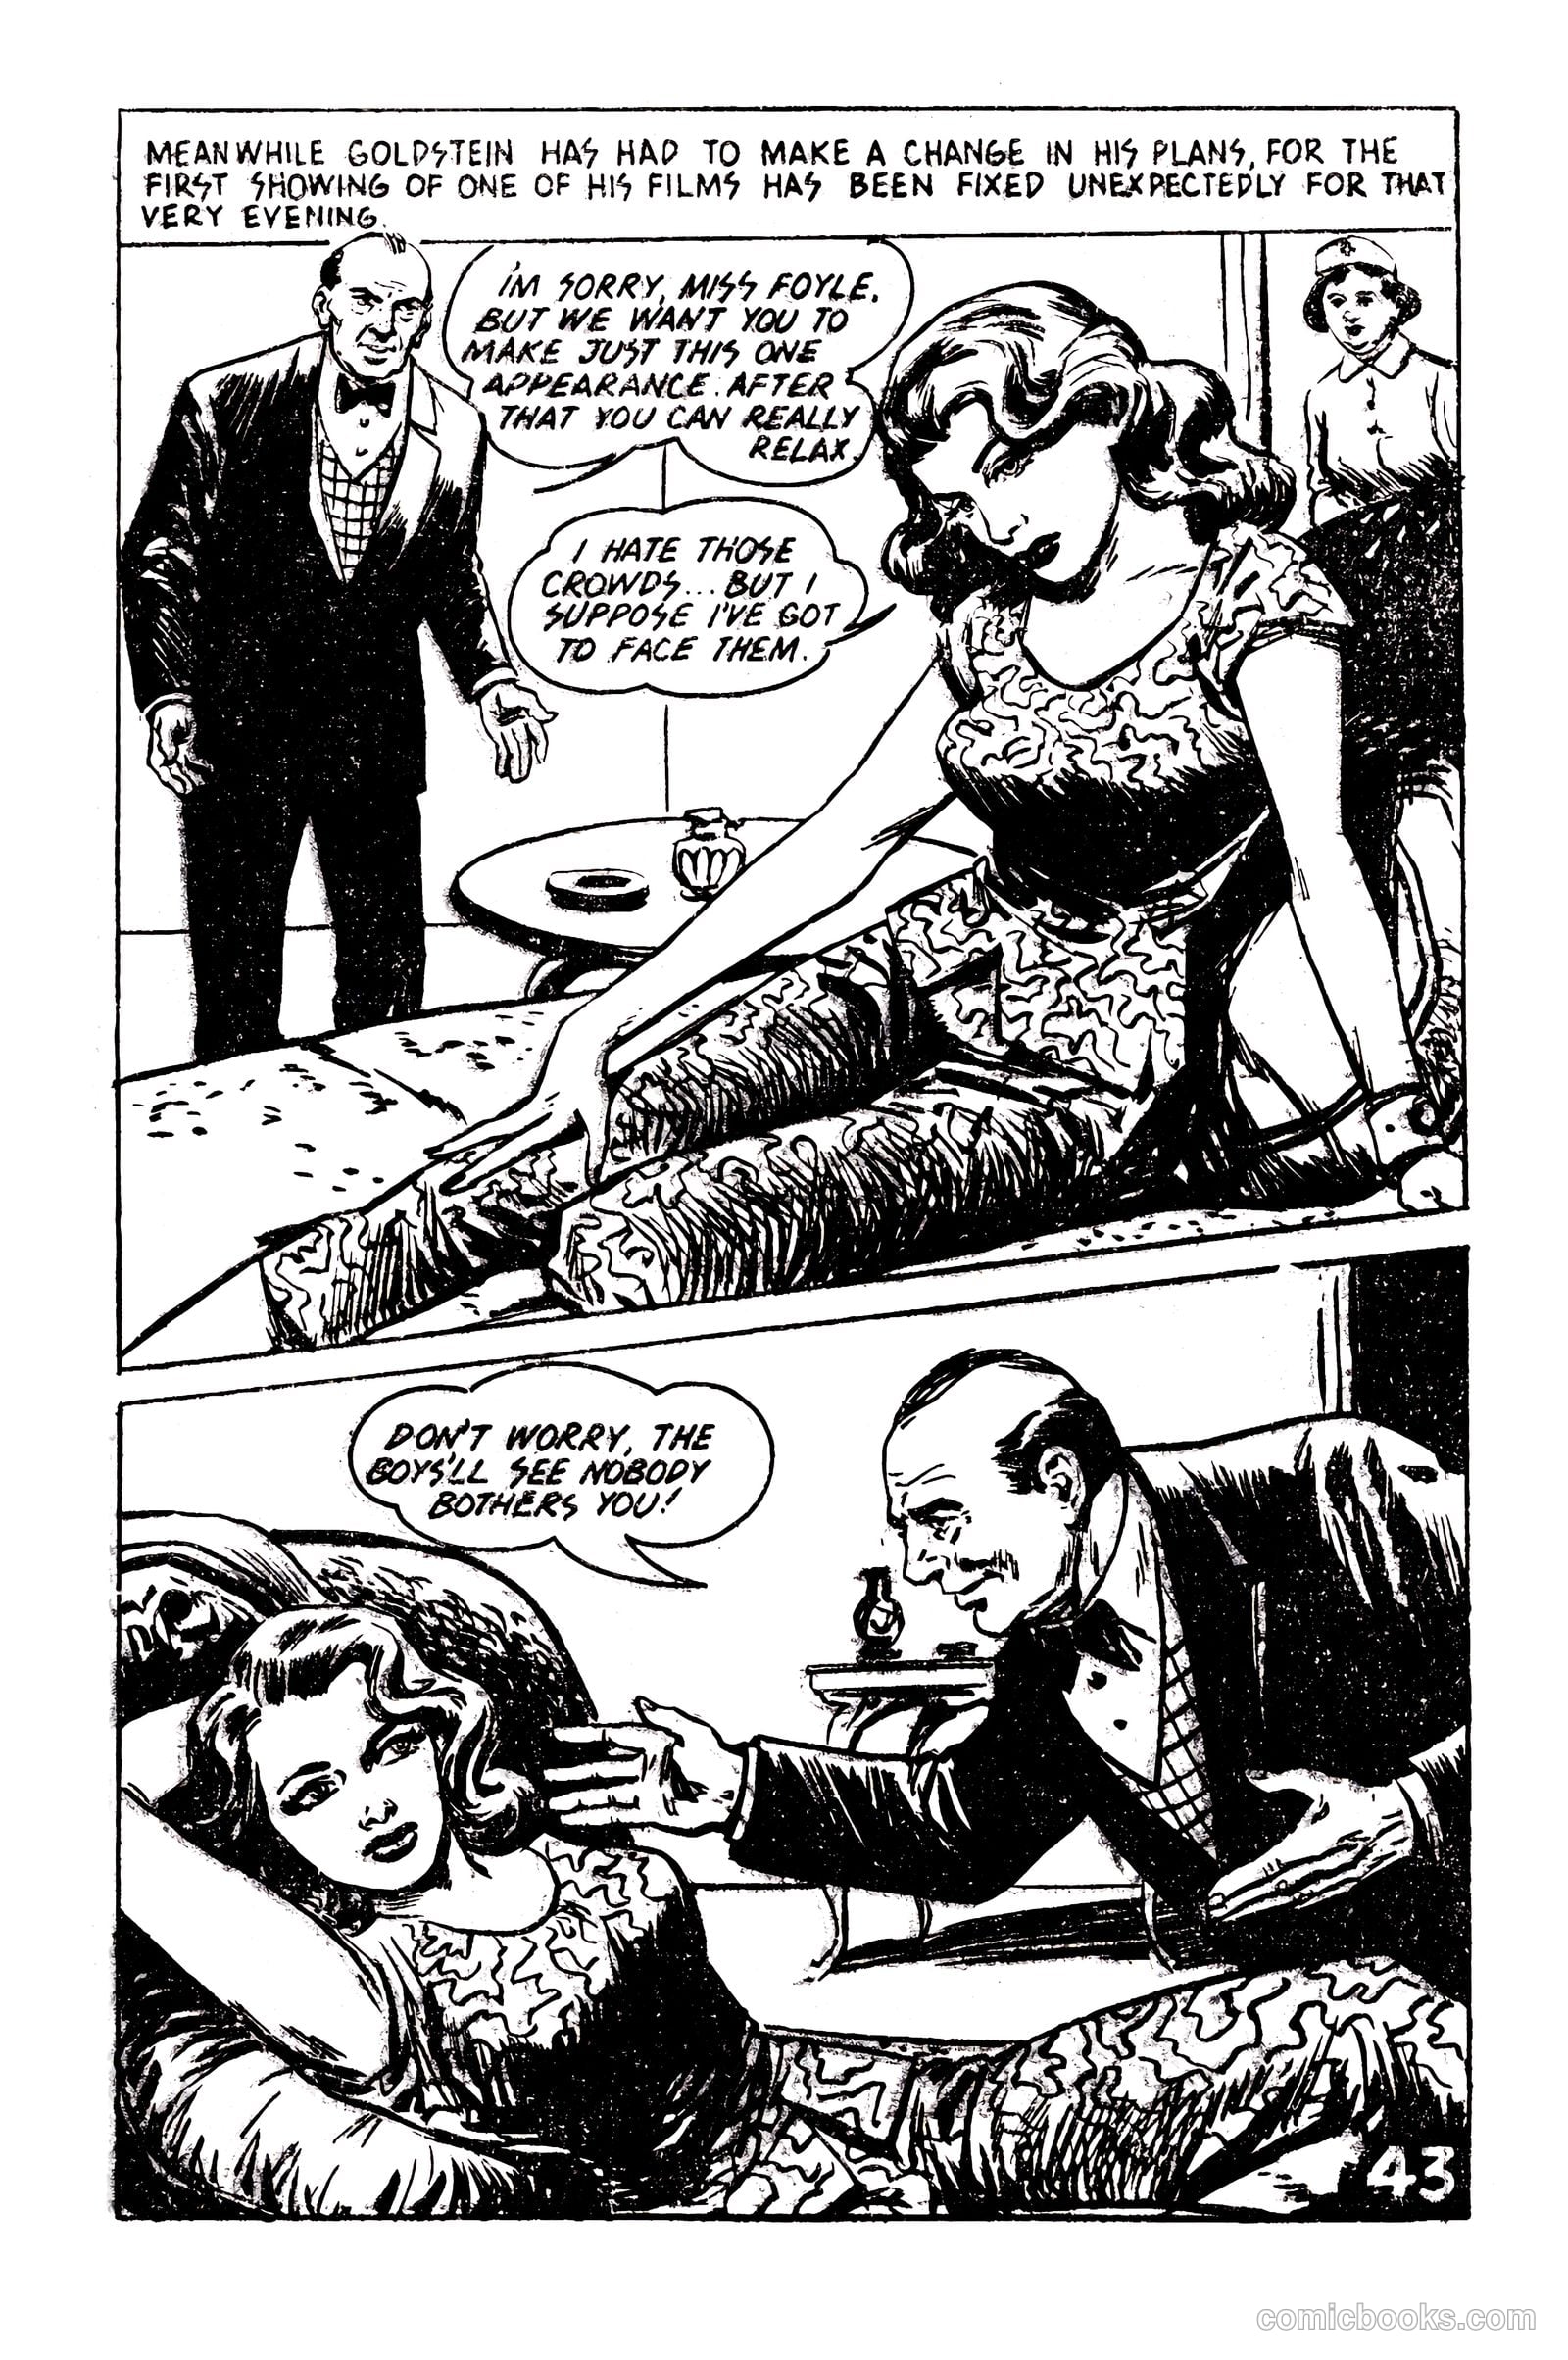
Picture Romance Library 23 - Her Forgotten Husband #1 — page 43 of 68
43 / 68
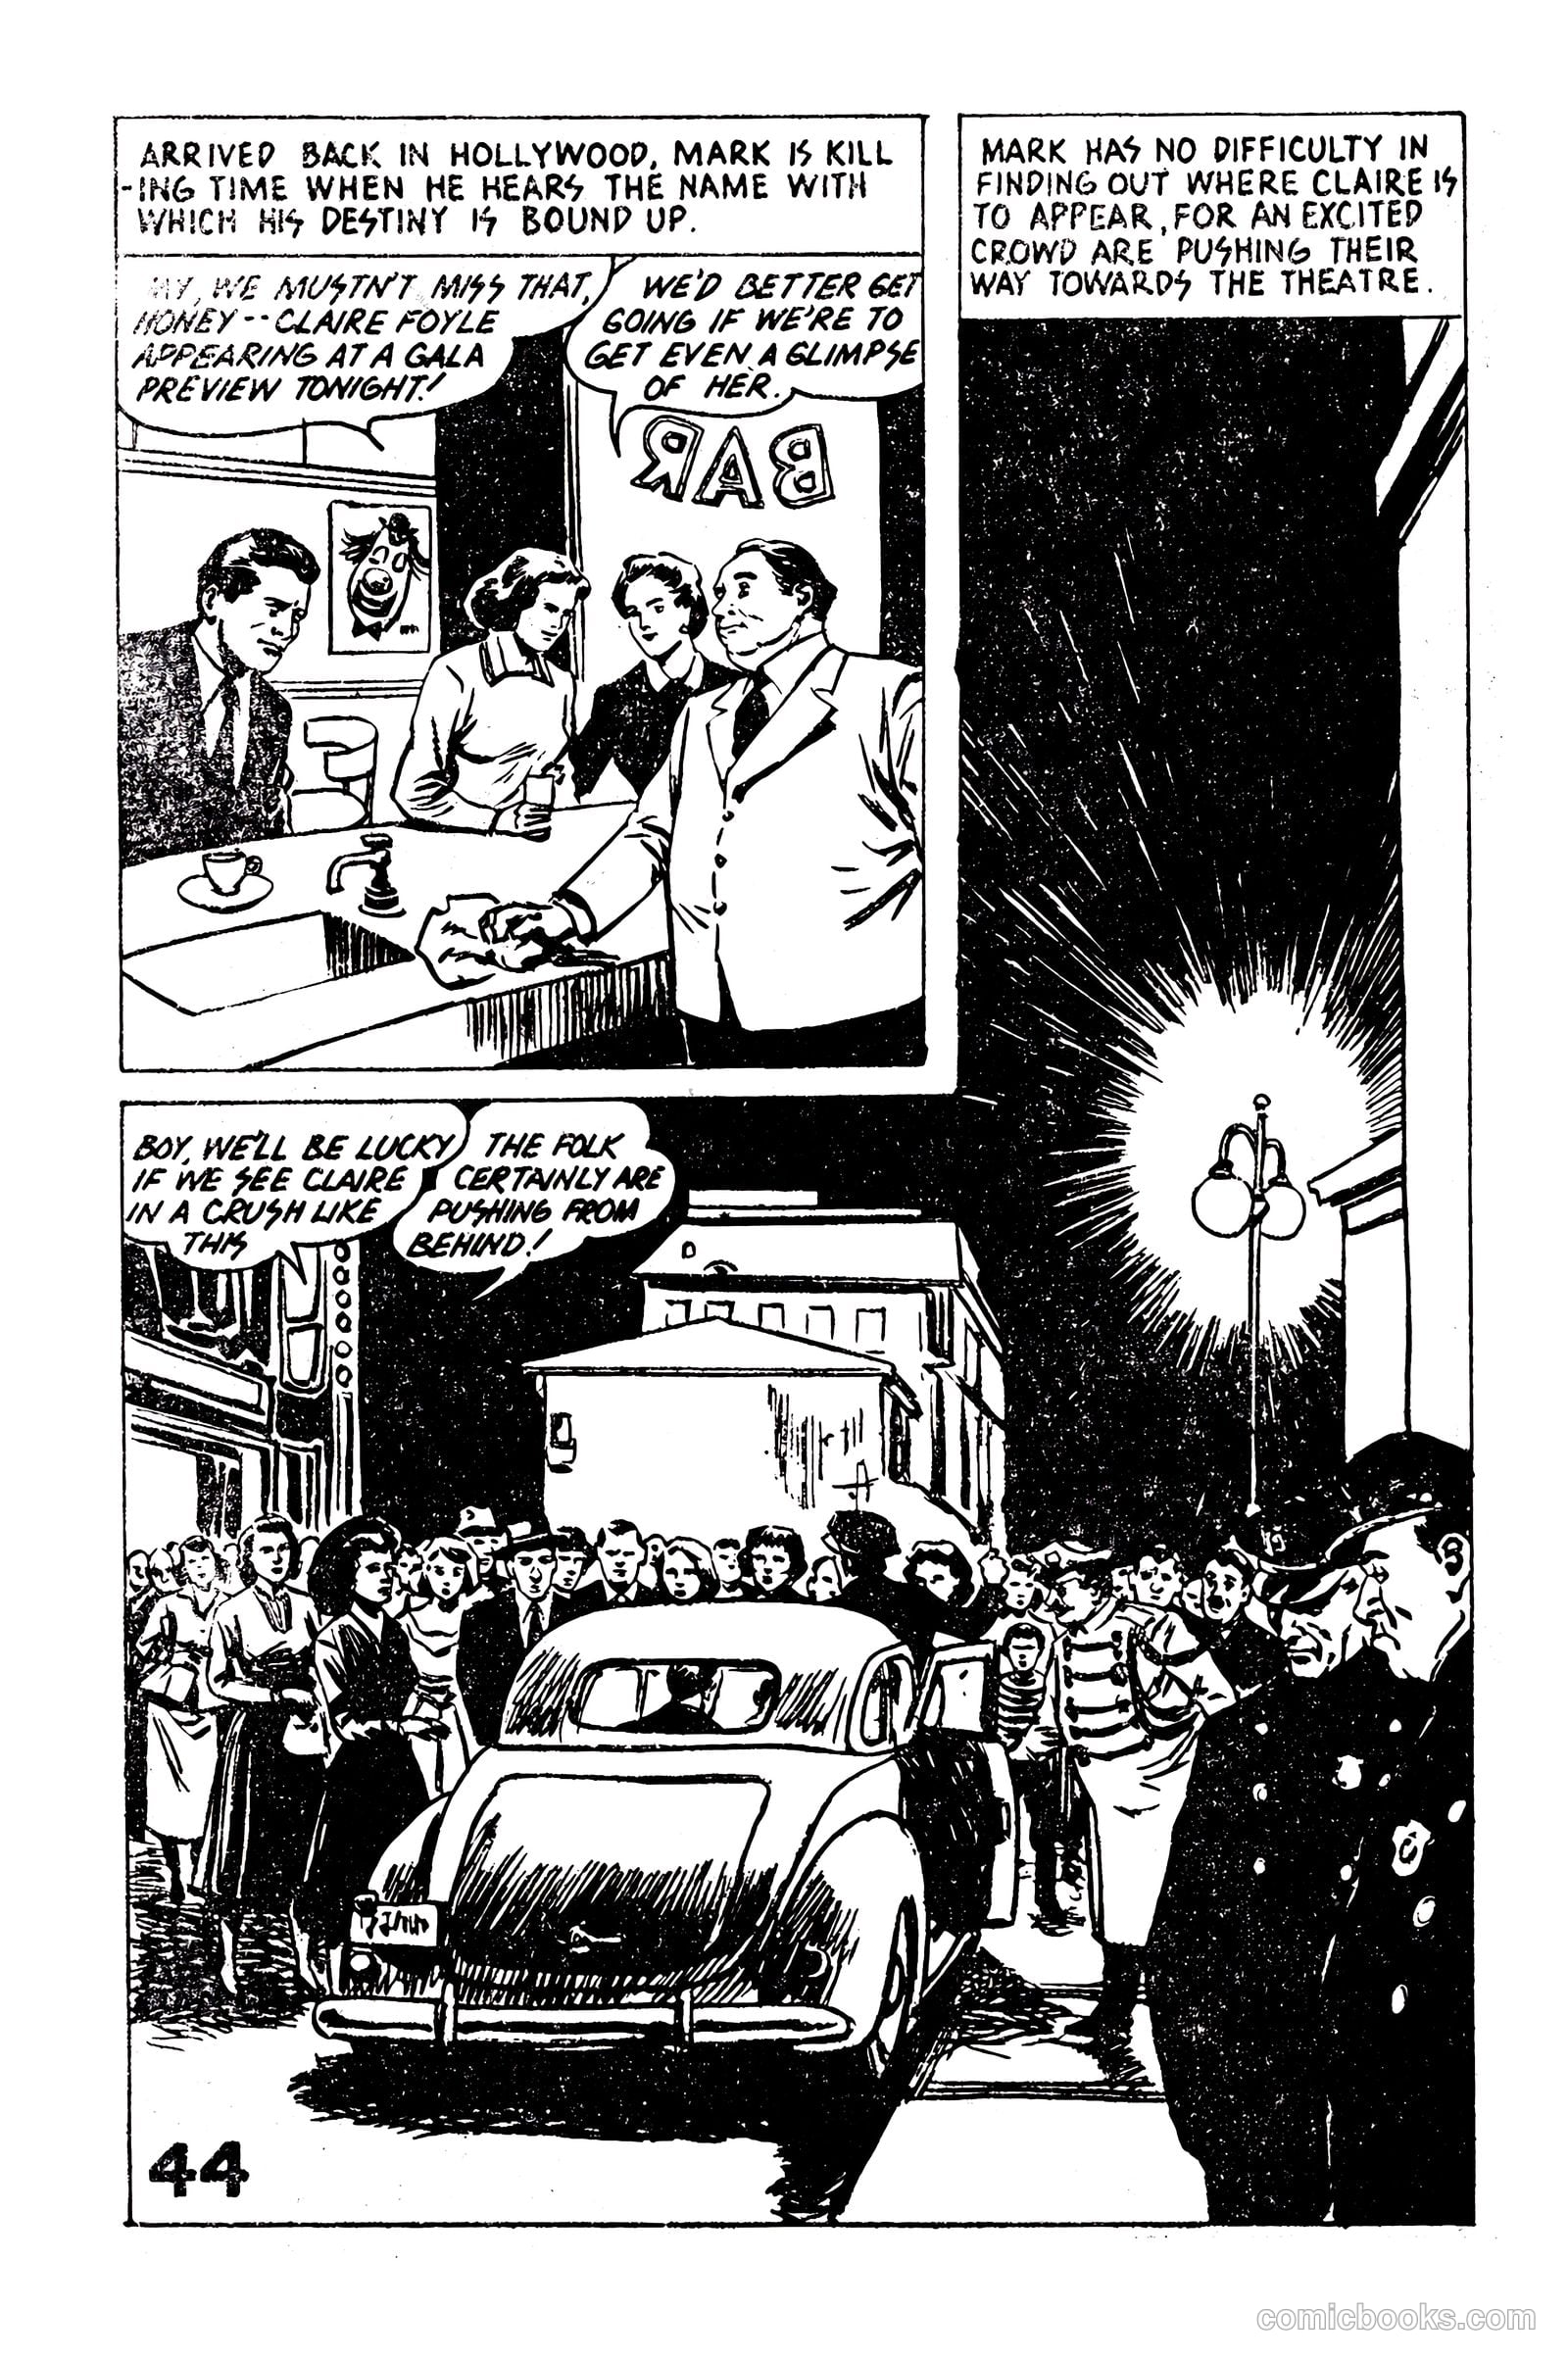
Picture Romance Library 23 - Her Forgotten Husband #1 — page 44 of 68
44 / 68
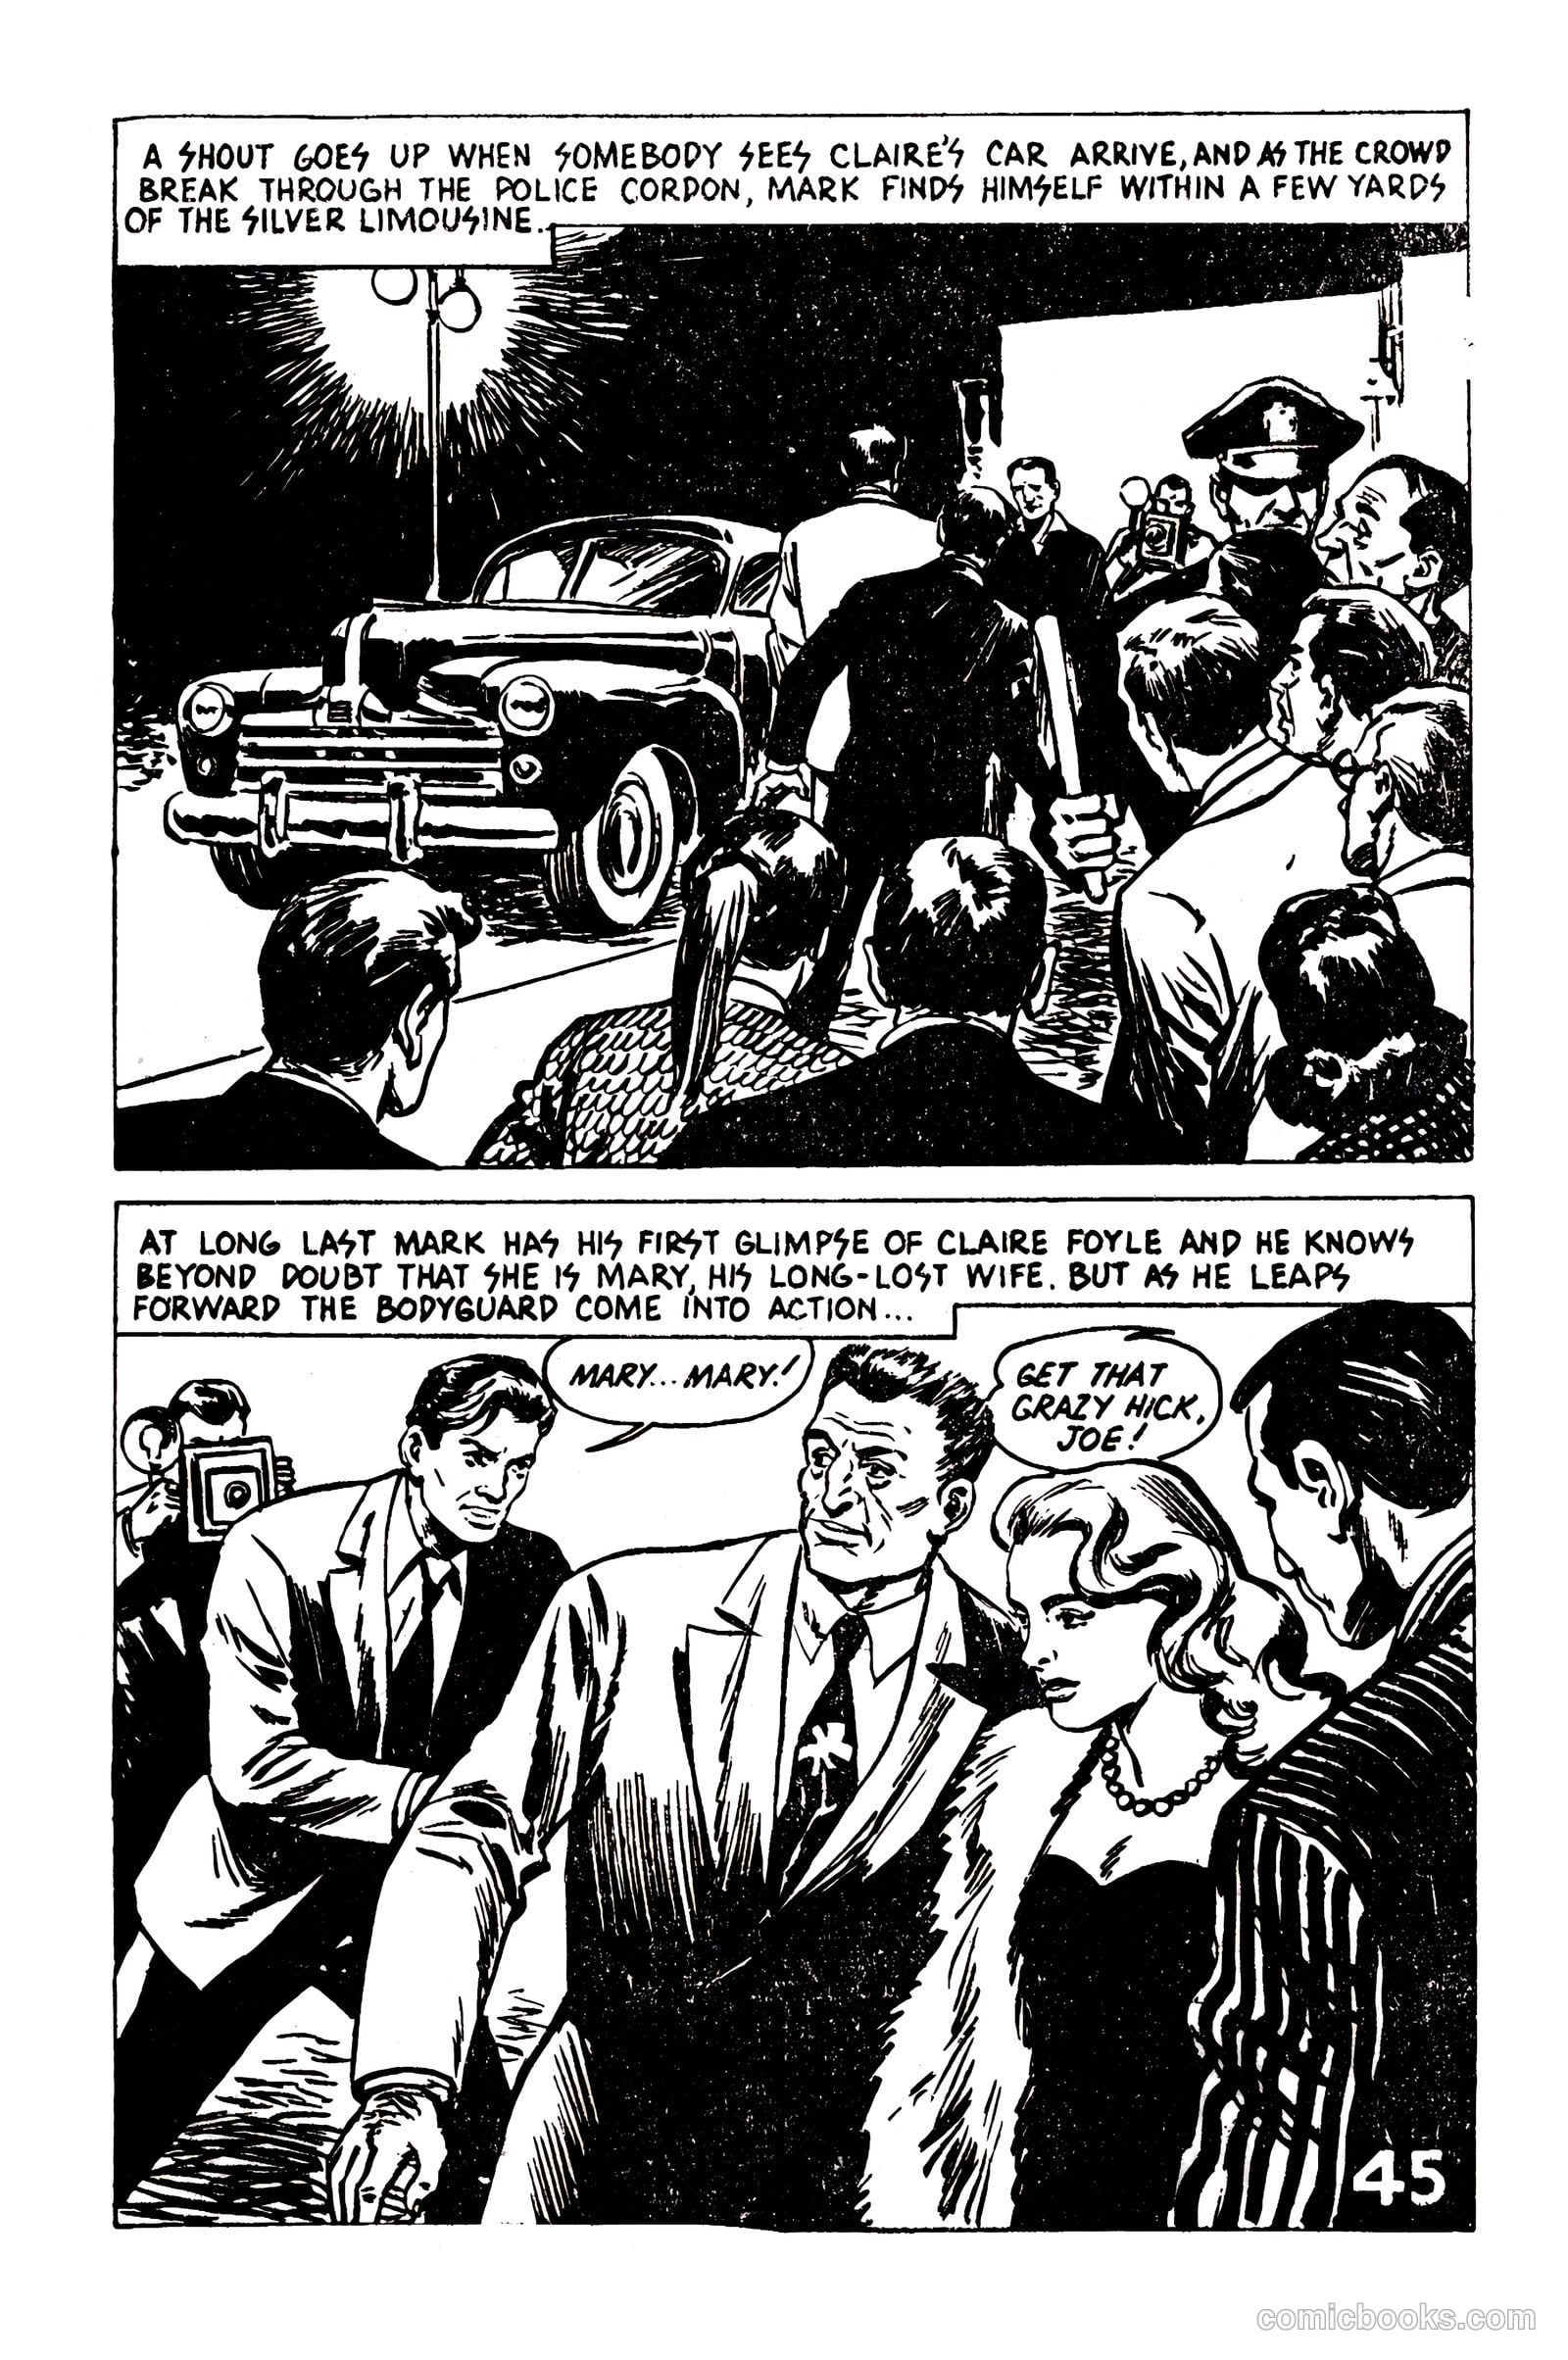
Picture Romance Library 23 - Her Forgotten Husband #1 — page 45 of 68
45 / 68
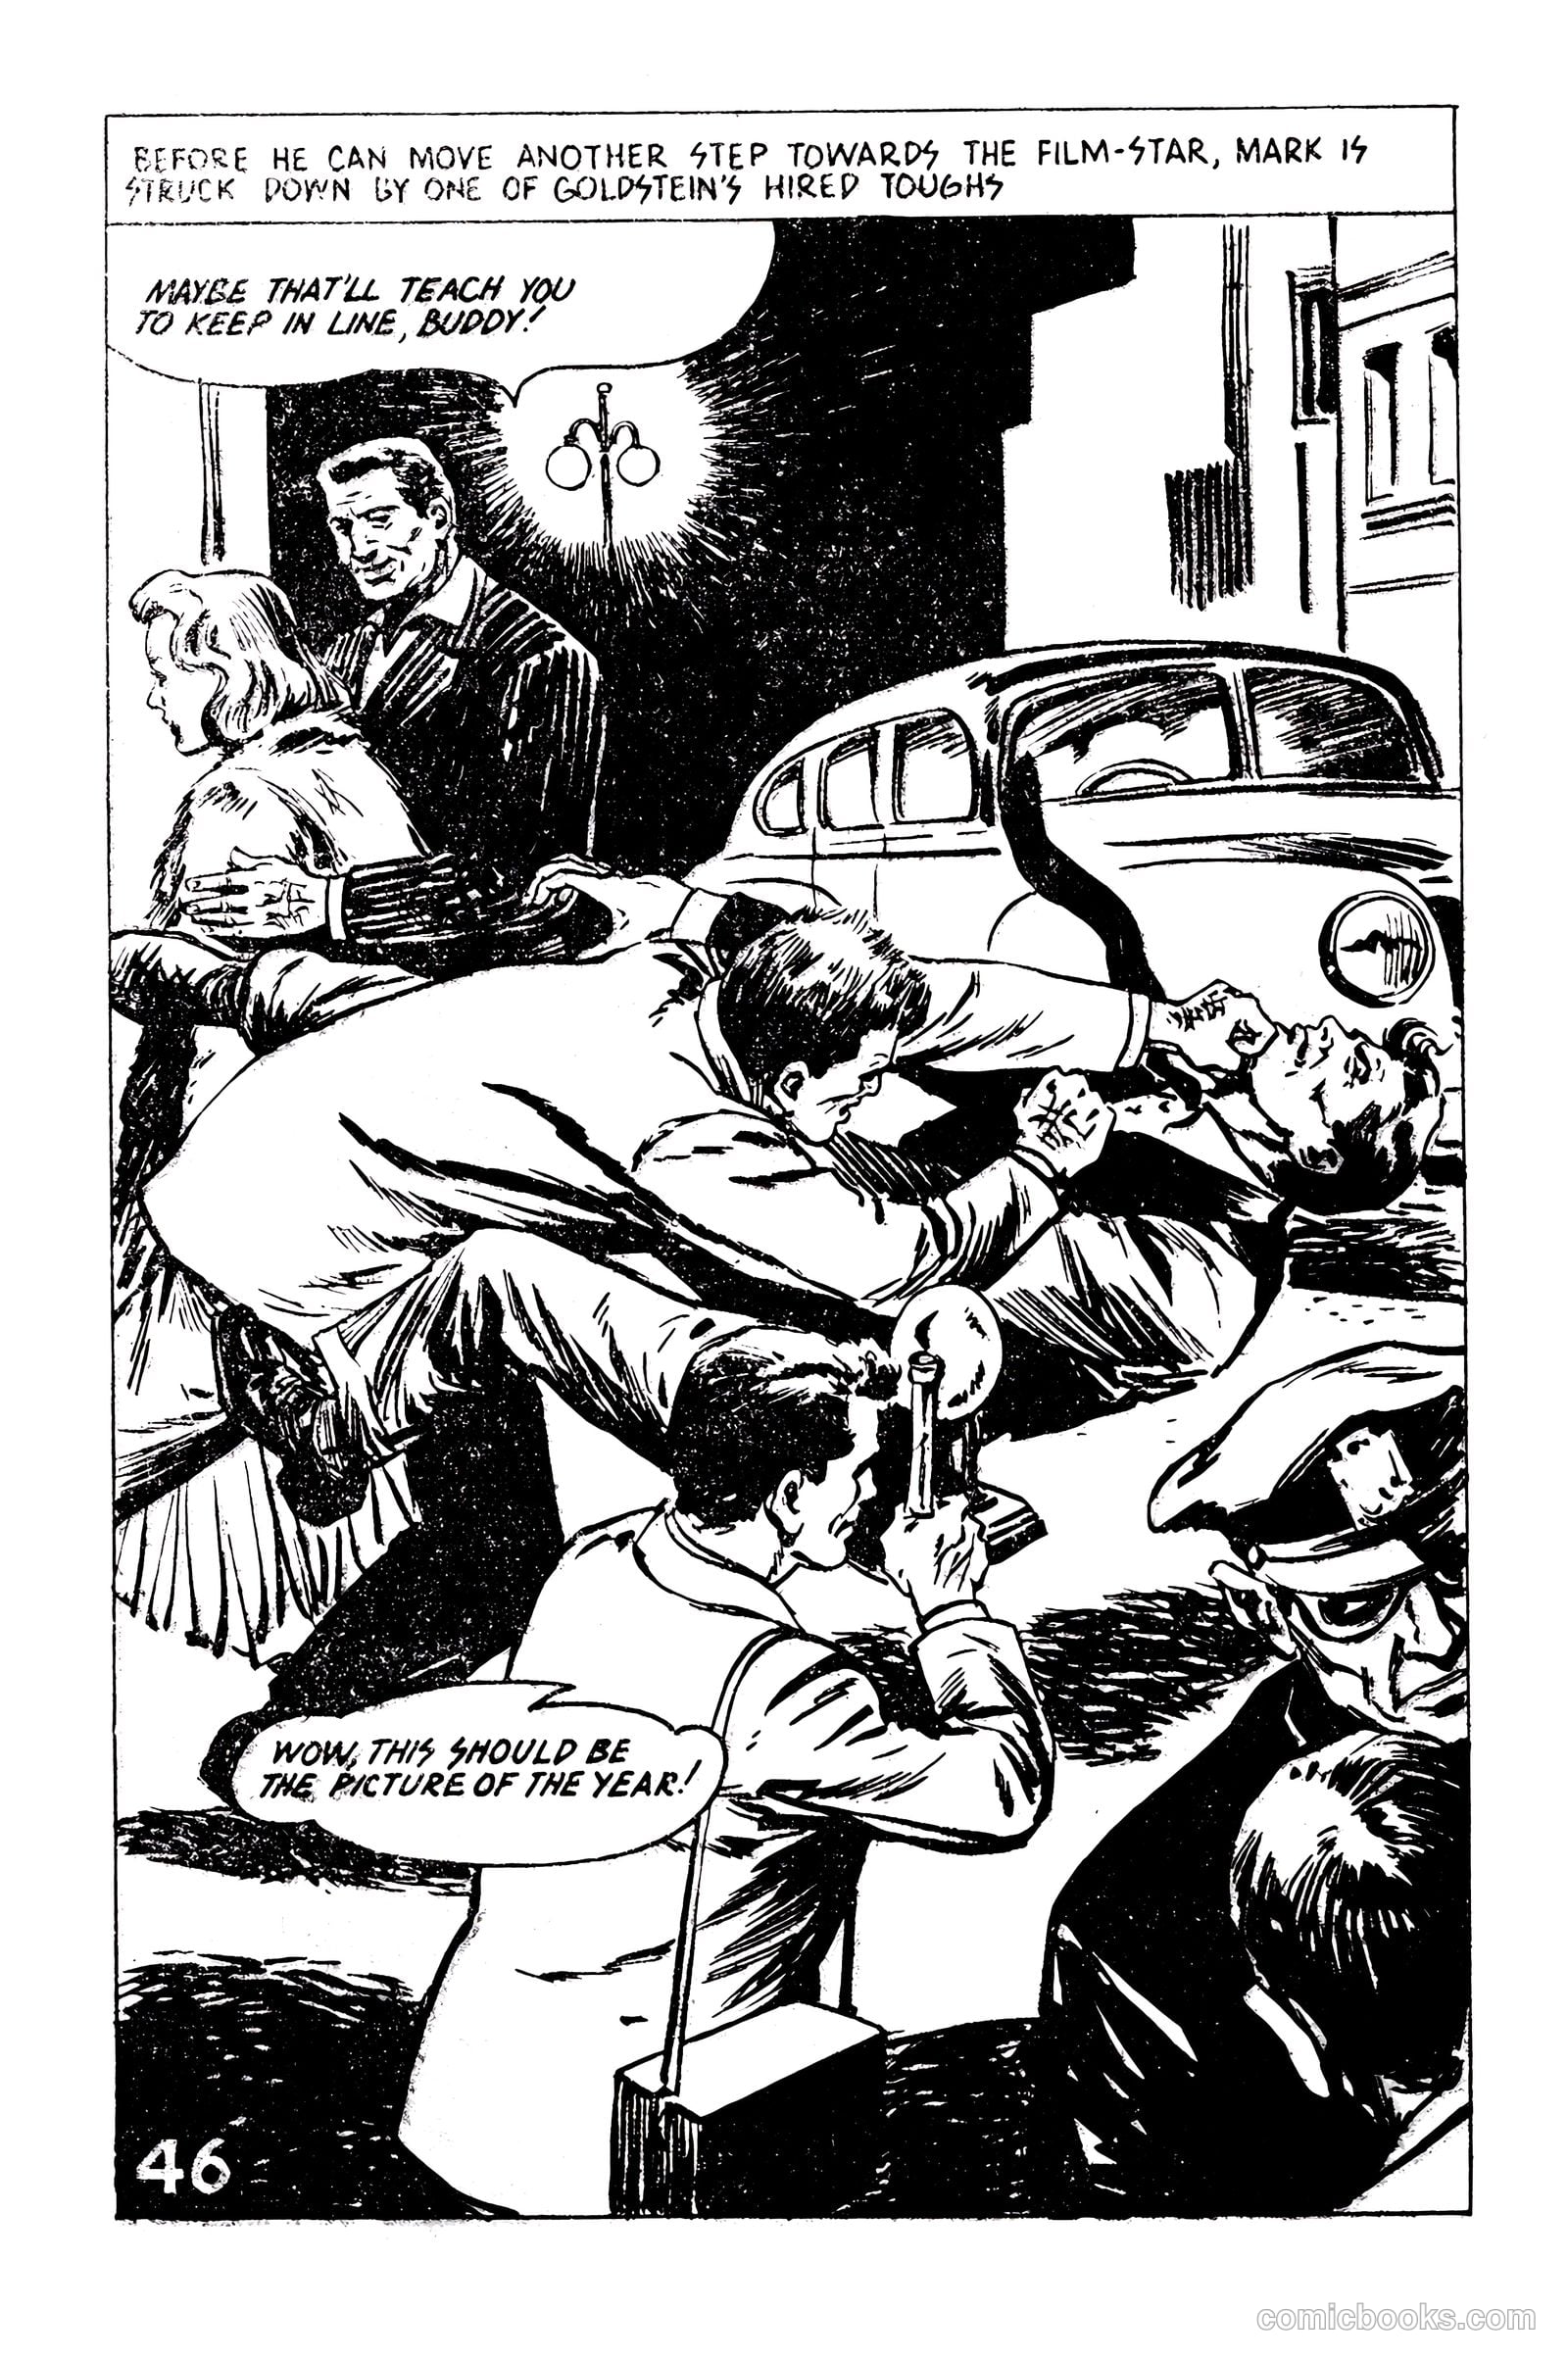
Picture Romance Library 23 - Her Forgotten Husband #1 — page 46 of 68
46 / 68
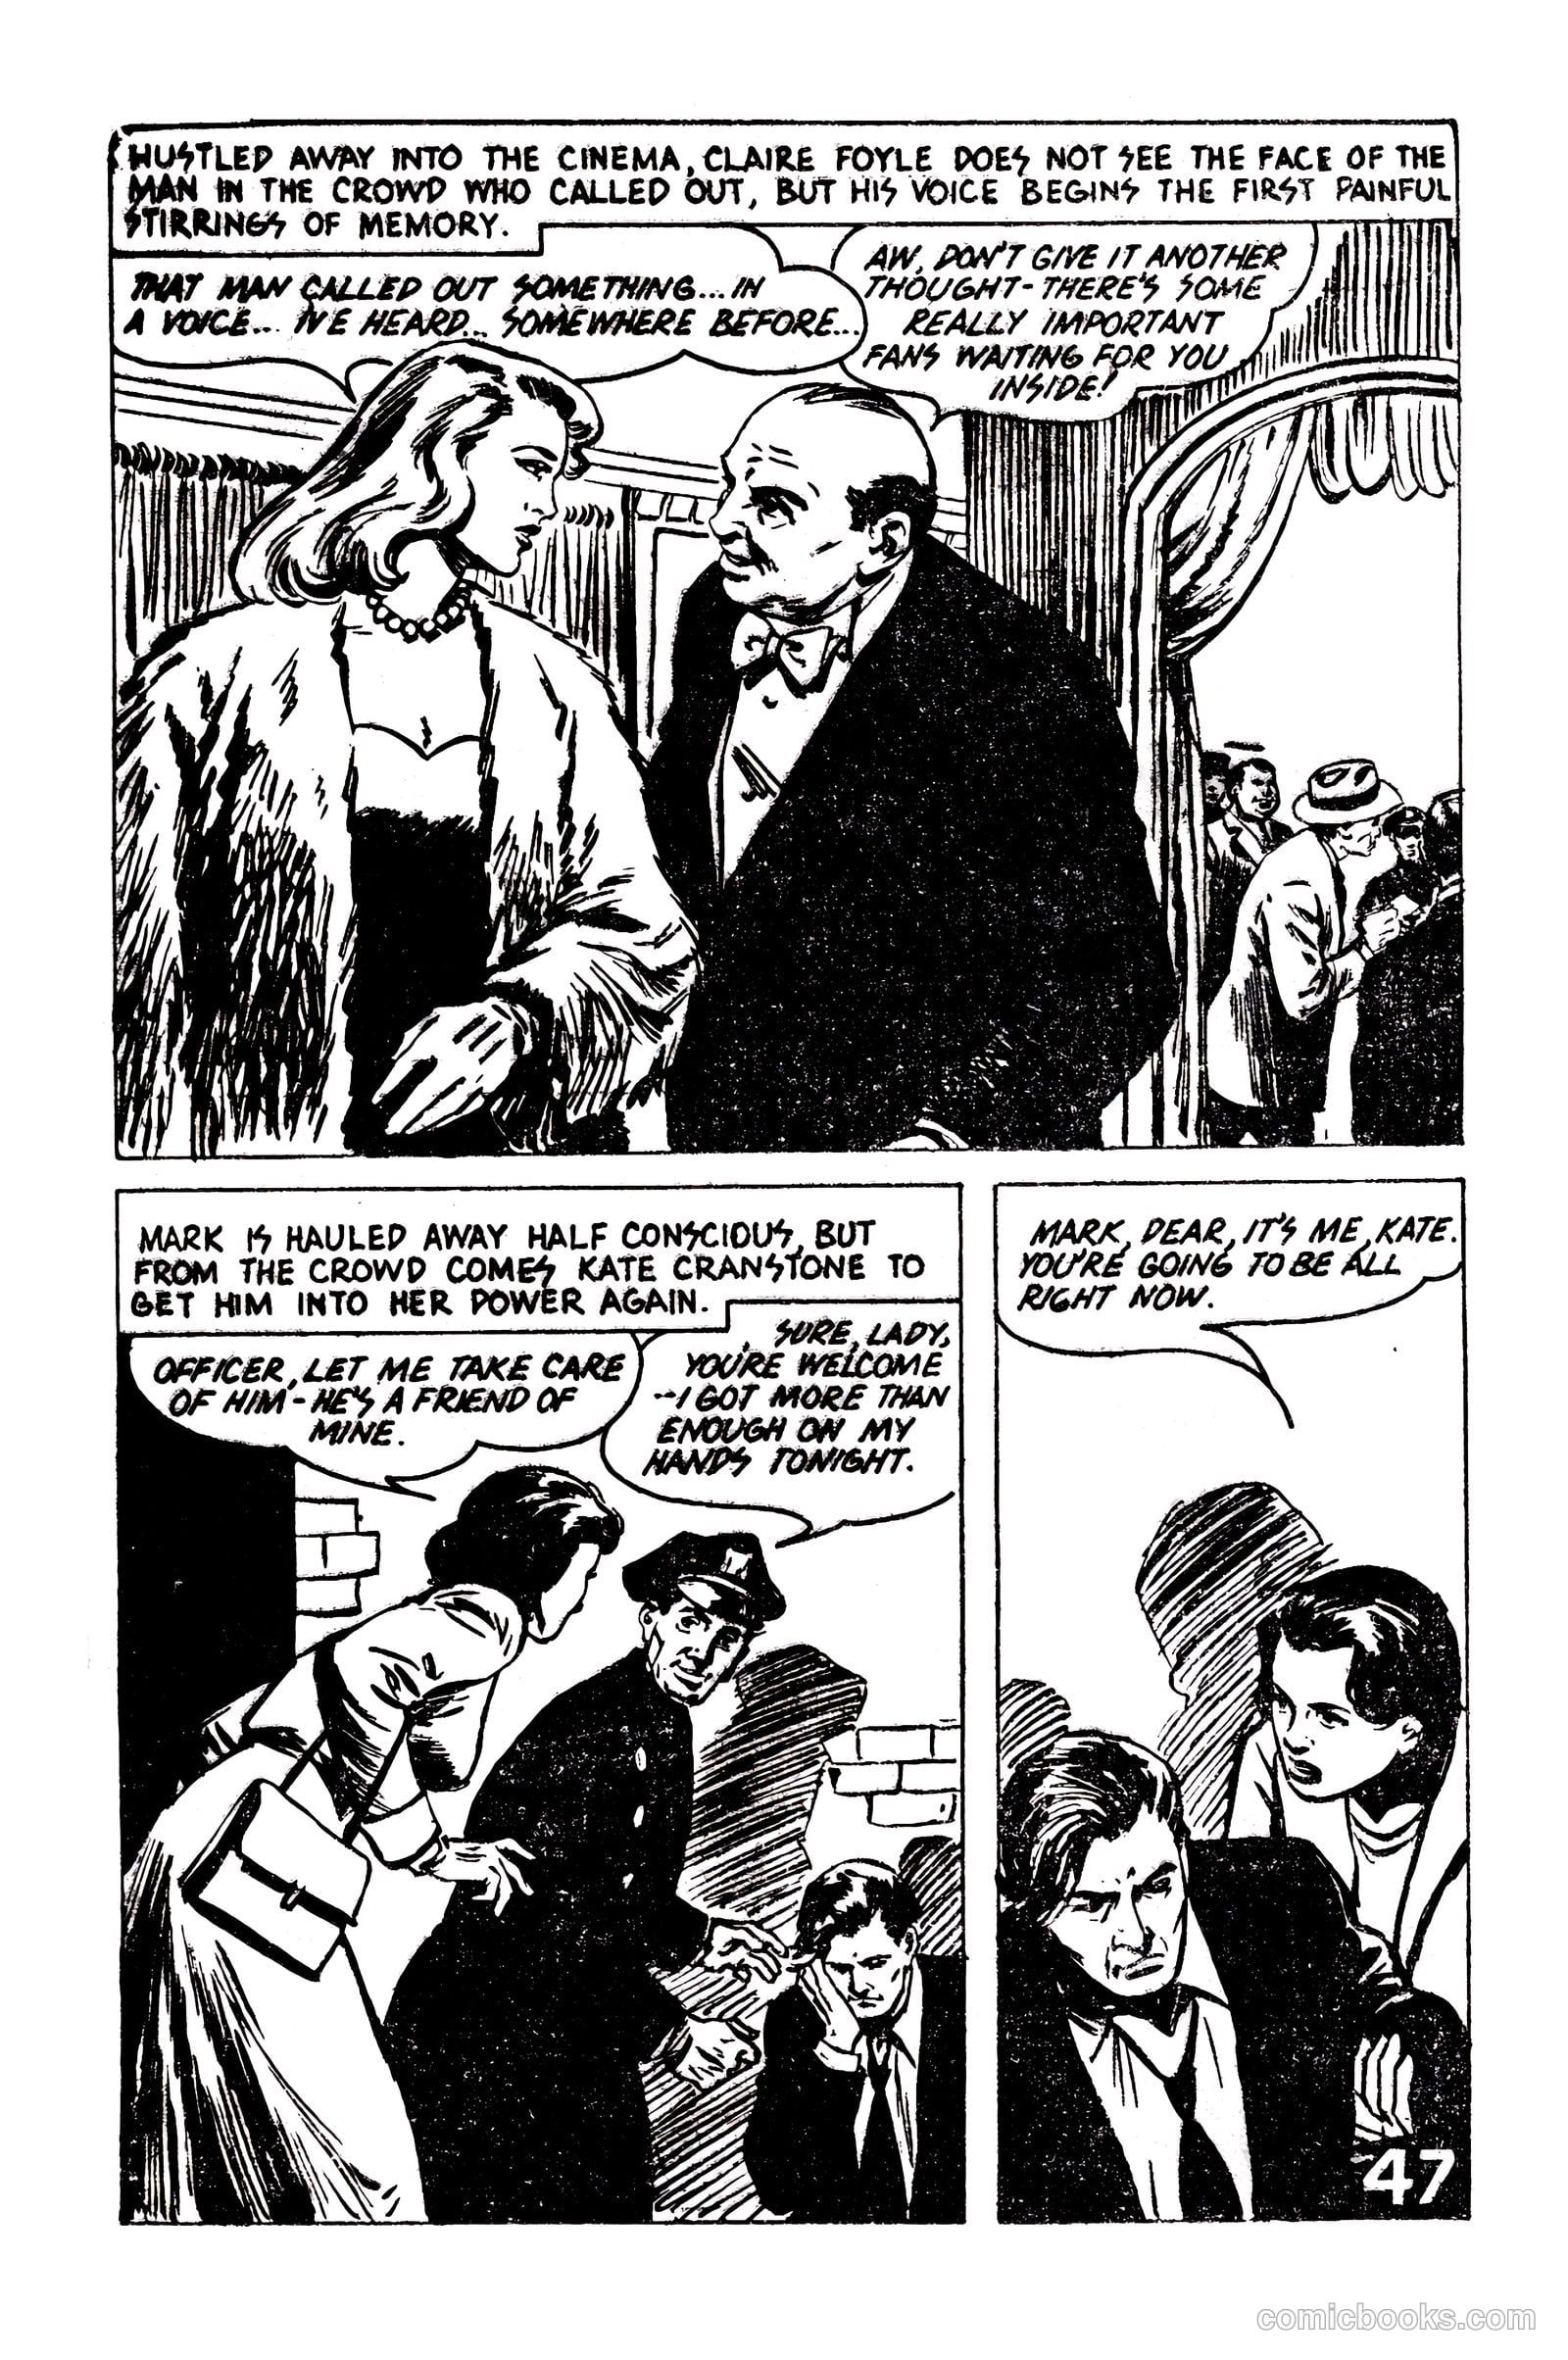
Picture Romance Library 23 - Her Forgotten Husband #1 — page 47 of 68
47 / 68
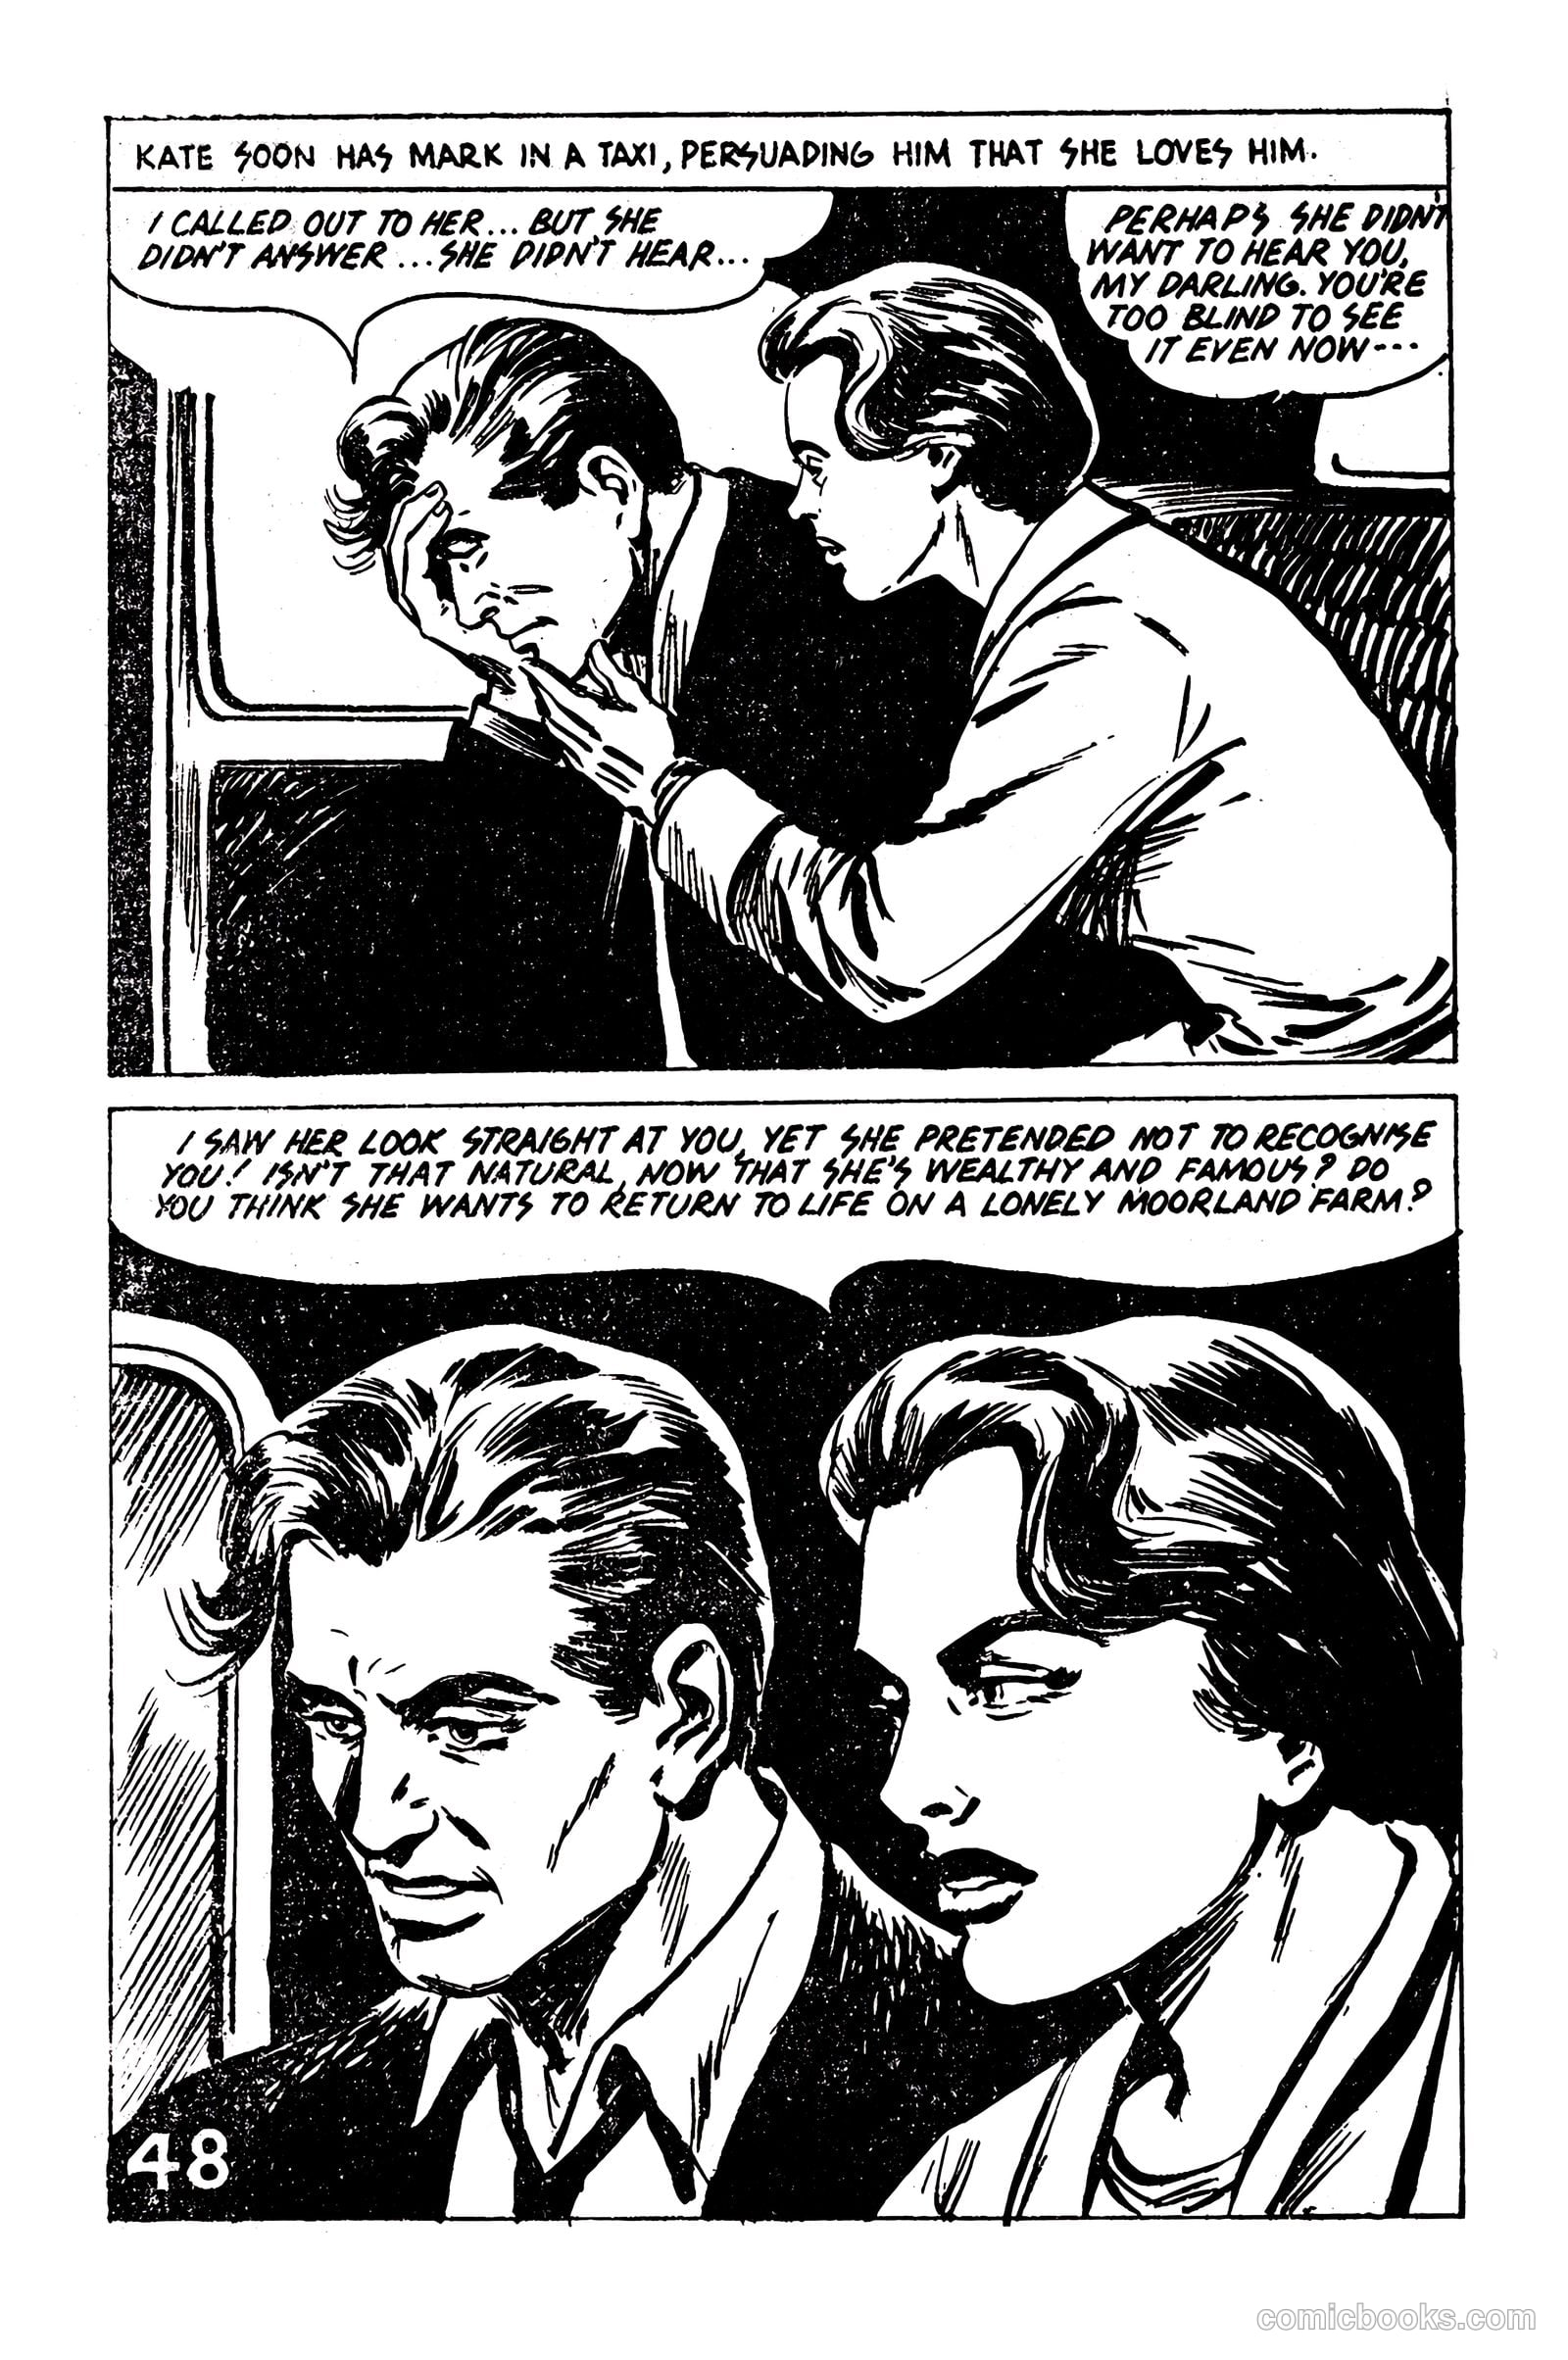
Picture Romance Library 23 - Her Forgotten Husband #1 — page 48 of 68
48 / 68
Picture Romance Library 23 - Her Forgotten Husband #1 — page 49 of 68
49 / 68
Picture Romance Library 23 - Her Forgotten Husband #1 — page 50 of 68
50 / 68
Picture Romance Library 23 - Her Forgotten Husband #1 — page 51 of 68
51 / 68
Picture Romance Library 23 - Her Forgotten Husband #1 — page 52 of 68
52 / 68
Picture Romance Library 23 - Her Forgotten Husband #1 — page 53 of 68
53 / 68
Picture Romance Library 23 - Her Forgotten Husband #1 — page 54 of 68
54 / 68
Picture Romance Library 23 - Her Forgotten Husband #1 — page 55 of 68
55 / 68
Picture Romance Library 23 - Her Forgotten Husband #1 — page 56 of 68
56 / 68
Picture Romance Library 23 - Her Forgotten Husband #1 — page 57 of 68
57 / 68
Picture Romance Library 23 - Her Forgotten Husband #1 — page 58 of 68
58 / 68
Picture Romance Library 23 - Her Forgotten Husband #1 — page 59 of 68
59 / 68
Picture Romance Library 23 - Her Forgotten Husband #1 — page 60 of 68
60 / 68
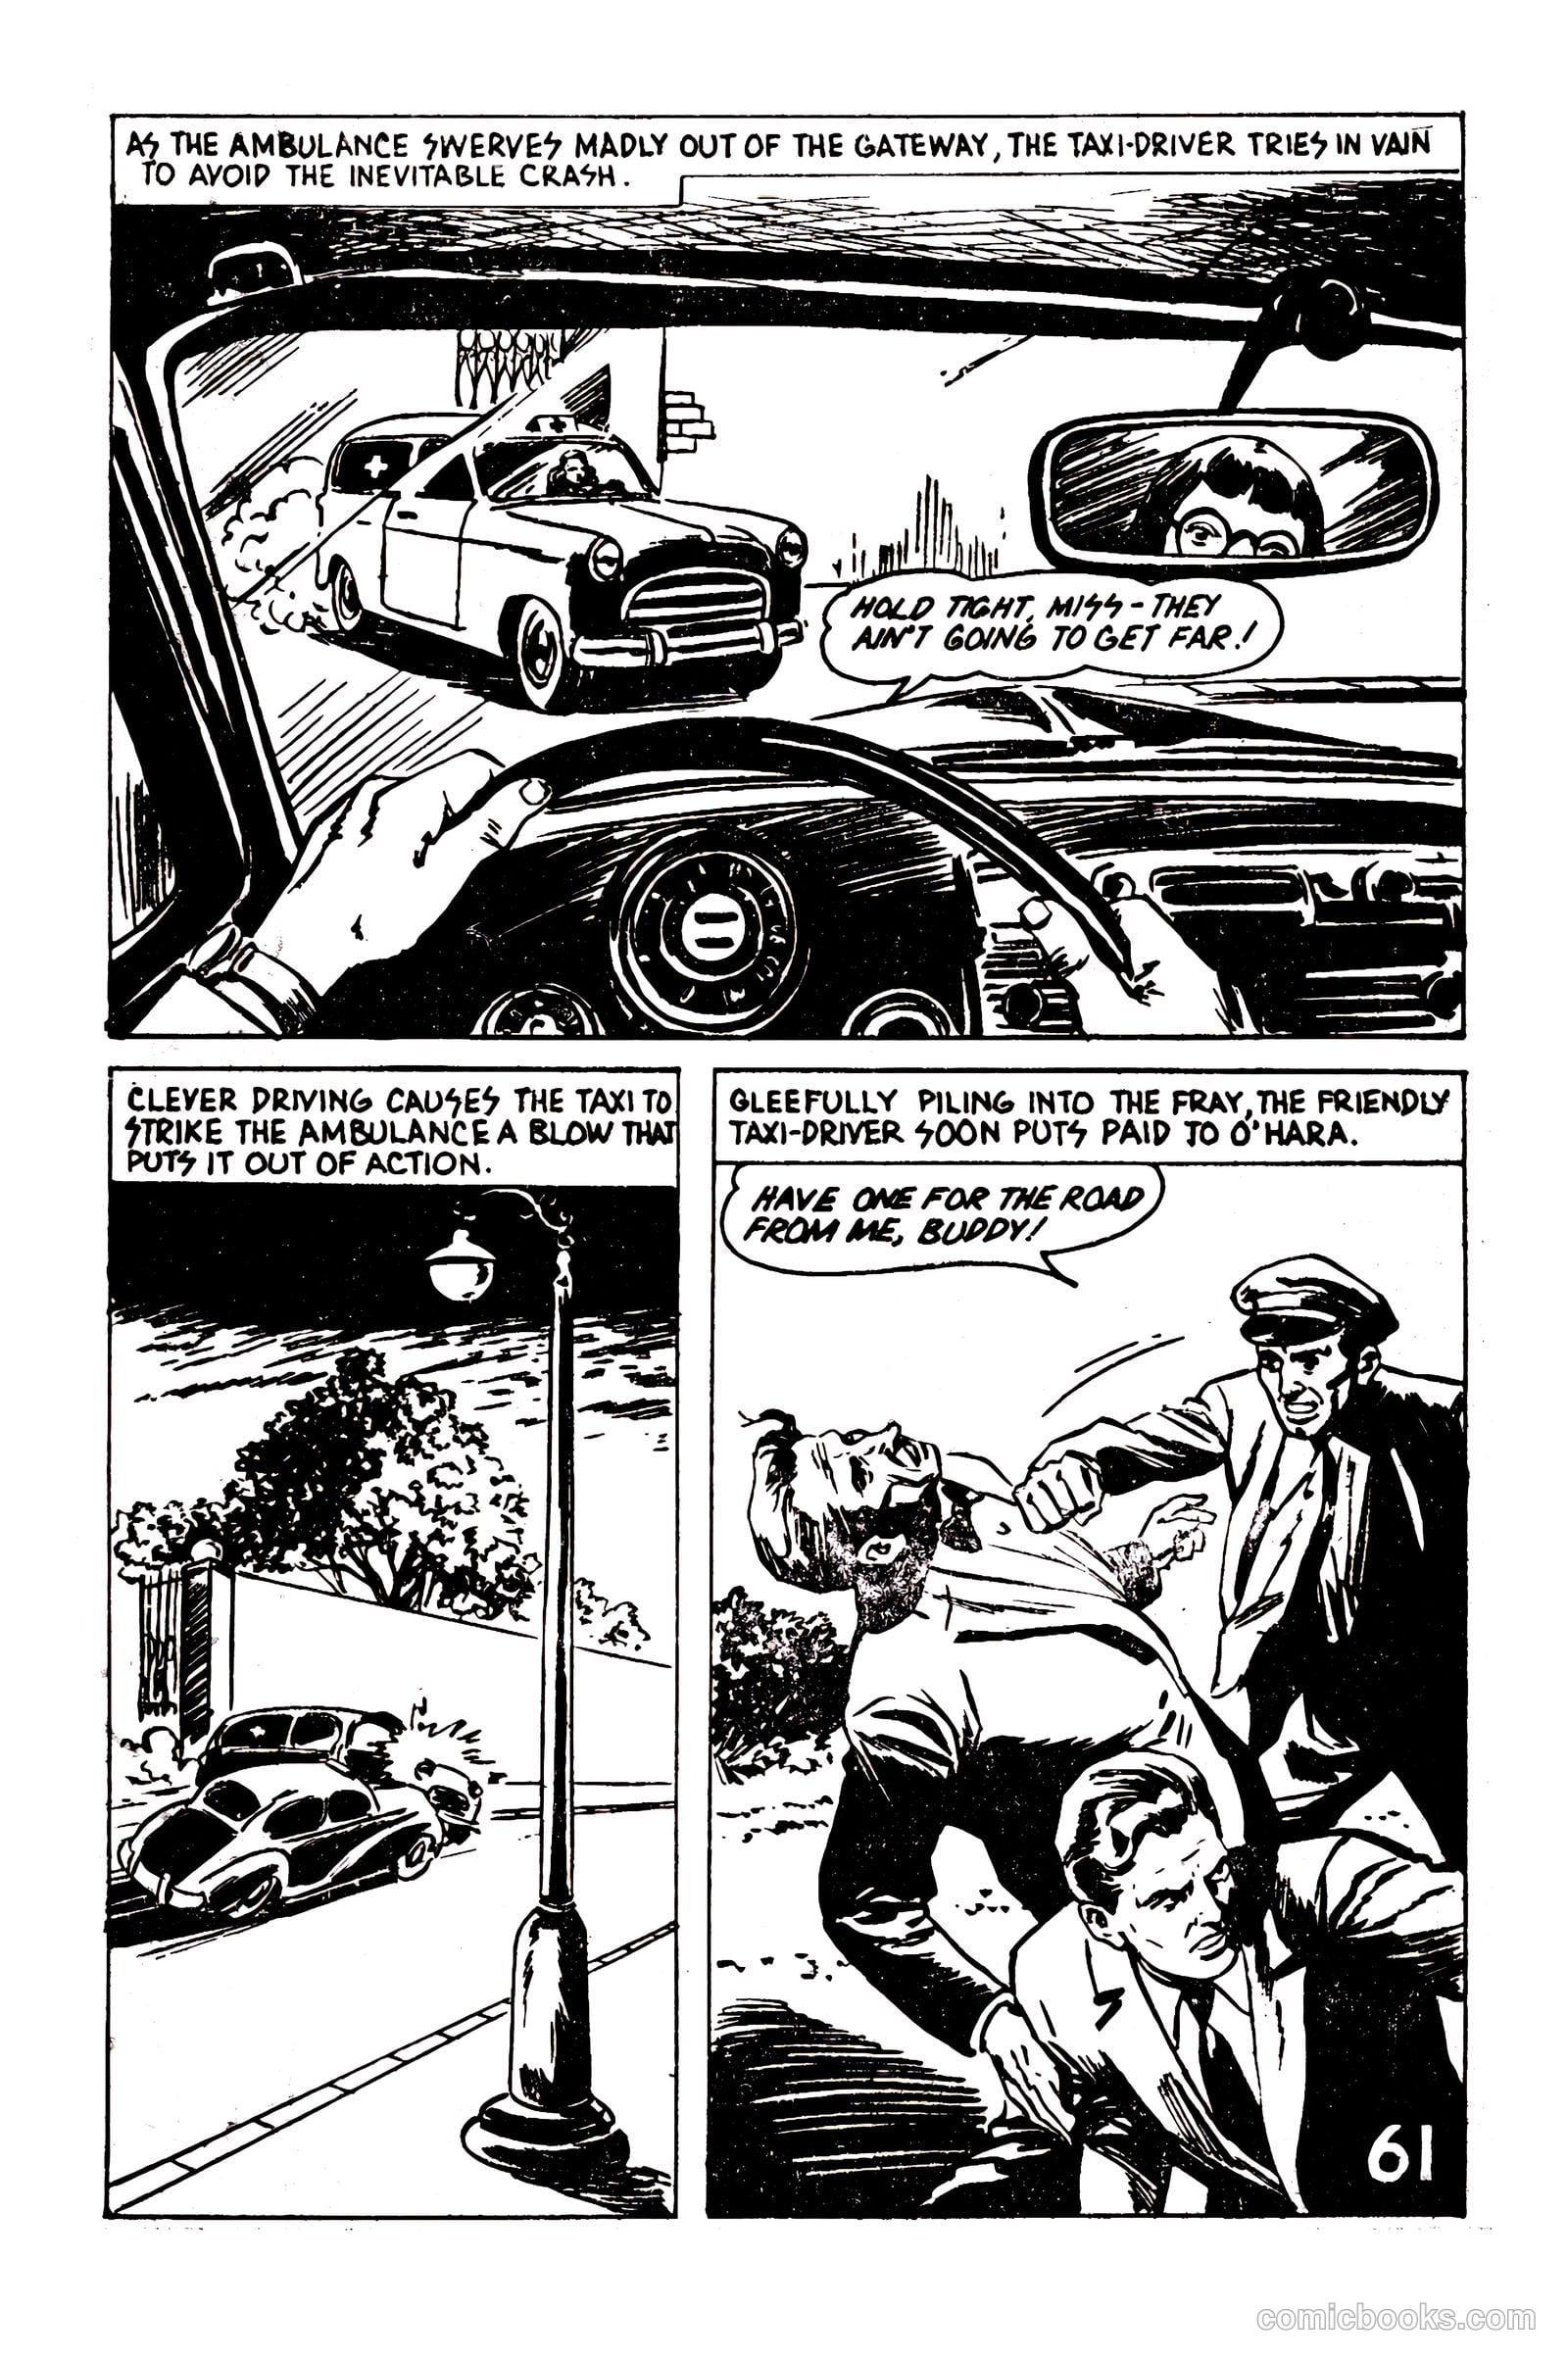
Picture Romance Library 23 - Her Forgotten Husband #1 — page 61 of 68
61 / 68
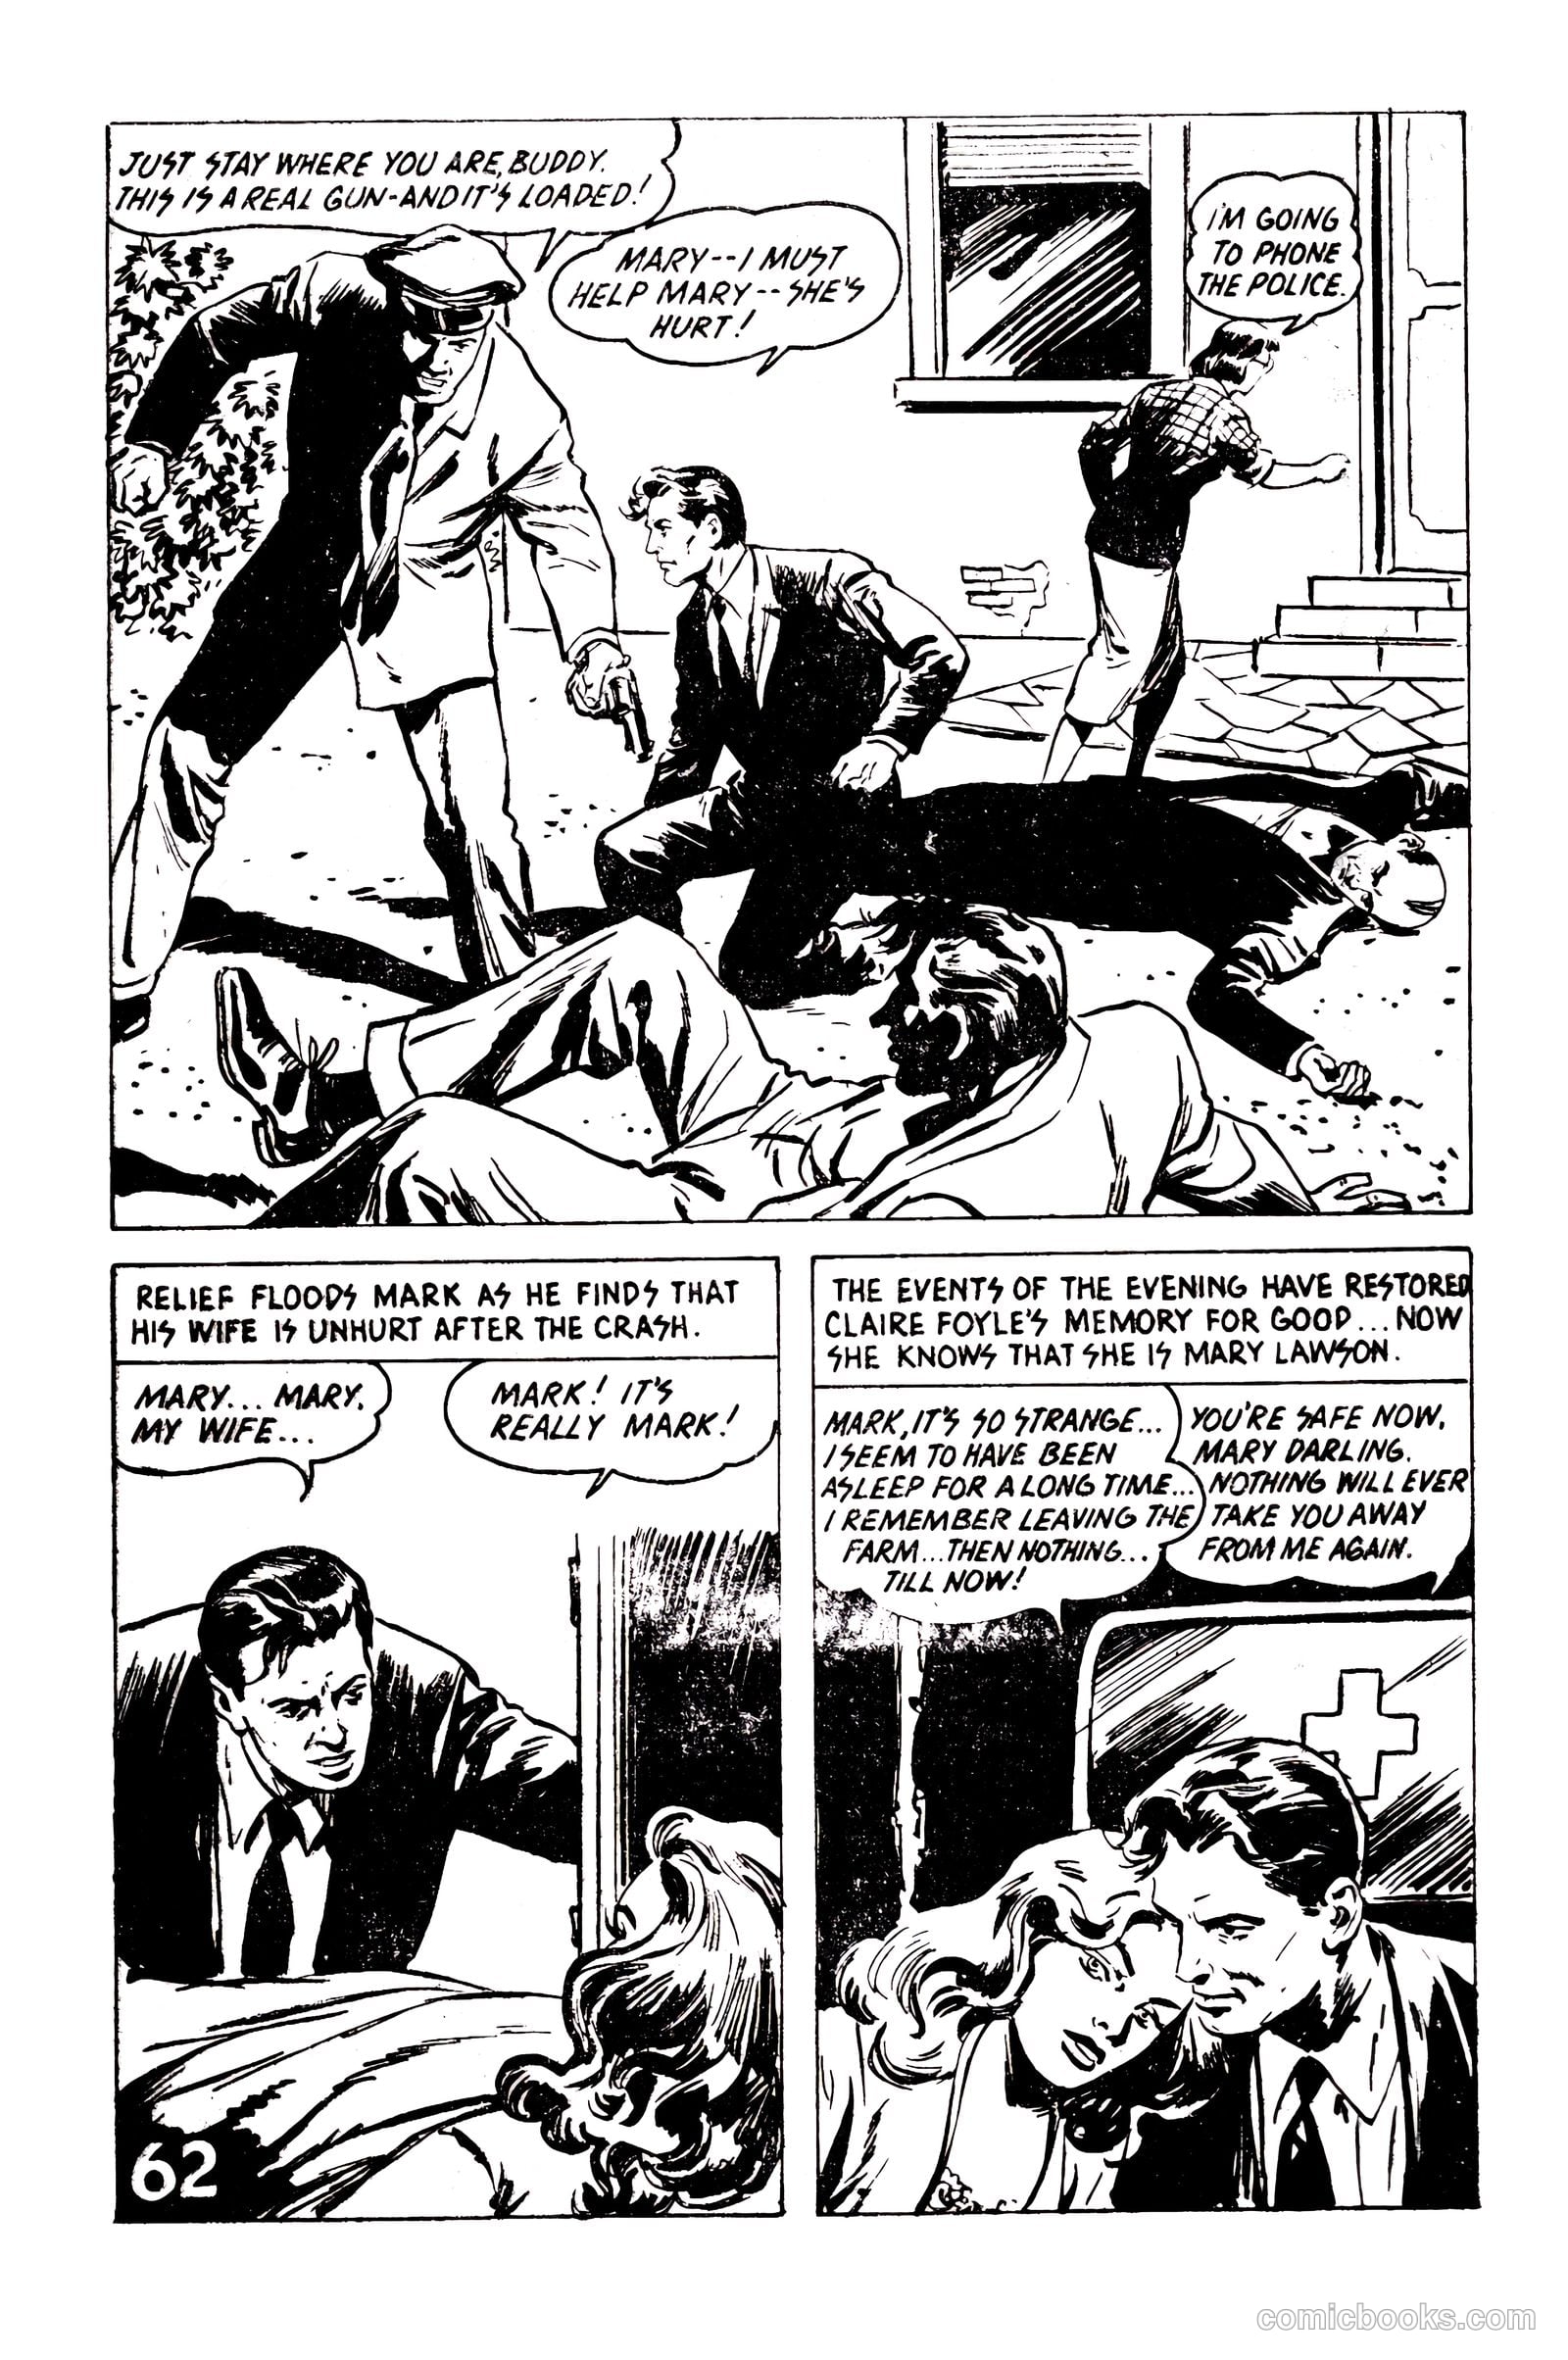
Picture Romance Library 23 - Her Forgotten Husband #1 — page 62 of 68
62 / 68
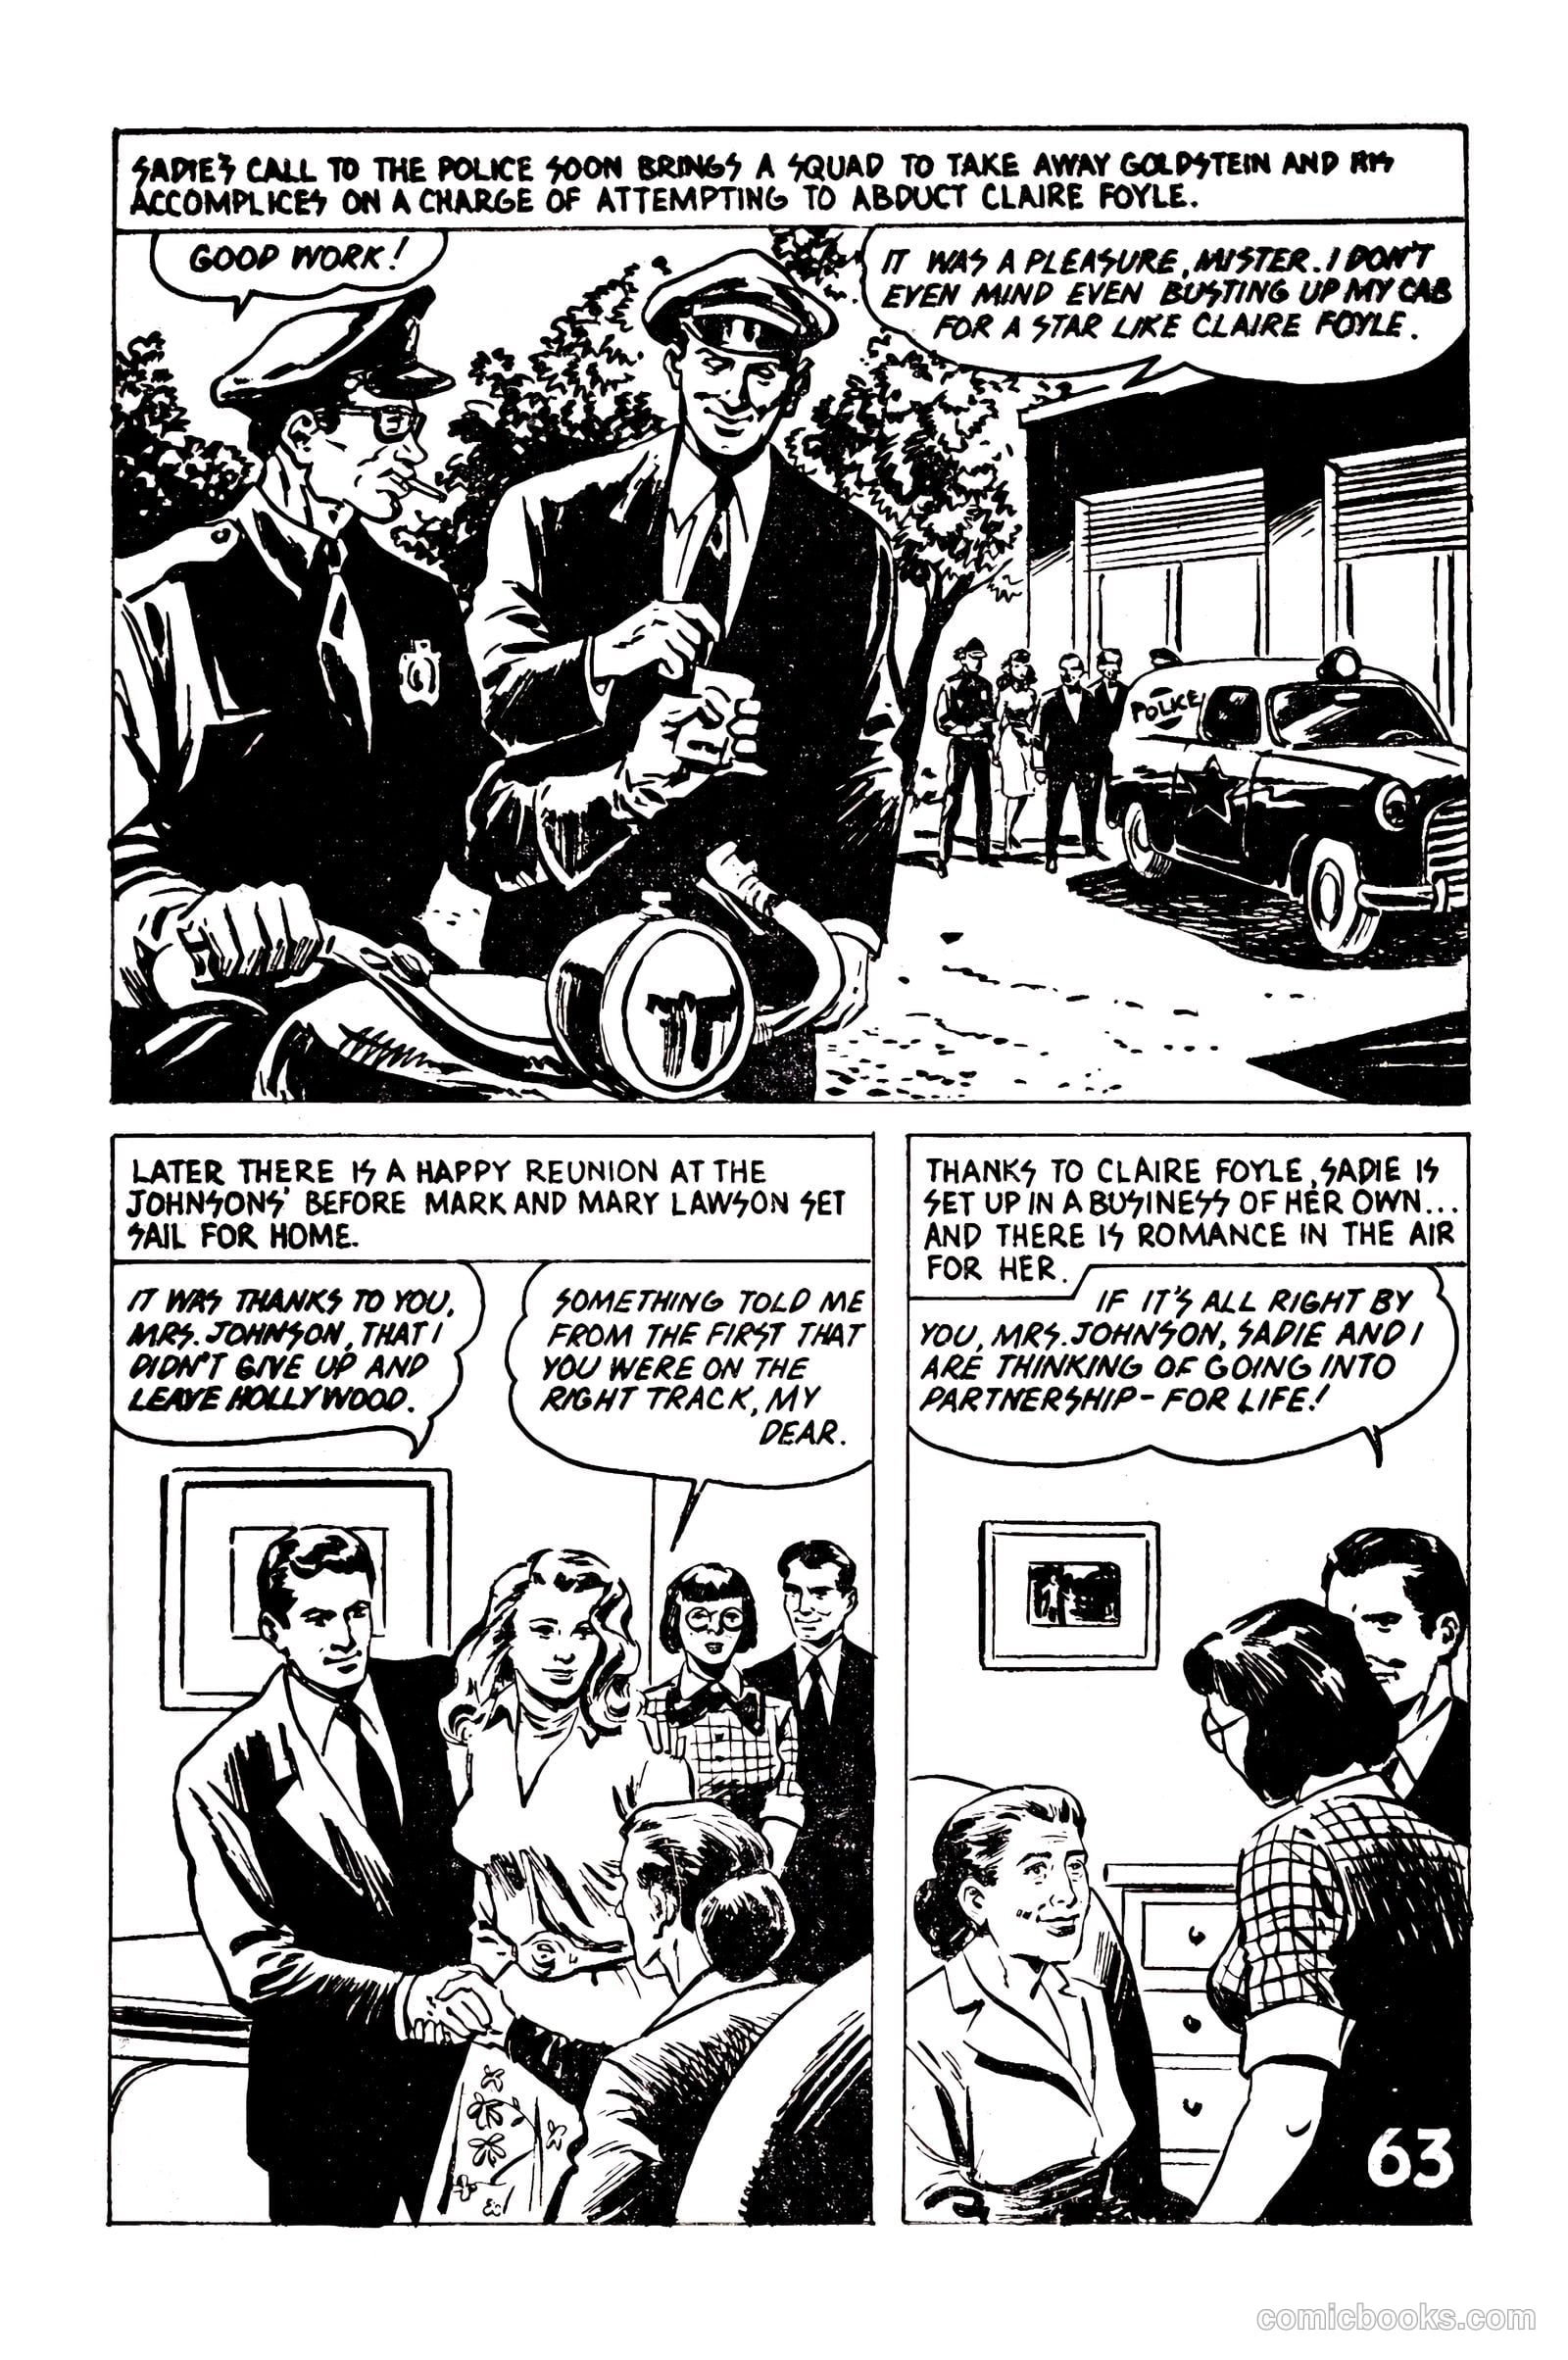
Picture Romance Library 23 - Her Forgotten Husband #1 — page 63 of 68
63 / 68
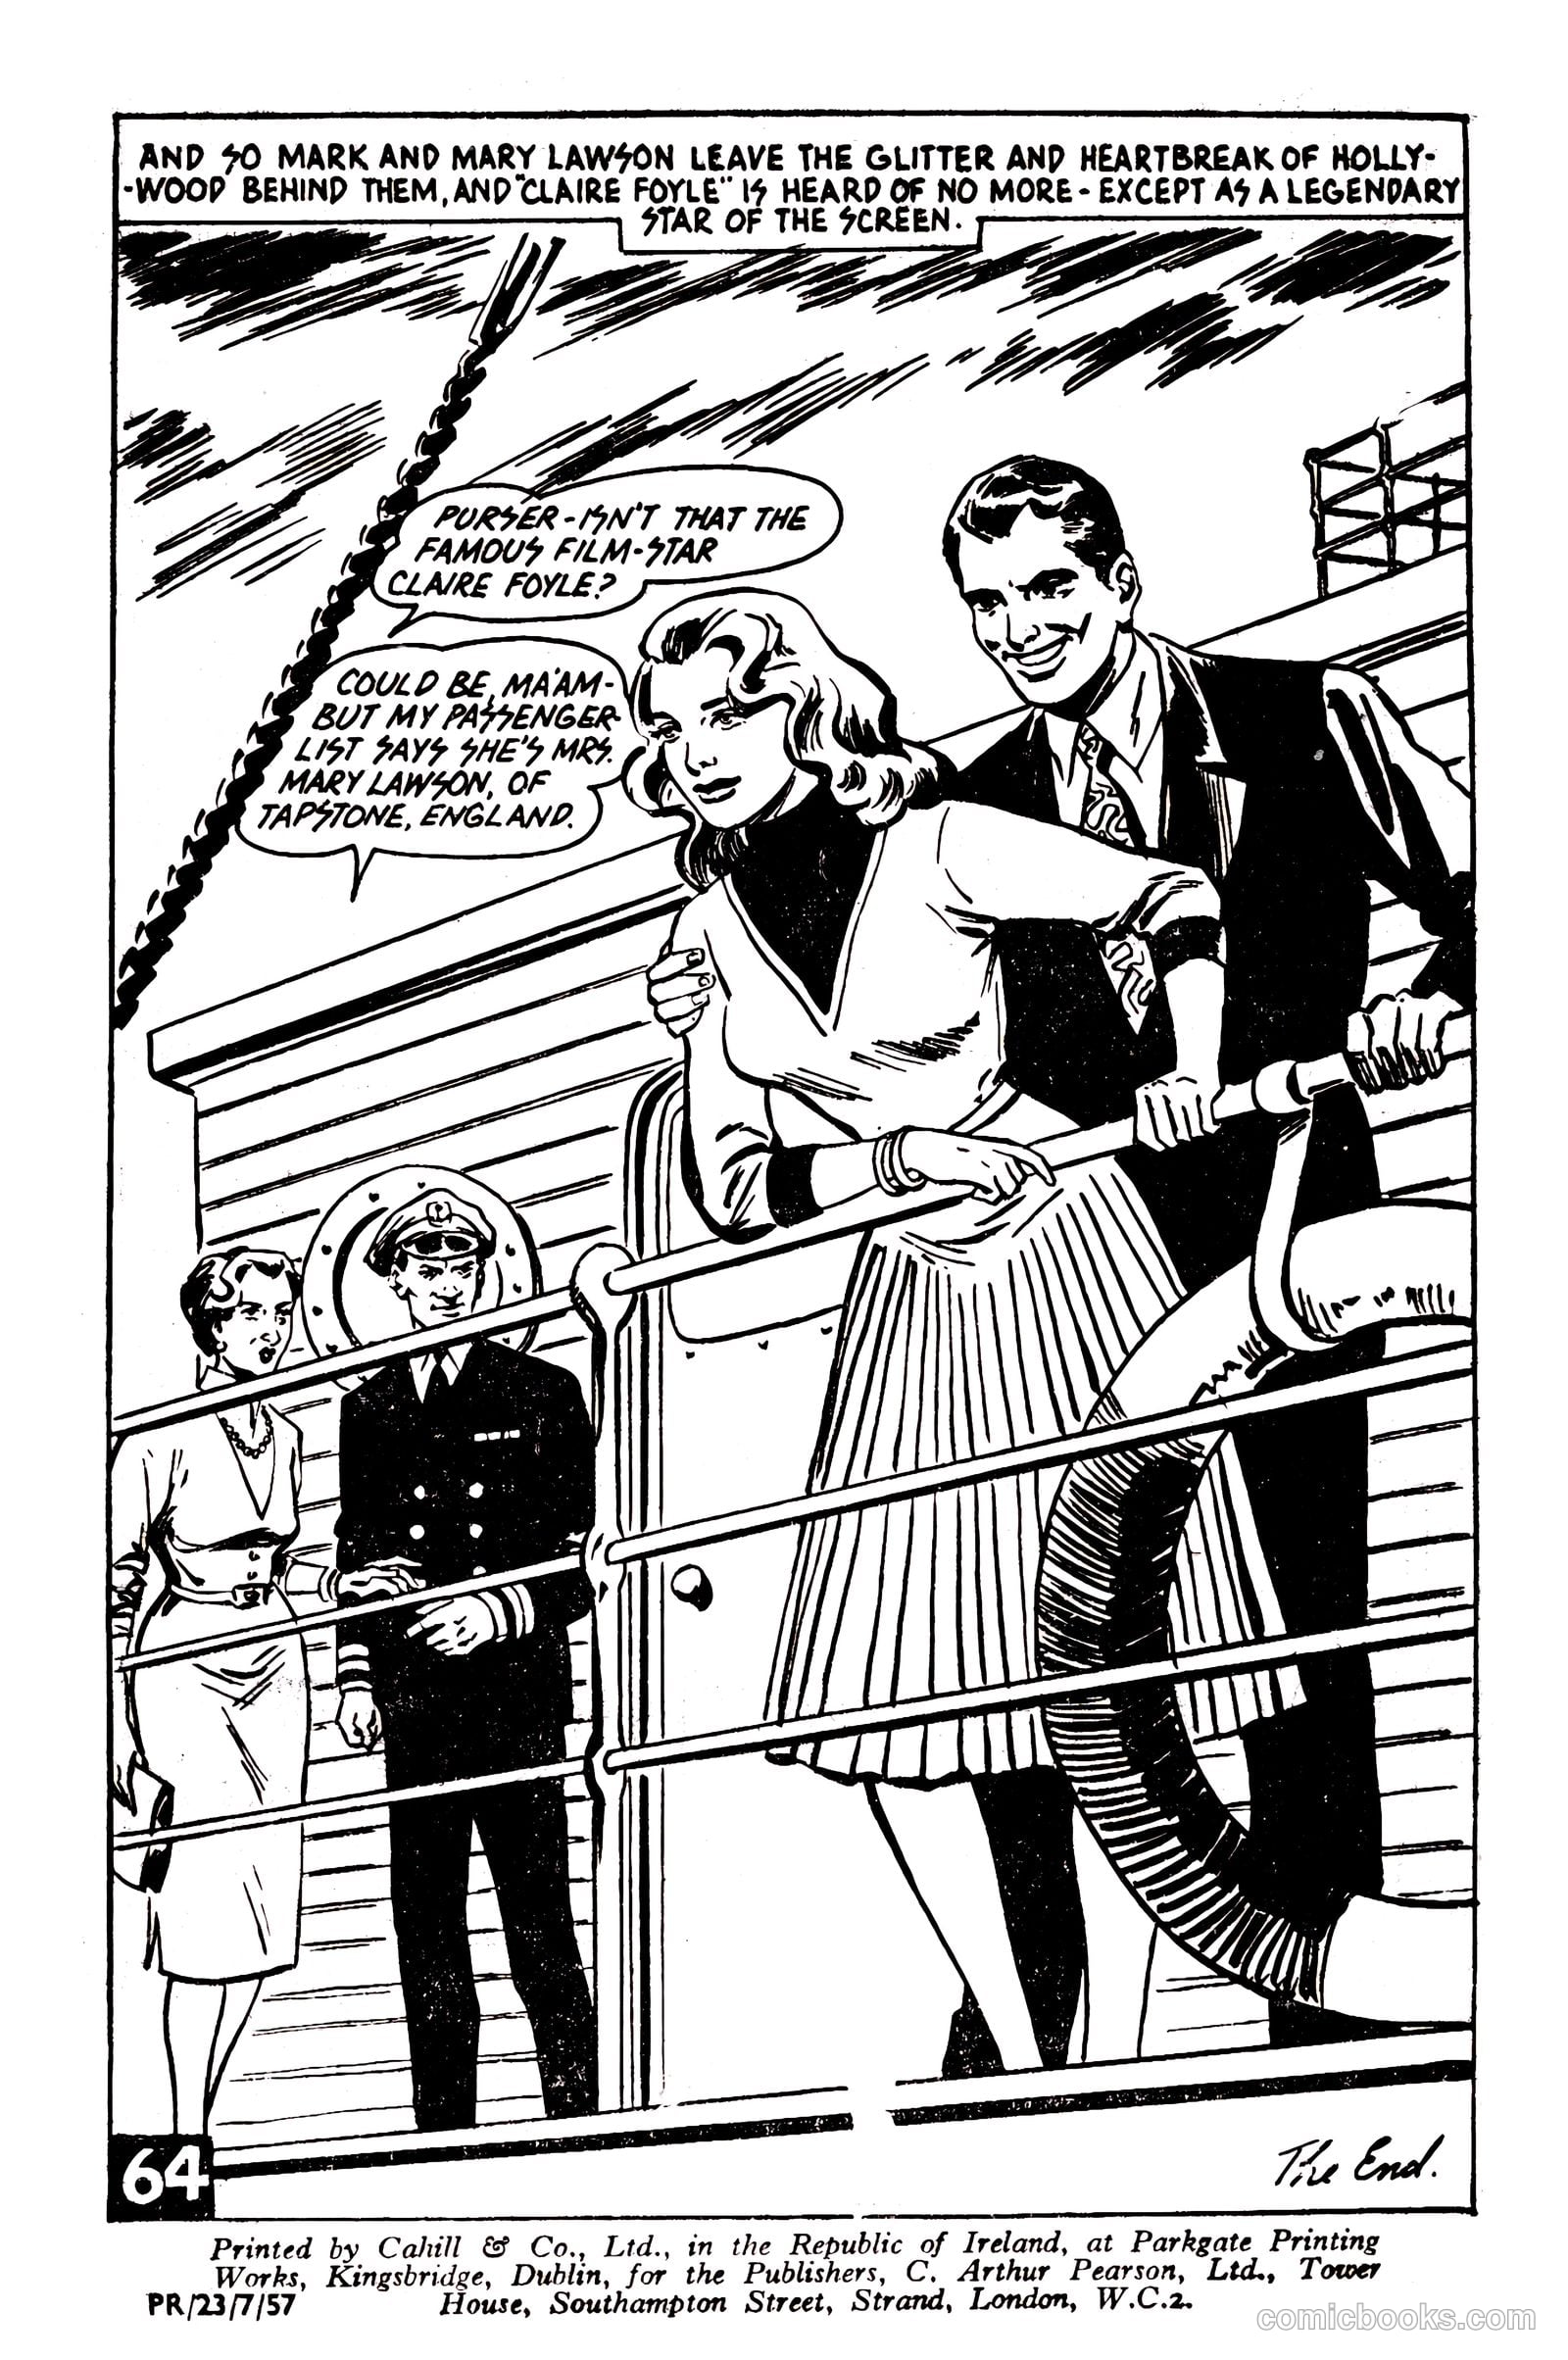
Picture Romance Library 23 - Her Forgotten Husband #1 — page 64 of 68
64 / 68
Picture Romance Library 23 - Her Forgotten Husband #1 — page 65 of 68
65 / 68
Picture Romance Library 23 - Her Forgotten Husband #1 — page 66 of 68
66 / 68
Picture Romance Library 23 - Her Forgotten Husband #1 — page 67 of 68
67 / 68
Picture Romance Library 23 - Her Forgotten Husband #1 — page 68 of 68
68 / 68

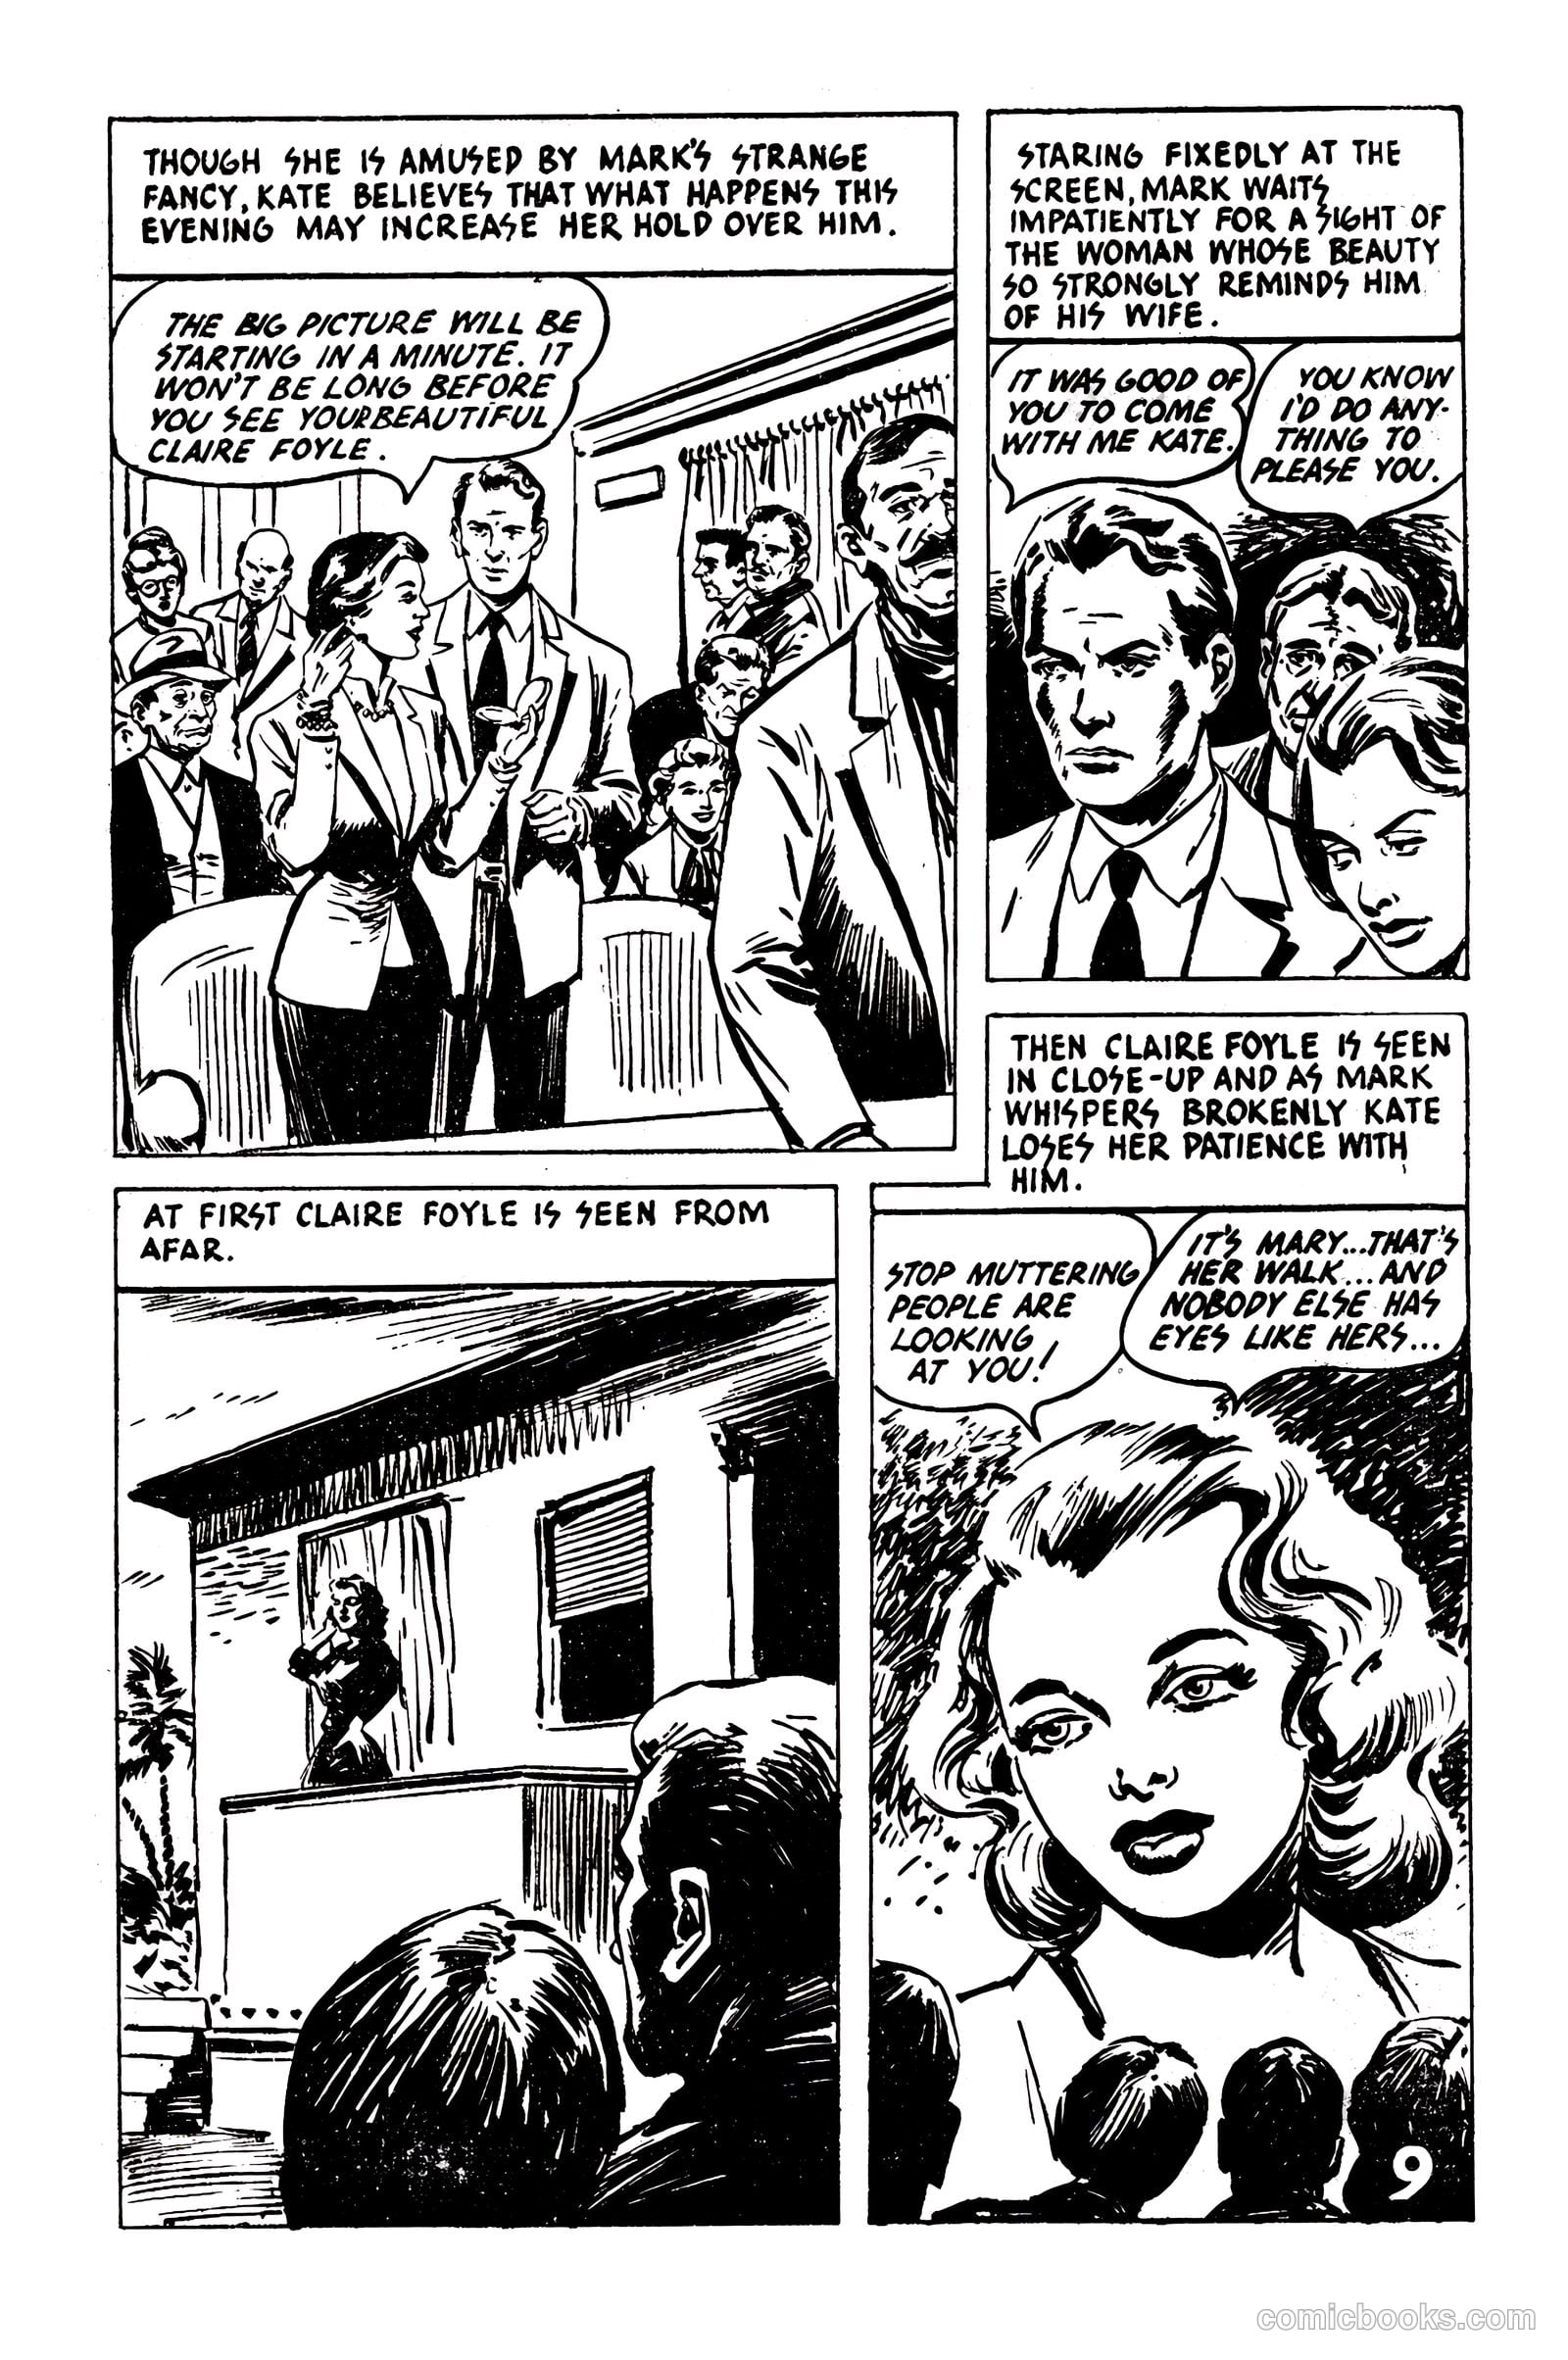
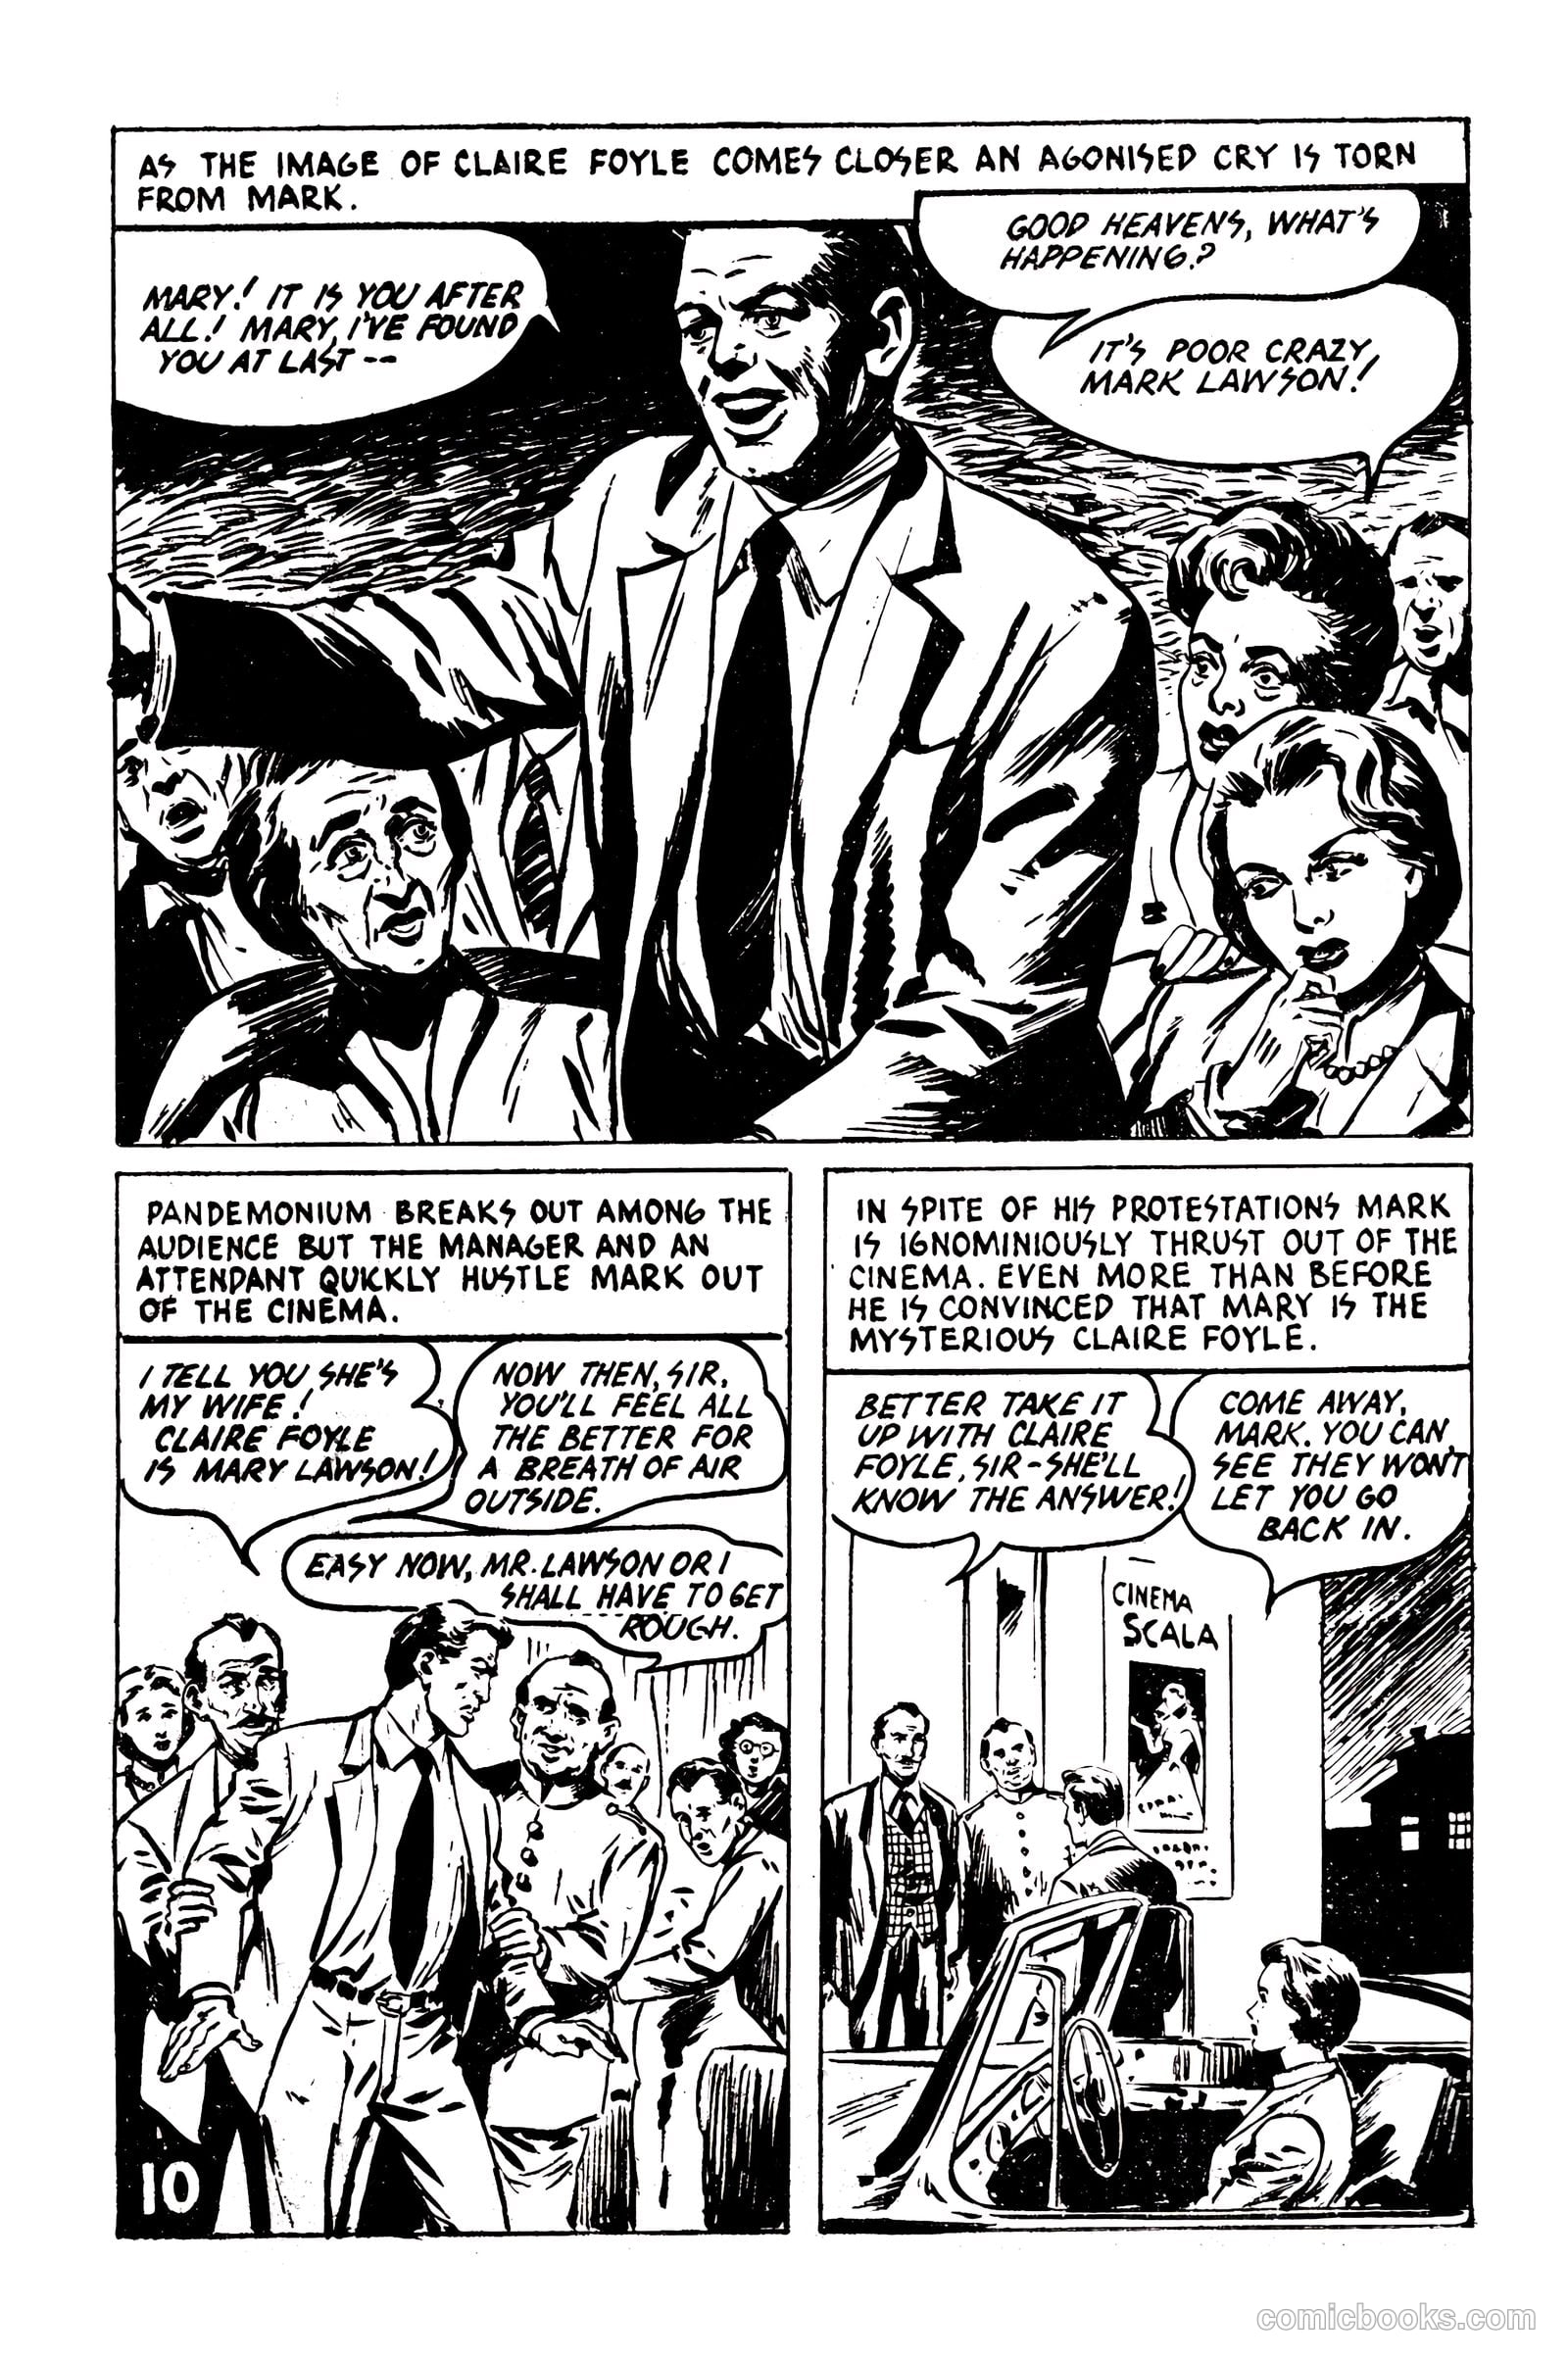
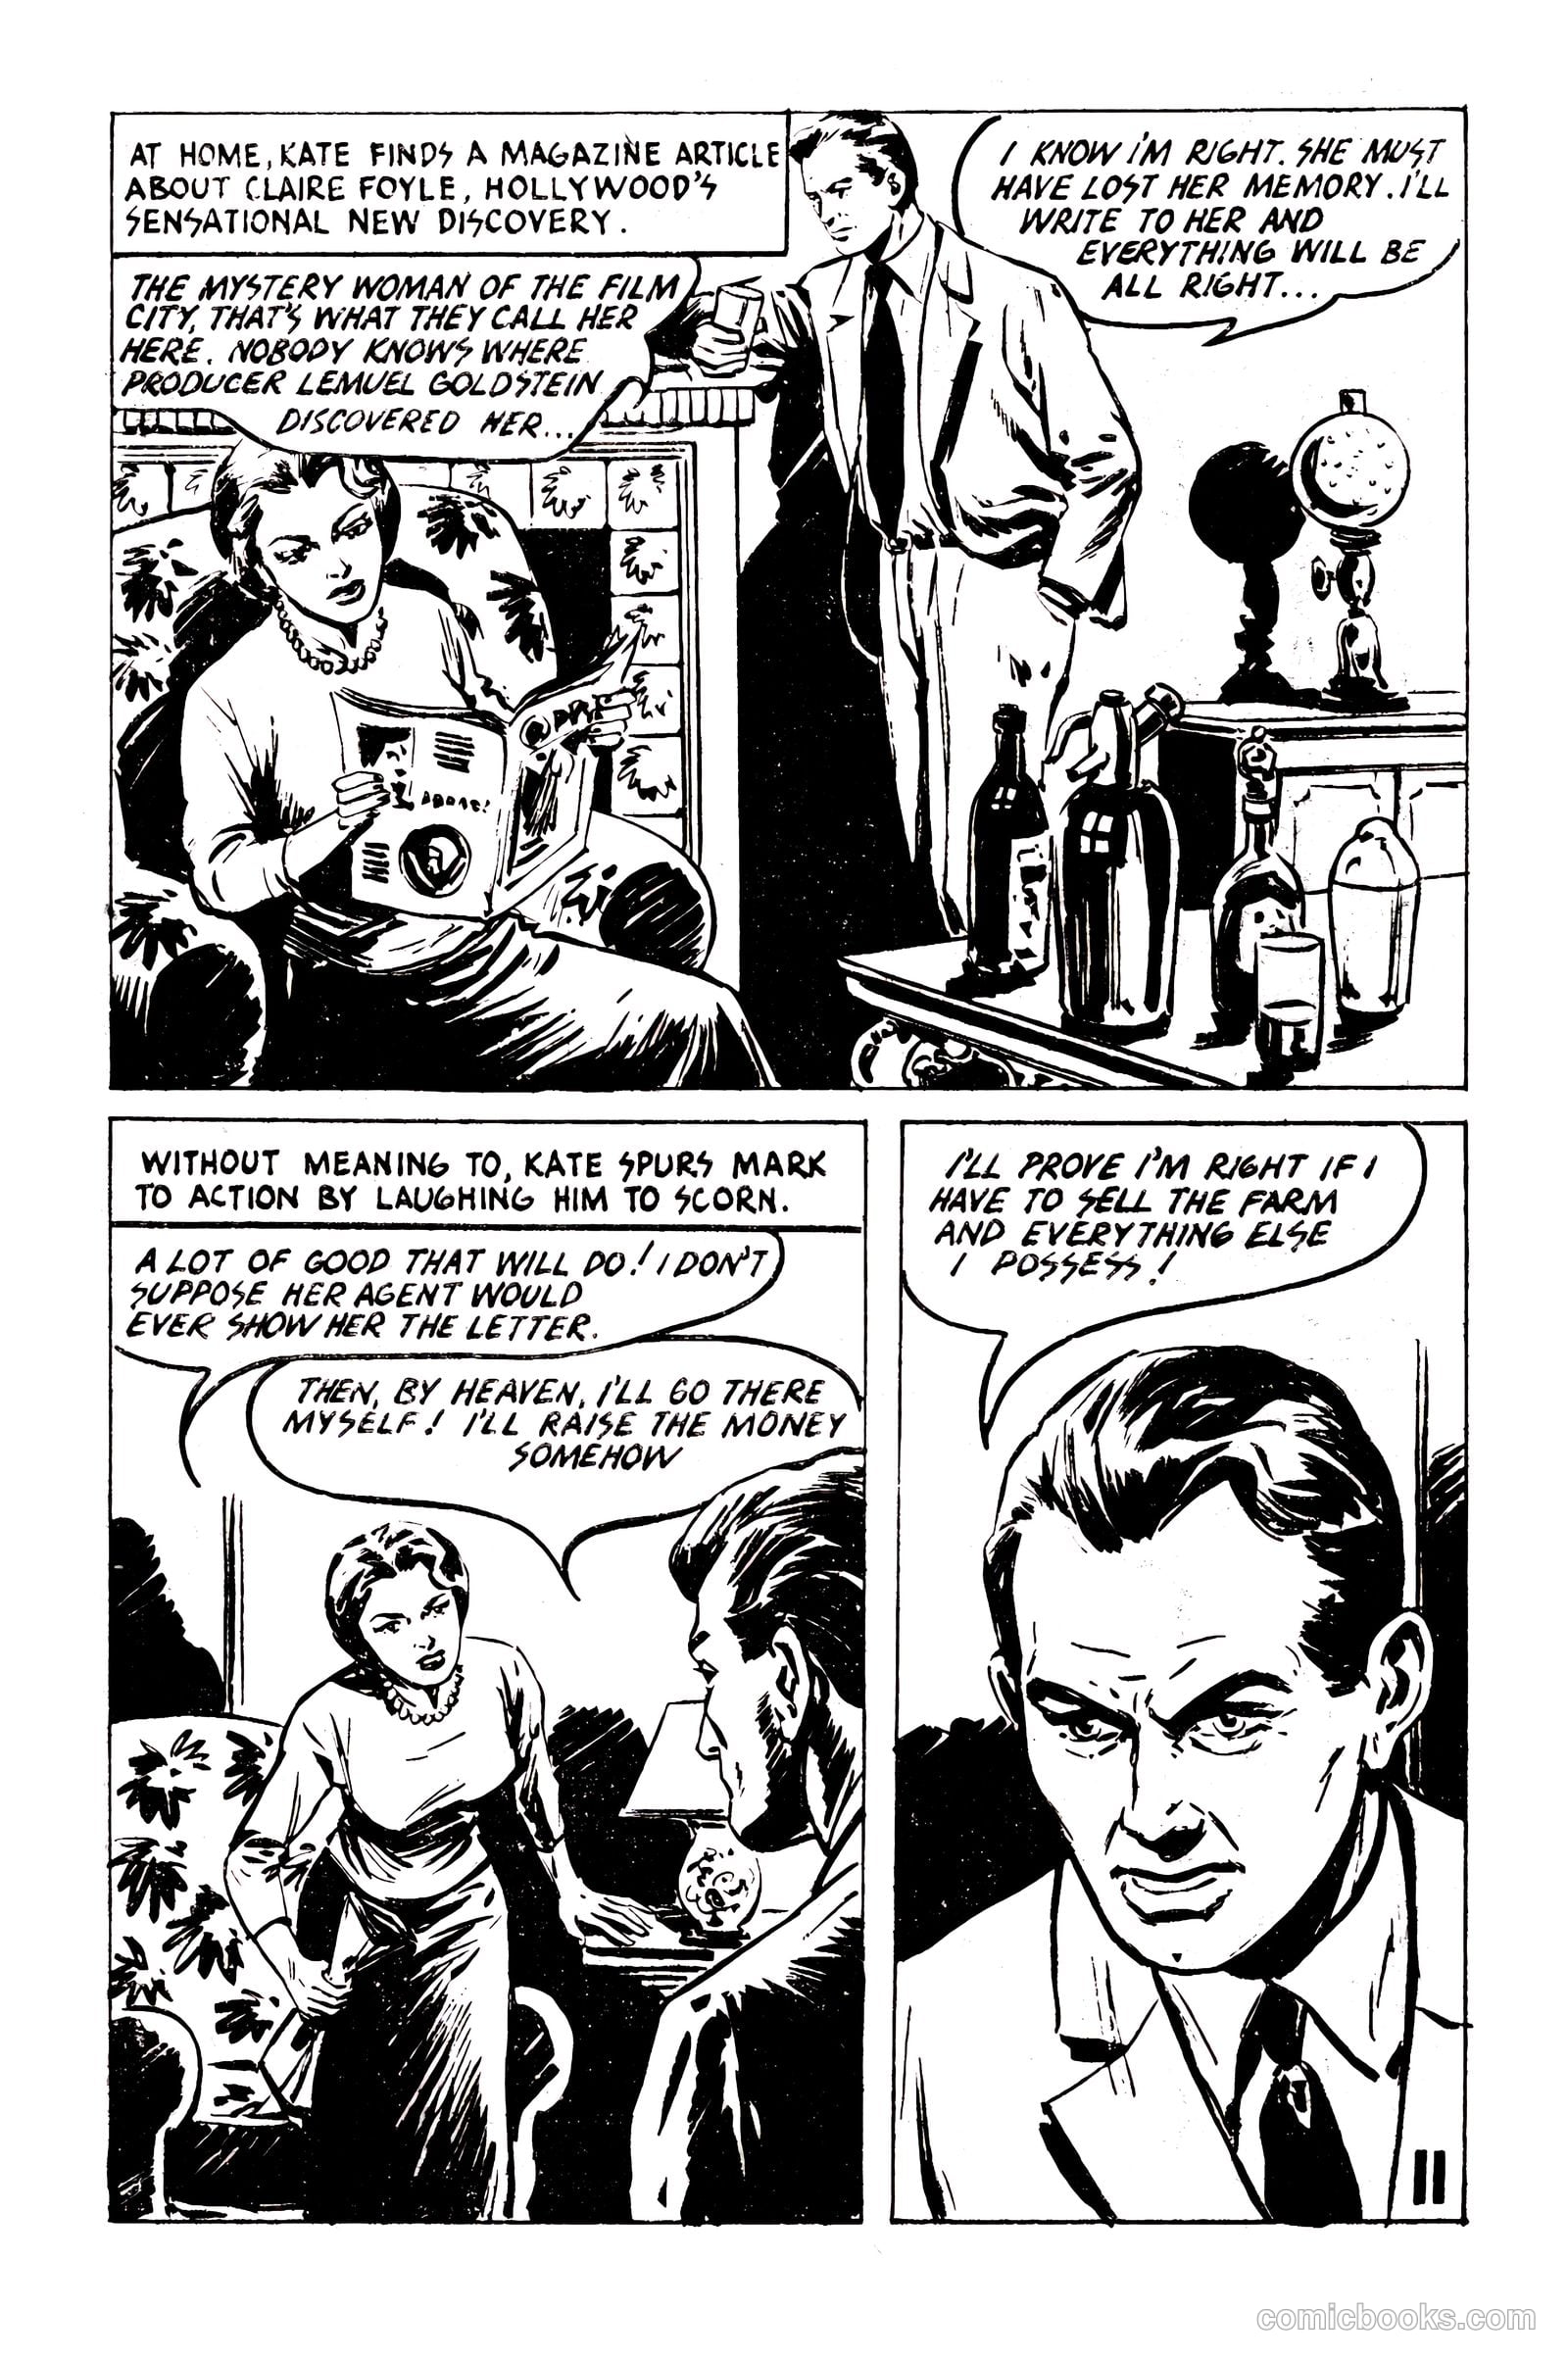
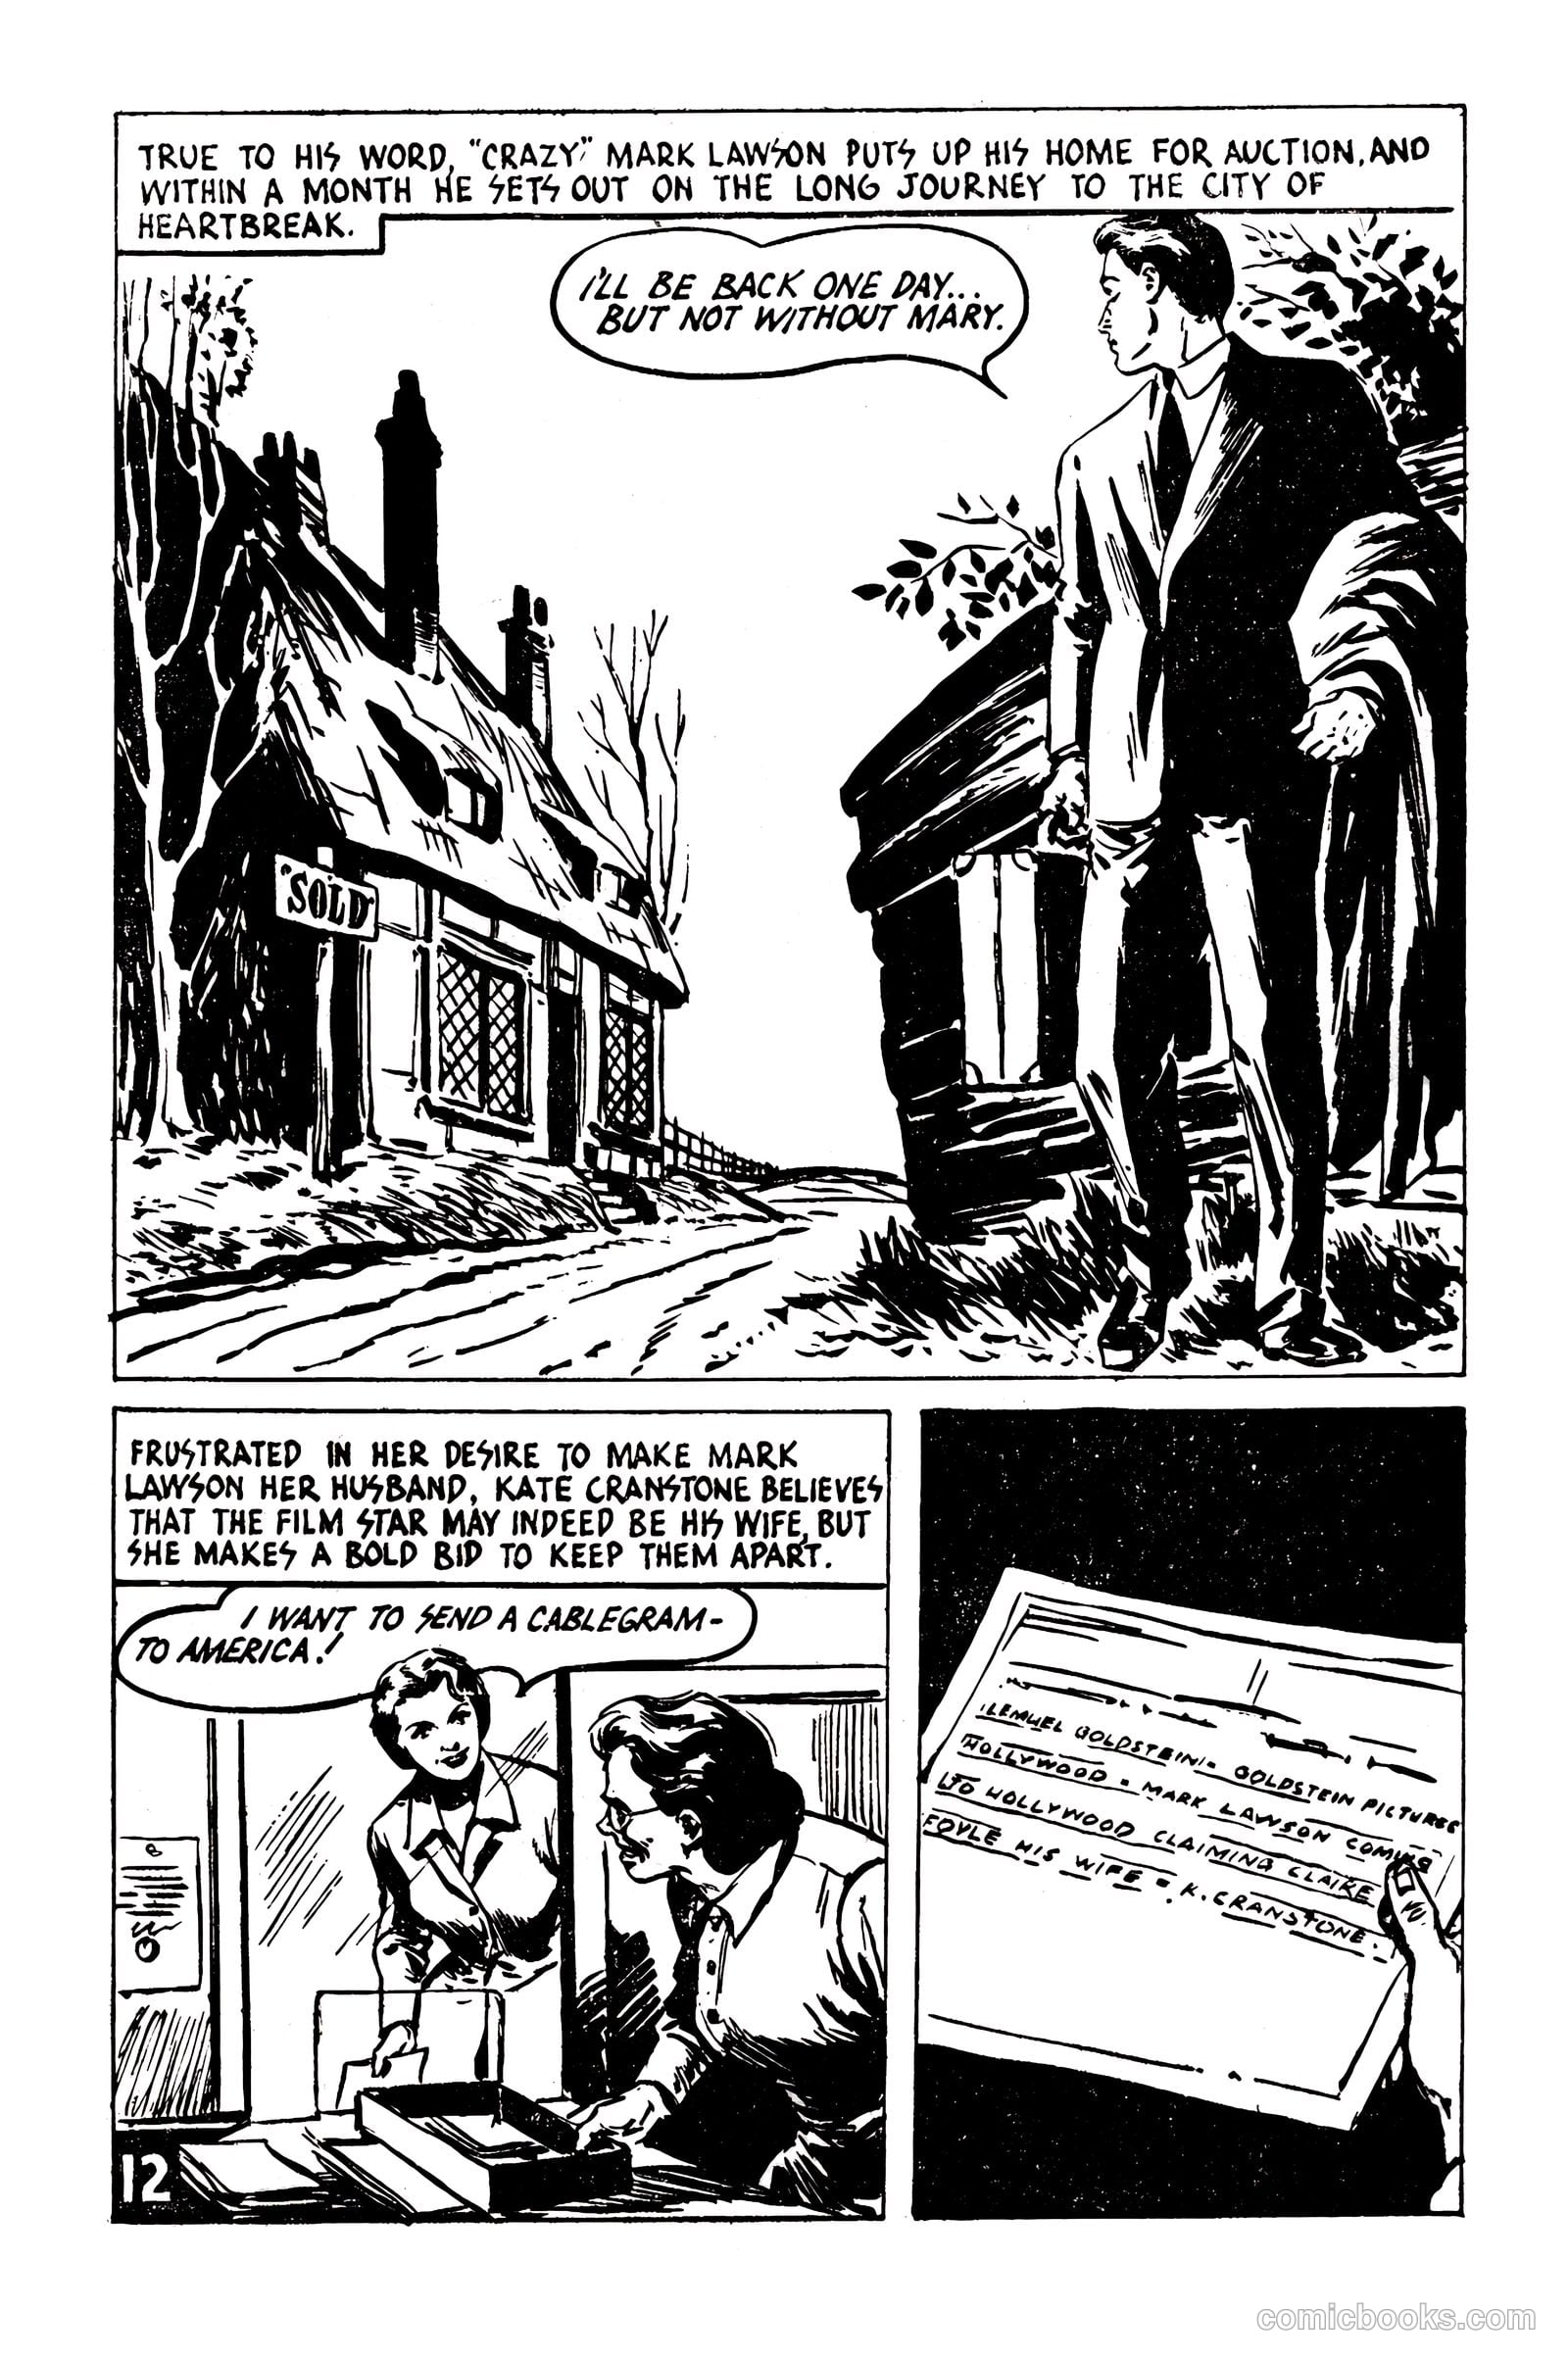
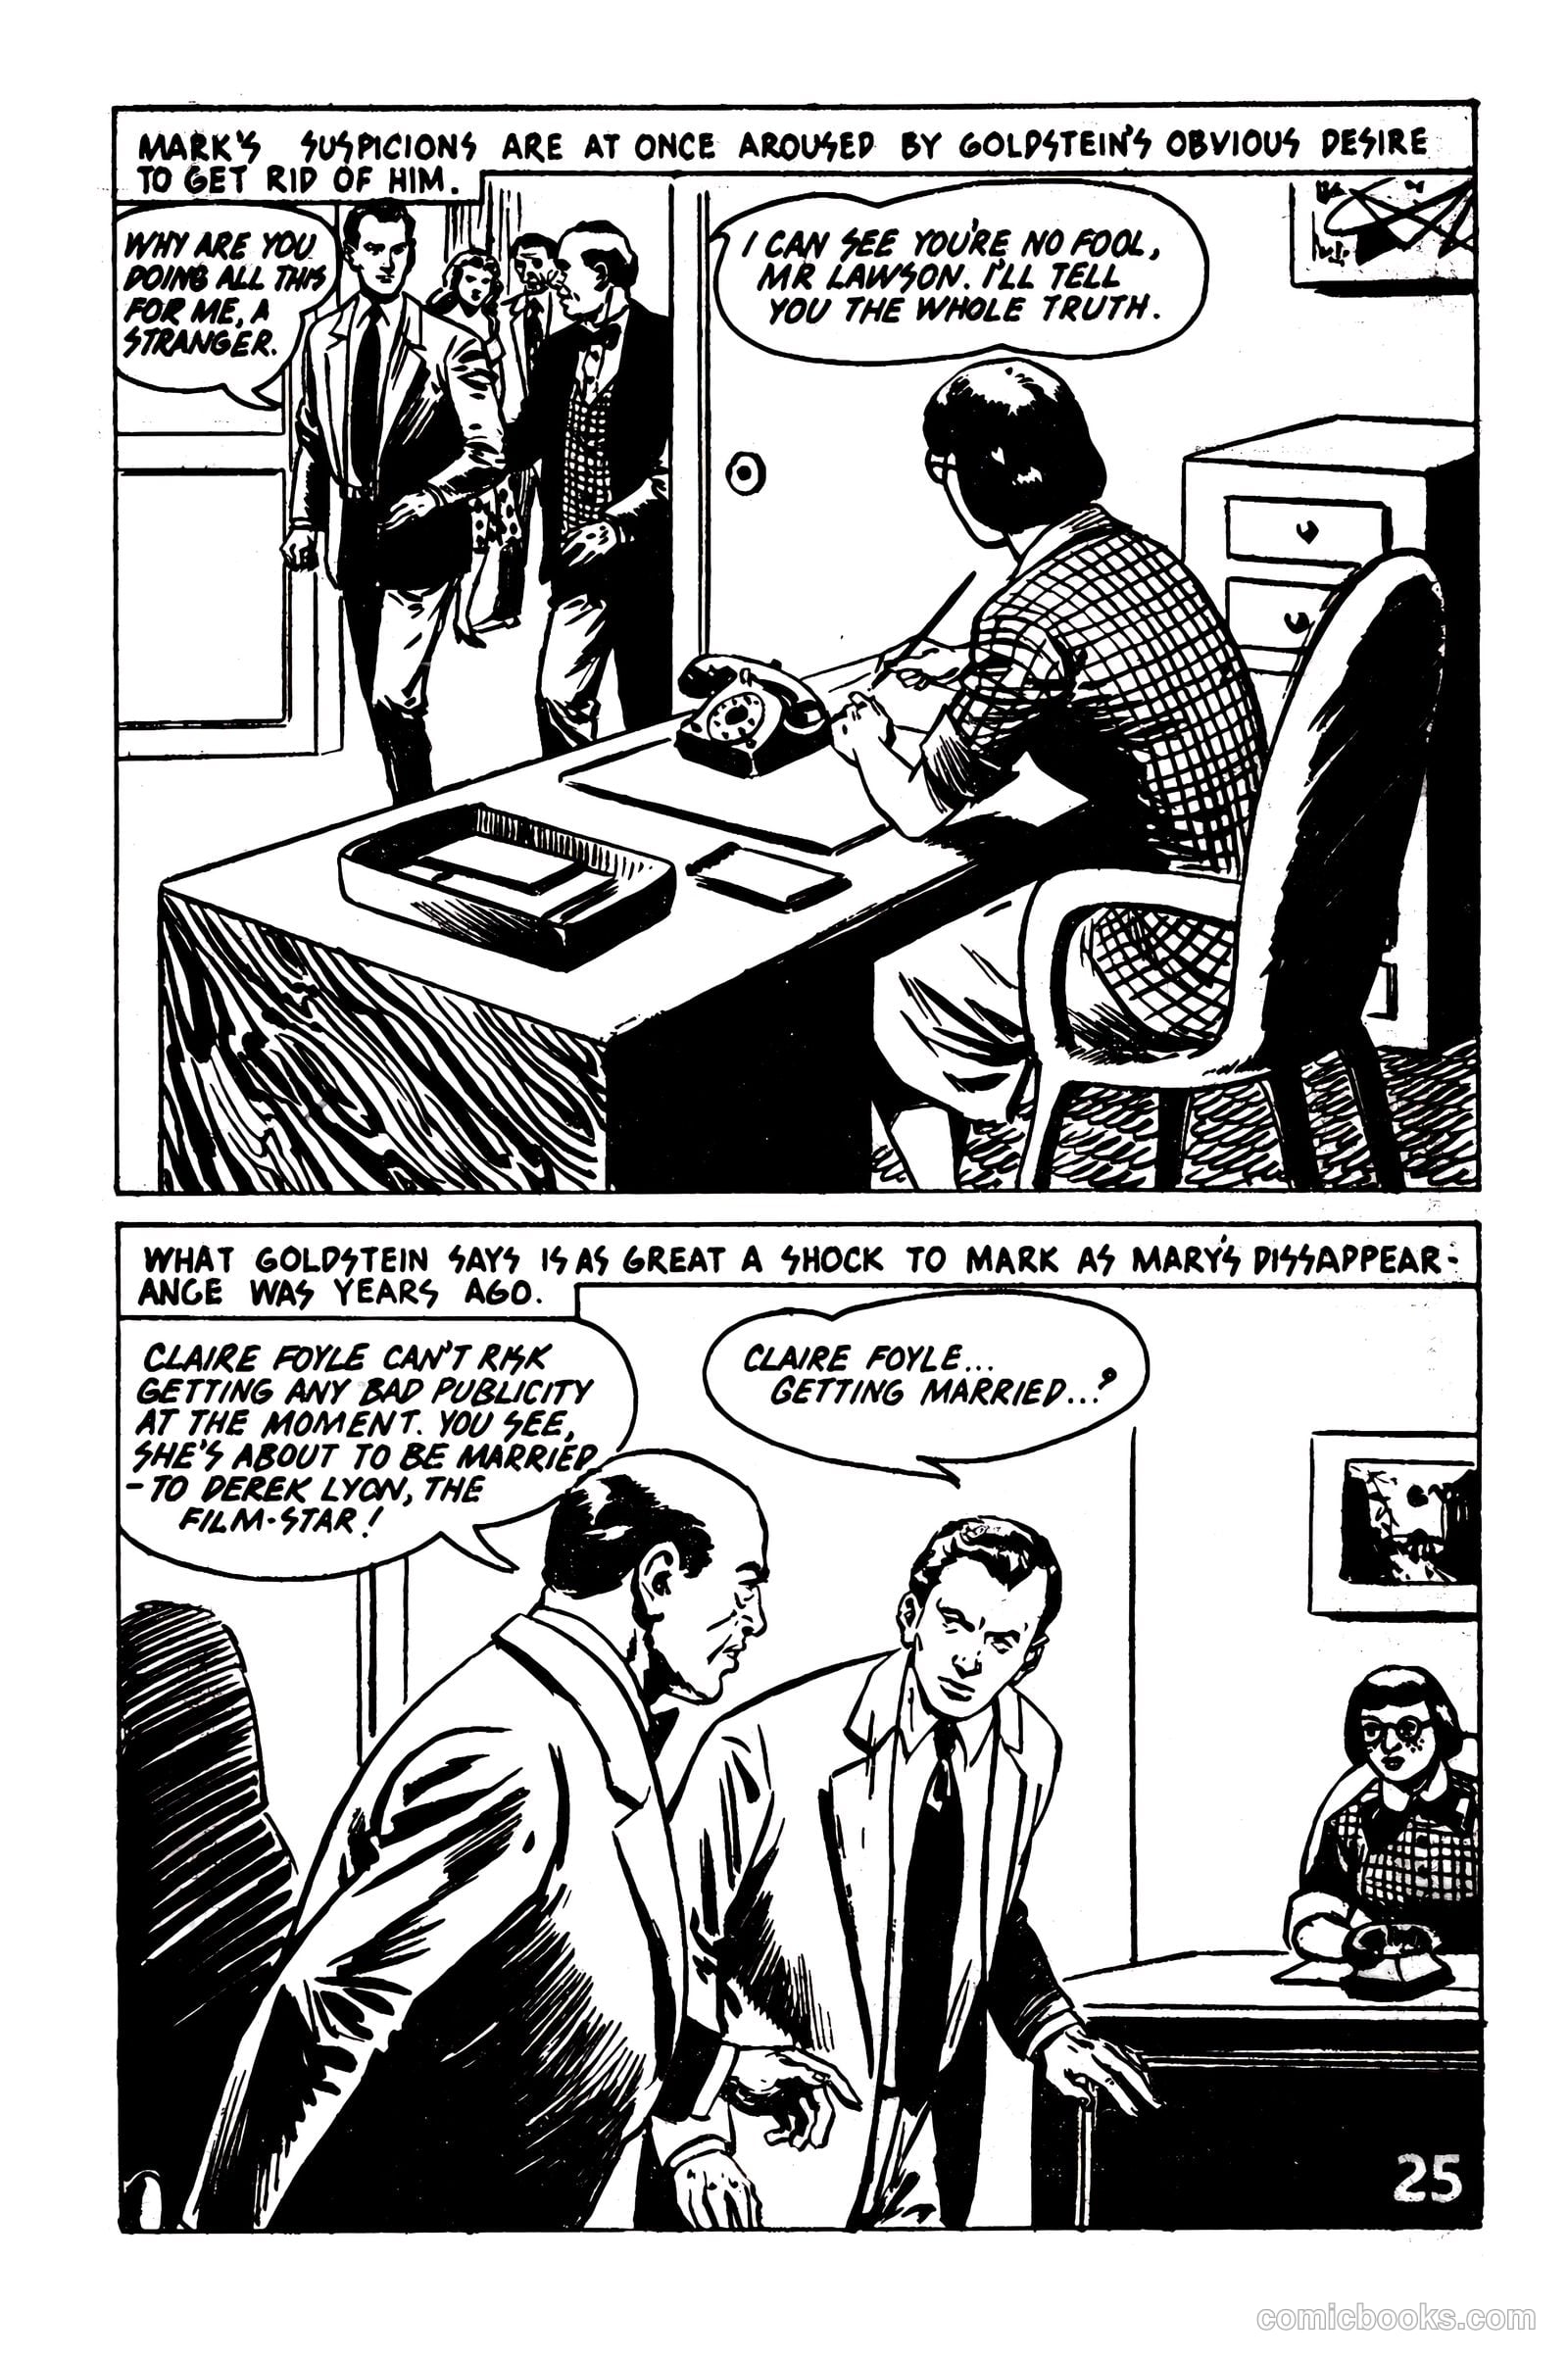
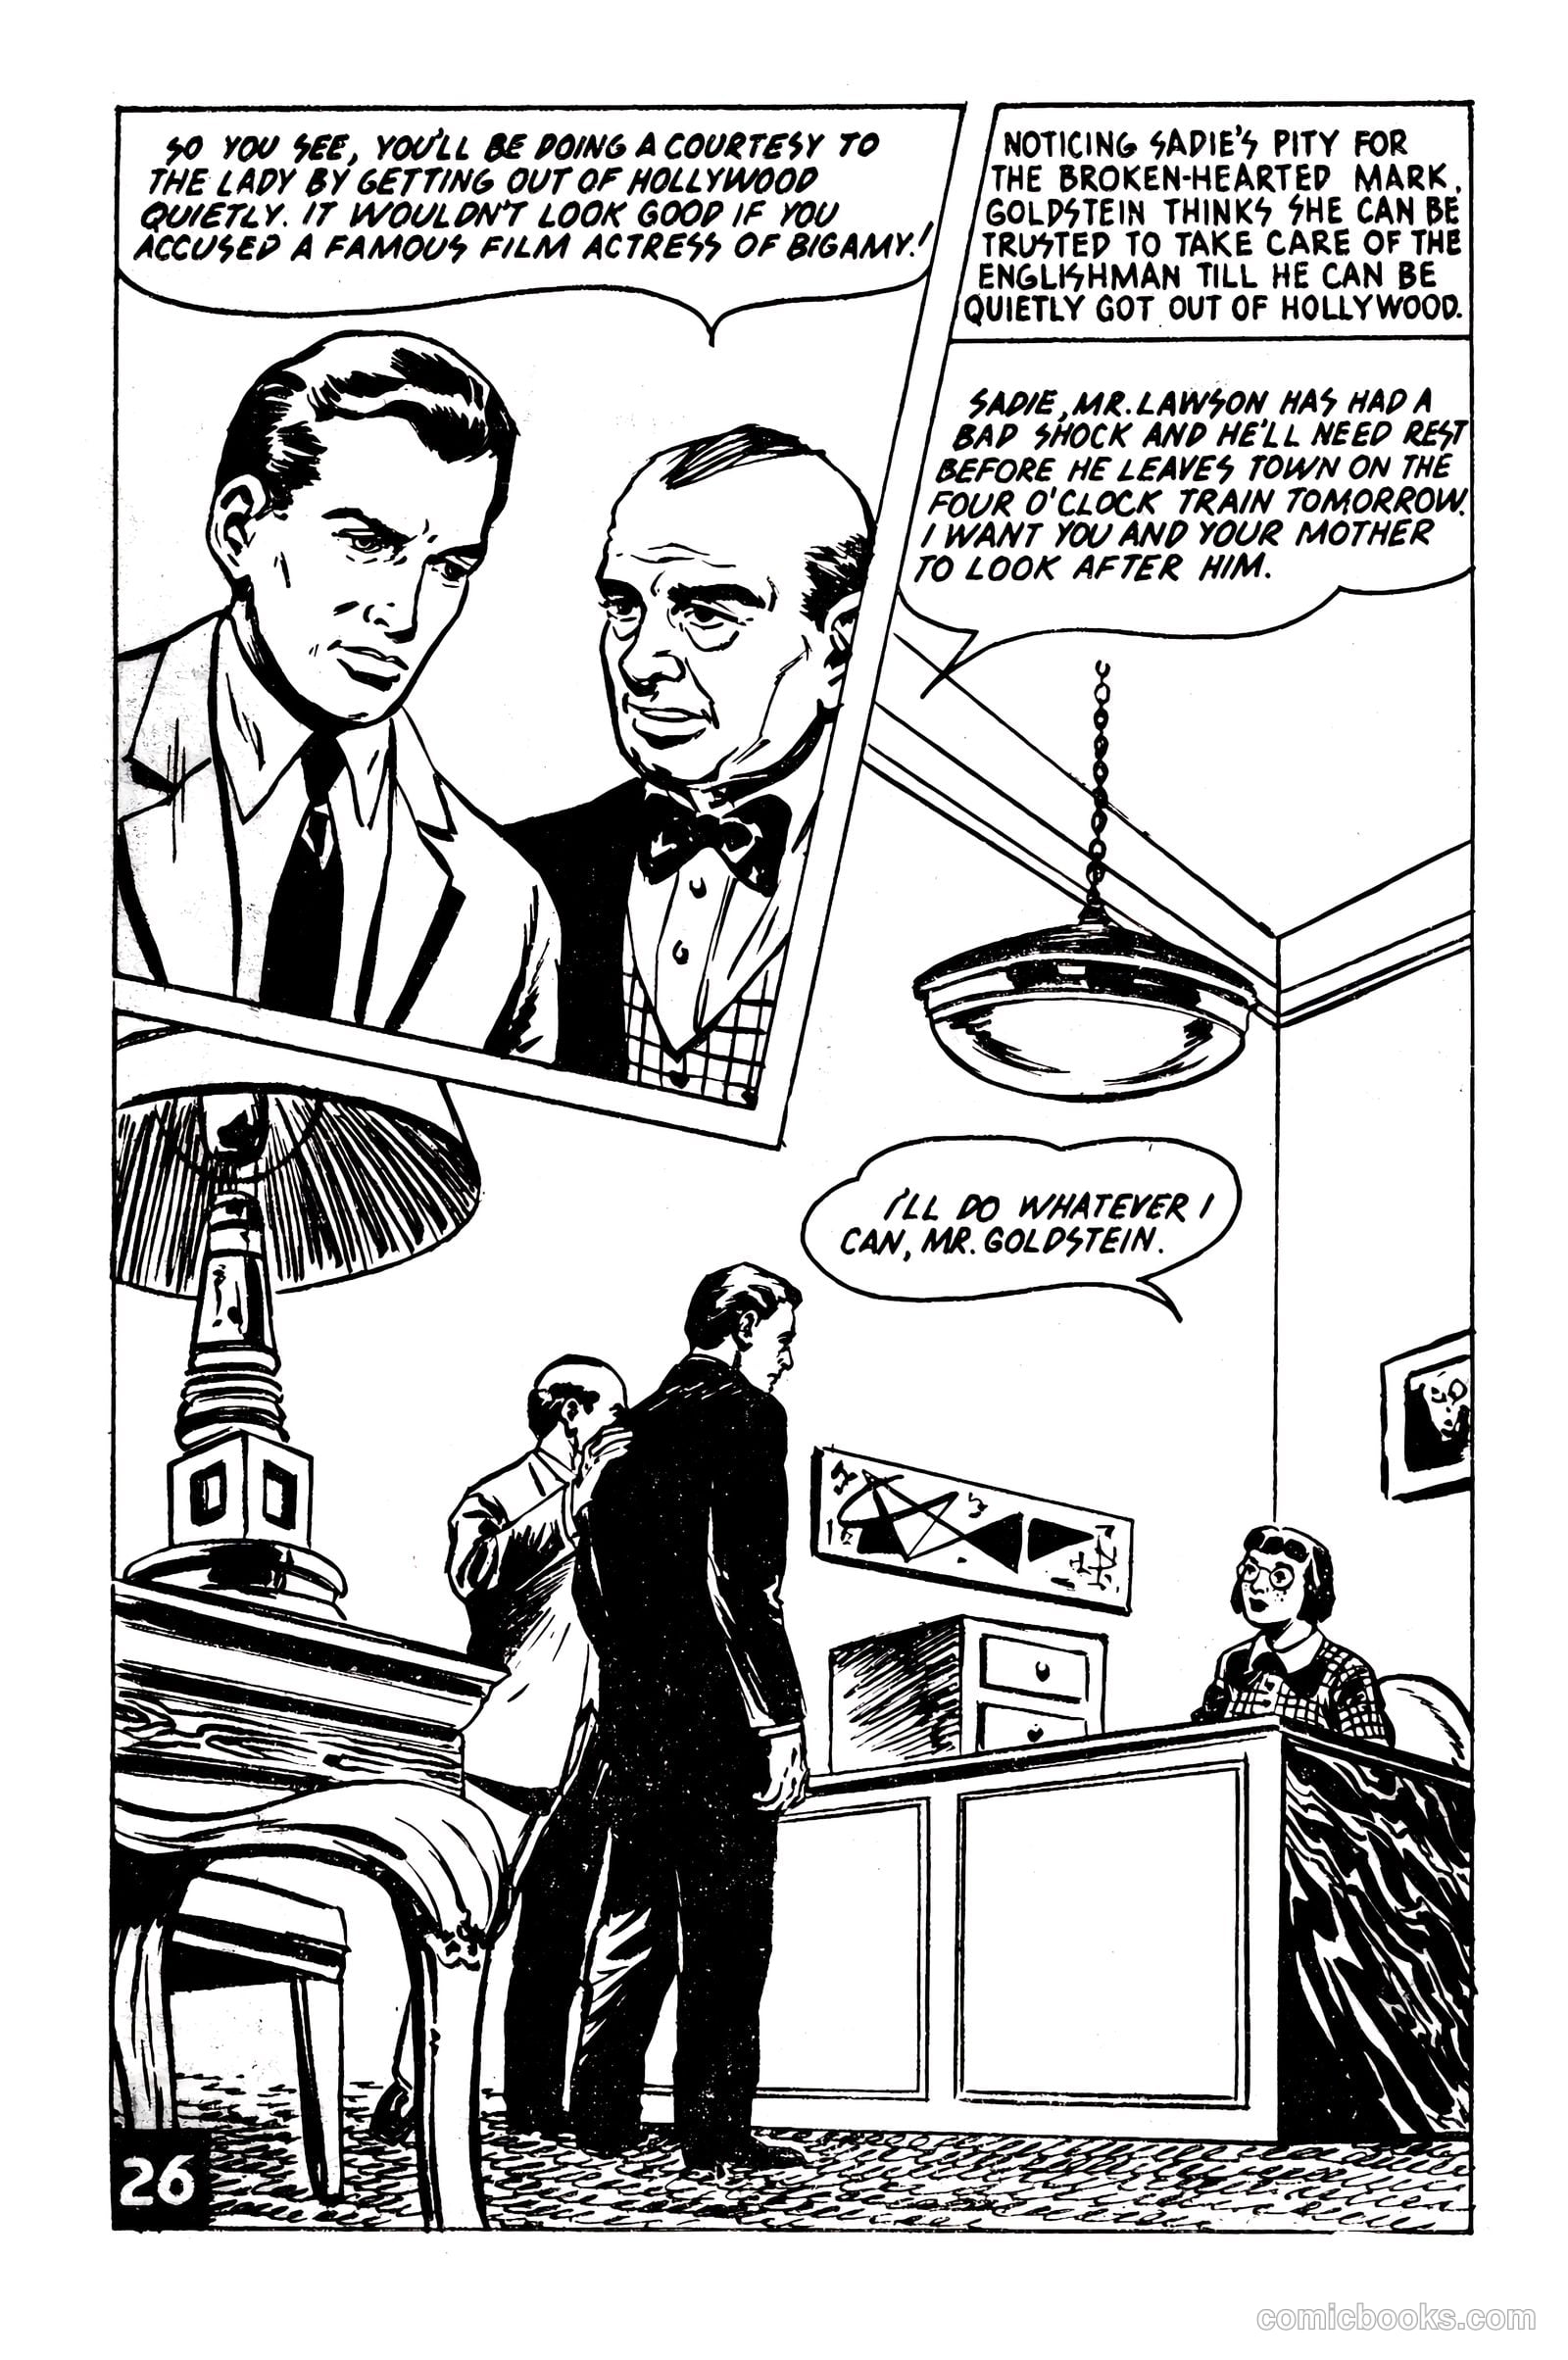
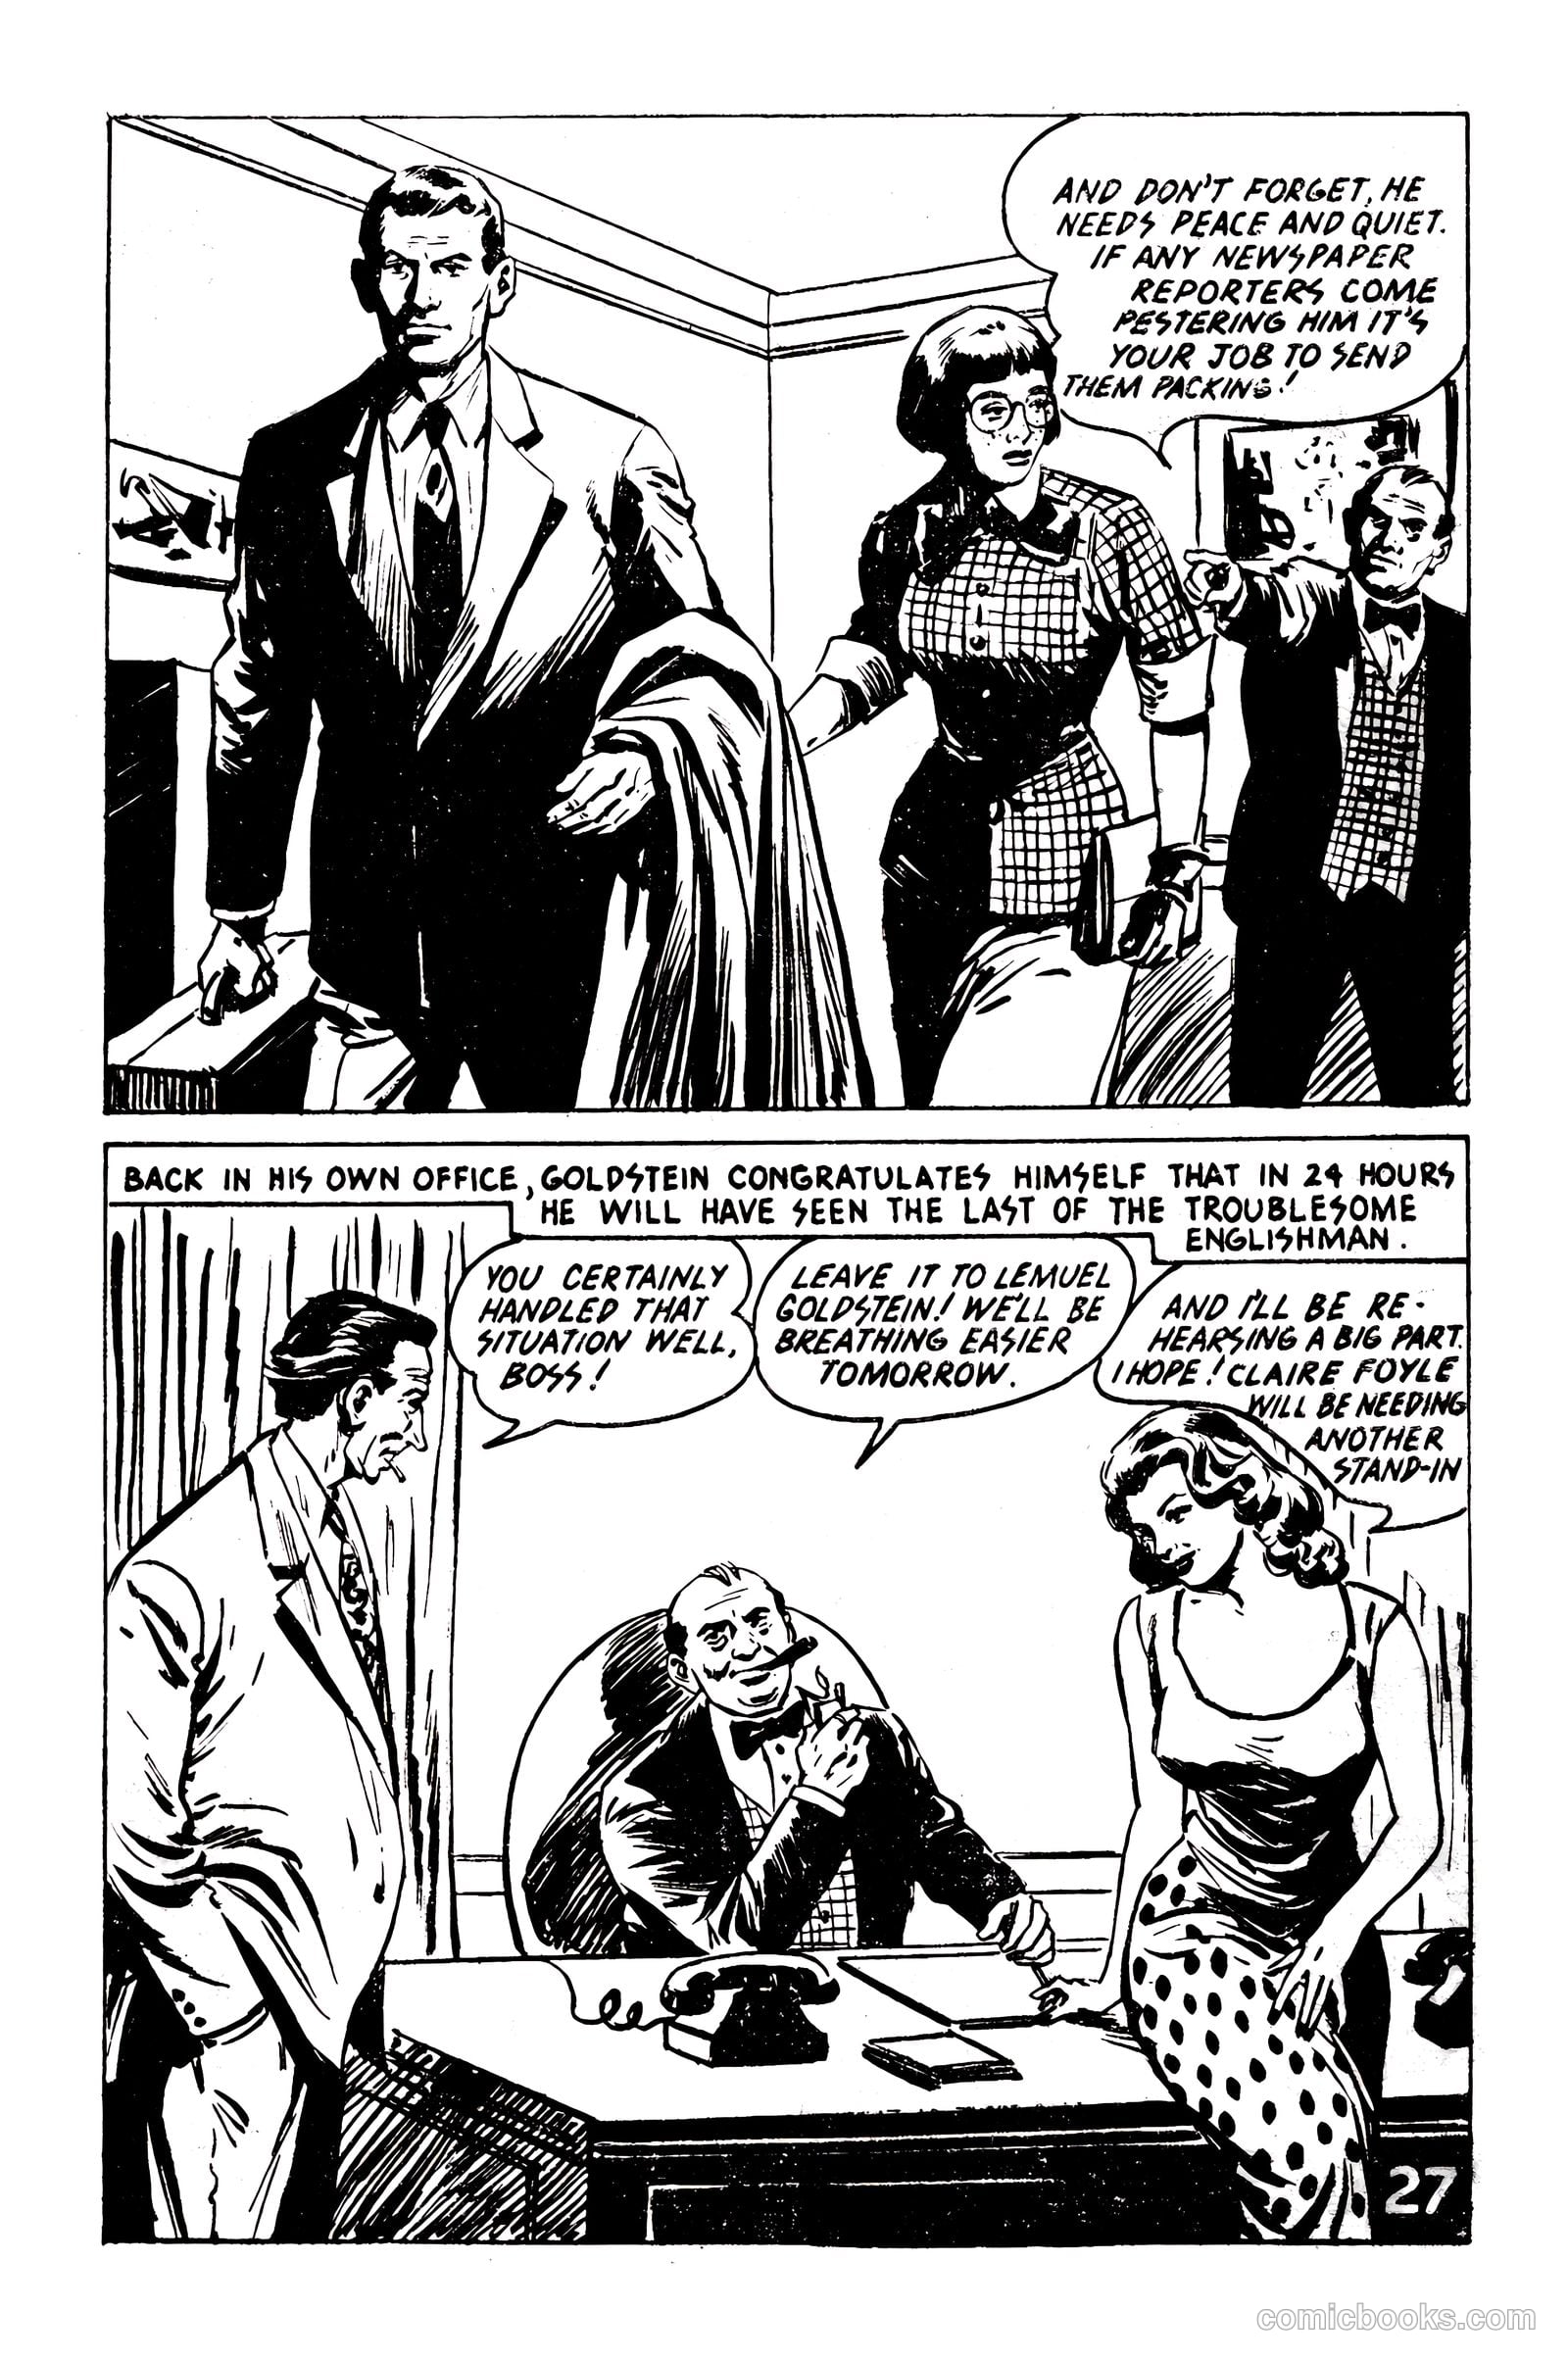
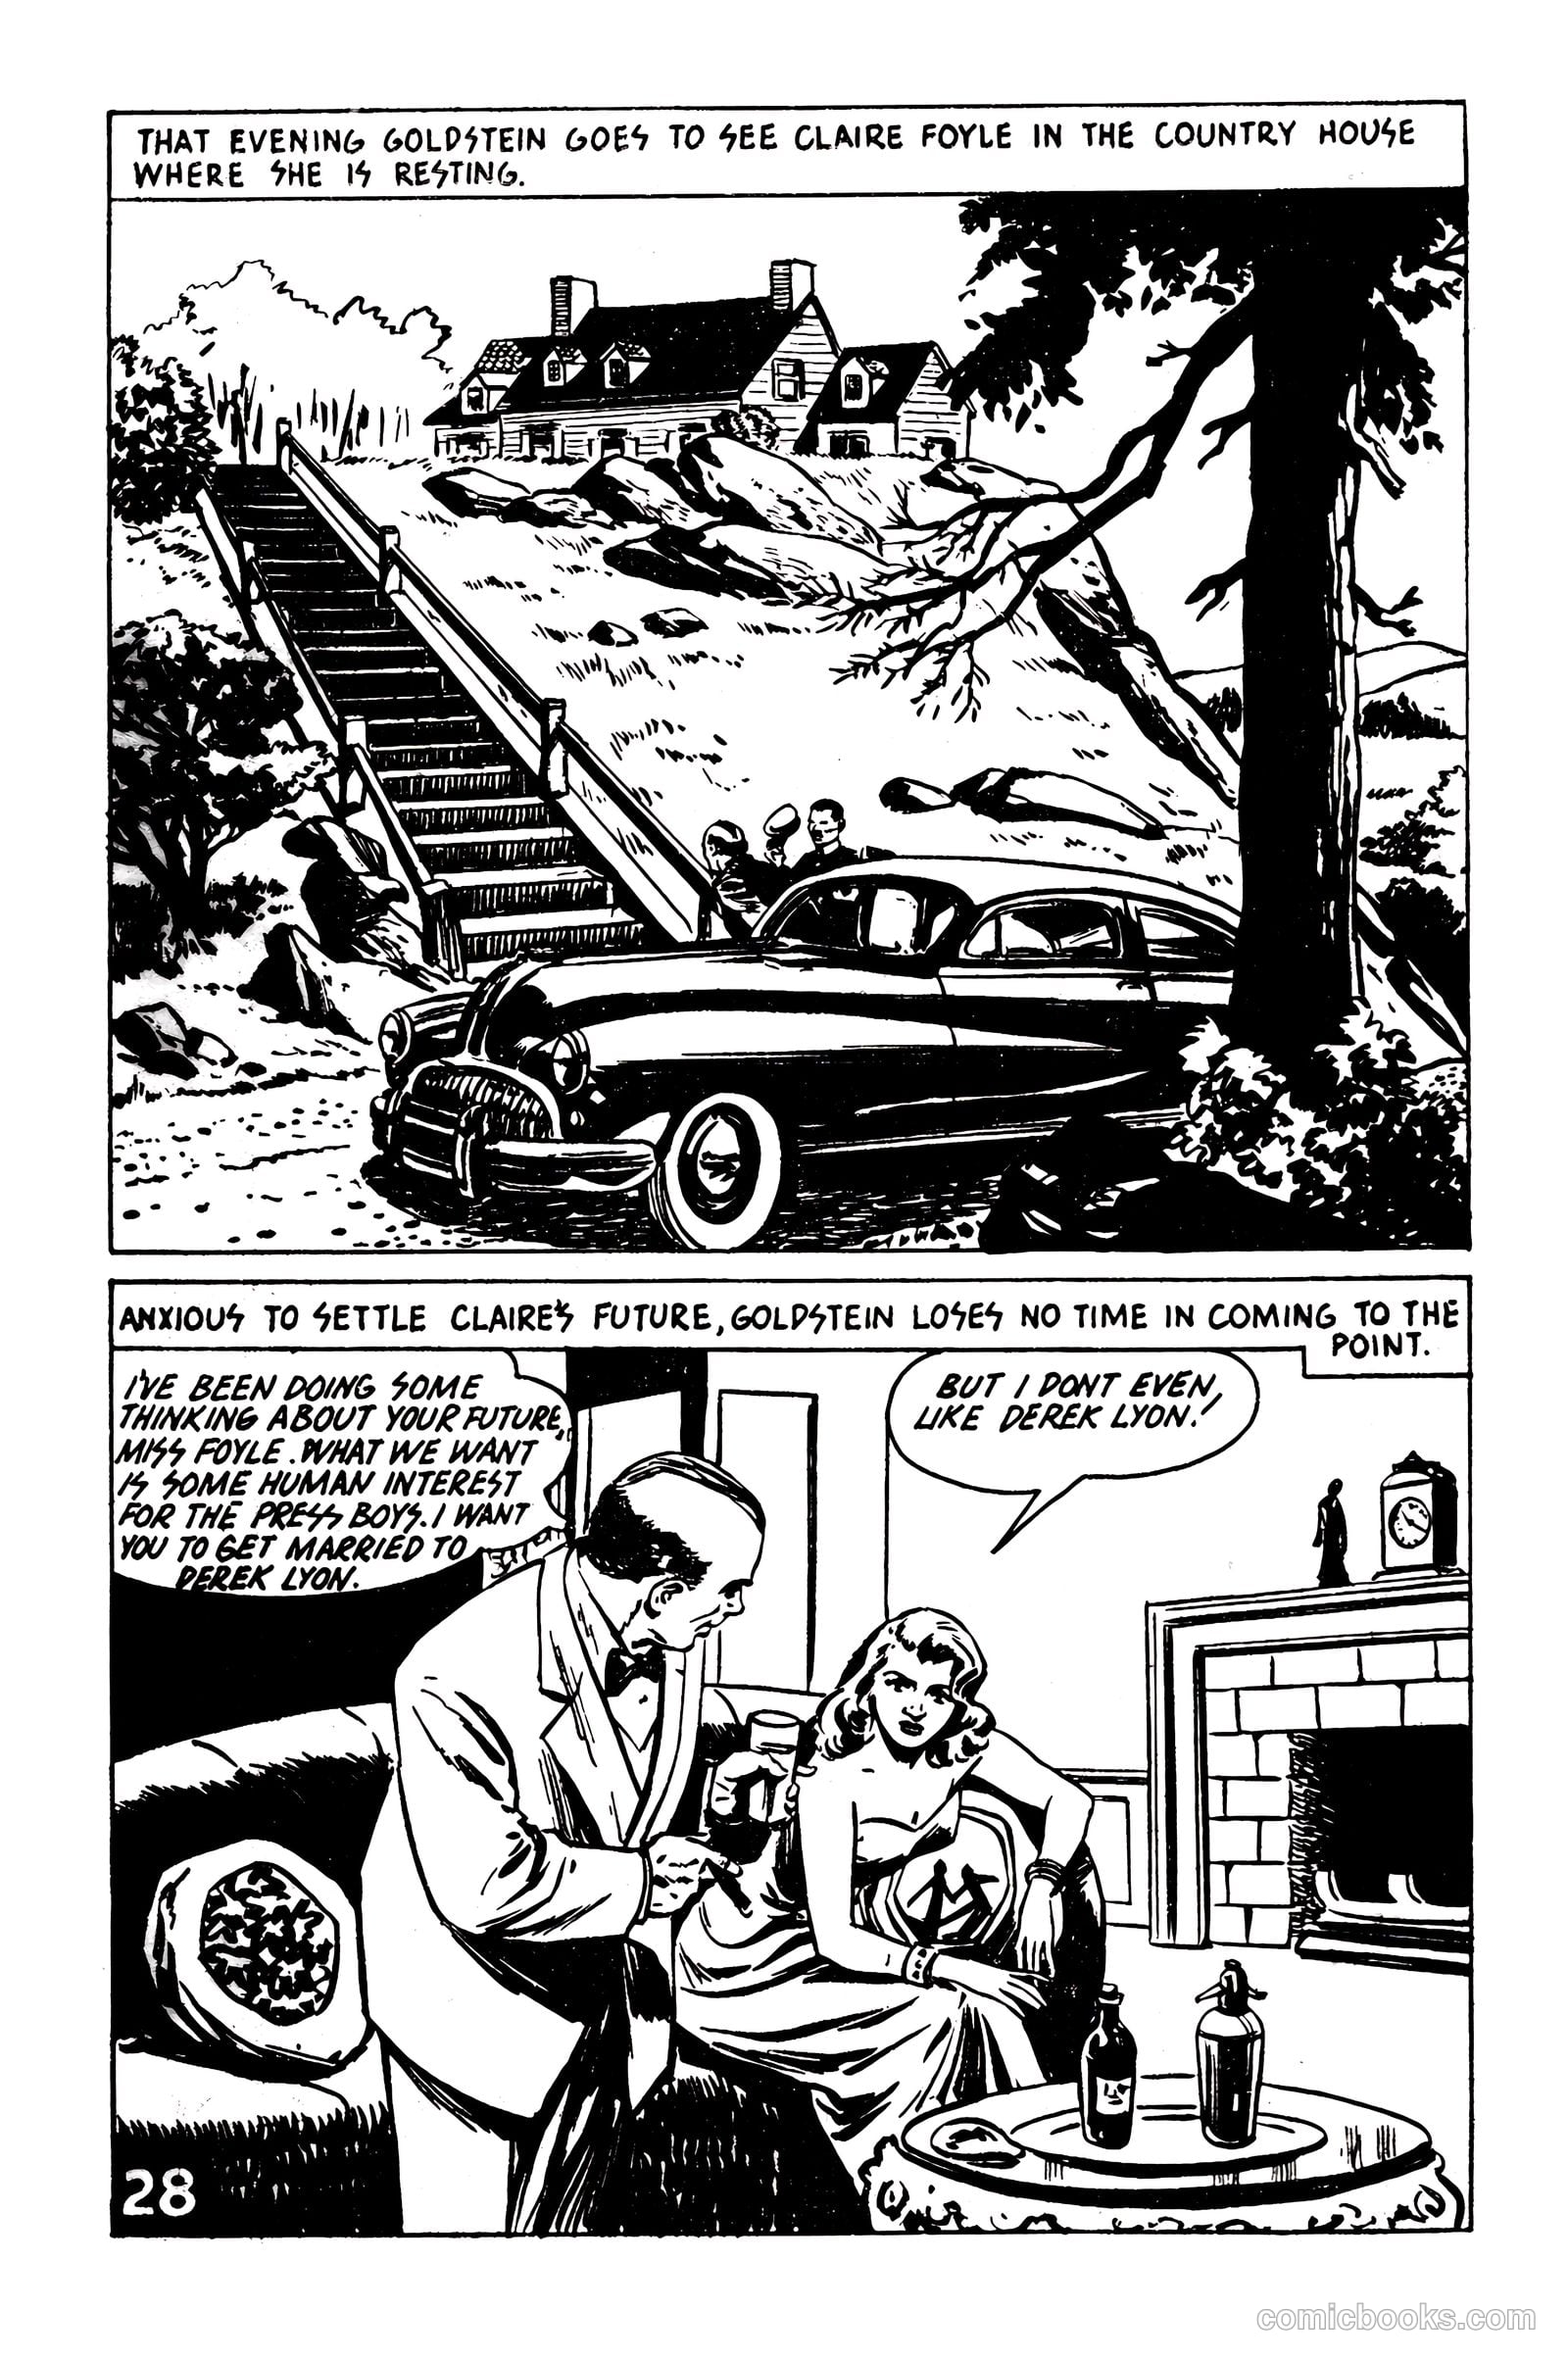
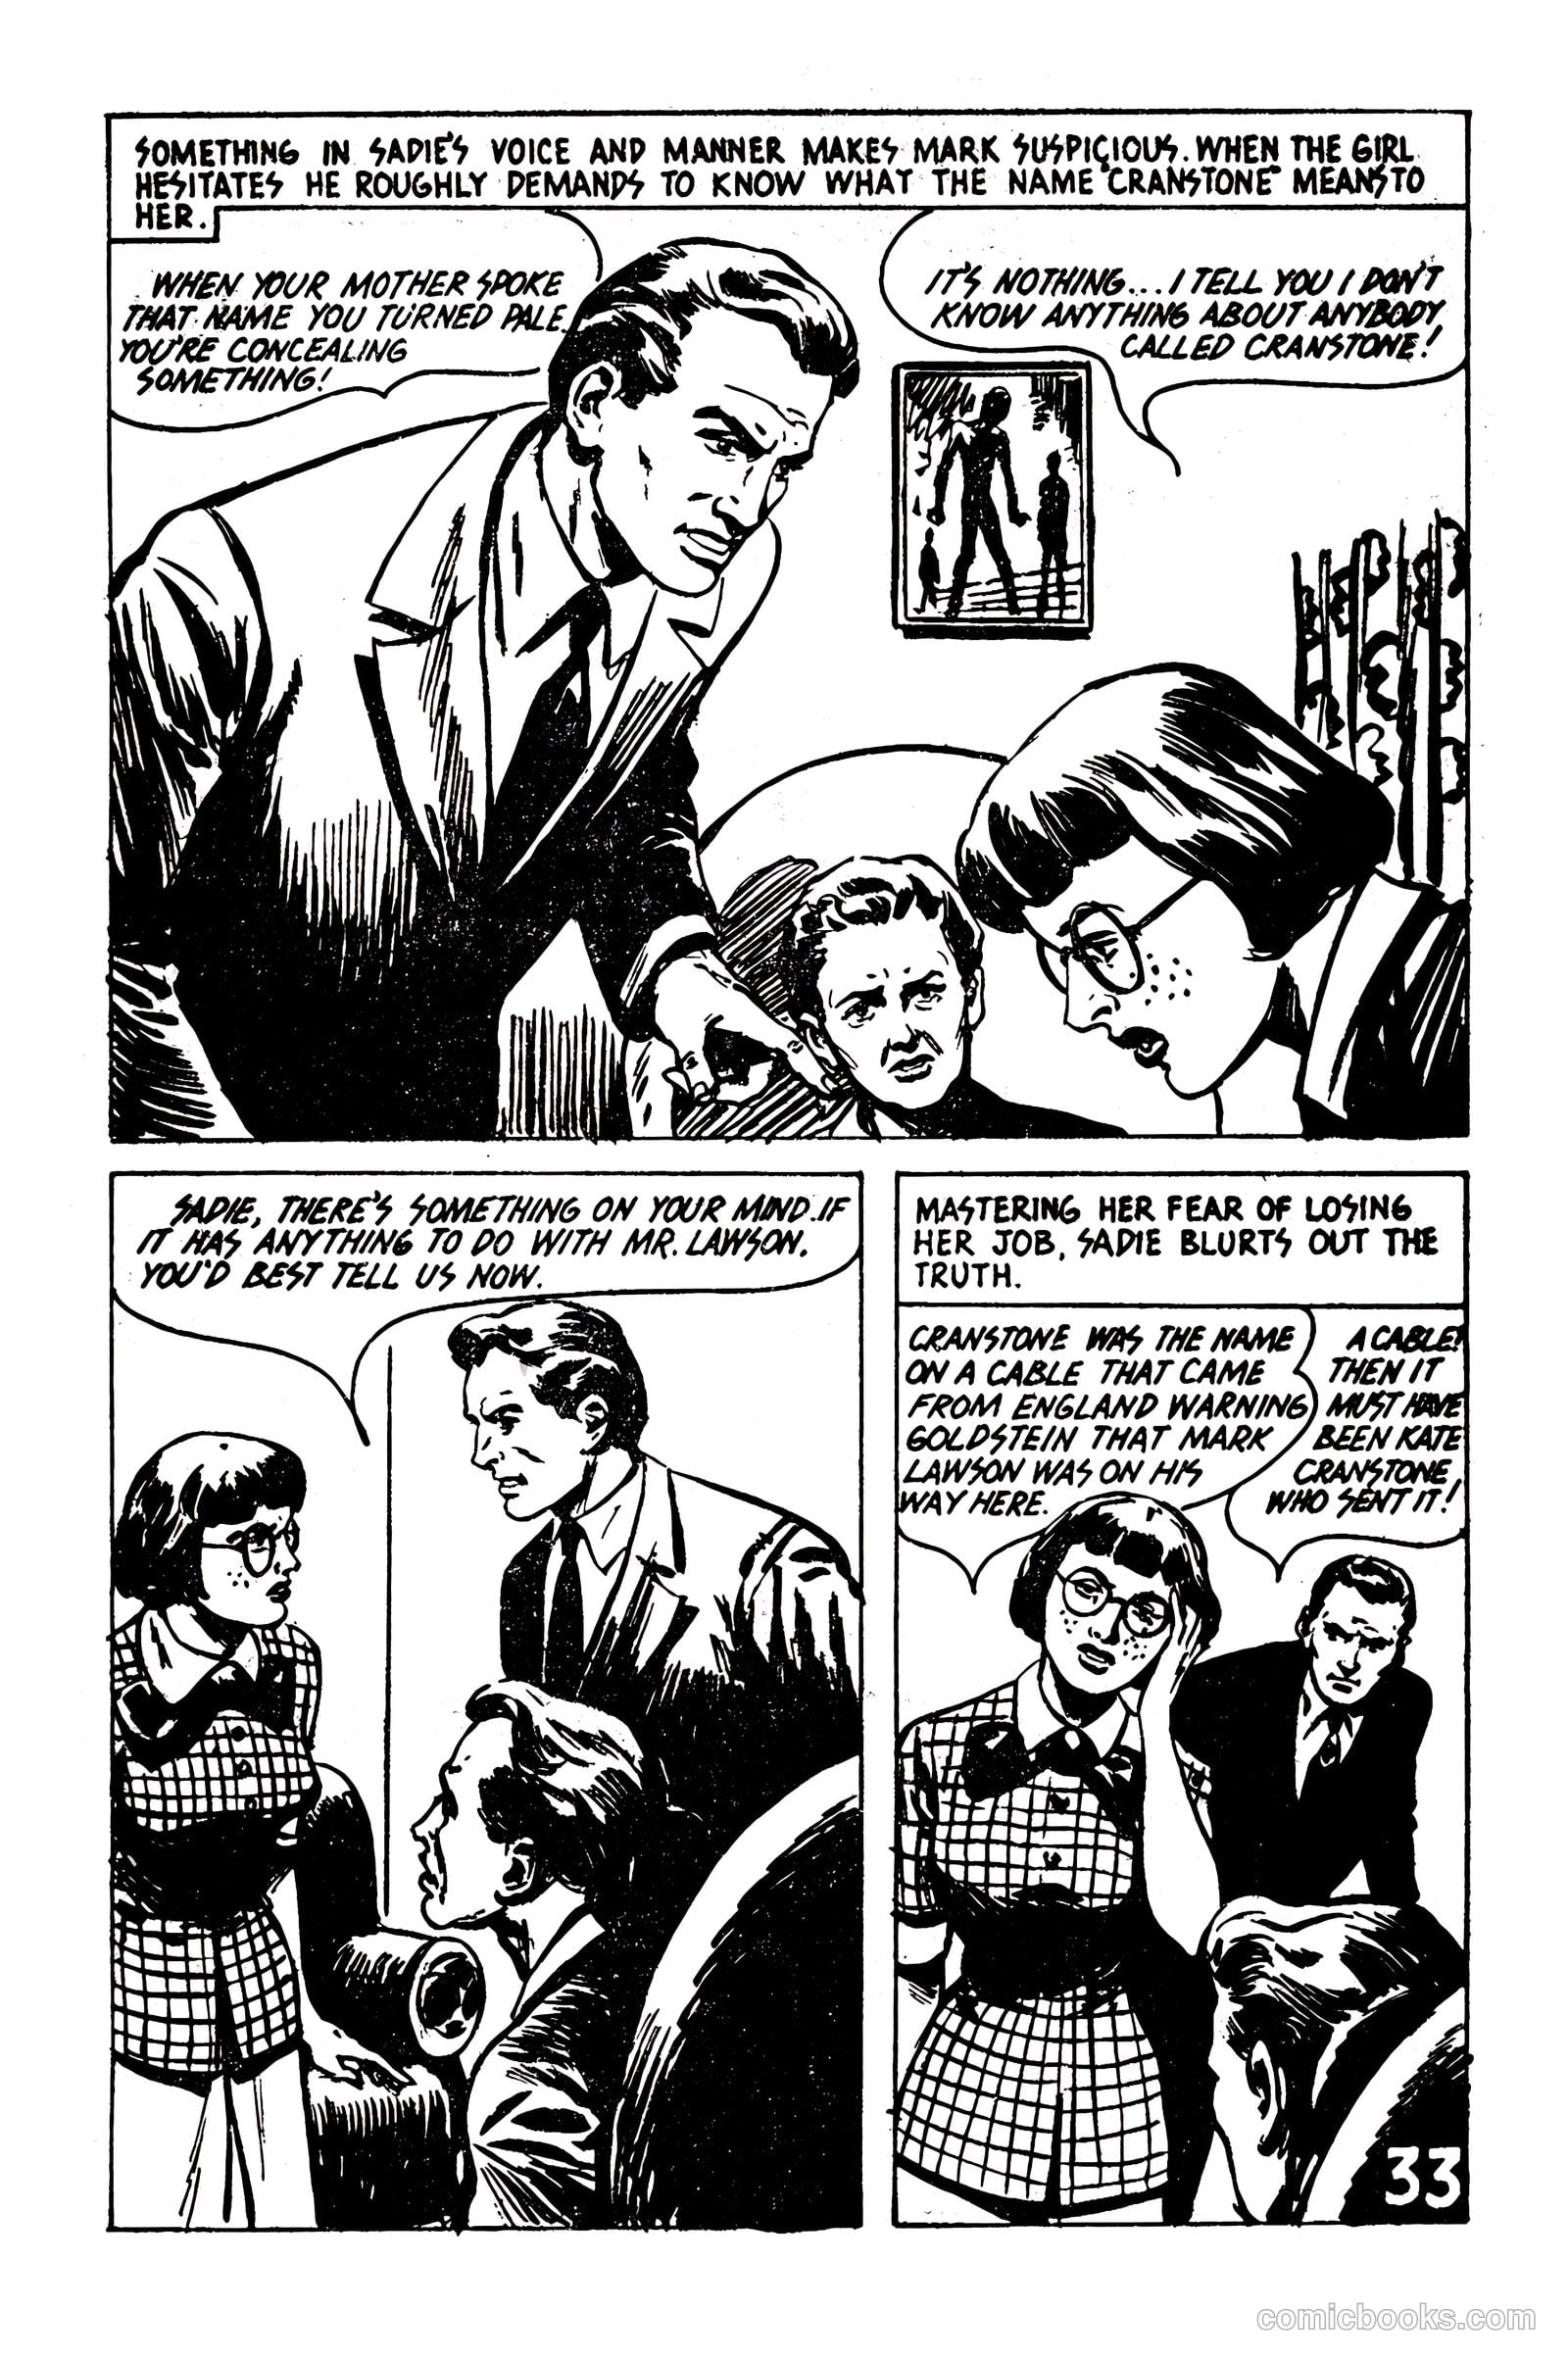
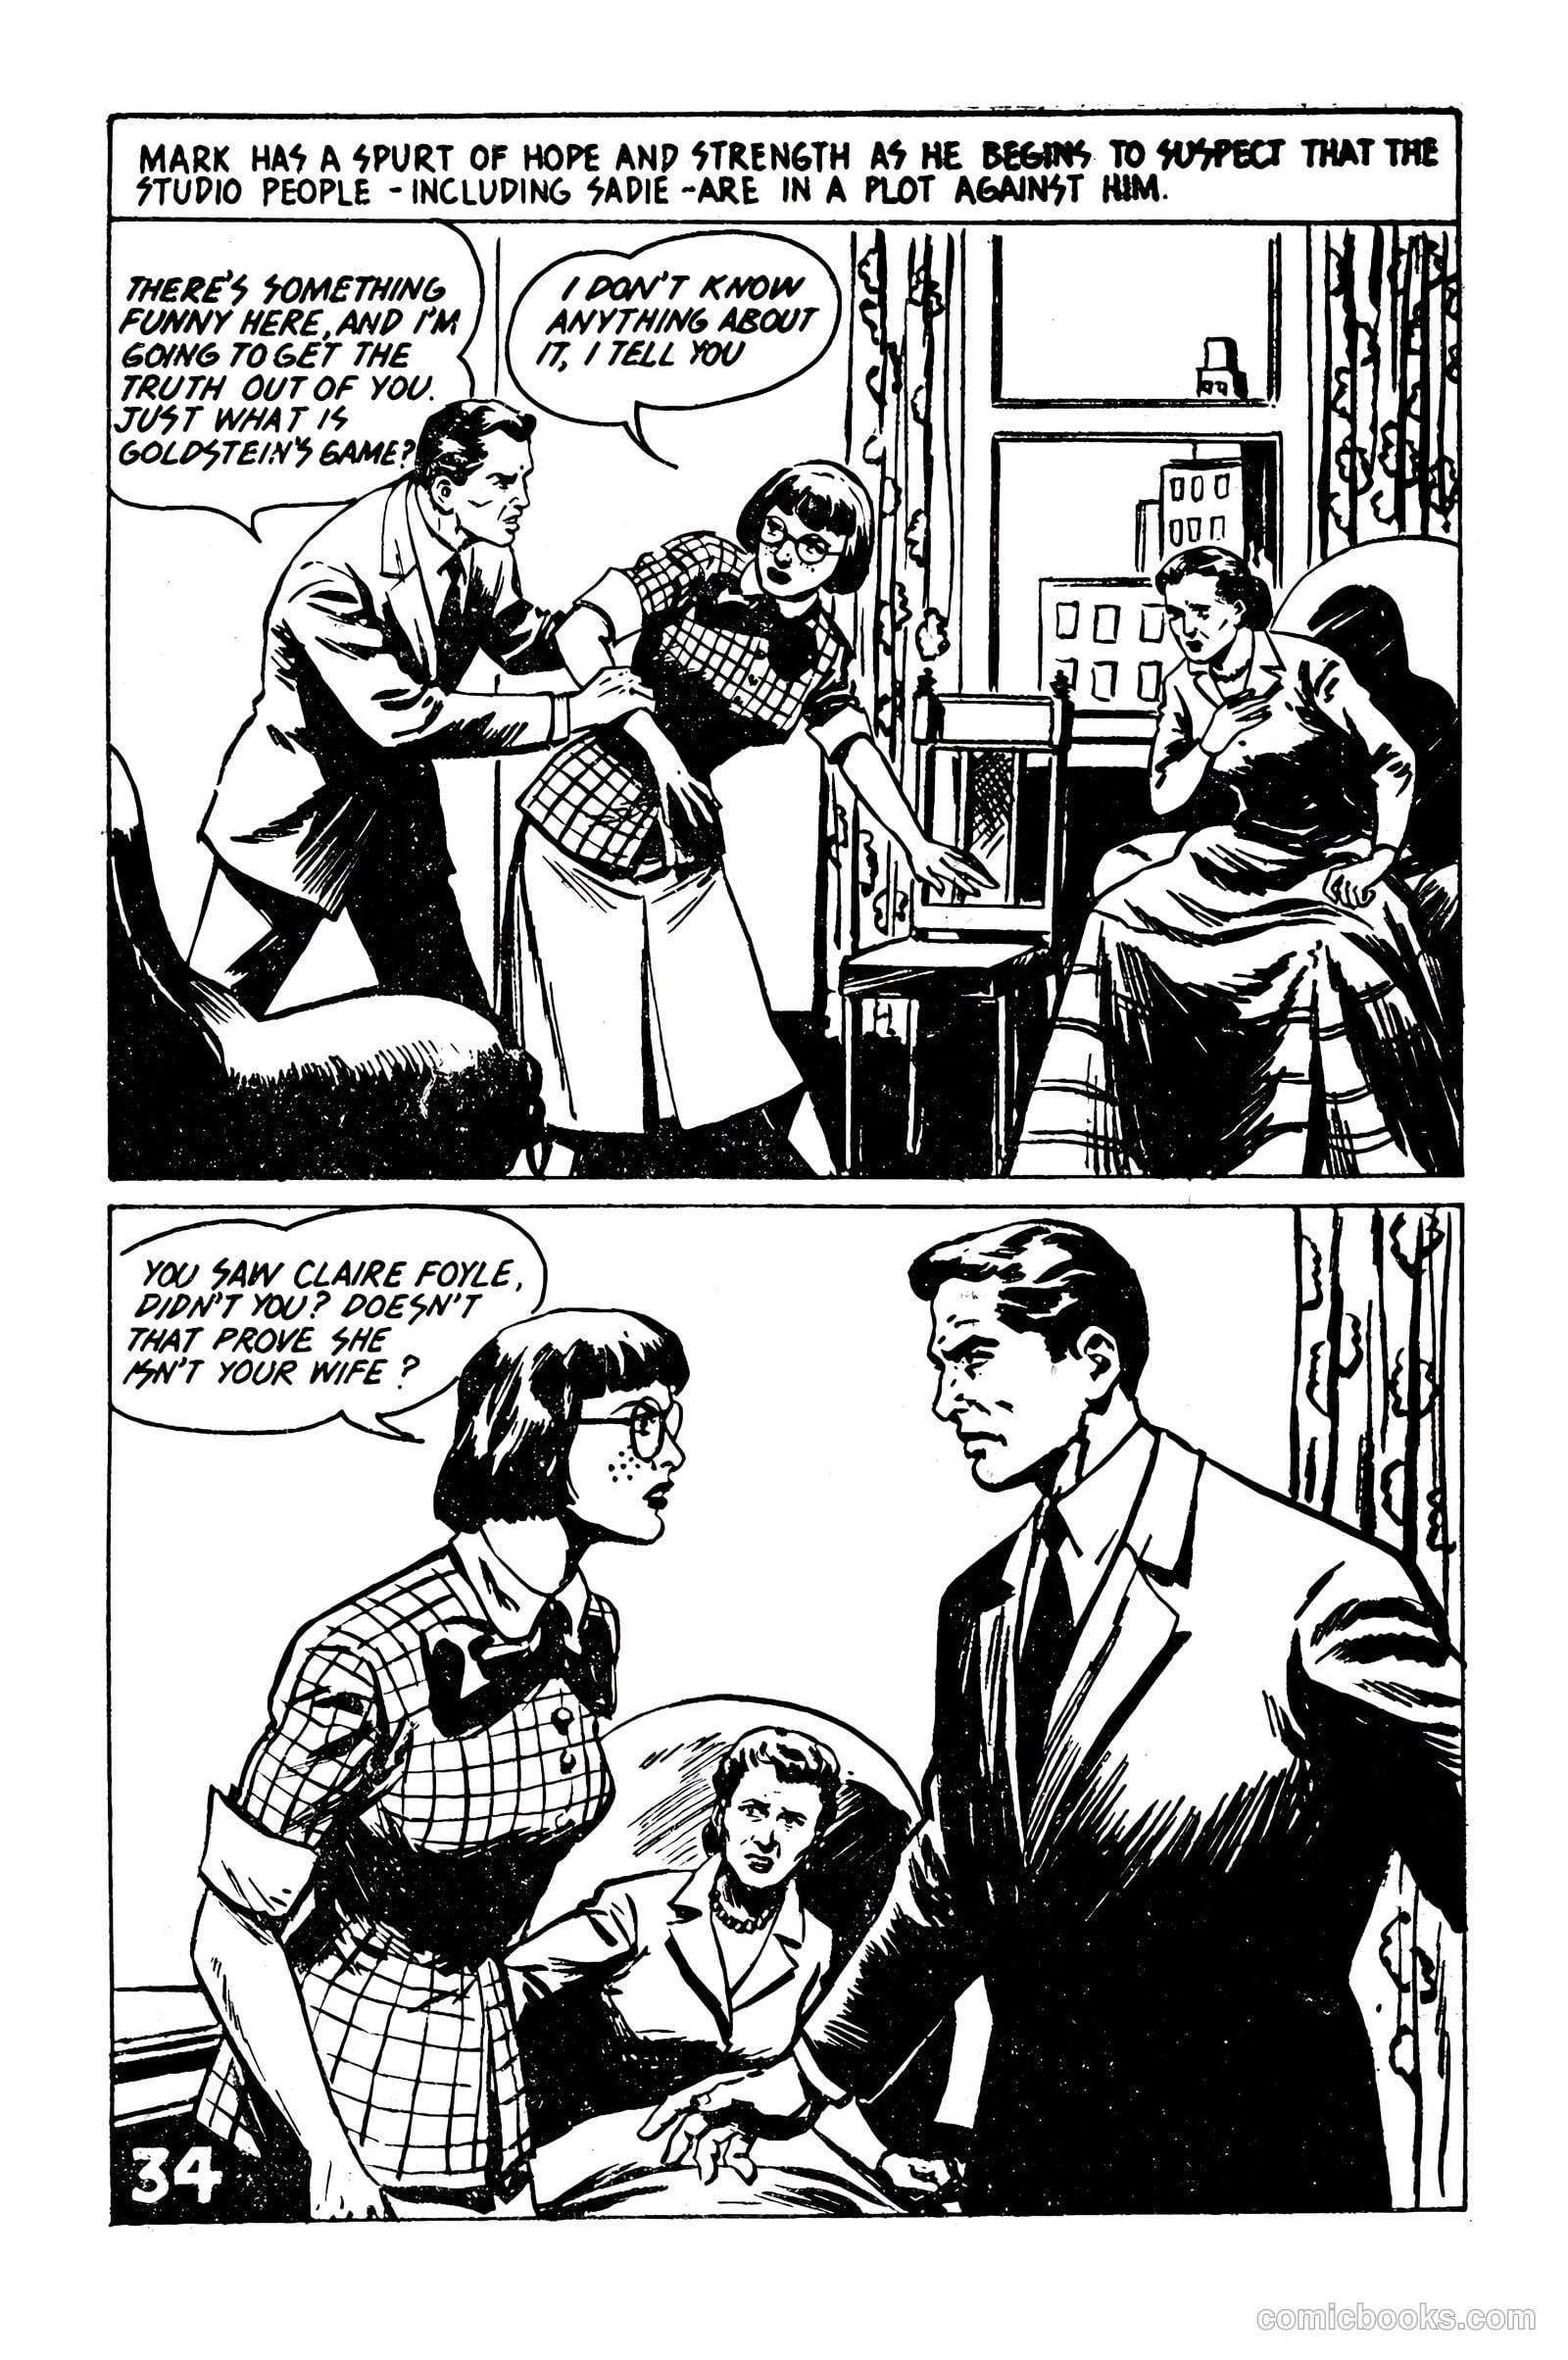
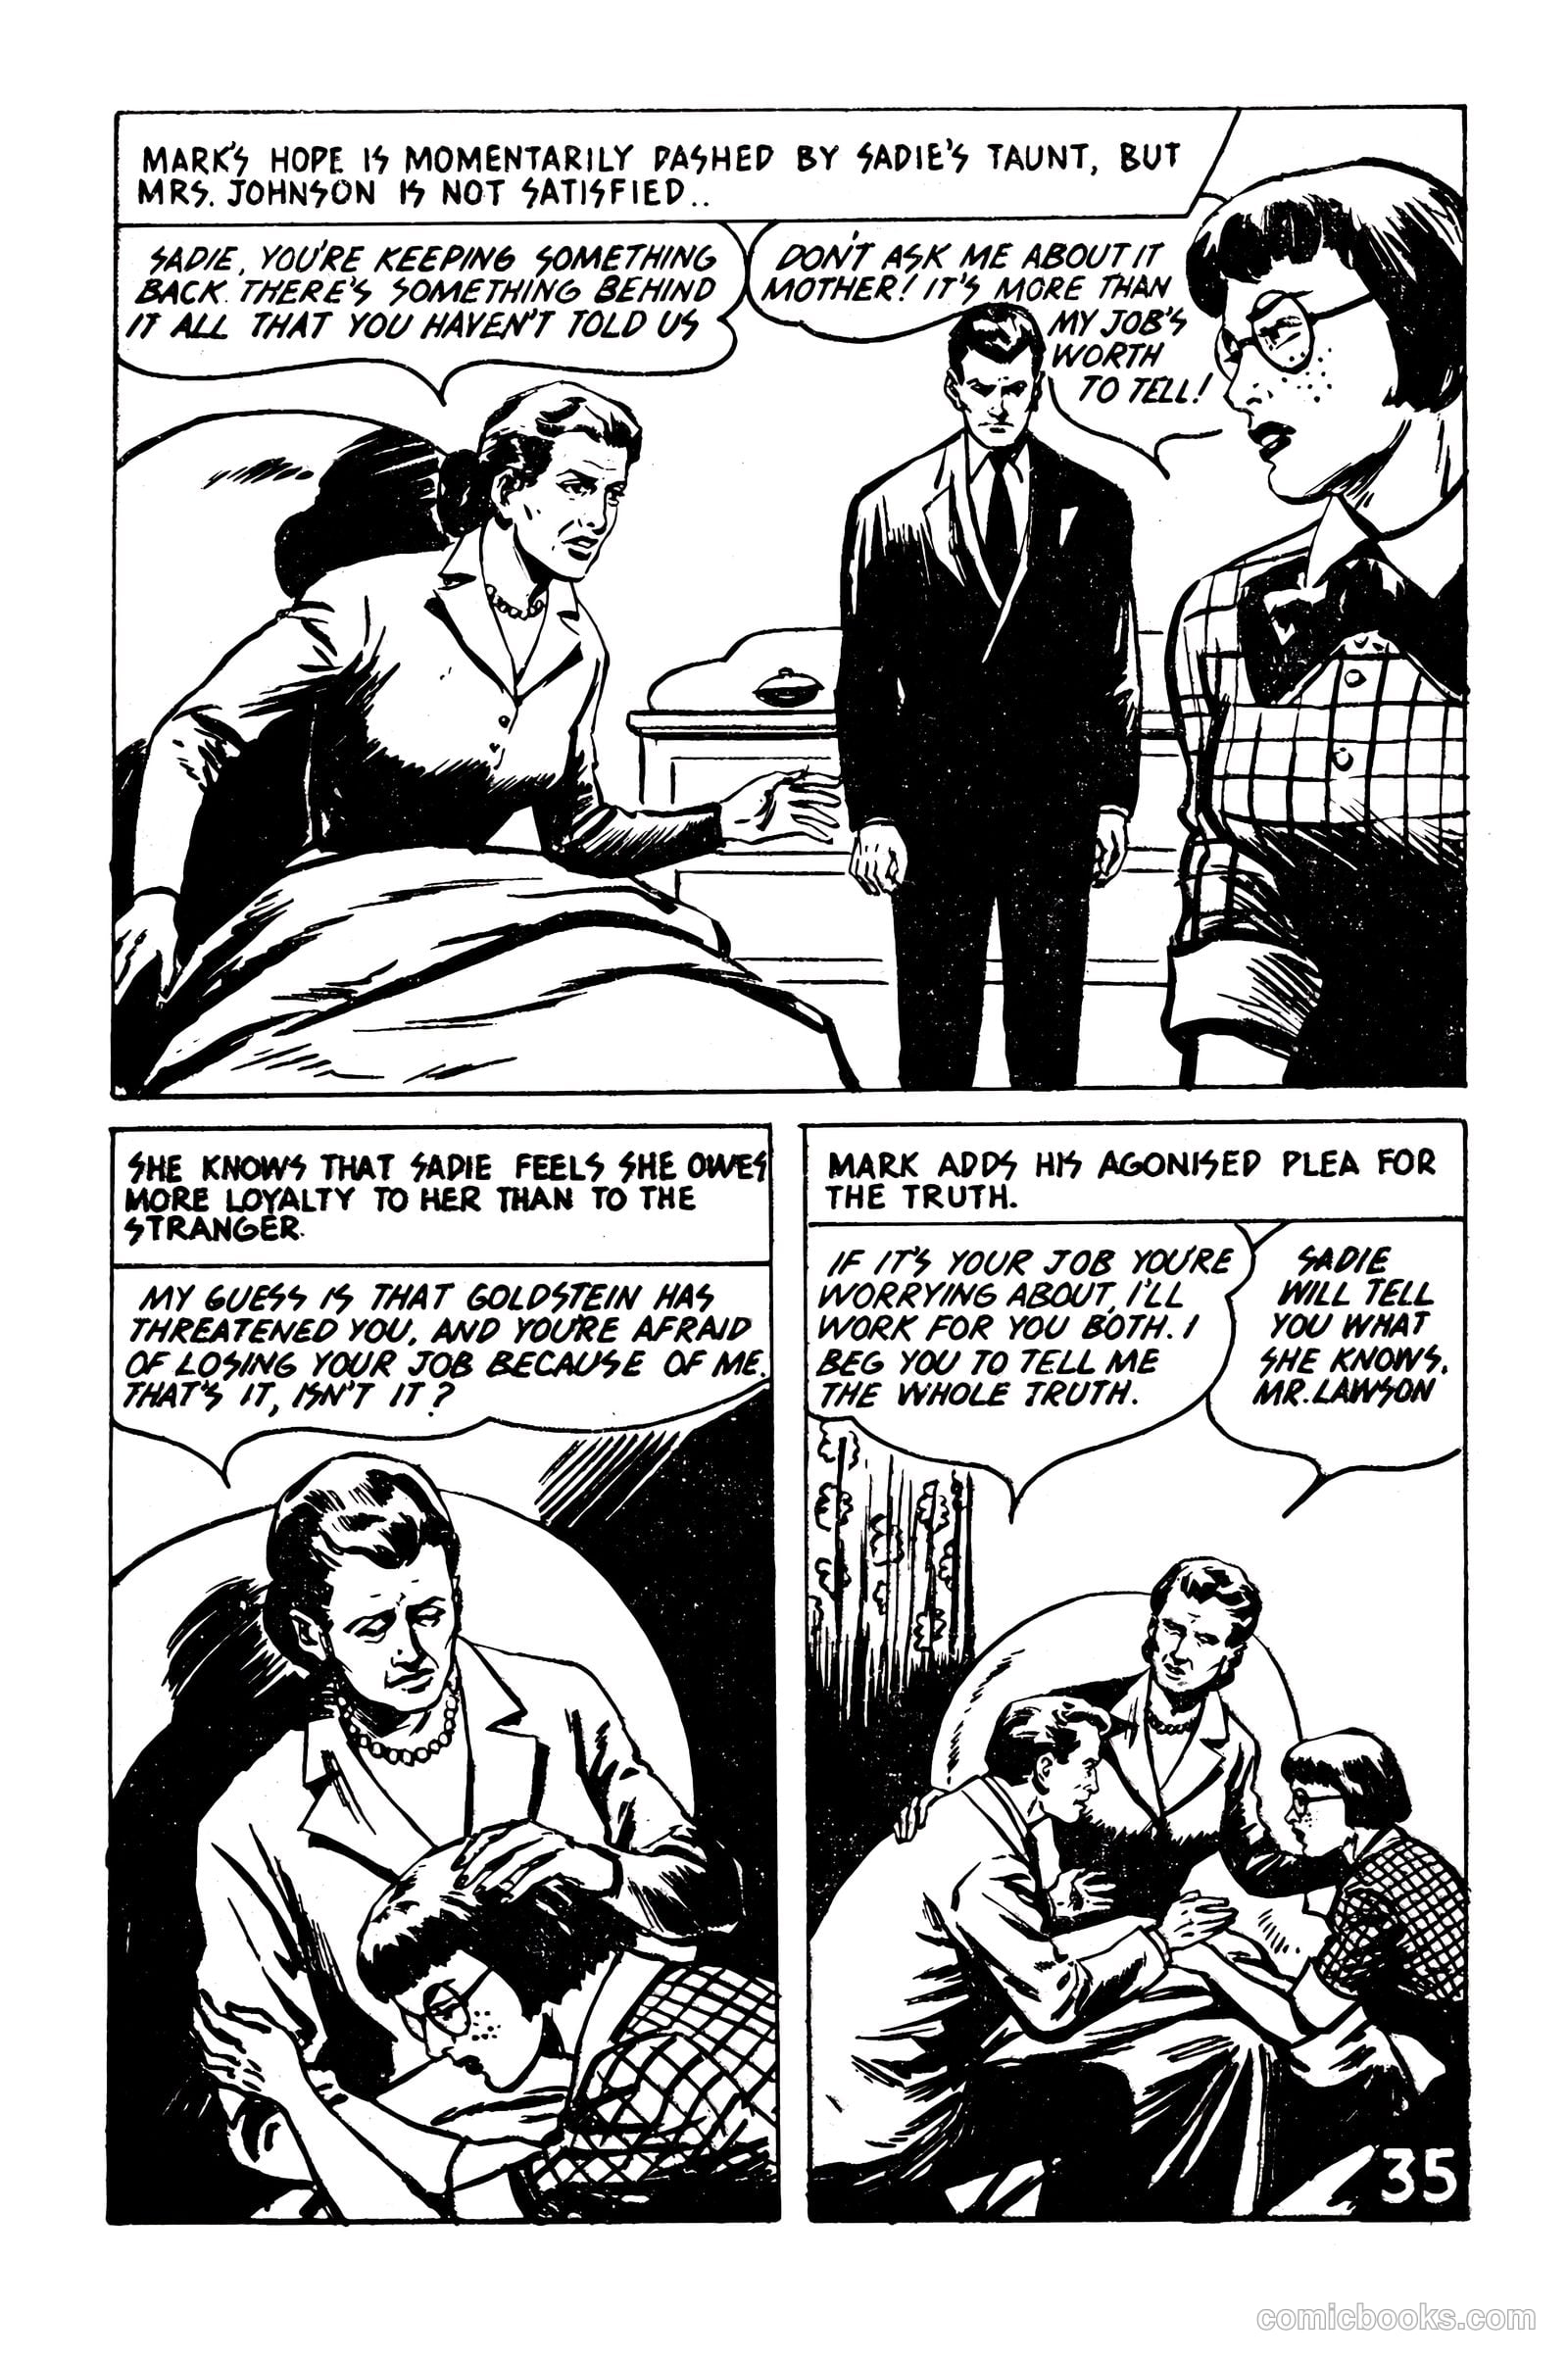
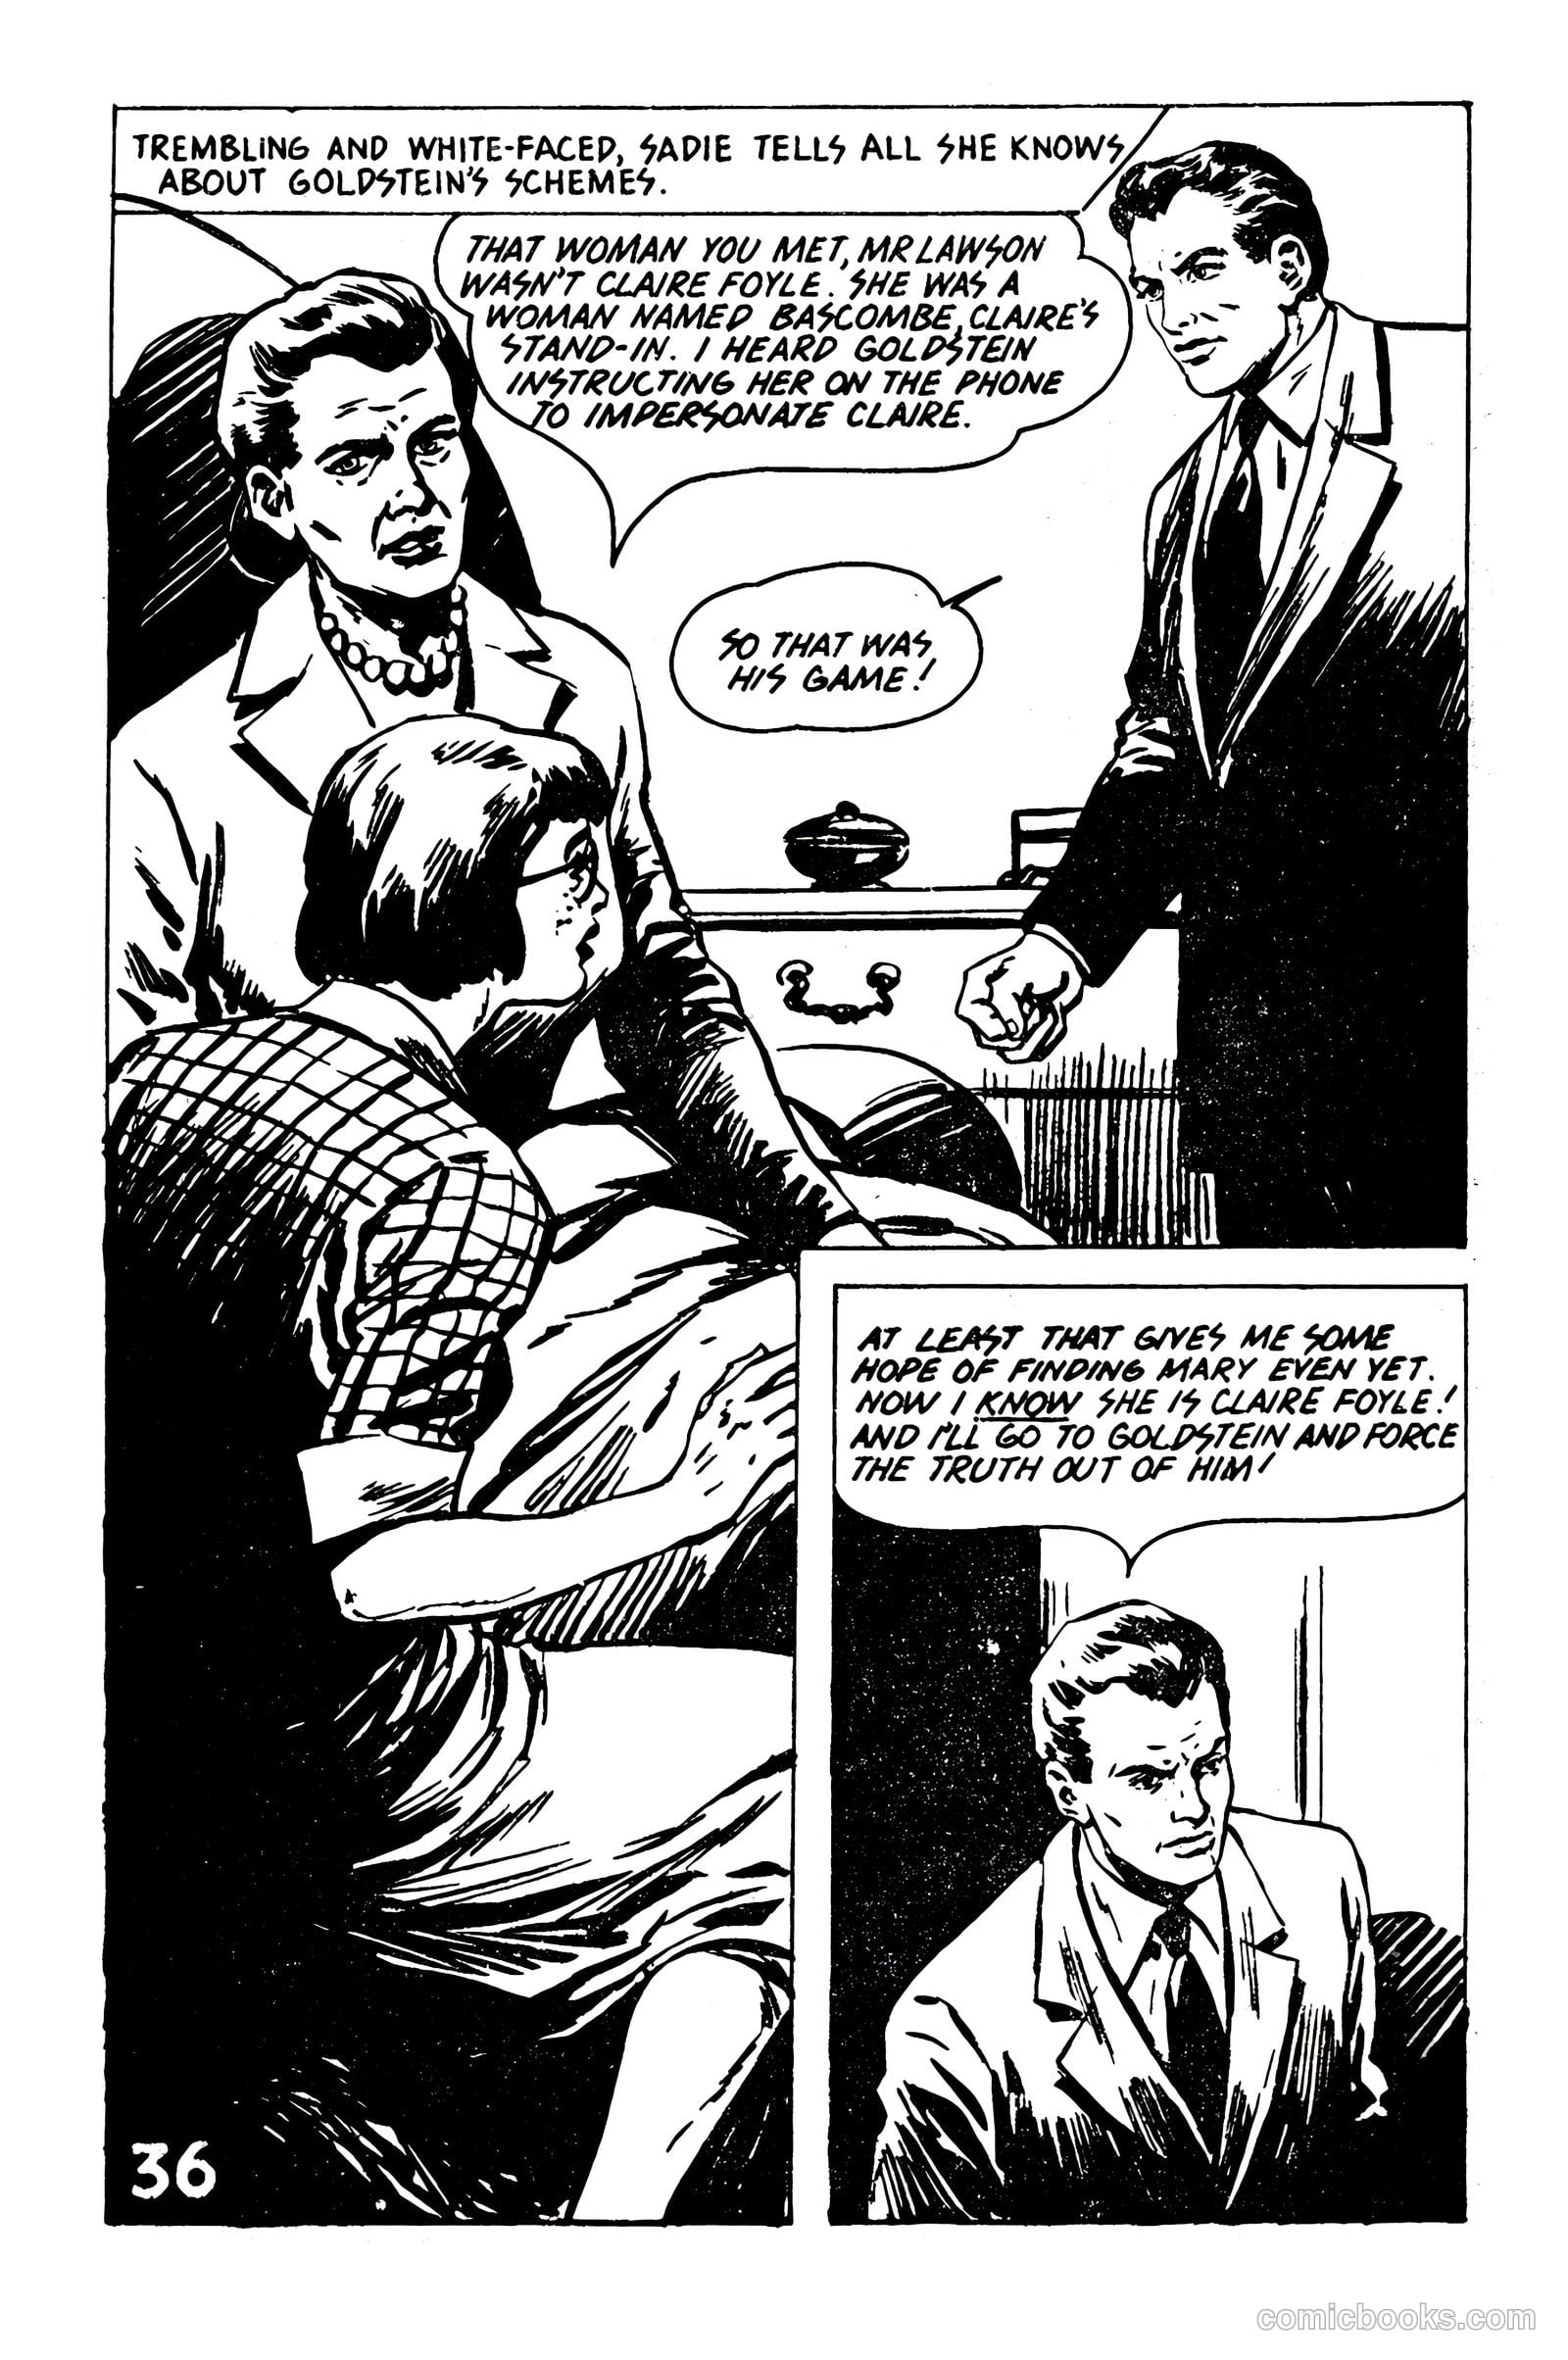
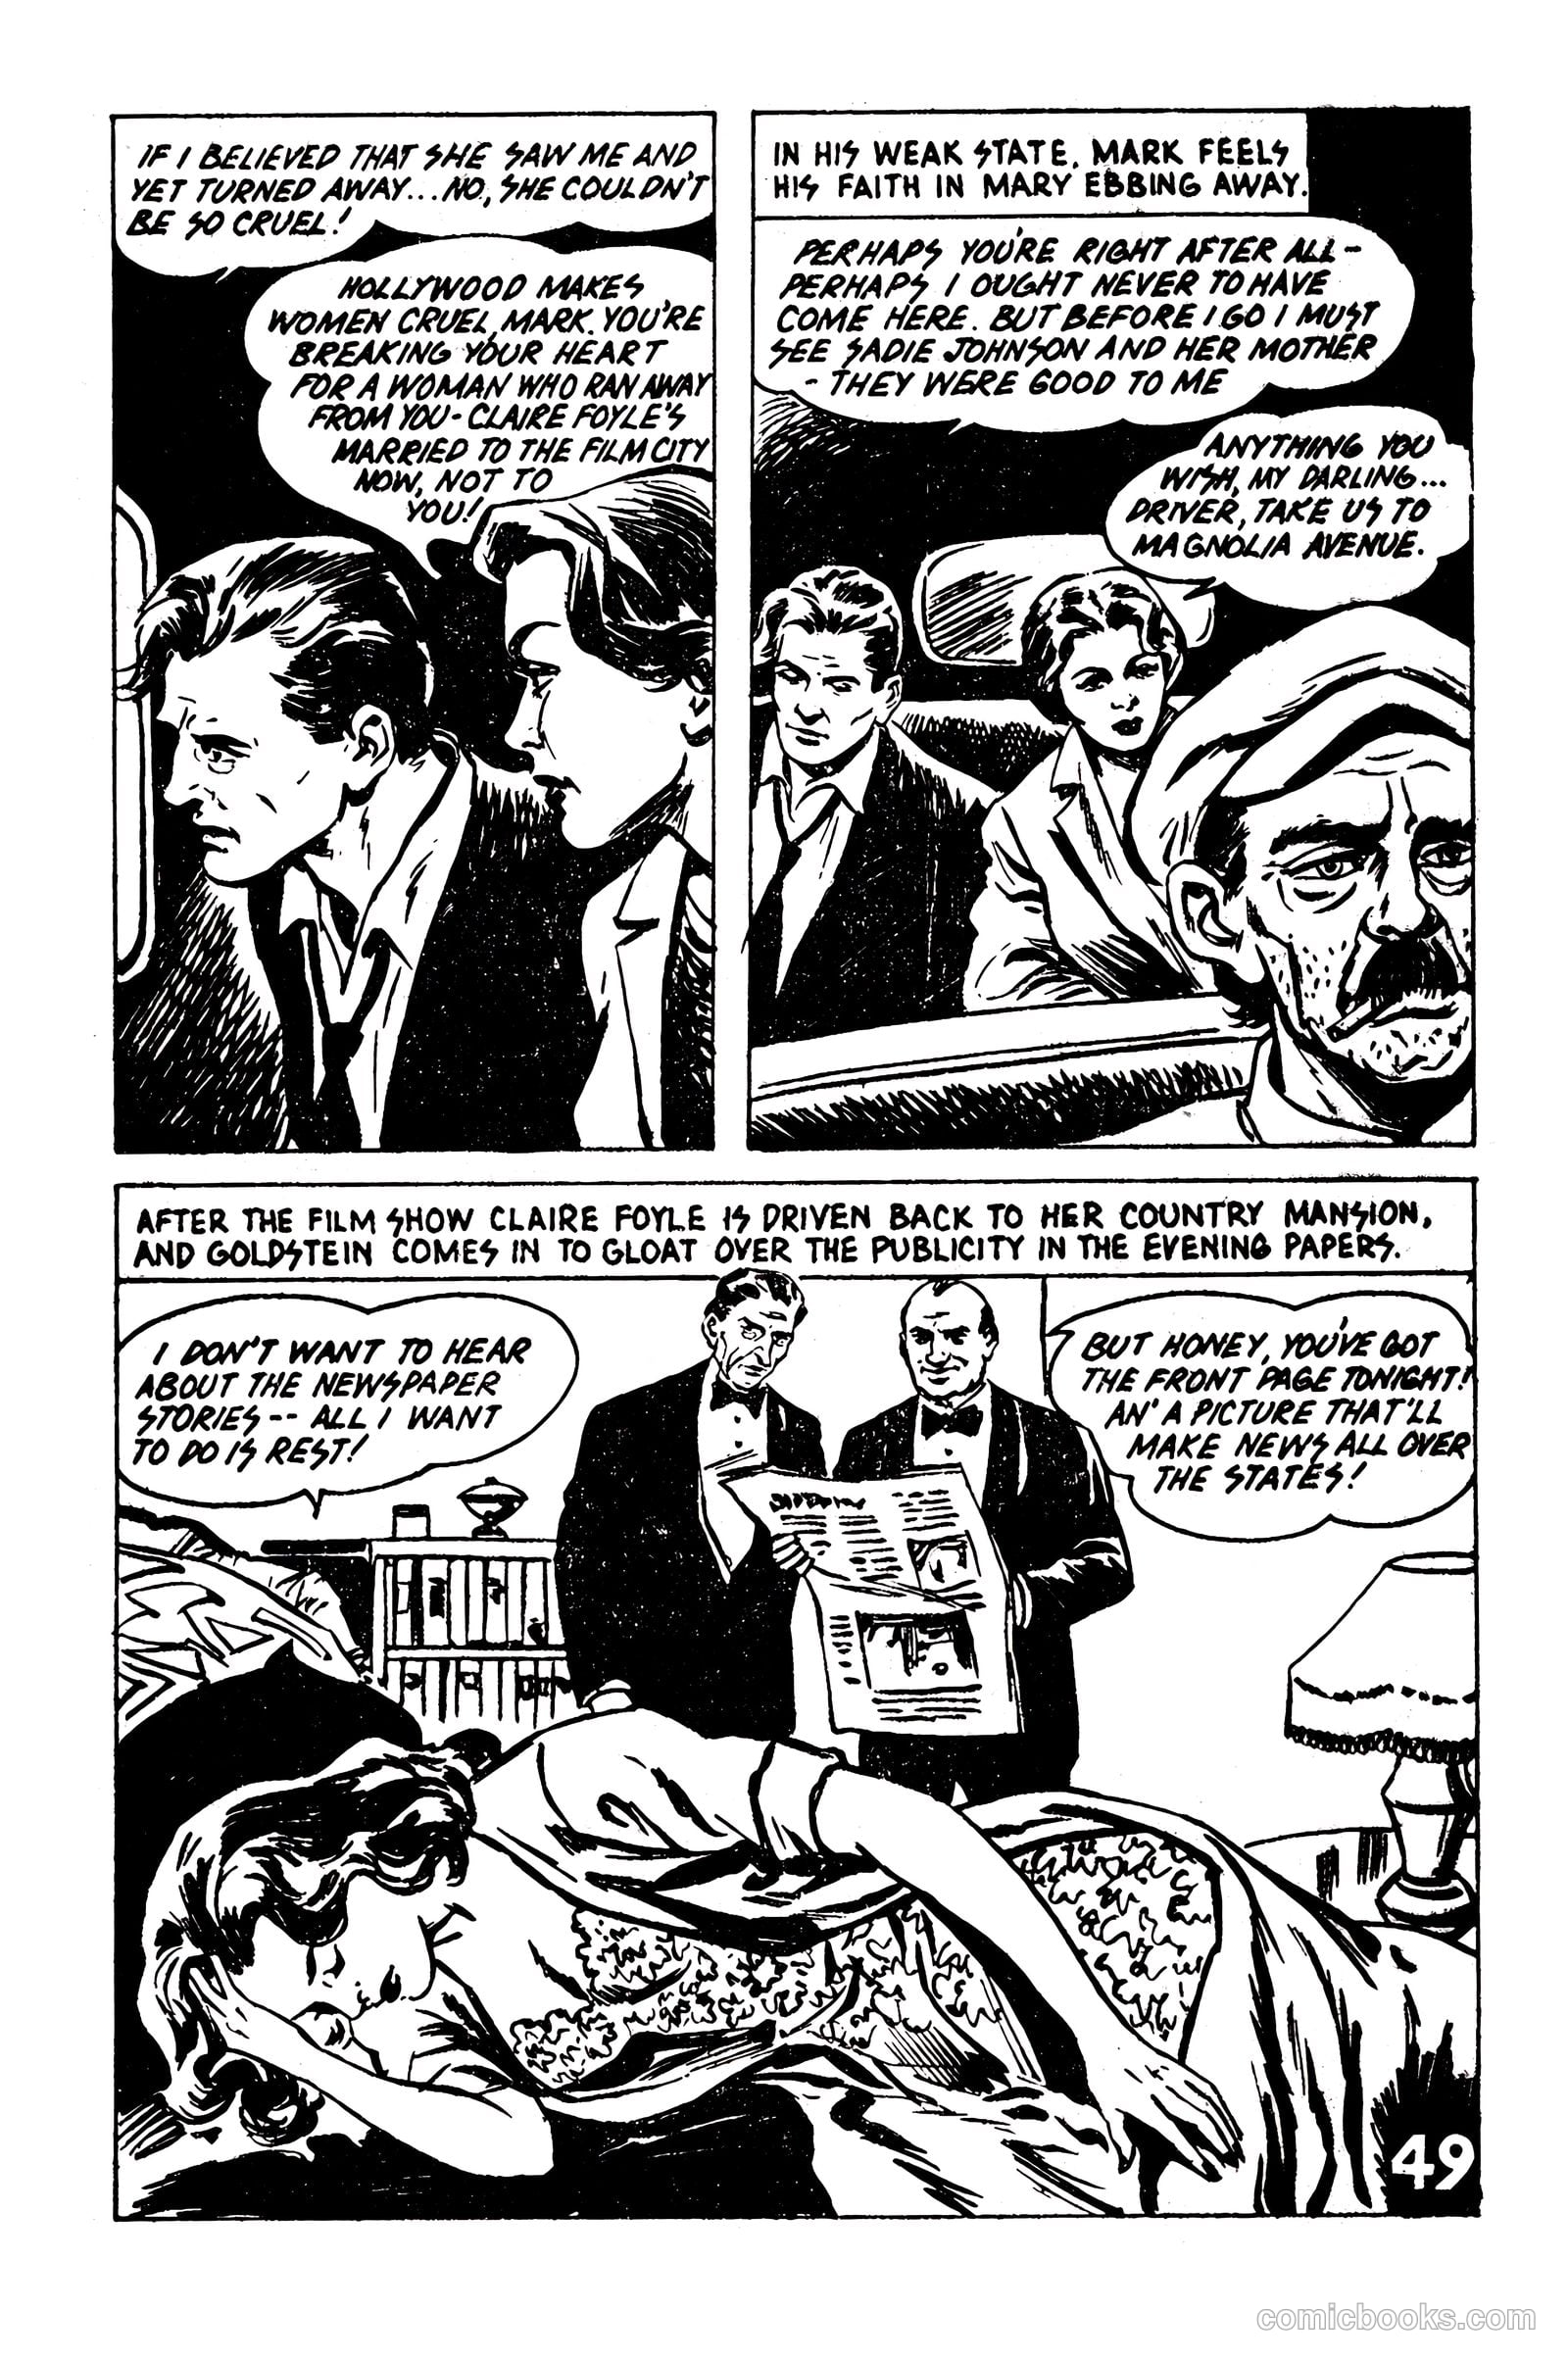
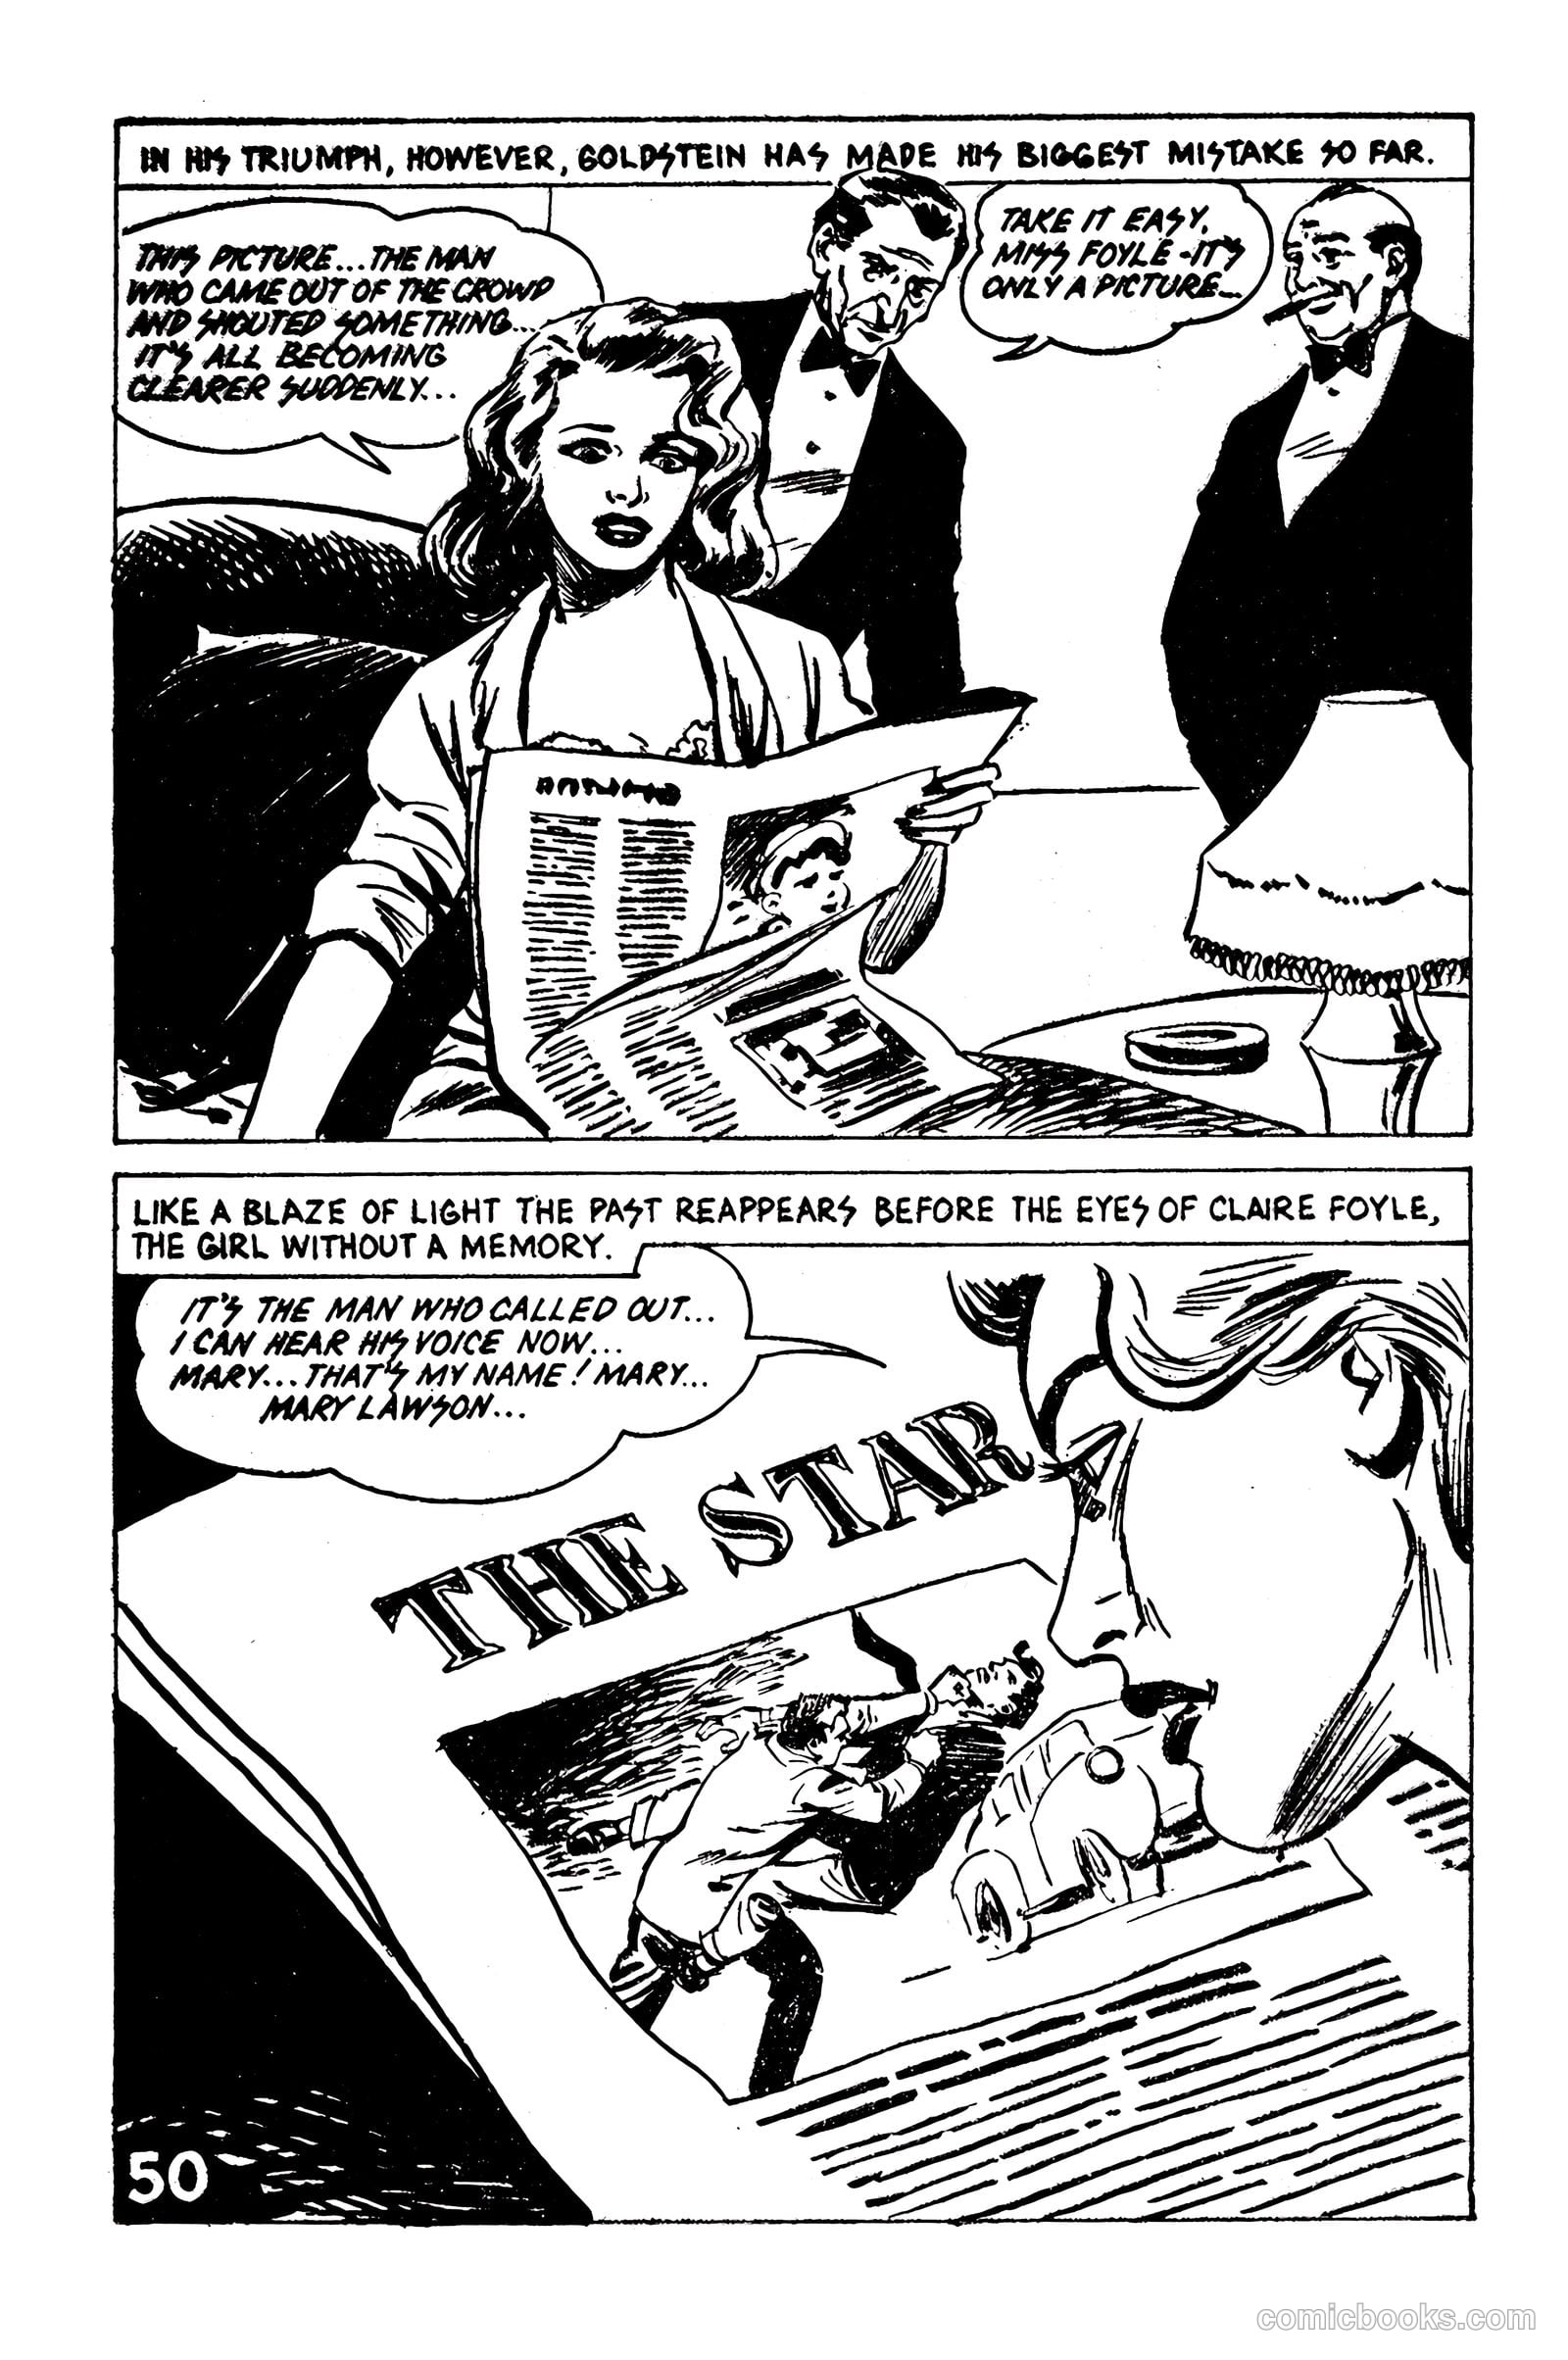
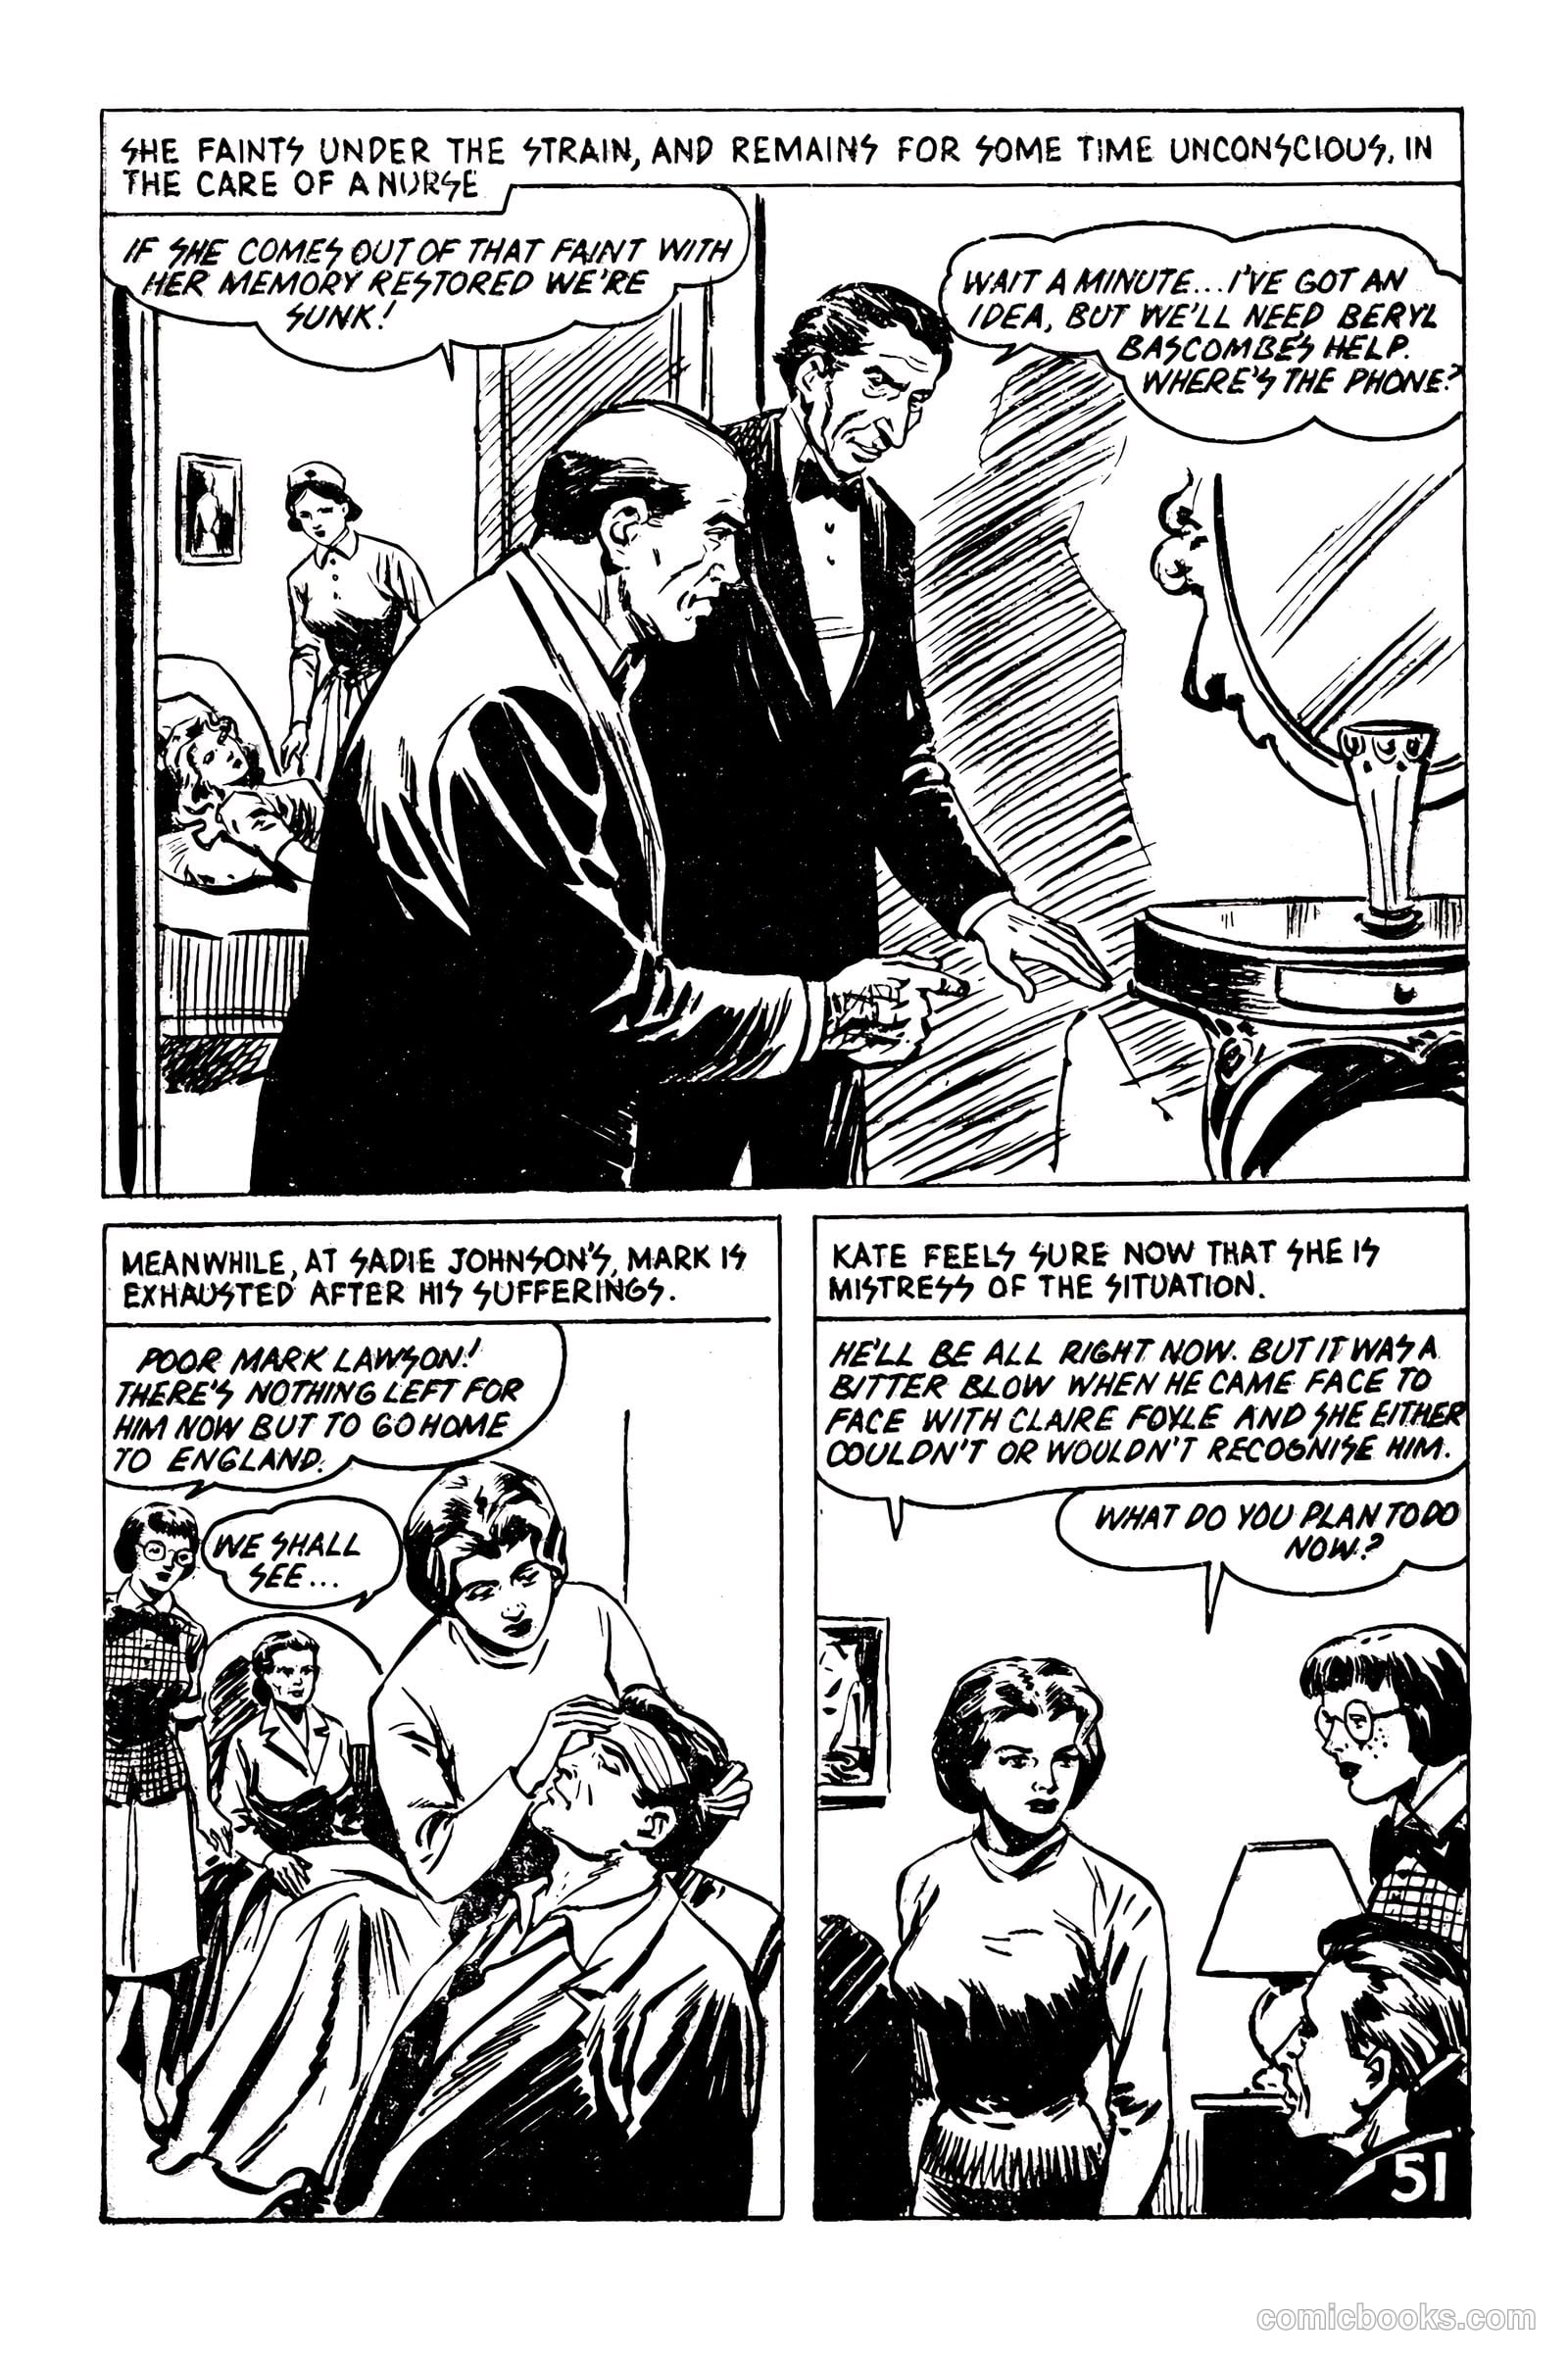
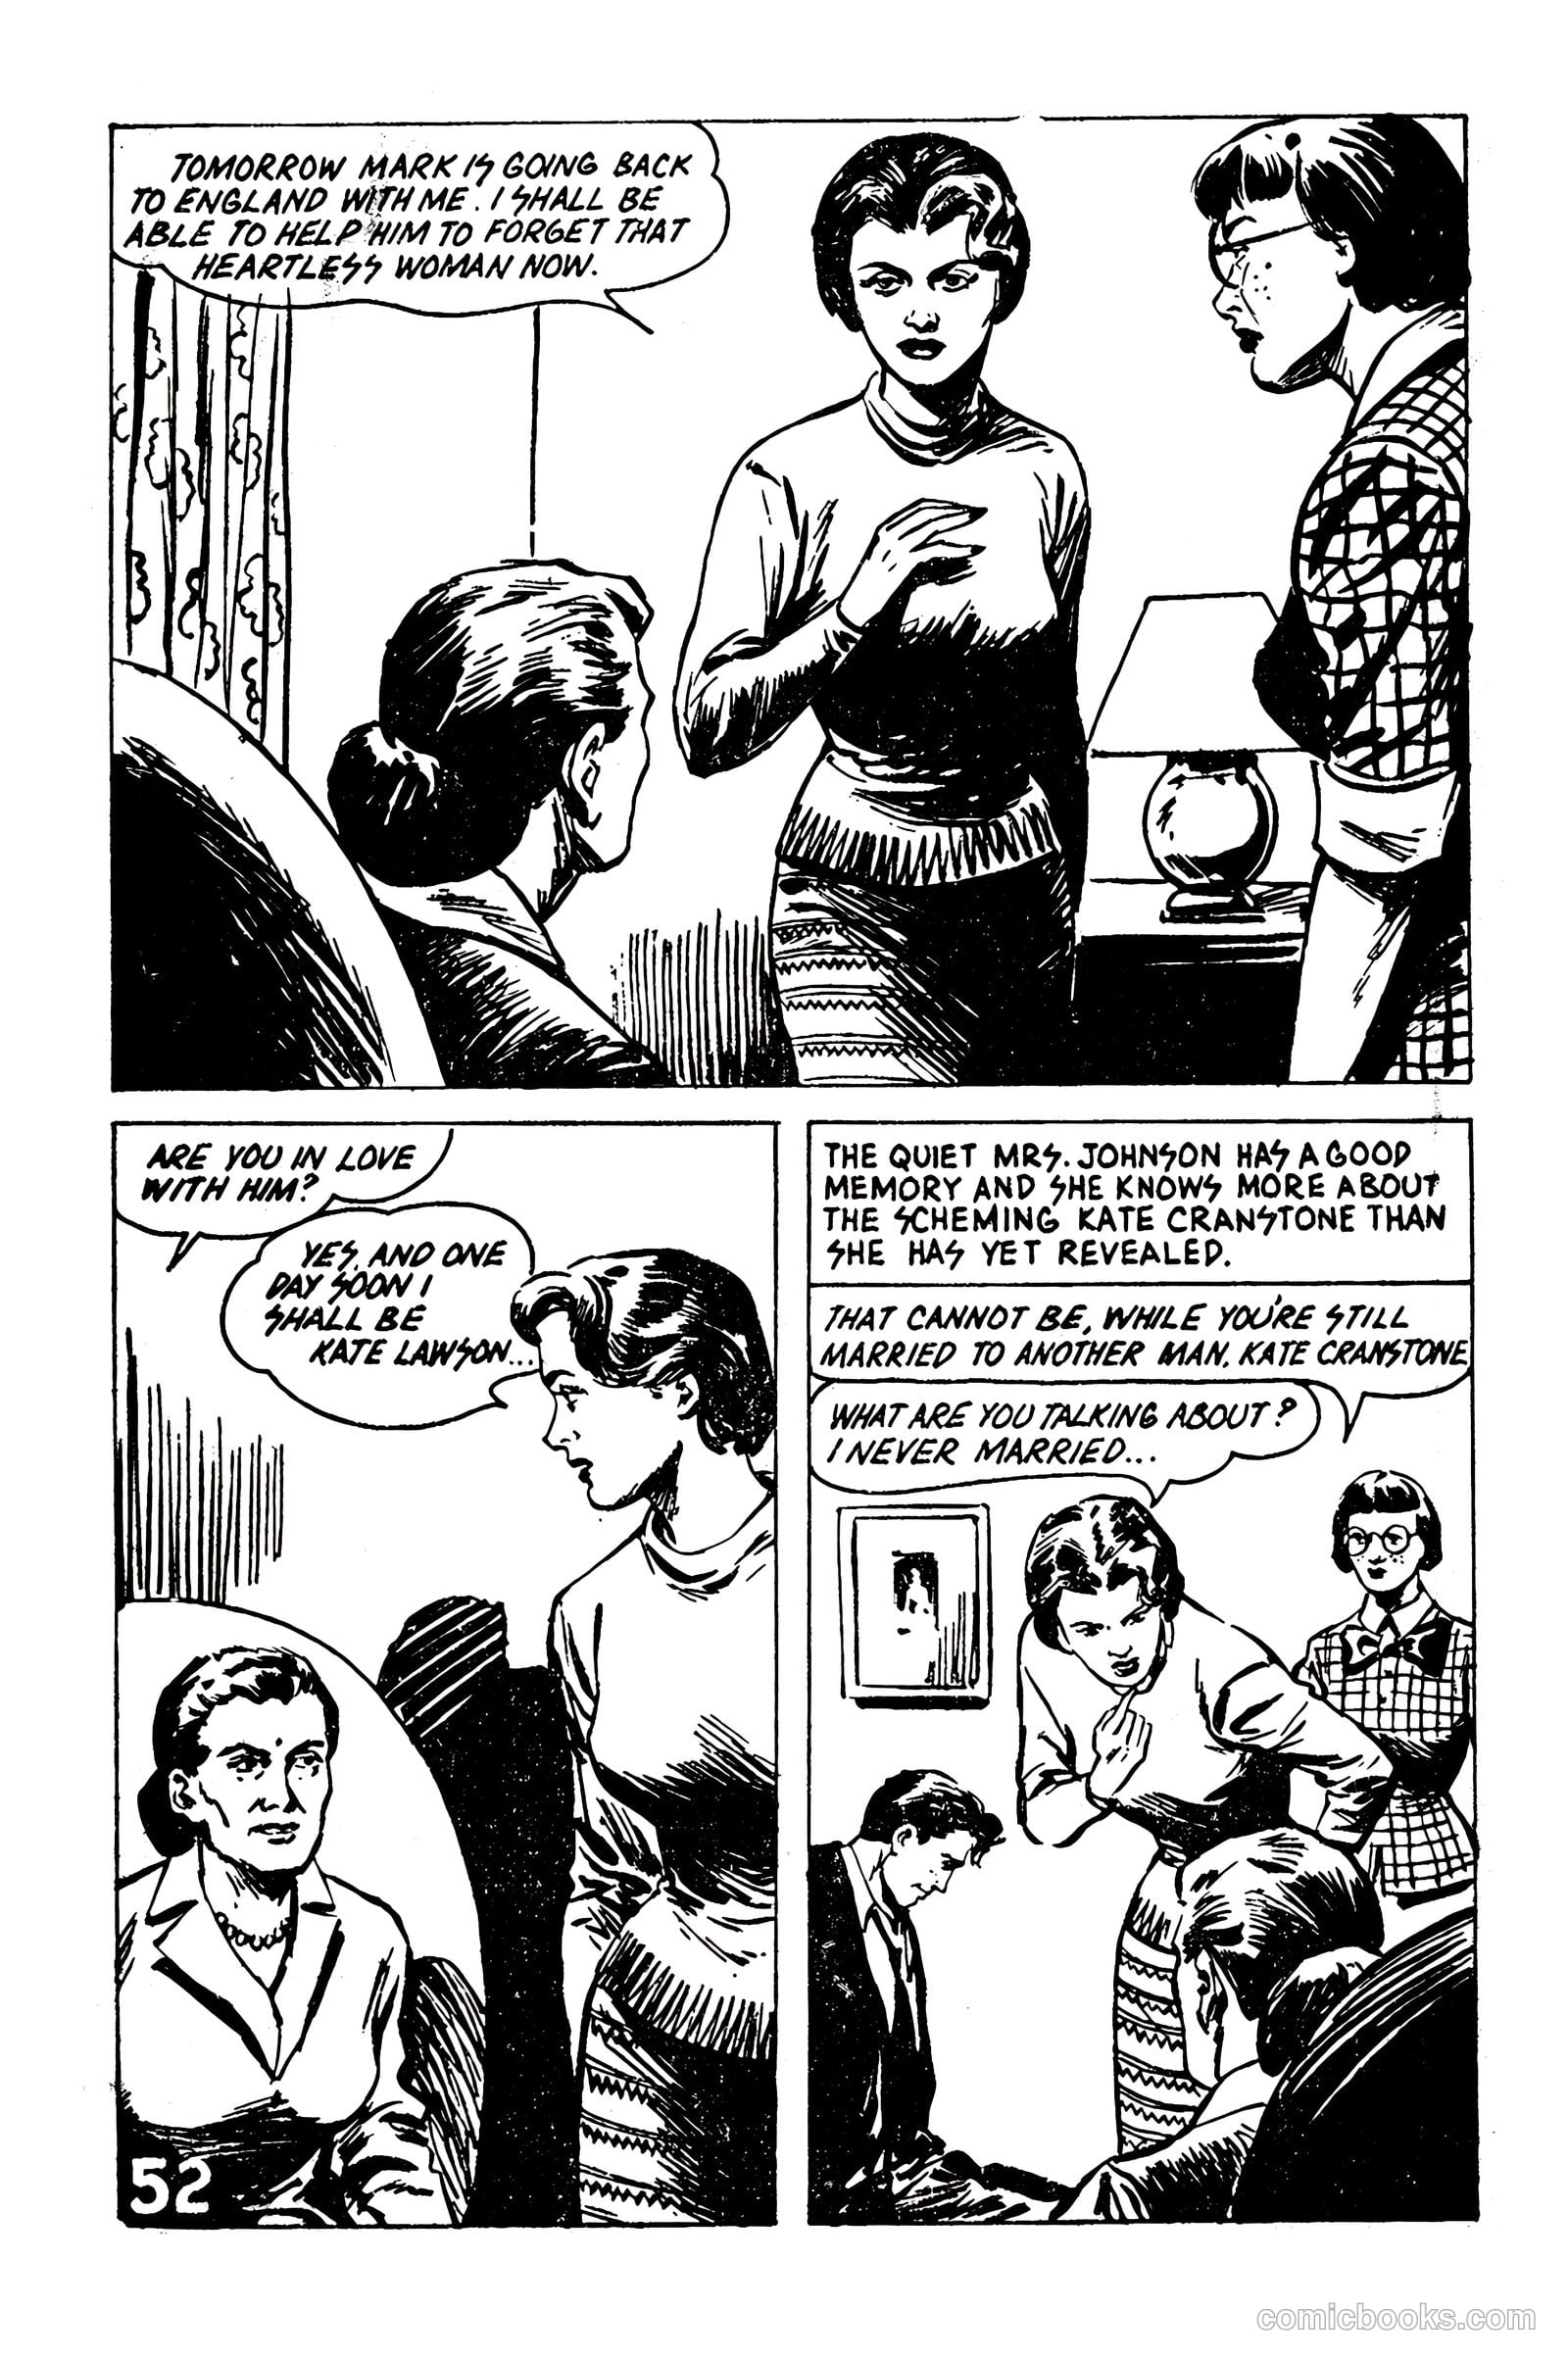
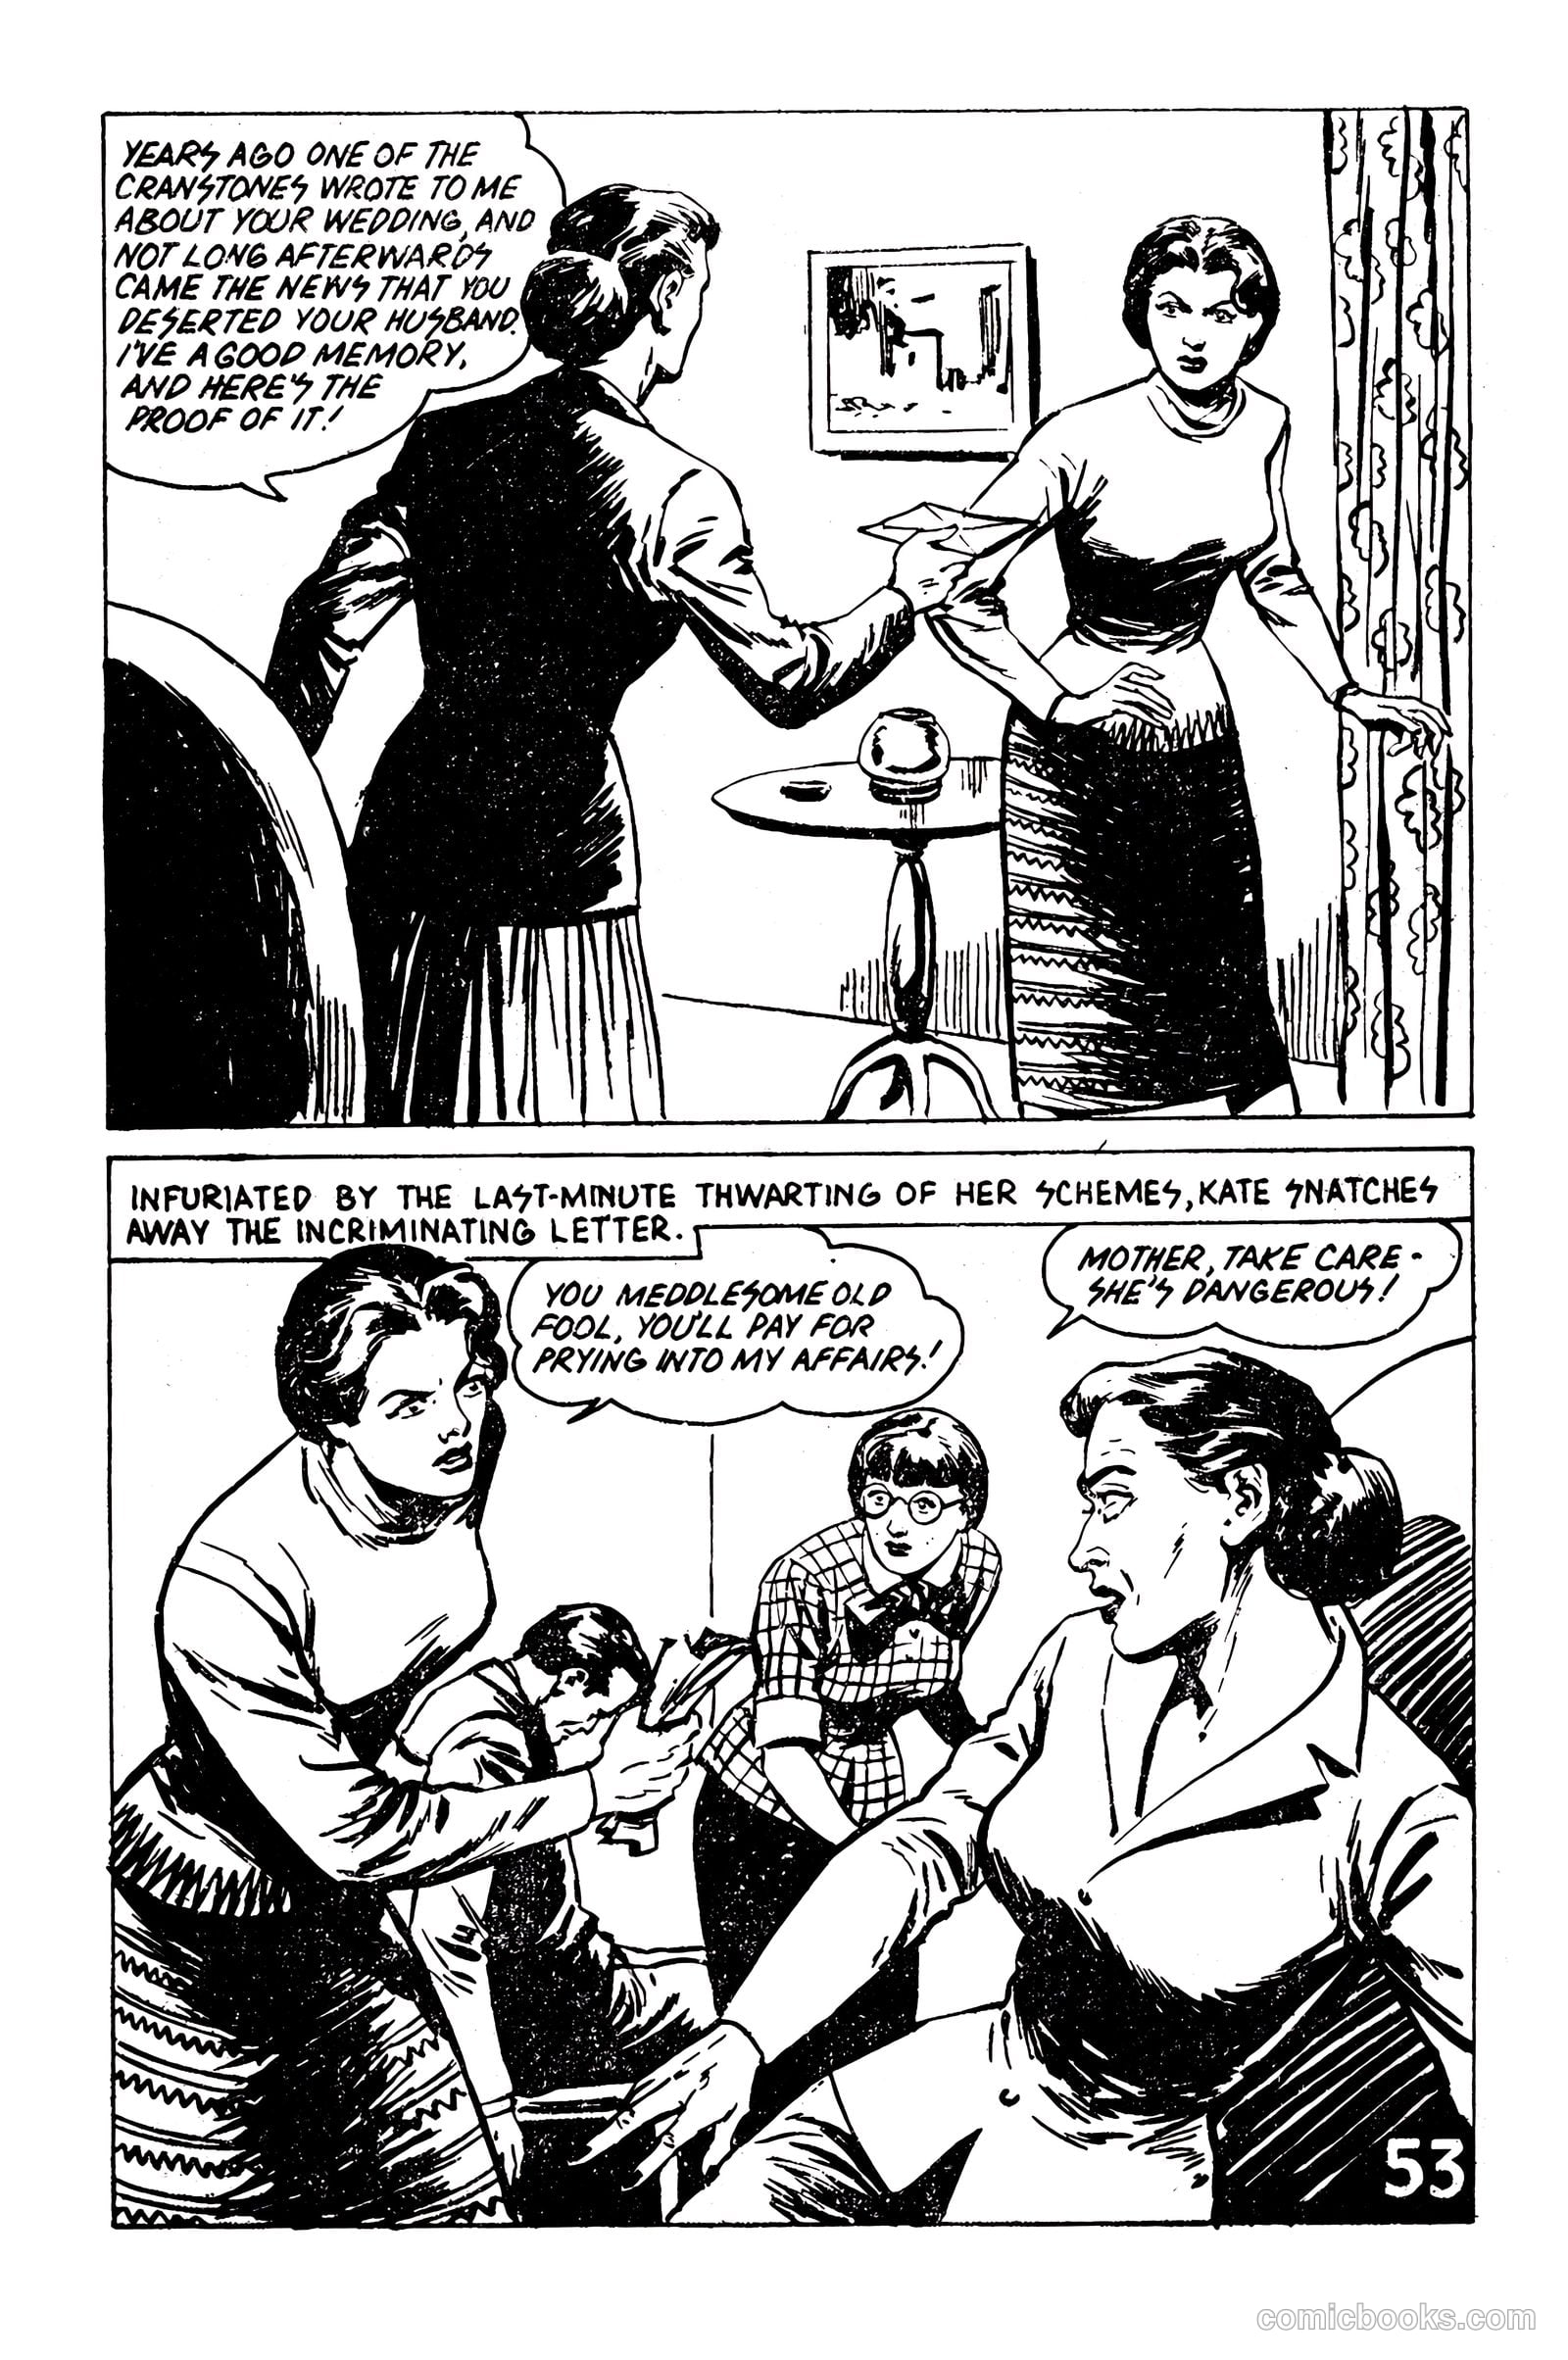
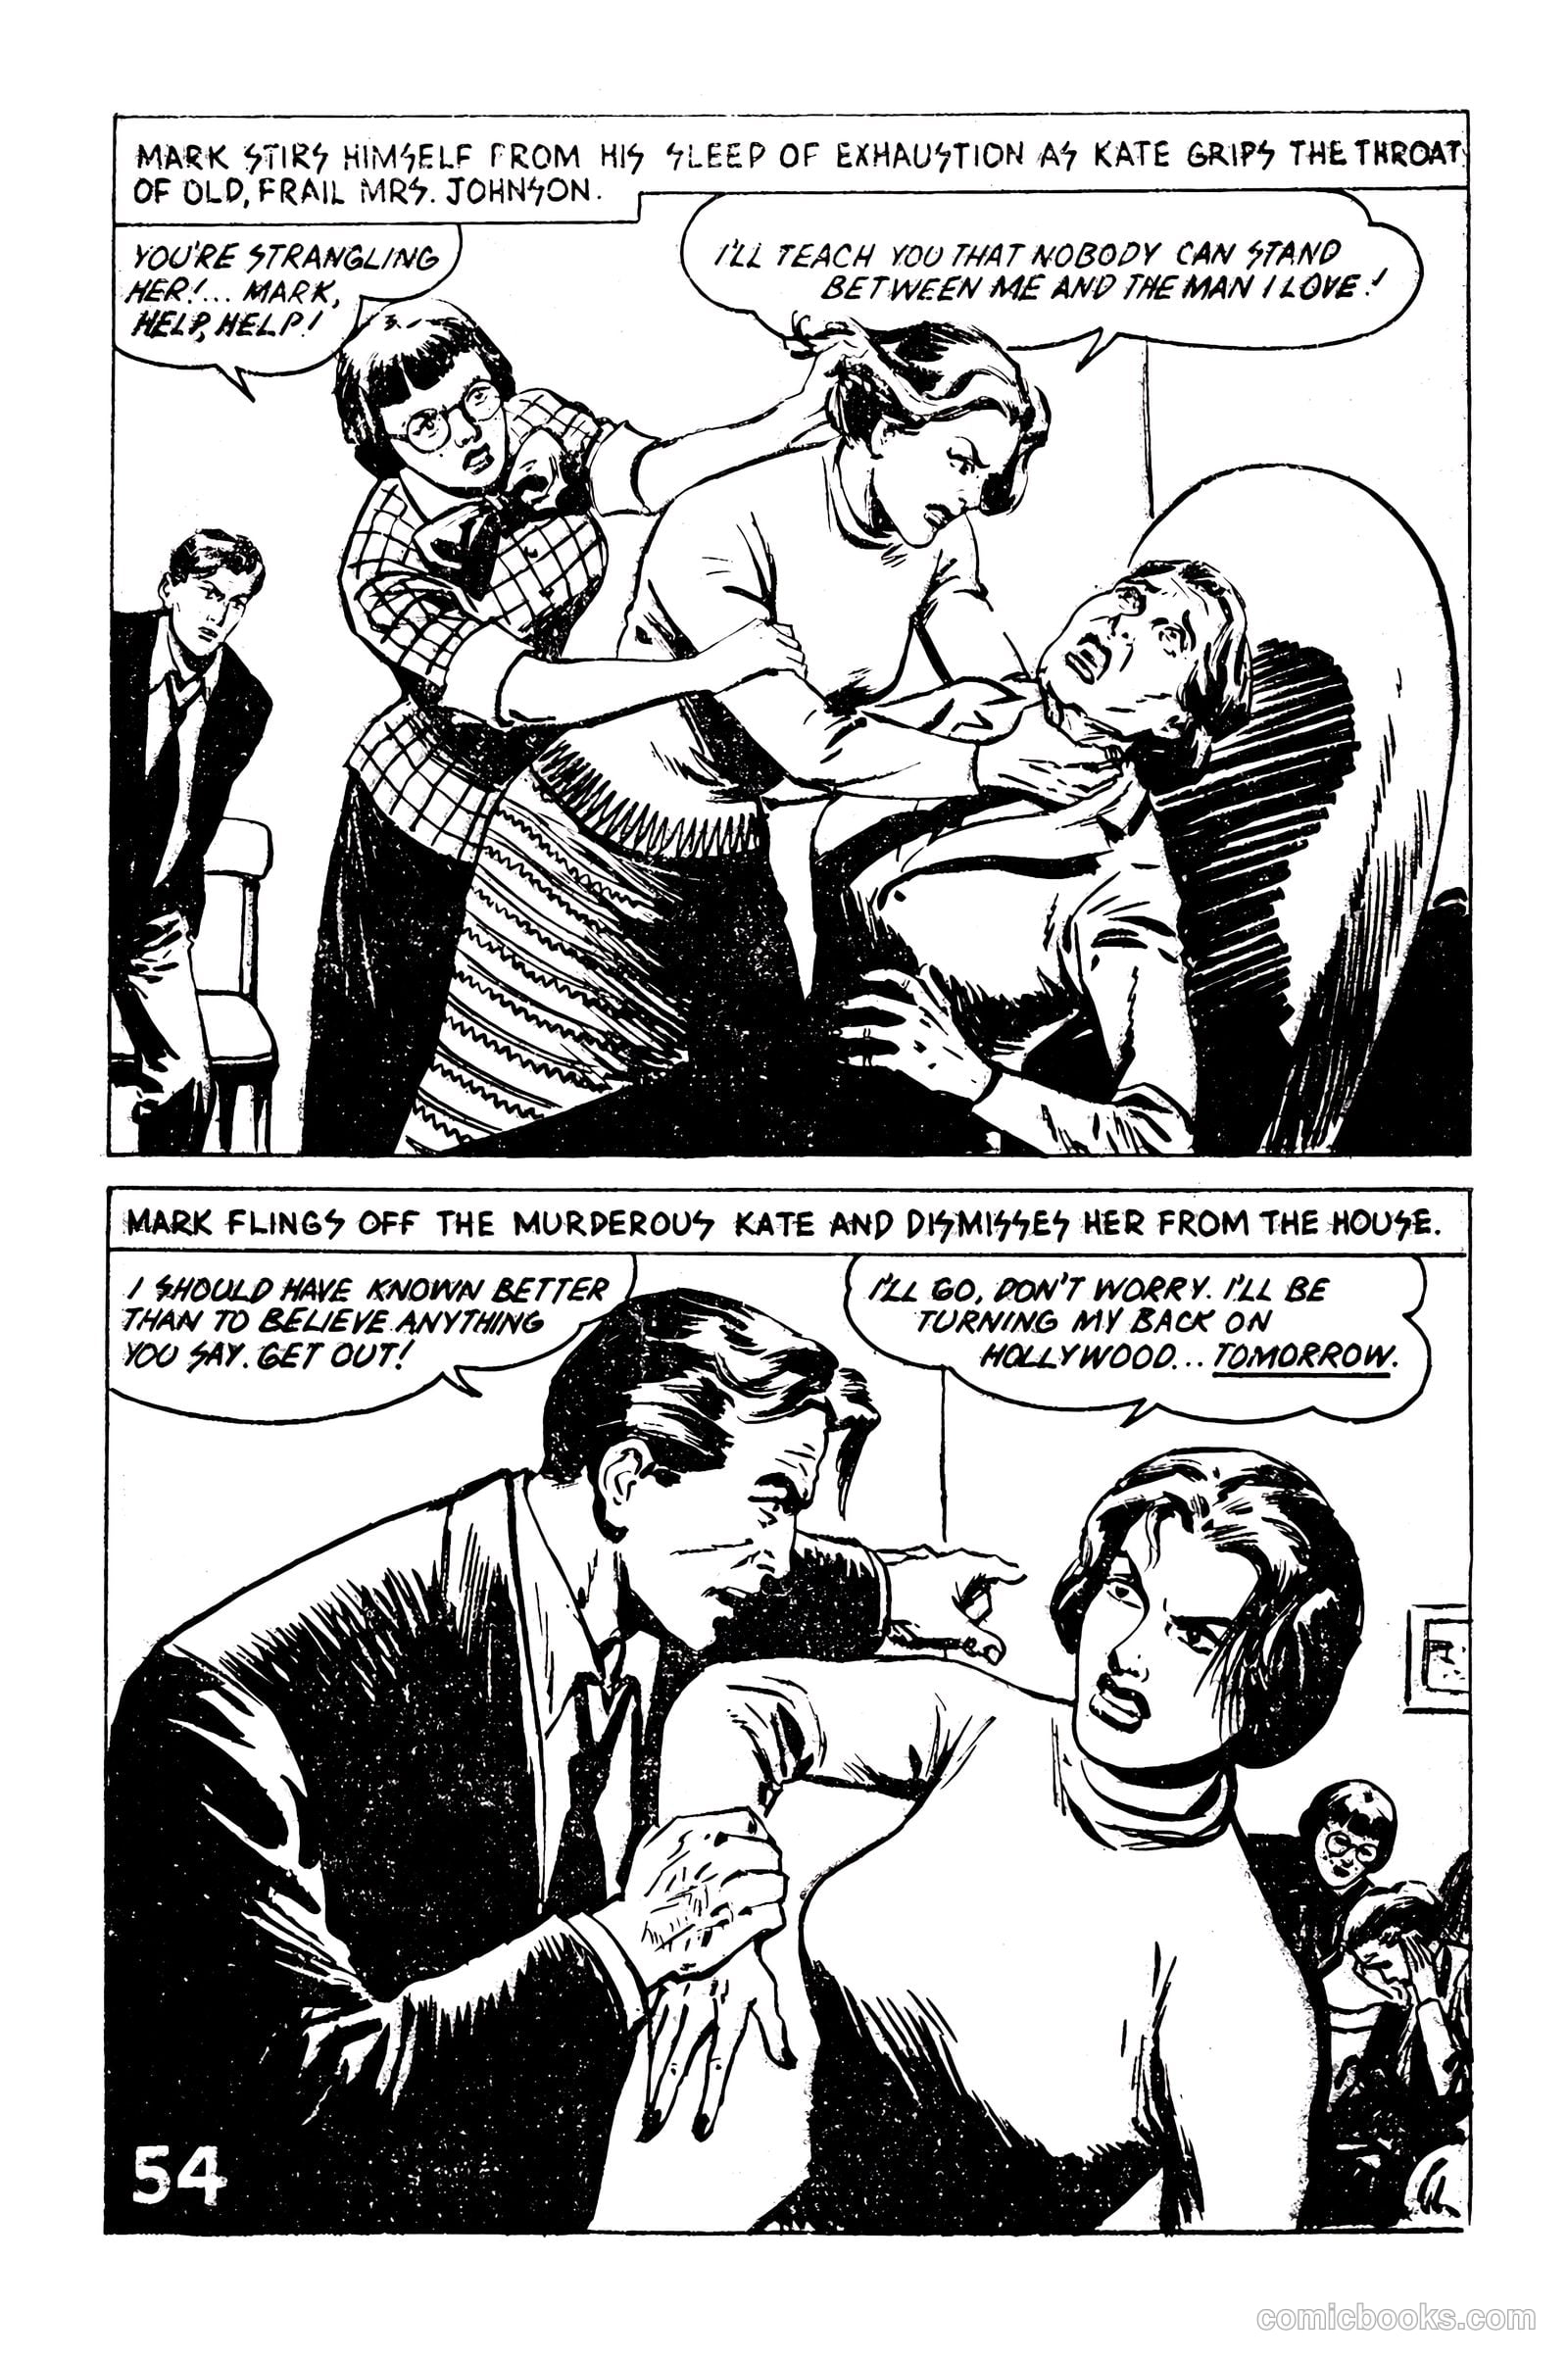
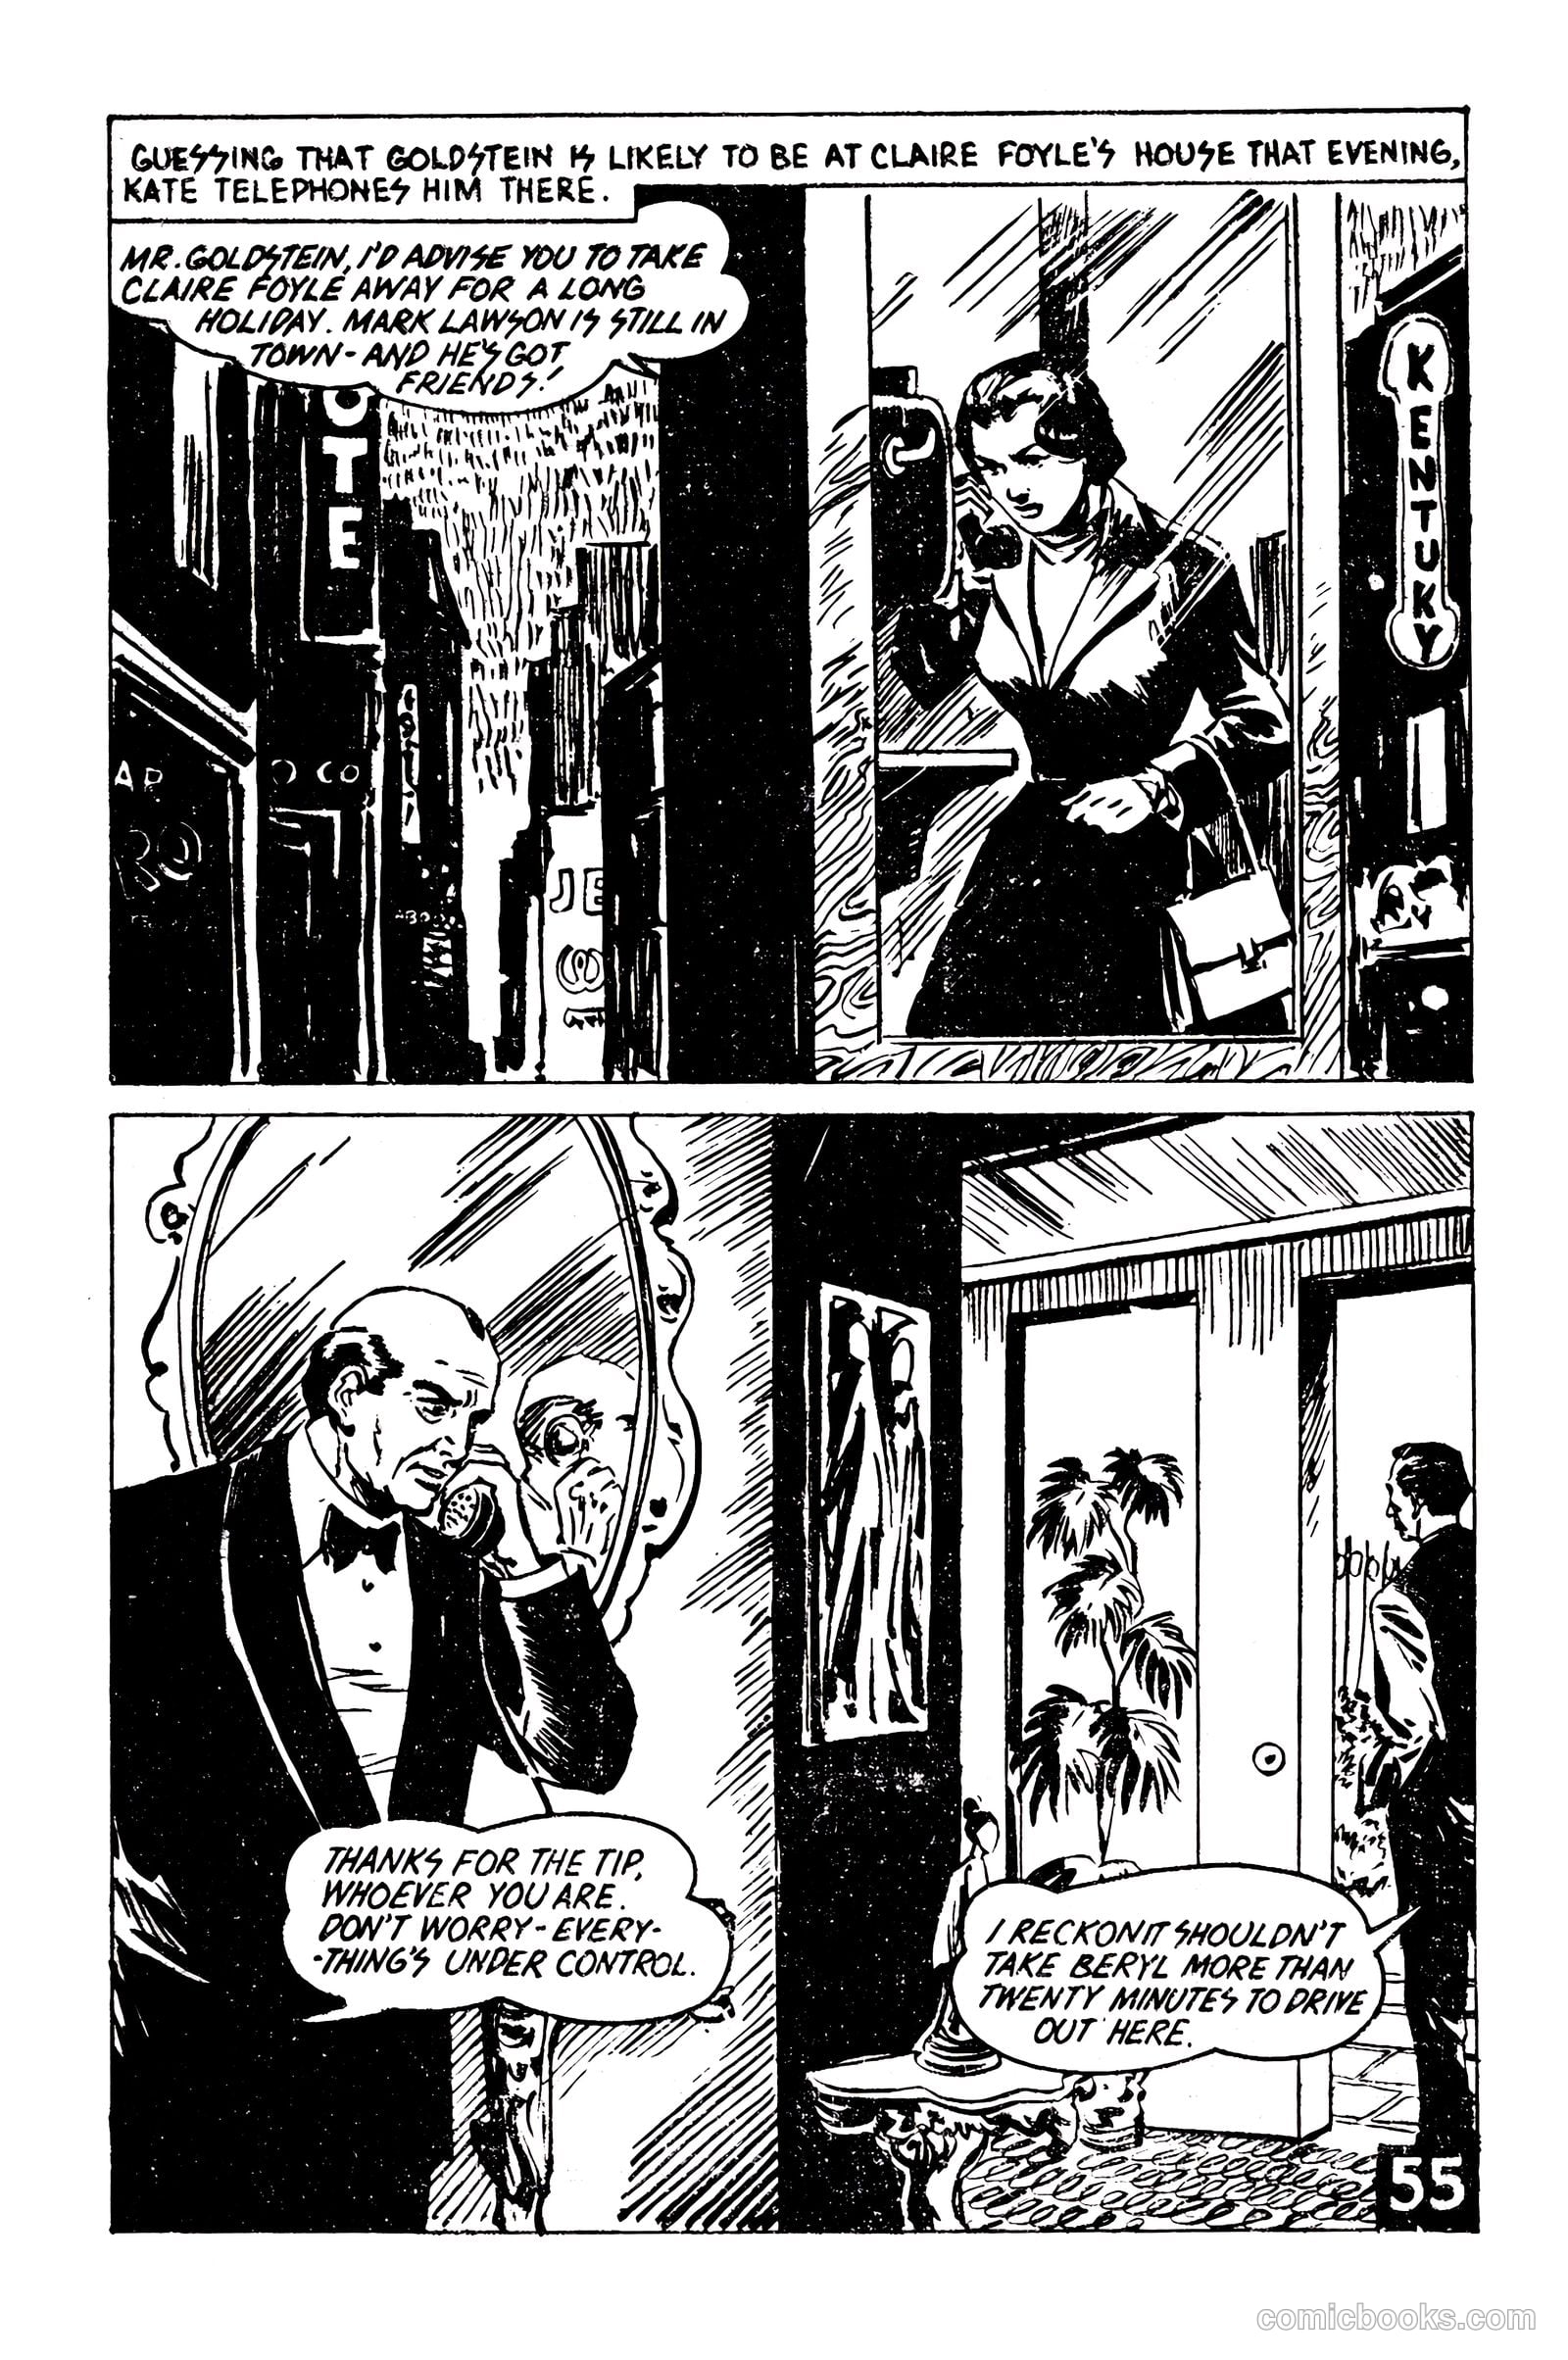
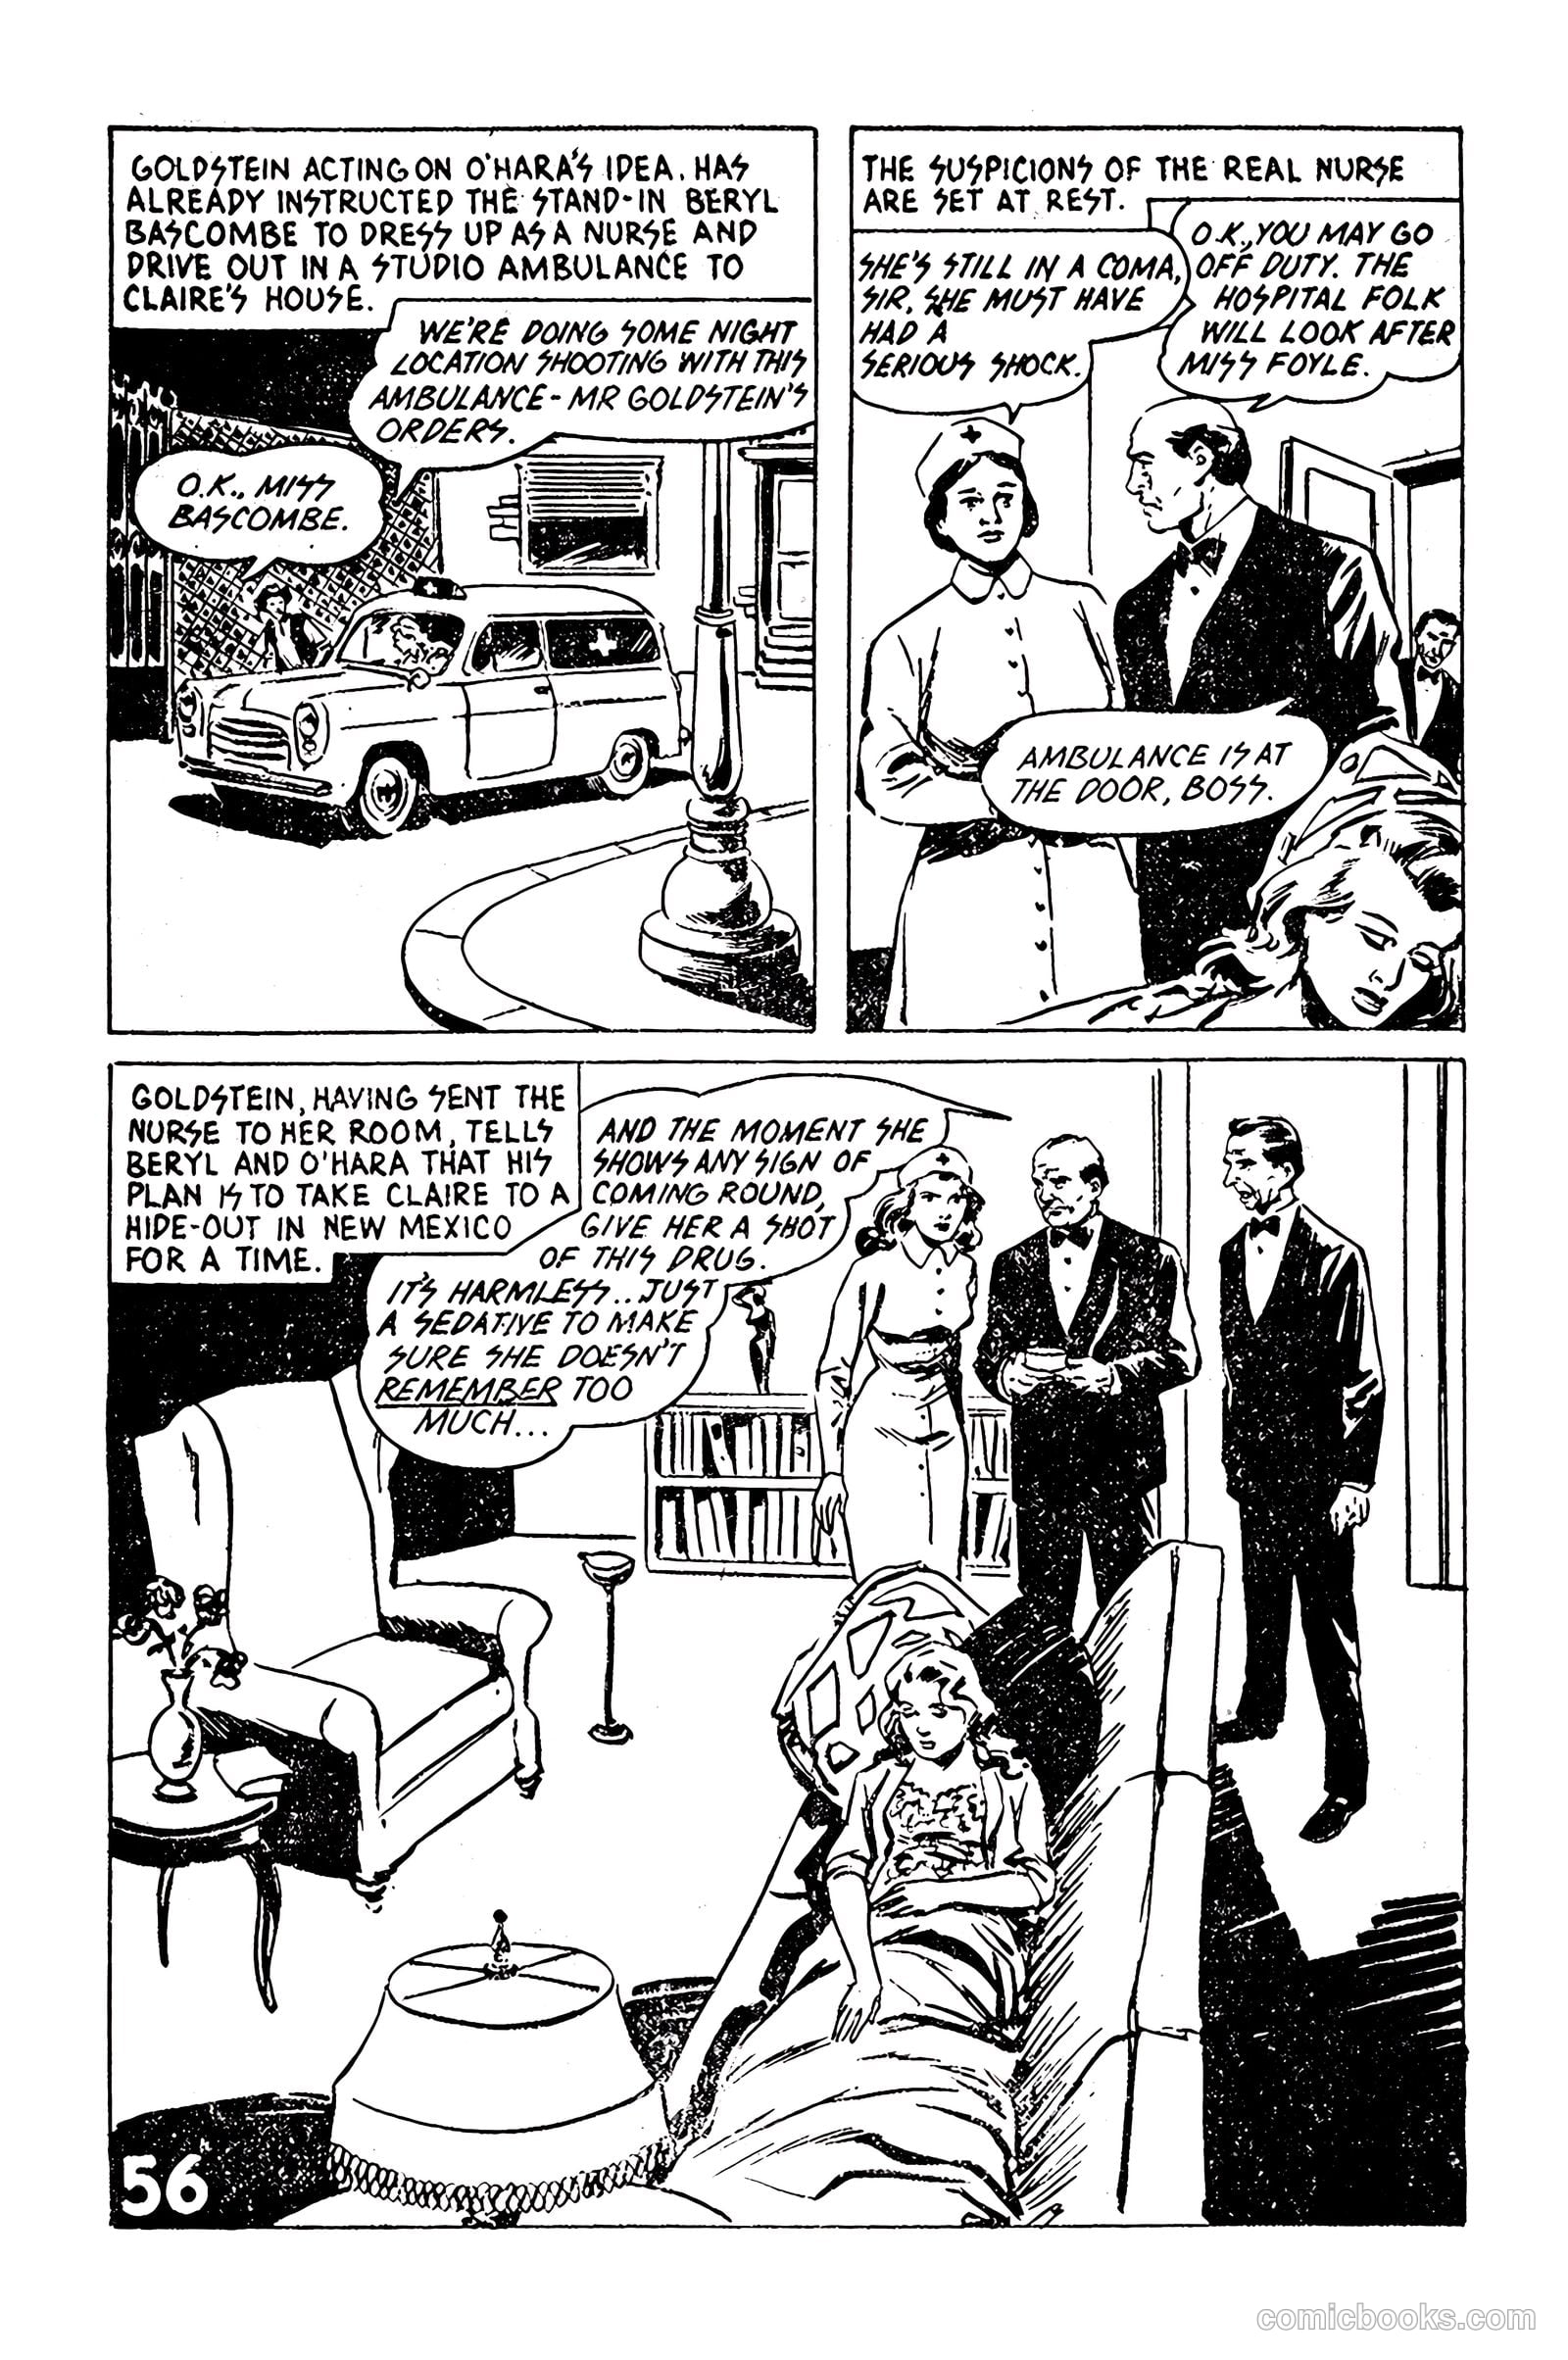
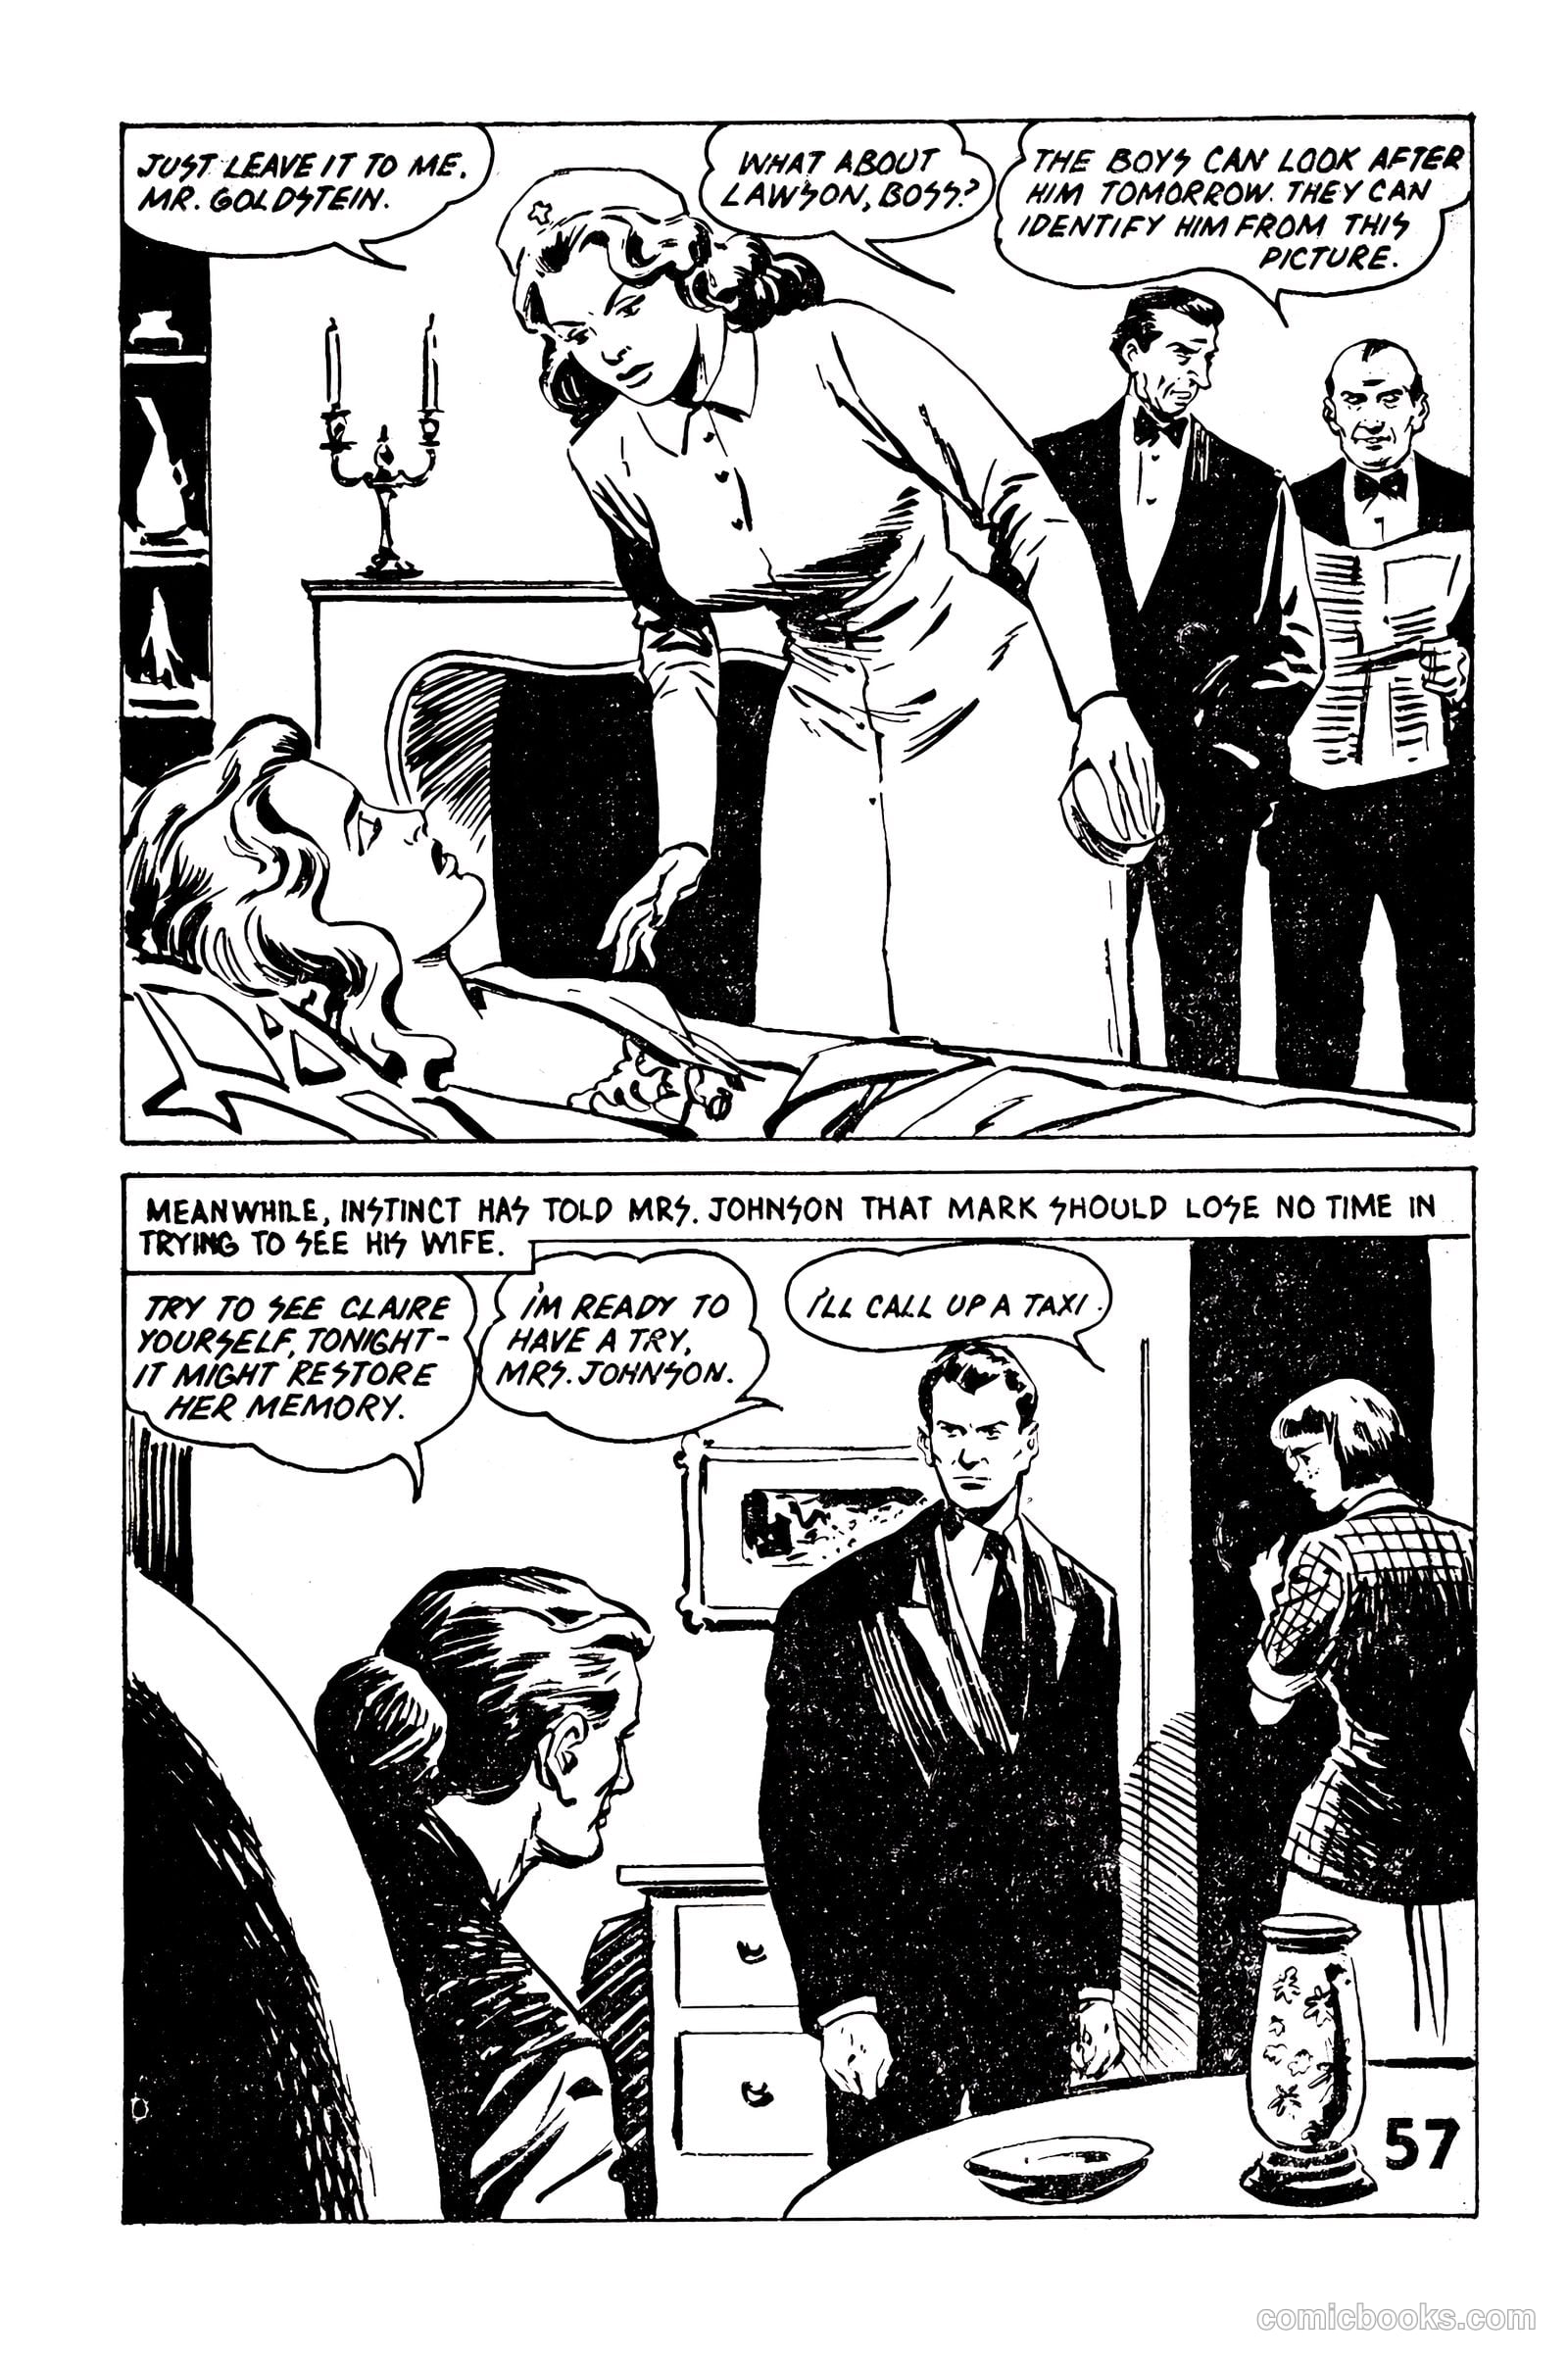
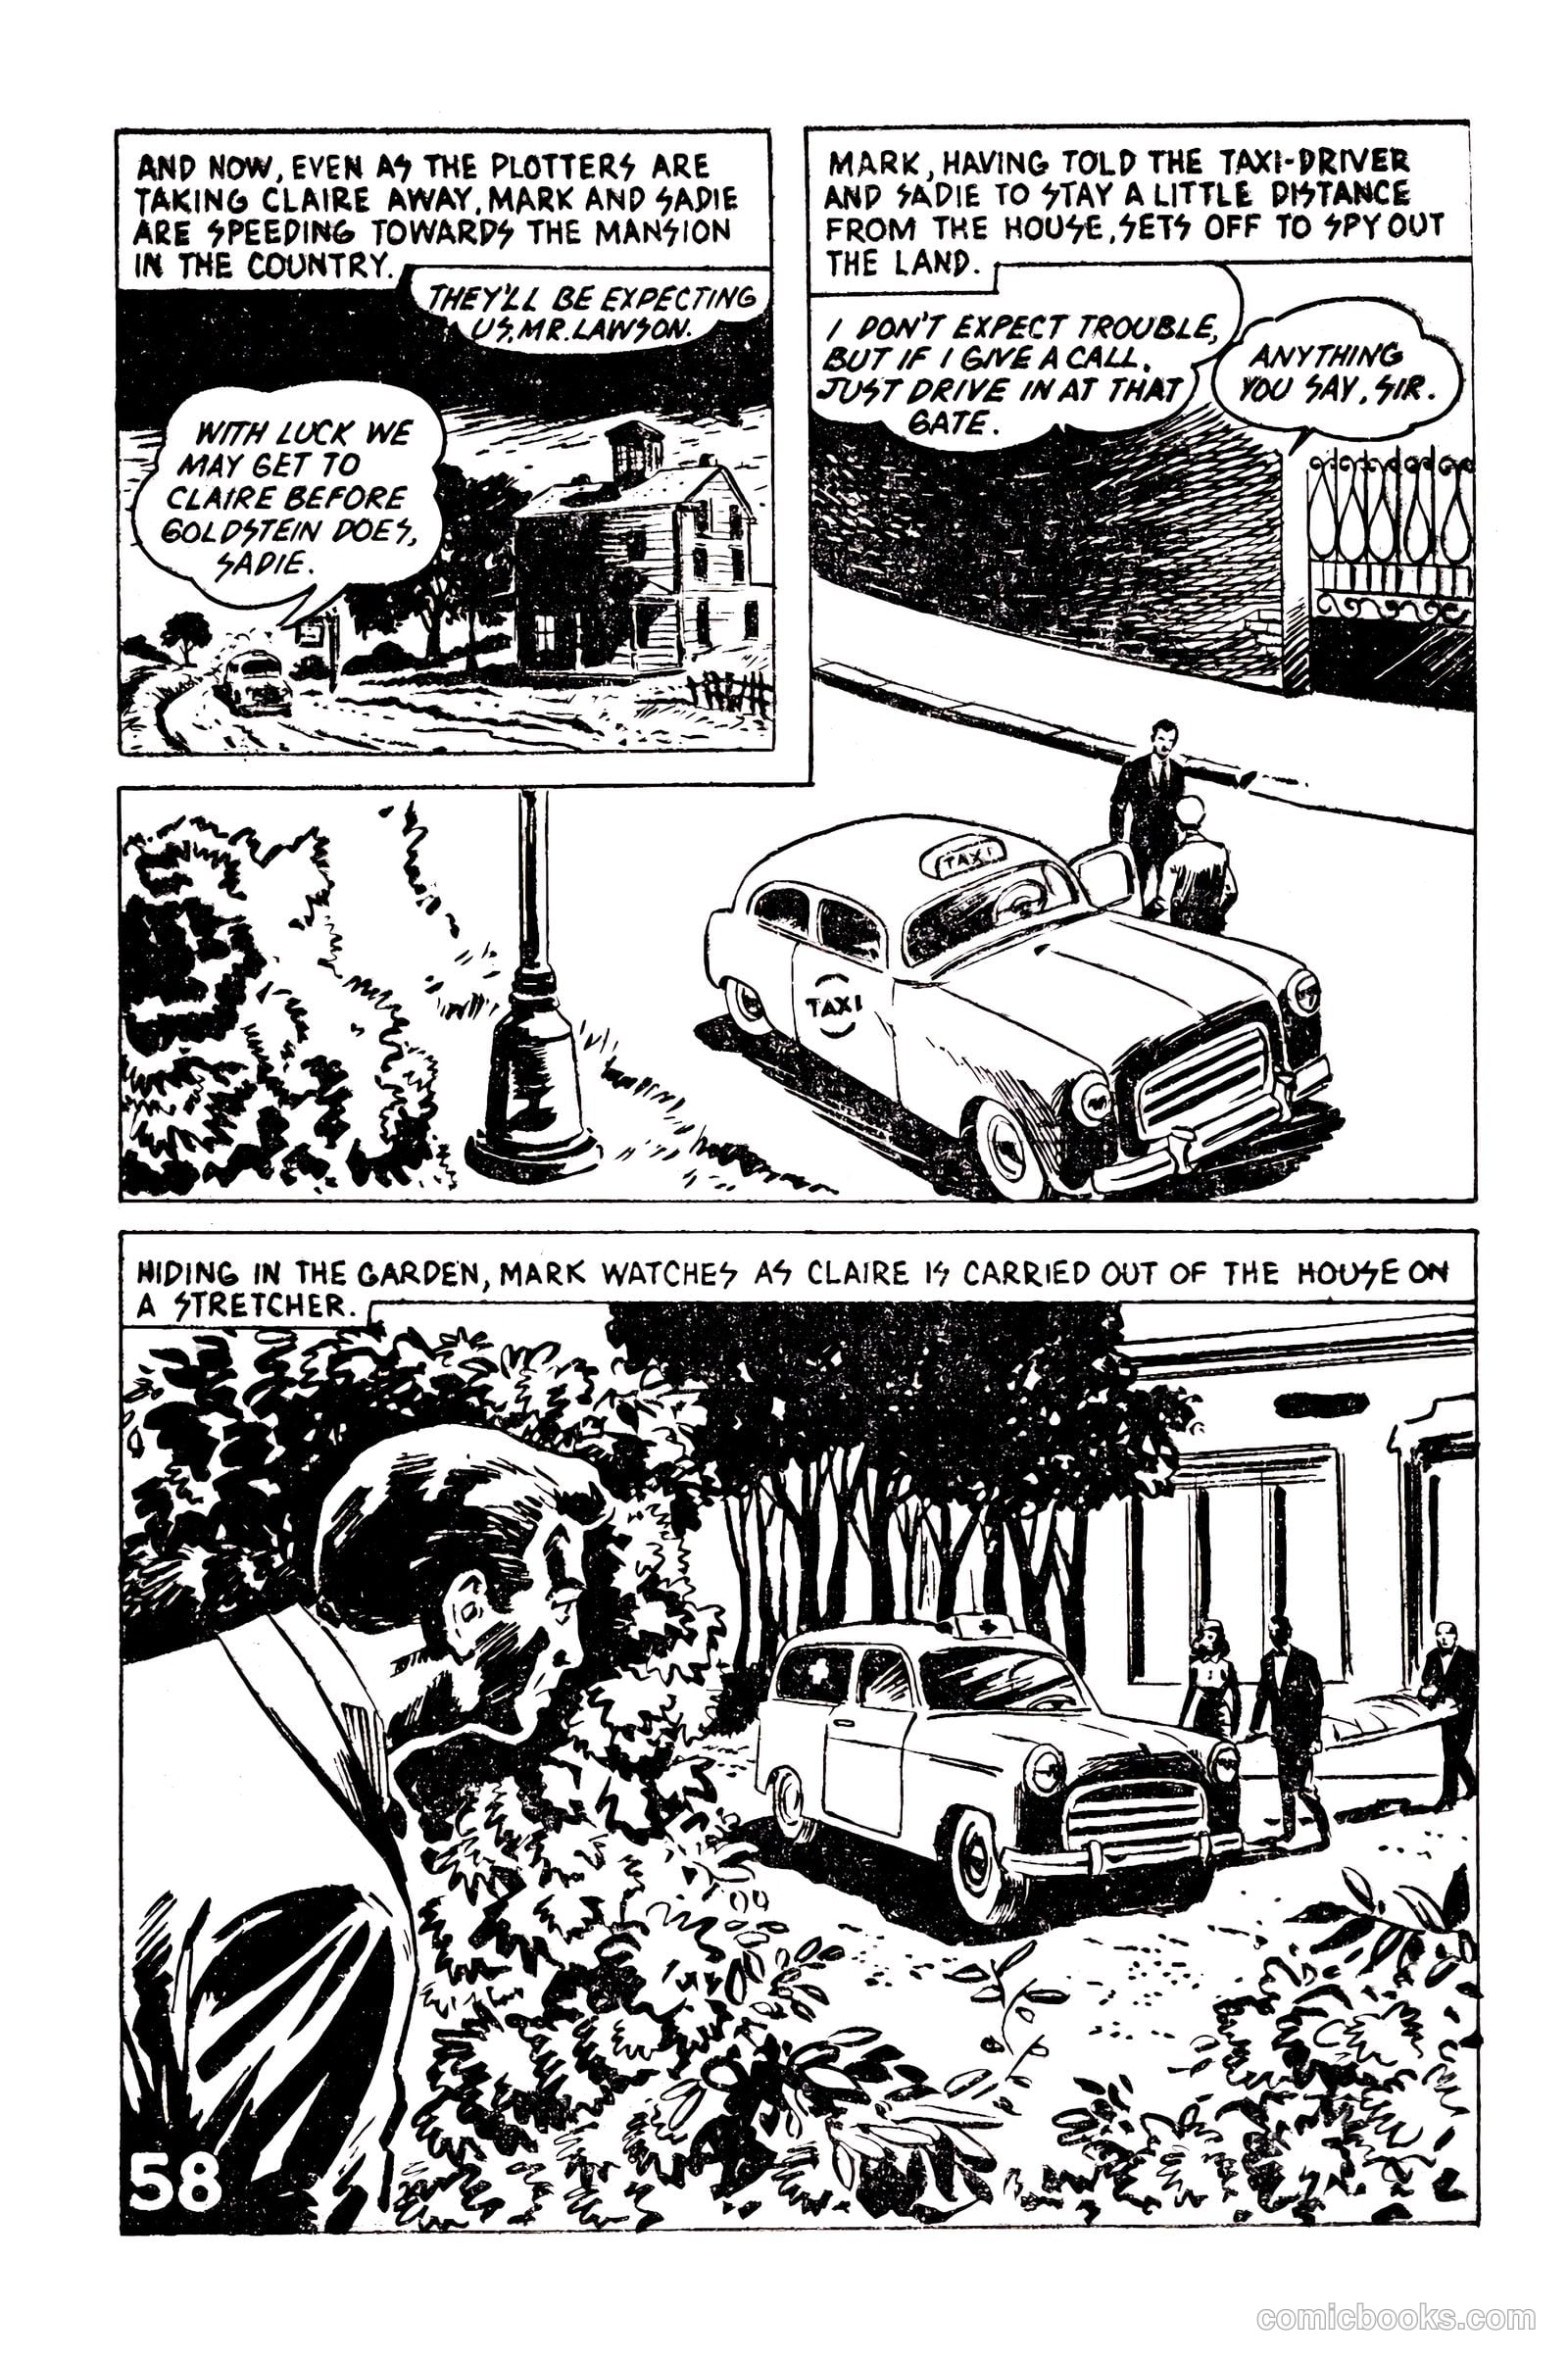
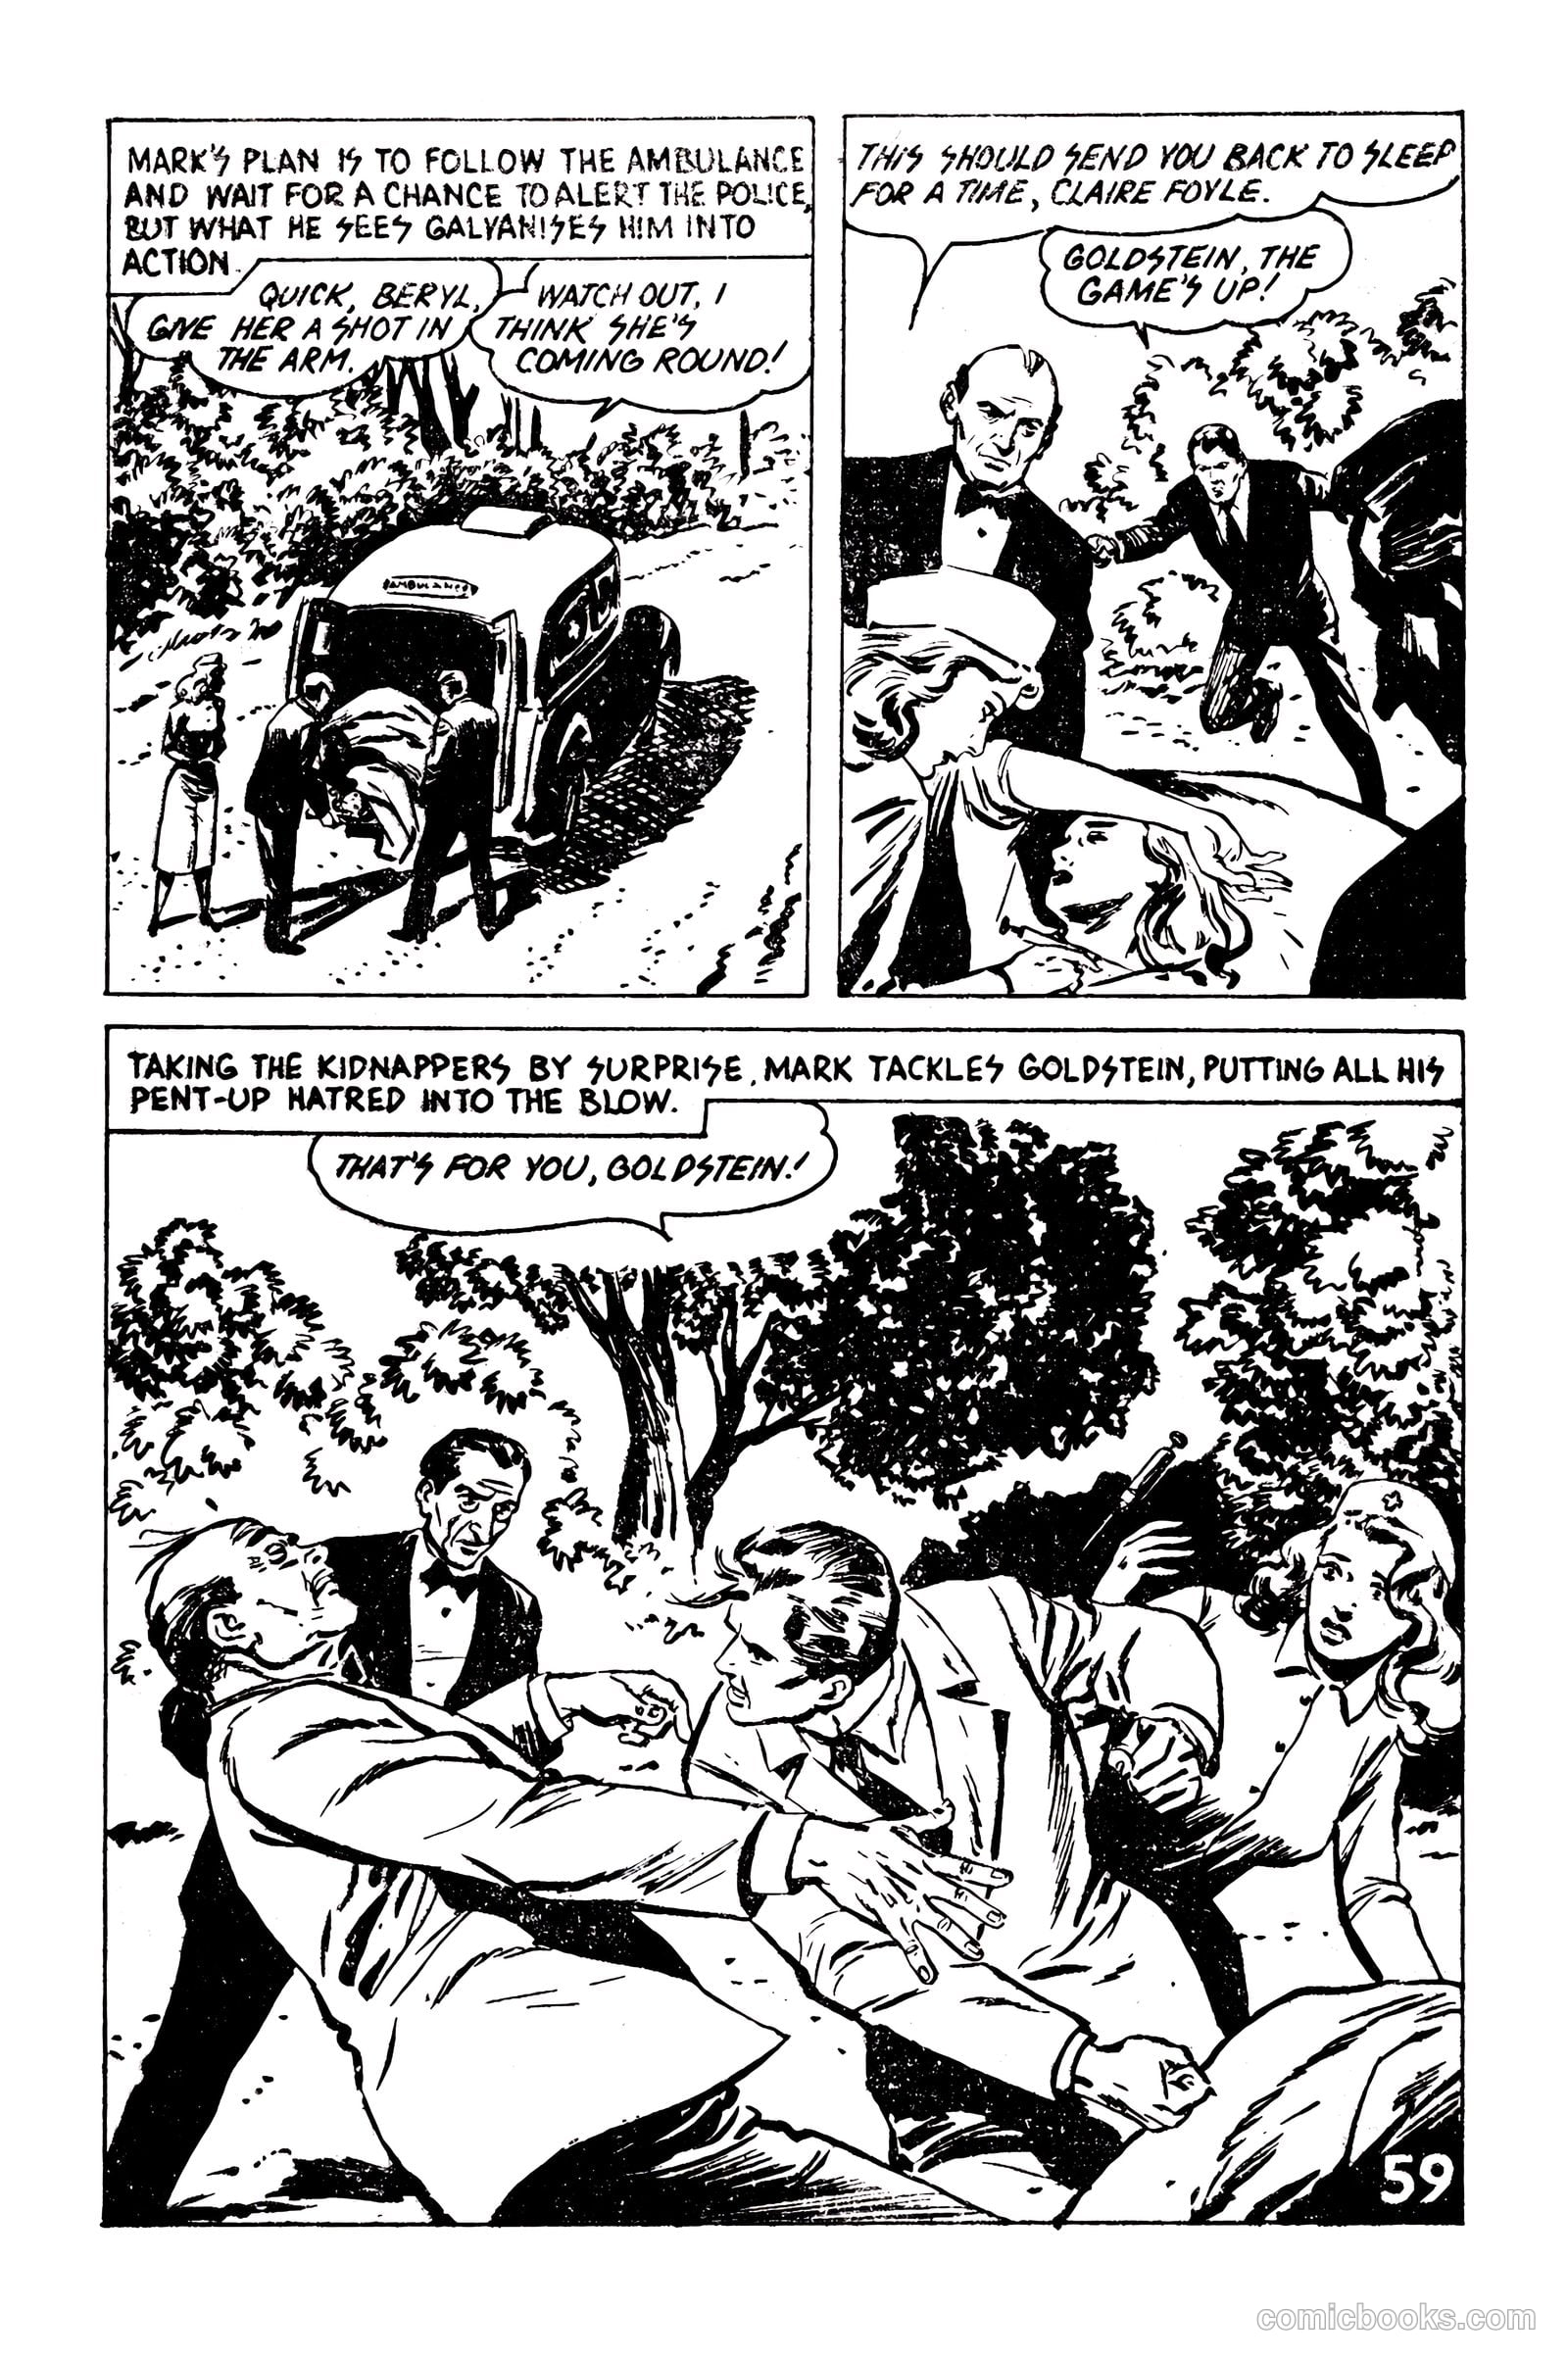
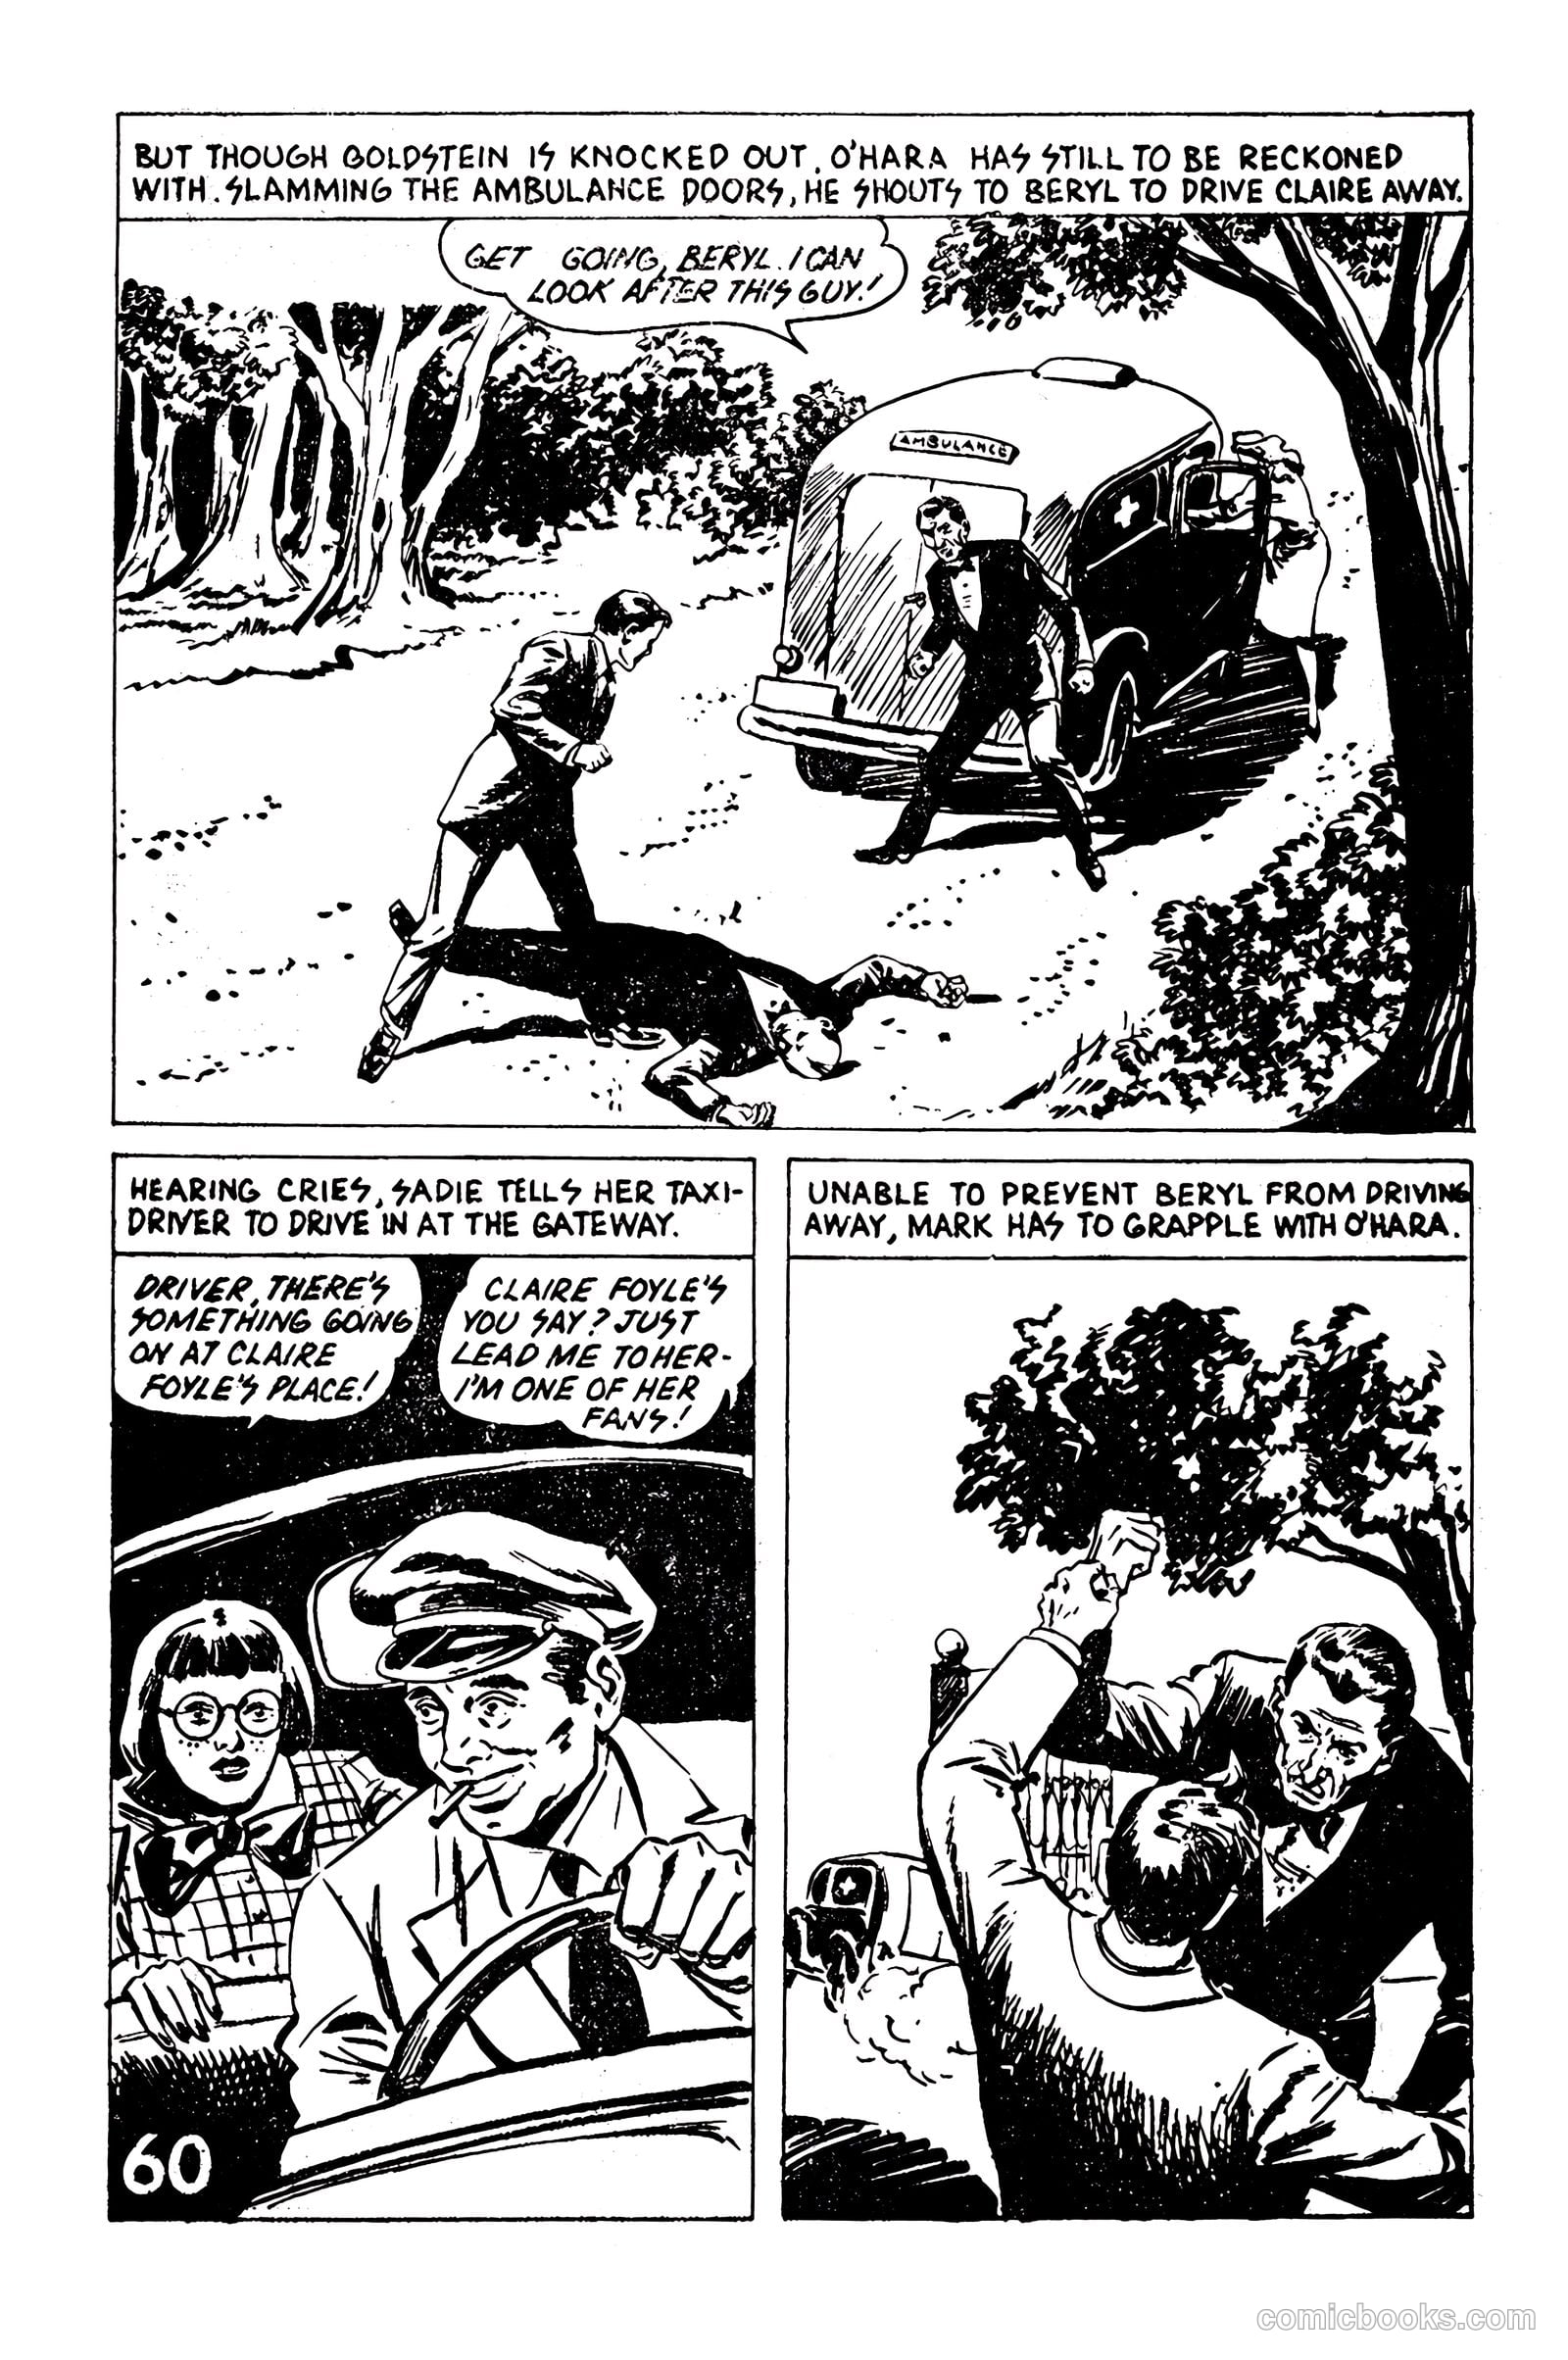
A man named Mark believes he recognizes a woman in a car at a film studio as his wife Mary, whom he thought was dead. When he approaches, he discovers the woman is actually Claire Foyle, an actress who has been impersonating Mary on behalf of a man named Goldstein. Mark resolves to confront Goldstein and force the truth about Mary's whereabouts from him. Meanwhile, Mark plans to return to England with the revelation that he has found Mary alive, determined to make the heartless woman forget him.

Restored edition © comicbooks.com. Our digitization, remastering, and presentation are our own work.

See something wrong with this issue? Report it.